One click and you're done. Thank you!
After thirteen long years, GTA 6 has released, and with it, some weird, wacky, and absolutely bonkers activities, side missions, and easily missed events. One of the more ‘normal’ missions in GTA 6 comes early in Chapter 1, where you’re tasked with an optional mission after a job goes wrong. Drug packages litter Southern Leonida, and it’s down to you to round them all up, or not, and despite them being marked on a map, finding them isn’t particularly easy.
By the end of this guide, you’ll know exactly where to go, where to look, and how to find all the lost drug packages in Chapter 1 of GTA 6.
Find the Lost Drug Packages
Throughout GTA 6 you’ll be able to find and sell drug packages across the world, in many locations. One of the earliest examples of this is in Leonida, when you can explore across the land for the lost drug packages. You’ll look in burned down settlements, swamps, and more to find these missing packages, but they can also be easily missed.
An Early Tip: Take Jason’s Car as your primary mode of transport. Being able to store the lost drug packages in the back, therefore saving them if you die. or something else happens is an incredibly useful benefit for this missiom.
Search the Recreation Area
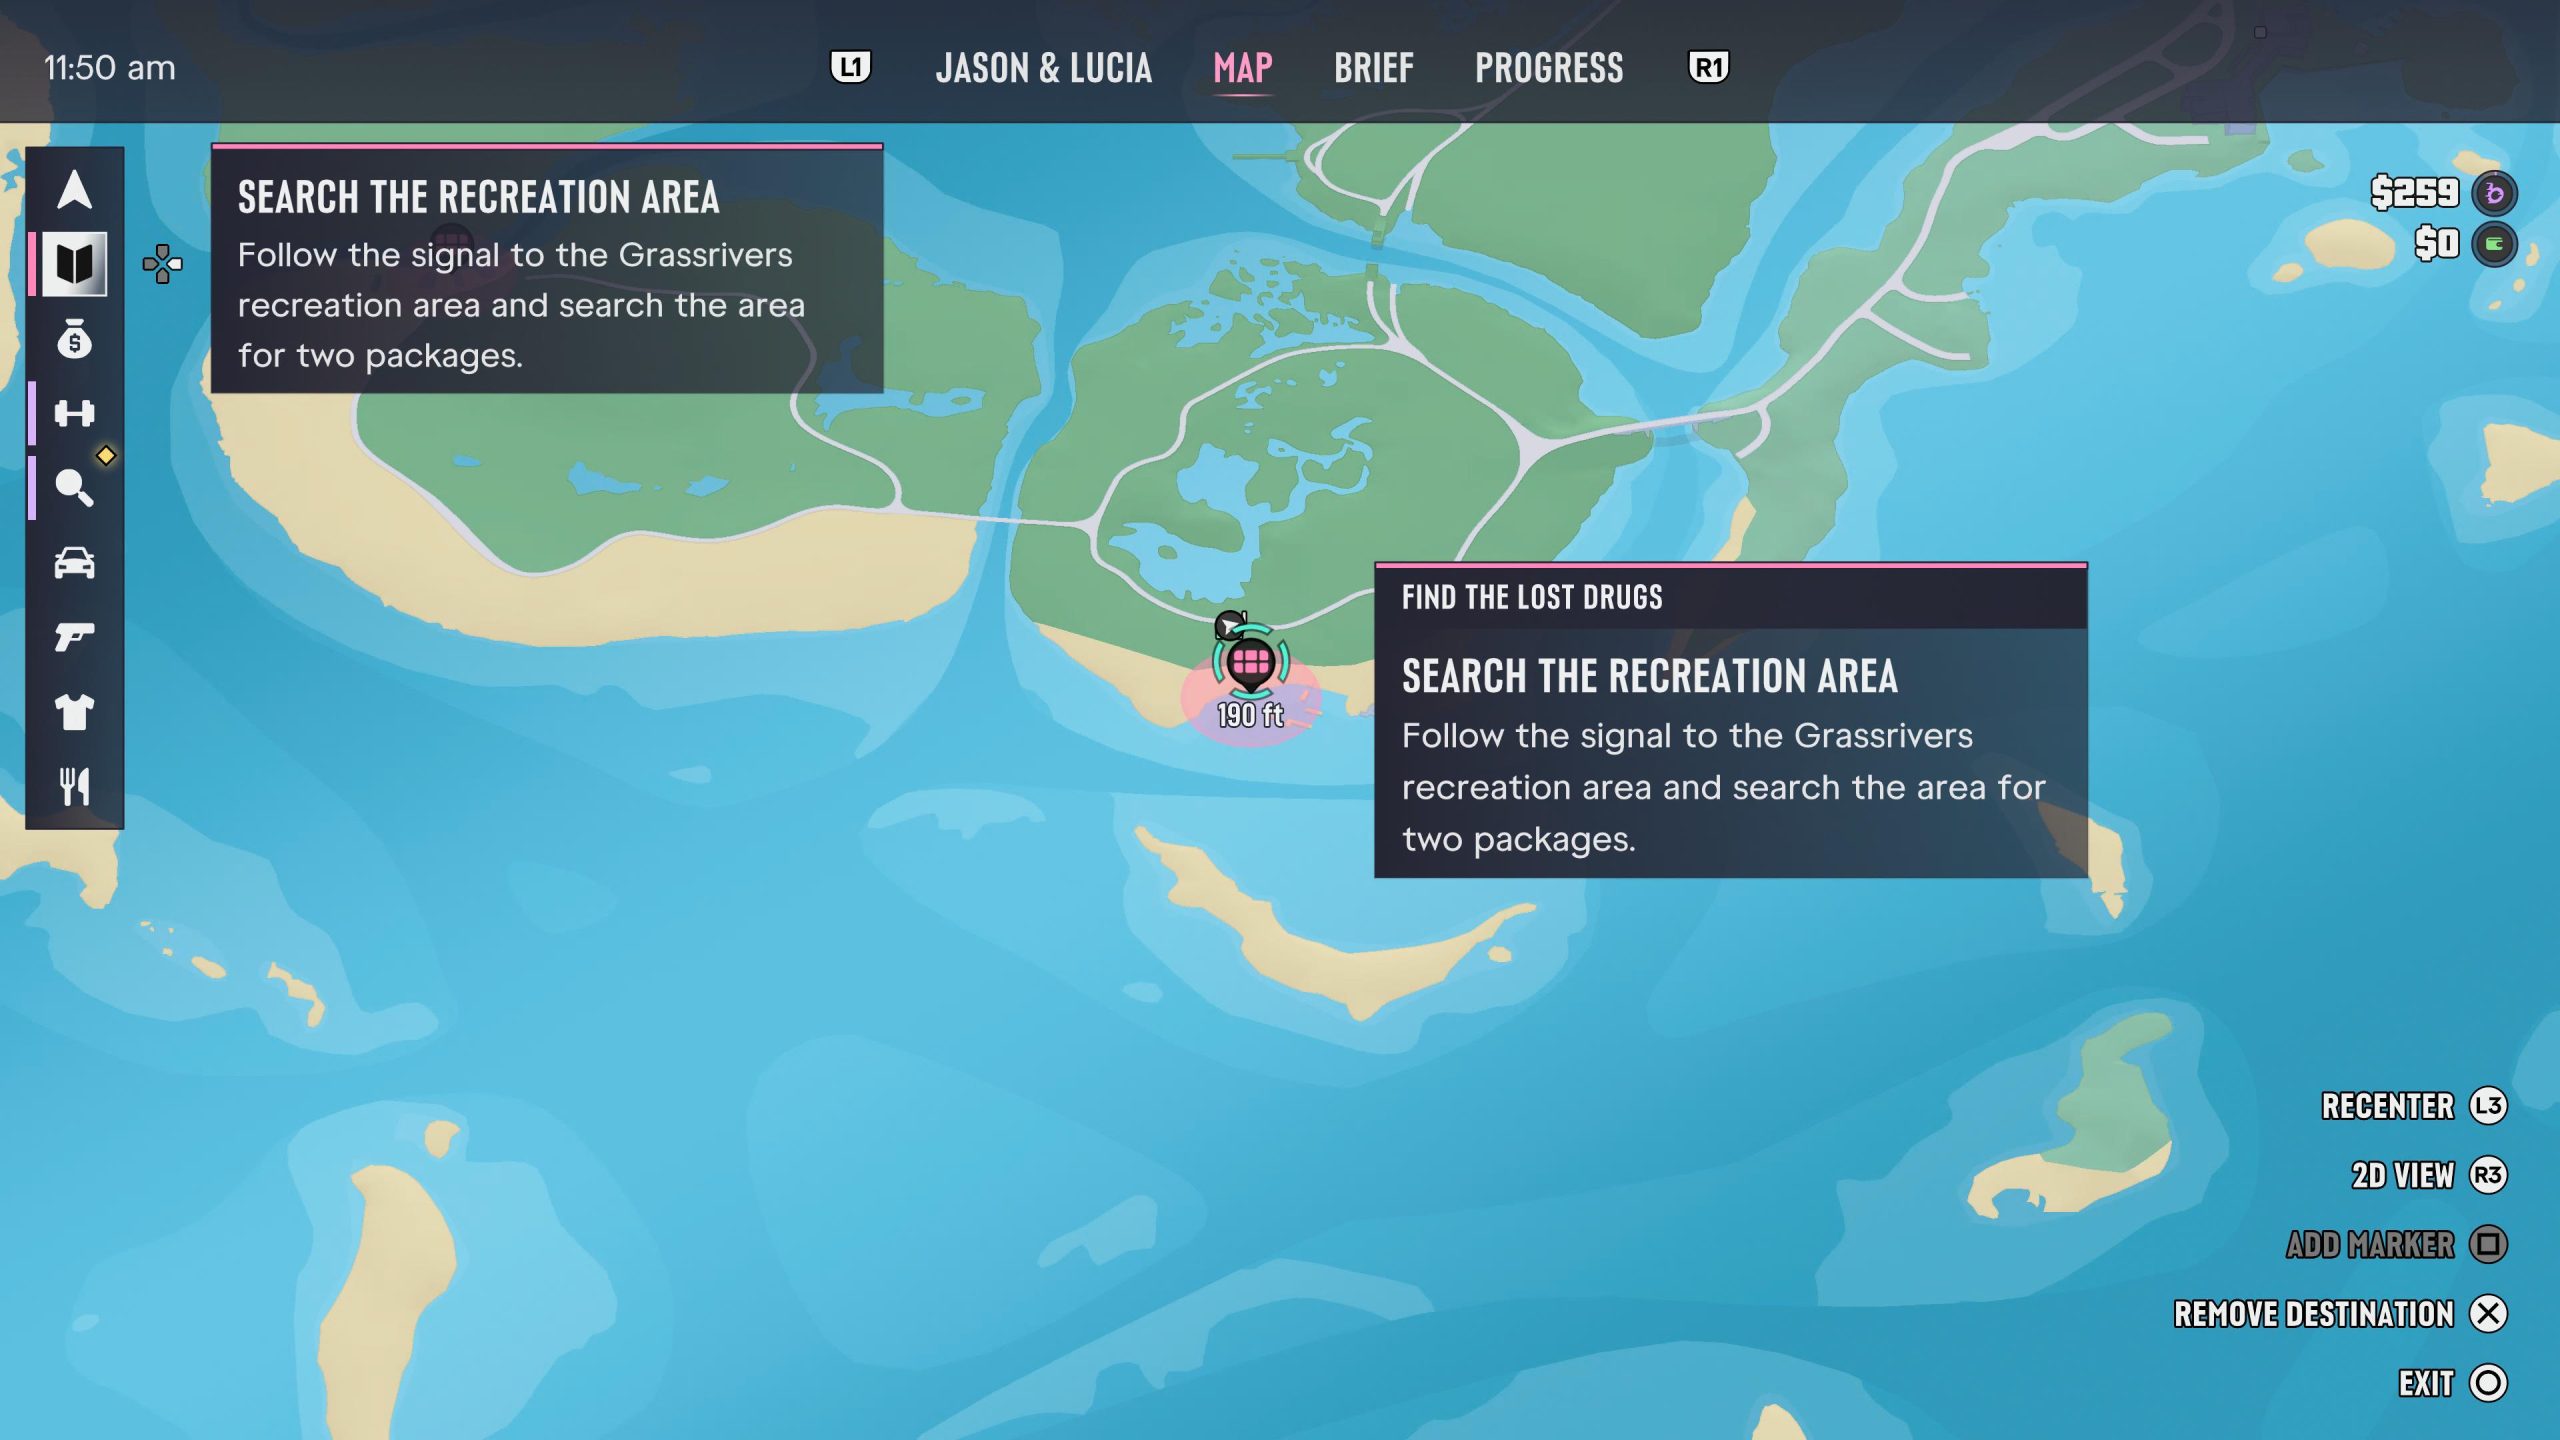
If you’re coming from Jason’s house in GTA 6, the first of the four areas you’ll come to is the Recreation Area. After a small drive across the bridge and down a dirt track, you’ll have to leave the comfort of your car when you get close. The Recreation Area is on the other side of a small brush-like area, and as you work your way through the trees, you’ll hear voices.
You’ll see three people hollering and making noise on the beach. Don’t hang about, as there’s no negotiating with them, and they’ll immediately attack you if they see you, so get the jump on them and shoot first. If you want to stay Professional on your criminal meter, aim for incapacitating shots only, otherwise headshots and heart shots will push you to Hardened. Once you’ve dealt with these three enemies, move onto the beach and listen out for the beeping of the drug packages.
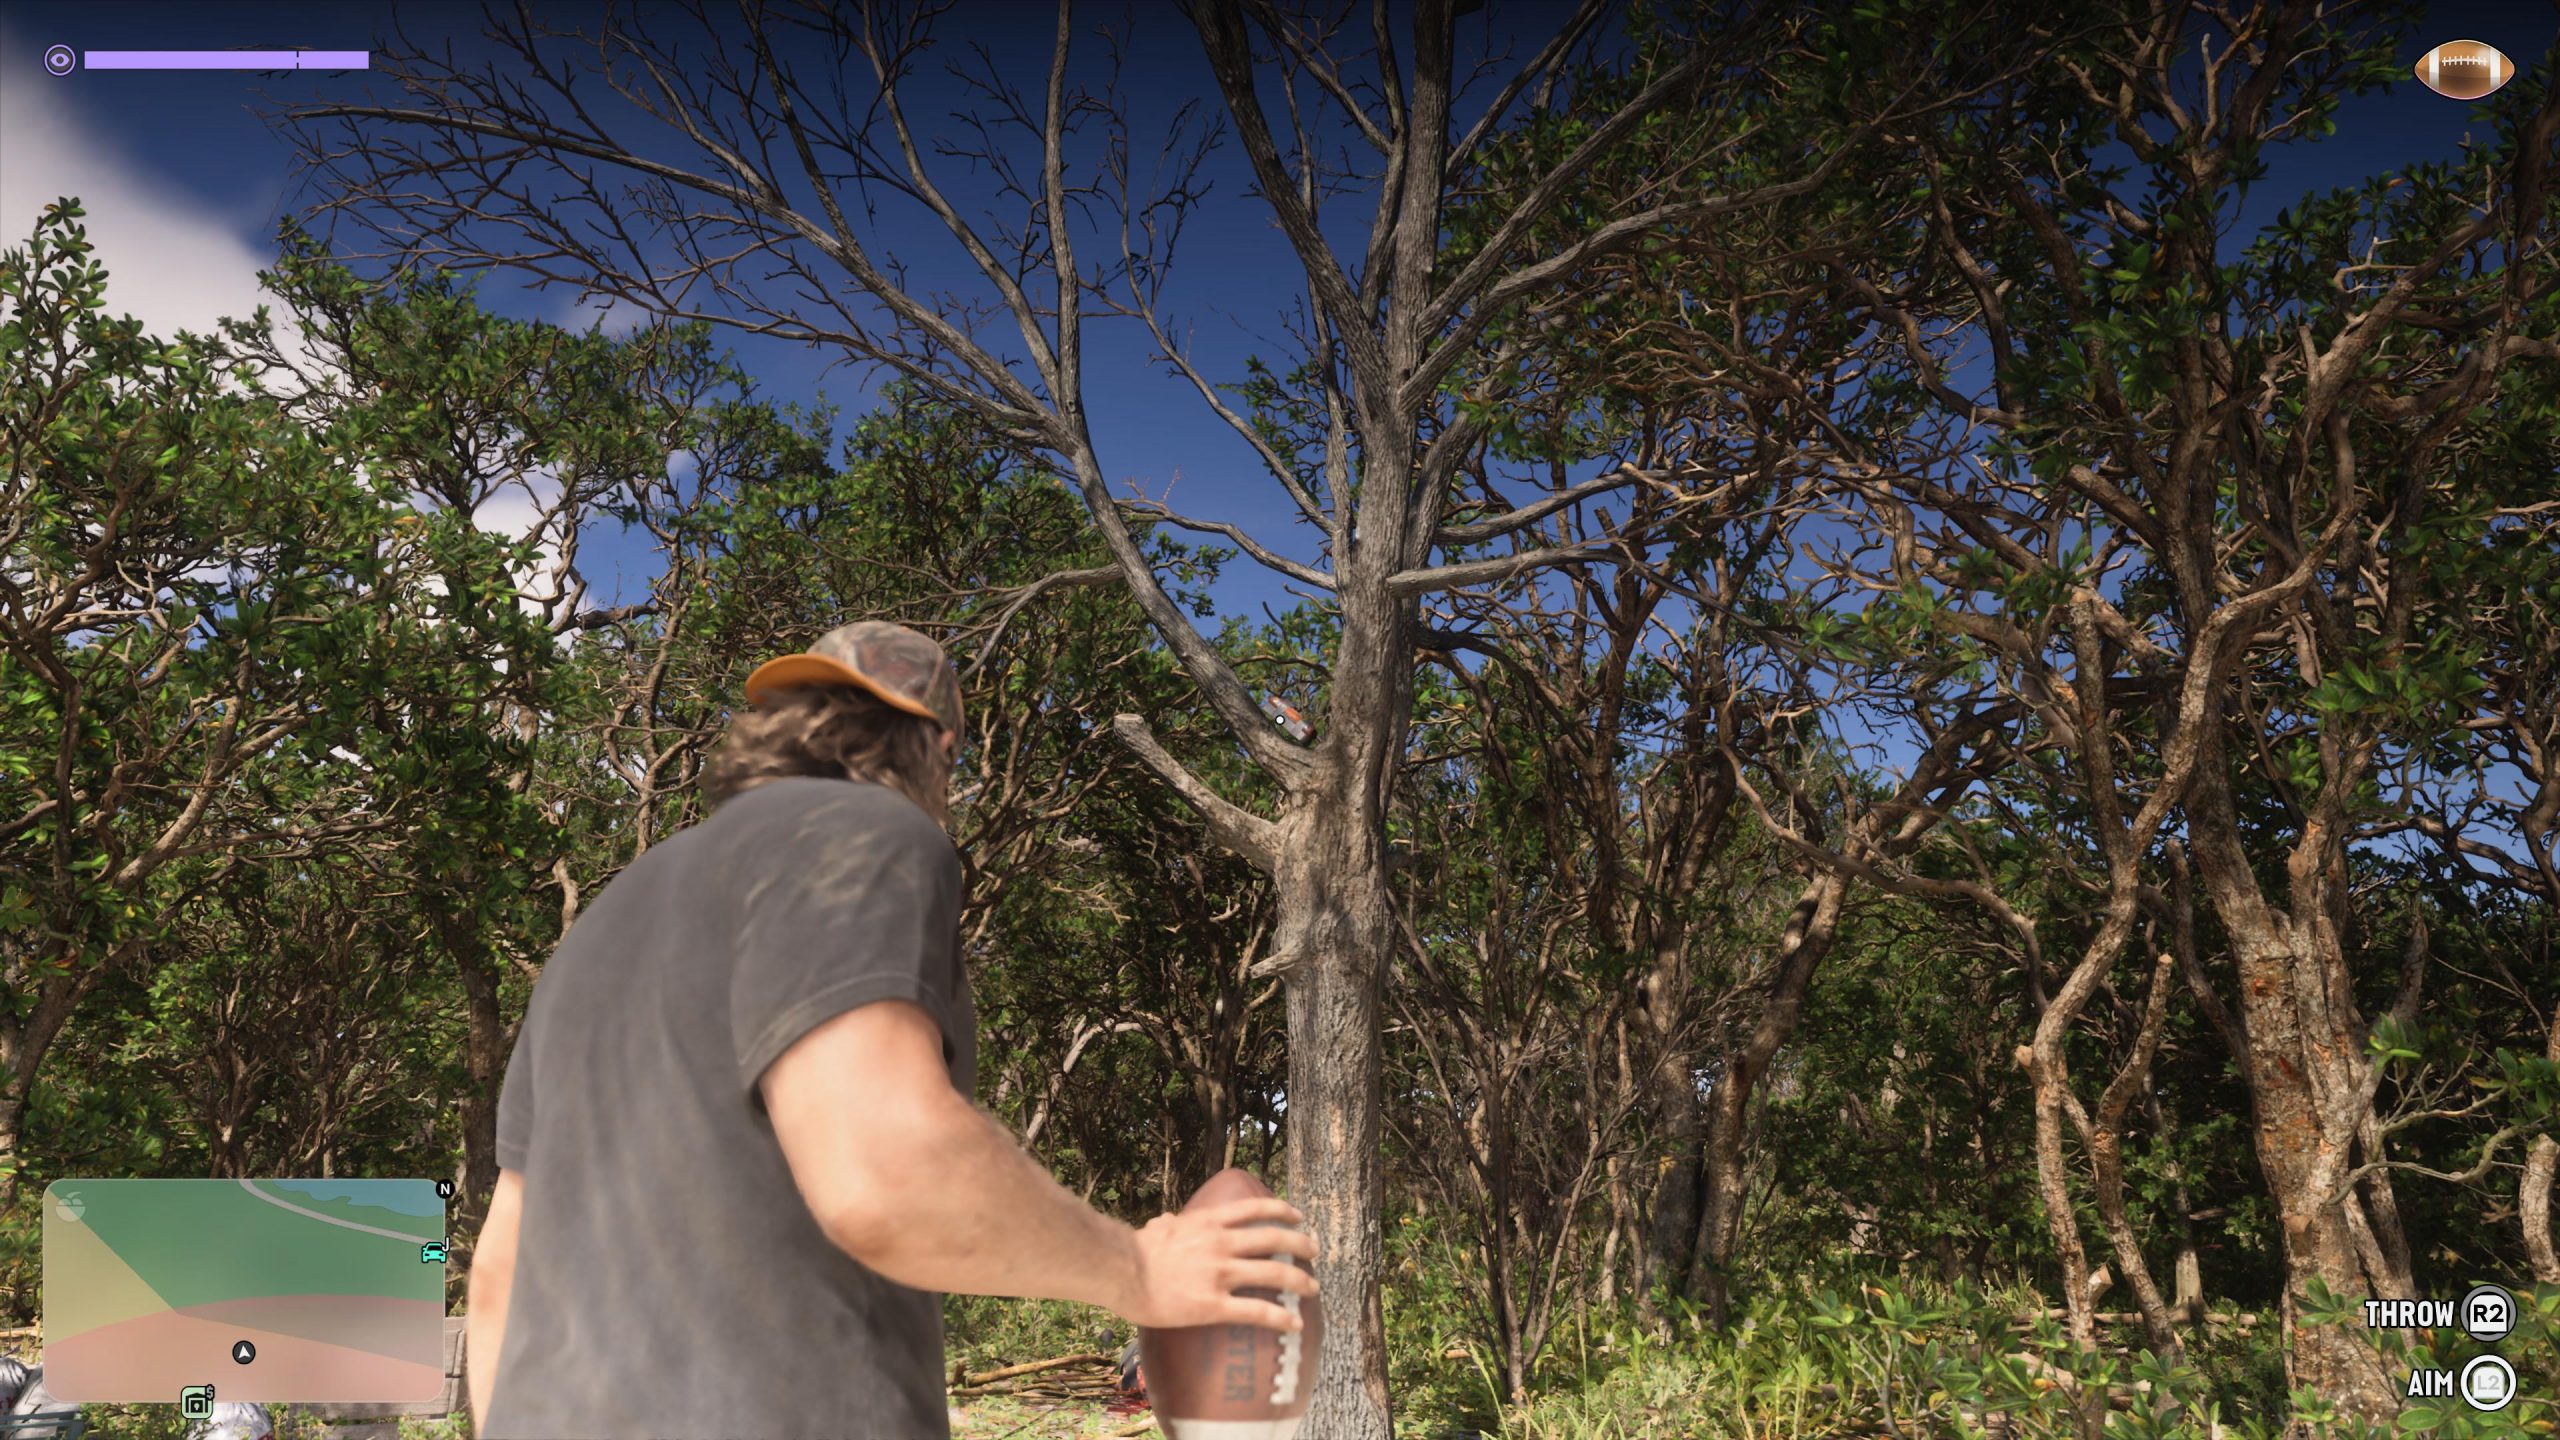
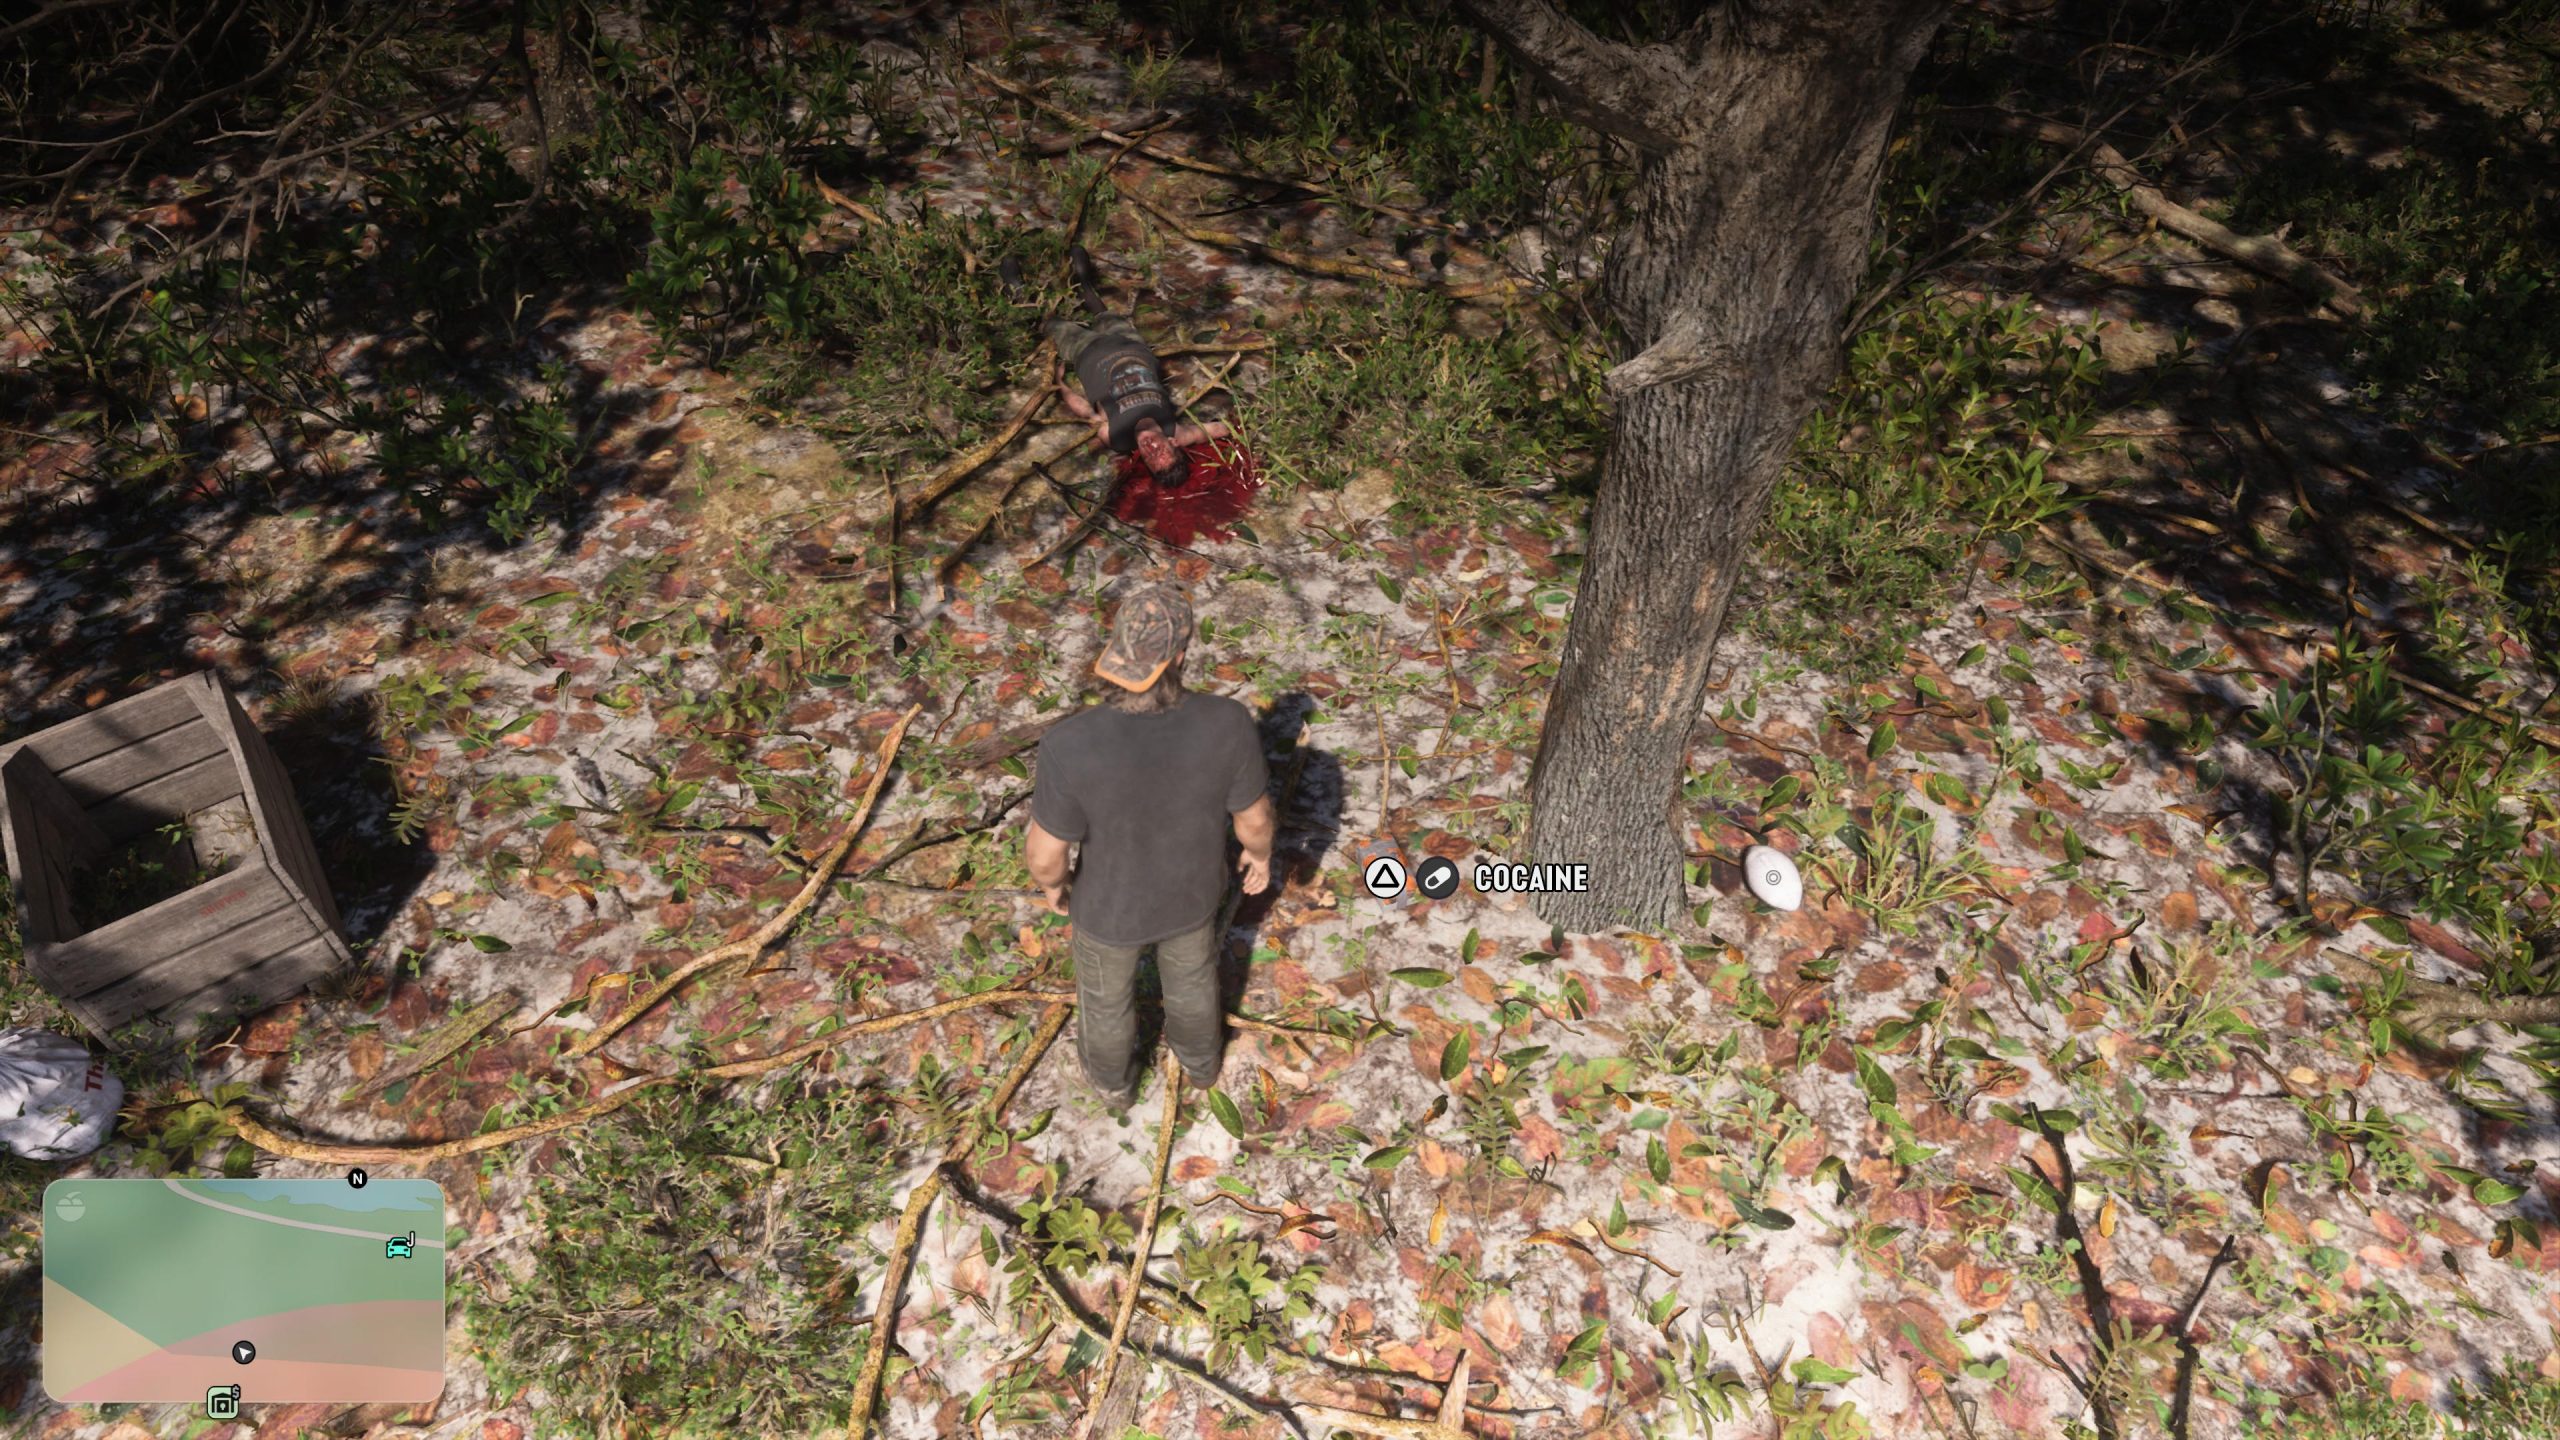
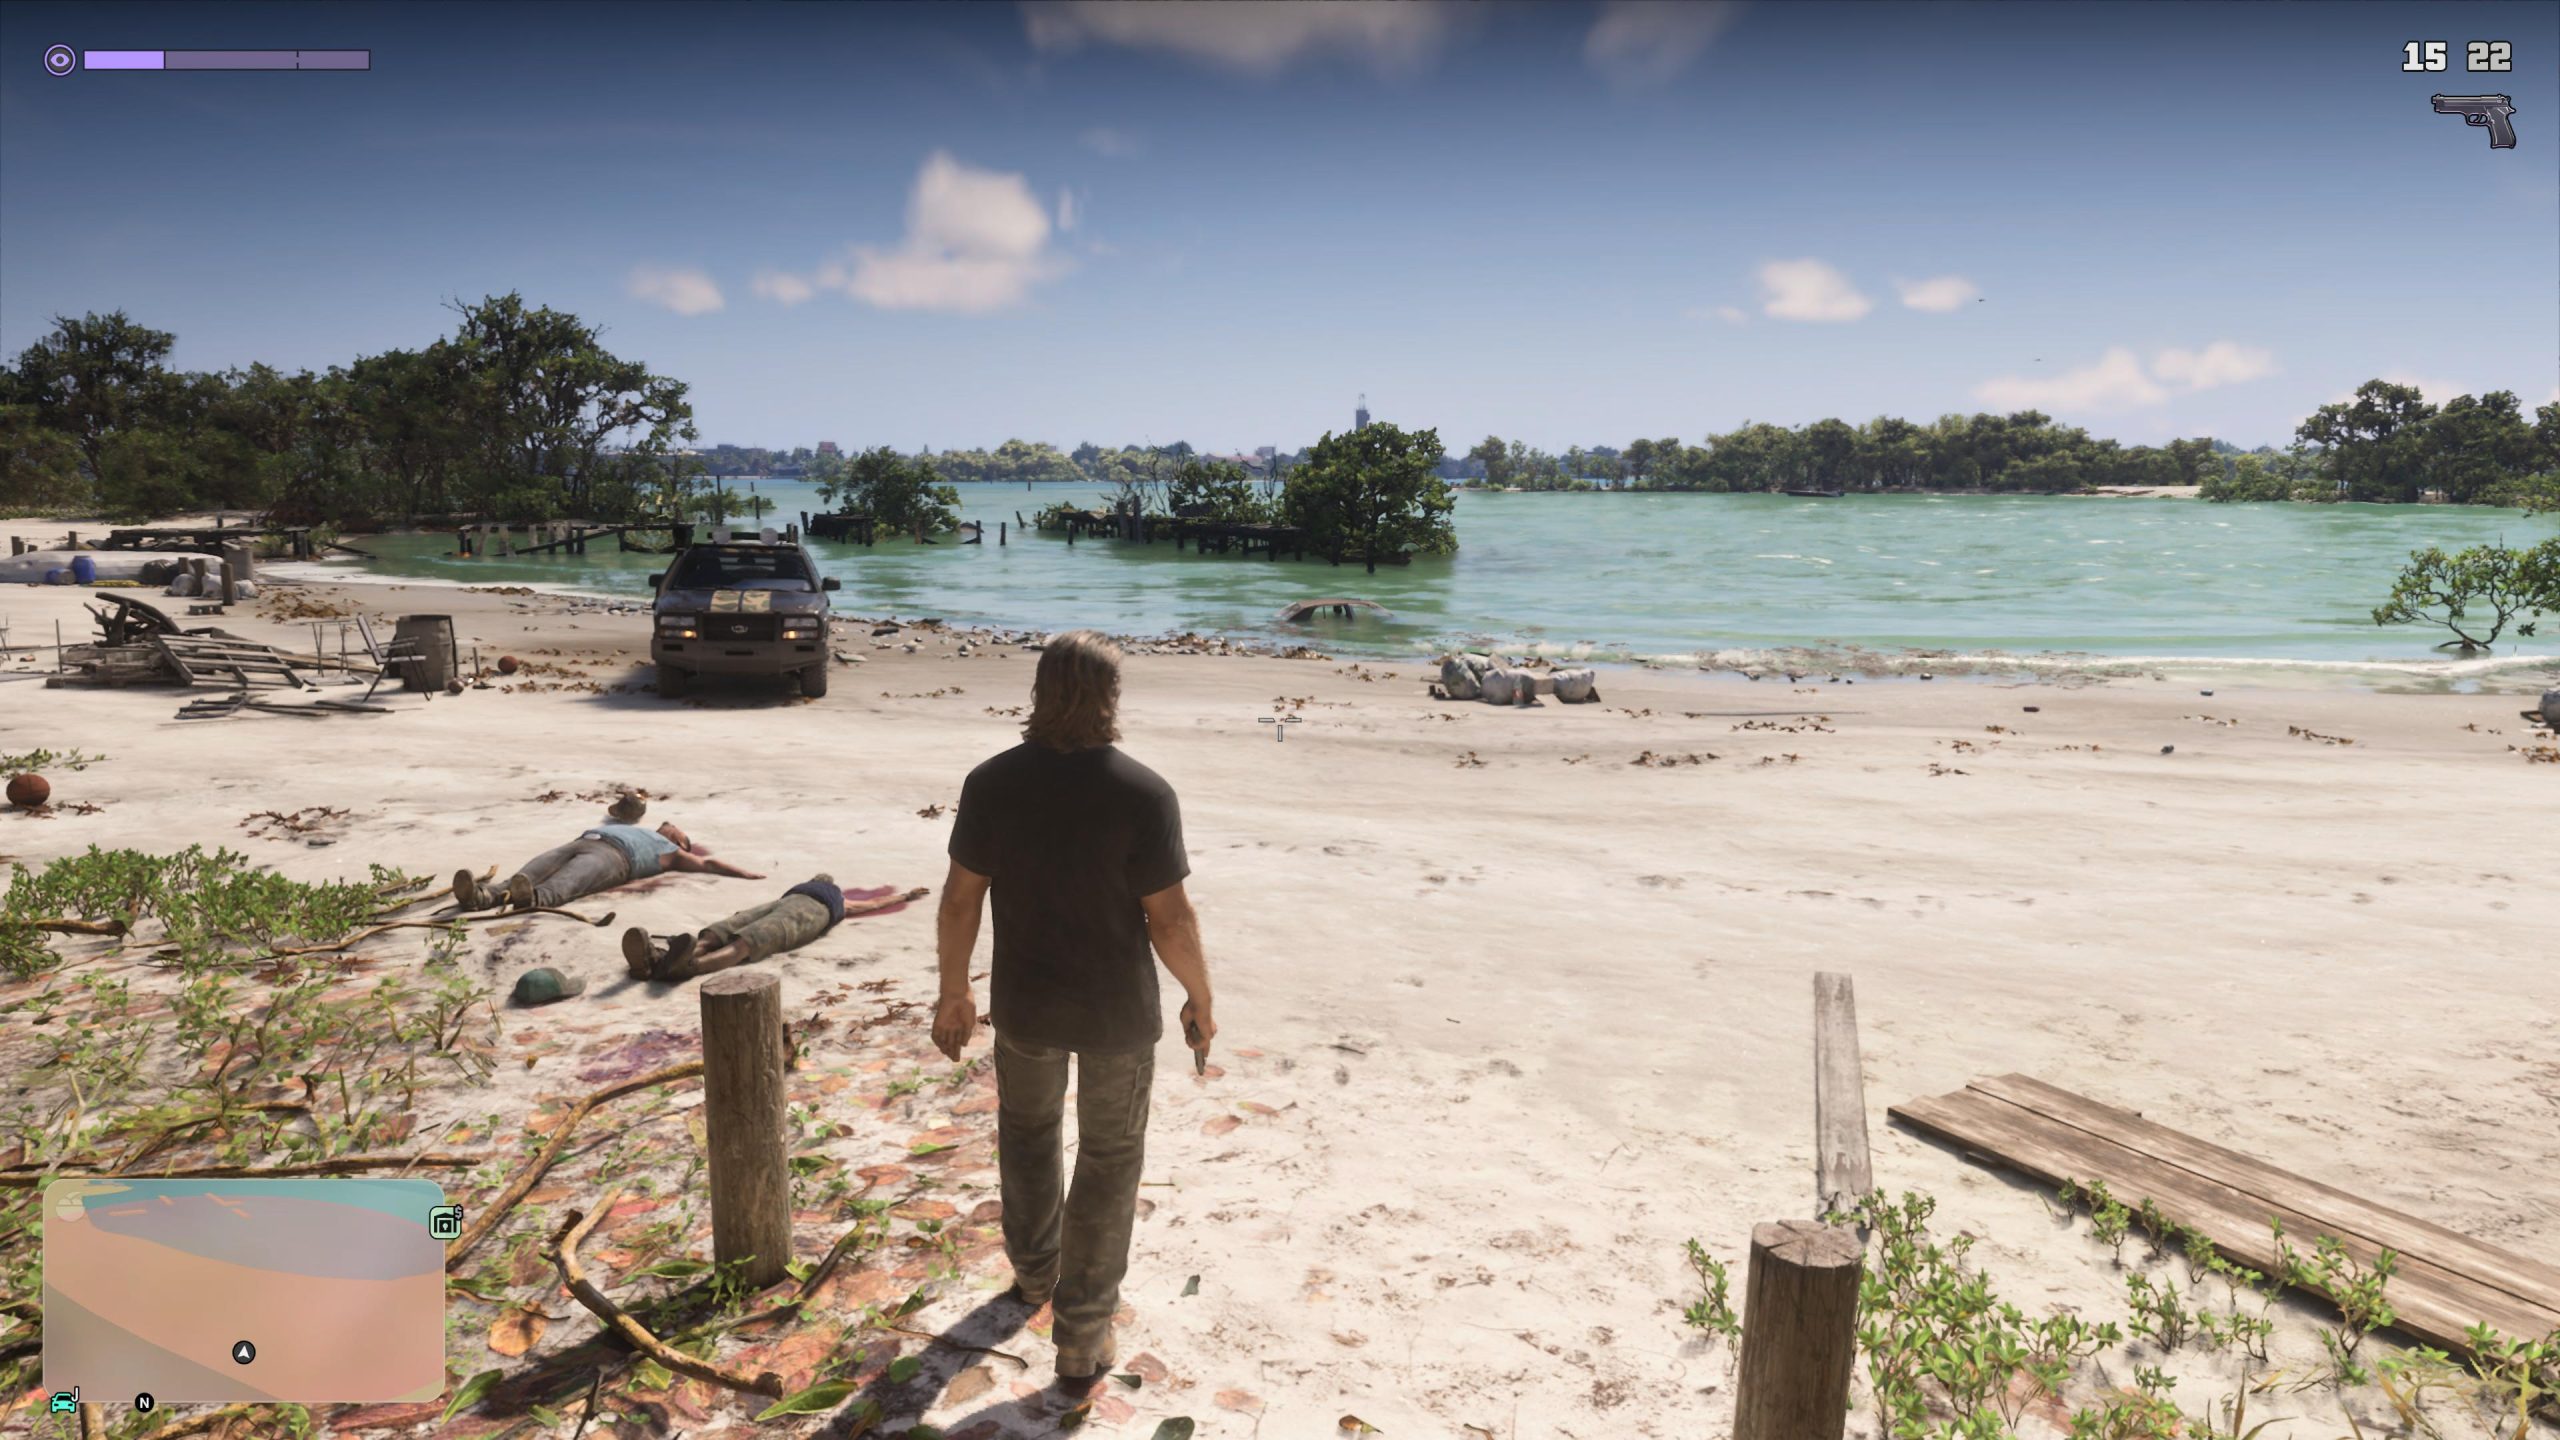
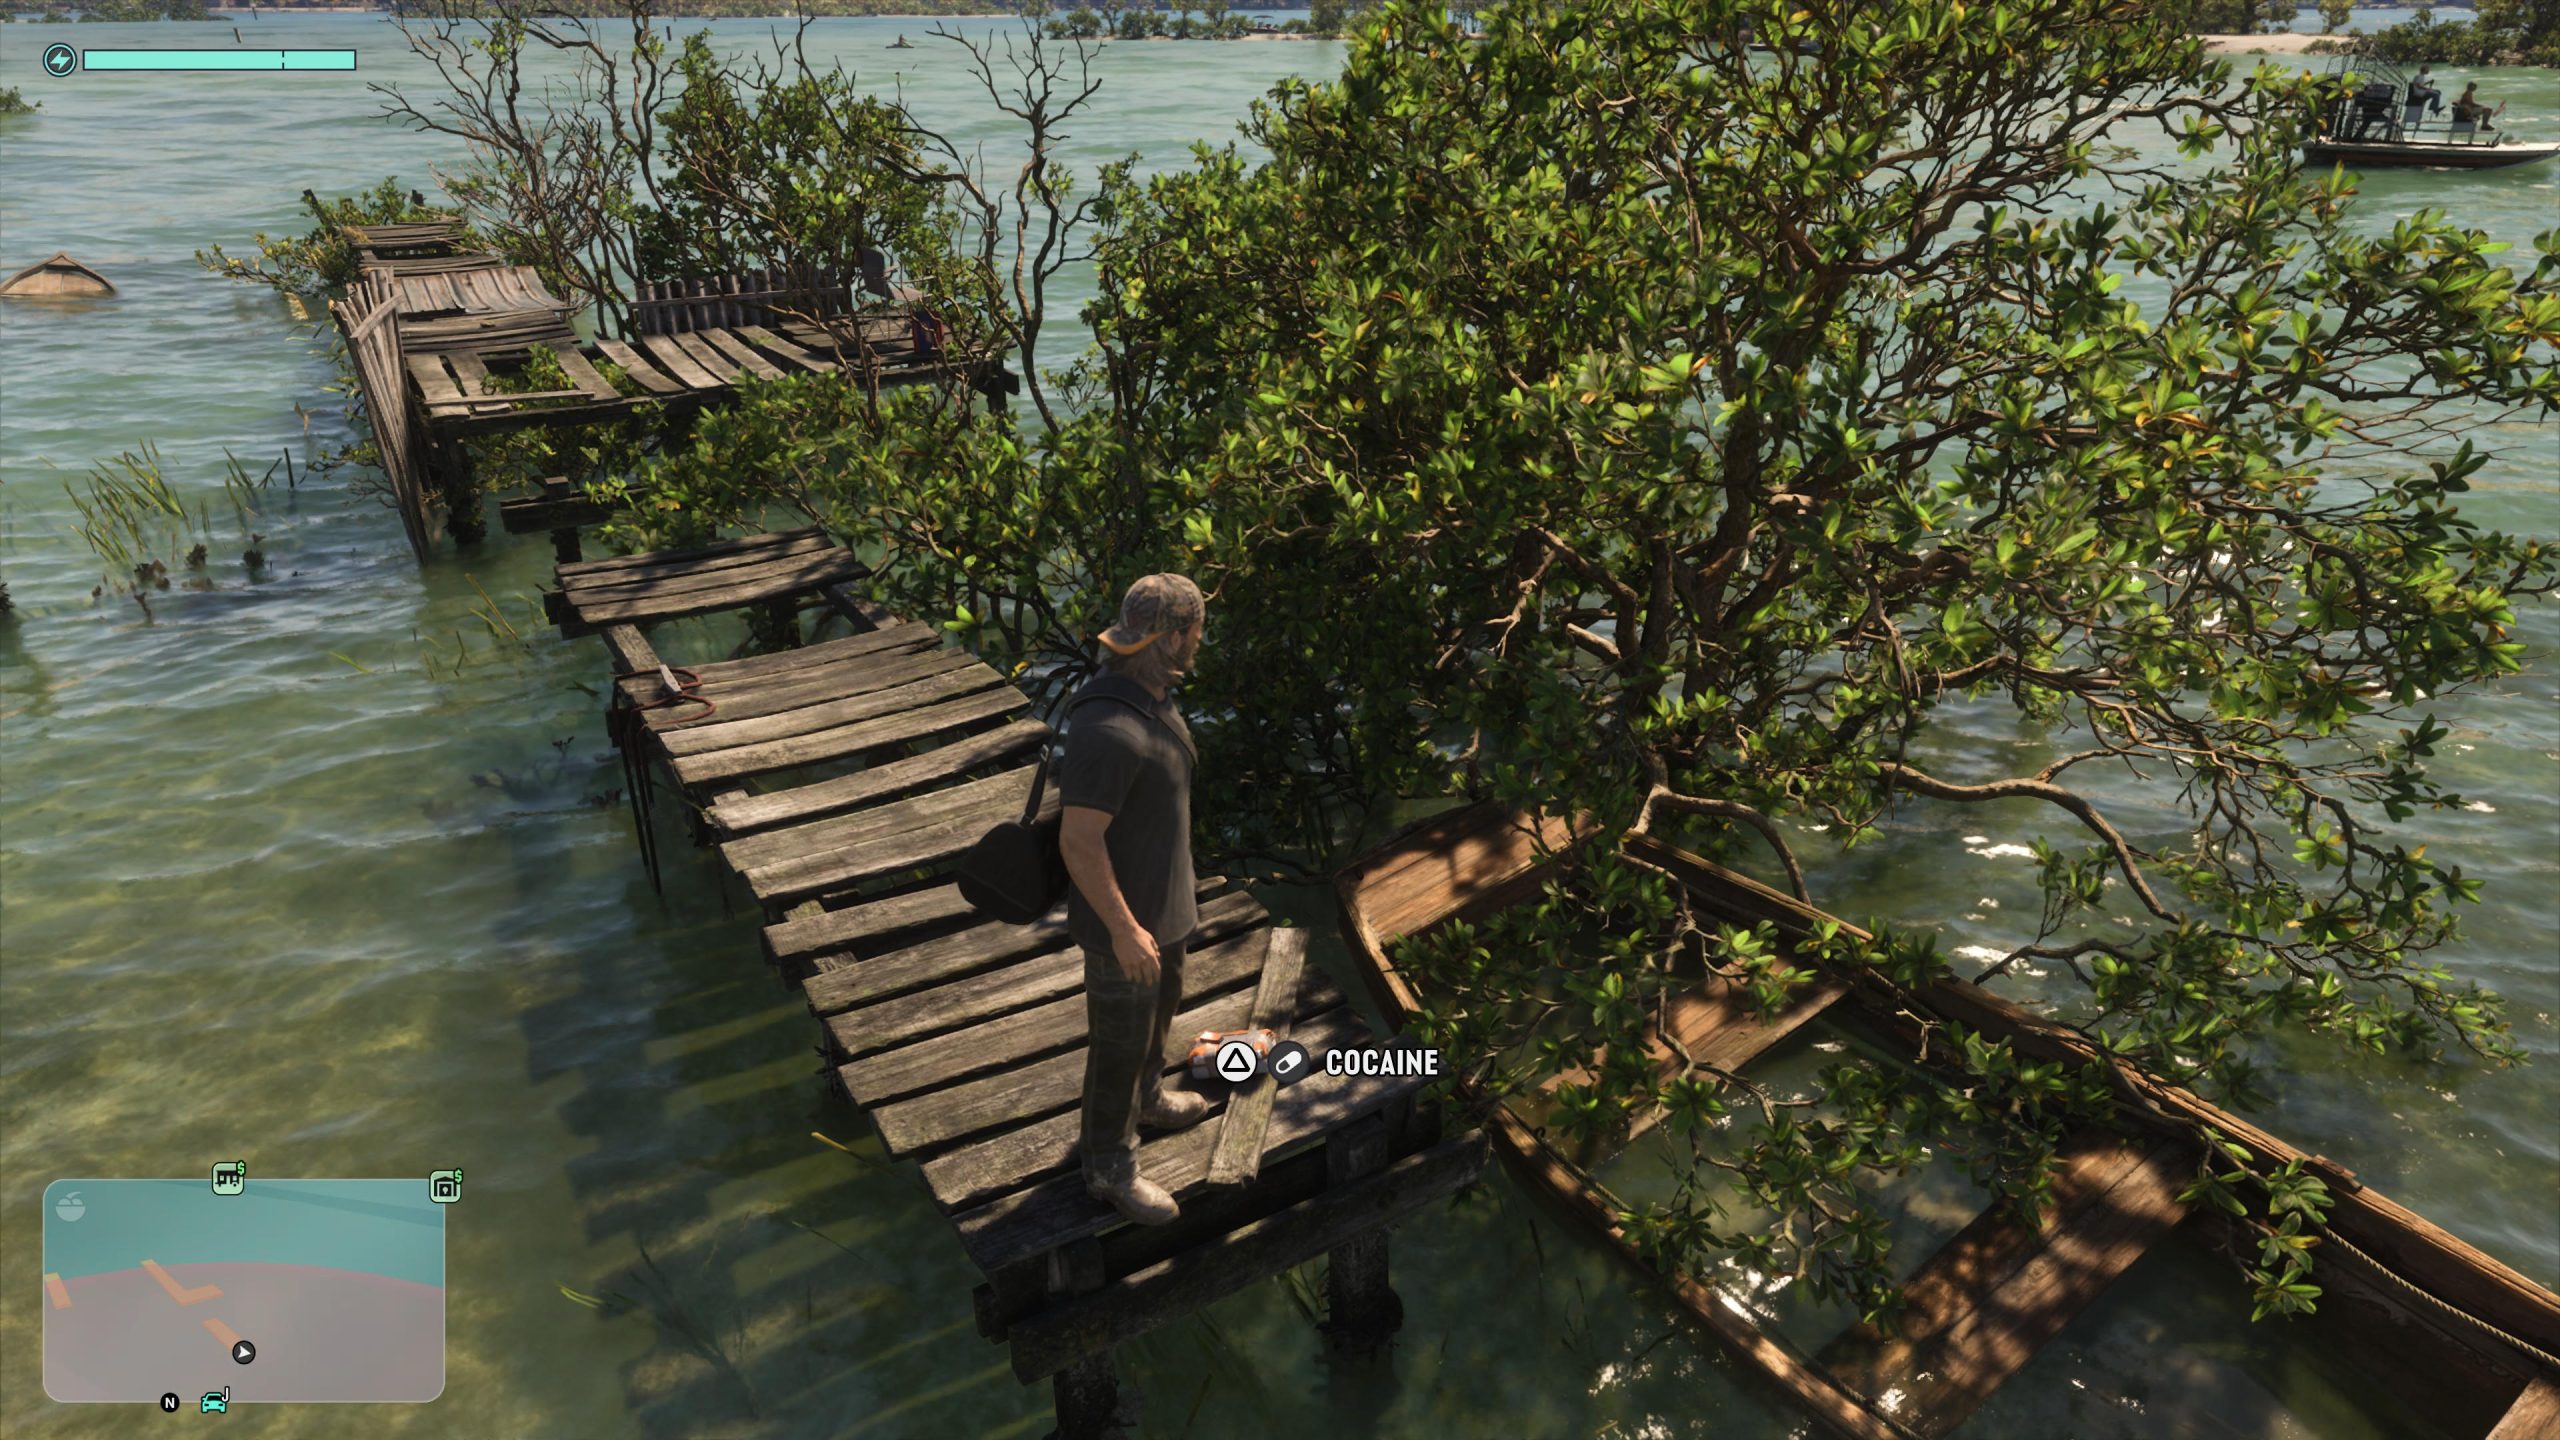
If you use your focus ability here, using R3 + L3 together, you’ll see the nearest package is in a tree, stuck and out of reach. Look for the football on the beach, which you can pick up and use to dislodge the package and get it down from the tree with minimal fuss. Walk up to where it lands and pick it up.

Now, you’ll want to do a 180 and face the shoreline, and a short distance into the sea you’ll see a destroyed jetty. Head over to this and you’ll find your second package. Again, if you’re having trouble locating this one, use your focus ability to pinpoint. That’s both of the missing drug packages in the Recreation Area, and now you can move on to the second of the four locations.
Search the Burned Houses
The second location of the missing drug packages isn’t too far from the first. Head back to your car from the beach and continue on down the road, following the SatNav. You’ll pretty quickly come to a new settlement, well, new in the sense you’ve not seen it before. It’s burned to the ground and clear something nefarious has happened here.
From where the road you use comes in, head to the nearest of the houses and head to the other side. The first package is laid on the floor here, difficult to miss. The second is directly opposite this one, in another burned down house. This is easier to miss, so make sure you go inside the building itself to find it.
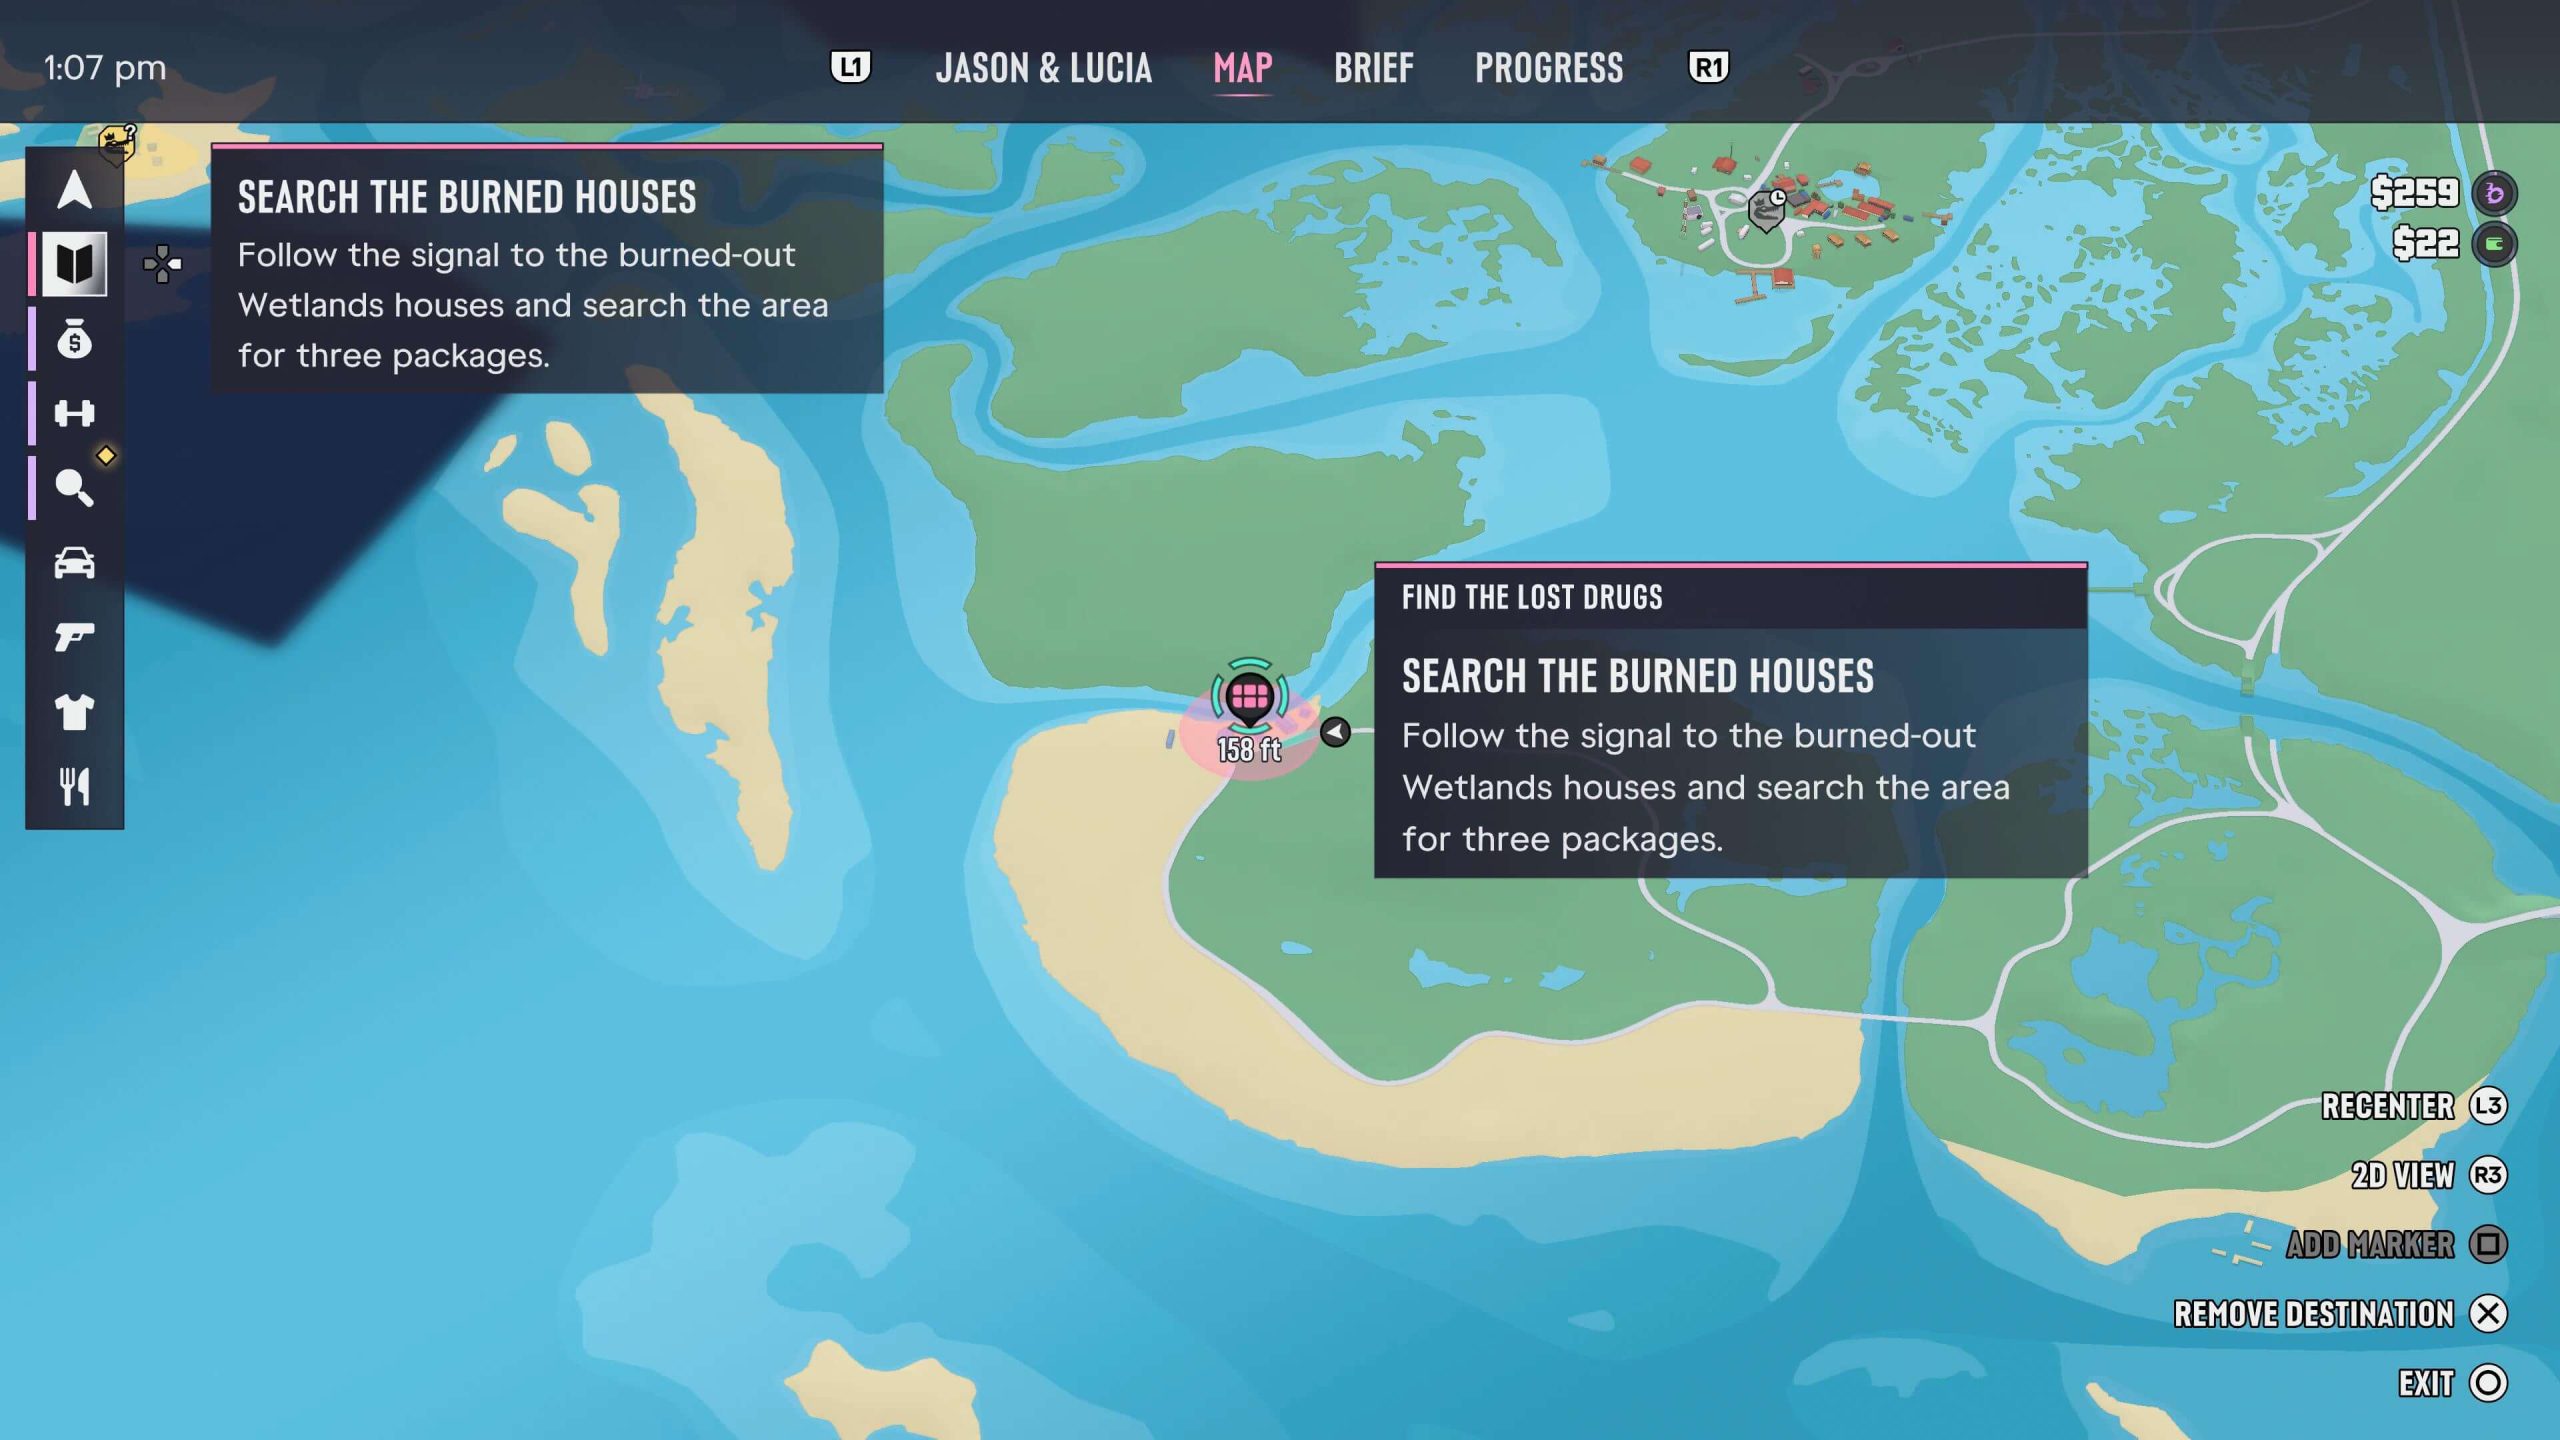
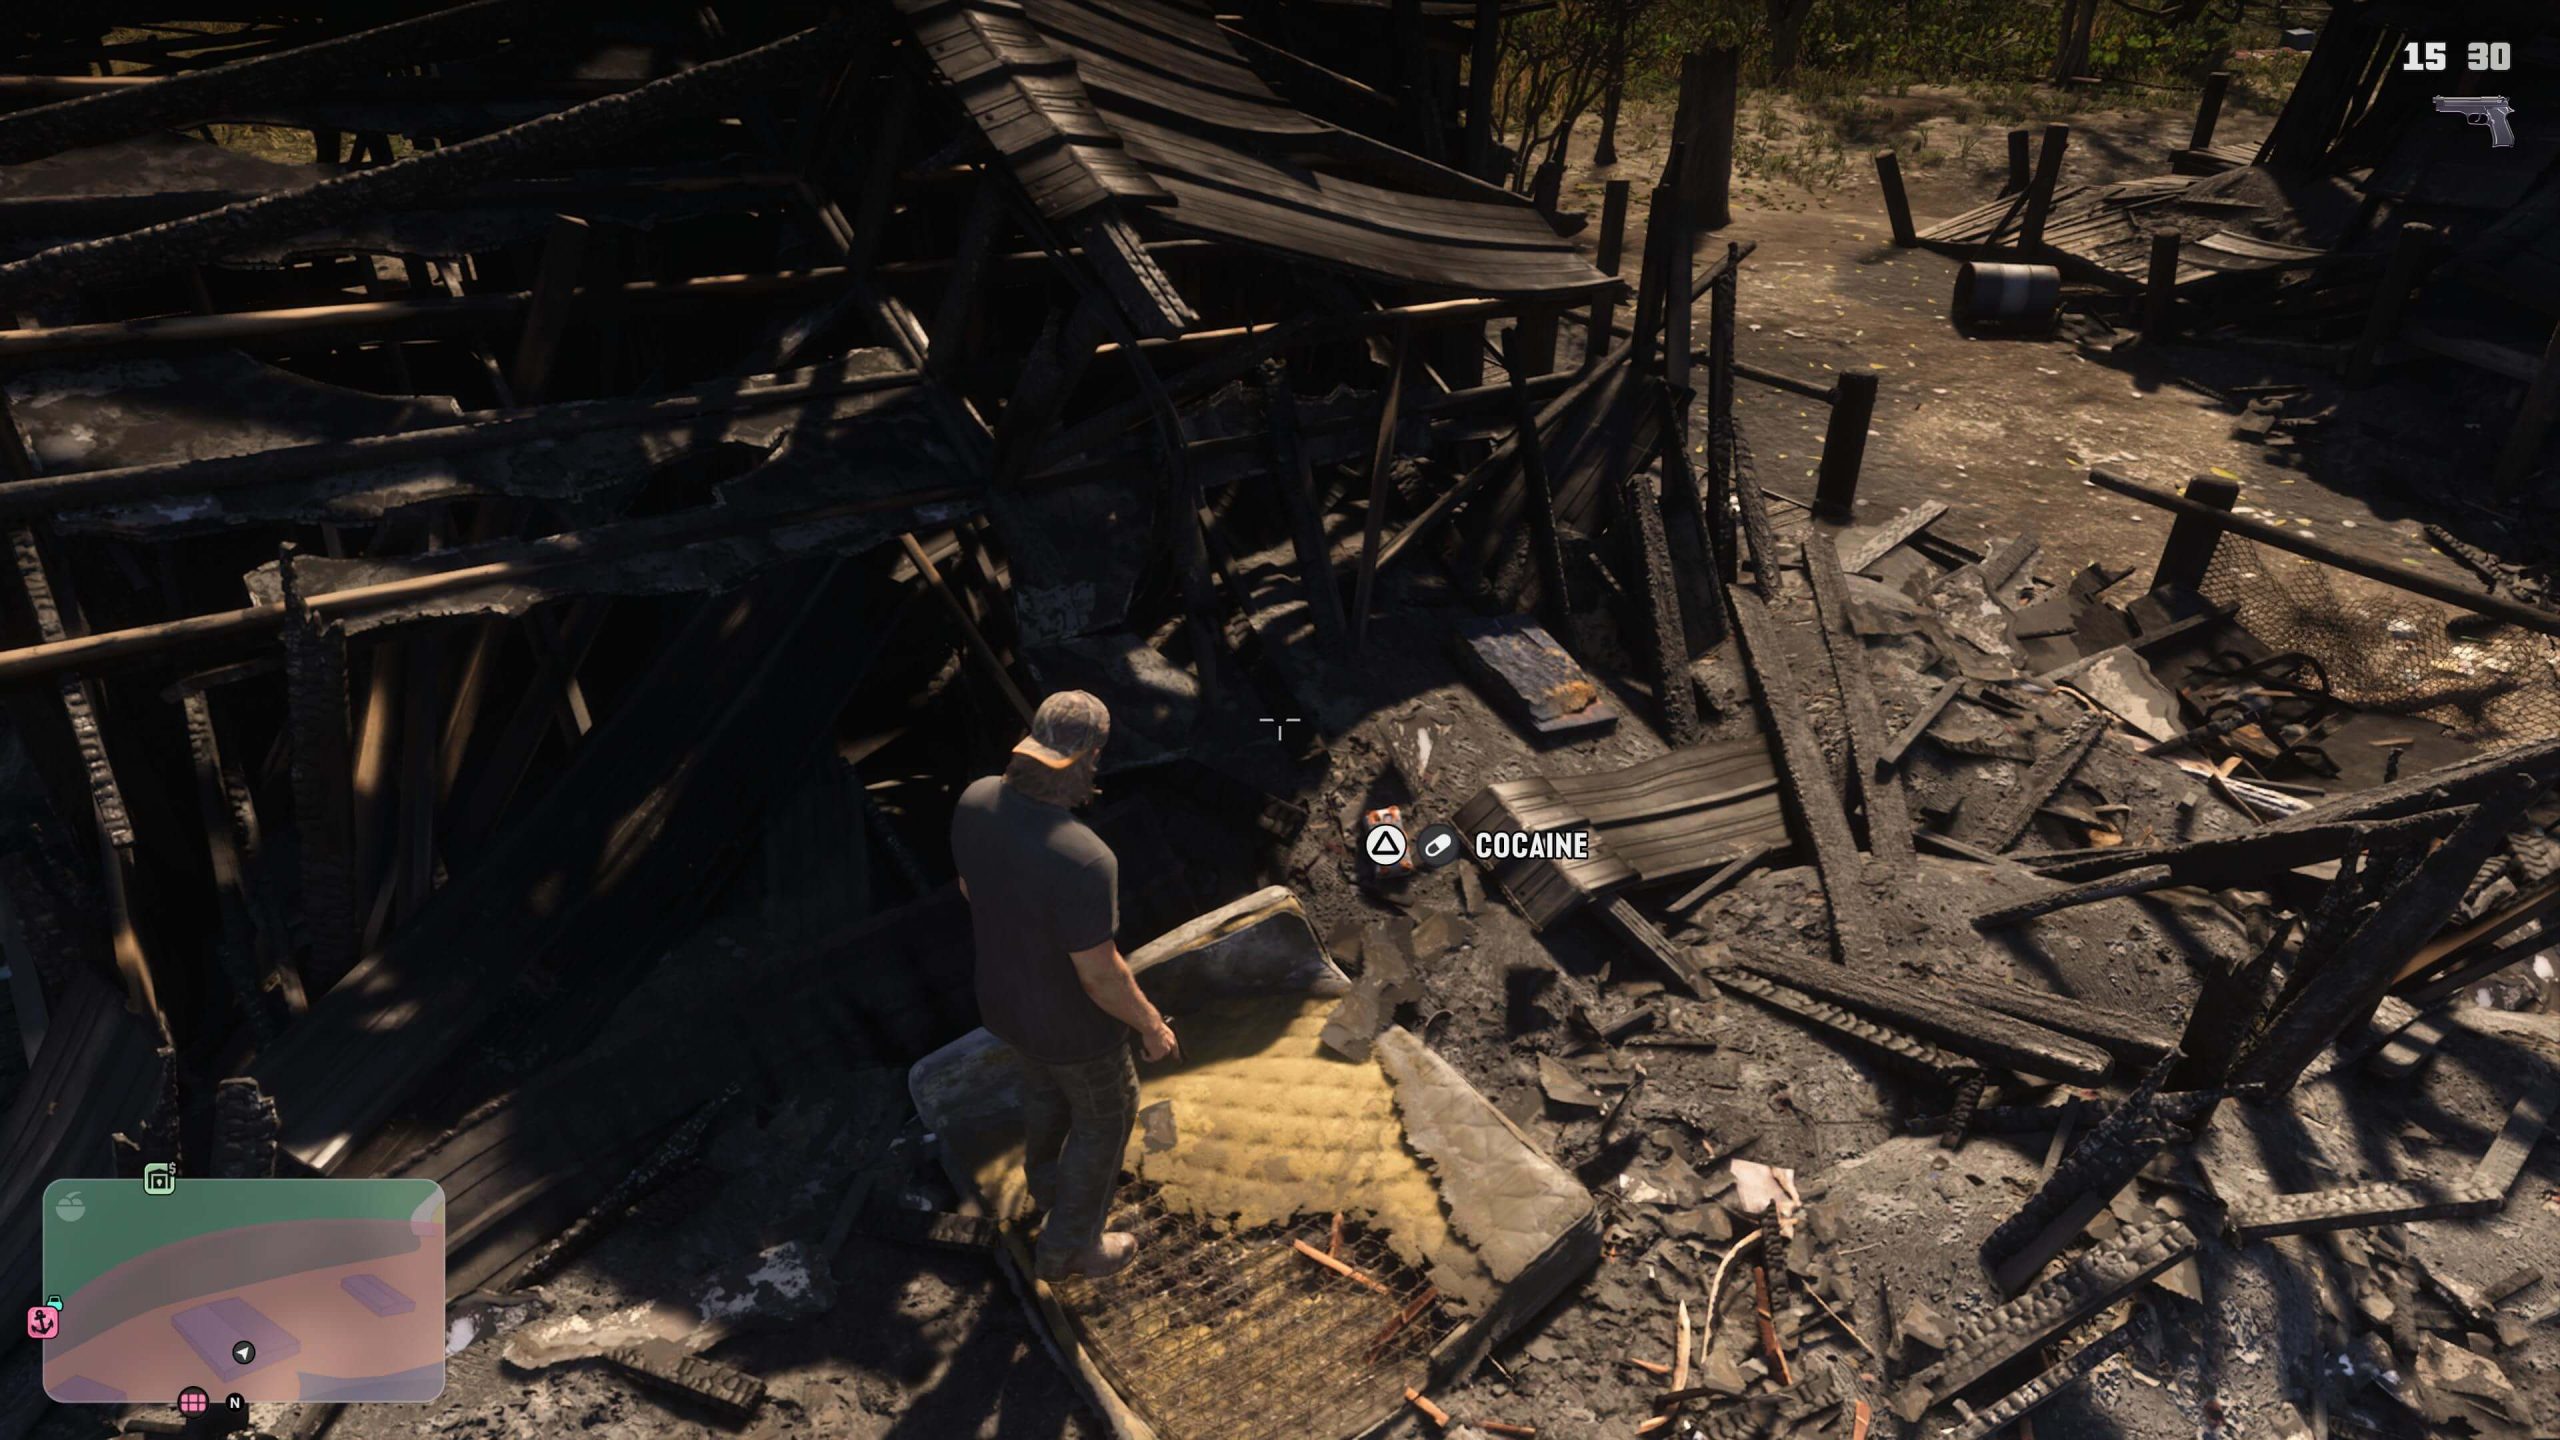
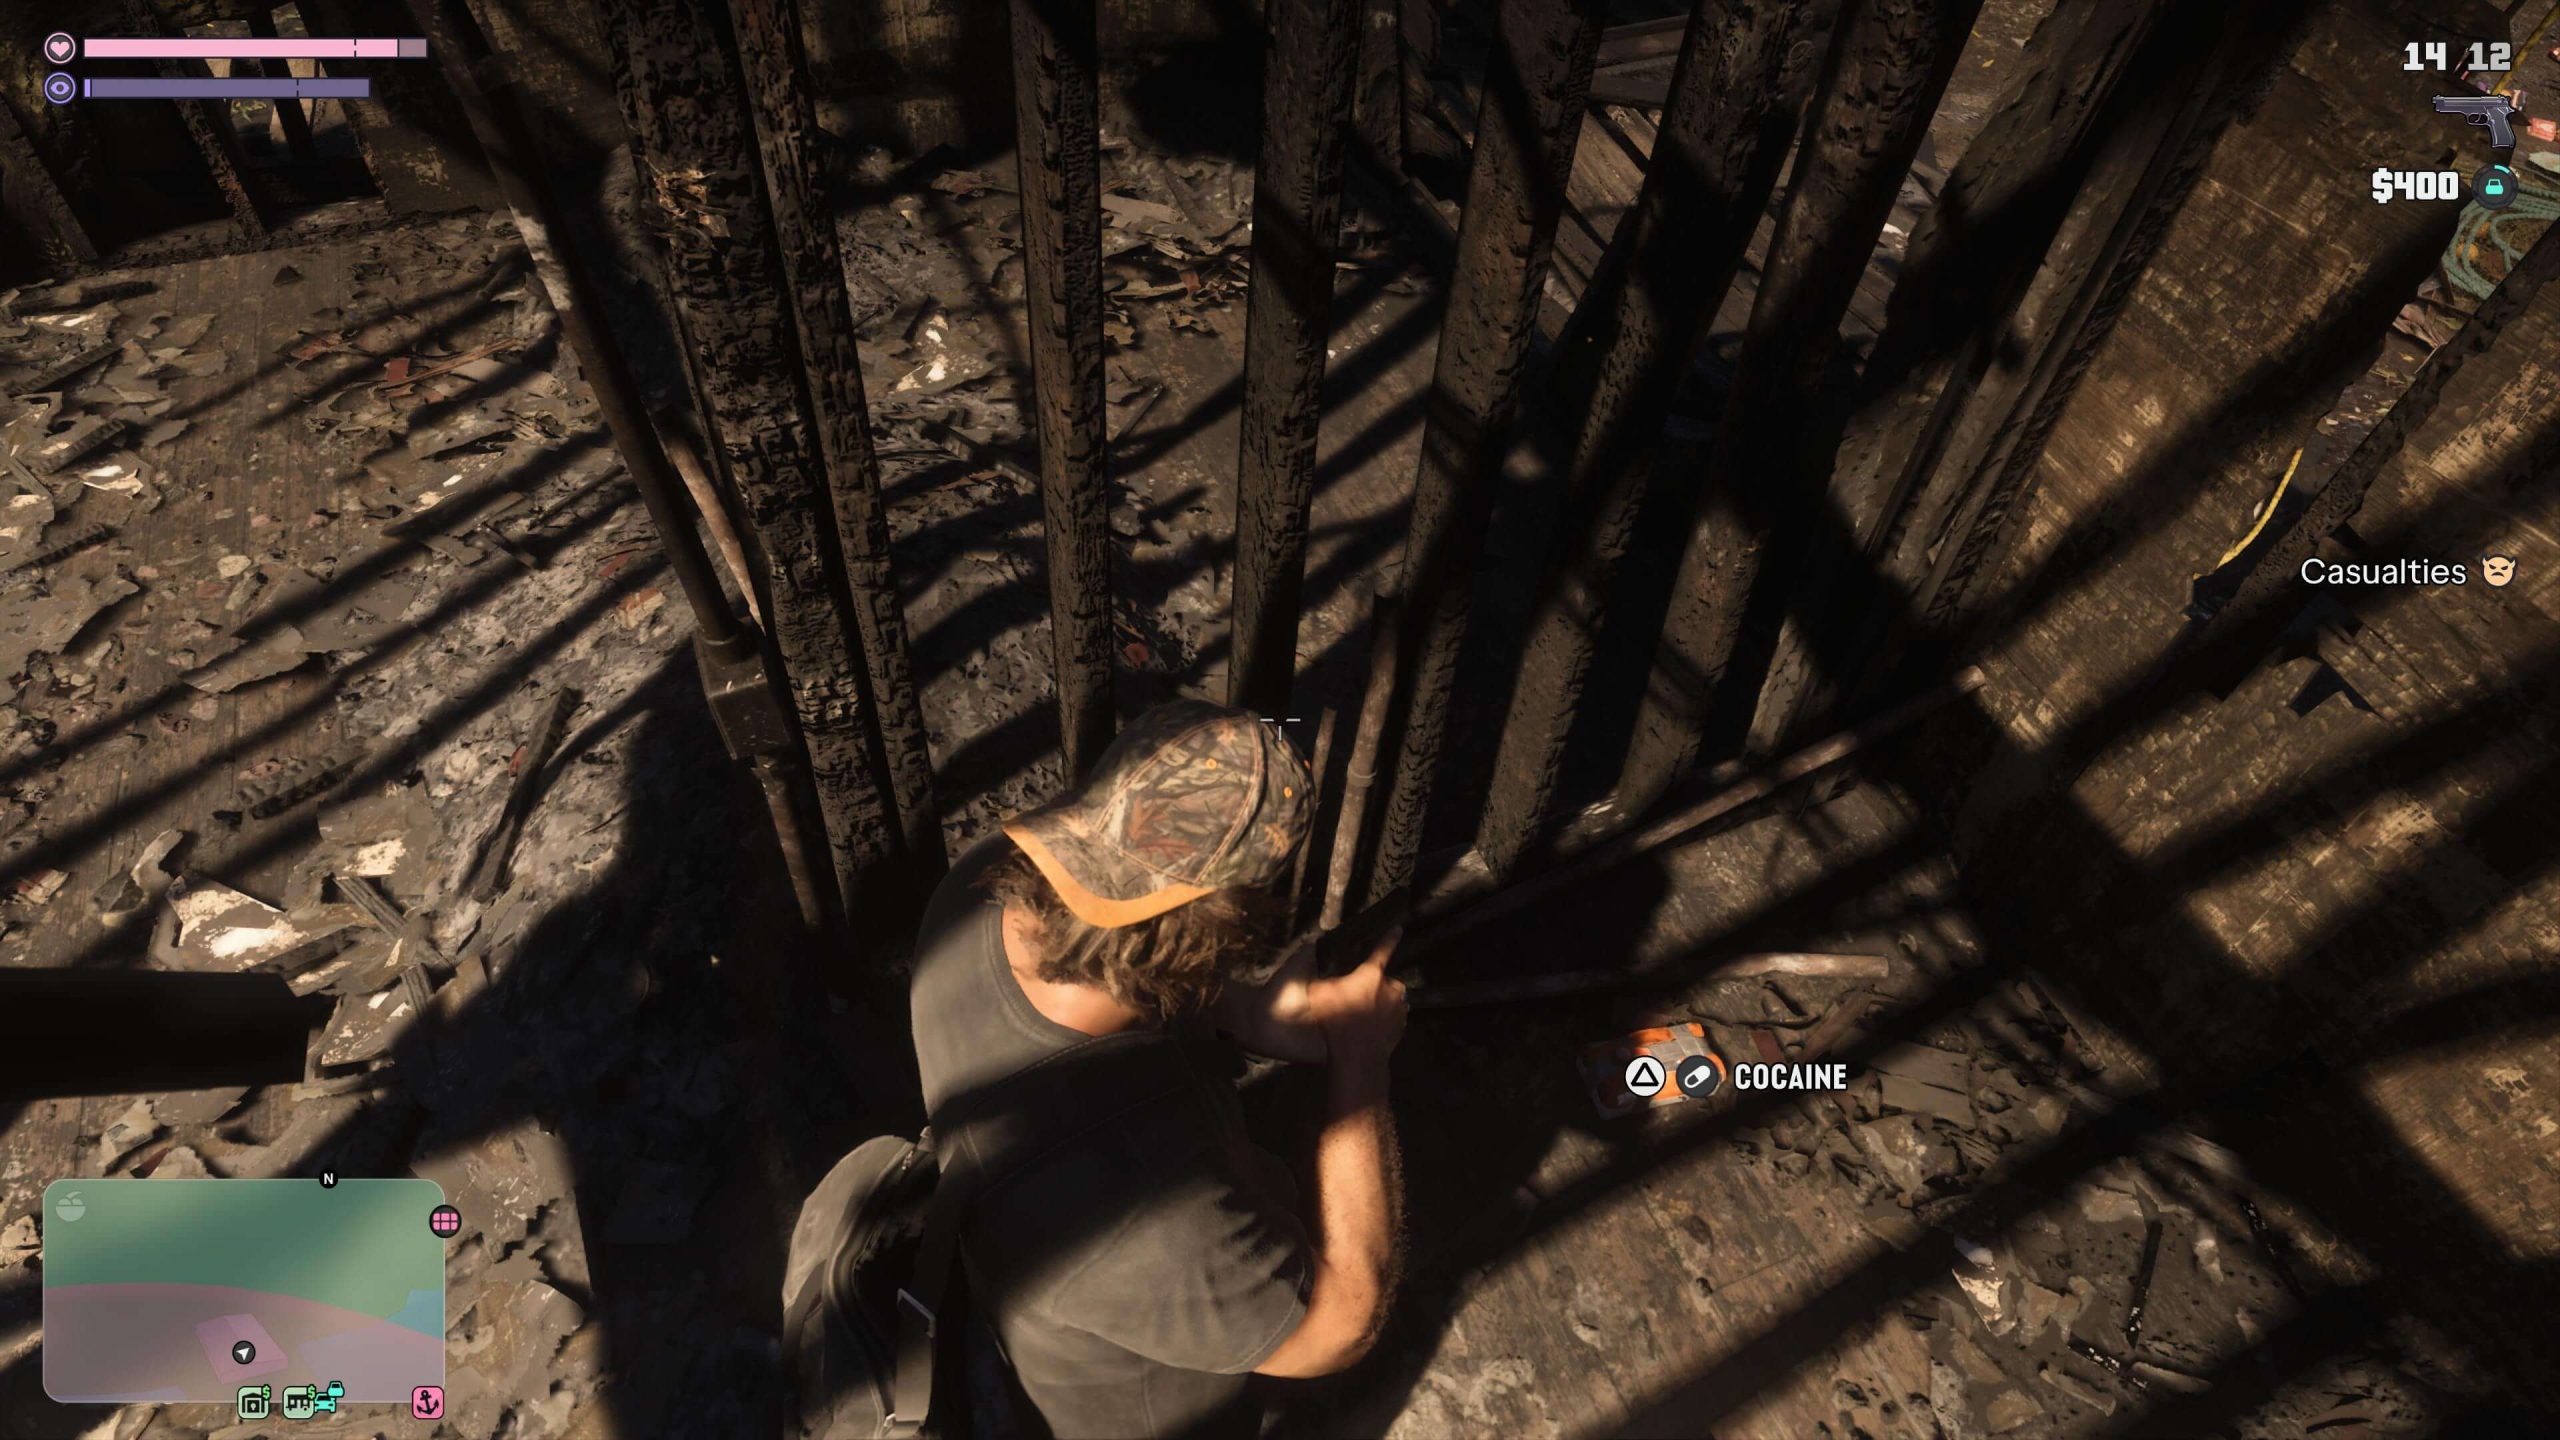
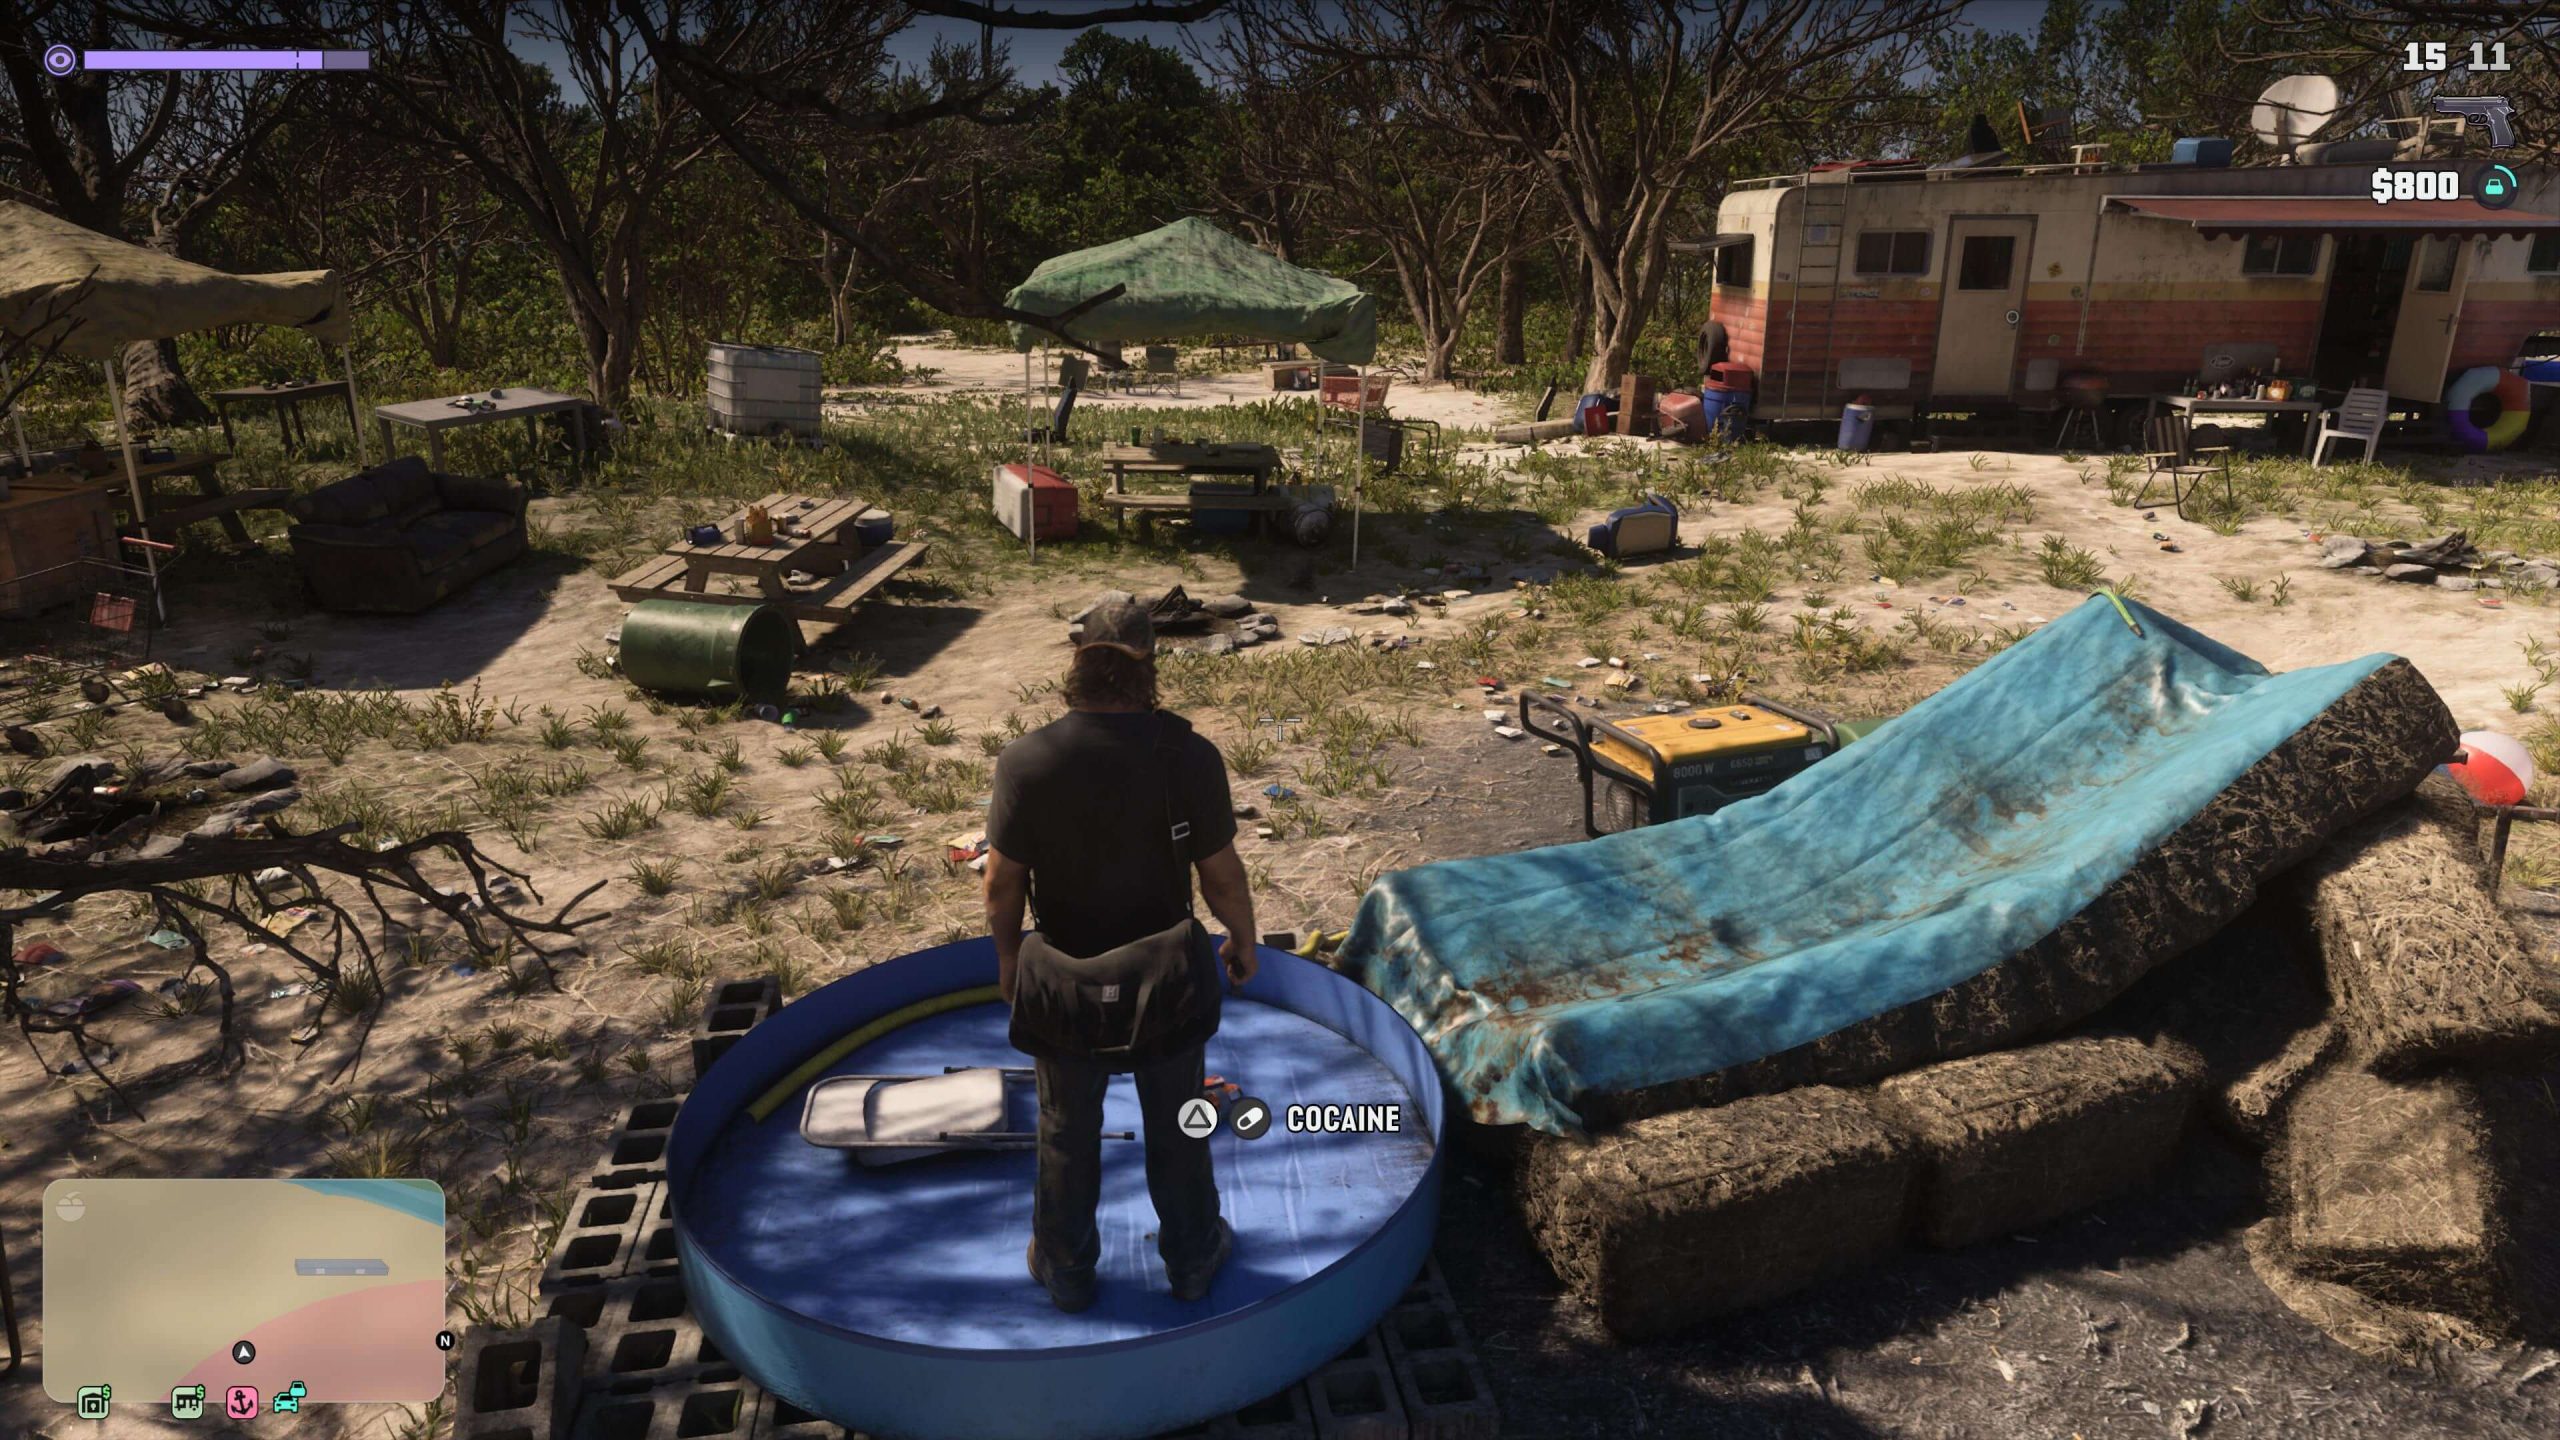
The third and final package is a little further away, not inside a house, but still in the general area. From the second package, head back out the door and then right, past the houses and towards the mess of items on the ground in the distance.
Inside what looks like a paddling pool, besides a mattress and sofa cushions, is the last, somewhat well-hidden package for you to find here. Be thankful, because this is the easiest, and safest, of the four locations you need to search in Chapter 1 of GTA 6.
Search Pelican Valley
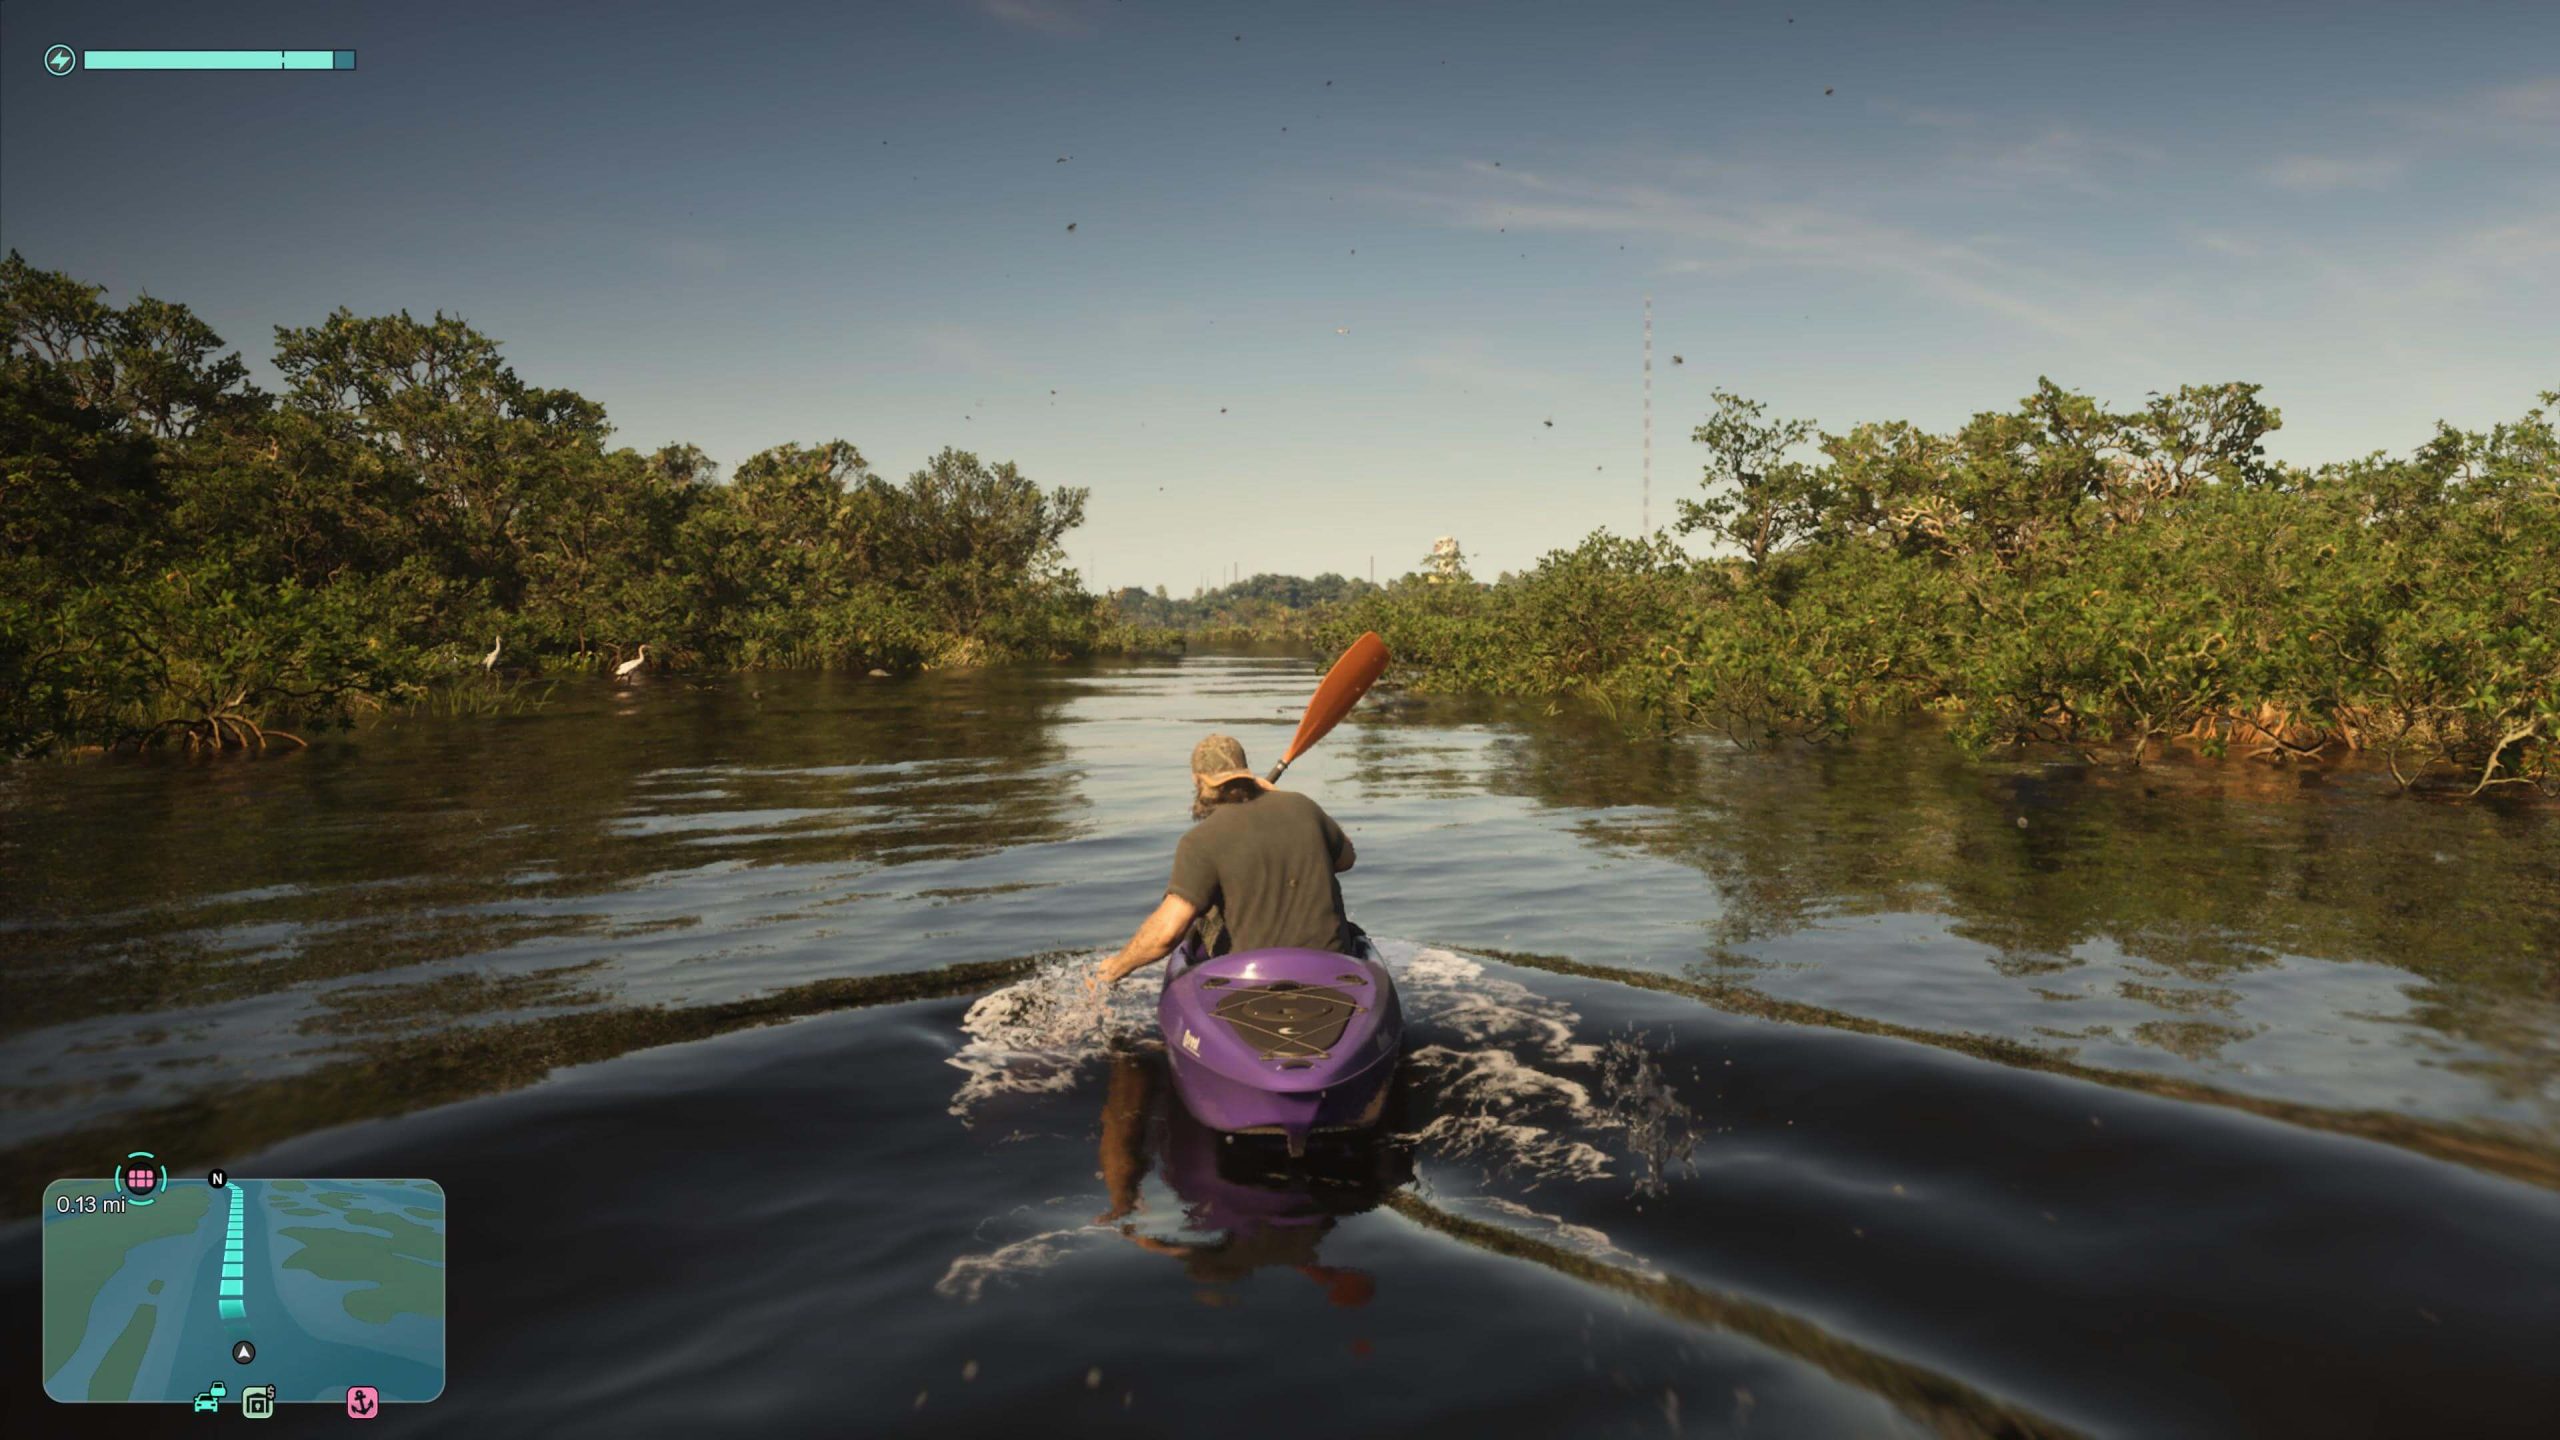
This third location is even more of a nightmare to get to than either of the other two so far. You won’t be able to drive the full distance to Pelican Valley, instead having to leave your car and traverse the remaining distance by foot, or as I did, by canoe. If you head towards Pelican Valley via the roads, following the SatNav until it stops, then get out of the car at that specific area, you’ll see a canoe nearby.
Jump into that, and then head up the river 400-500 feet, and you’ll come to the lost drug packages. Except, there’s a pretty big problem… they’re surrounded by alligators. Don’t panic, first of all, as that’ll make things worse and you’ll get ravaged by the crowd of reptiles around you. GTA 6 really thought of everything.
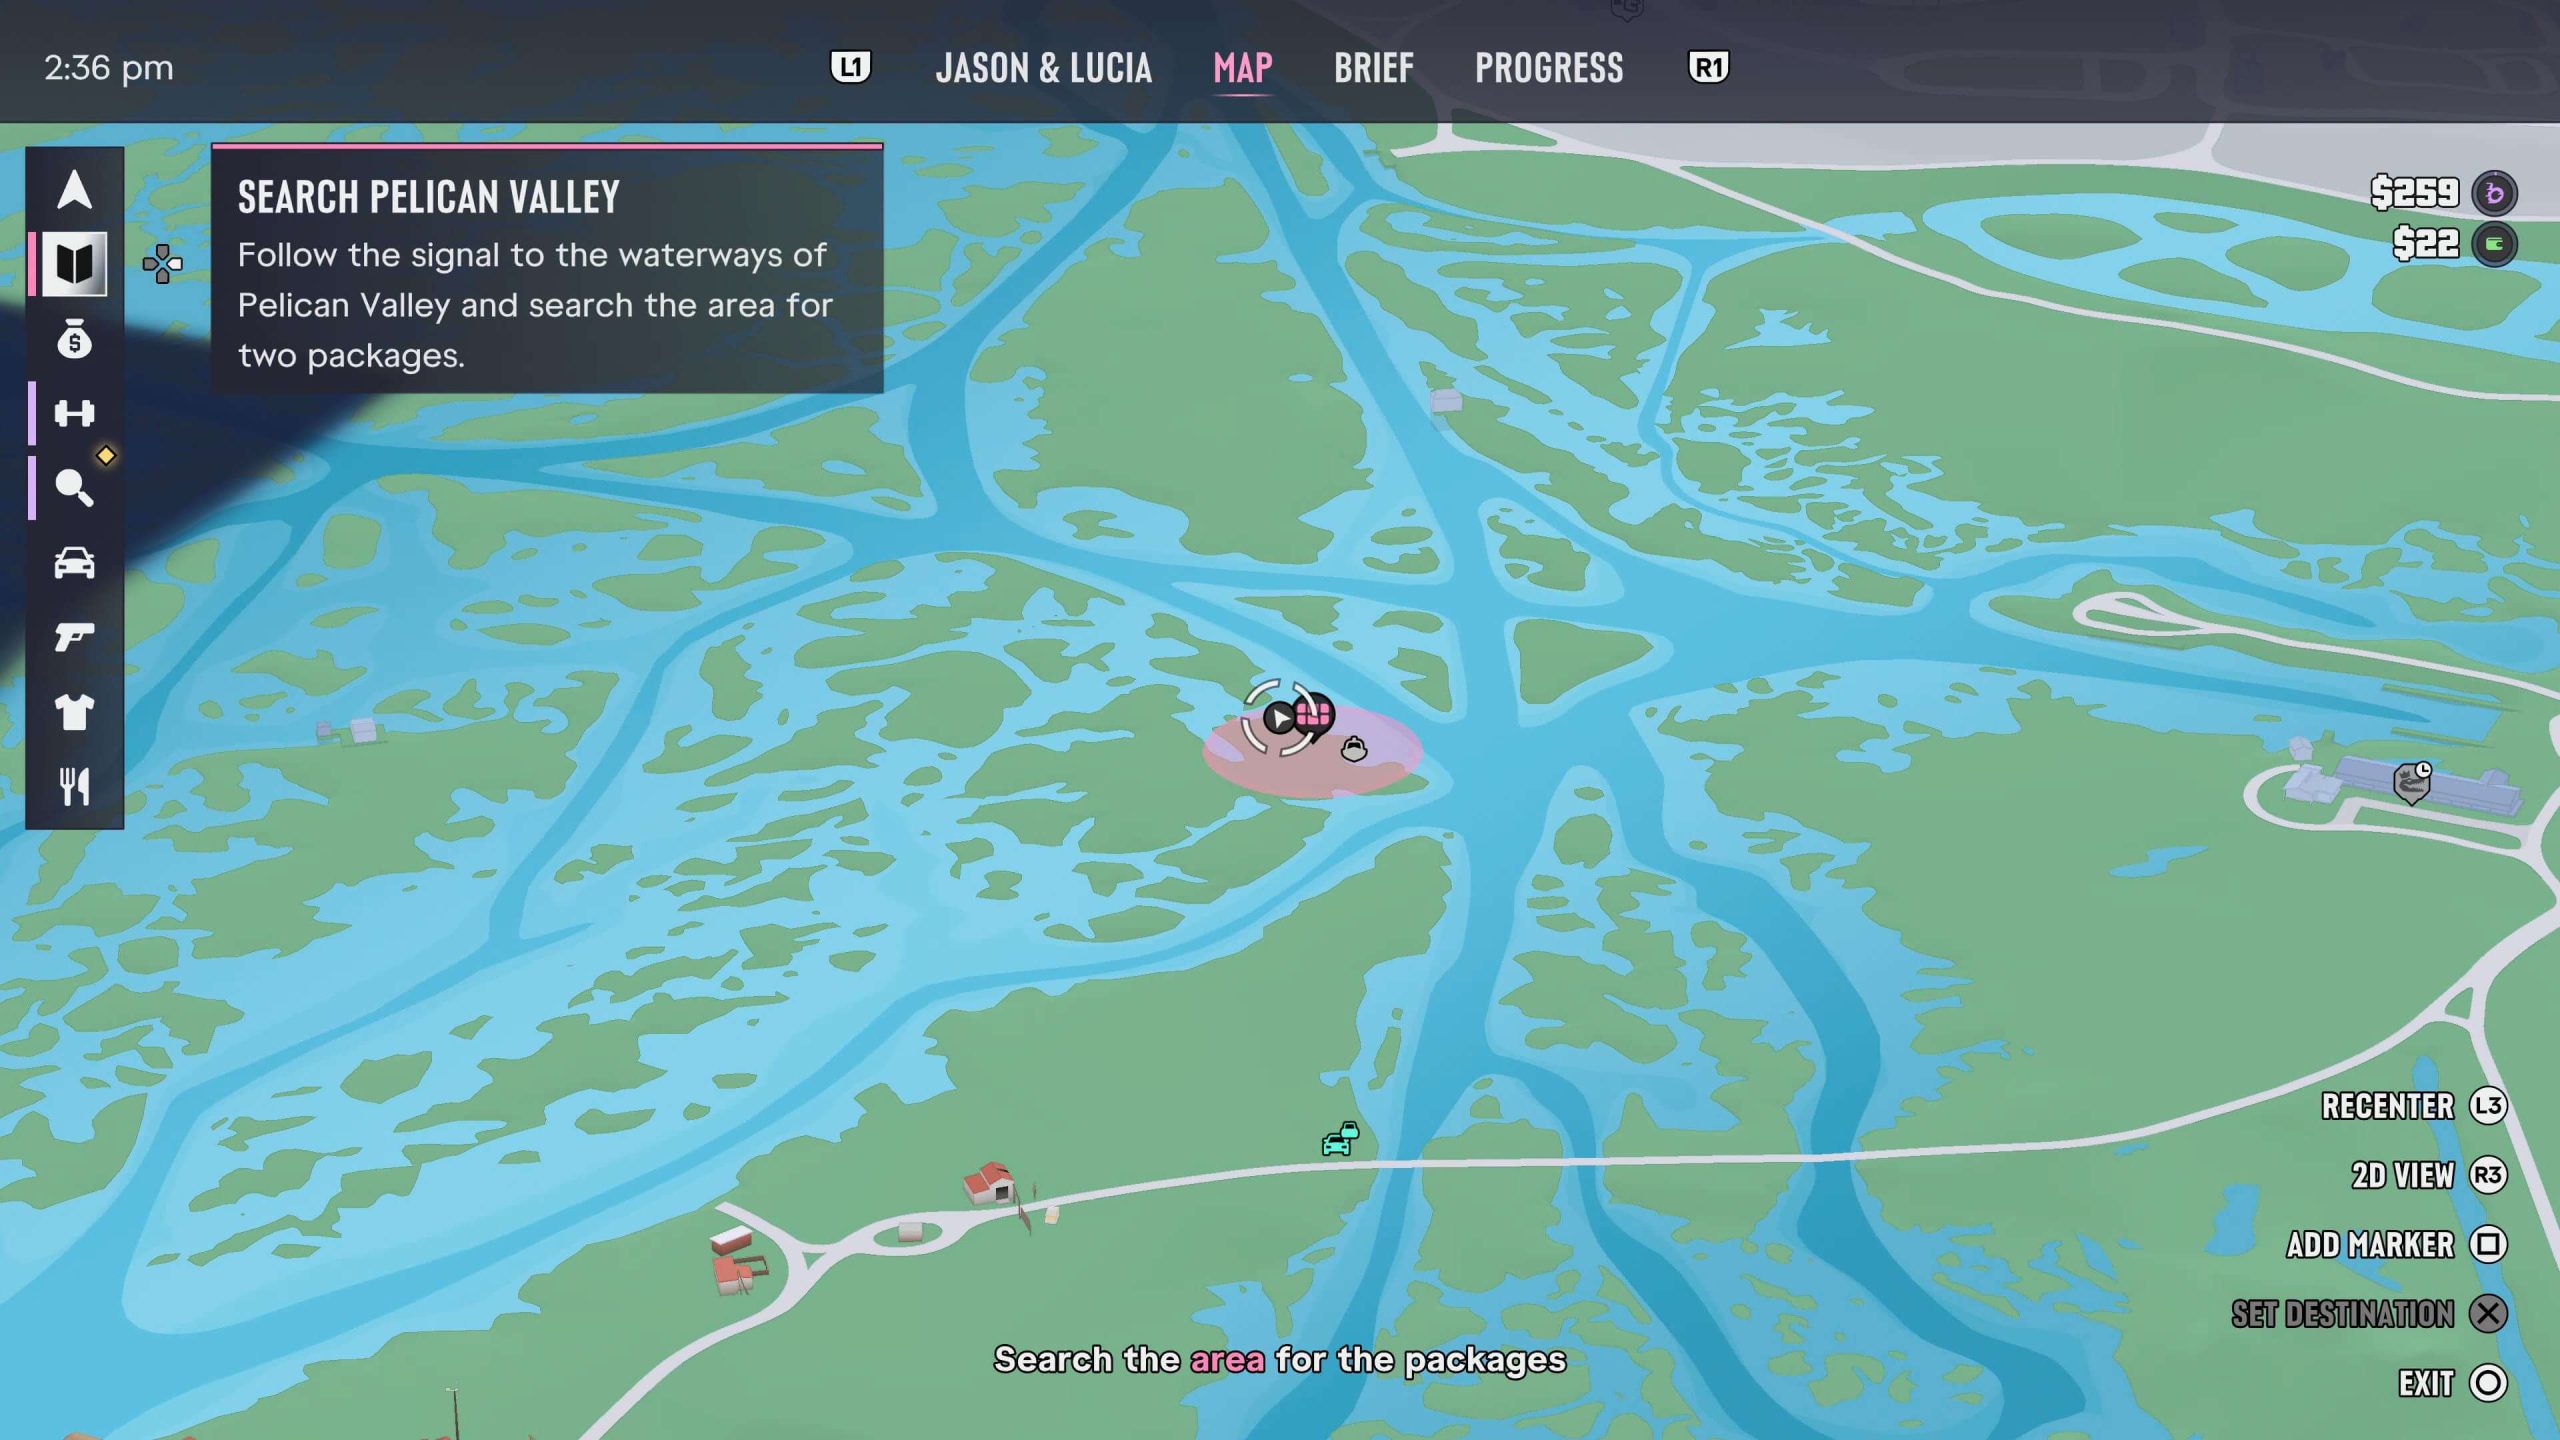
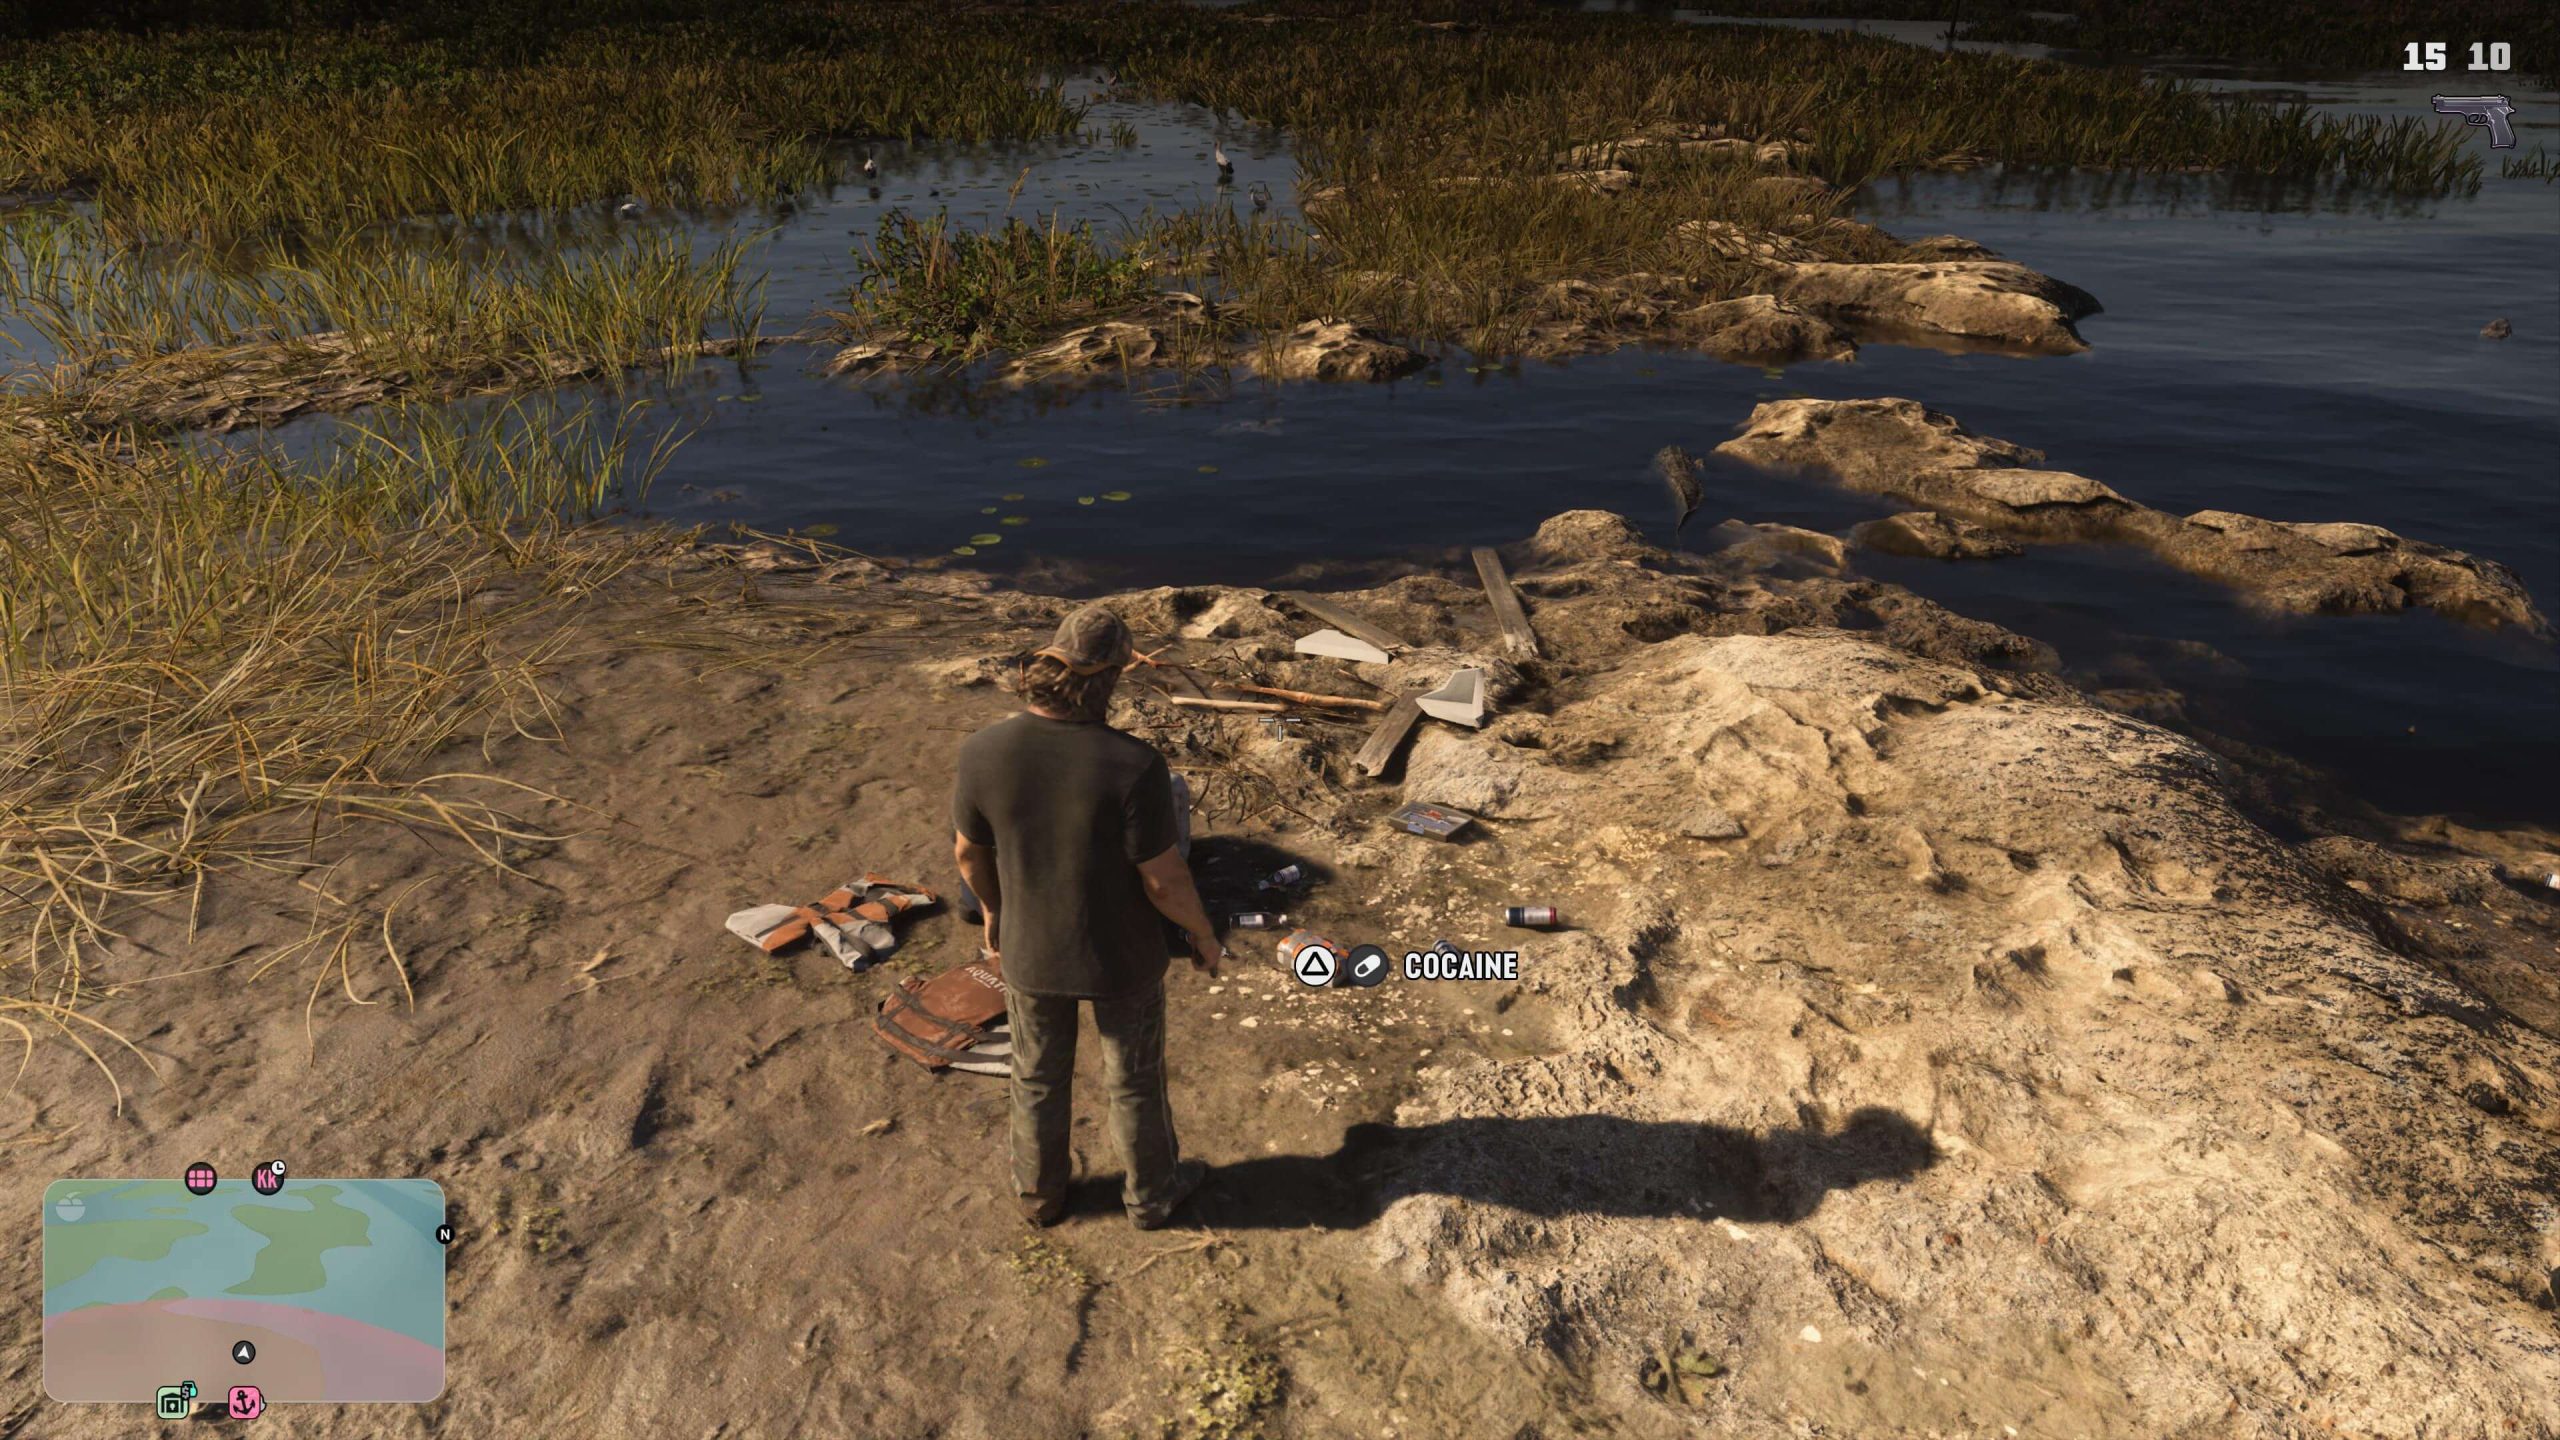
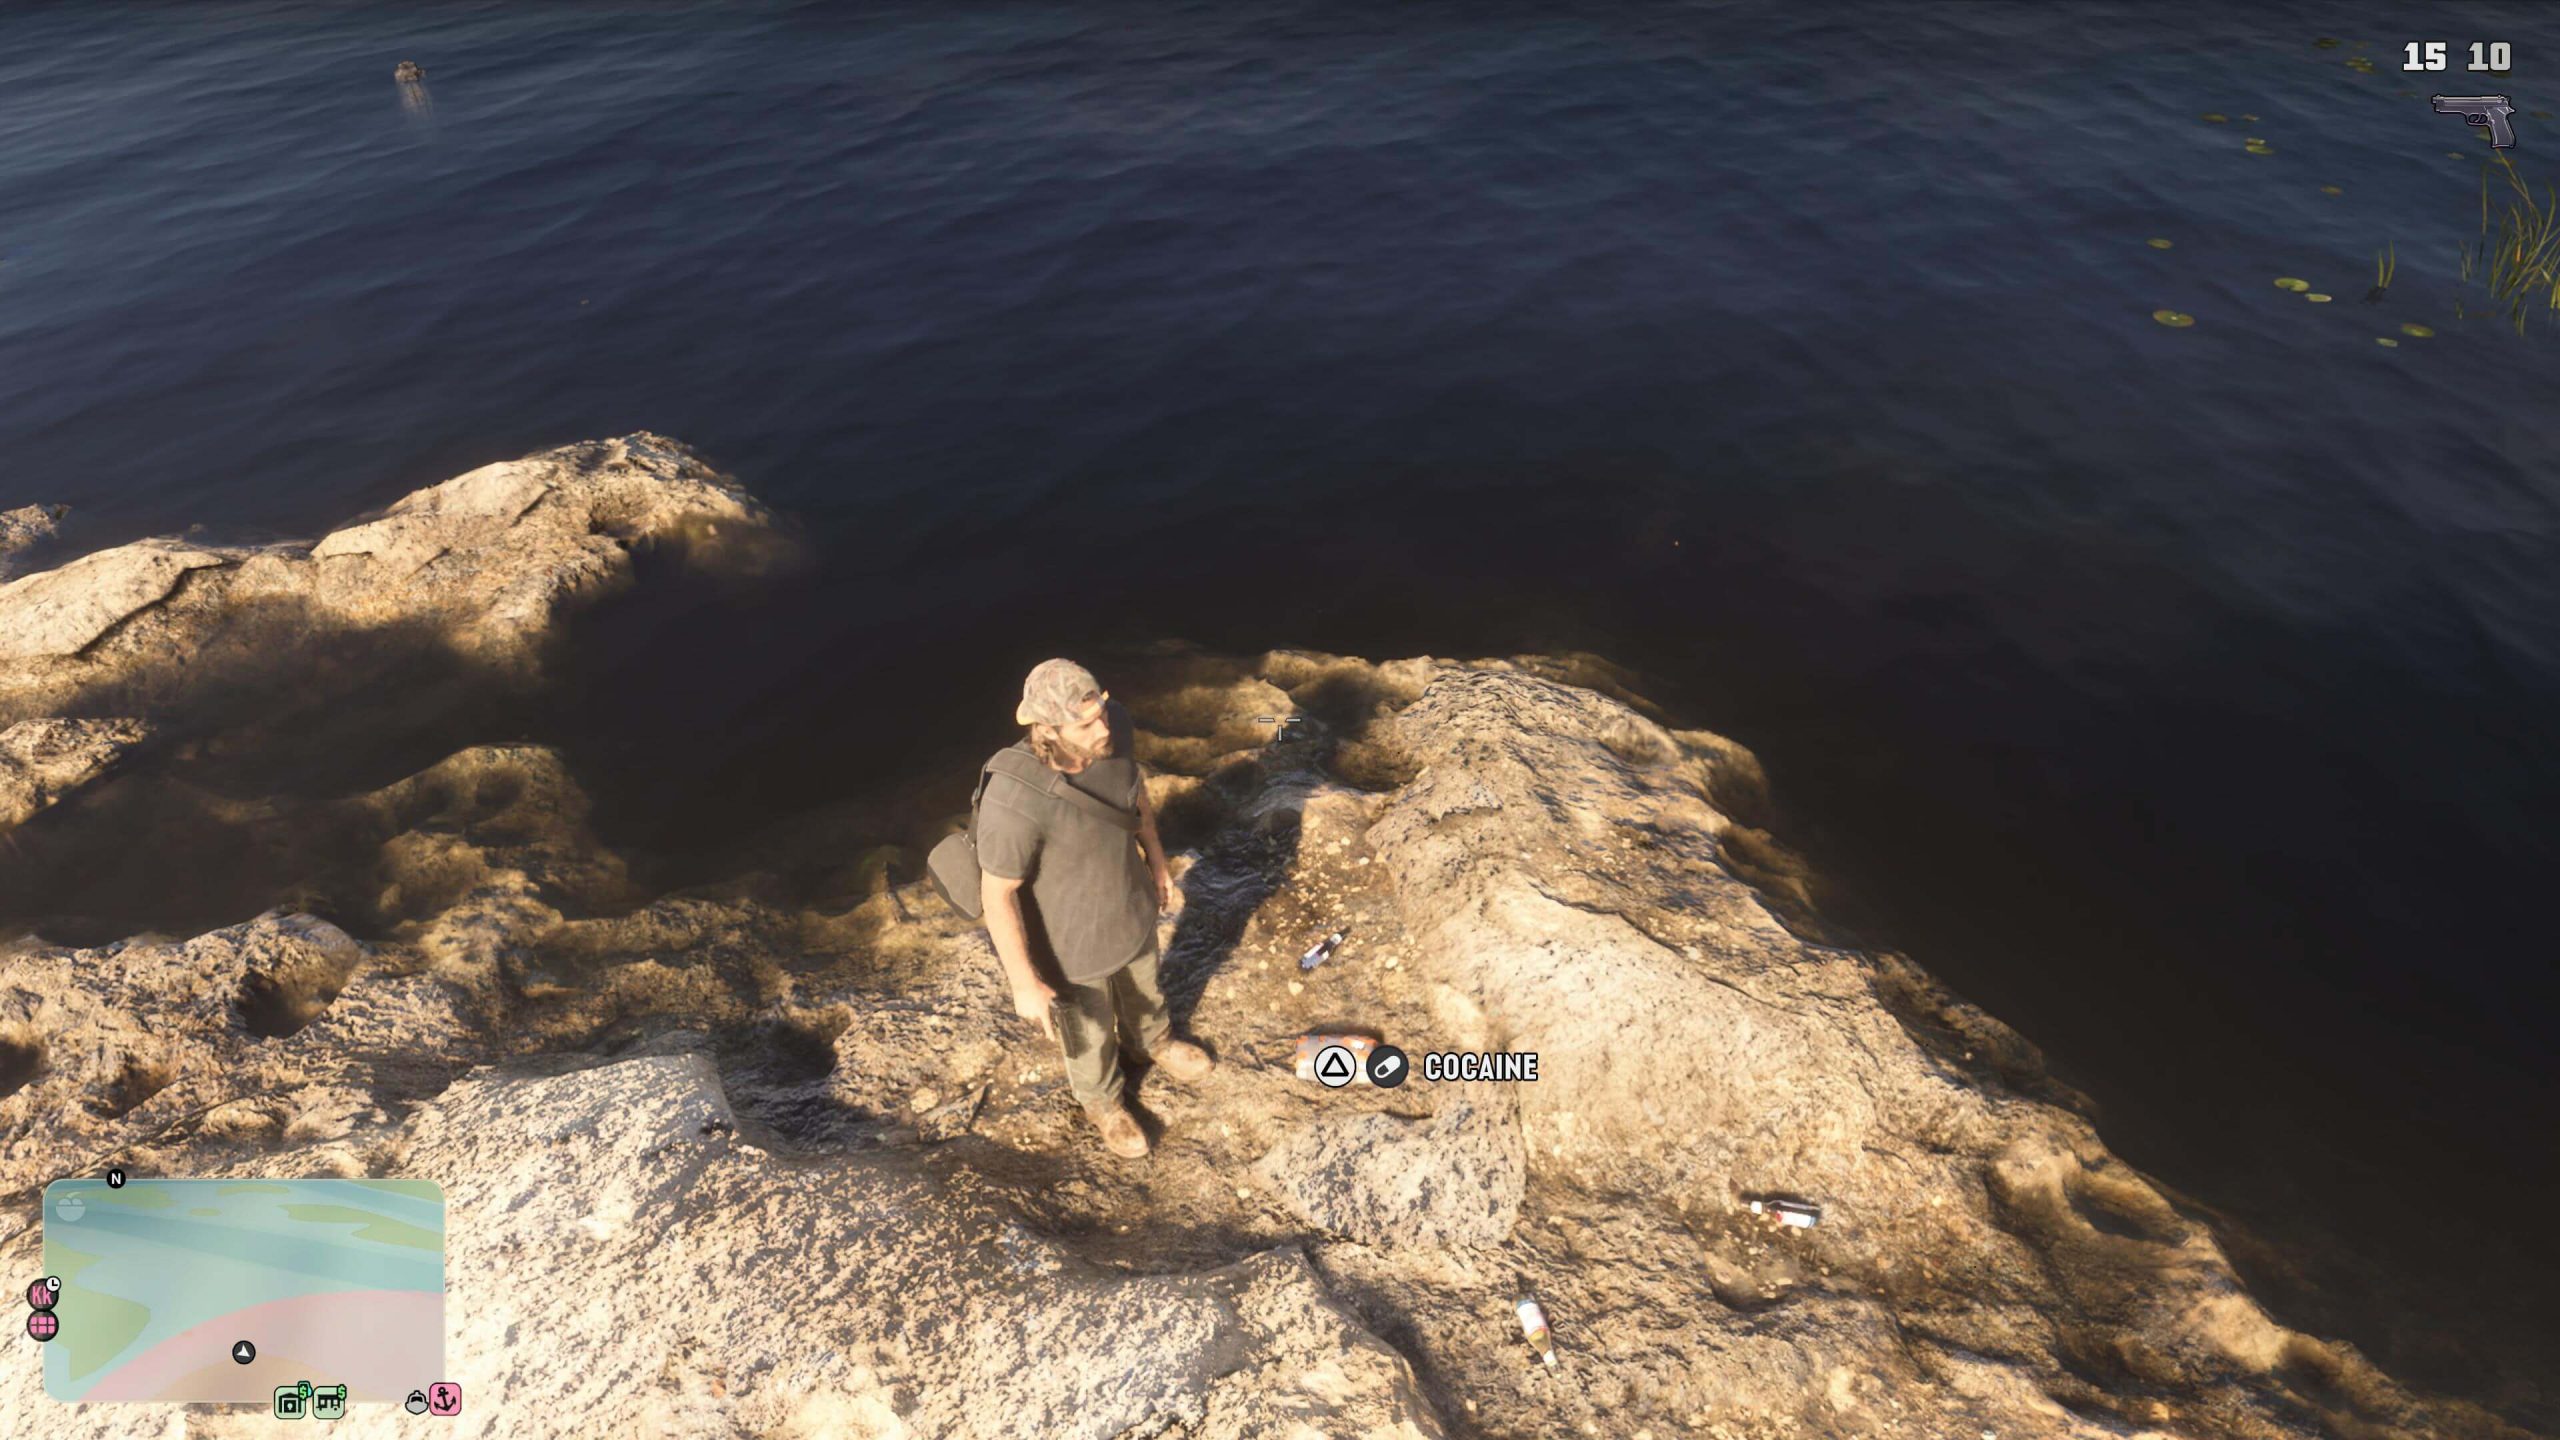
First, you’ll want to study them so as to get the animal in the catalogue of entries you’ll need over the course of the game; then draw your pistol, aiming nearby the area where the drug package is beeping (use focus!), and shoot into the air.
The alligators will scatter a short distance. They’re now far enough away for you to run up and grab both the packages laid here, but not so far you should mess about. Once you’ve picked them both up – thankfully they’re almost on top of one another -, head back to the canoe and jump in, returning to your car and relative safety. That’s the third location done, and now you can head to the fourth and final location to pick up what’s left of those lost drug packages.
Search Thorpe Adventures
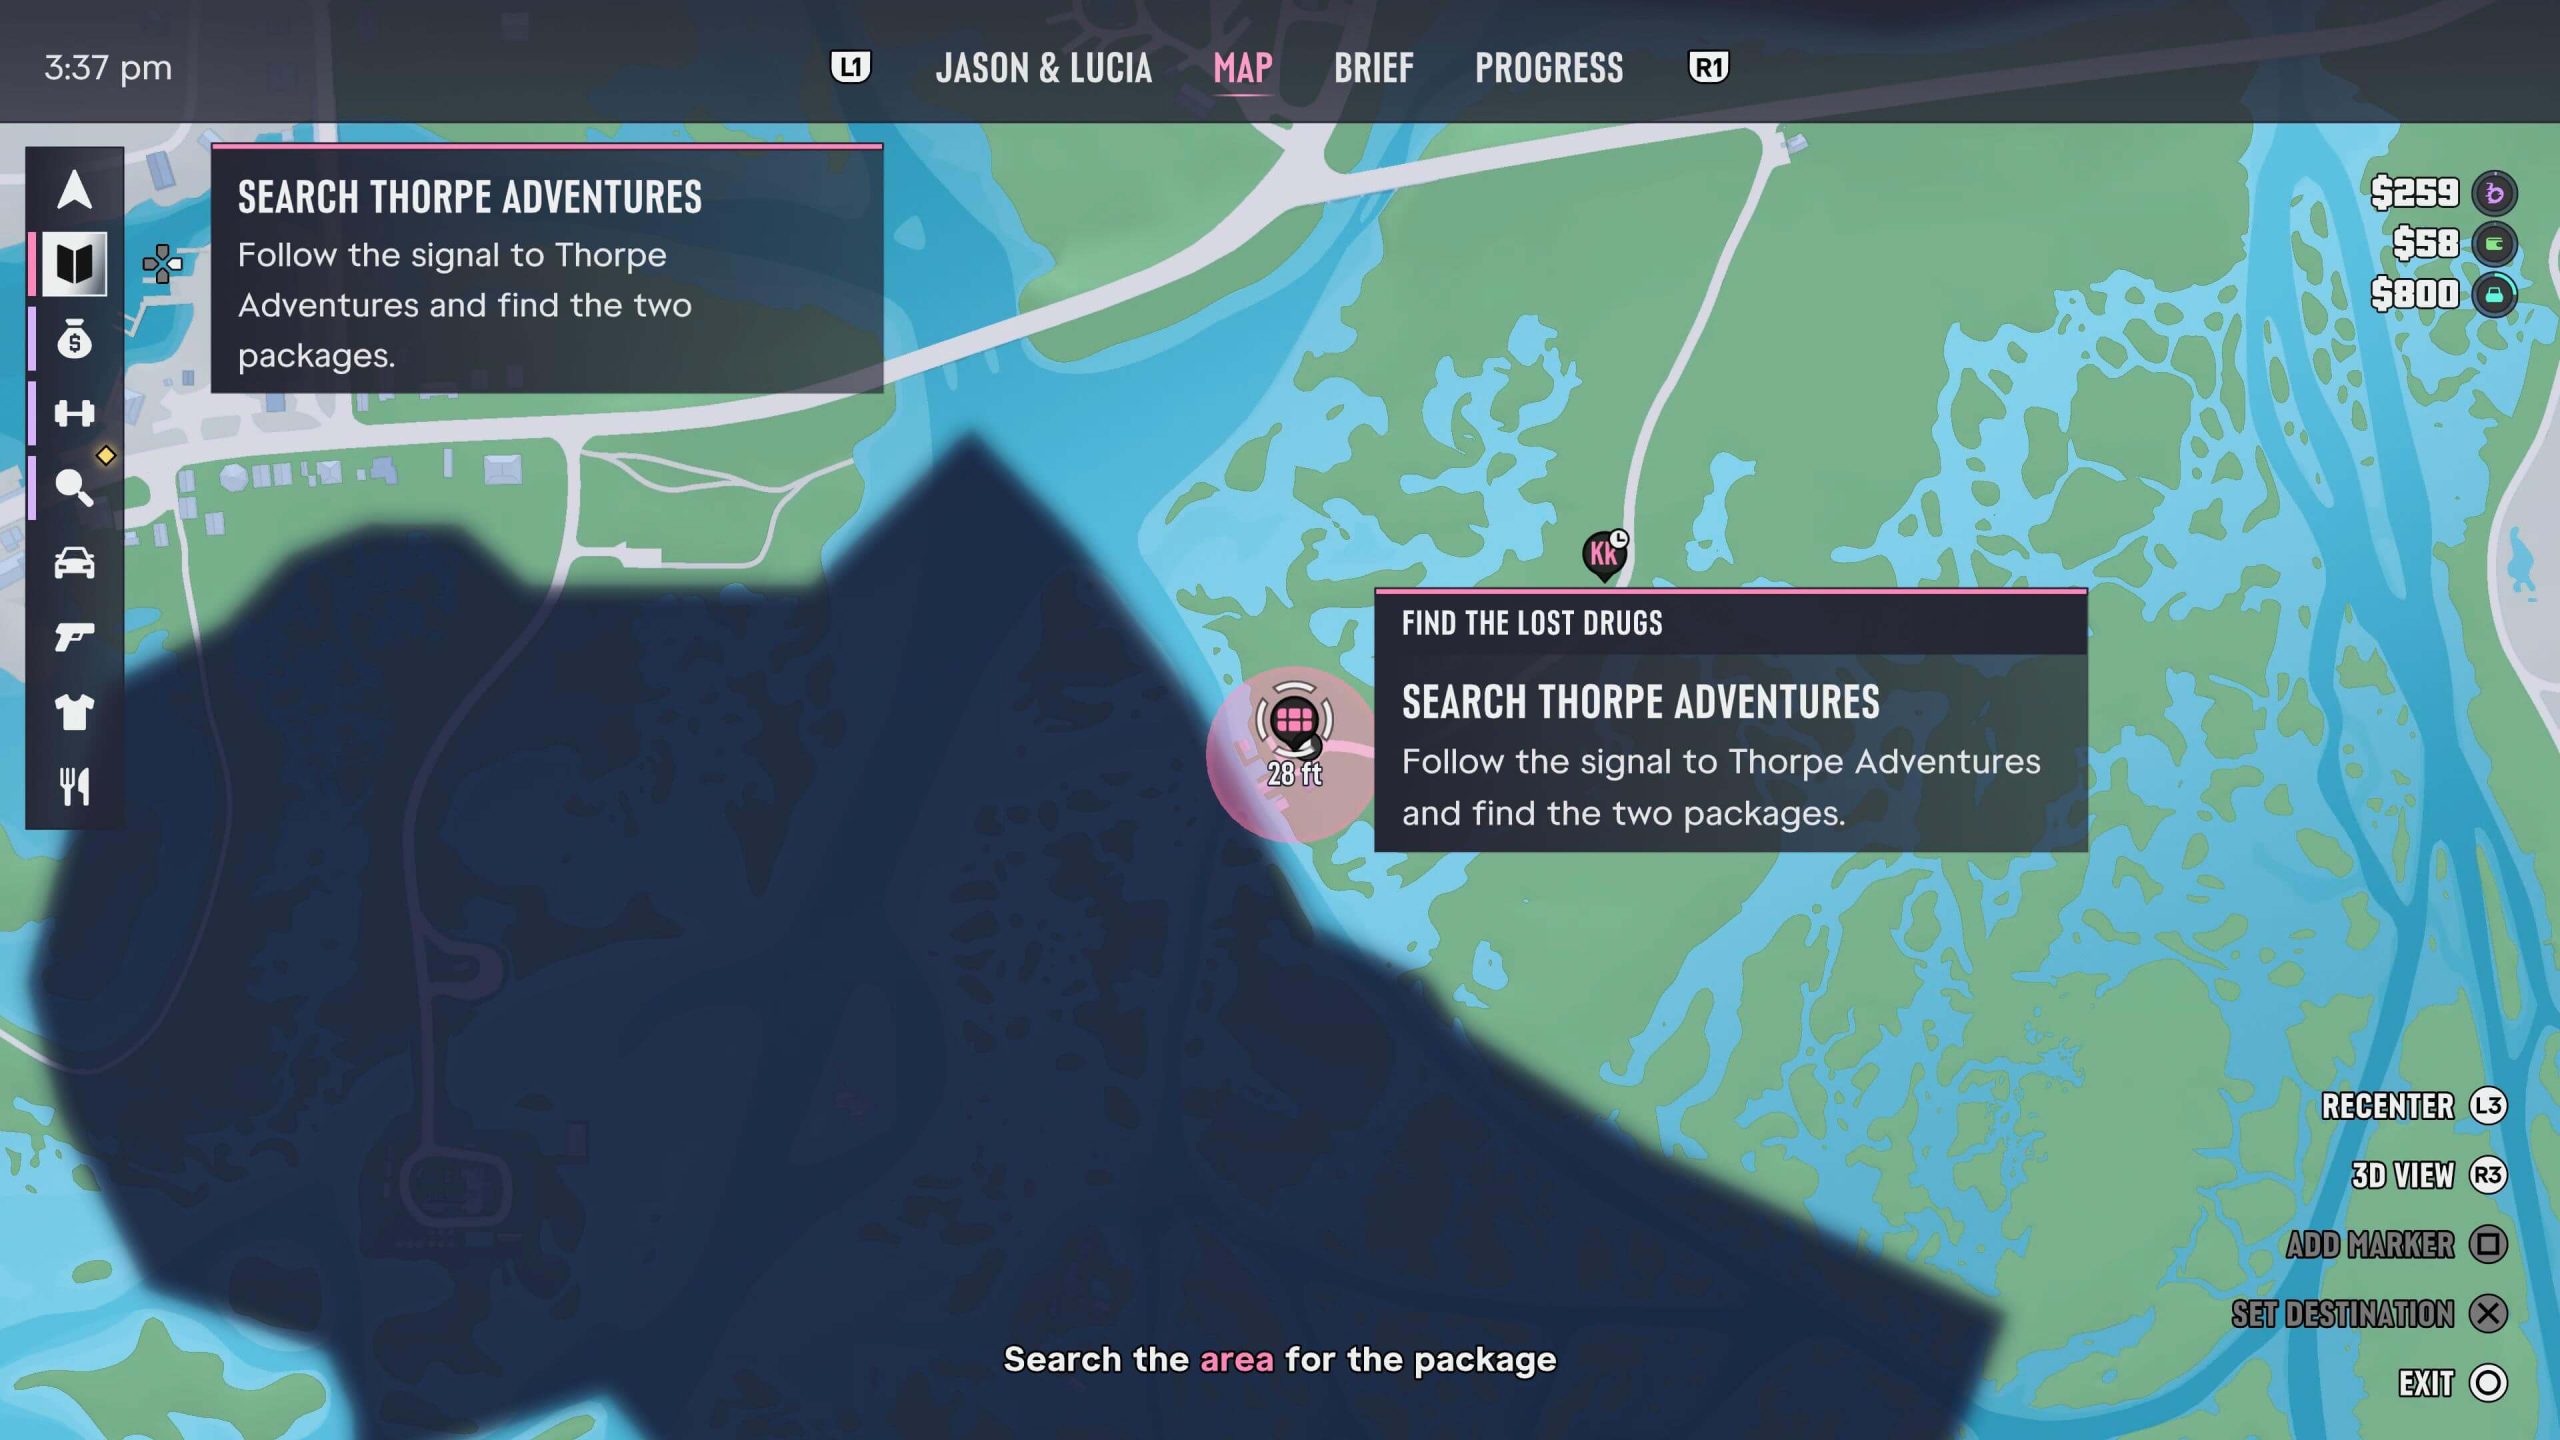
The last location you’ll be heading to in order to find the final lost drug packages is the Thorpe Adventures area. Anothe run-down settlement, something of a trend in this general area, you’ll be looking for two final packages. Unlike the last area, you can drive right up to this one, so no need to dodge alligators or run through trees this time.
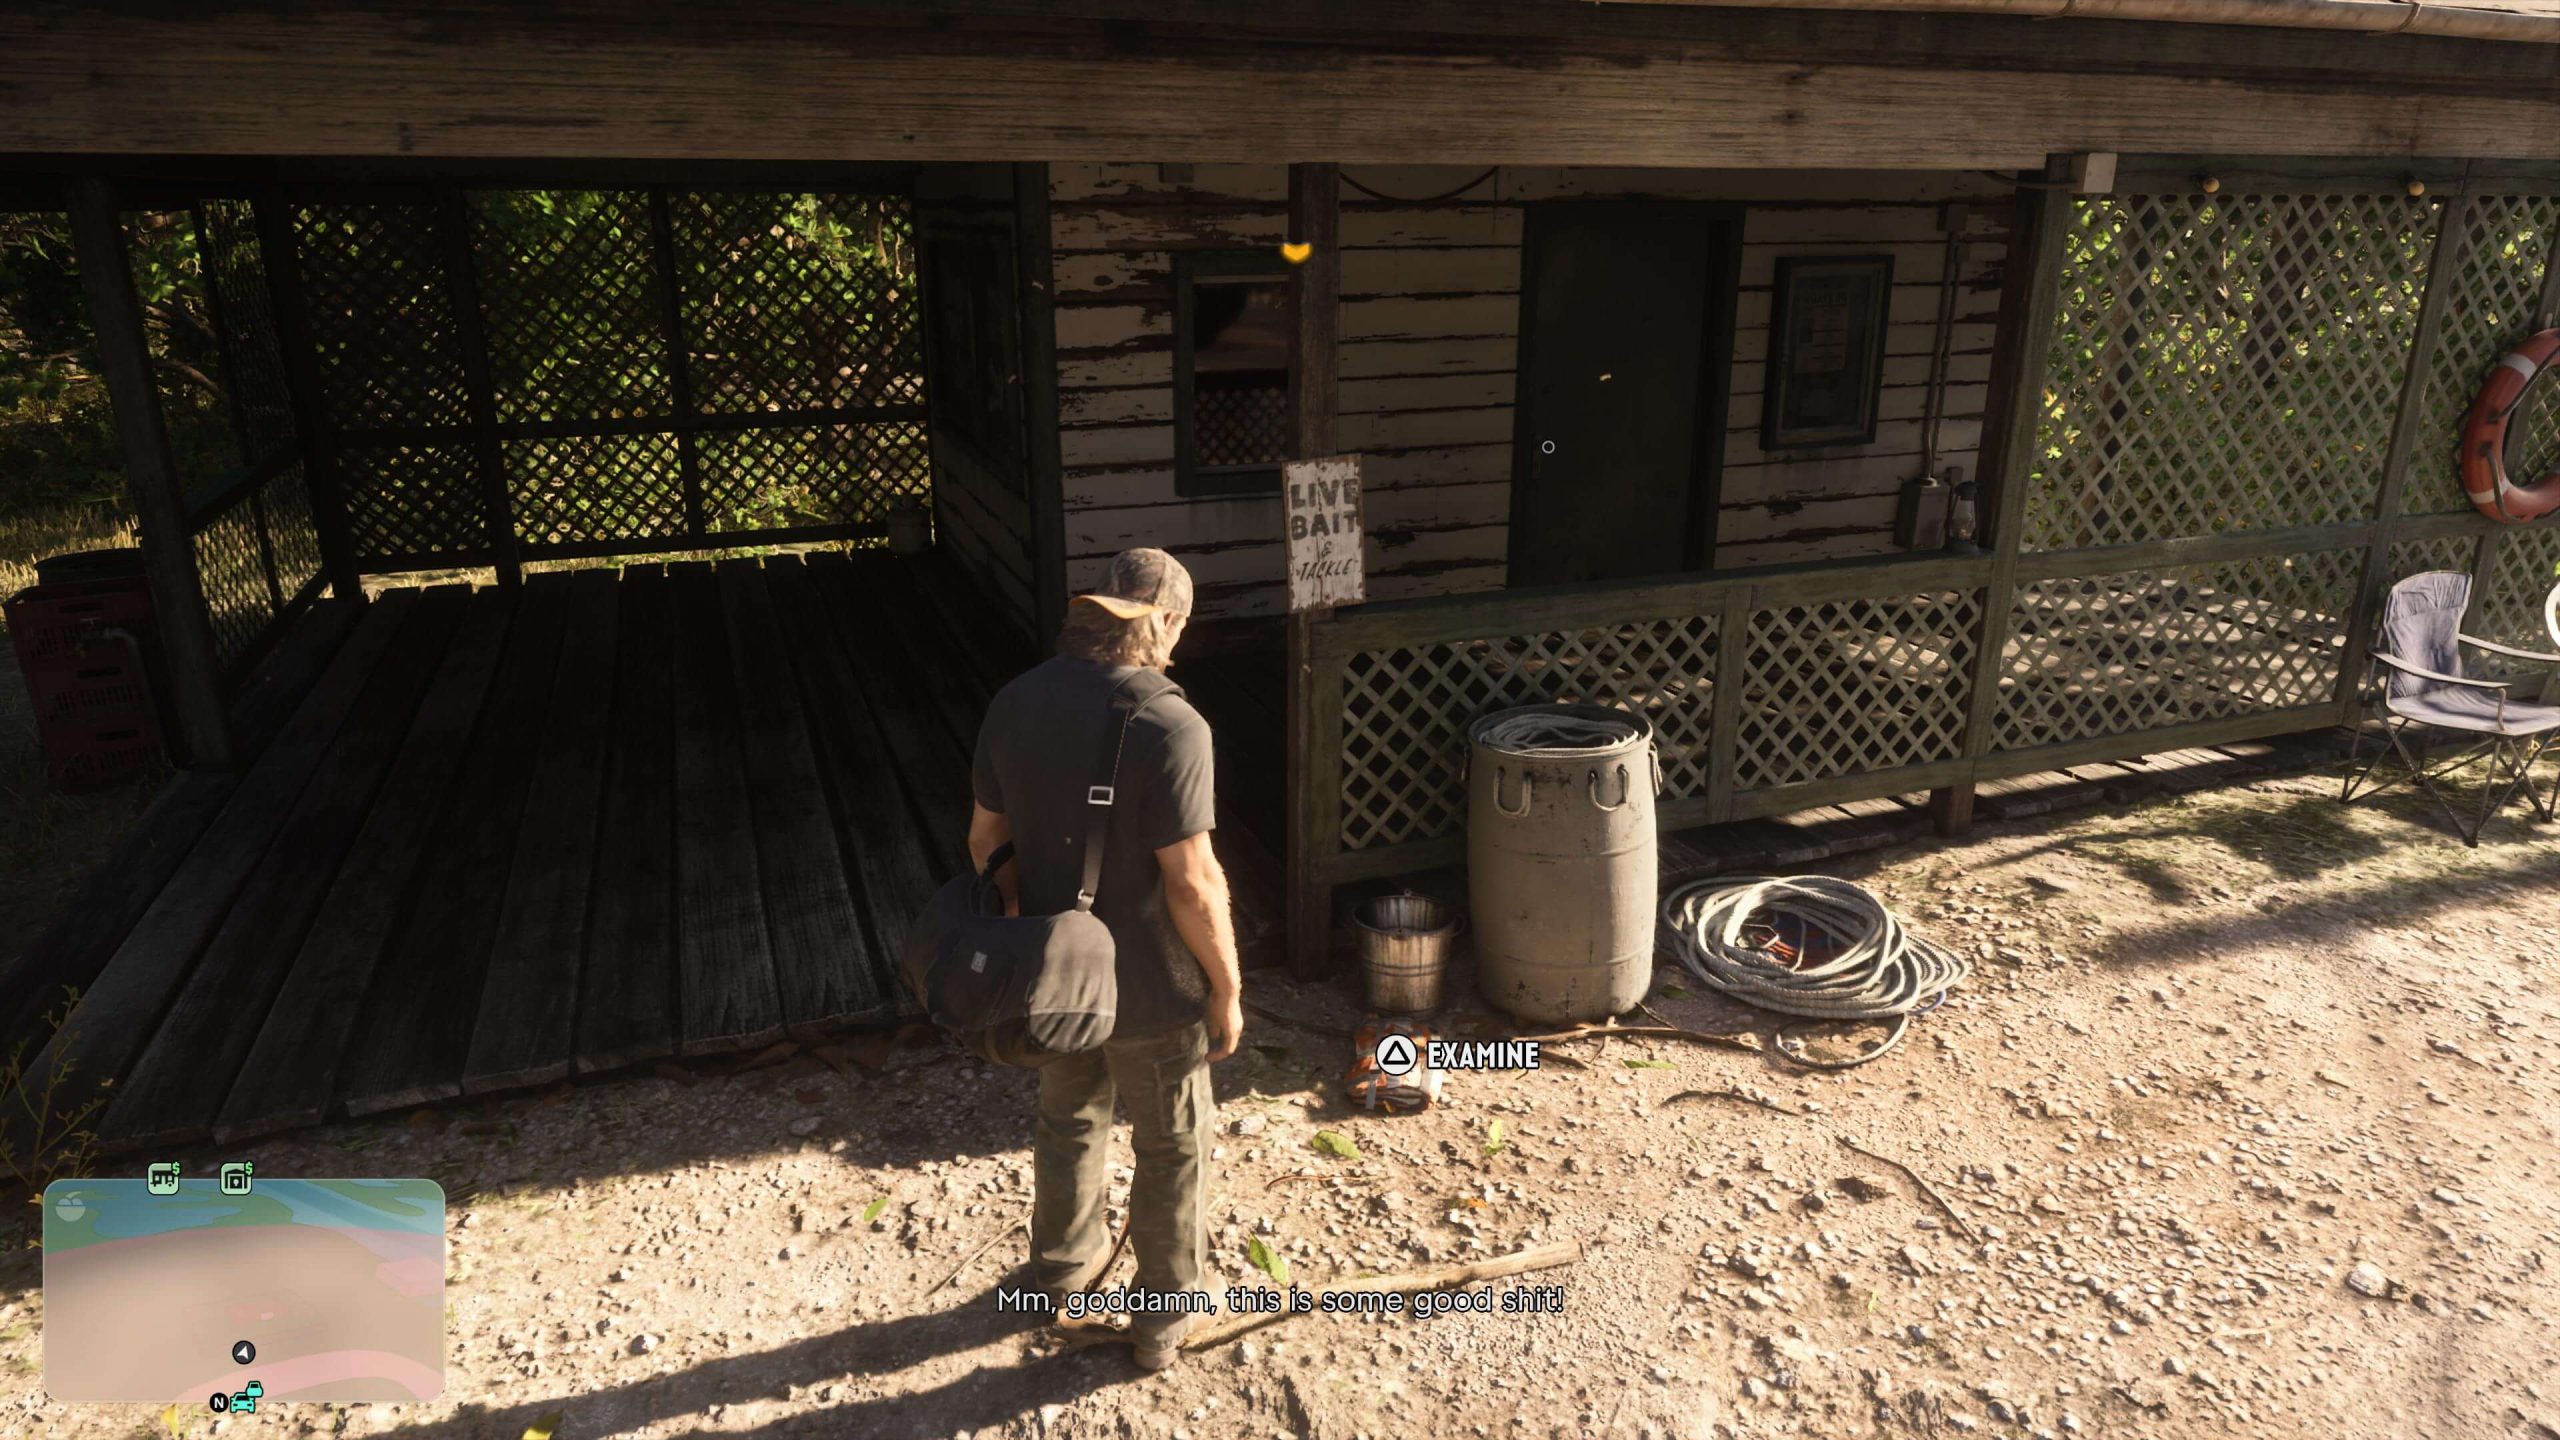
When you arrive, you’ll notice you’re in a sort of camping area, with lodges all around. Head to the left, and you’ll see the first package, or what was a package, on the floor in front of one of the lodges, with loud voices coming from inside. Examine the package, and then walk forwards, towards the door.
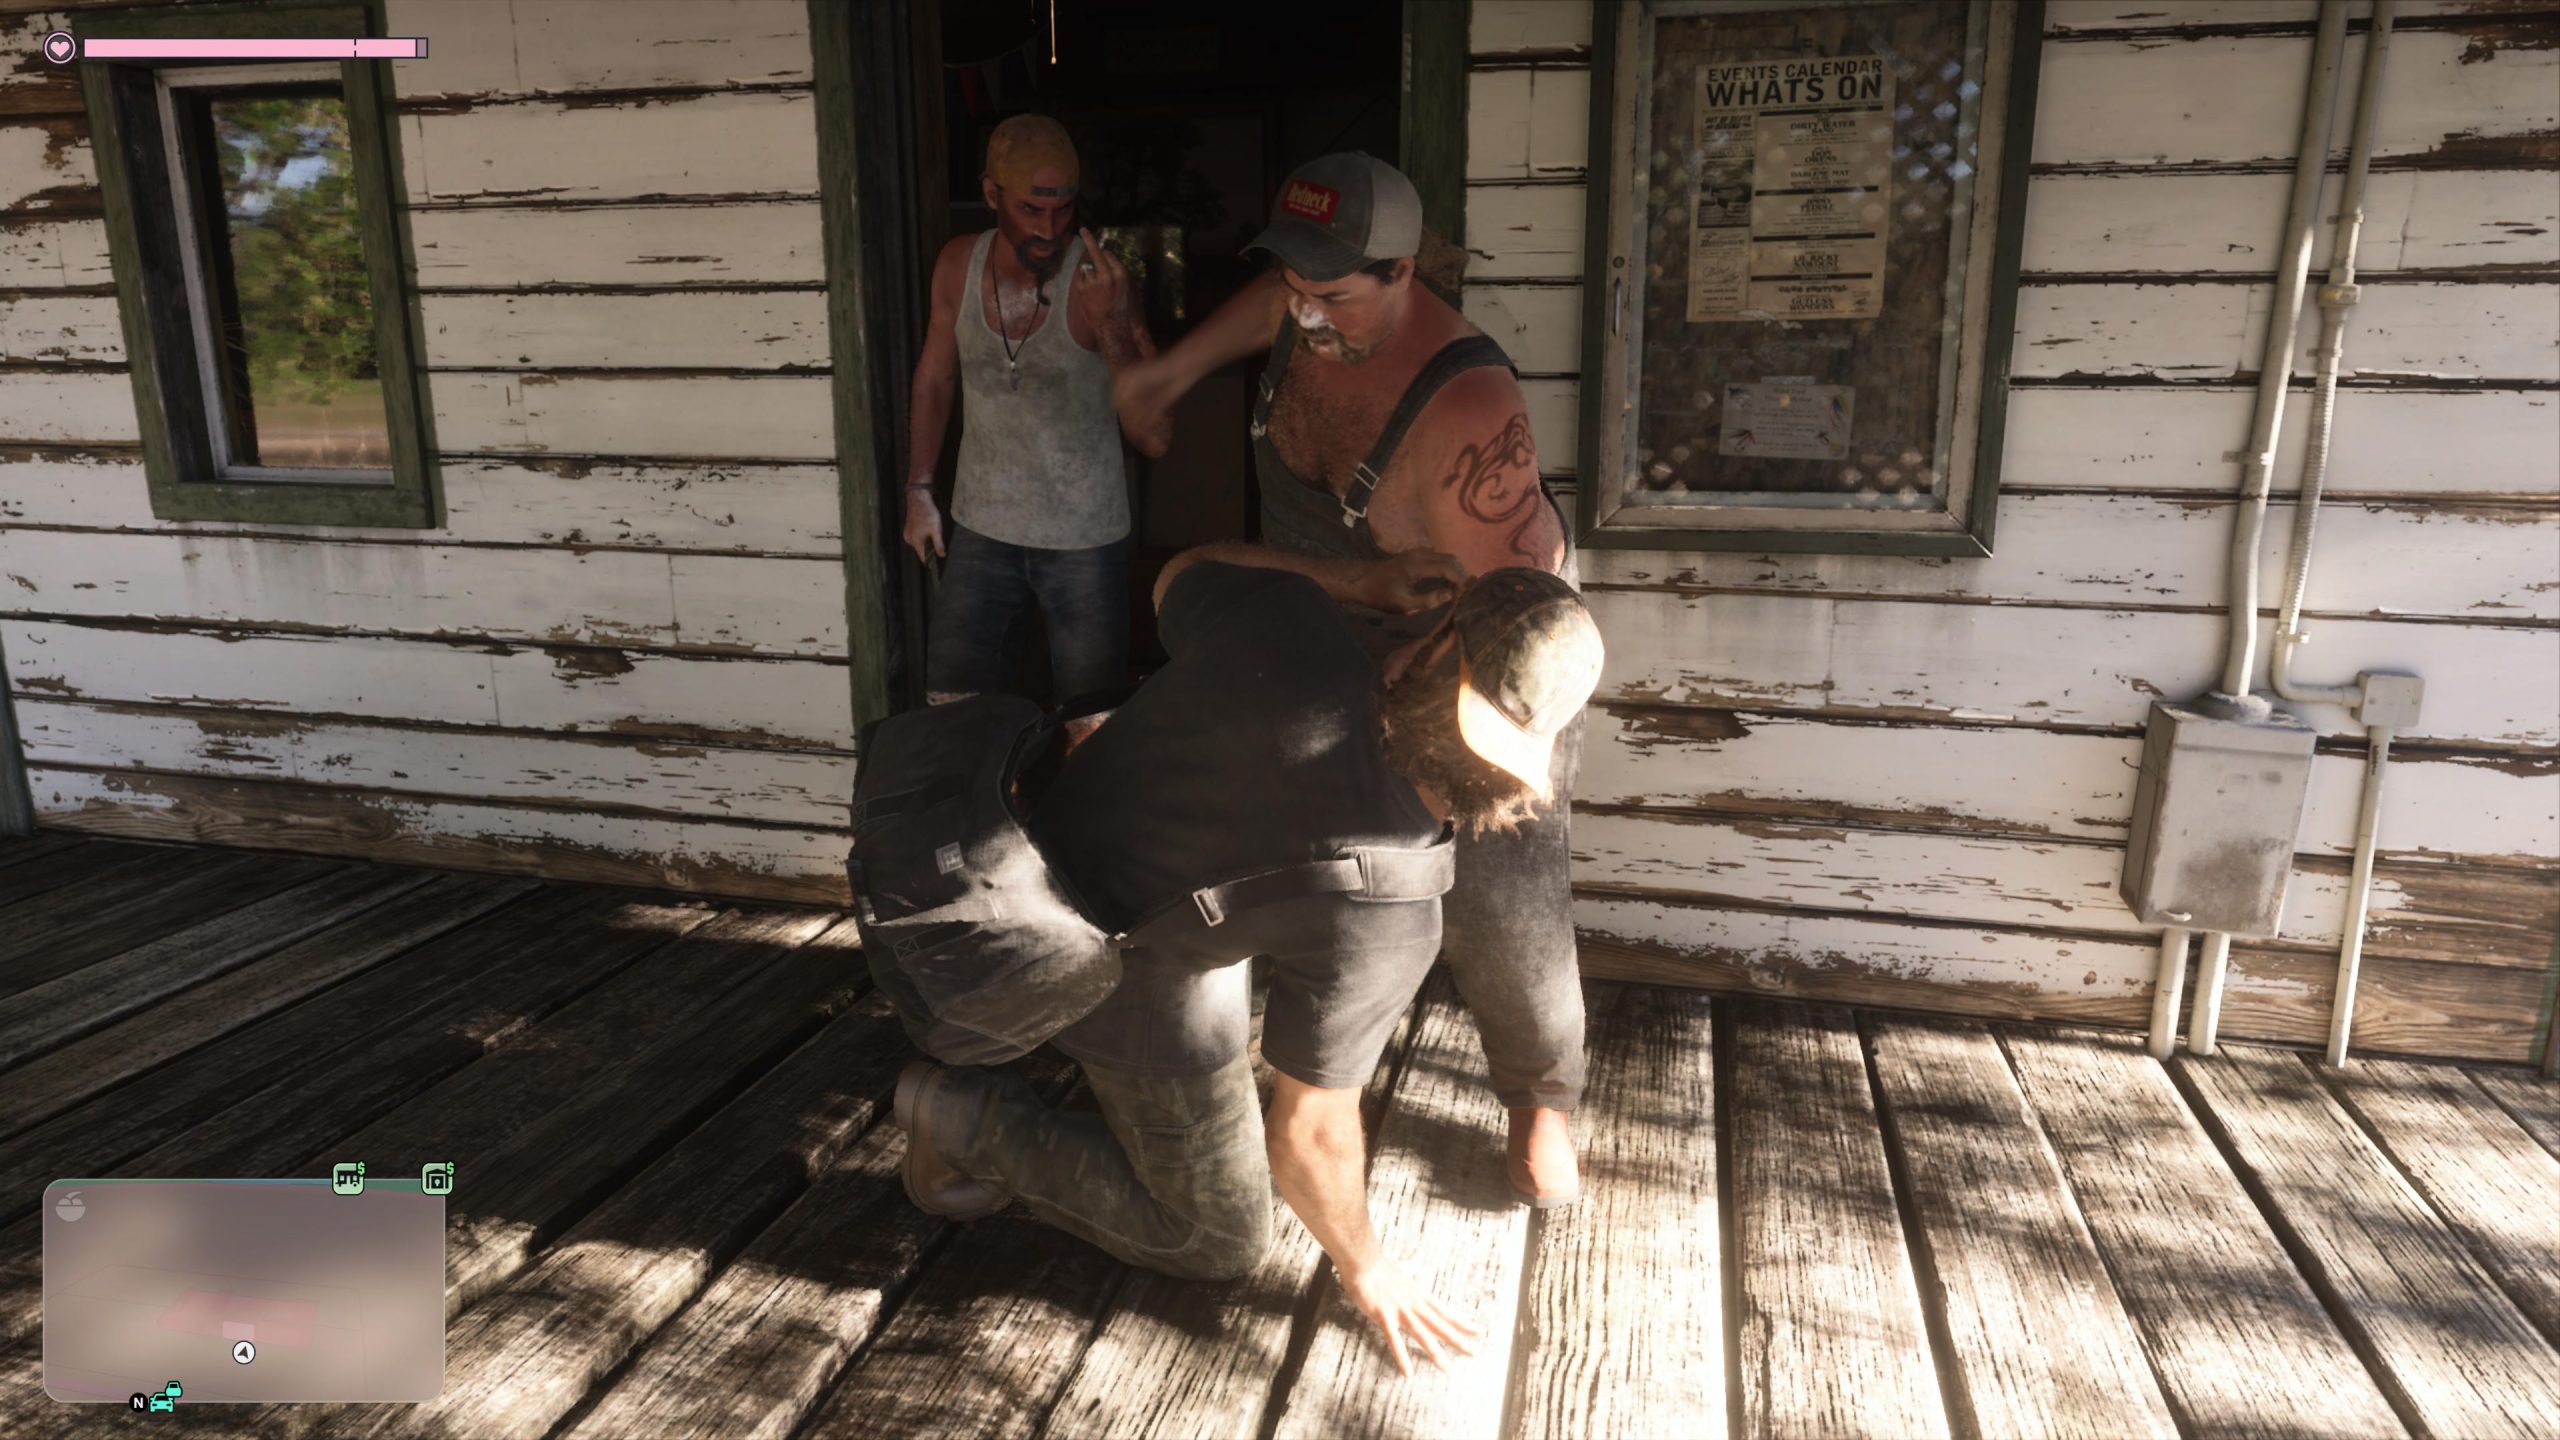
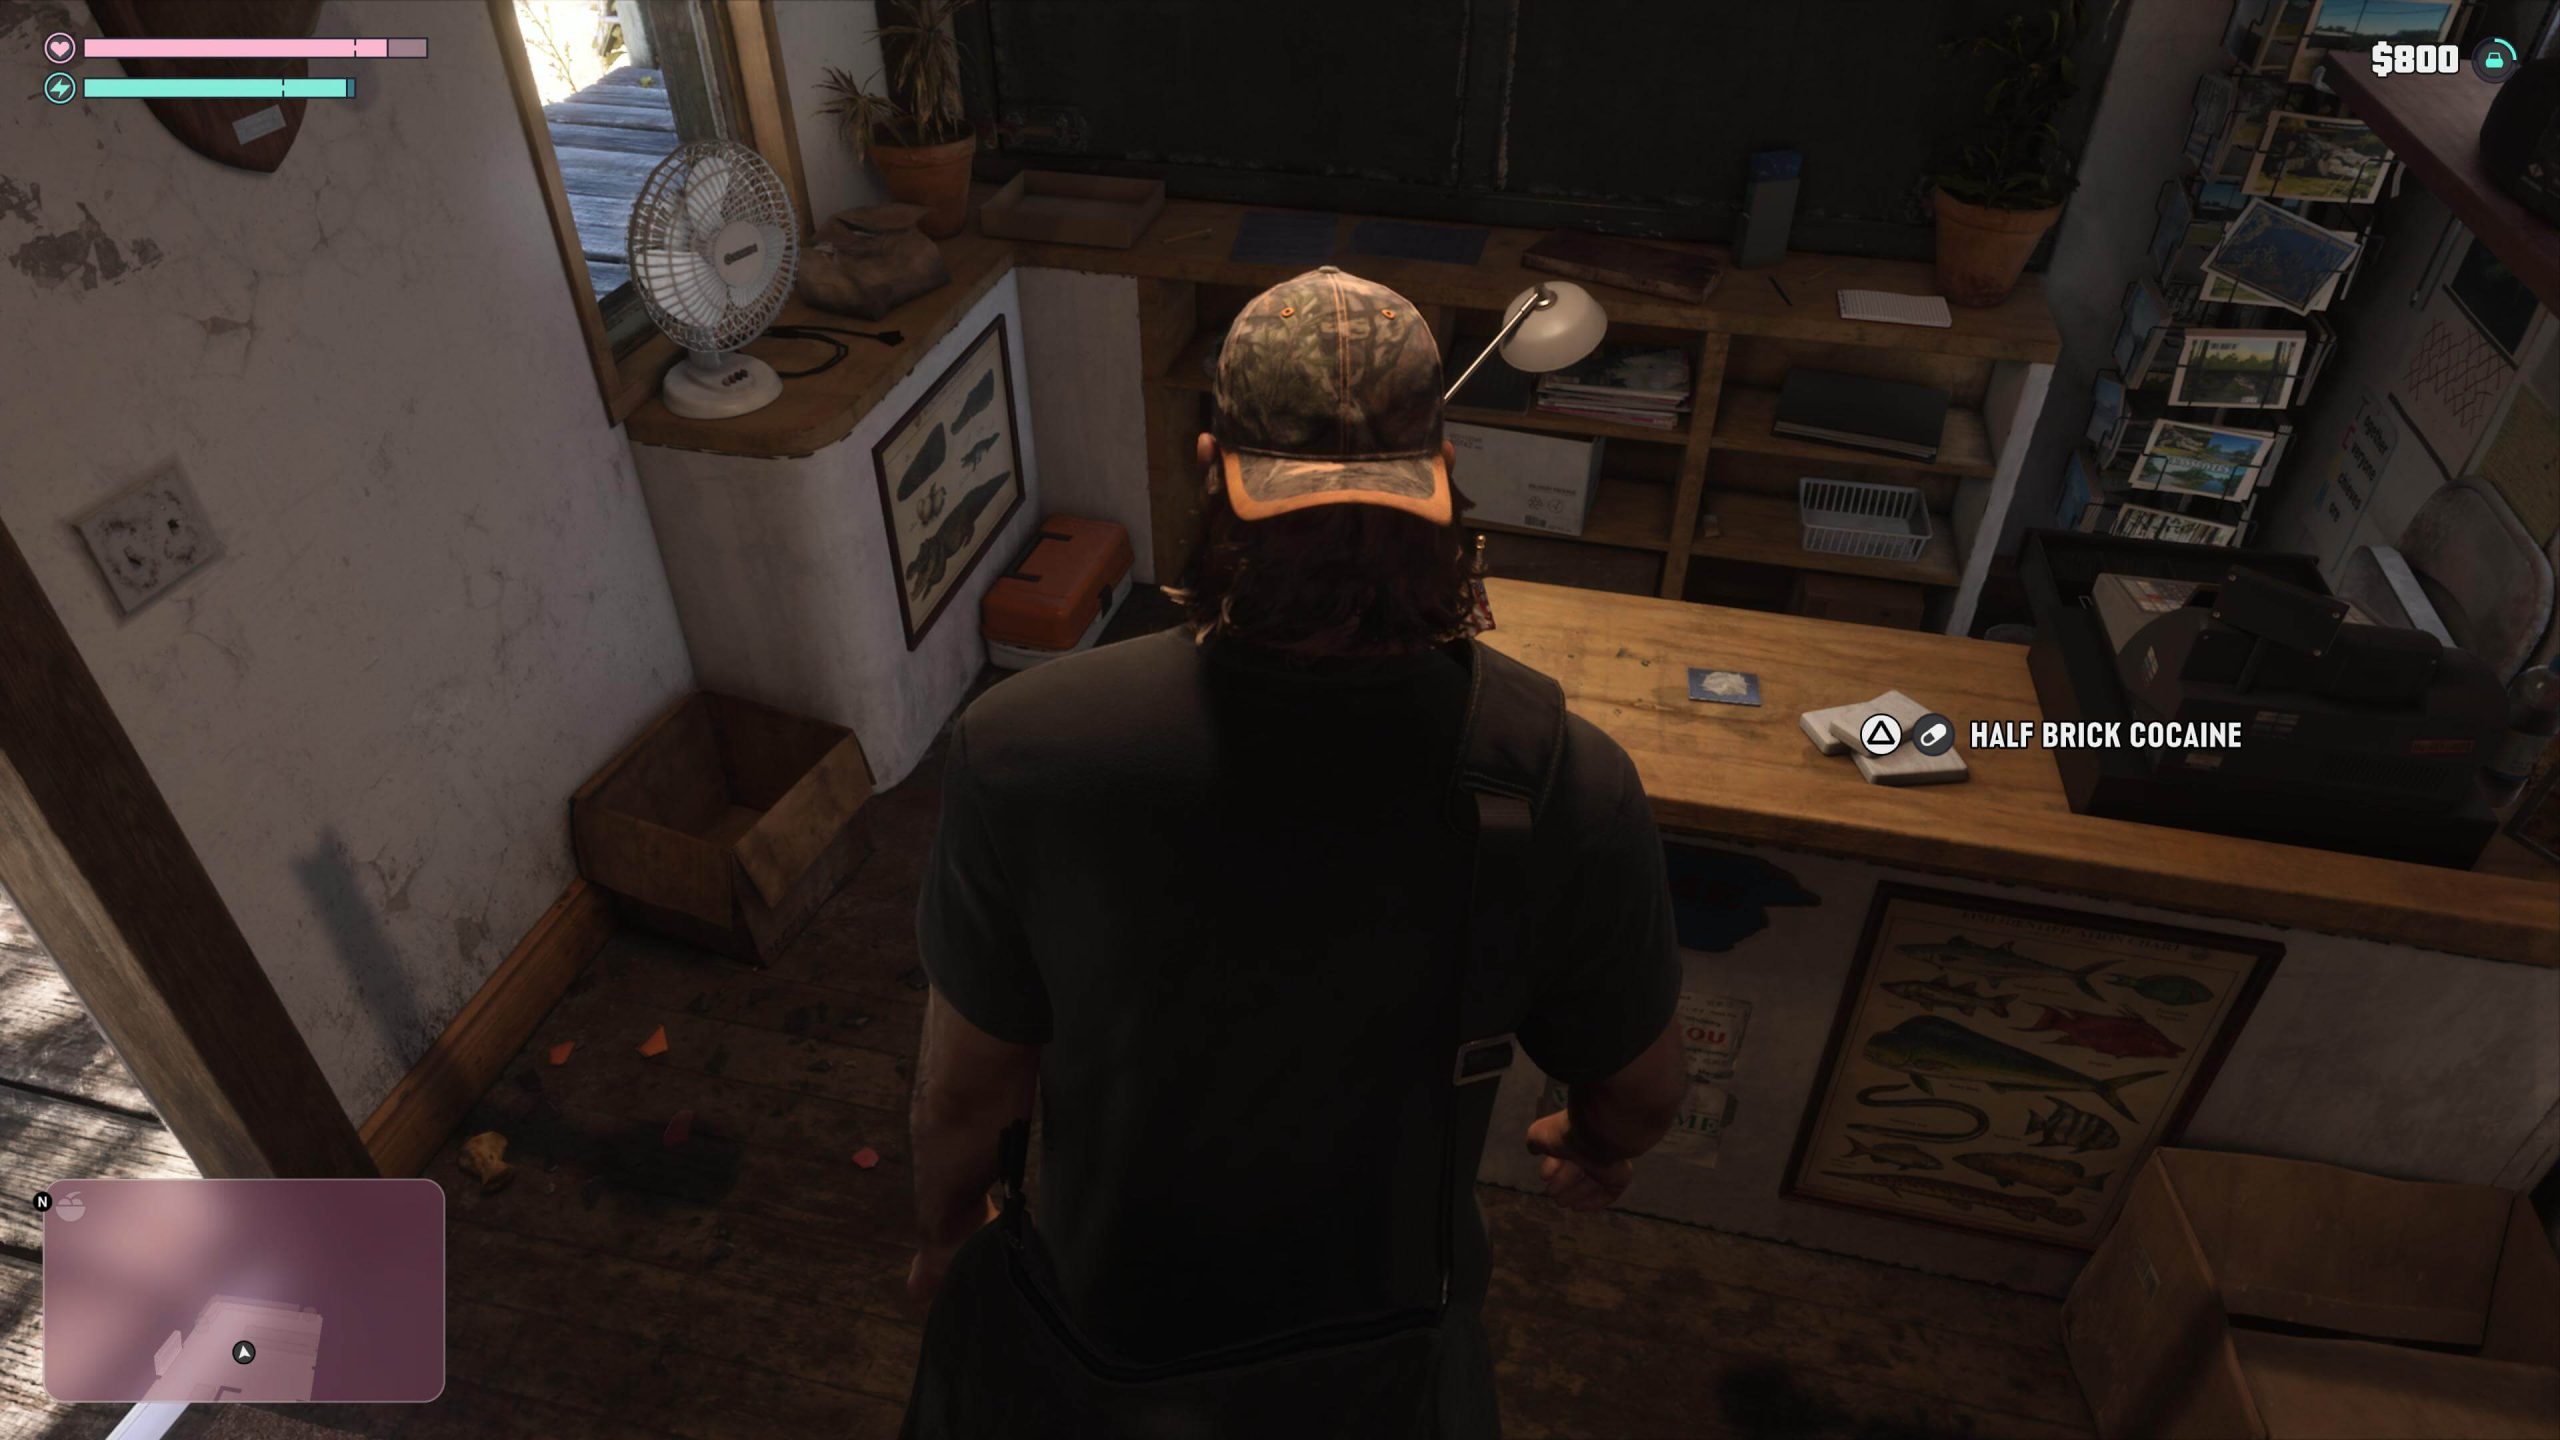
Prepare yourself for a fight here, as two hillbillies will break down the door and attack you. They’re easily enough dispatched, and once you’ve done exactly that, head into the lodge they emerged from to find the remnants of the remaining package you’re here for.
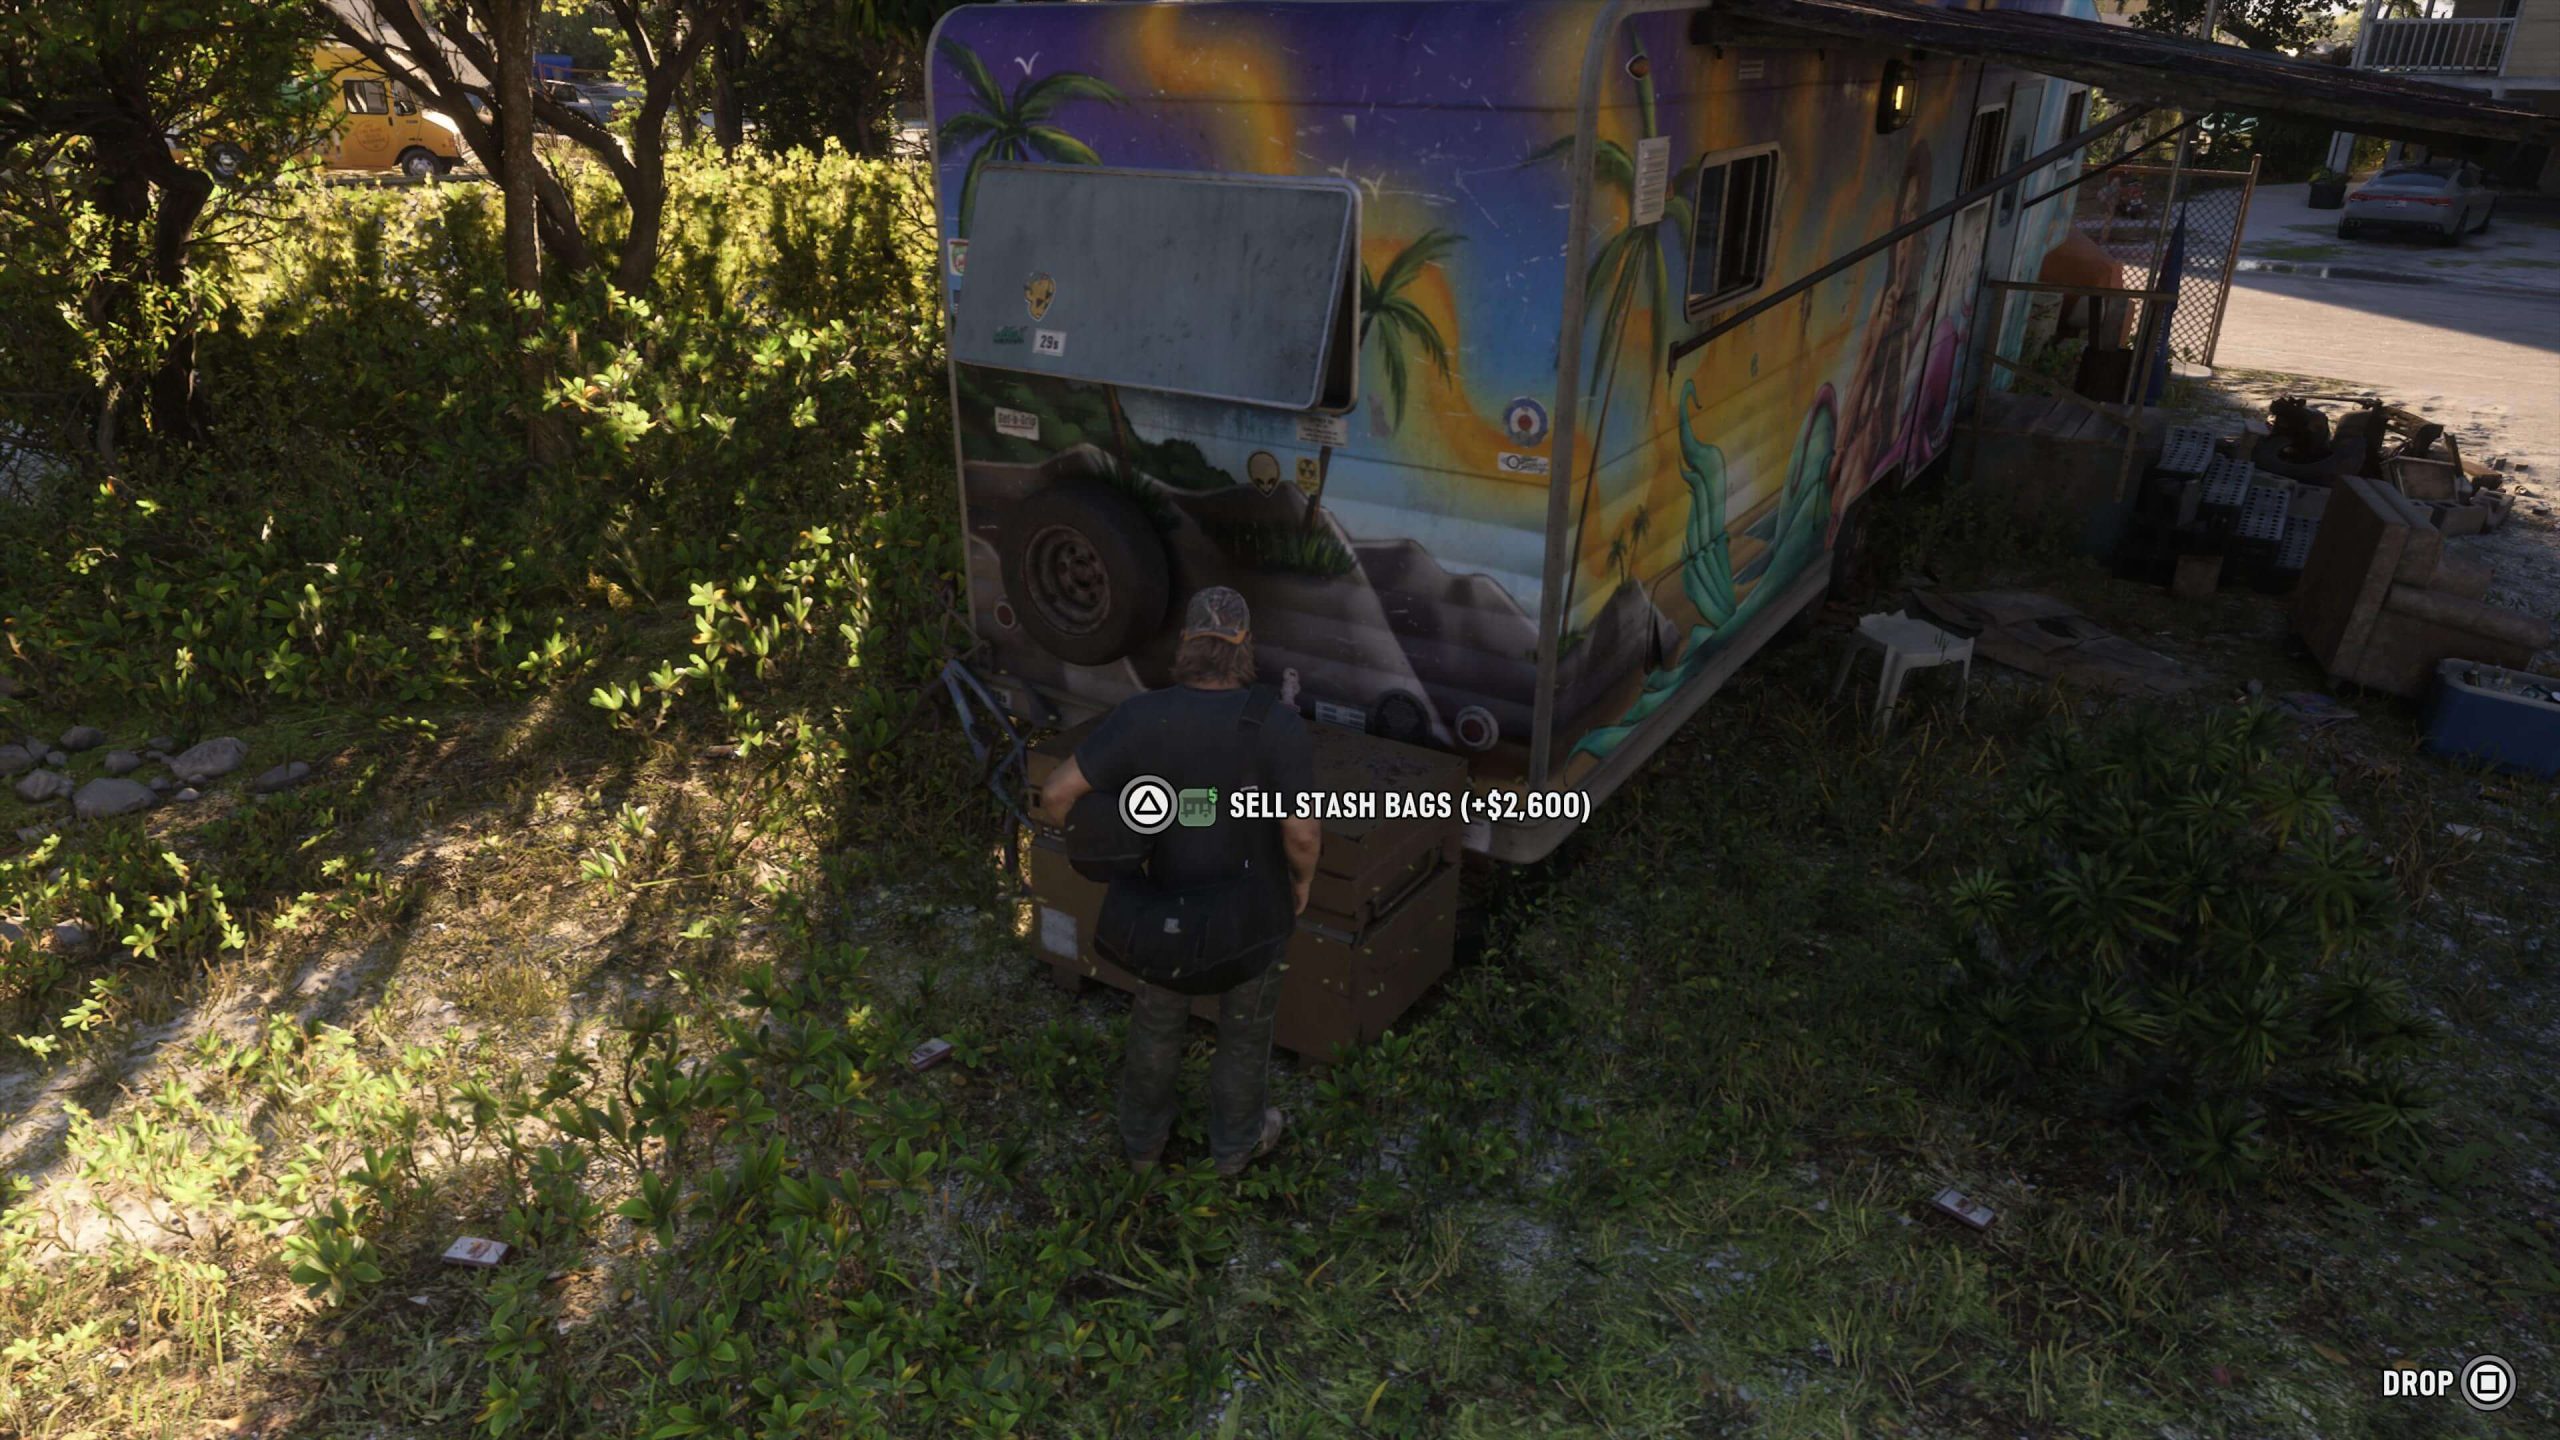
That’s all four locations done-and-dusted. You’ve now gotten all the lost drug packages, and while you’re not going to get a thank you, or a flashing ‘Mission Completed’ screen, you will get the monetary proceeds from it. Head back to Donnie’s trailer and place all the missing packages inside his bin at the back, and he’ll send the money over to your postbox to pick up the next day.
And that’s it, you’ve found all the lost drug packages in GTA 6 Chapter 1, and now can comtinue on about your day. Whether that’s completing the next story mission, increasing your strength or just exploring and making a nuisance of yourself is up to you!
For your next read, check out our list of the first ten things you should be doing when you first start GTA 6, or the nine games like GTA 6.

Luke Addison is the Founder and Editor-in-Chief of Thumb Wars. Having previously been a part of multiple outlets over the years, including building an entire gaming team from nothing to something, he thought it best to forge his own path and answer only to himself. As likely to be found playing the latest game as he is in the kitchen relaxing (by cooking), he always brings the same bold and brash attitude to everything he does, with a heavy leaning on sarcasm and dry wit!
Other GTA 6 Guides You Will Need
- GTA 6: How to Fix Jason’s Safehouse
- GTA 6 – The First 10 Things Everyone Should Do When Playing for the First Time
- When Does GTA 6 Come Out (And Does the New Zealand Trick Work?)