Last Updated on Aug 17, 2026 @ 16:57:37 PM.
Mortal Shell 2 is almost here, and we’ve been putting it through its paces for a couple of weeks. With it, we have some tips and tricks we wish someone else had told us before starting. From changing things up to returning to the same place time and again, some tips are obvious, others not so much, but we have everything you’re going to need to make Mortal Shell 2 a much easier experience than we had.
Don’t Stockpile Gloom
Gloom is everywhere. You get it for defeating enemies and bosses, for opening chests and destroying crates, and even for hitting the Gloom lamps standing up all over the place throughout the world. You can also lose it all at a moment’s notice if you’re not paying attention and die without having picked up any lost Gloom from a previous death. Early on, it’ll happen a lot, and there’s nothing worse than losing a big chunk of Gloom you could have used to level up your character, making your journey far easier. Don’t stockpile Gloom; you’re saving it for nothing.
One click and you're done. Thank you!
Try Out Multiple Combinations of Seals, Primary Weapons, Shells and Secondary Weapons
Mortal Shell 2 has taken everything the first game did and amped it up to eleven. With each shell having unique abilities, benefits, attributes, advantages and disadvantages, as well as multiple different primary and secondary weapon types, there’s more flexibility on offer than ever before. Add into that the new mechanic, Seals, which will also change up your playstyle, from parrying to the physical Hardening of your Shell, you truly will have a unique build compared to the next player.
Make sure you’re trying out multiple different combinations to ensure you’re finding the best fit for yourself, but also the scenario in front of you. Not every boss will be weak to the same items, seals, etc, same as every Shell will have a different purpose or place in the environment, so change it up, be flexible, and look for what works for you.
Explore
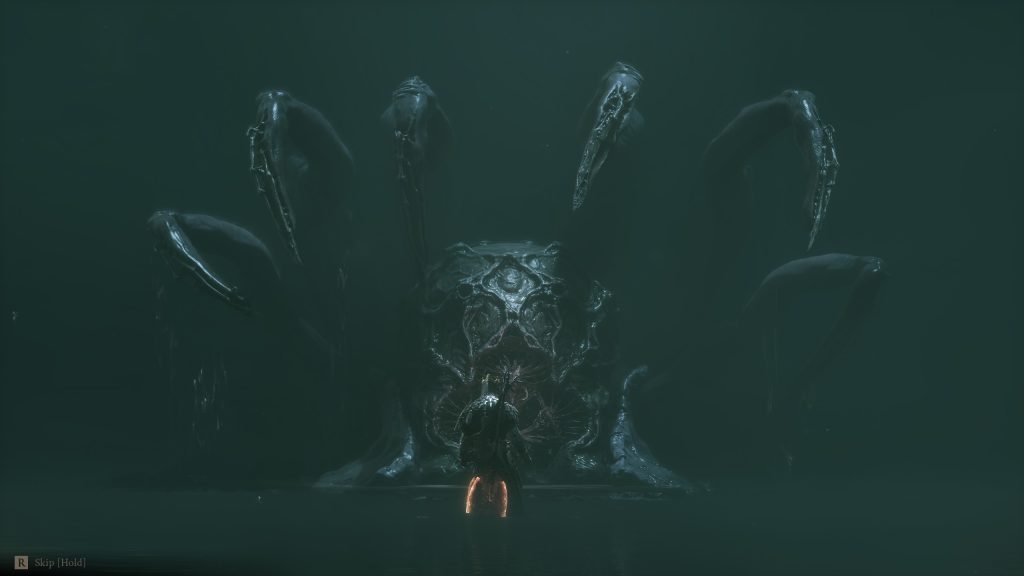
Much of Mortal Shell 2 is left up to the player to find and figure out. That single tip, explore, is the best one we can give. You can and will find all sorts of weird and wonderful things on your travels, from unique bosses, hidden weapons and tarstones, and so much more. The best way to experience the game is with as little direction as possible, so don’t worry too much about going off the beaten path, as it were, as you’ll regularly be rewarded for your time if you do. It’s also a great way of understanding the world around you, too.
Upgrade Your Weapons Regularly
Upgrading your weapons in Mortal Shell 2 isn’t particularly hard in practice, but it does take time. You’ll naturally find plenty of items and resources as you explore, and you can use these to upgrade your weapons, and you should. Each time you upgrade your weapon of choice, you’ll make it a little stronger and make your life easier in the process. There’s no reason not to be checking what you need and trying to upgrade as and when you can. Trust us.
Don’t Sleep on the Shopkeeper
Back at Marrow’s Keep, the Shopkeeper is an invaluable asset, much more than in other games. With your first meeting he’ll gift you a free map, which you can use to find a particular secondary weapon, but you can also purchase more from him. He has numerous maps for different weapons at different prices, and if you have the spare cash, they’ll help you find them to test them out. He also has a couple of items that’ll help you increase your health, which is paramount to succeeding in your adventure. Don’t ignore him.
Sell
Related to above, don’t be afraid to sell your loot. The items in the ‘Sell’ category at the shopkeeper have no other function than to line your coffers. Any items in there, you need to not worry about keeping and get rid. Gold is one of the major currencies in game, and you can never have enough, so make use of Merrick the Shopkeeper and get rid of your items to him.
Don’t Waste Glimpse, Be Precise With Your Purchases
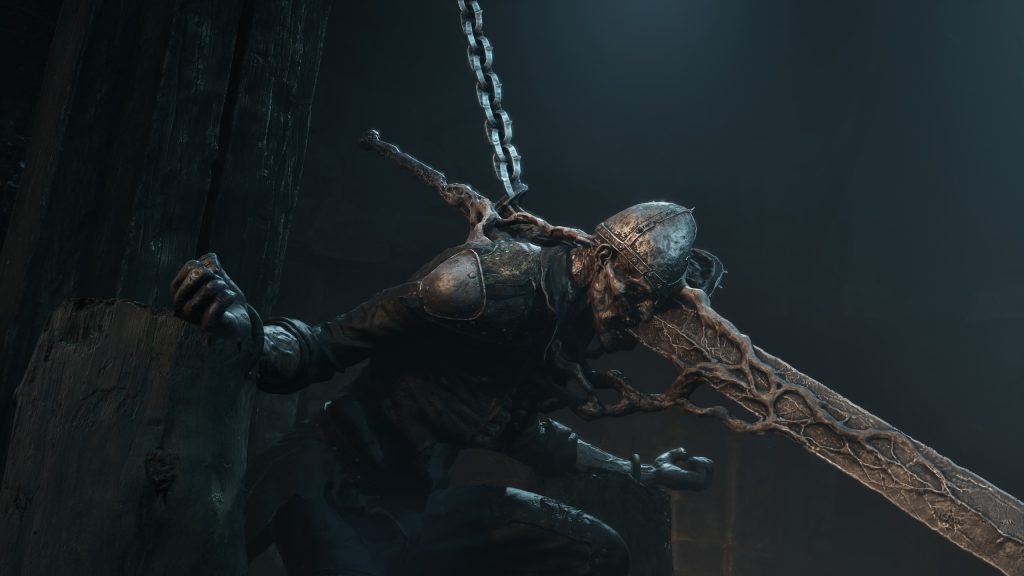
Glimpse is just one of the currencies in Mortal Shell 2. It’s given to you for all sorts of things, but primarily for beating enemies, and specifically, big bosses. You’ll also find plenty of it in and around Corrupted Gates. Because of how much you get early on, you may be thinking it’s fine to spend on anything and everything – except there’s not enough Glimpse in the game to buy everything.
It’s used for everything from upgrading your Shell Bonding with Zhirelle in Marrow’s Keep, to ‘buying’ the location of the Shells you’ve yet to find. Don’t bother doing the latter. The later levels of Shell Bonding give huge bonuses but also cost the most, and unless you’re in desperate need to find one particular Shell, using that Glimpse could be better spent. If you’re in need of all the Shell Locations, check here as we’ve got all of them found with directions.
Speak to the Same Characters Multiple Times
As you traverse the open world of Mortal Shell 2, you’ll meet a few faces that won’t immediately try and kill you. Whether it’s those in Marrow’s Keep or the eclectic people out in the open, you’ll want to chat to these every opportunity you get. Each of them will seemingly just have a line or two of dialogue, but if you return to them each time you’re nearby, you may just find things have changed; be it where they are, what they’re doing, or what they have to say. Secret questlines, as it were; some will reward you for finishing, others… well, you’ll see. Just make sure to talk to them.
Return to Marrow’s Keep Regularly
Marrow’s Keep is your central hub in Mortal Shell 2, and houses most of the important characters you’ll need to keep up with. Whether it’s Franz for the weapon upgrades, a quick chat with Sester Genessa, or siphoning off the Ova you’ve found in Beacons, there’s no advantage to keeping huge amounts of time between your trips back.
Abuse Lock-on
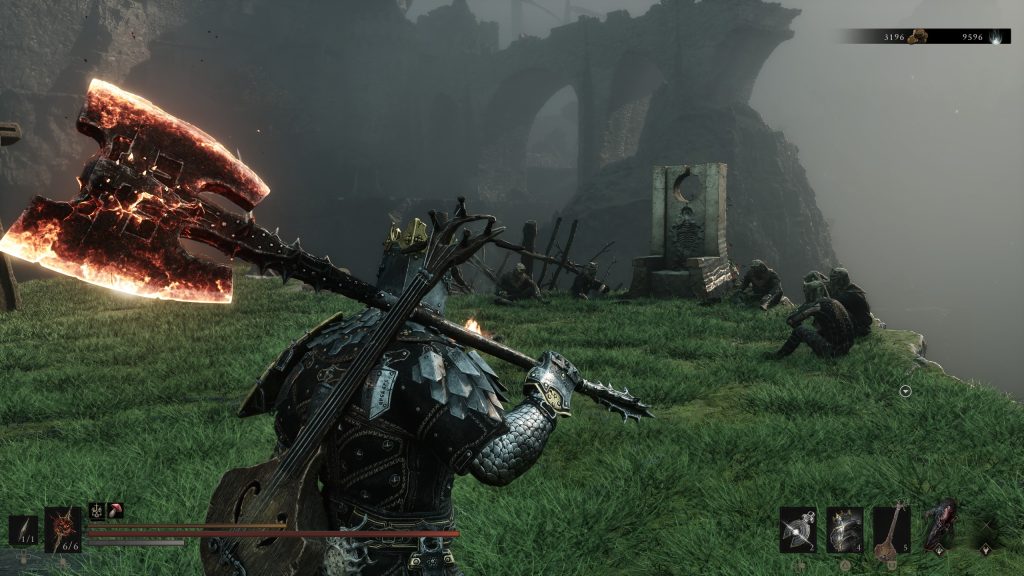
An obvious tip that all players should take heed of. In fact, it’s a tip that every Soulslike should he played with in mind. There’s an abundance of enemies that hide around corners, in darkness and under water, and there’s always one more than you realised. Locking on may feel cheap, but it could save your life, and therefore your Gloom, so it could be worth resorting to.
Use the Troubadour Lute
Maybe it’s unfair on the other weapons, but if you’re not using the Troubadour Lute as your Secondary Weapon, you’re making the game far harder for yourself. Yes, you lose some ranged functionality, as you won’t be shooting your enemies so much as hitting them with sound. And yes, that sounds awful; however, when you hit your enemies with the sound from the Lute, it’ll either instil Confusion, making them attack the other enemies in their vicinity, which comes in handy against crowds of enemies or even bosses with minions in tow, or it’ll cause Break damage.
As you know, get enough Break damage, and you’ll be able to stun the enemy and perform a Riposte attack on them. It’s unfair how good the Troubadour Lute is, and at this point, it’s basically a cheat code to make the journey easier for you. If you haven’t found it and want to know where it is, check it out all the weapons locations here.
Head to the Birds on the Map
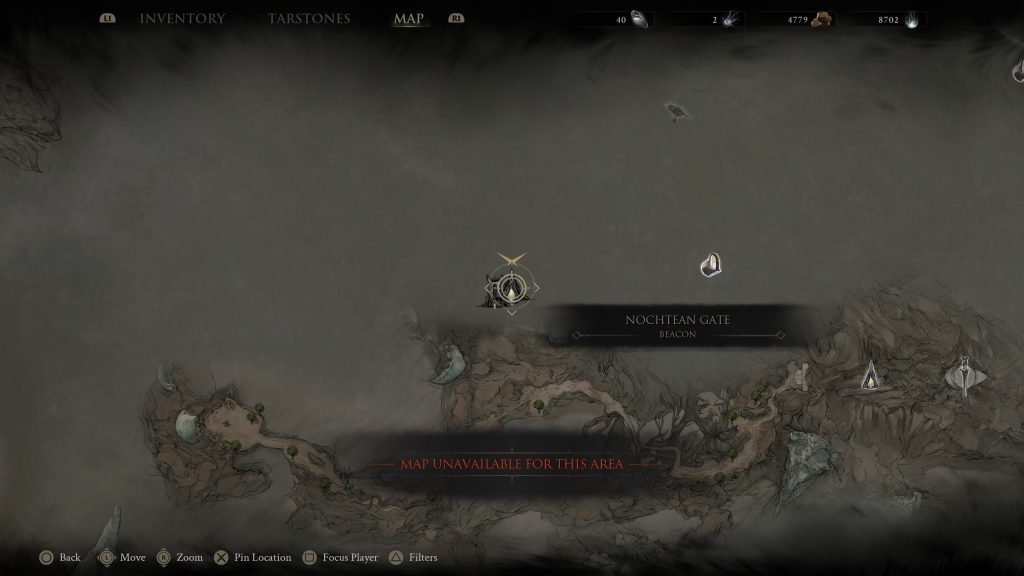
Mortal Shell 2 does a good job of hiding multiple mechanics and features from you, and that includes what the little birds mean on the game’s map. Well, as obvious as it might sound, those are the locations where you’ll encounter Ruk, and he’ll give you a gift, as he says. This gift is always on a plinth at his feet, and is in fact a map that uncovers some of the fog from your own pause menu map. It cannot be understated just how helpful these maps are, as actually being able to see where you’re going could be the difference between life and death.
Do the Trials
Around the open world are Corrupted Statues that, when interacted with, turn out to be in-game trials. If you activate them, the surrounding statues come to life, or enemies appear out of thin air to kill you. Defeat them, and you’ll complete the trials. Sometimes the rewards don’t match the effort, but others you’ll get huge amounts of Gloom, a new Synaptic Vessel (used to increase health), or gold. It’d be a good idea to only try these trials out when you have a good amount of health and health potions at your disposal, though, as they’re rarely easy.
Be Aware of Your Surroundings
An obvious one for any Soulslike, really. The number of times I died because an enemy appeared from behind me, or I dodged/ran straight off a cliff wouldn’t be a number I’d want to know, if I’m honest. Just make sure that when you’re fighting or exploring, you always know what’s around you, and don’t be stupid or arrogant enough to sprint round corners. There’s almost always something lurking there ready to hurt you. Oh, and look up!
‘Suicide Runs’ Aren’t Always a Bad Idea
To counteract what I just said, sometimes running through the enemies from one Beacon to your destination is what you need to do. If you keep getting to a boss almost dead, then maybe you’re dying to said boss because of the trip there, not the boss itself. Sometimes, and only sometimes, just running through the crowd of enemies, or better yet, avoiding them completely, is a better course of action than trying to fight them all, all the time.
This also extends to not always choosing to fight when you’re faced with it in a minute-by-minute encounter. You might be low on health, you might need to get past someone or something, and you can either fight or run away. If running guarantees your survival and saves you from potentially losing a huge amount of Gloom, well, where’s the shame in that?
For your next read, go see our full thoughts in our Mortal Shell 2 review!

Luke Addison is the Founder and Editor-in-Chief of Thumb Wars. Having previously been a part of multiple outlets over the years, including building an entire gaming team from nothing to something, he thought it best to forge his own path and answer only to himself. As likely to be found playing the latest game as he is in the kitchen relaxing (by cooking), he always brings the same bold and brash attitude to everything he does, with a heavy leaning on sarcasm and dry wit!