Mortal Shell 2 has a range of weapons, both primary and secondary fitting a range of playstyles and players. Finding them all though, well, unless you want to shell out a huge amount of gold with Merrick, it’s going to be really difficult in the huge open world of the game. Thankfully, we have everything you’ll need to find all of Mortal Shell 2‘s weapon locations, and explainers of what they do.
Table of Contents
Primary Weapons
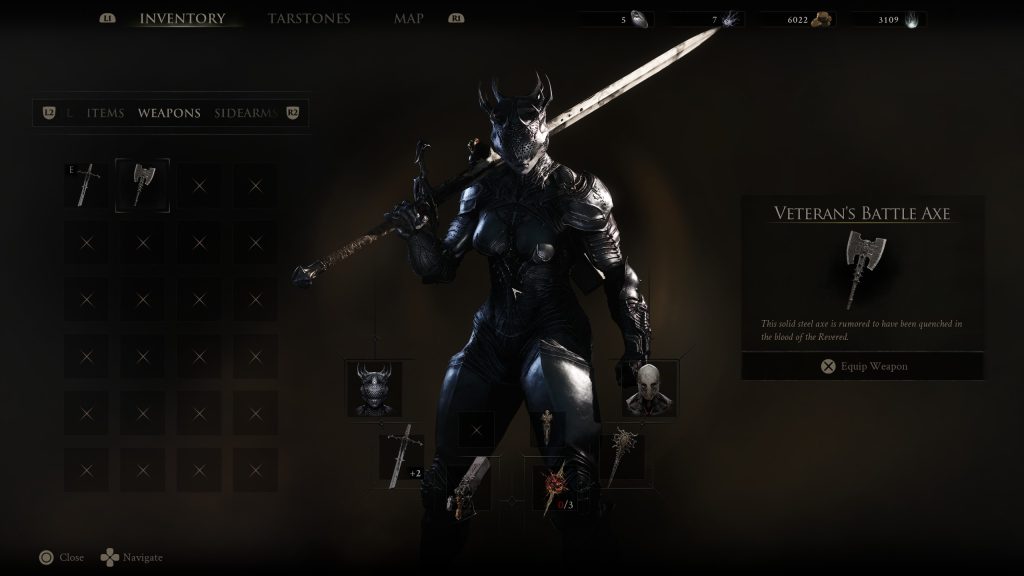
Veteran’s Battle Axe
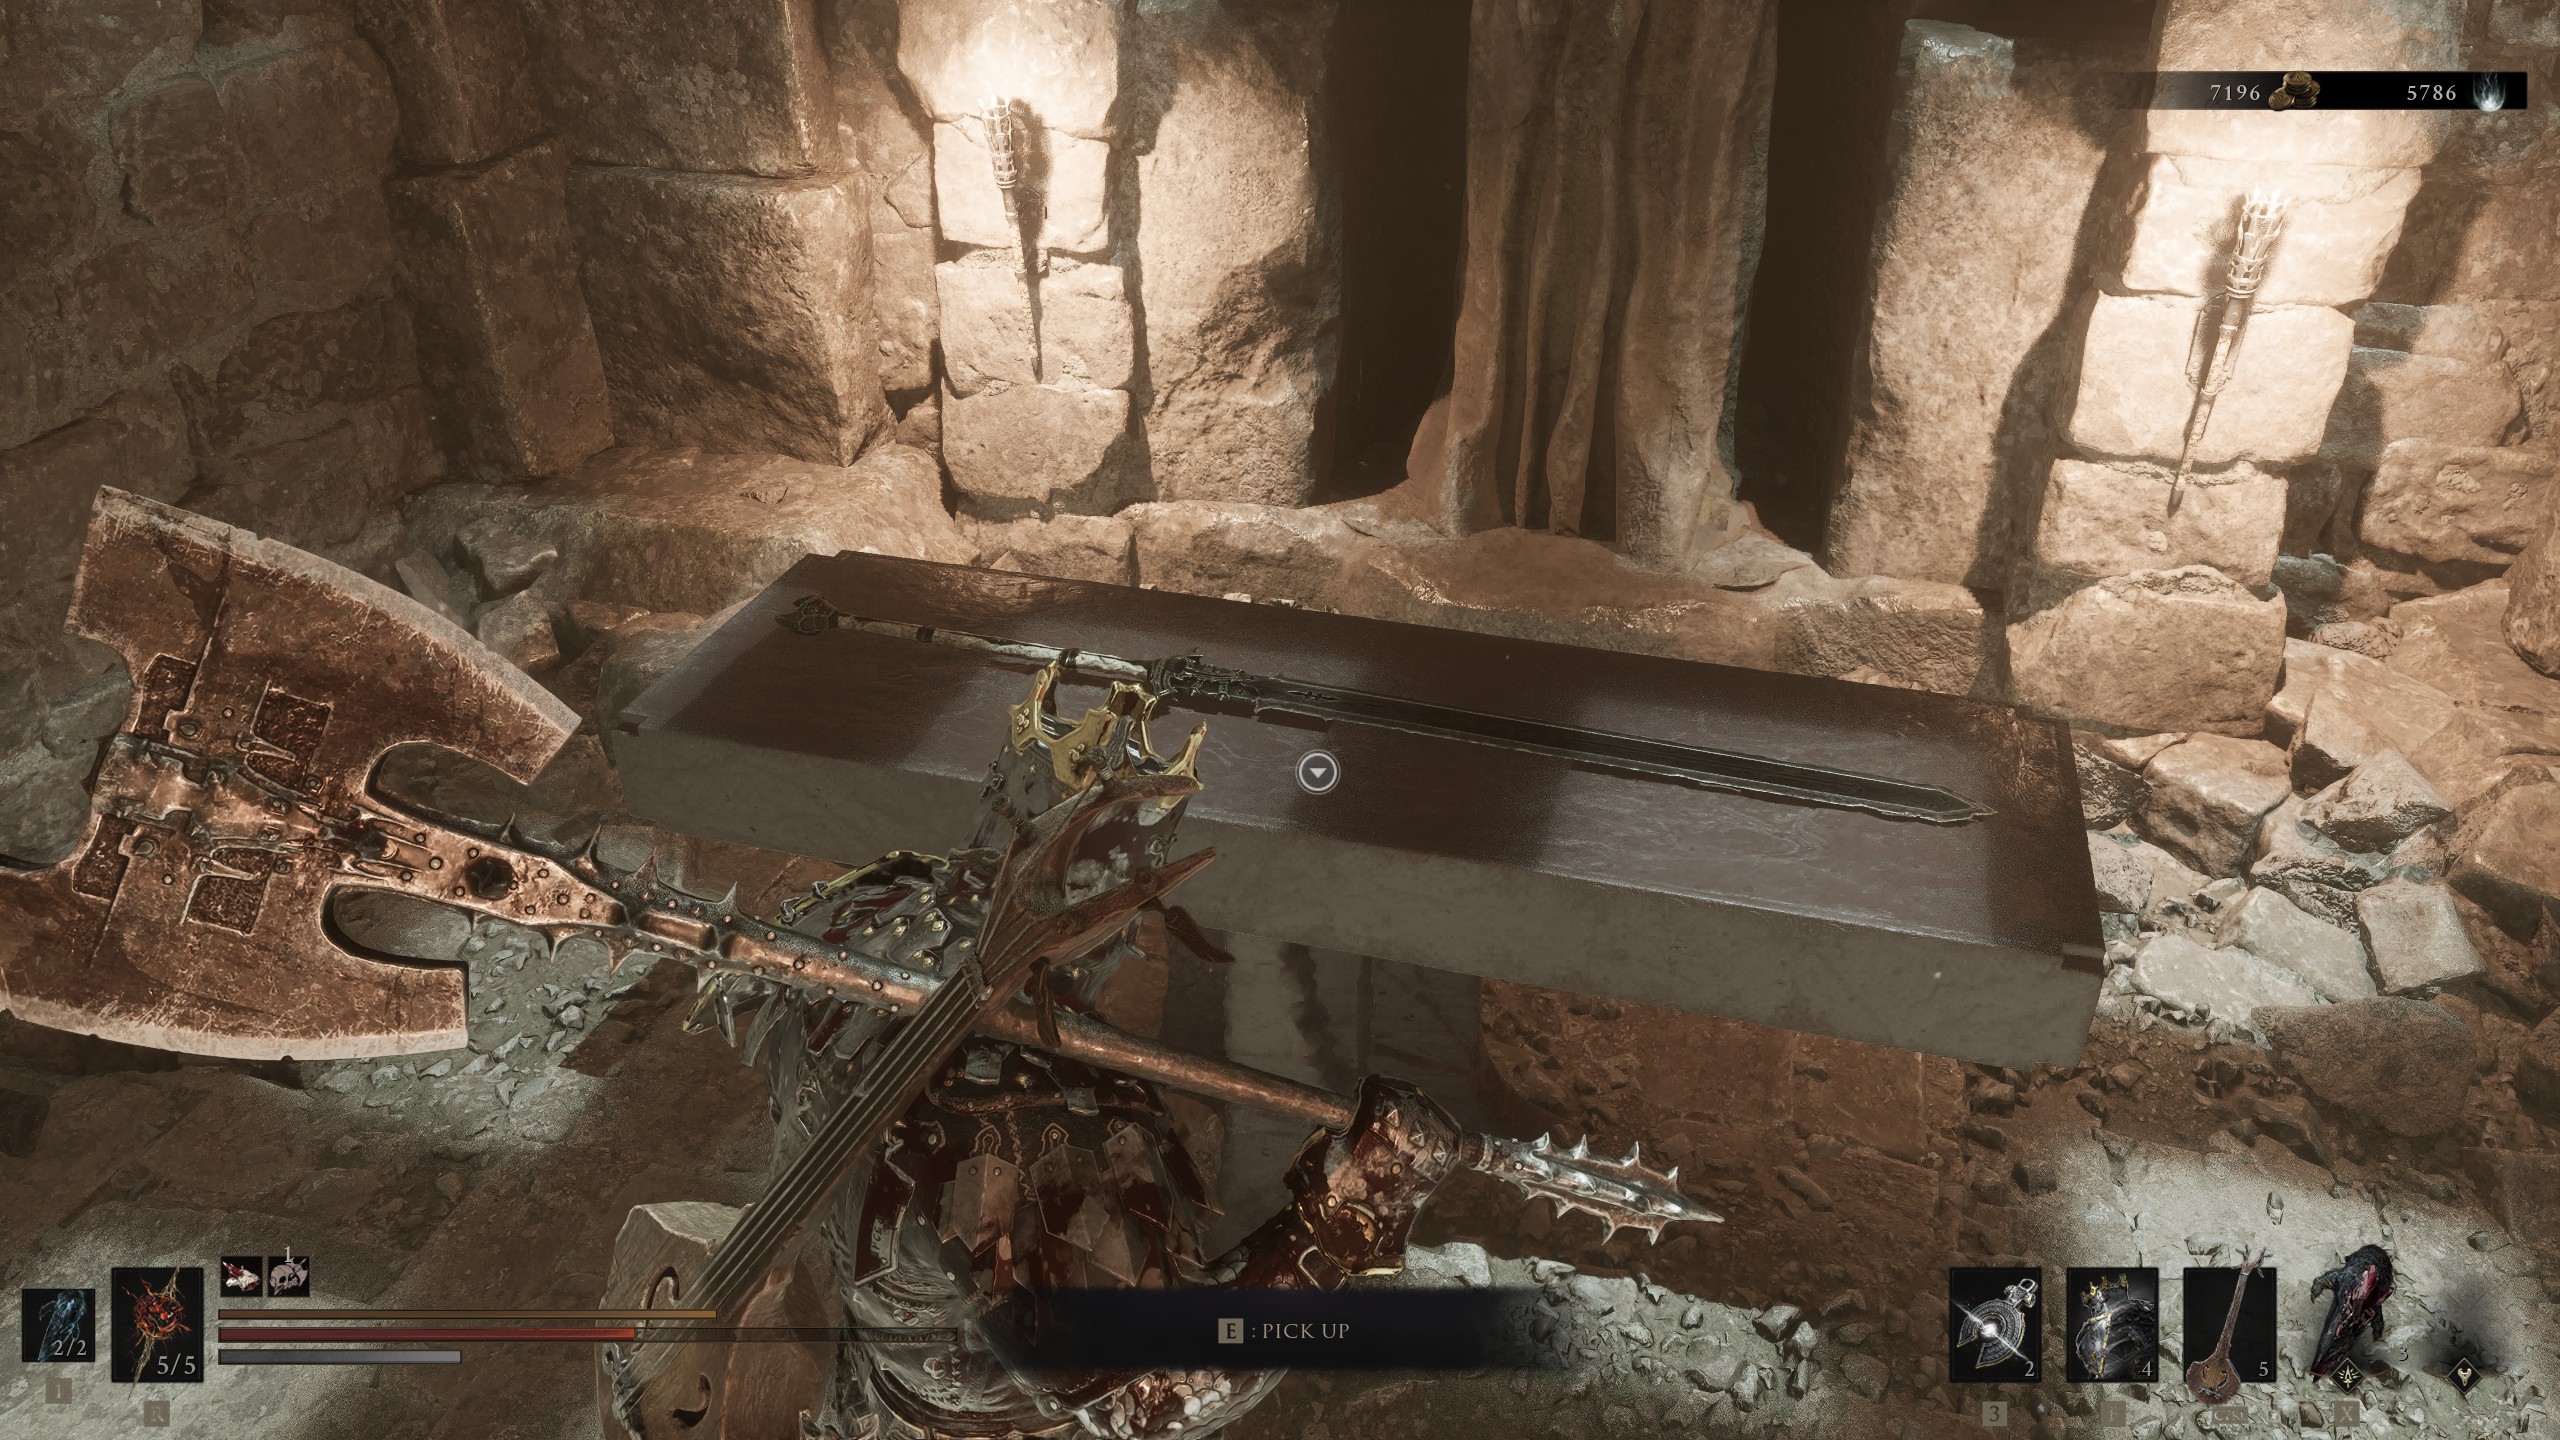
If two-handed axes are your thing, you’ll want to be heading straight for the Veteran’s Battle Axe in Mortal Shell 2, but unfortunately getting to it is less easy than you might think. First of all, you’ll want to fly to Widow’s Overlook, and then head past the skirmish of enemies right before you find Proxima’s Shell. Head to the far left of the skirmish, along the quagmire on the cliff where six enemies spawn, and over the wooden bridge. Now head up the hill and then follow it down, and you’ll be in a clearing with a lone bowman in the centre. As soon as you approach, more enemies will spawn; however, where you’re headed is to the right, in the cave – the King’s Crypt.
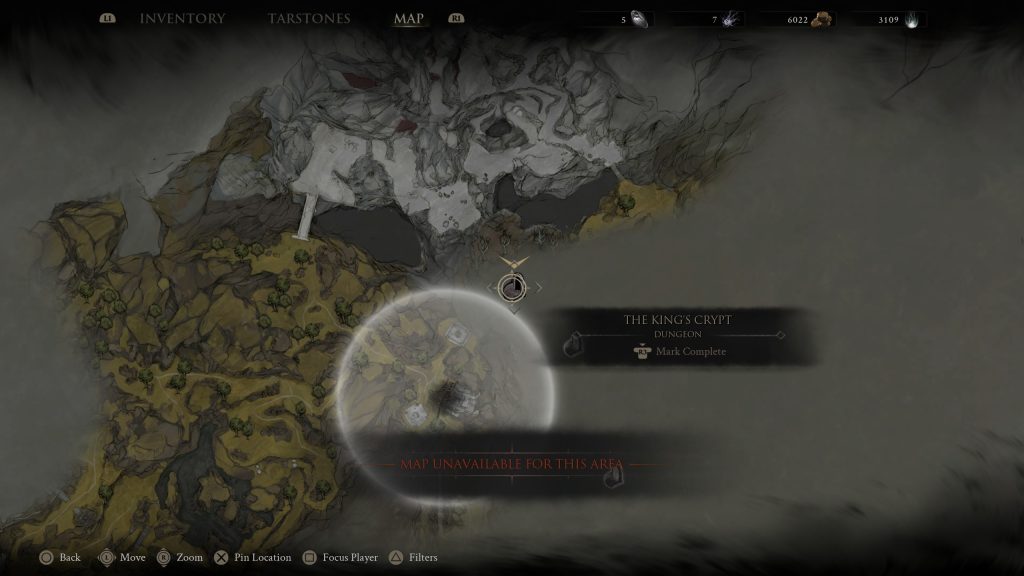
Head into the King’s Crypt and down the wooden elevator, and you’ll have to work your way through this dungeon to get to the end and your loot. That said, you’ll need to do it slowly and carefully, as the Crypt is full of traps, both bear traps and pressure traps that’ll shoot arrows into you. Take your time and make sure not to set these off, allowing instead the encroaching enemies to damage themselves with them.
One click and you're done. Thank you!
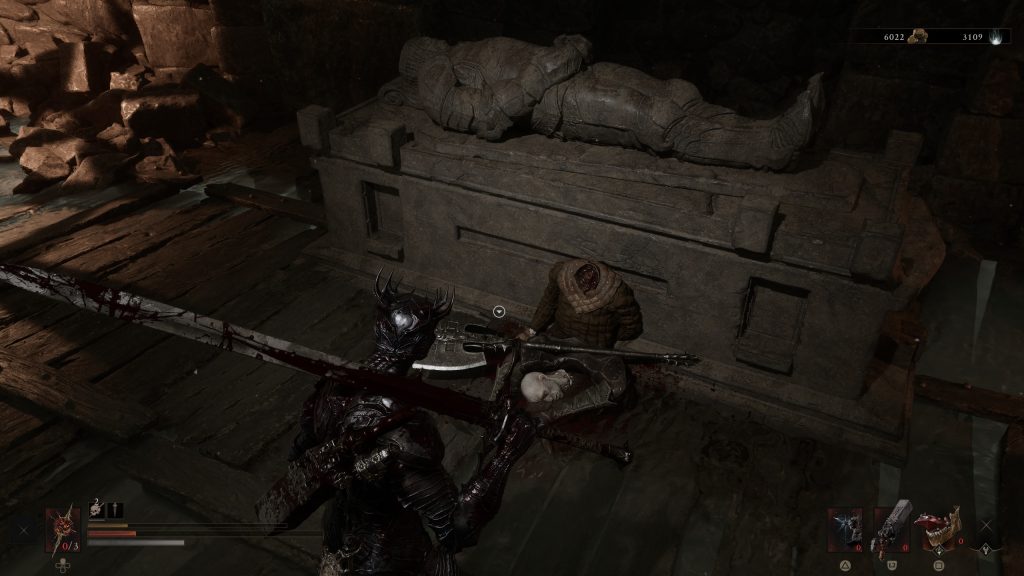
There are exploding enemies, swordsmen, and the massive knights here, so be ready for a fight. After a few minutes, you’ll come to a hole with nowhere else to go. Make sure you have plenty of health and jump down it. You’ll land in a flooded cell, and make sure to be on your guard immediately, as there is a strong Knight right next to you. Kill him, then turn around and head to the unfortunate decapitated gentleman next to the sarcophagus, and take the Veteran’s Battle Axe from his hands. Hopefully you’ll make better use of it than he did.
Axe and Dagger
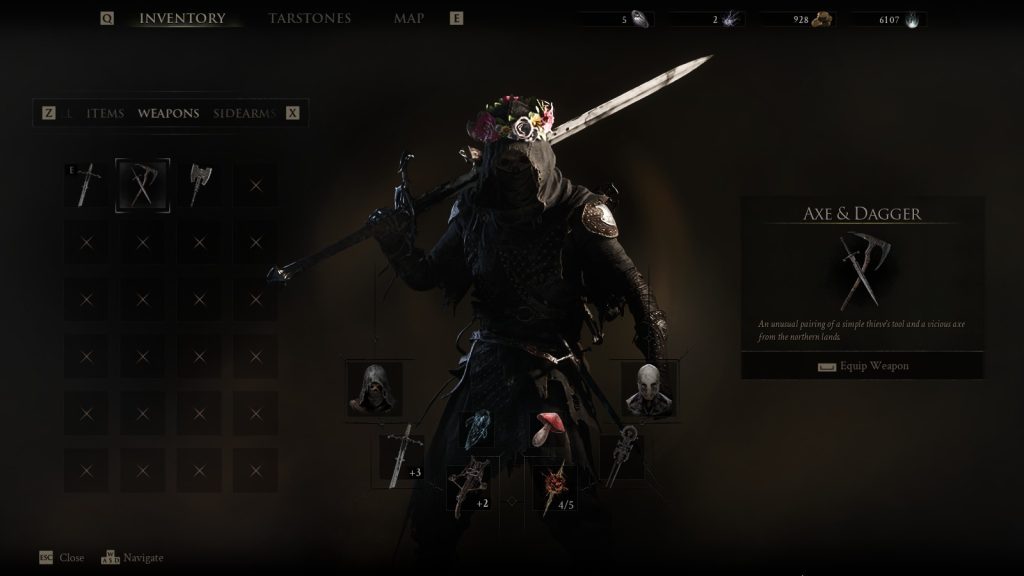
If you enjoy the idea of dual-wielding and feeling like a thief moving rapidly in a fight, then look no further than the Axe and Dagger weapon in Mortal Shell 2, as it provides that exact experience, especially when you play with the Tiel shell. In order to find this weapon, you will need to do a small amount of running around before entering the dungeon it is contained within, but once you do, it is quite easy to obtain.
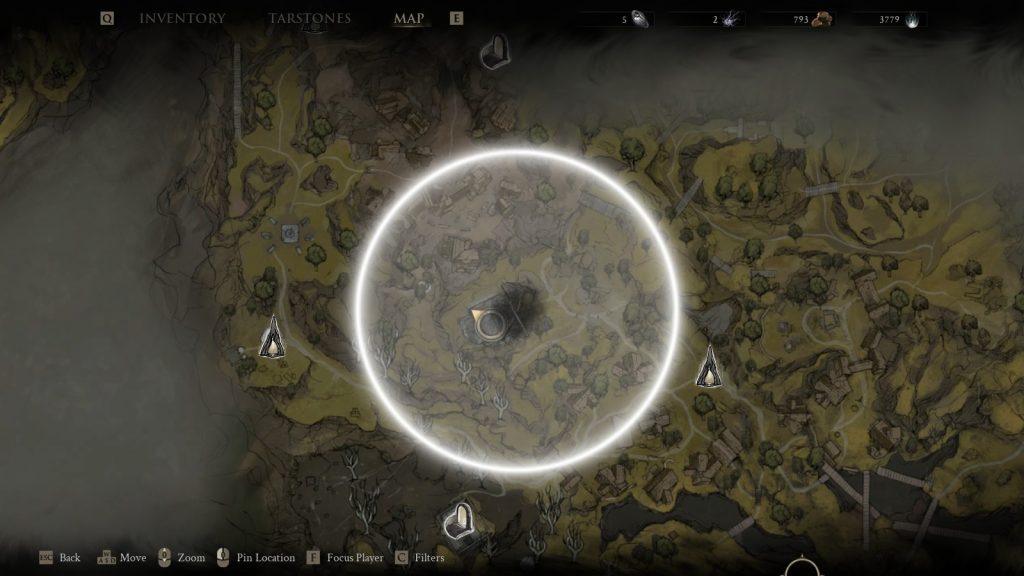
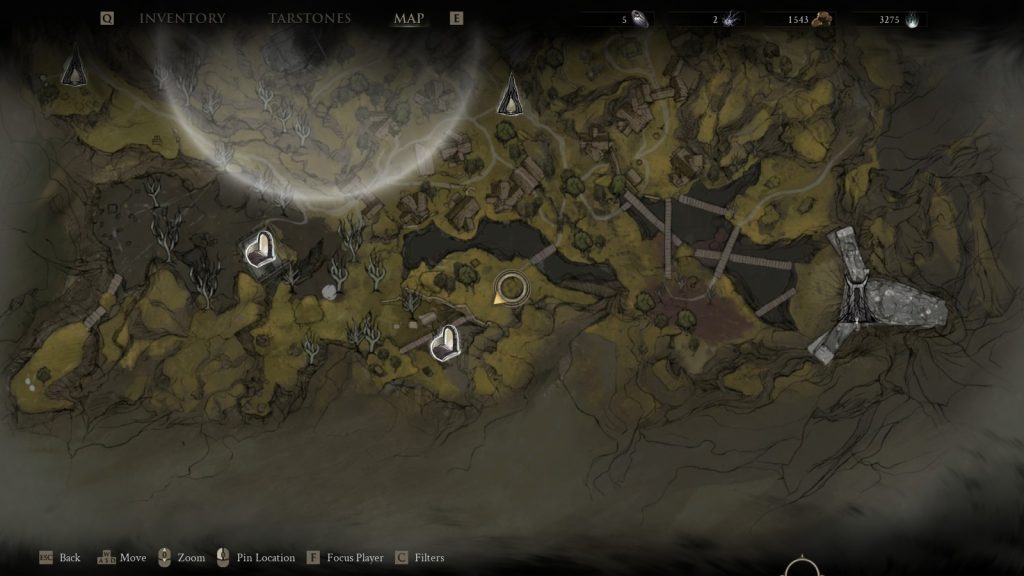
To begin your search for the Axe and Dagger, you will need to head to the Mushroom Village Beacon and head towards the East side of the map, or in other words, if you have the map guiding you towards the weapon’s location, you will head the opposite way first.
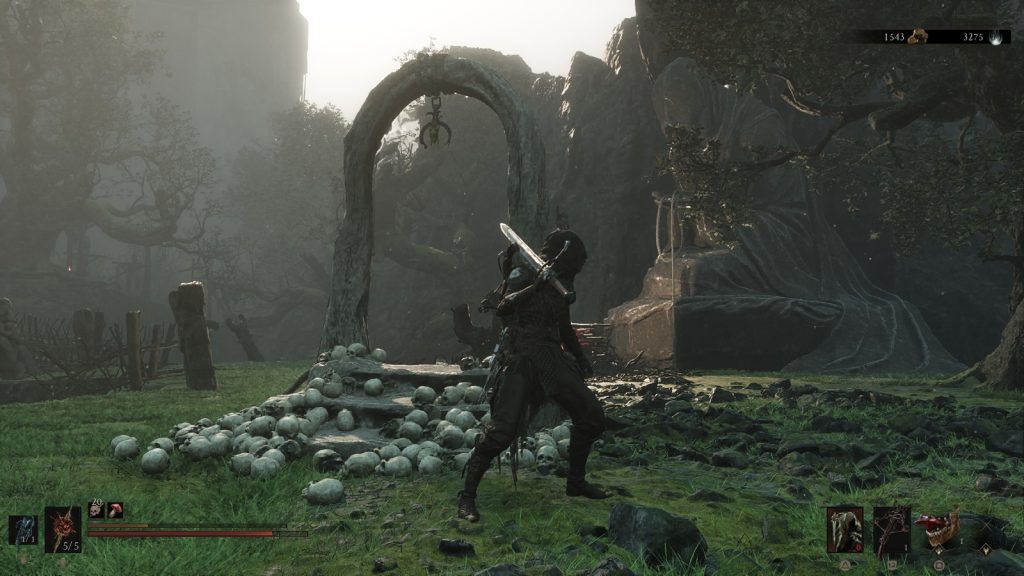
Once you start heading this way, you will see the path begins to diverge in three directions; you will want to follow the path towards the right and head down a small hill and a bridge that leads towards a bonfire. This location is your target, so once you defeat all the enemies around this area, you will notice an archway that looks towards the bonfire. If you head to the side that allows you to look at the bonfire through it, you will notice a statue will appear on the other side.
After this, you will need to walk through the archway to ensure that the statue doesn’t disappear and walk over to it to claim a Chapel key. Now that you have the key to open the location the Axe and Dagger can be located in, head back to the Mushroom Village Beacon and head west this time towards the designated location to find yourself at the Chapel.
When we first came to the church, there was a band of Grisha hunters, with one of them being a vendor, so do not forget to check them out for some cool and funny stuff before you miss them, including asking for a key from them too. Now that you have the Chapel key, head over to the door of the Chapel and unlock it, providing you access to the dungeon Shrine of Trials.
As you enter the Shrine of Trials, expect the entrance to be the same as the others in Mortal Shell 2 with a small staircase and an elevator, but once you are past this, the ‘trials’ begin. The first room you will encounter looks pretty normal with a group of enemies worshiping a statue at the end of the hall, but the problem you will eventually face is that there is no exit to this hallway, or at least that’s what you might think.
Once you clear out the enemies, you will have to walk over to the statue at the end of the hall and read the inscription upon it, which tells you to look at said statue and walk backwards from it, which allows you to pass through the wall. After this, you will enter a new room that has a phantom flying within that you will need to kill and a large sliding puzzle in the room that requires you to move a block by hitting it until it stops on a pressure plate on the floor.
This first room is rather simple to figure out, as you simply need to hit the block either left or forwards from its base position, and then if you hit it left, you will need to hit it forwards, or if you hit it forwards, you will then need to hit it to the left. After doing either of these solutions, you will be able to enter the next room, but grab the loot in the room before progressing!
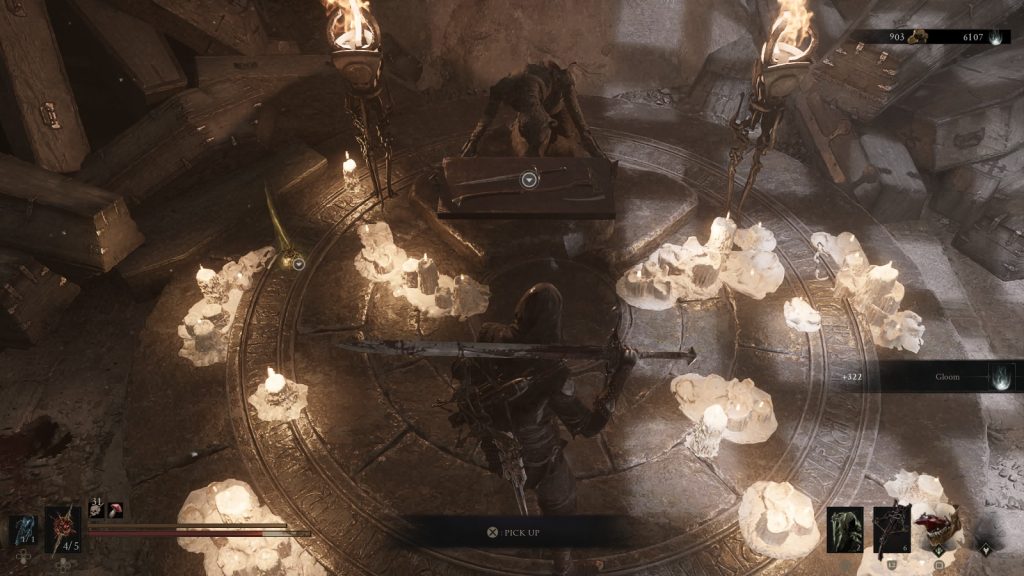
The next room has two blocks to move and two plates to cover. Although this might look complicated, there is quite an easy answer to this puzzle. The first step for this solution is to hit the right-hand block forwards so that it goes the maximum distance past the pressure plate on the floor and then proceed to hit the second block to the right so that it fills in the gap that the first block filled.
Now you will be able to hit the second block forwards onto the first pressure plate that the first block went past, meaning that you only need to hit the first block to the left so that it ends up on the second pressure plate. However, be warned that even though the second block is on a pressure plate, it will still move when hit, so we recommend doing a small or stabbing attack on the first block so it moves on its own rather than both at once.
Now all the puzzles are complete; your last objective is to kill a knight that has been waiting for you in the final room before being able to acquire this interesting and fun weapon, the Axe and Dagger.
Great Martyr’s Blade
If you like longswords in Soulslikes, you’re going to want to head over to where the Great Martyr’s Blade is located early on. As you look at the map, you’ll want to be moving towards the top left of the map, which, if you’ve had the pleasure of fighting the Warden, is where the Citadel of Penance is also located. Breathe a sigh of relief, though, as you won’t need to traverse through any of that hellhole to get to the Great Martyr’s Blade.
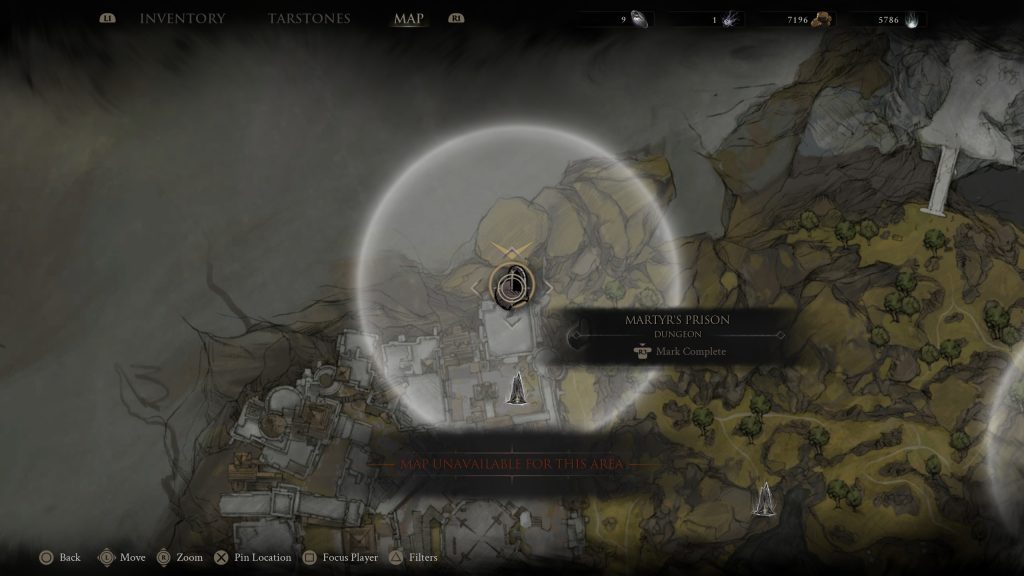
Fast travel to the Gloomshade Grove Beacon, and then head left up the caved hill, and in front of you will be the entrance to the Citadel of Penance. Head right, push through a small gap in a wall, and fight the enemies in front of you. Go past the Holding Cells dungeon hidden in the well, where you’d fight the Rabid Grishna Pack, and round the corner to the familiar sight of a silvery veil dungeon. Enter this, and take the usual route round and to the elevator. After the elevator, you’ll need to head down the stairs and pick up the ominously titled ‘???’ item. This transports you into a cell inside the Martyr’s Prison.
Next up is more fighting. Break open the cell door with a swing of your weapon, kill the couple of enemies present and explore the couple of rooms. You’re looking for a button to press on the wall, which is located in the right room on the wall. Press it, and the gate opens, presenting you with another big fight, this time with an entirely new enemy. Not a boss, but one big boulder of a guy that literally rolls over you to damage you – I’d suggest using the Troubadour Lute if you have it to cause Confusion and get him on your side.
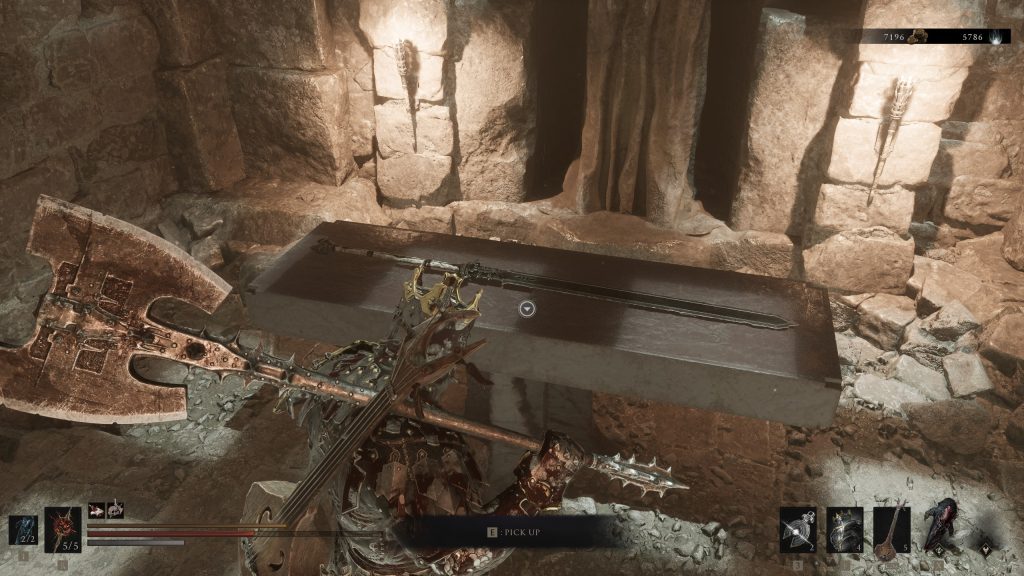
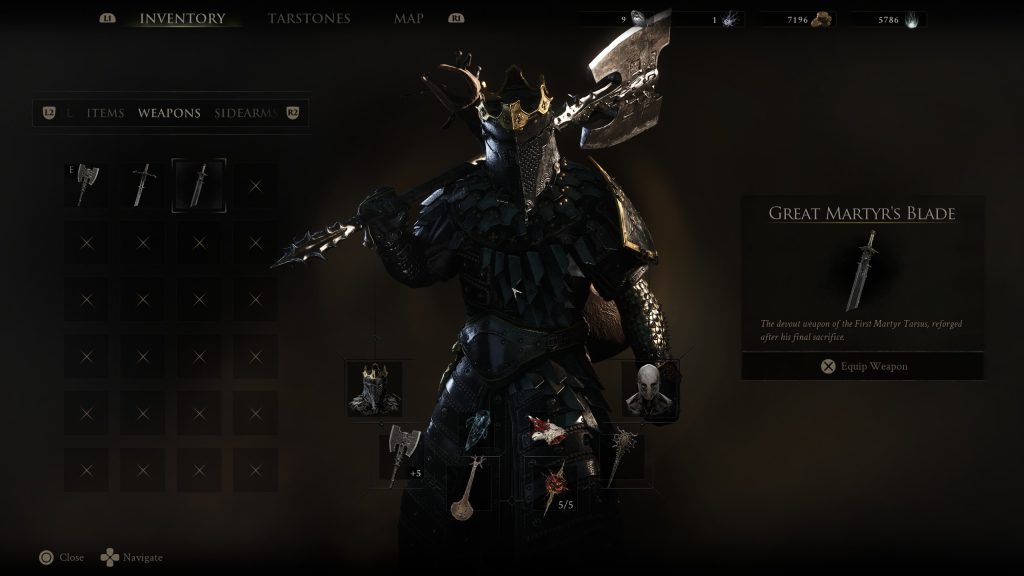
Once you’ve killed these few guys and grabbed everything in the room, you’ll just need to go through the door to the right and pick up the Great Martyr’s Blade, a two-handed longsword, and unlock the Big Boi trophy/achievement at the same time.
Black Needle
Are you looking for a fast weapon that deals devastating damage while also looking cool? Then the Black Needle is the perfect weapon for you, but finding it could be a small challenge if you aren’t prepared. In order to find the Black Needle, you will first need to head to the southern half of Mortal Shell 2‘s map and head to the eastern side through various teleport points that lead you to the …
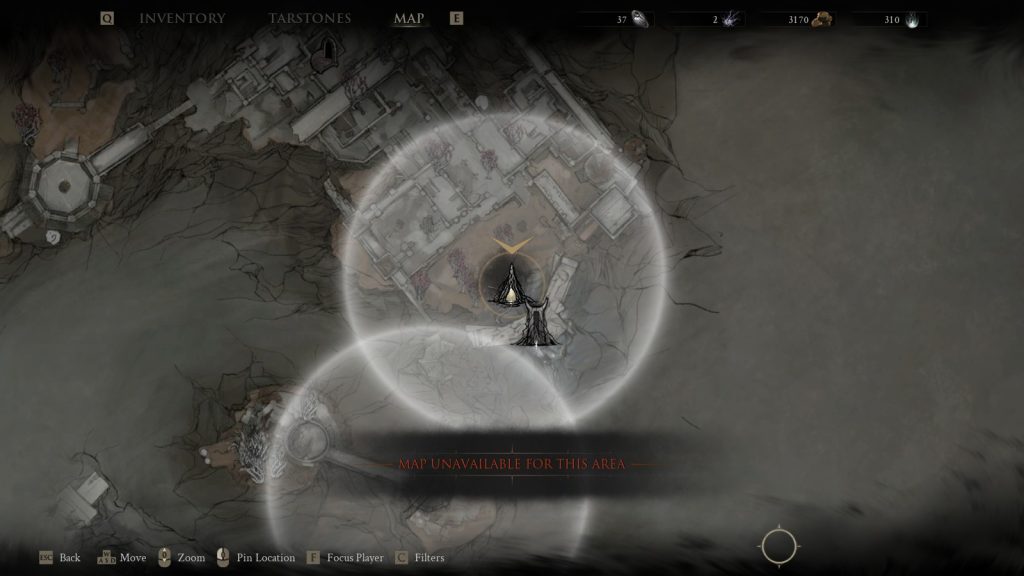
Once you get to … through one of the two pathways, what you will need to do is progress through … until you arrive at the beacon by the Corrupted Game that blocks your way forward. To find the Black Needle, what you will need to do is enter this beacon and head down into its depths.
After you get further into the beacon, you will come across a few enemies that you will have already fought before and a new puzzle that you will have to solve. The way this puzzle works is that there is a large bell to the left of the chasm you eventually come across, which you will then have to hit in order to create a bridge. This is the integral mechanic of this beacon, as you will come across another chasm after being attacked by exploding bats, for which you will need to use a ranged weapon to hit the bell to create another bridge.
Now that you have progressed past the initial puzzle of this beacon, you will now come across a rather large room with a stone bridge that has fallen down and turned into a large ramp. Unfortunately, there are parts of this ramp that have fallen apart, meaning you will have to search for 3 bells to finish the bridge.
If you think it will be as easy as walking up the ramp and finding the bells up there, you sadly will be mistaken, as the bells can only be found on the ground level of this area and will need you to explore around to find them. Although you have to search around the ground level, you will still find the bells attached to the ramp in some form, whether it be the first bell on the left of the ramp, the second bell being on the right but rather high up the wall, or the final bell towards the end of the ramp but in the middle hidden between two struts.
At this point, you will in a sense be ready to acquire the Black Needle weapon, but sadly there is one last catch to this, as once you get to the top of this ramp, you will then enter an arena in which you will fight the Twin Sesters and Stray Sesters bosses whose guide you can find here, and once you defeat them, you will automatically acquire the Black Needle weapon.

Obsidian Hammer
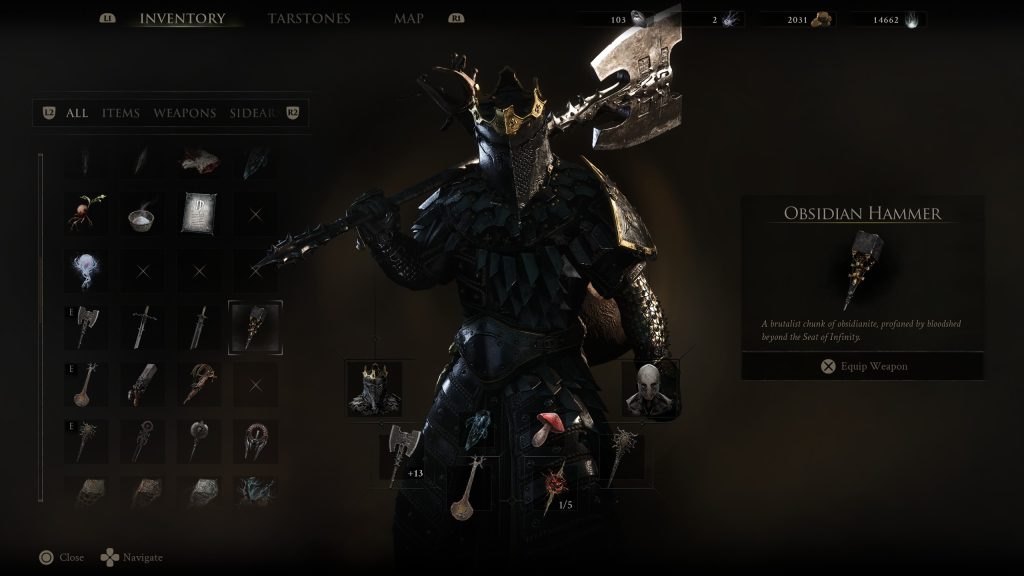
The Obsidian Hammer is the lovely reward for beating one of the game’s bosses. Hidden away in a dungeon on the southern half of Mortal Shell 2’s map, you’ll have to fight your way through mineshafts, boardwalks, flooded quarries, and the dungeon itself to get to it.
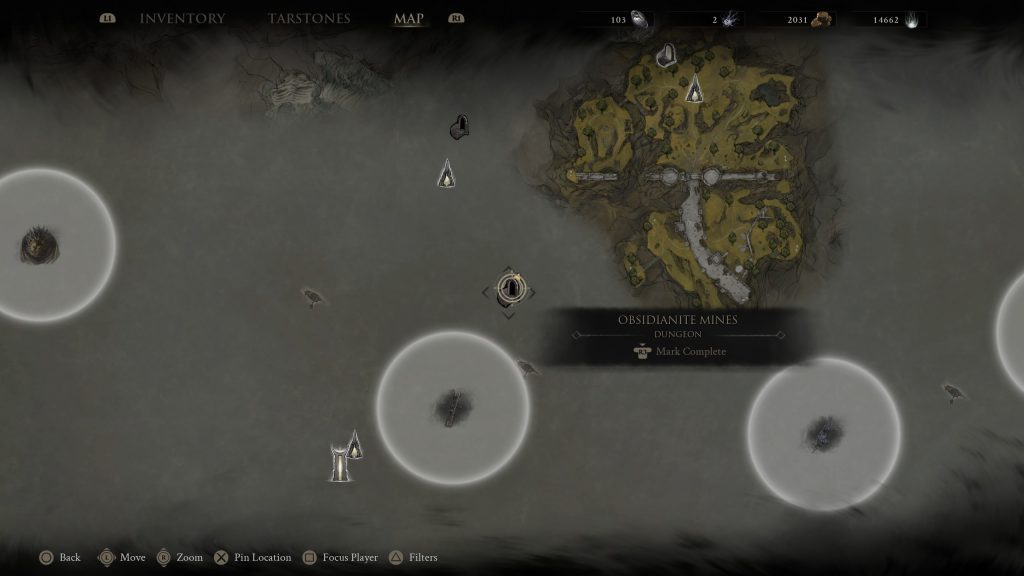
Starting at the abandoned outpost, you’ll want to progress south until you hit a clear mining town. You’ll have to jump over a traversal gap and head right down a hill that’ll take you to a small encampment. Kill these two or three knights and also the boulder-hurling-massive-one, and continue on. You’ll find yourself ending up in a flooded quarry. You can head right, up the wooden slope and continue your exploration, or you can move towards the dungeon on the other side of the quarry, the Obsidianite Mines, and grab your new hammer.
Once you’re inside, it’s a pretty linear trip to the main arena. You’ll encounter a few miners, the weird tongue guys and have to work your way down some questionable drops – just make sure to land on the next platform, and don’t miss! You’ll then end up in front of a ritualistic-looking Stonehenge area, with the Prophet of Profane Infinities in the centre. Once you beat him, you’ll be rewarded with several things, but the biggest and best is the Obsidian Hammer.
Clockwork Scythe
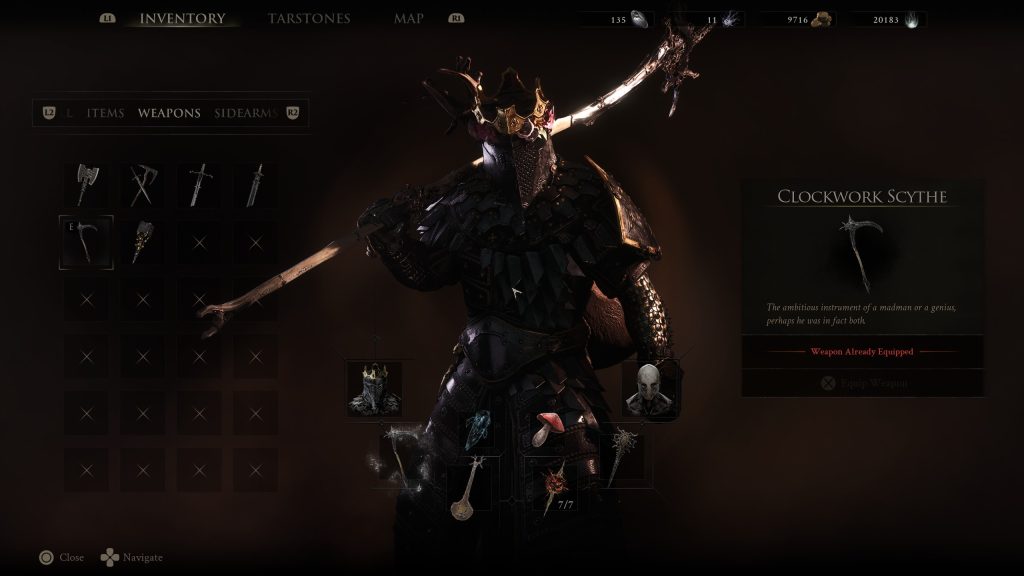
If you’ve ever seen the Grim Reaper, then you know exactly what a scythe is. The Clockwork Scythe in Mortal Shell 2 works in the same fashion, and is great for crowd control thanks to its wide, sweeping arcs. Getting it is a bit of a mission though.

At the bottom half of the map, you won’t be far from the southernmost Corrupted Gate. Starting from the Silent Steps beacon, you’ll want to head towards the huge stone area directly opposite. It’s unmissable. Jump across the huge gap via the traversal gate and head forward, ignoring the enemies in front of you. You’ll pass a big open and empty area on your left; this is where you need to head. You’ll fight Sariel, but he poses little issue here. Beating him opens the huge gate behind you, and you’ll want to now head up there to the top and into the dungeon.
In the dungeon, it’s very linear, and after you end up at the back and beat Sariel, you’ll receive his shell, but also his weapon, the Clockwork Scythe. If you didn’t know it was there, or how to beat Sariel, it can end up being a pain. Now you have the weapon and can use it to kill as many as you like!
Axatana
Are you looking to acquire two weapons at the same time, allowing you to perform fast and slow attacks anytime you want? Then we have some good news, as the Axatana is the perfect weapon for you, as it doesn’t just act as a katana filled with fast attacks and powerful combos but can also be turned into an axe that causes heavy damage to your opponent at the cost of slower attacks.
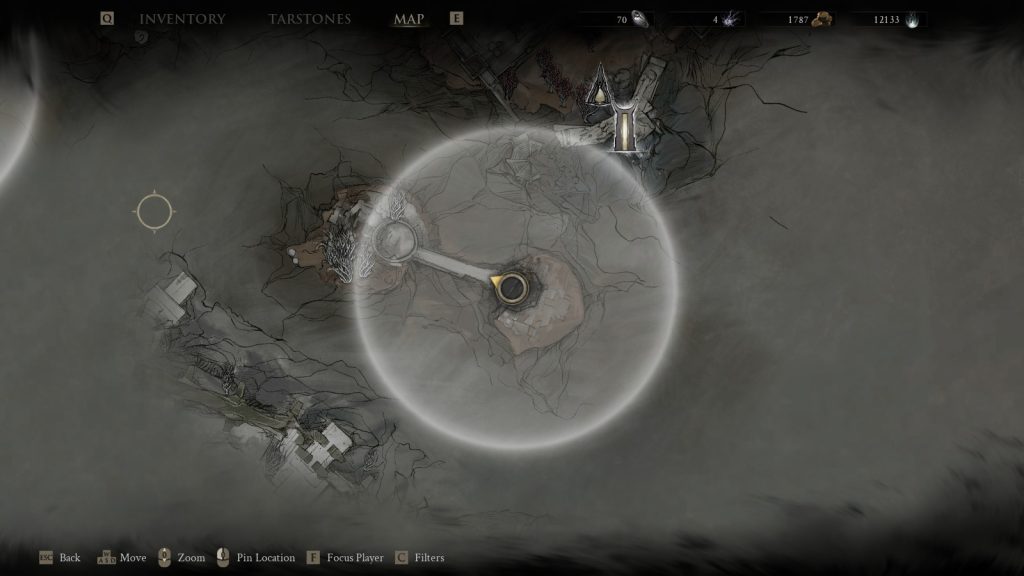
To find this weapon, you will have to take a trip down Mortal Shell‘s history, as you will begin by heading towards the southern half of the game world, in which you will need to make your way towards the Forgotten Tower at the southeast corner of the world.
For those who played the original Mortal Shell, this location will bring back some memories, as this location was the first safe zone players likely came across in the original game. Although this location is now rather empty, with a lot of easter eggs for long-time fans to find, this is where the Axatana can be found, or at least in this area.
The easiest way to find this weapon is to head inside the Forgotten Tower and head upstairs from the crypt; after doing this, head into the room with the giant corpse, where you will be able to see a hole in the wall to your right. Once you go through this hole, you will find a teleporter that can take you to the other half of this area, where you will ultimately find the Axatana.
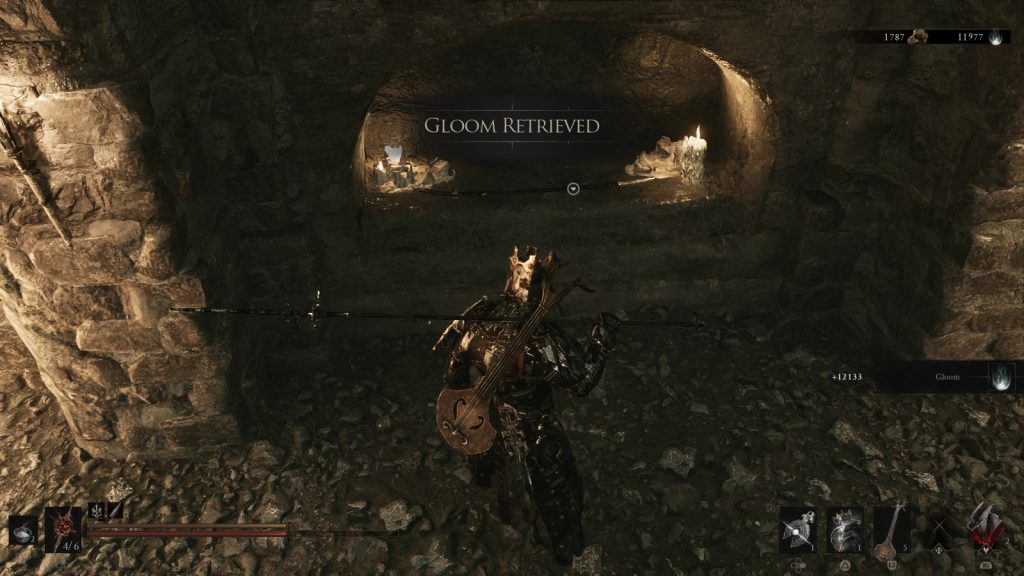
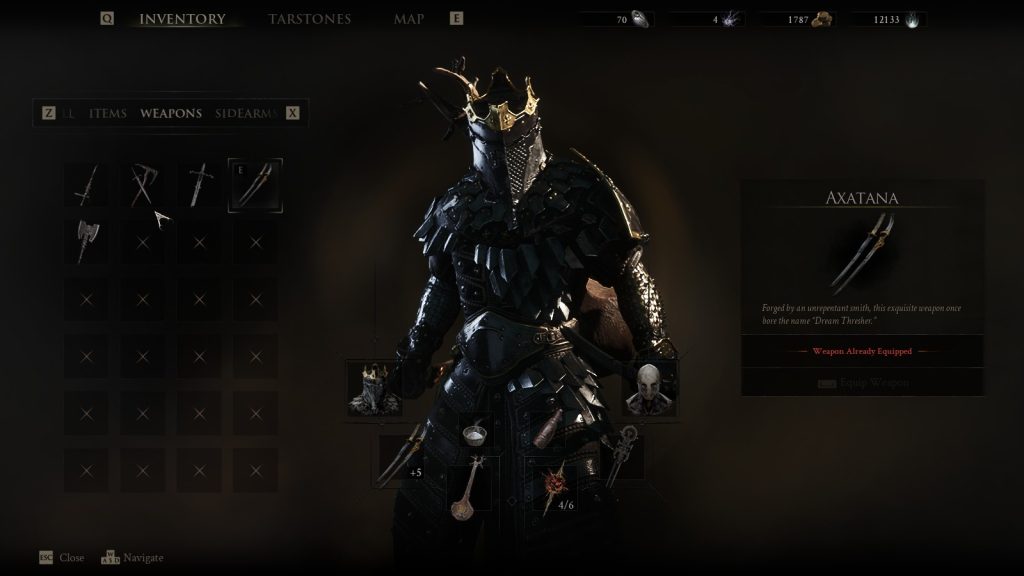
Now that you are on the right part of this area, you can walk around the caged area in the centre of the island, heading towards the central gate where you will find a button on the left-hand side which opens said gate. Before you get too excited, though, this weapon hasn’t been left unattended, as one enemy is standing between you and the Axatana, but once you beat them, the weapon is all yours.
Secondary Weapons
Troubadour’s Lute
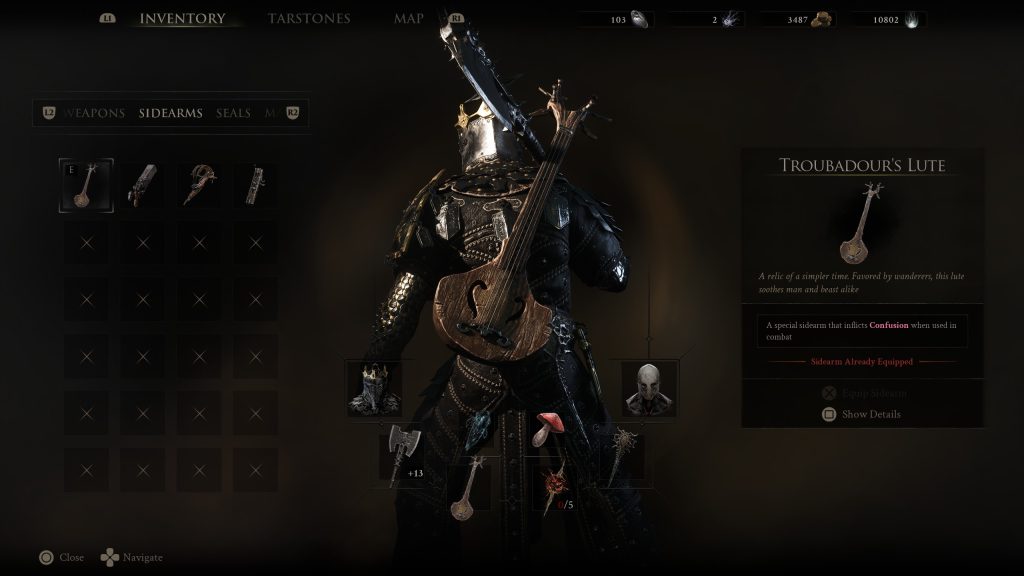
Yep, you read that right. You can find and use a Lute in Mortal Shell 2. Not only that, but unlike other ranged weapons, it also comes with an elemental benefit – it instils Confusion on enemies. You may find yourself using this more than just as a bit, but first you have to find the ranged weapon itself. Thankfully, this isn’t too difficult.
Make sure you’ve unlocked Meythr’s Breath at Marrow’s Keep, as you’ll need this to cleanse the many bits of corruption about in the map. Once you have this, jump to the Mushroom Village beacon and head East. When you land at the Mushroom Village beacon, you’re pretty much exactly level with where you’ll need to be, just much further right. To get here, you’re going to have to cleanse a lot of corruption, head over a few rope bridges, and fight your way through plenty of enemies.
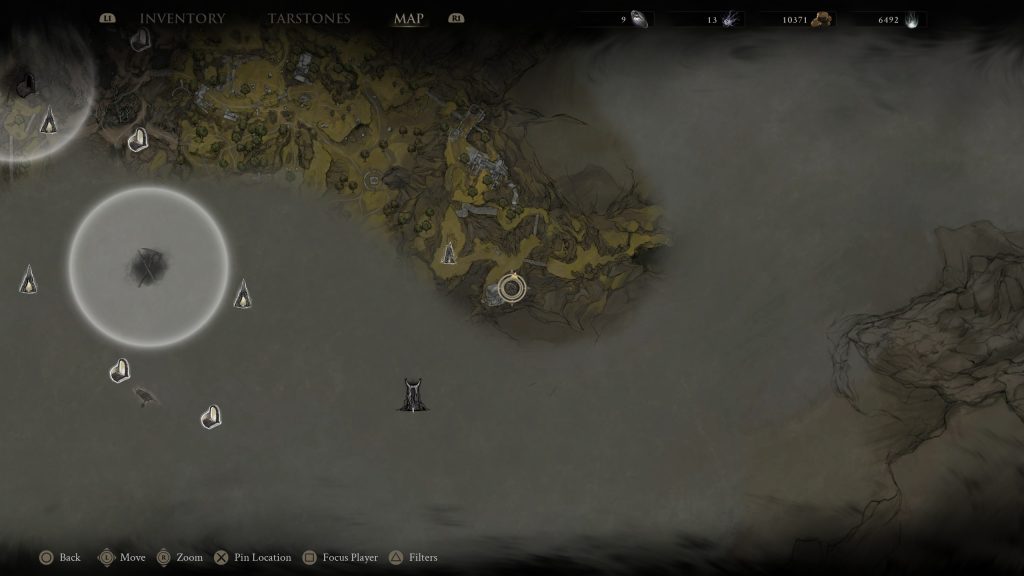
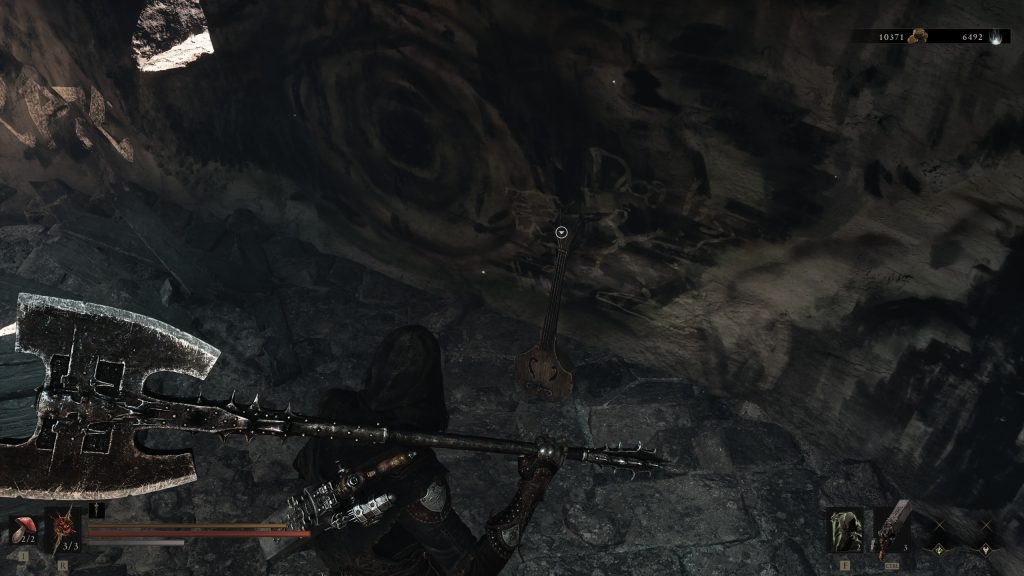
Once you find the One Legged Wolf beacon (which also has Ruk and a map nearby), you’re pretty much there. Head down to the One Legged Wolf Tavern below you, head in, and pick up the Troubador’s Lute from the stage in the back.
Before you leave, make sure you head over to the Barkeeper and have a chat with him, as well as buy a few items, and then go chat to the fellow to the left of the bar sat down.
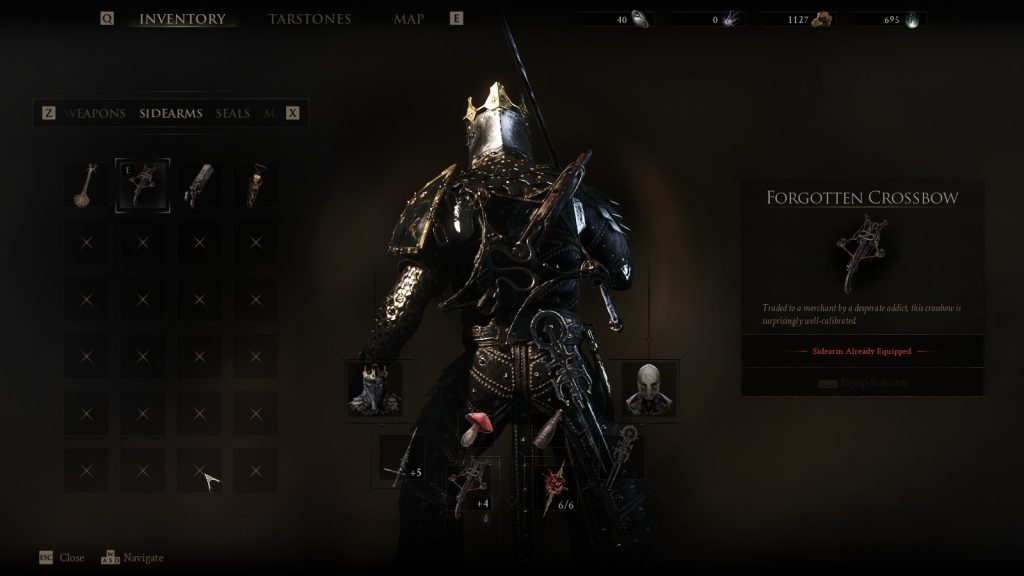
Forgotten Crossbow
If you are looking for a truly traditional medieval weapon, the Forgotten Crossbow is your go-to weapon. Although you are granted a map to this weapon rather early on, actually getting to it is quite complicated, as there are various steps that you will need to complete before you can claim this ranged weapon in Mortal Shell 2.
Once you find yourself in Marrow’s Keep in one of the side rooms to the right, you will be able to find a merchant known as Merrick. Upon your first visit to this shady man, he will provide you with a map that will guide you to the Forgotten Crossbow.
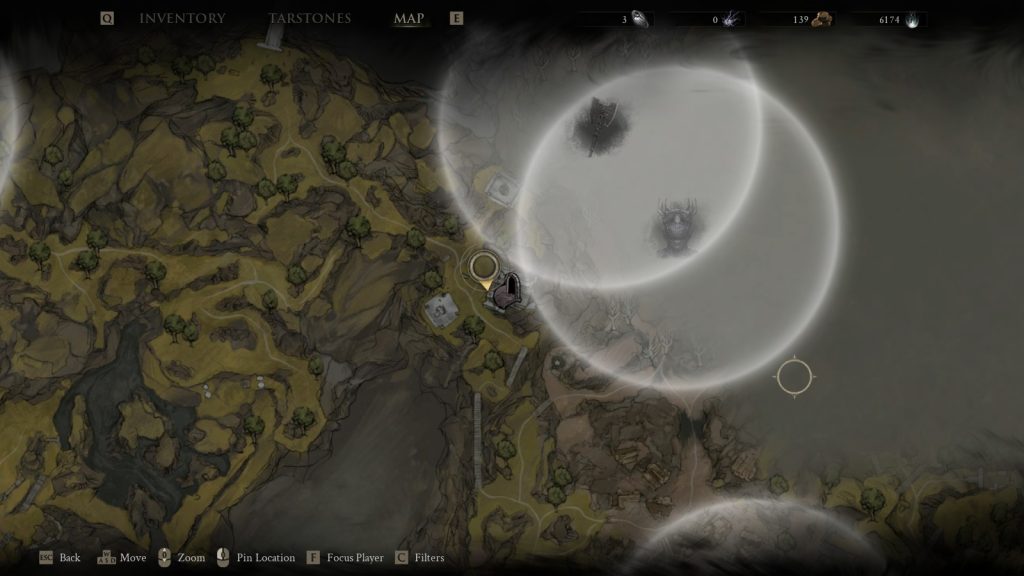
Now that you have the map, your first objective would be to travel to Widow’s Overlook and head north past the trial, leaning slightly left, and you will notice a bridge that leads you towards Ruk and a new map fragment revealing a section of the map. After claiming this map piece, turn around and keep following the path over a second bridge before encountering a new group of enemies that like to throw poison and lightning at you.
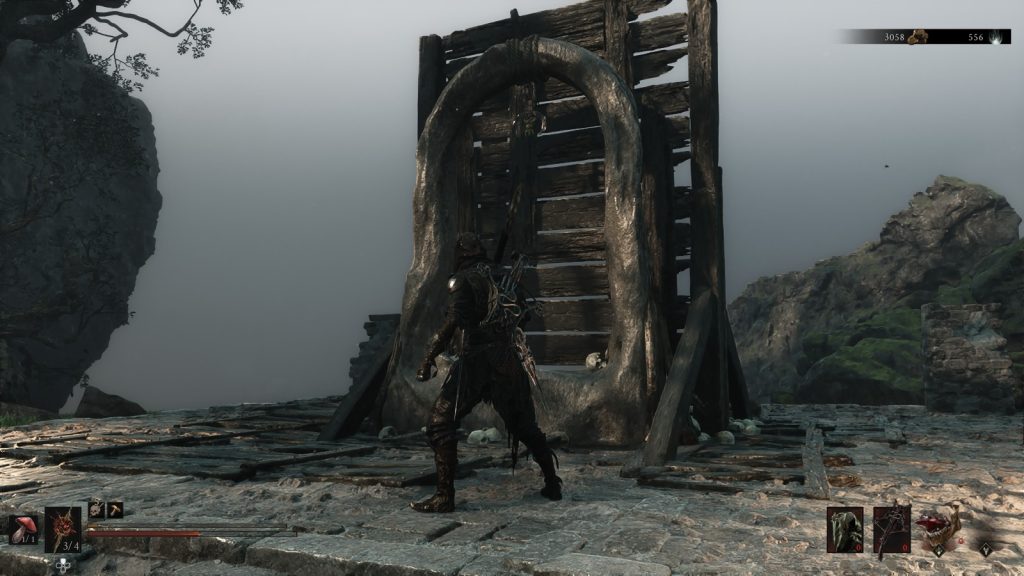
In order to find the dungeon that the Forgotten Crossbow is hidden in, you will need to clear these enemies and head over to the archway that they were staring at. Upon closer inspection, one side of the arch is covered in wood that you can break if you hit it. As you do this, you will then be able to look through the archway towards a ruined building, revealing a secret passage and a dungeon entrance.
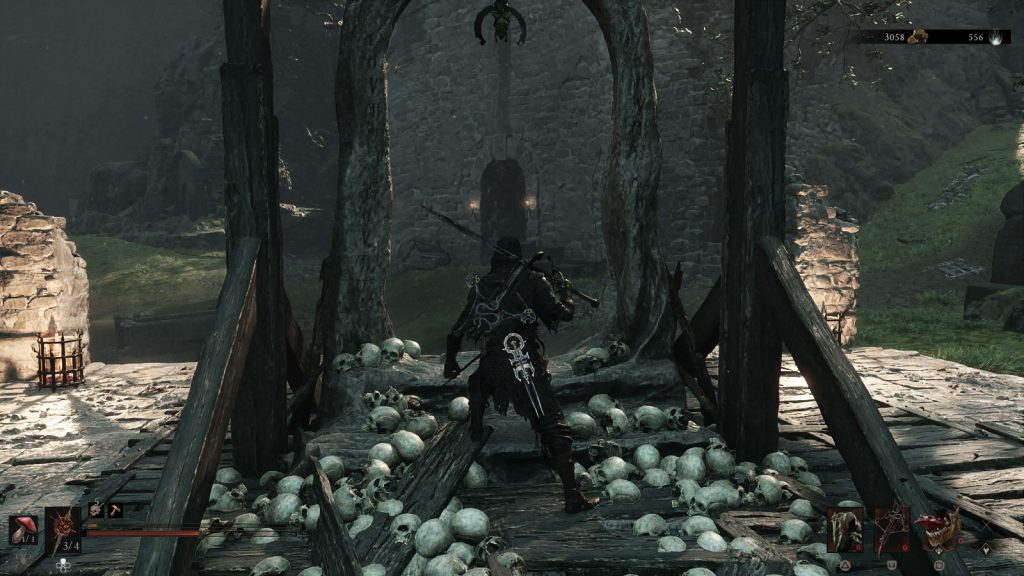
The dungeon in question is called the Flooded Village and is rather large compared to some of the other dungeons you will encounter in the early sections of the game. If you are simply here to find the Forgotten Crossbow, then you will need to progress down into the depths of this dungeon, down one elevator leading into a room with two rather challenging enemies and a locked gate that requires a button to activate, which is hidden on the left-hand side of the room.
Now that you have opened the gate, you will need to head down the second elevator and prepare for a bumpy ride as you fall down into the village itself. Now that you are here, you will see quite a few buildings that are half-sunken around you. The two buildings you will have to care about are the large building to your right that is locked, as this room holds your new weapon, and a building off in the distance on the left-hand side of the cave, which has some torches lit up outside.
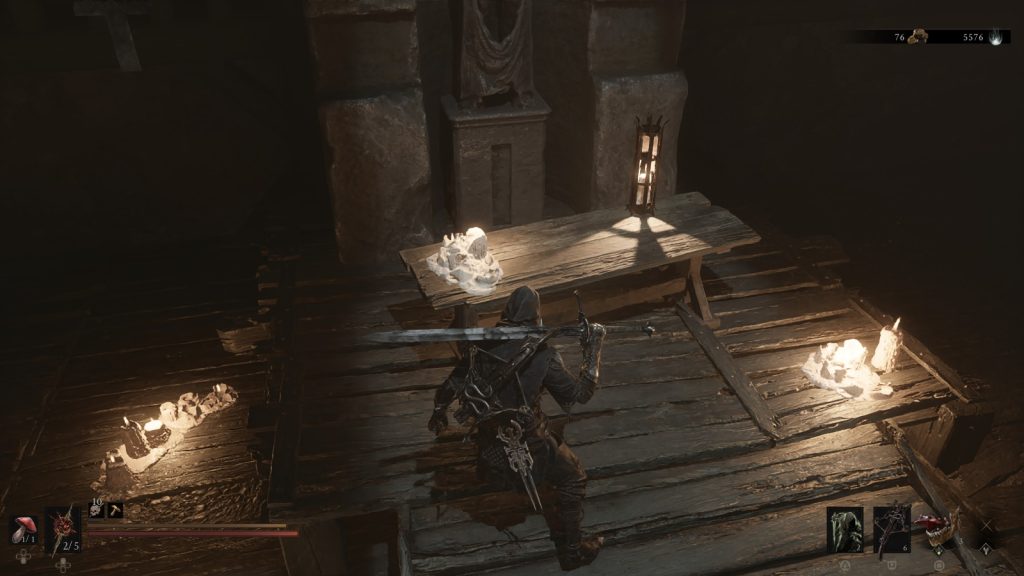
In order to open the large building that is locked, you will need to head over to the lit-up building to find a Damp Key that will open the lock. Heading to the lit-up house is rather easy, as there is a path of wood in the centre of the cavern that will take you there, but be warned there are plenty of enemies to make this journey a challenge. Once you have this key, you can easily head back to the locked door and open it up, leading you to the Forgotten Crossbow that is located on a table at the centre of the building.
However, once you find the Forgotten Crossbow, we do not recommend running away straight away, as there are other things in this dungeon, like the enemy Grisha hidden behind the main building.
Salvaged Trebuchaxe
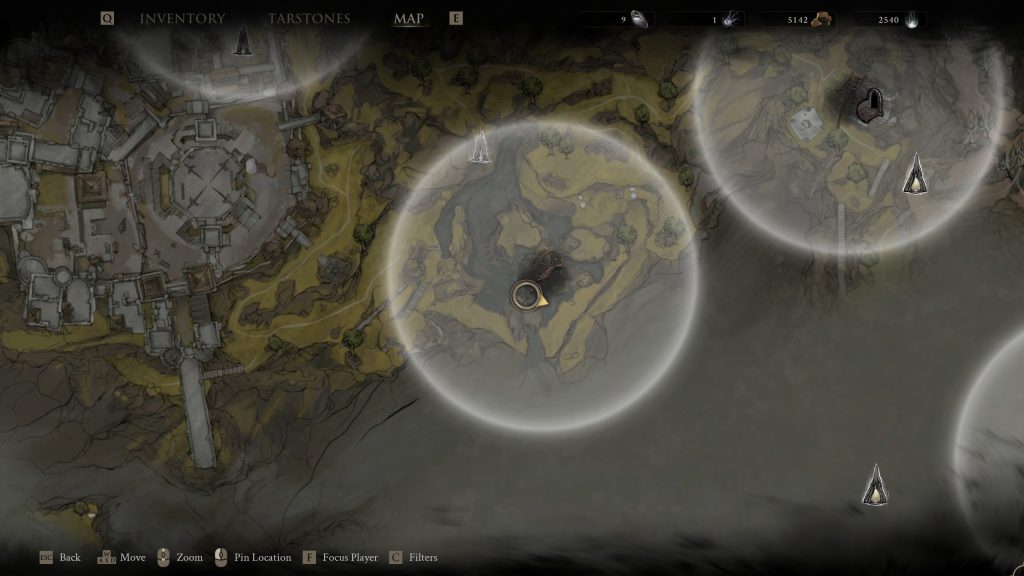
One of the weirdest weapons, let alone sidearms, in Mortal Shell 2, the Salvaged Trebuchaxe, a weapon that fires axes as projectiles, is likely to be one that’s quite popular. If you’re wondering where to find it, then we’ll walk you through it little by little. Directly South of the Gloomshade Grove beacon is a lake, which, after some winding paths and wooden boardwalks, you’ll end up at. In this lake, as well as the Bloodcursed Lichopod boss, is a dungeon, the Ravaged Hideout.
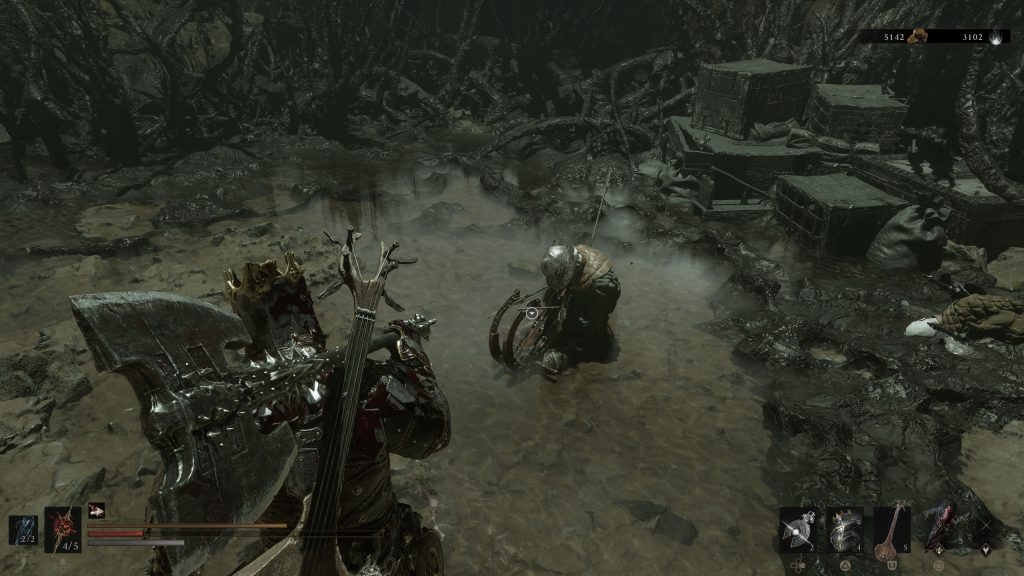
As with other dungeons, you’ll need to walk through the silvery veil and down the cave, down an elevator into the depths of rocky hell. Here, you’ll find a corrupted chasm of corridors that house horrors of all sorts, but in short, you’ll follow the path and dispatch a few enemies, nothing taxing. You’ll pass one of the Gloom-glowing beacons and enter a clearing with a corrupter pillar in the middle. Next to this is a chest; make sure to open it and grab what’s inside. Now head up the other side, and you’ll pass the glowing beacon mentioned previously. Squeeze through the gap on the right, and in front of you is the Trebuchaxe. As you approach, you’ll hear before you see three enemies behind you. Kill these, then walk to the slouched soldier and take your prize, the Salvaged Trebuchaxe.

Cursed Child
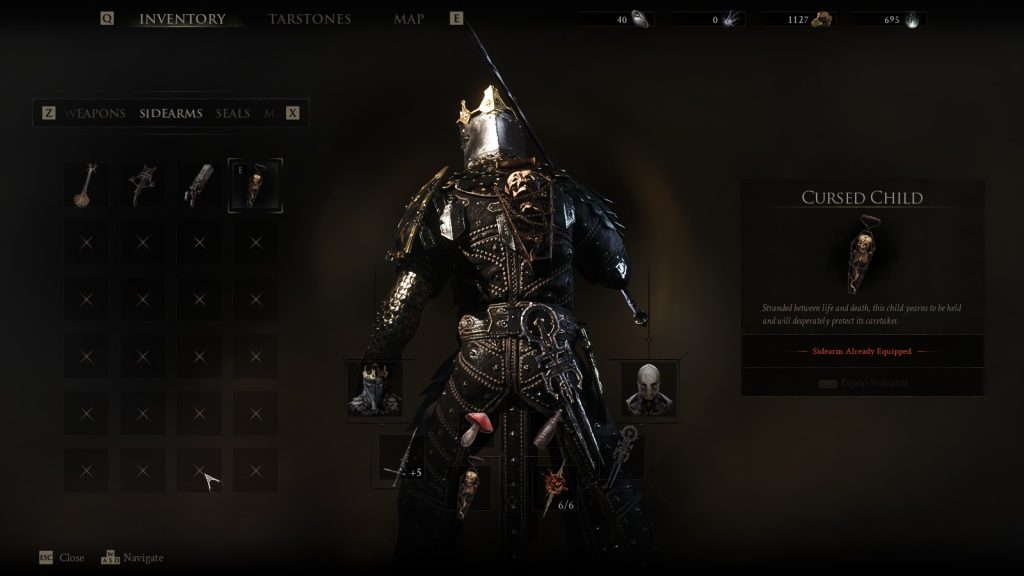
Are you looking for a weird weapon that is just as weird as its name and has a rather obscure way of acquiring it? Well then, look no further than the Cursed Child within Mortal Shell 2, which is exactly as it sounds, as it is a baby trapped in a small cage that emits a large, screeching blast upon use, causing harm to enemies in front of you.
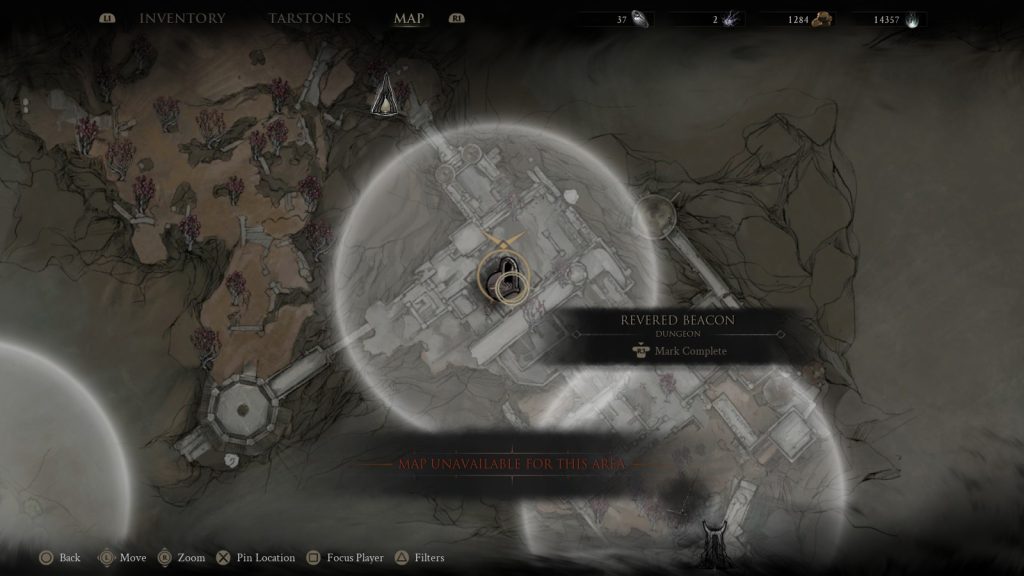
To acquire this weapon, you will need to head to the same location as the Black Needle, but instead of heading all the way to the beacon by the Corrupted Gate, you need to take a detour before this location. About halfway through, you begin walking along the ramparts before taking an elevator down, leading you to a dungeon after you turn left from said elevator.
This dungeon is known as the Revered Beacon, and its name is very fitting to its location, as once you enter this dungeon, you will head down like all the other dungeons before entering a rather large open area with an easily noticeable lighthouse in the distance. Sadly, Mortal Shell 2’s version of The Two Towers and the Eye of Sauron aren’t just here to see you and summon enemies but instead will harm you if you stand in its light.
In order to avoid the light, there will be a few different ruins laid about the open area that you can hide behind in order to stay safe when the light looks towards you, but be warned, as you aren’t entirely safe, as some enemies are lurking in these safe areas, one of which is an incredibly annoying enemy that rolls around and will easily kick you out of the safe zone if you aren’t careful.
After you get past this section, you will then have to climb a cliff fighting a few different enemies as you go up; however, you do not need to worry about the light, as it cannot see you here, so feel free to fight these enemies as you normally would. As you climb the cliff, you will eventually rise up enough that you will be able to climb onto the top of the tower and attack the orb of light that has been damaging you.
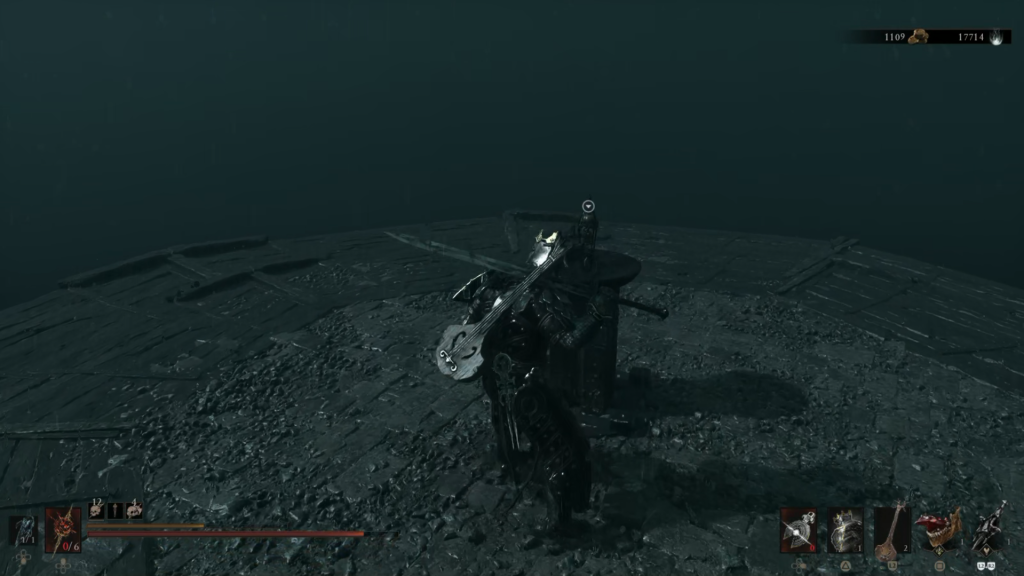
Once destroyed, do not run off yet, as the Cursed Child weapon will slowly lower itself to you at this pedestal, allowing you to acquire this weapon and its screaming capabilities.
Ballistazooka
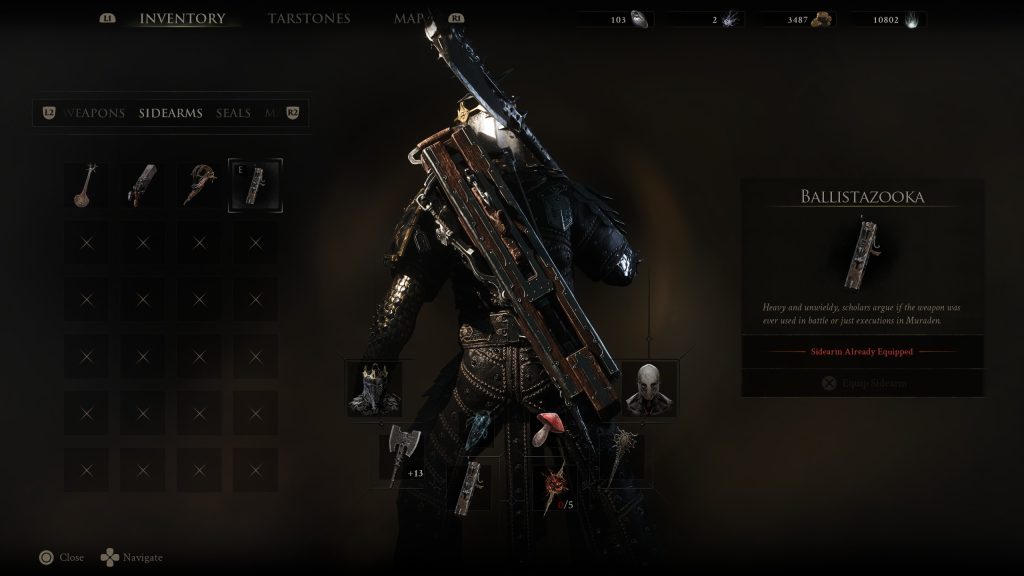
Yeah, you read that name right. Despite the name, this is not an explosive sidearm, but rather a bazooka looking weapon that fires ballistas at an alarming pace. Just like the Obsidian Hammer above, you’re rewarded with this for taking it off the corpse of a beaten boss, the Subjugated Guardian. Getting to him and finding the weapon isn’t a hard path, but it’s one filled with enemies.
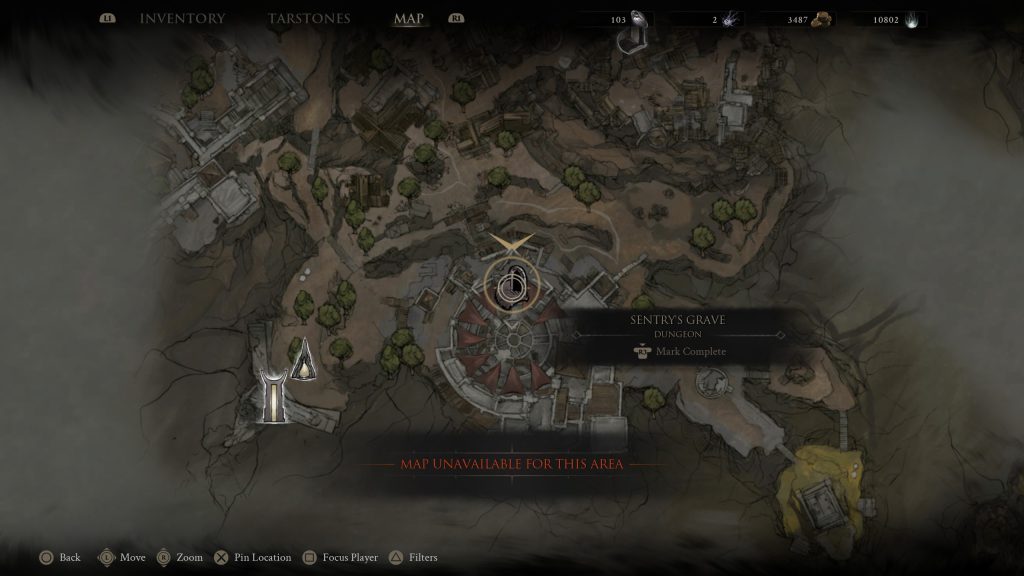
From the Gate of Mammon, bottom left of the map, right next to the Corrupted Gate, you’ll want to head up the stairwell to your right, and then follow the next one as well, past the dungeon on your left. It’ll send you up to the next level of the castle, and you’ll be faced with a heavy knight and two archers. Run past or fight them, then head into the room behind them and look for a doorway on the right side of the room, in which is a dungeon, Sentry’s Grave. Head inside.
Once inside, you’ll need to work your way through the linear dungeon. Be careful of the crossbow-headed enemies sprinkled throughout, though, as they do serious damage if you’re not paying attention. Listen out for the telltale sounds of a string being pulled tight, as that’s them about to fire. As you work your way round, you’ll find yourself in a smelting room with a floor of lava below you, and then what looks like a long corridor towards another open room. That open room is where Subjugated Guardian is, and you’ll be able to beat him and take his weapon, adding it to your collection.
Caged Hystrix
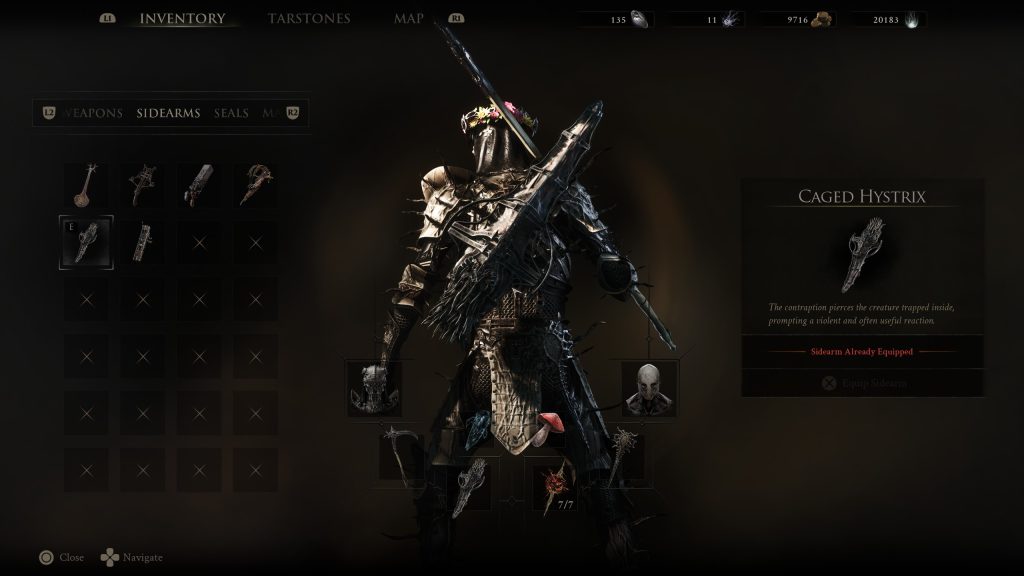
There’s an absolute wealth of loot here. From finding a shell to getting both a primary weapon (the Clockwork Scythe), and a secondary weapon, there’s an argument that there’s no other more prominent place when it comes to loot in Mortal Shell 2.
Rather than repeat ourselves, head up to the Clockwork Scythe explainer in the primary weapons section for full details of the location and how to enter the dungeon Chamber of Becoming. Once you’ve done that, beaten Sariel, and inhabited his shell, head up the stairs in front of you to exit. Before you exit, though, make sure to pick up the Caged Hystrix just casually sitting there, and now you have another kickass secondary weapon in your collection!
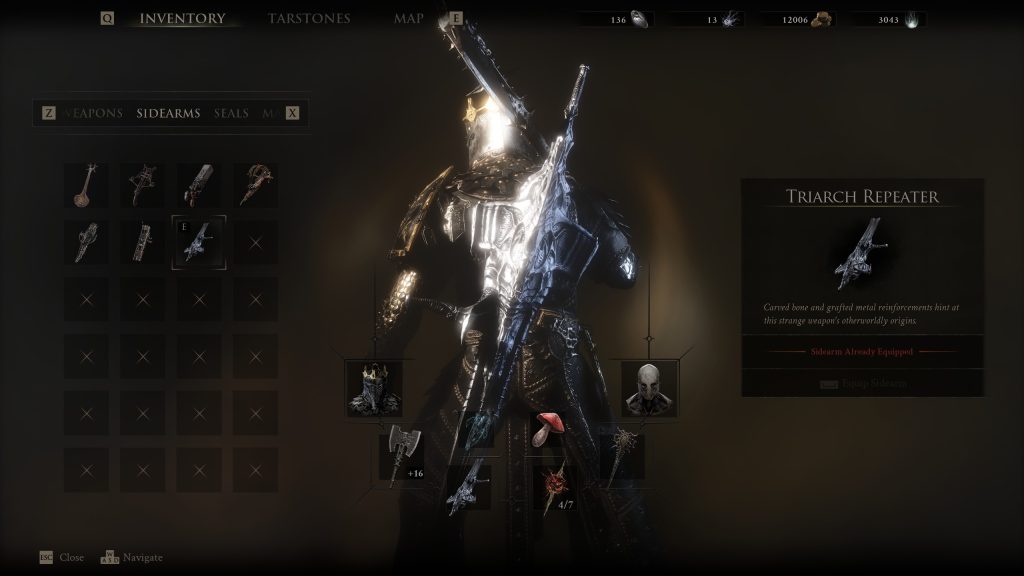
Triarch Repeater
It’s all in the name, so if speed and little power is your thing, you’re going to want to find the Triarch Repeater in Mortal Shell 2. Located pretty much dead centre of the bottom half of the map, it’s actually easier than it sounds to get to.
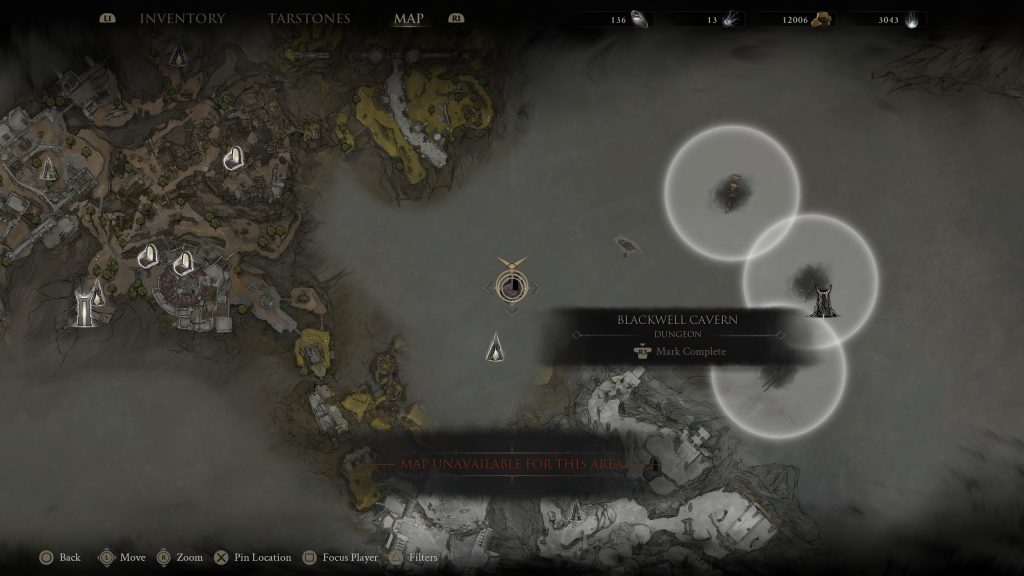
On the ramparts of a castle structure is the Beacon called the Castigator’s Keep, which houses the Viletongue Batushka. Once you’ve beaten him and cleansed the Beacon, you’ll be able to use it to spawn from, which is important in case you die on the way to the Triarch Repeater.
After leaving the Beacon, head left to the end of the rampart and you’ll see an elevator. Jump on it and ride it down to the ground below, and then follow the path round to the left. You’ll get attacked by a few flying enemies, and then come to a fork in the road. If you head right, you’ll hear and then see a Grisha Hunter. Kill them and continue on, and now you’ll see a Grisha camp in the distance. You can ignore or kill them; that’s up to you, but what you’re looking for is the dungeon on your right, hidden away.
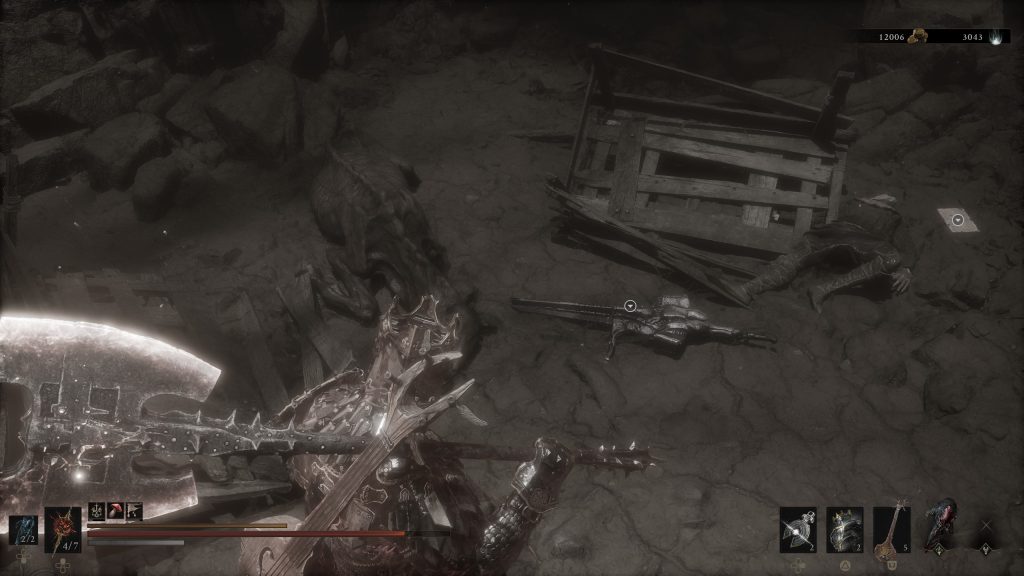
Enter the Blackwell Cavern, and immediately you can figure out how it got its name. Use the lock-on feature to avoid being ambushed by a number of floating ghouls, and as you move forward through the linear dungeon, you’ll come to a lit area where a scuffle has taken place, with bodies strewn across the floor, a note, and the Triarch Repeater! Getting out of the dungeon is as simple as following the now much easier to see path, and that’s it, another weapon in your collection.
For your next read, don’t miss our review of Mortal Shell 2, or our tips and tricks you’ll need to know before starting.

Luke Addison is the Founder and Editor-in-Chief of Thumb Wars. Having previously been a part of multiple outlets over the years, including building an entire gaming team from nothing to something, he thought it best to forge his own path and answer only to himself. As likely to be found playing the latest game as he is in the kitchen relaxing (by cooking), he always brings the same bold and brash attitude to everything he does, with a heavy leaning on sarcasm and dry wit!