Last Updated on Aug 17, 2026 @ 16:01:32 PM.
As you’ll no doubt know, Shells in Mortal Shell 2 allow you to inhabit a range of other people, all with unique abilities, strengths and weaknesses. To inhabit them though, you have to find them, and in the huge open world of the game, it can be all to easy to miss them, thus robbing yourself of an entirely new and different playstyle. Don’t worry though, we have found them all over the course of our playtime, and now you can too!
Table of Contents
Harros
Unmissable. Received as part of the story, and then lost, unfortunately.
One click and you're done. Thank you!
Tiel
Tiel is likely to be the first Shell you find after Harros. With Harros’ untimely demise at the opening of the game, you’ll be exploring the world Shell-less, at first. That makes finding another shell of the utmost importance, so you’ll be glad to know that Tiel isn’t too far away from where you travel to, if you decide to head to Widow’s Overlook. You’ll have to head past the Great Arbiter of Flesh and towards a door on the left of Marytr’s Tomb, which is surrounded by enemies, and down the hill to the left.
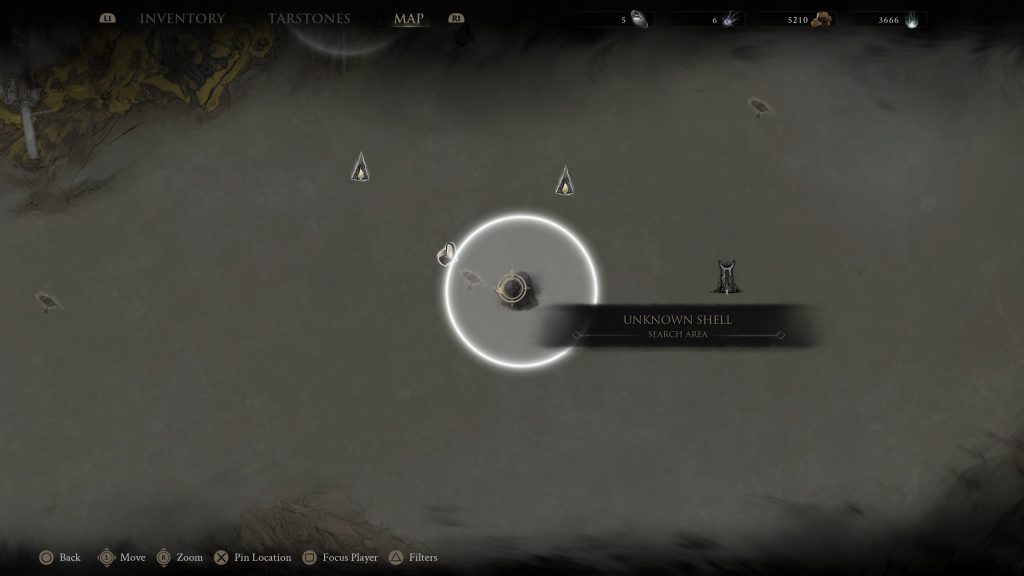
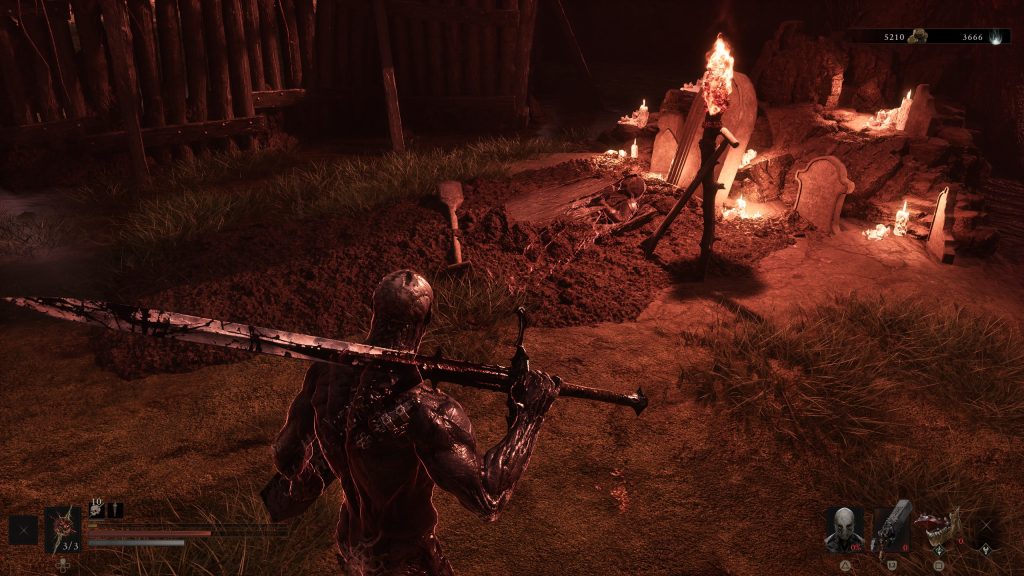
Once you’re here, you’ll notice what looks like a gate to a village on the left, where you’ll run into dancing grandmothers (really), or you can head right to a fenced-off area with two torches on either side. Choose the latter and head right, walk through the opening and into the village.
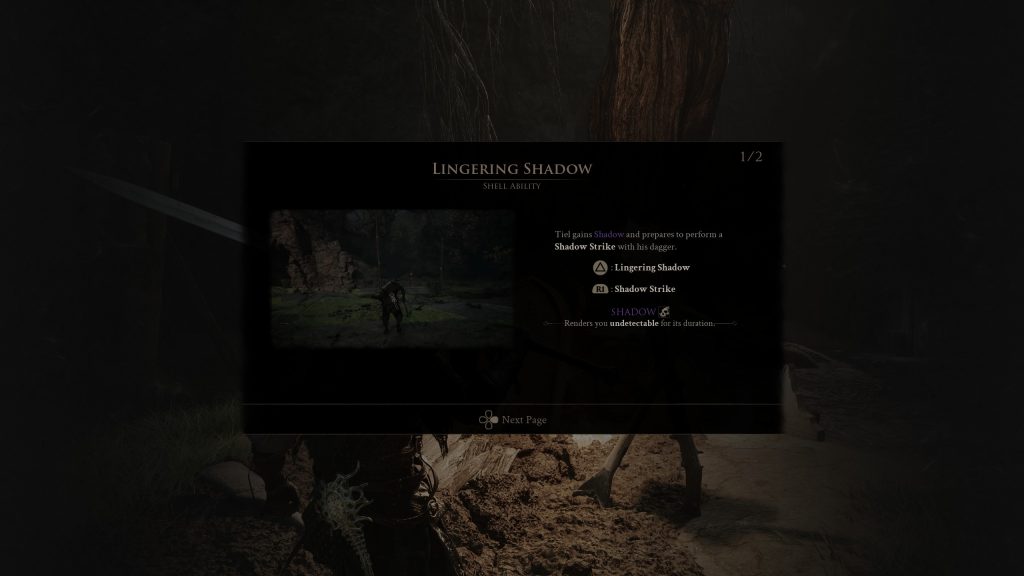
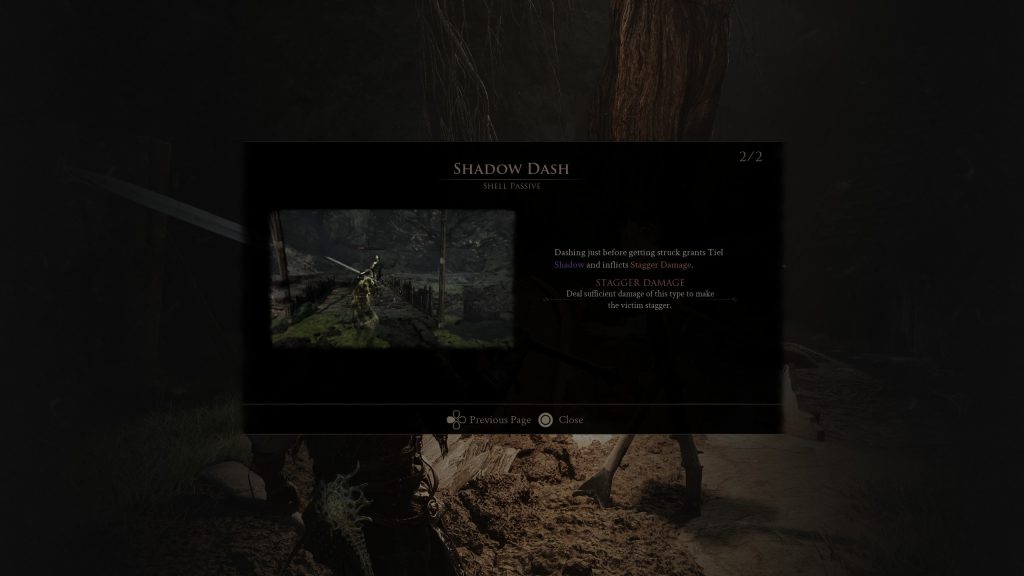
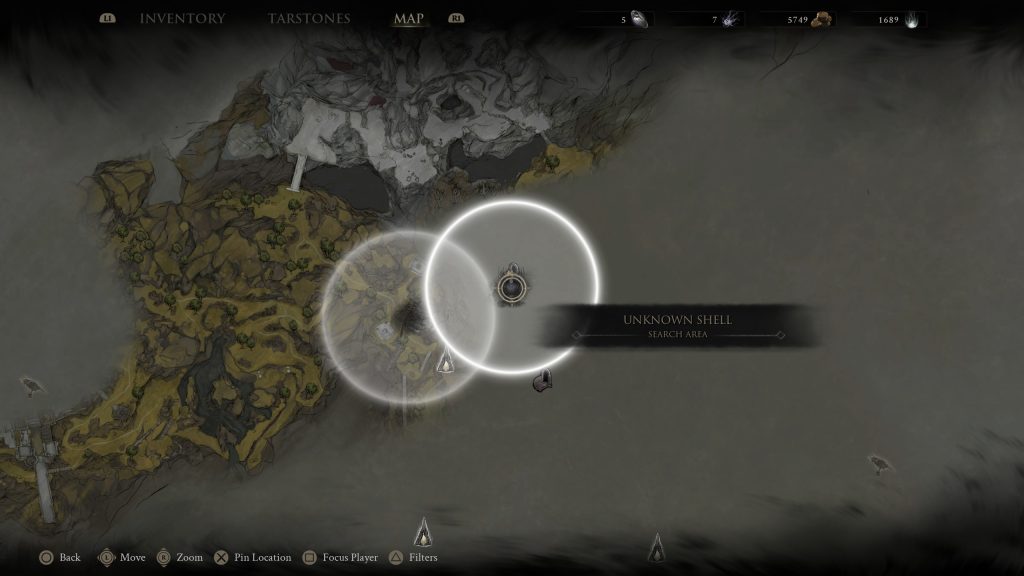
You’ll now be in a small opening surrounded by wooden boxes, carts, houses, and a cemetery. Head to the gravesite, and there’s Tiel, the Stealth-based Shell that can sneak up to enemies and kill them without them even knowing you were ever there. You’ll also find another dungeon here called the Ritual Grounds. As you can see in the screenshots, Tiel’s Shell is quite literally exactly where the head is on the map.
Proxima
Proxima’s shell is in the opposite direction to Tiel’s, but still in Widow’s Overlook. When you drop into Widow’s Overlook, you can go right, past the Great Arbiter of Flesh and towards Tiel, or you can go left. To find Proxima’s Shell, go left. You’ll end up having to walk up a hill, towards a skirmish between enemies. There are several humanoid enemies and a great stone Goliath-looking thing that’ll grab you and eat you if you give it the chance – don’t. Dispatch these enemies, and head slightly left and up another hill.
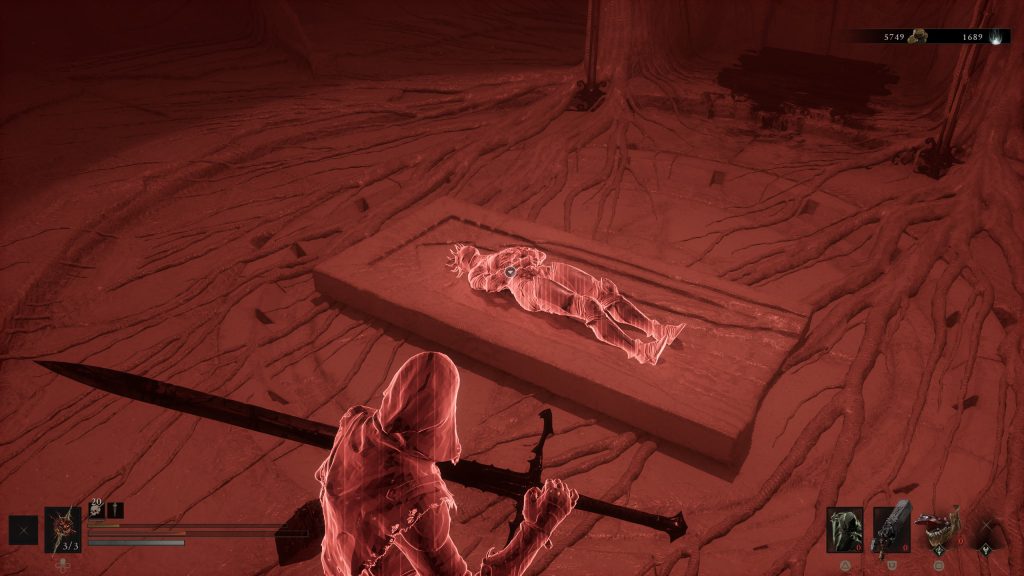
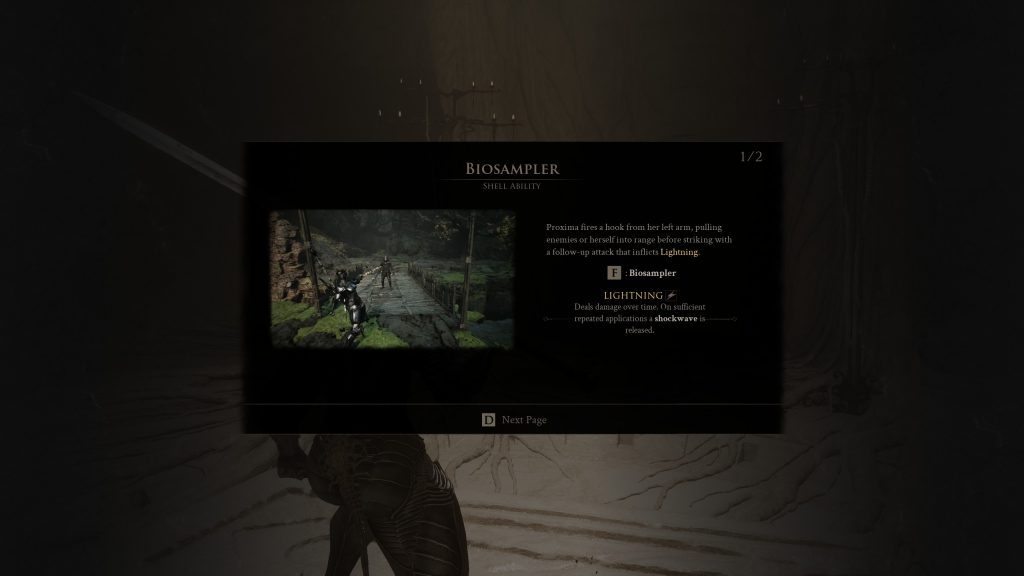
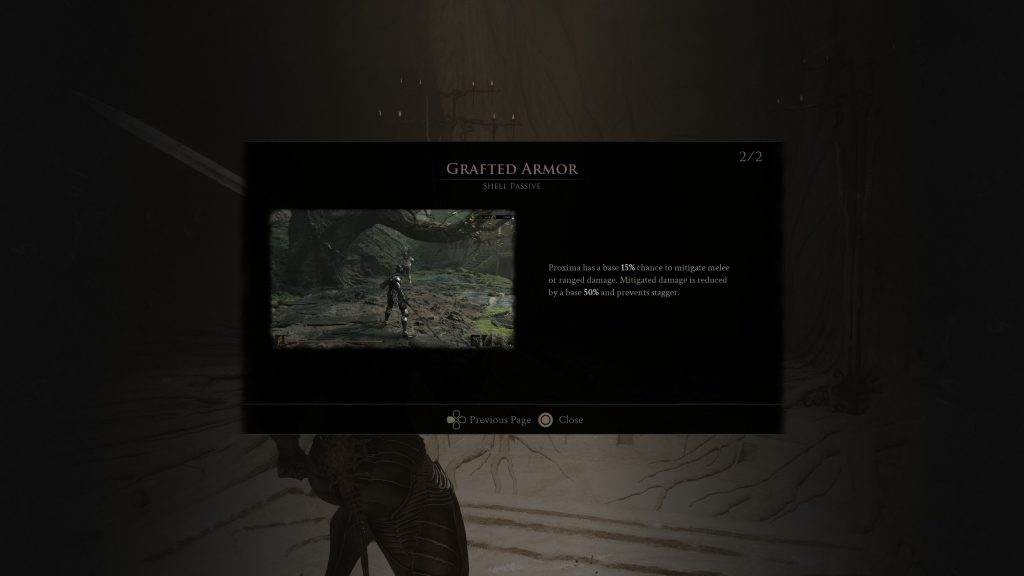
Here, you will have what is likely to be your first encounter with the quick-moving, spider-like enemies that can easily kill you if you’re not paying full attention. Keep your wits about you and kill it, then head into the clearing in front of you. You’ll notice a Beacon in front of you, so go towards it and enter. Head down the stairs, and right in front of you is Proxima. Once you’ve inhabited her and played through her memory, you’ll now be able to switch to her and make use of her Bio-Probe.
Gragu
Gragu’s a unique Shell in that he’s not already dead when you encounter him. No, he’s drinking away his sorrows in the One Legged Wolf Tavern, which, coincidentally, is also where you’ll find the Troubadour’s Lute. You’ll find Gragu sat to the side of the Barkeep, opposite the door you come in. Head over to him and talk to him several times, and keep going until he relents and asks you for a unique item, the ‘Heart of Vatra’. It’s unlikely you have this yet, so head out of the Tavern and across the wooden bridge on the right.
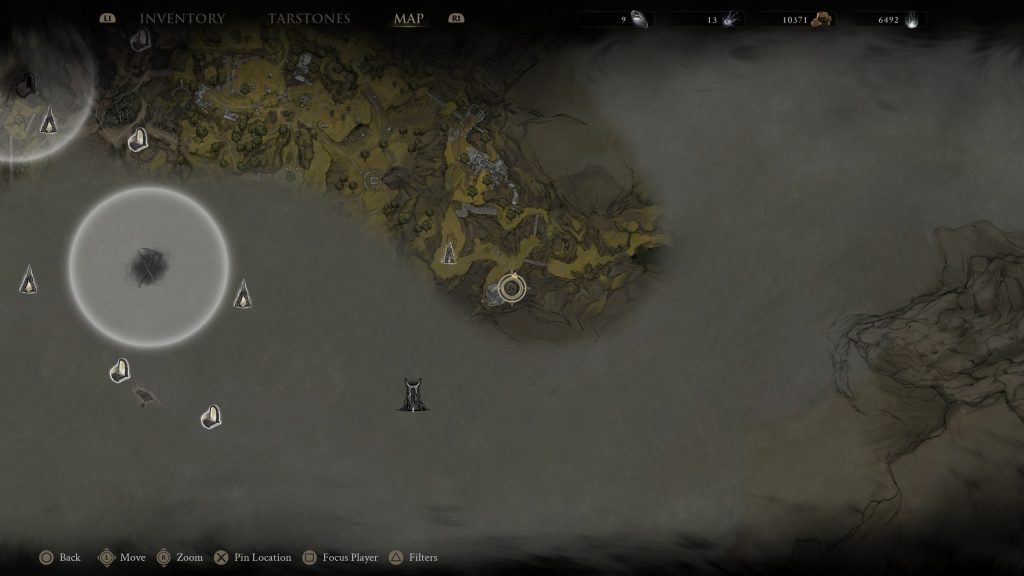
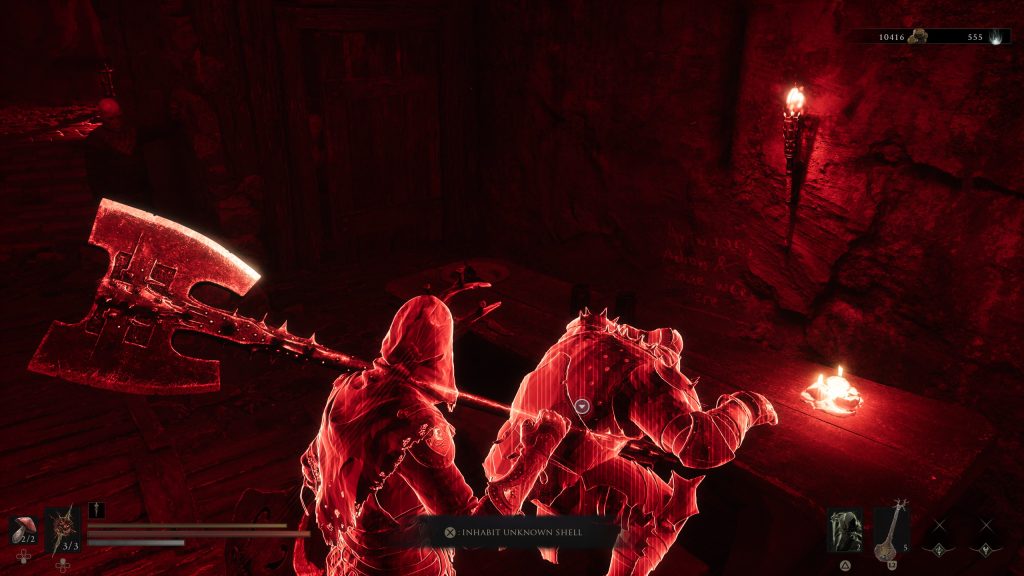
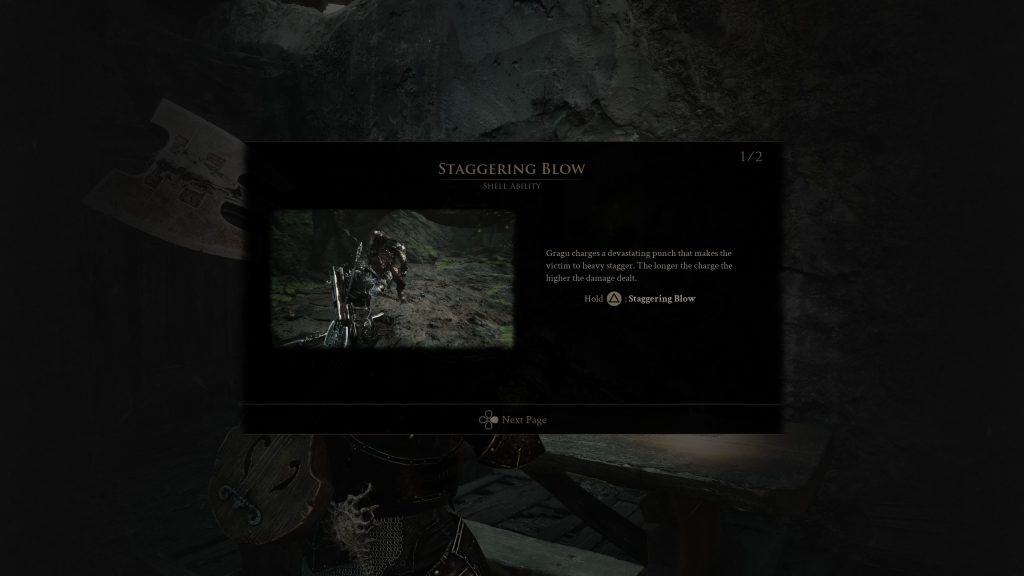
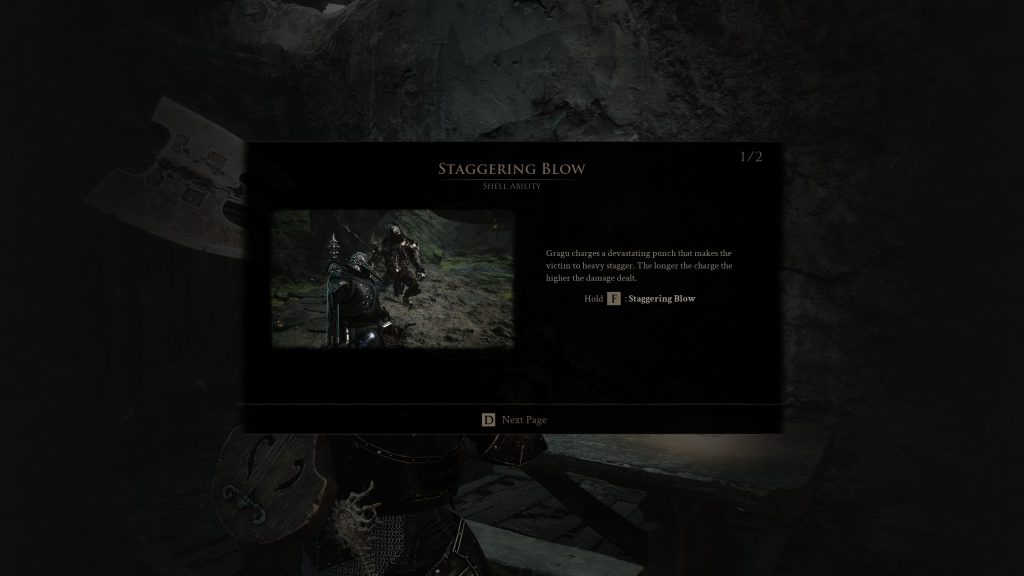
Follow this path to its natural conclusion, which will take a few minutes. You’ll use a traversal jump and come across what looks like a church, or some kind of religious sanctuary. Make sure to explore, as there’s a chest, and also a Sheep hiding away, which, once you kill it, gives you a Sheephead Totem. Keep making your way to the top of this area, up multiple stairs, and you’ll find the Heart of Vatra sat there in a statue’s hands. Take it, and then be prepared for a fight. All of those stone statues? They come alive. You can fight, or run to the traversal and jump, saving yourself the trouble. Head back to Gragu and hand him the Heart of Vatra, and watch as he consumes it, then dies. Now you have your new Shell!
Eredrim
Finding Eredrim may actually be more work than Gragu. In fact, it definitely is. To find him, you’ll want to make your way to the boss fight Warden, with the full write-up here for that. In short, you’ll need to head to the Citadel of Penance and into the centre court, where Warden will be waiting for you.
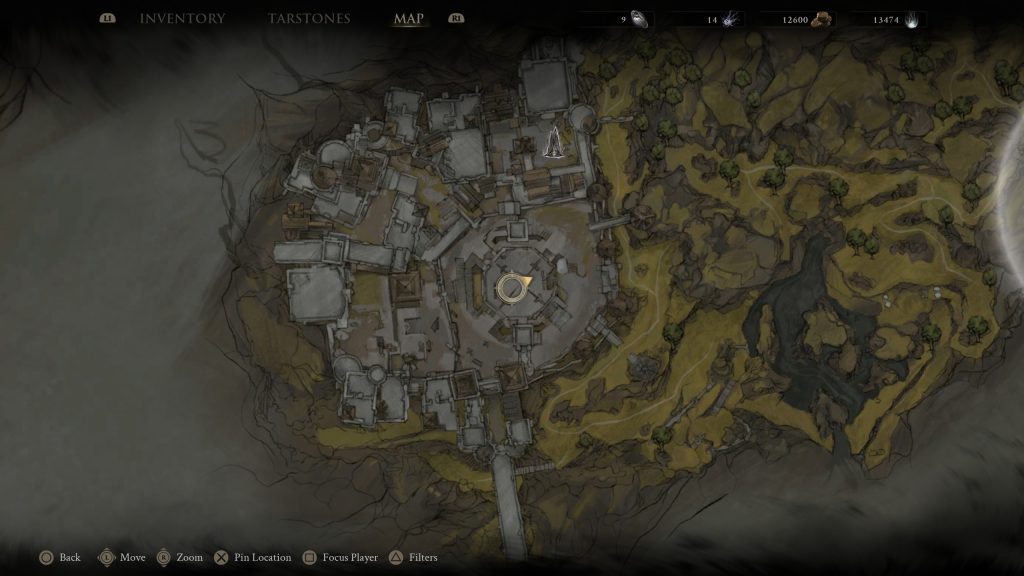
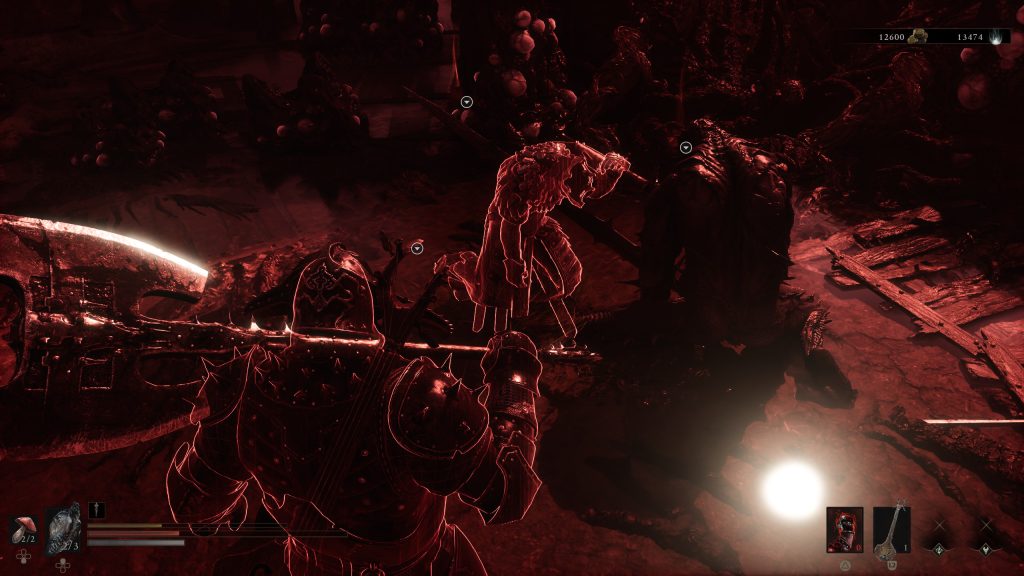
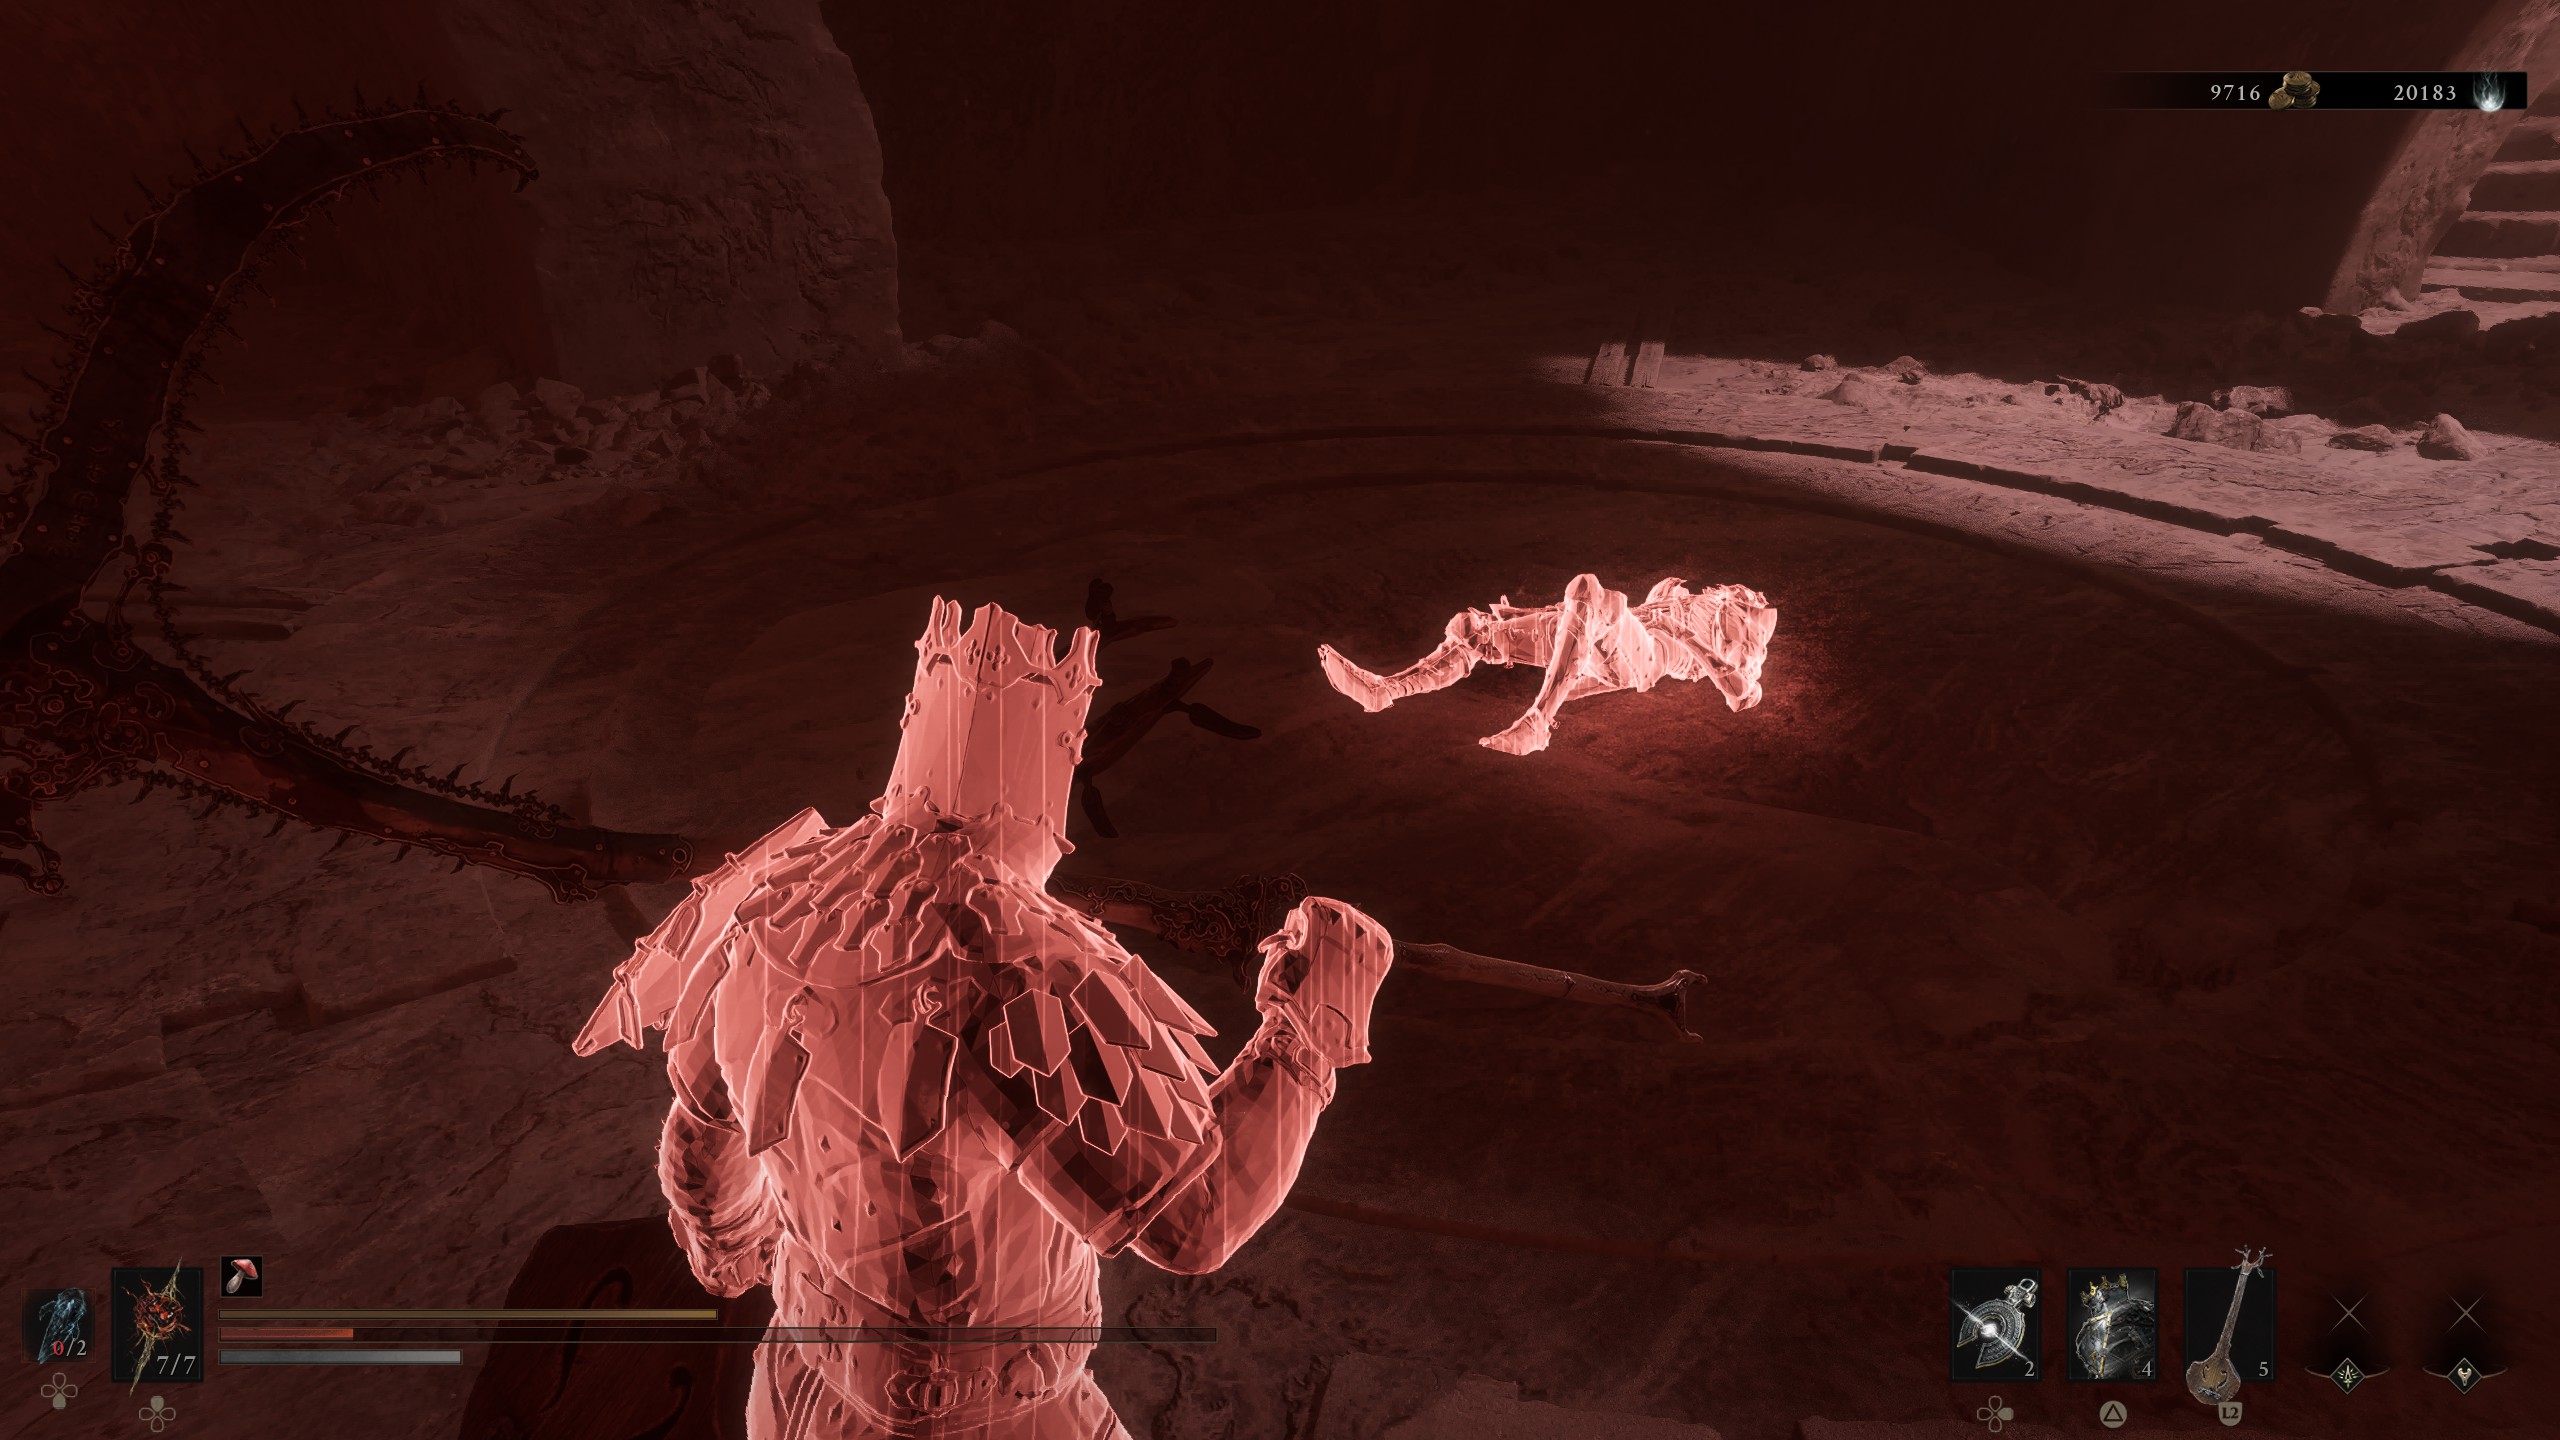
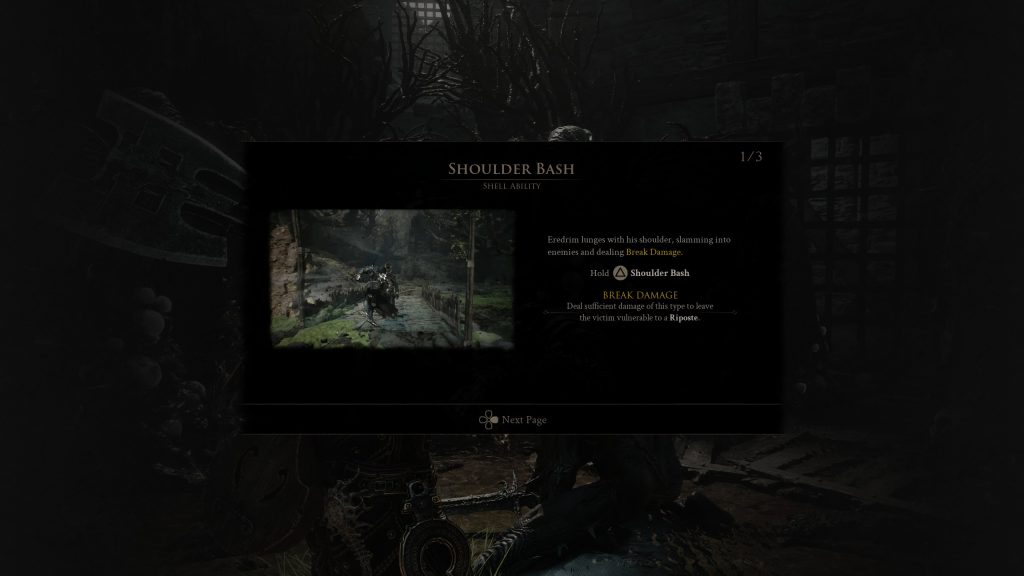
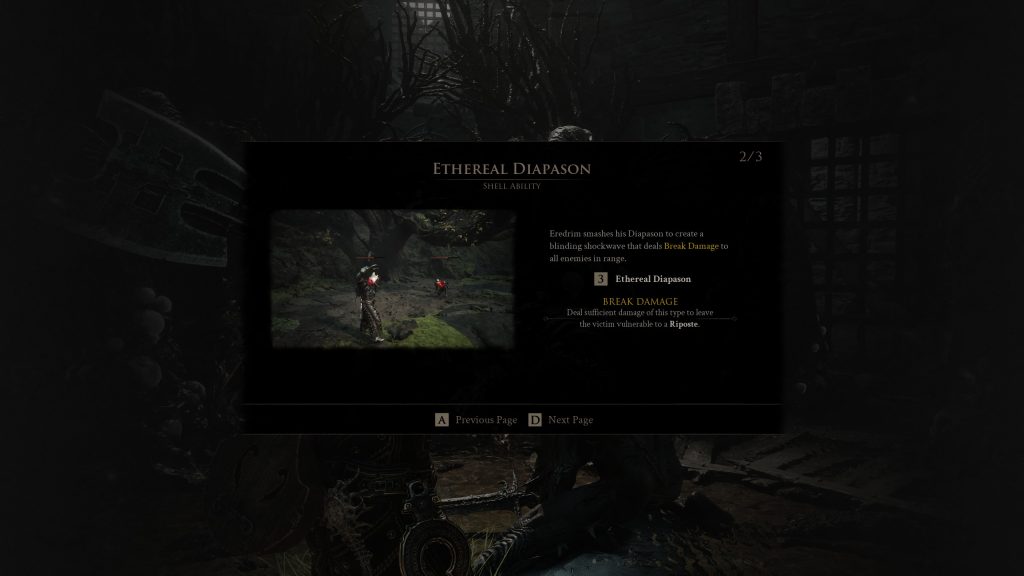
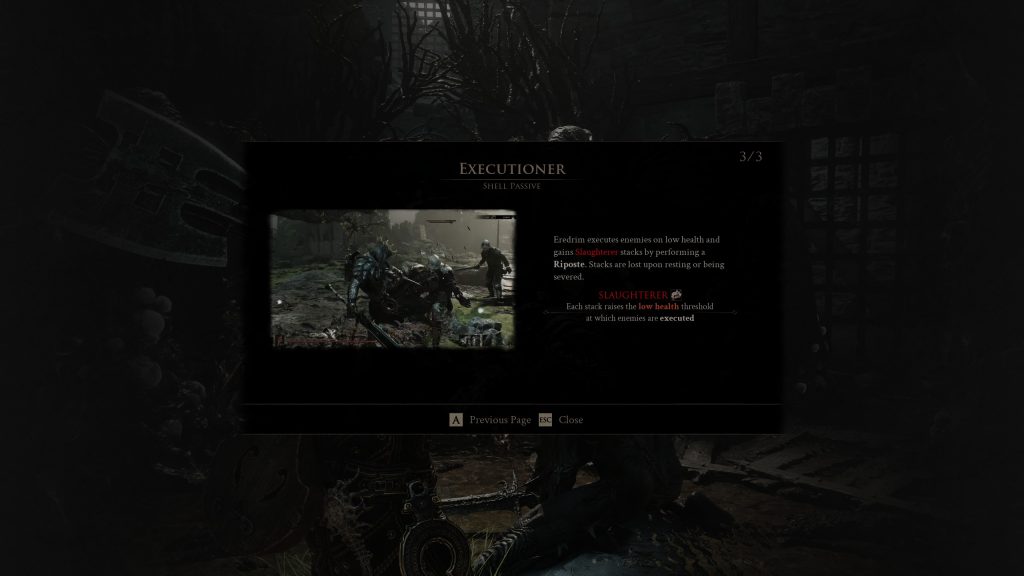
Once you’ve beaten him, which is no short order, you’ll see Eredrim on the floor holding onto a sword. Approach him and finish his memory, and you’ll now have access to one of the best Shells in Mortal Shell 2.
Lazlo
Lazlo, the big-boulder-like man, is far too easy to miss, all things considered. In the top left region of the bottom half of the map, you’ll have to work your way through enemies of all sizes and shapes, plus a rapid boss in Vellen, High Lord of Mammon to boot. To find him quickly, you’ll want to start at the Gate of Mammon, right next to the bottom left Corrupted Gate.
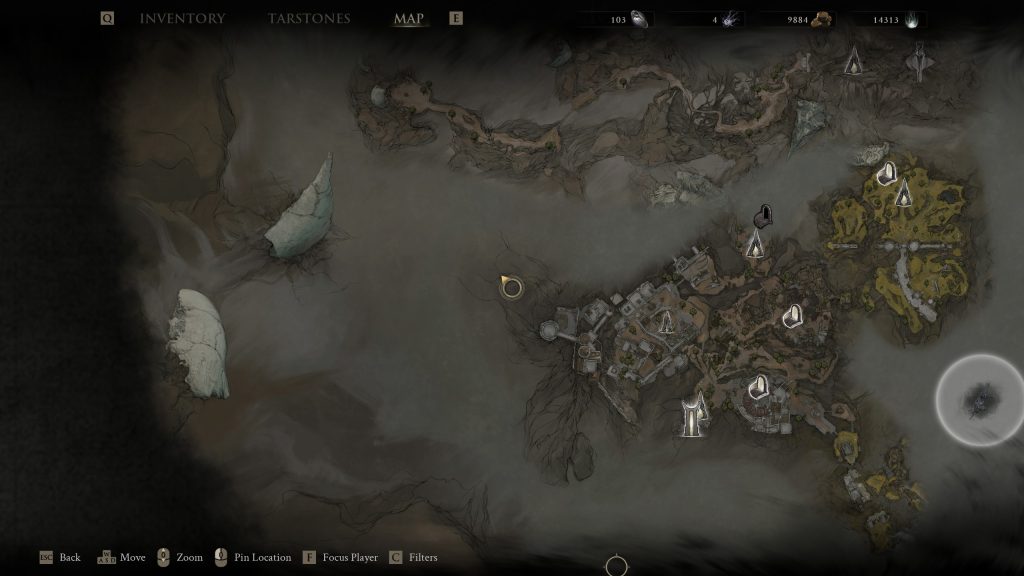
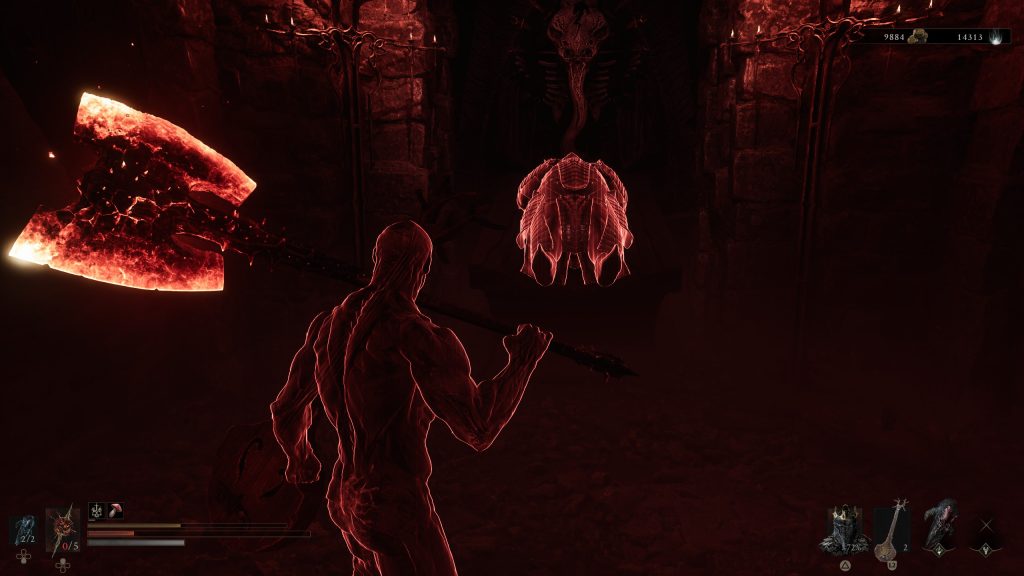
From there, head back down the hill towards the coffin-filled village, but before heading through the archway, take a left and jump over the traversal gap. Now, head up the elevator, and you’ll find yourself on the side of the huge concrete fort. Walk up the wooden bridge ahead of you, killing or avoiding the multiple enemies, and then head forward through the archways. In front of you will be a huge flooded courtyard, and you’ll need to get to the other side. When you do, head right, but look for a stairway on the left as you walk under the causeway. It’s easily missed, but this is the entrance to Lazlo’s chamber.
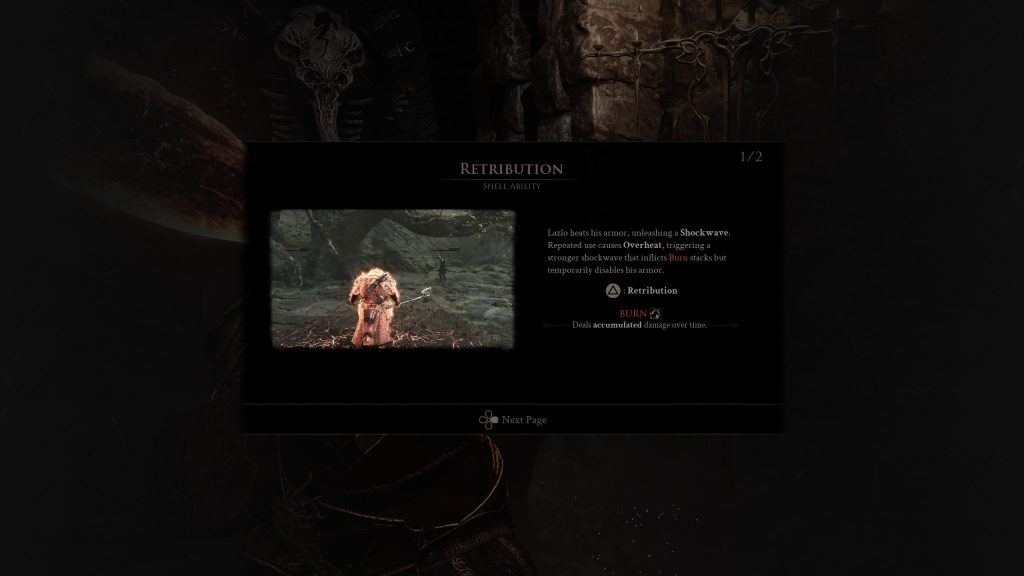
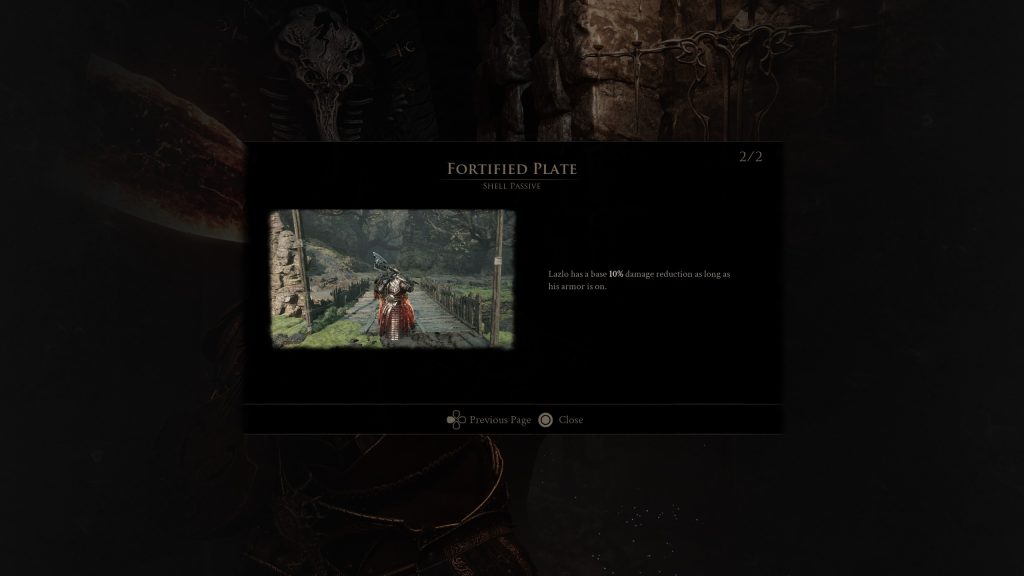
Go down the stairs, and head forwards. You can explore, or head straight forward, avoiding or killing the enemies in your path, before you end up in a small room with Vellen, High Lord of Mammon. Beat him and then head forward, and there’s Lazlo’s Shell, in all its glory.
Smert
Smert, unlike Lazlo above, isn’t hidden away in a dungeon or behind some convoluted path. No. He’s out in the open, his body laid out on a plinth mid-ritual. It comes to you to finish the ritual, but first, you have to find him. Starting at the Nochtean Gate Beacon, near the westernmost Corrupted Gate in the top half of the map, you’ll want to head northeast. Head down into the courtyard below, where you’ll spot a few enemies. Ignore these and head forwards, crossing the wooden bridge.
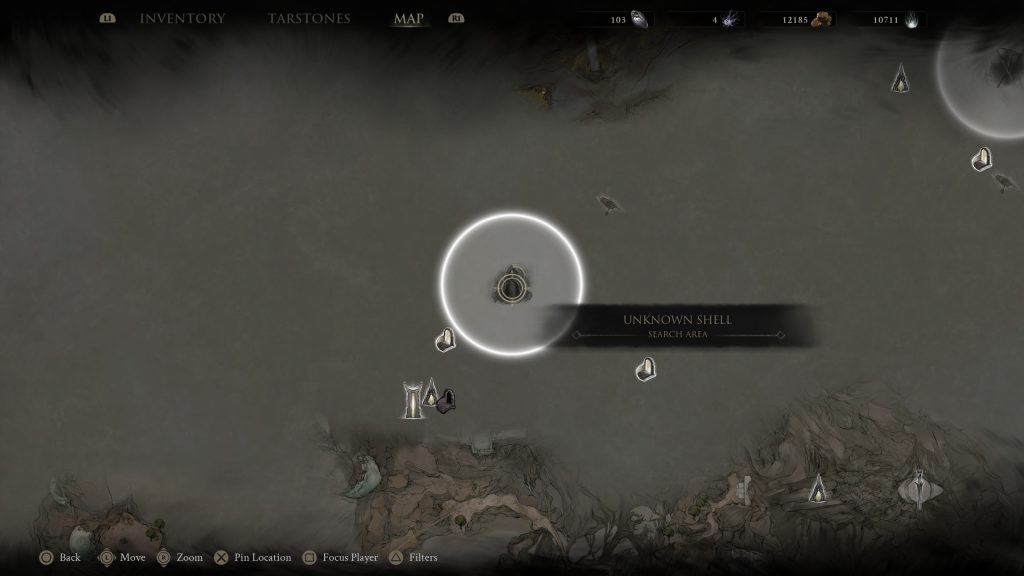
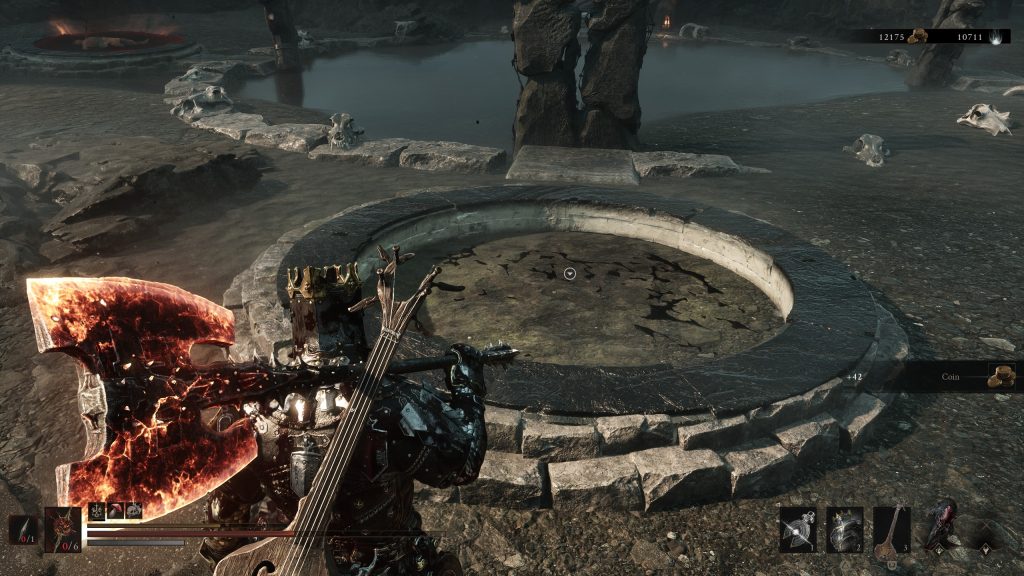

At the other side of the bridge, head left and immediately left again, down the hill. You’ll pass Poison Goblins and end up on ground level. In front of you, you’ll see a gathering of hooded monks. This is where Smert is, but there are a few things you need to do before you can obtain his Shell. First, look for the three circular holes in the ground that the monks are surrounding. One is swirling with blood; the other two are empty. You’ll have to provide a ‘Blood Sacrifice’ to fill these, and in essence, it’s an instant de-shelling. As soon as you arrive in the area, give one Blood Sacrifice and then fight the many monks, gaining your Shell back, before giving the second sacrifice.
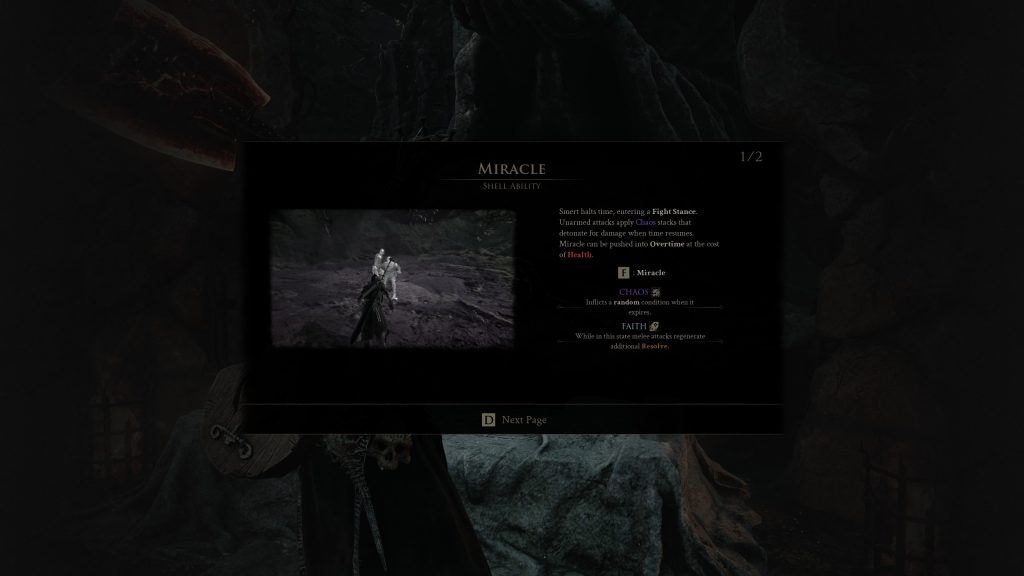
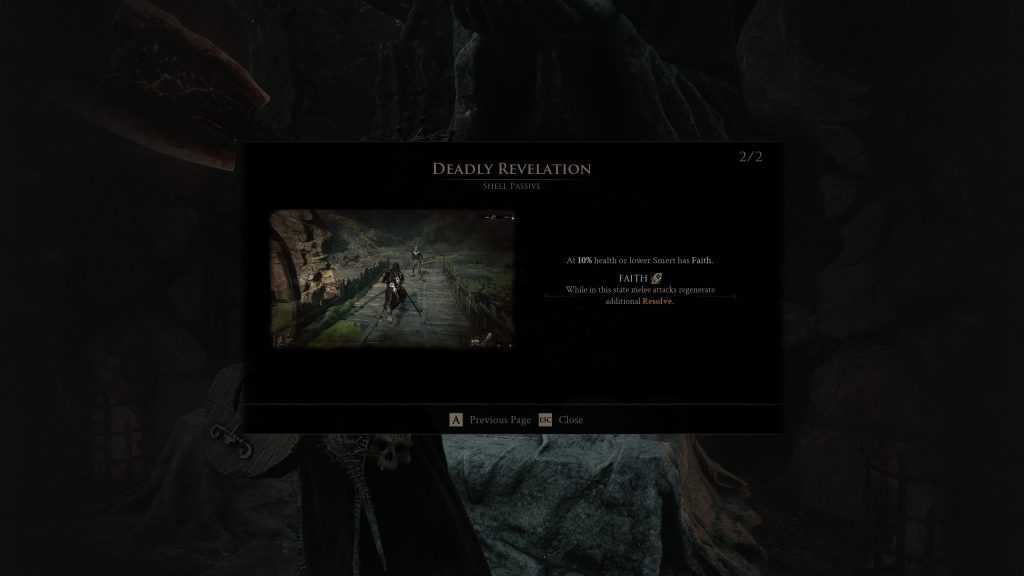
Ensure everyone around you is dealt with and then approach the main plinth where you can see Smert’s body lying. Inhabit his Shell, complete his memory, and now you have yet another Shell to choose from.
Sariel
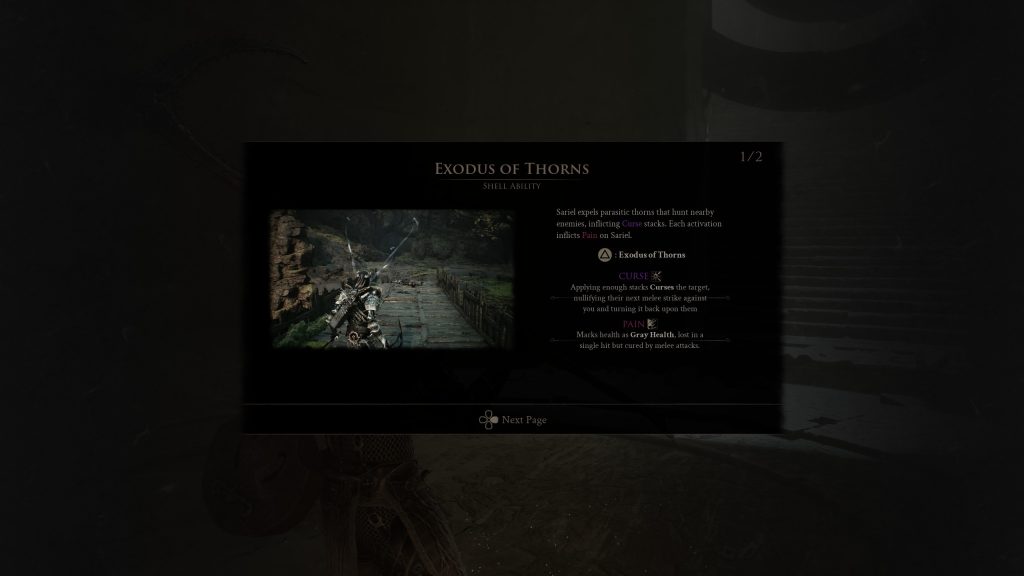
Sariel’s shell is hidden away behind one of the most inventive boss fights in the game, funnily enough against the man himself, Sariel the Endless. Finding him isn’t too difficult, but the environment and terrain around him is hellish, despite the white colour scheme.


Starting at the Silent Steps Beacon in the bottom half of the map, you’re going to want to use the traversal gate directly opposite, shooting yourself upwards towards the marble-looking-monolith. Straight ahead will be three human enemies; you can ignore them and head left. Before you end up getting the Shell, you’ll need to fight Sariel on the left first of all, in what is a too-good-to-be-true boss fight. Beating him here opens the gate behind you, and you’ll now be able to run up the stairs and into the Dungeon at the back, the Chamber of Becoming.
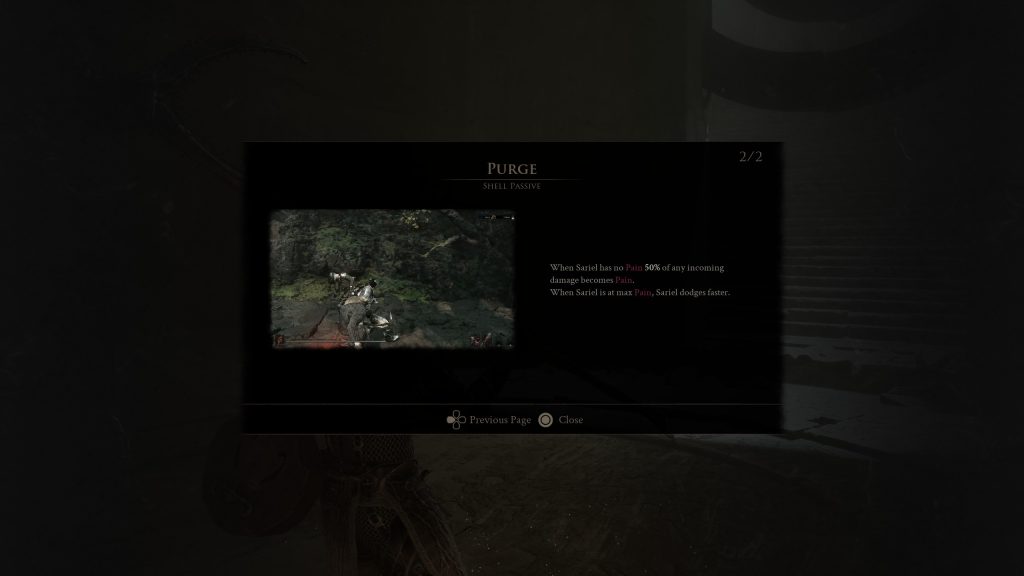
Head down the stairs and elevator, and down the dark and dirty dungeon towards the end. You’ll have to fight Sariel several times over, but once you do, you’ll get both his weapon, the Clockwork Scythe, and also his Shell. Inhabit, complete the memory, and then that’s it; you can now use him and his unique pain/curse powers.
For your next read, check out our tips for Mortal Shell 2, or our in-depth review of the game.

Luke Addison is the Founder and Editor-in-Chief of Thumb Wars. Having previously been a part of multiple outlets over the years, including building an entire gaming team from nothing to something, he thought it best to forge his own path and answer only to himself. As likely to be found playing the latest game as he is in the kitchen relaxing (by cooking), he always brings the same bold and brash attitude to everything he does, with a heavy leaning on sarcasm and dry wit!