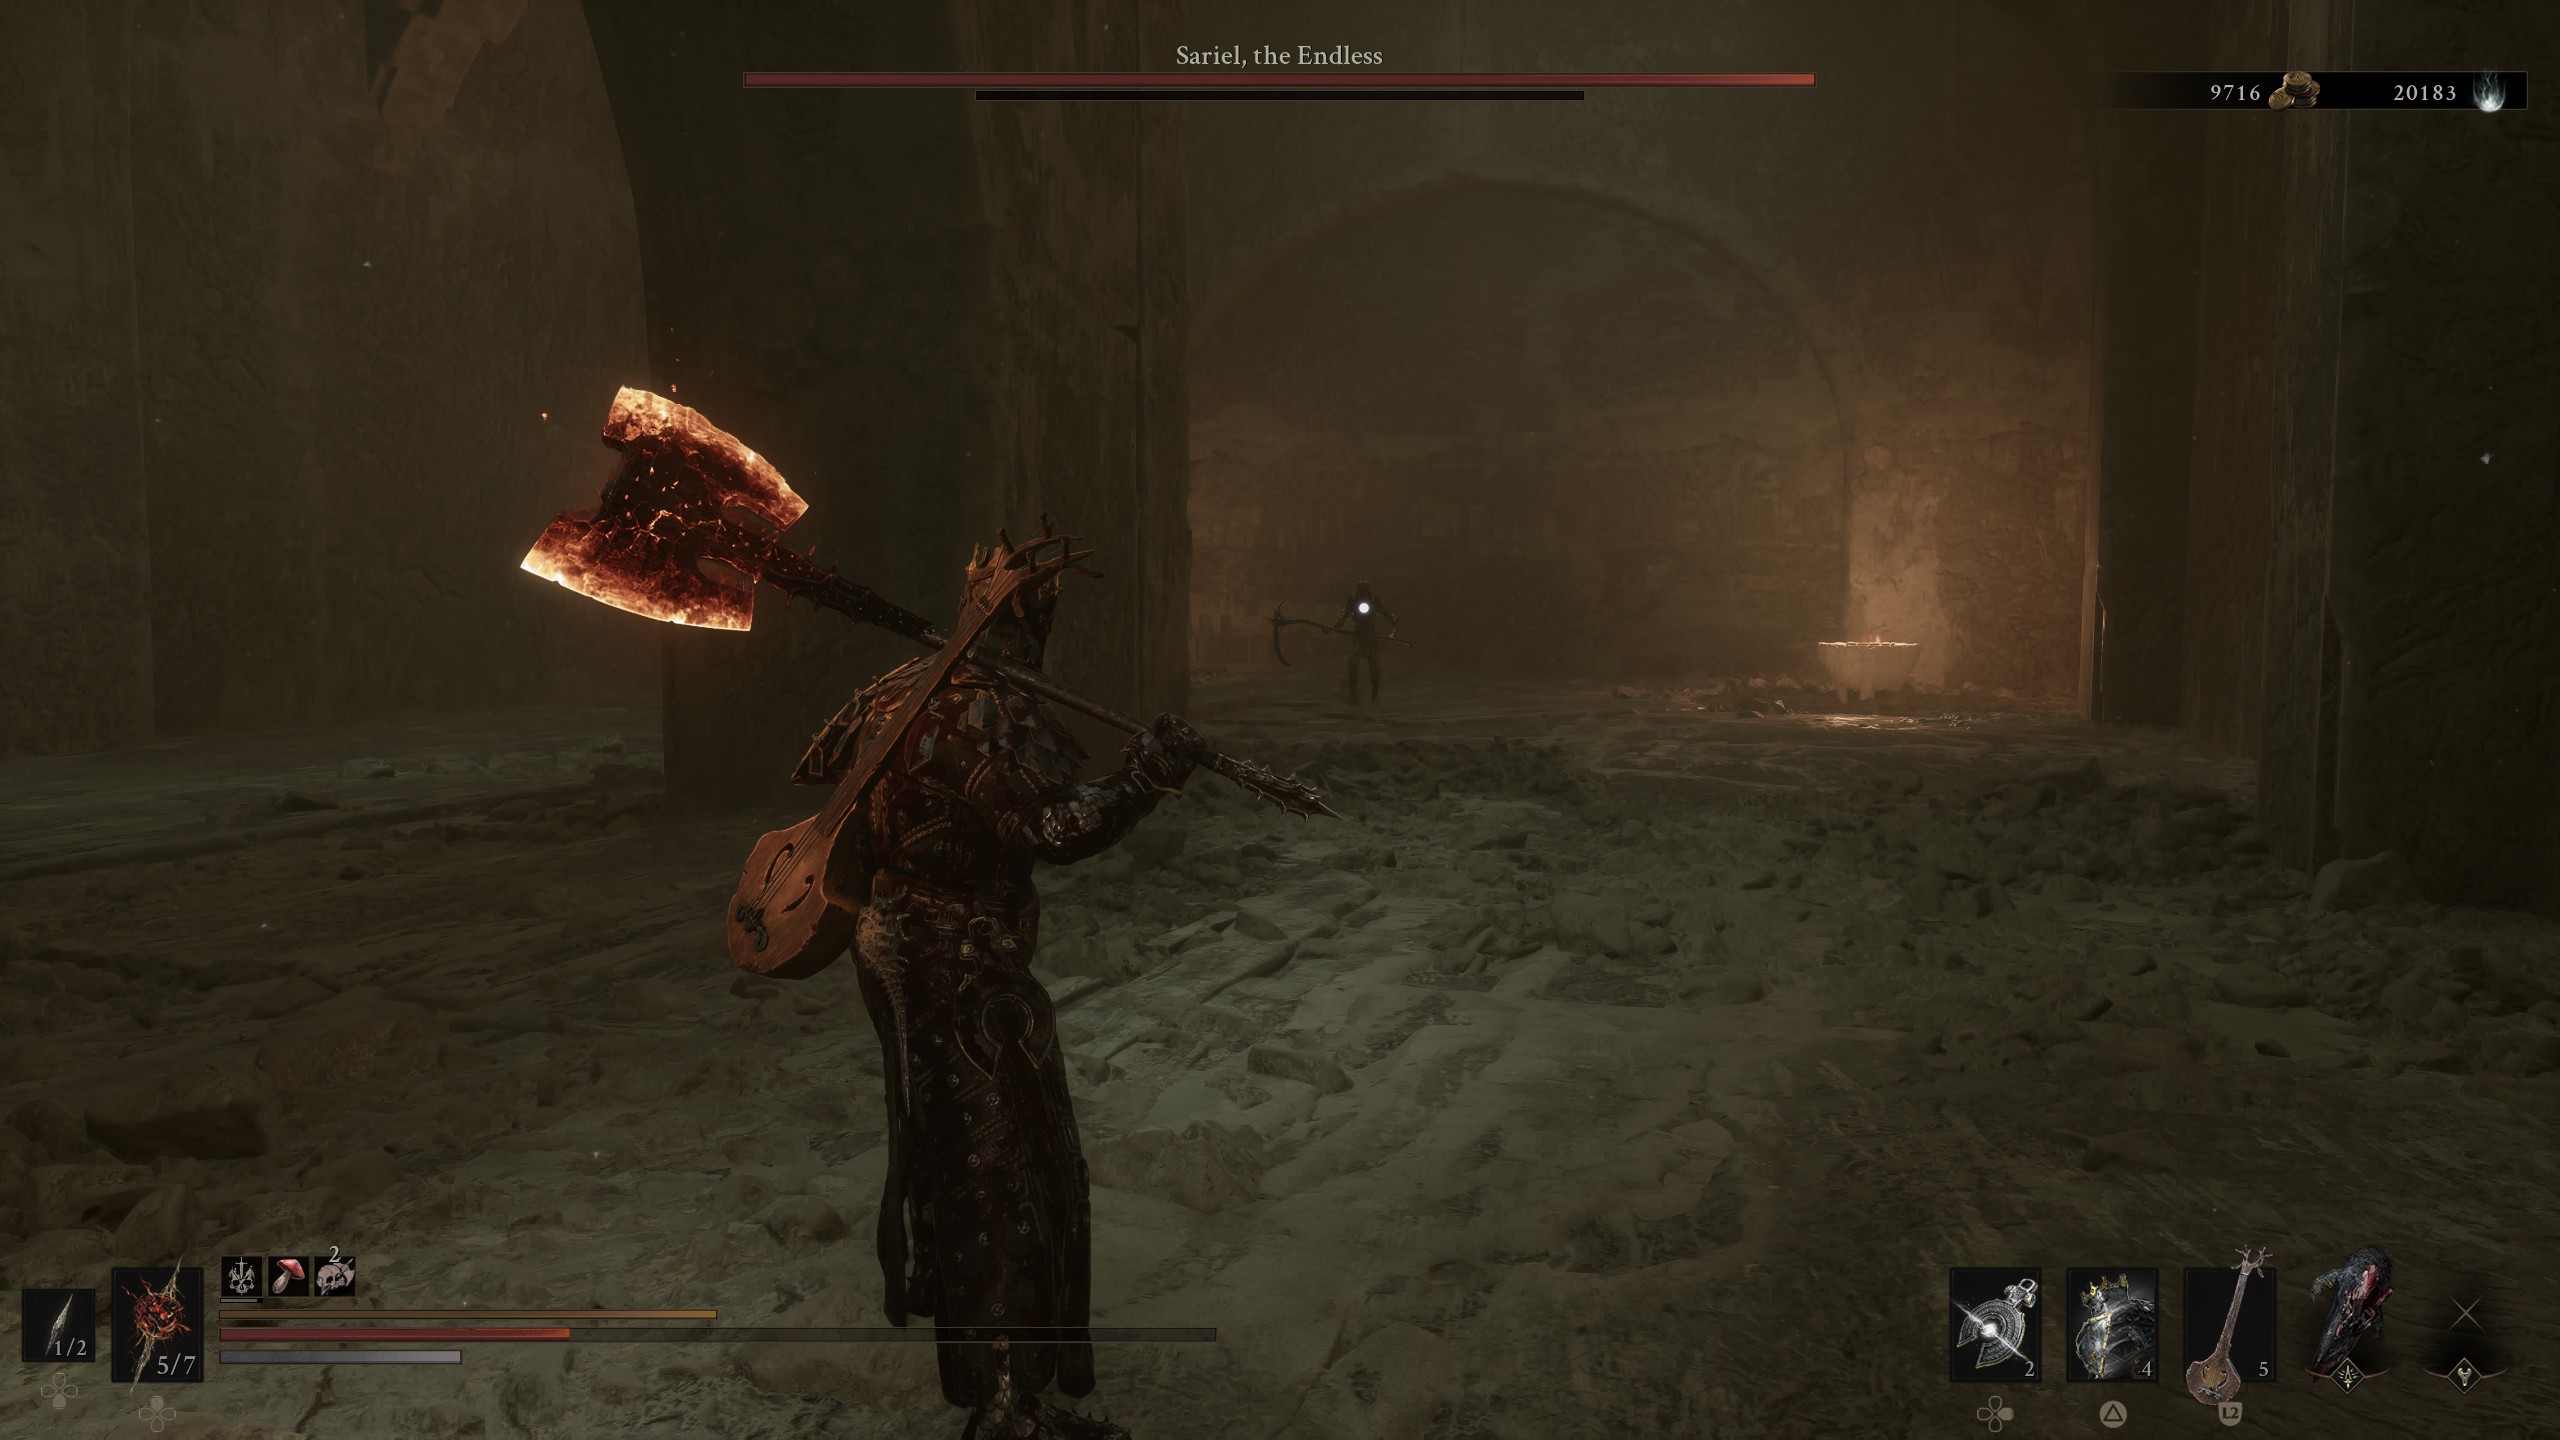
We’re getting to the endgame now. Running down the Corrupted Gates and all the bosses in and around them. This time, we’re looking at Sariel the Endless in Mortal Shell 2, and if you’re struggling to figure out how to keep him dead, don’t worry, we’ll run you through his locations, rewards, and, of course, the easiest way to beat him.
Location of Sariel the Endless in Mortal Shell 2
Finding Sariel is easier than most bosses, with his two locations not far from a nearby Beacon; however, you will have to fight a few enemies just to get to him. Nearby the Southernmost Corrupted Gate is the Silent Steps Beacon, which you’ll no doubt have found already as you’re exploring the bottom half of the map. If not, check out the image below for that location too. Anyway, from the Silent Steps Beacon, head towards the huge stone monolith opposite. Jump across the gap using the traversal gate and head forward, preferably ignoring the three enemies in front of you.
Take a left, and here, another left, is a wide open area at the top of the stone monolith. This is where you’ll find your first location and first fight with Sariel. He’s easy to dispatch here, and beating him unlocks the large gate behind. Run up the stairs and to the dungeon at the back. Like other dungeons, this is now a linear experience, but at the end of a short walk you’ll now find the second location and final fight with Sariel the Endless.
One click and you're done. Thank you!

How to Beat Sariel the Endless in Mortal Shell 2
Sariel the Endless is one of the more unique boss encounters in Mortal Shell 2. Not only is he a multiple-location boss, but you’ll also have the pleasure of fighting him forever, if you so wish. That’s no exaggeration either, as he continues to revive himself every time you kill him, unless you destroy four blocks.
Thankfully, along with the minor inconvenience of destroying those blocks whilst a scythe-wielding maniac chases you, Sariel the Endless doesn’t have a massive reserve of health. His main attacks are wide, swinging combos that, thanks to the scythe, will reach out across the arena more than you thought. Before getting to how we beat him, though, here’s my build.
- Eredrim Shell – Location here.
- Veteran’s Battle Axe – Location here.
- Troubadour Lute.
- Vatra Seal.
- Marksman’s Stone – Increases crit chance of ranged weapons.
- Retribution Stone – Increases Riposte damage.
- Deadeye Stone – Increases ranged crit damage.
- Berserker Stone – Increases damage output the lower your health is.
I’d suggest to everyone that they use Eredrim and the Troubadour Lute in general, let alone for this fight. The Lute is not as effective here as other boss encounters, but Eredrim’s Shoulder Bash Shell Ability is the best counter you could ask for with regards to Sariel the Endless always encroaching on your personal space.
As mentioned, there are four rock formations you must destroy to ensure that Sariel doesn’t return and beat him for good. This can be difficult when he’s always right on your heels, which is where the Shoulder Bash comes in. At this point of the game, I’ve built up max Shell Bond and also poured Shell Points into making the ability do far more damage than it starts with, meaning the Break Damage it accumulates from a single hit is astronomical. I’d back off, charge it up, and unleash it on Sariel. It’d go straight through any current combo he was doing, and as it shoots you across the ground, it also allows you to cover a great distance to get to him quickly.
When stunned, run over to the stones and take one or two out. It takes up to two hits per stone, so don’t get greedy and try for more; otherwise, Sariel will be back on his feet and attacking you. Do two, rinse, repeat, and then focus on Sariel when all four stones are gone.
You can either parry/Harden Sariel’s attacks, or, if you’d rather, do what I did and dodge them to ensure you’re not mistiming it. Having the Veteran’s Battle Axe meant a wide swing of my own, and it being upgraded to +16 meant it made mincemeat of Sariel’s already lower health and quite quickly beat him, and unlike the other times, with no stones there was no resurrection.
For your trouble here, you’ll get the following rewards:
- Gloom
- Glimpse
- Clockwork Scythe
Don’t be in a rush to leave though, as on the ground in front of you is your next Shell, Sariel himself, and then up the stairs is another weapon, this time the secondary weapon Caged Hystrix.
For your next read, check out our review of Mortal Shell 2, or our top tips and tricks for making the game easier.

Luke Addison is the Founder and Editor-in-Chief of Thumb Wars. Having previously been a part of multiple outlets over the years, including building an entire gaming team from nothing to something, he thought it best to forge his own path and answer only to himself. As likely to be found playing the latest game as he is in the kitchen relaxing (by cooking), he always brings the same bold and brash attitude to everything he does, with a heavy leaning on sarcasm and dry wit!