Last Updated on Jul 31, 2026 @ 10:08:01 AM.
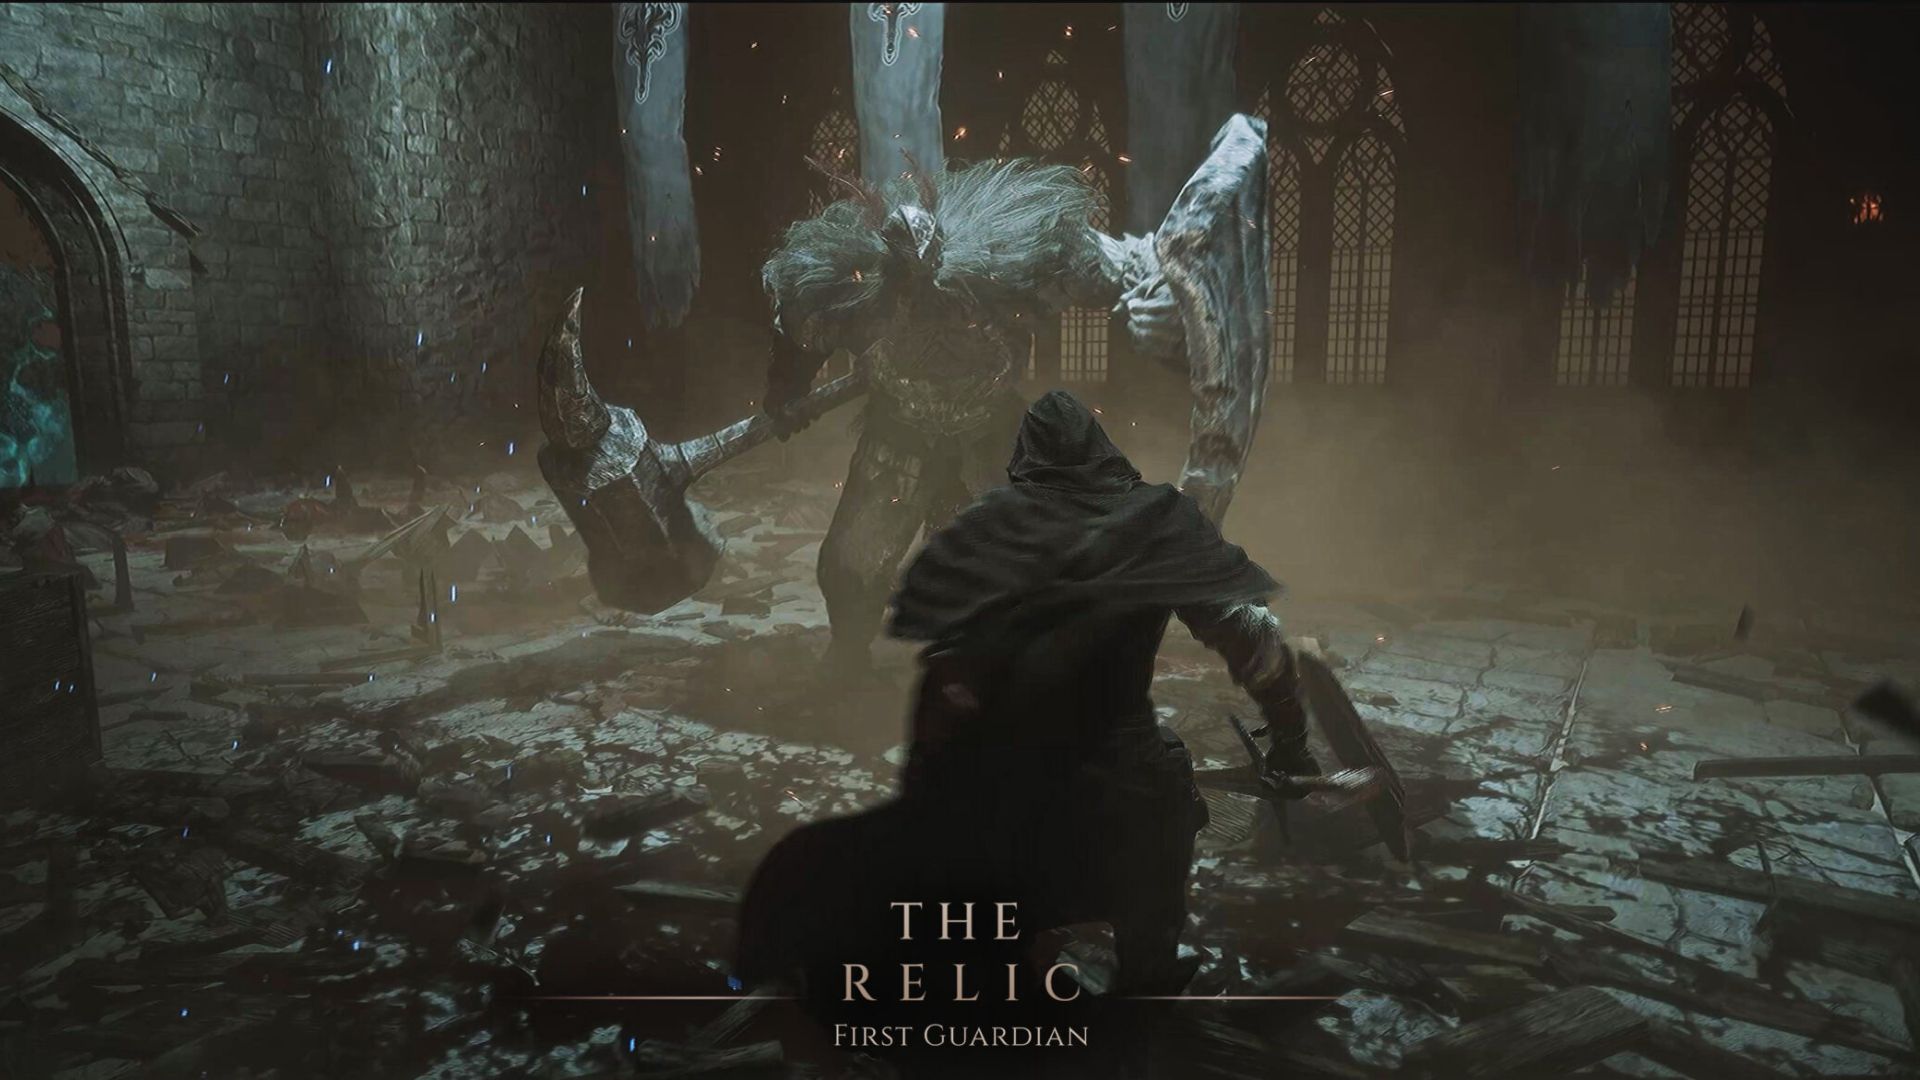
The Relic: First Guardian is the latest in a long line of Soulslikes, except this time round, there’s a few differences. Whereas most games punish you for attacking, instead, you’ll lose stamina when you’re defending. This changes the whole game, and whereas normally you’d take some time and want to find your moment, if you defend too much in The Relic: First Guardian, you’ll find yourself quickly overwhelmed, and quickly dead.
Not only is combat different than the usual, but exploration and storytelling is. A huge map filled with nearly 80 bosses, no mini-map, and no formal quests beyond meeting new people, and helping them in unique ways. You’ll find out the story of the land through these people and places, but there’s a lot that the game doesn’t explain, and doesn’t make explicitly clear. We have a few tips and tricks that’ll make your time with The Relic: First Guardian a little easier.
One click and you're done. Thank you!
1. Explore
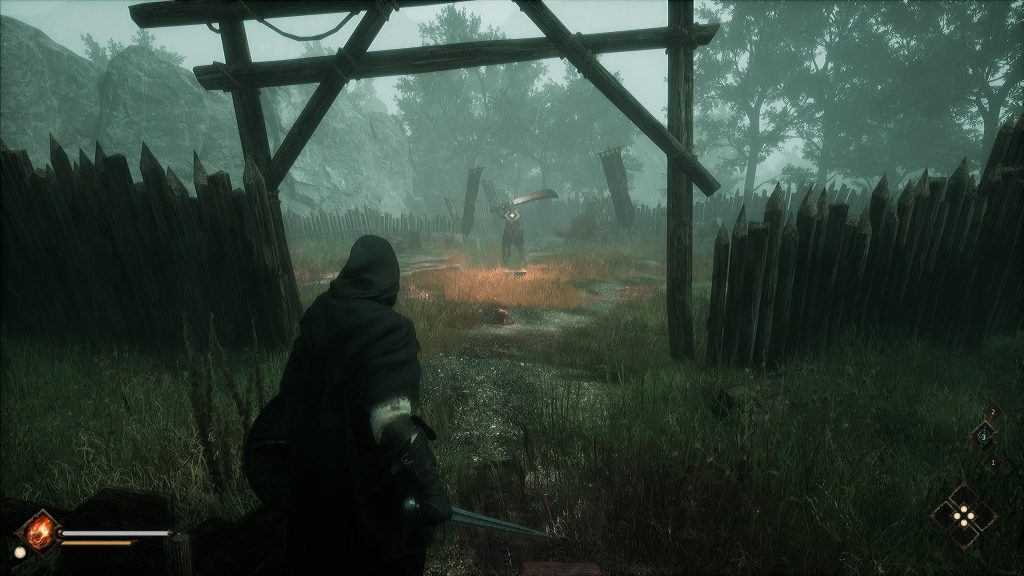
The single biggest bit of advice we can give you for The Relic: First Guardian is to explore. Don’t stop exploring. Whether you’re looking for the next boss, a new event to take your attention, a potential new piece of armor or weapon, or just the next stage of the game, don’t stop exploring. The game doesn’t hold your hand in a traditional sense, and doesn’t tell you when to go and where in the grand scheme of things, instead putting the onus on you to find and craft your own path. Just keep exploring, trust us.
2. Destroy Everything
The world is littered with all sorts of debris, most of which will get in your way. Whether it’s a barrel or a box, you should get used to breaking them. You can use your weapon, or, much quicker, you can dodge your way through them, breaking them instantly. Sometimes you’ll end up finding items, Relics, gold, or other such important paraphernalia that you otherwise would have missed.
3. Use Every Tibelle’s Blessing
Unlike other Soulslike games, there’s no real downsides to resting up in The Relic: First Guardian. Tibelle’s Blessing, the Bonfires of The Relic: First Guardian, if you will, are scattered throughout Arsilthus. There are hundreds of them, and each time you use them, you’ll regain full health, stamina, and a full accompaniment of health potions again. Usually, you’d see in other Soulslikes the return of many enemies, making the use of them a trade-off. This isn’t the case here. The enemies don’t return with each death or use of the Tibelle’s Blessing, so you won’t need to wonder if it’s worth it to use them. Trust us, there’s nothing worse than travelling a great distance, running into a boss and dying, when you could have used a Tibelle’s Blessing as a checkpoint.
4. Abuse Lock-on
Another staple of the Soulslike genre, and action-adventure games in general. You can lock-on in The Relic: First Guardian, which is an absolute must if you want to conquer the huge bosses, or the crowds of enemies that’ll attempt to kill you. Chances are this is a tip you don’t need telling, but when don’t be afraid of using lock-on even when there’s no enemies around, or at least, when you don’t think there are. It’ll save you being surprised when you run into enemies, and save any potential embarrasing deaths because of it.
5. Search Out Ancient Relic Blessings
Upgrading your skills is a big part of ensuring you don’t get out of your depth in The Relic: First Guardian. Doing it though, can be another matter if you’re not paying attention. To upgrade, you’ll need Relic Energy. This can be gotten in a number of ways, some easier than others.
- Beating bosses. Each Brutal you meet and beat will give you a chunk of Relic Energy. However, they can be troublesome to beat and difficult to overcome for a relatively little payoff.
- Killing normal enemies. Some normal enemies in special locations will give you Relic Energy by killing them. To say this is minimal is an understatement, and not a long-term strategy at all.
- Finding Ancient Relic Blessings. These gigantic stone formations are spread throughout the world of Arsilthus. Usually surrounded by Looters or Corrupted enemies, you’ll have to dispatch those first, before approaching the formations of blue energy, and taking it. Each one is a big bump to your Relic Energy reserve and can make learning skills a doddle.
6. Equip and Use the Right Consumables for the Job
You will have a massive amount of items at your disposal to make your life easier as you traverse the world of The Relic: First Guardian. From health potions to different throwable shards, you’ll want to make sure you have the right items equipped at the right time. For example, there’s little point taking Ice Relic Magic or and Ice Elemental Shard to throw if you’re fighting a Brutal that deals out Ice damage. With multiple slots you can have a different combination of defensive and offensive items, just take some time to prepare before heading into a new area or to fight a new Brutal.
7. Don’t Forget to Buy Skills
The game doesn’t hold your hand in the sense of walking you through every single mechanic and feature, and that’s including the skills in the game. Found on one of the games menu, you’ll notice that each of the five weapons has its own unique skill tree, offering special attacks, buffs to Relics and more. Buying these with Relic Energy will be paramount to your success in game, and can regularly provide the difference between success and failure when it comes to fighting Brutals.
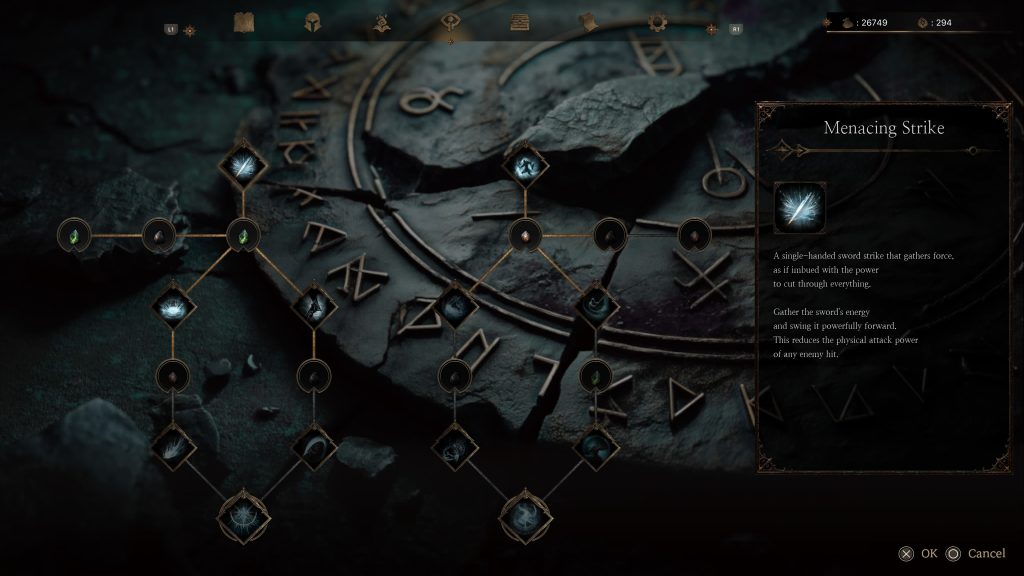
8. Return to Hersom and Upgrade Your Weapons
Similarly to the above, you can upgrade your weapons, increasing the damage you’ll dish out. However, the game doesn’t do a great job of highlighting this fact and can be missed for a long while. In order to upgrade your weapons, you’ll need to find two relevant items out in the world. As you upgrade, these items get rarer, making it harder, but its important you check in with Hersom regularly to see how close you are to upgrading.
9. Pay Close Attention to Shopkeepers and Item Sellers
Many items are strewn across the world of Arsilthus, but some are purchasable from the many shop keepers and item sellers throughout. This includes weapon upgrade items mentioned above, and some items needed to access unique and special areas, which usually house either Brutals, or items that you can’t find any where else. Don’t sleep on them.
10. Don’t Ignore the Monks You Find
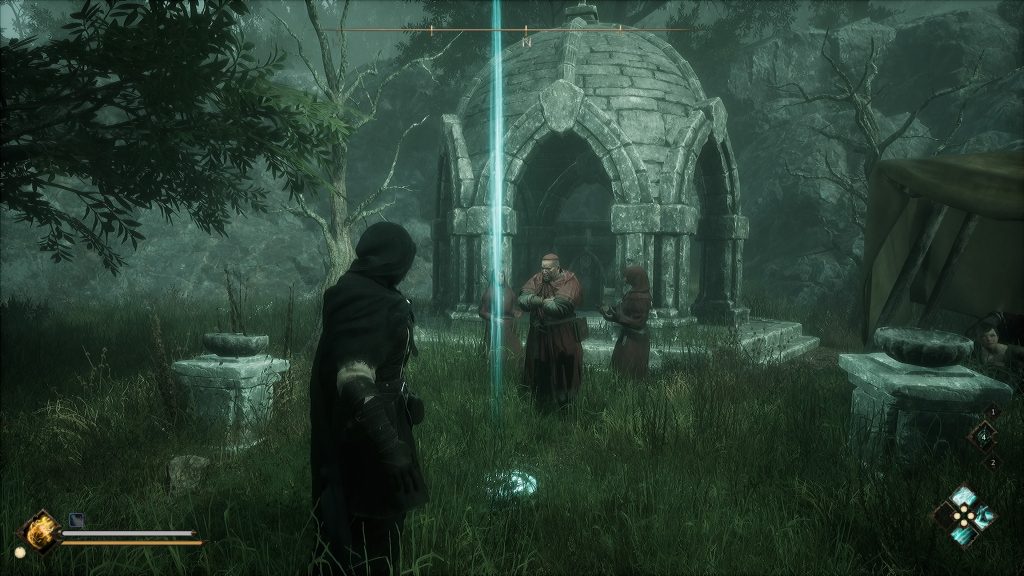
Throughout Arsilthus are religious Monks that you’ll happen upon. Do not ignore them. From sitting in the Old Temple Site in the Faded Mist Forest, to being close to two difficult bosses (see the image below), they’ll make your life easier. As you chat with them, they’ll offer to help “for a small fee”, which turns out to be 600 Gold. Considering how much Gold you get through everyday actions in The Relic: First Guardian, this is a pittance. Paying it will give you a boost to your Maximum Stamina, or Maximum HP.
11. Speak to Elisa Regularly
Elisa is responsible for a few different mechanics in The Relic: First Guardian. From respeccing your skills to upgrading your Relics, she’s incredibly important and useful. You can always find her at the gatherings of NPCs, alongside Hersom. Make use of her help with regards to upgrading Relics, as you’ll need to powerup as you progress.
That’s just a few tips and tricks to make your time easier with The Relic: First Guardian, but there’s plenty more for you to experience for yourself as you play the game.
Do you have any other tips and tricks you’d like to share? How far are you in the game? Let us know in the comments below.
For your next read, don’t miss our review of The Relic: First Guardian, or our in-depth discussion with the Game Director of the game.

Luke Addison is the Founder and Editor-in-Chief of Thumb Wars. Having previously been a part of multiple outlets over the years, including building an entire gaming team from nothing to something, he thought it best to forge his own path and answer only to himself. As likely to be found playing the latest game as he is in the kitchen relaxing (by cooking), he always brings the same bold and brash attitude to everything he does, with a heavy leaning on sarcasm and dry wit!