One click and you're done. Thank you!
So you’ve explored Marrow’s Keep, and now you’ve flown over to Widow’s Overlook. There’s a lot around you in this little hub, and much of it you’ll need to find and finish if you hope to get anywhere in Mortal Shell 2. However, the whole reason you’re here is the next boss in the game, and this one, just like the Gloombound Ritualist, is an early skill check designed to improve your understanding of the mechanics. Plus, he looks hella cool. Don’t worry though, if you’re struggling a little, we’ll run you through exactly how to beat Great Arbiter of Flesh in Mortal Shell 2.
Great Arbiter of Flesh Location
Unlike the last boss, it is strictly possible for you to miss out on Great Arbiter of Flesh, but it’s unlikely. Once you’ve flown from Marrow’s Keep to Widow’s Overlook, you’ll be presented with several ways to go. If you head to the left, you’ll encounter your first flying enemies and the friendly, if troubled Gorf (give him what he wants), but if you head right, down the slope, you’ll run into our newest trial and tribulation, the Great Arbiter of Flesh.
How to Beat Great Arbiter of Flesh in Mortal Shell 2
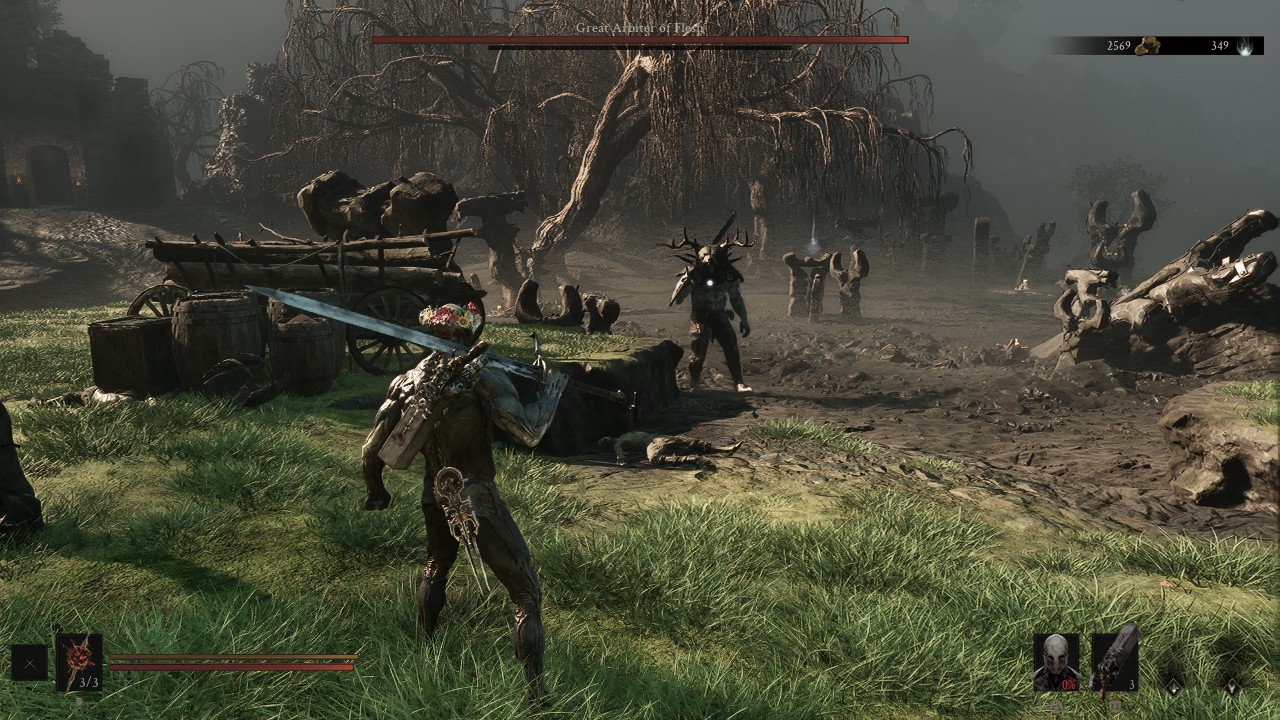
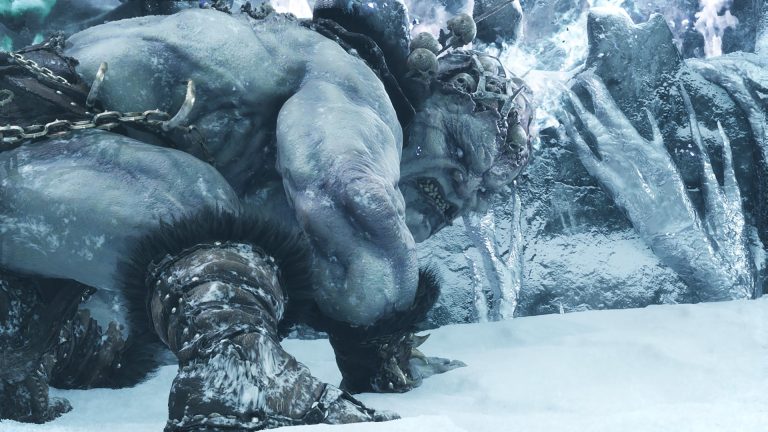
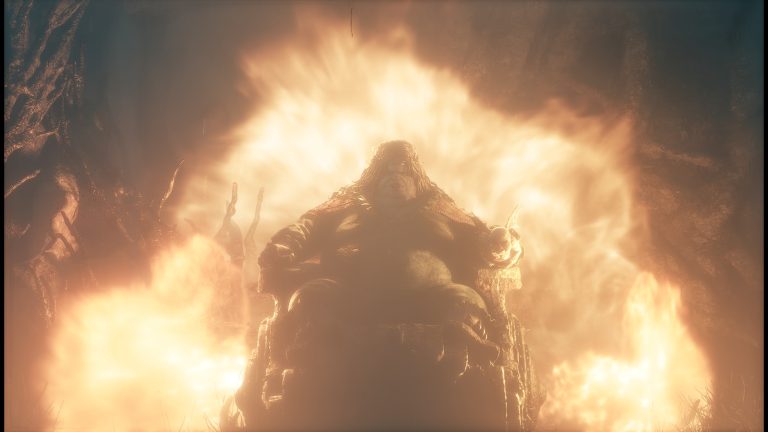
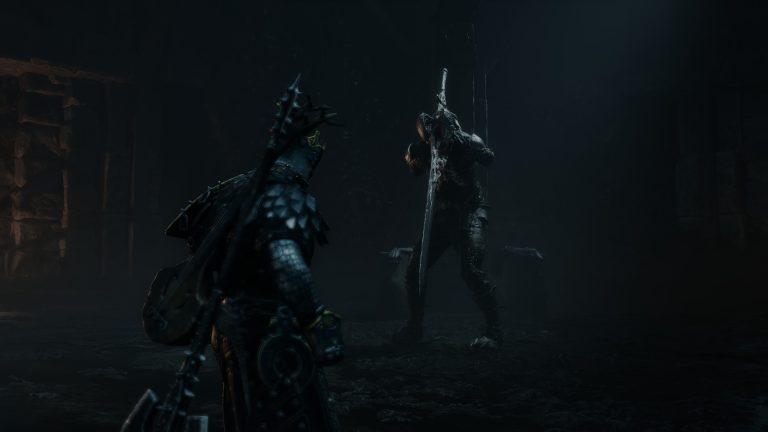
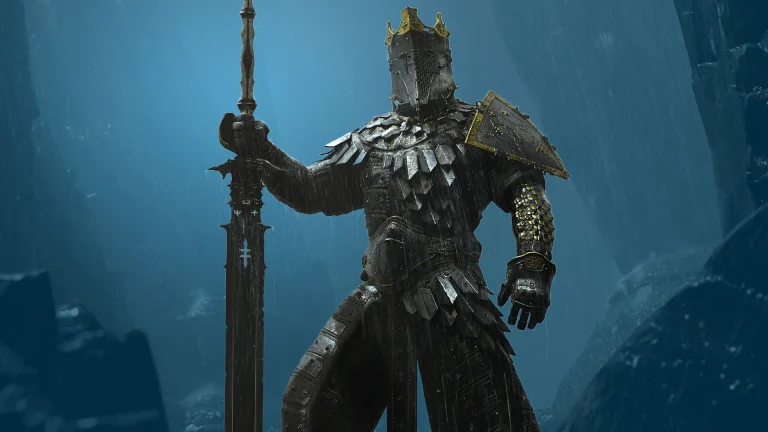
A hulking monstrosity of a man, you’ll notice that he’s designed like something out of a horror film. Huge, muscular, methodical and slow, he’s not to be sniffed at. Oh yeah, he also has a deer head with antlers and everything. Sorry for burying the lede there.
With it being so early in the game that you come across the man-deer-thing that is the Great Arbiter of Flesh, you’ll likely still be using Harros as a skill, with the huge sword Iconoclast at your disposal, as well as the same starting ranged weapon. Thankfully, the moveset of the boss isn’t much to write home about and is quite predictable.
CHEESE METHOD: Due to the environment being layered, you can get the Great Arbiter of Flesh stuck if you time things right. For whatever reason, if you draw him to the edge of the swamp he walks out from (FROM ABOVE), and then drop down, he’ll be stuck slightly higher, meaning his grab attacks and combos will miss you. Be careful though, this likely won’t last the whole fight, but it will help with getting a chunk of his health off in relative safety.
He employs several moves of which all are telegraphed. The biggest you want to avoid is his grab attack. The unblockable indicator will appear as he’s gearing up for it, and that’s your indicator to get ready to dodge. He’ll lunge forward and attempt to grab you, as and when this happens, dodge, and then make sure to attack him plenty. Once this window is closed and you see him get back to his feet, back up and unload your ranged weapon in him three times, taking a chunk of health off.
He’ll ominously begin walking towards you again, and start swinging his sword at you. He has a couple of combos, one three-hit, and one five-hit. The latter also includes a rhythm-breaking fake swing, which will undoubtedly get you the first time, but after that you should recognise it.
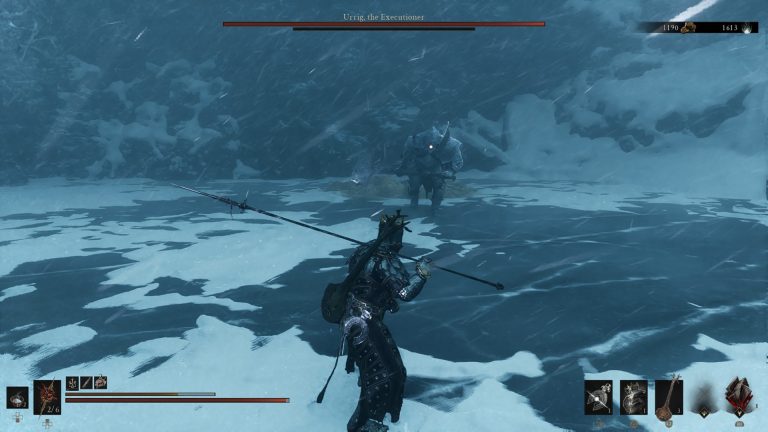
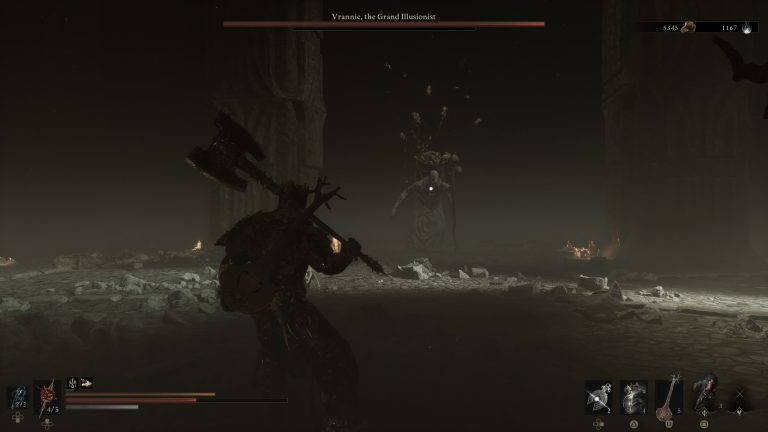
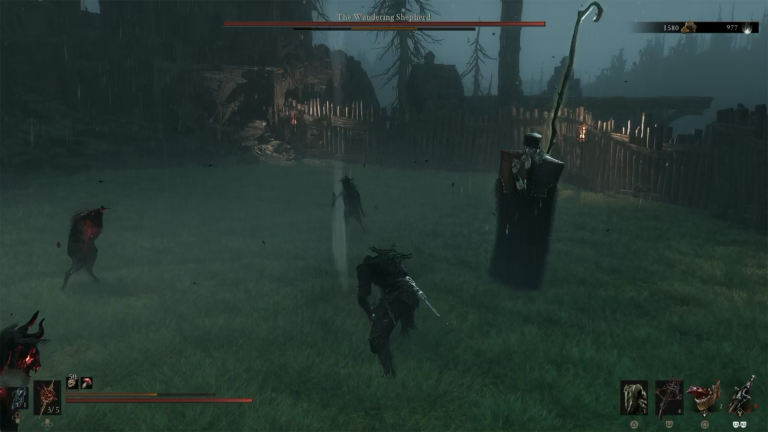
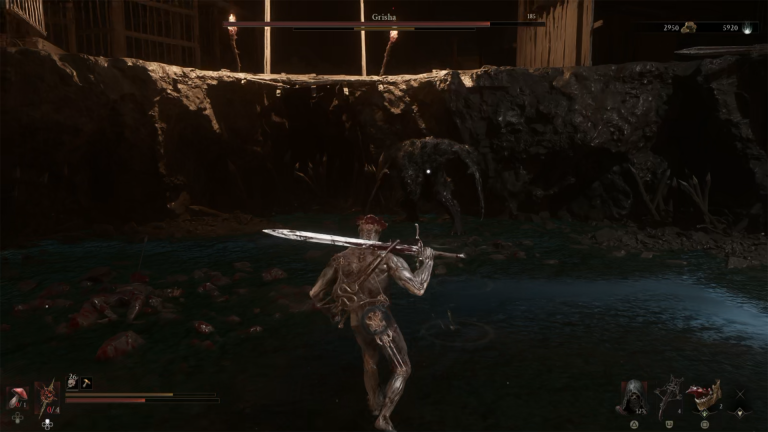
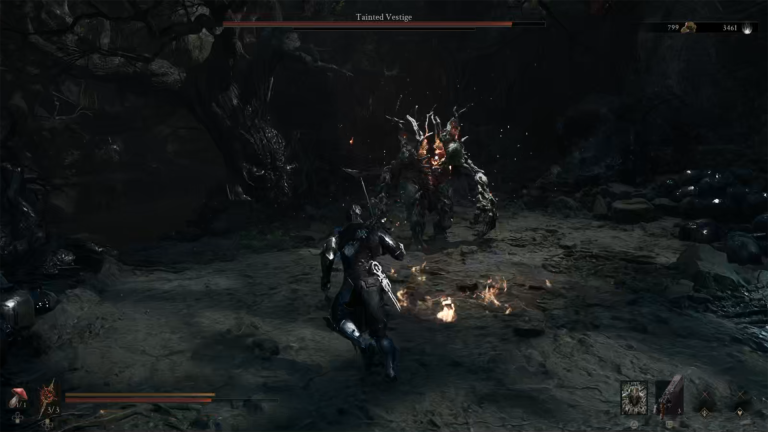
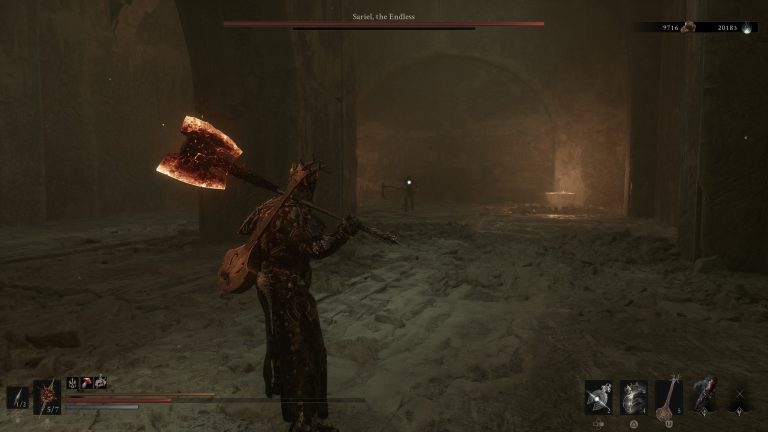
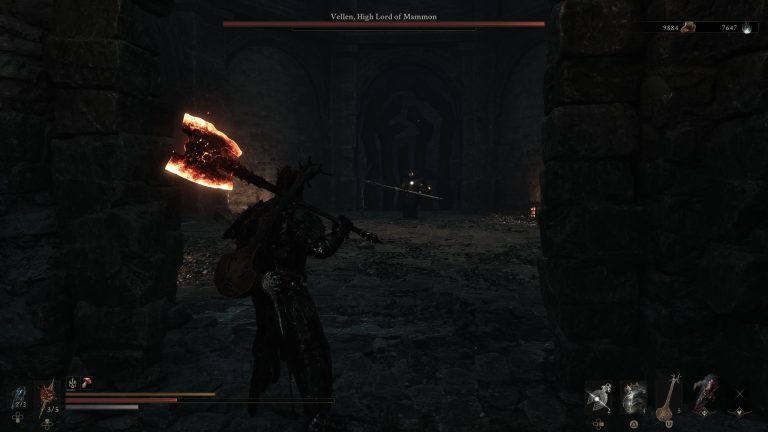
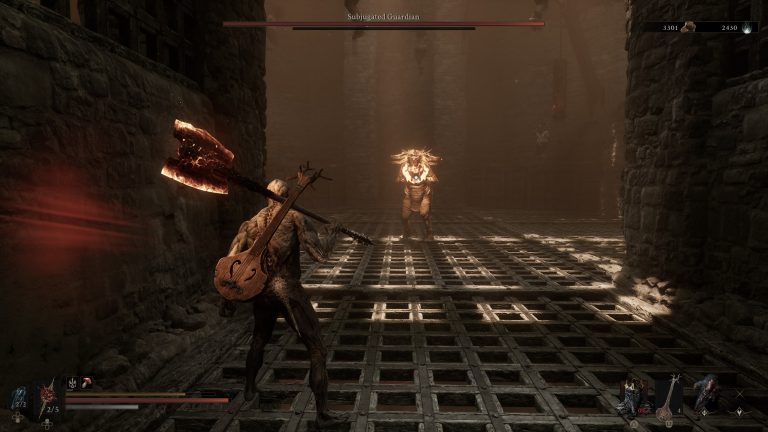
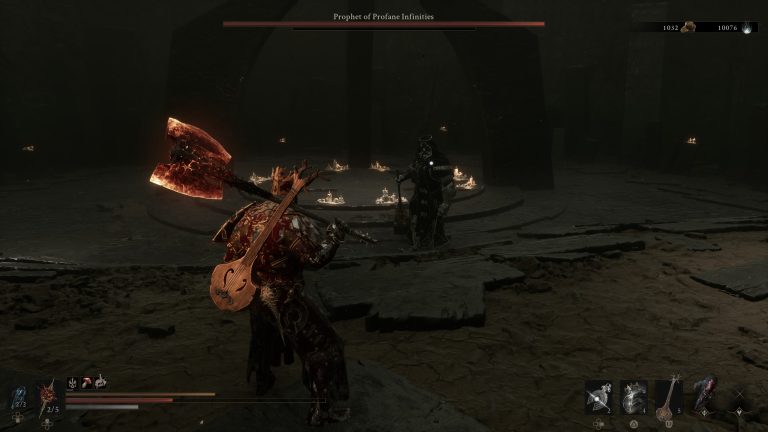
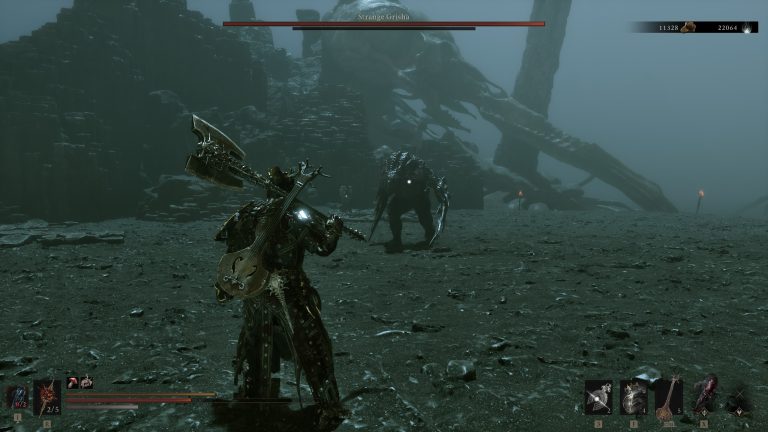
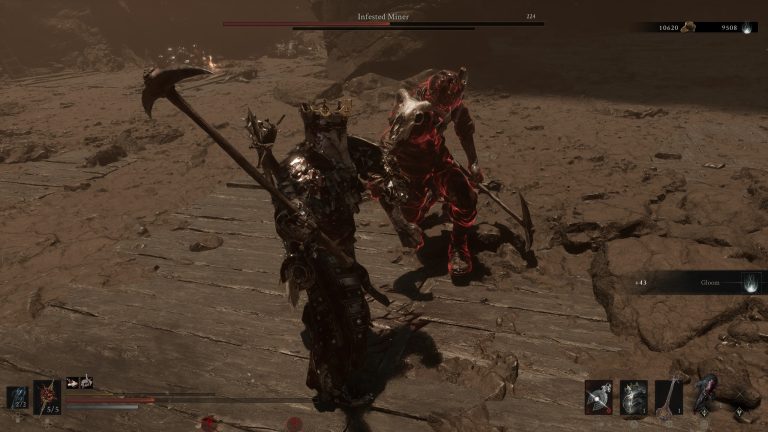
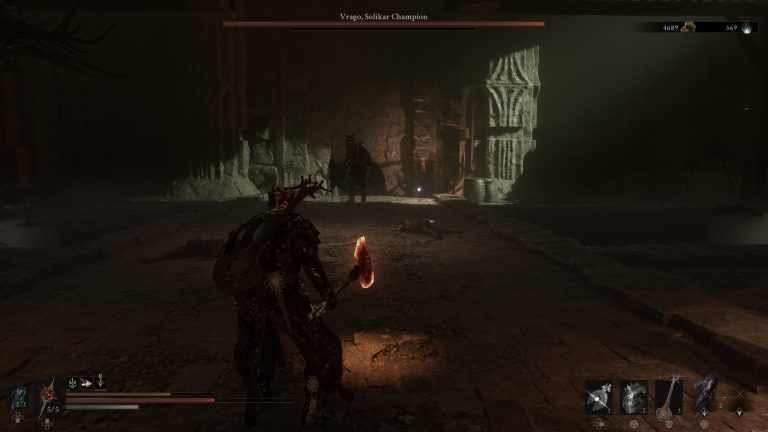
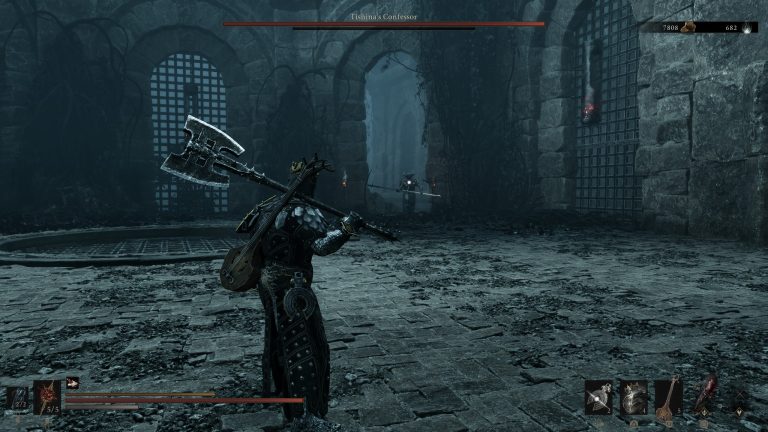
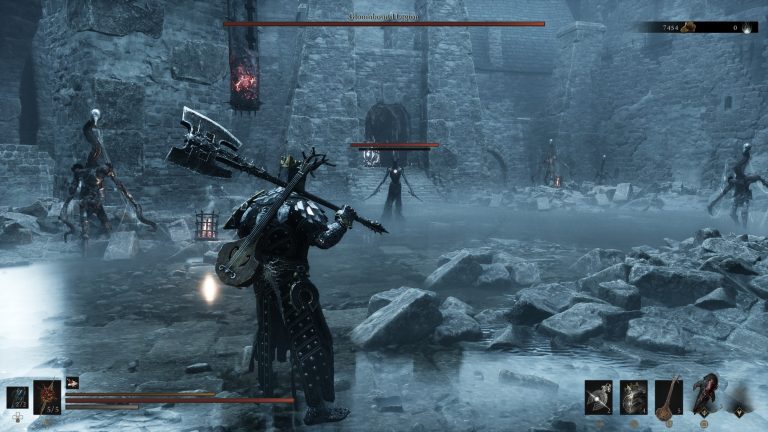
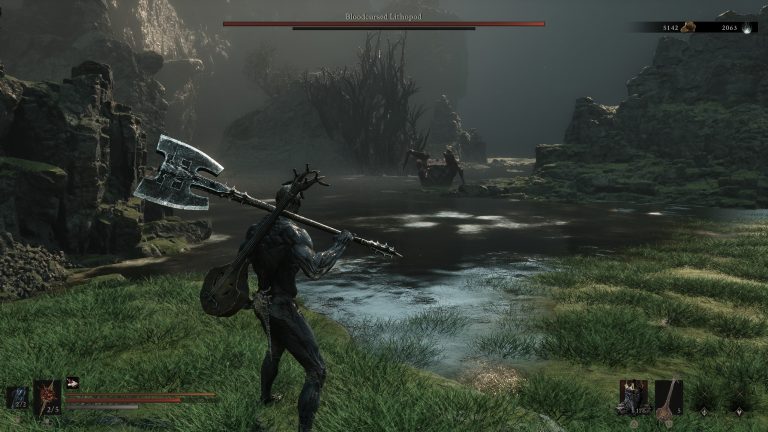
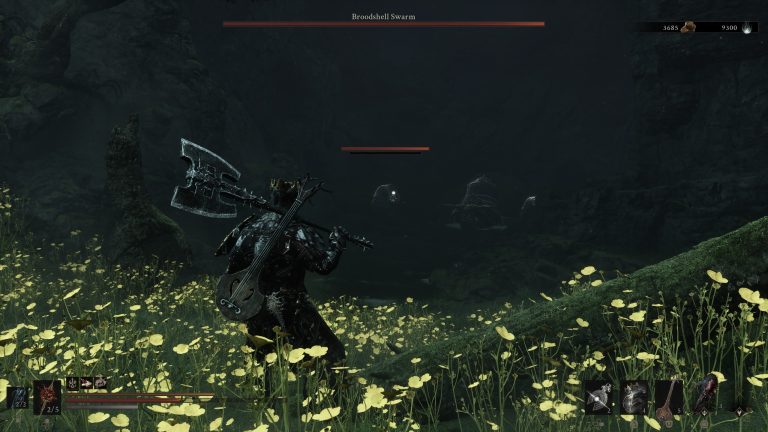
Make sure you’re timing your blocks correctly, and you’ll eventually break him. When this happens, get in close and Riposte him, which deals huge damage and looks incredibly cool!
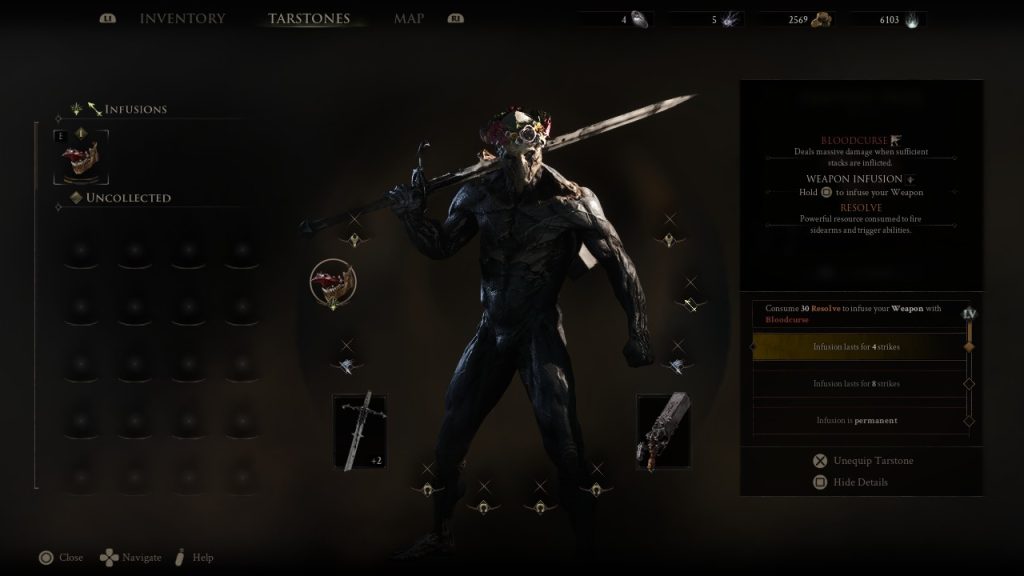
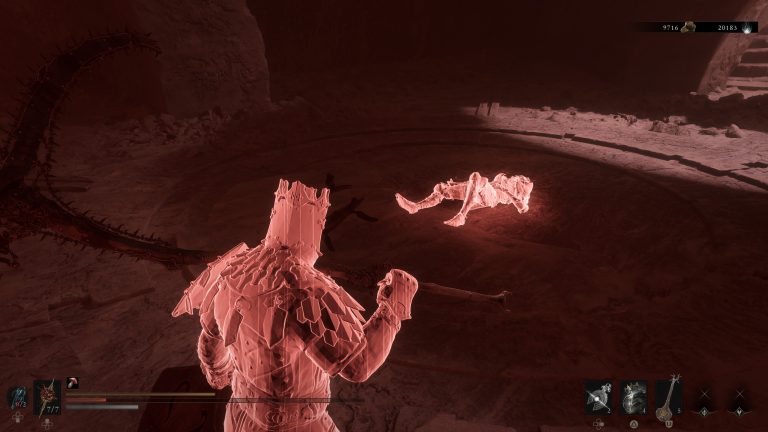
All in all, the fight against the Great Arbiter of Flesh isn’t the hardest you’ll be facing in Mortal Shell 2, but it is one of the most fun, if for no other reason than he looks awesome. Beating him will introduce you to Tarstones, and in this case, the Arbiter’s Prize. Other rewards include:
- Gloom
- Glimpse x 1
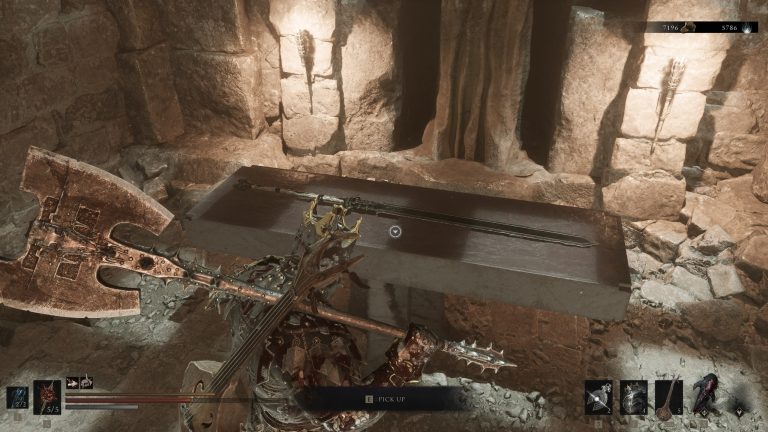
Now you’ve beaten him and can move around freely, head to the centre of the arena and grab the Gloombound Flame from the plinth, as you’ll need it back at Marrow’s Keep.
For your next read, don’t miss our tips and tricks for Mortal Shell 2, or our full, in-depth review of the game.

Luke Addison is the Founder and Editor-in-Chief of Thumb Wars. Having previously been a part of multiple outlets over the years, including building an entire gaming team from nothing to something, he thought it best to forge his own path and answer only to himself. As likely to be found playing the latest game as he is in the kitchen relaxing (by cooking), he always brings the same bold and brash attitude to everything he does, with a heavy leaning on sarcasm and dry wit!
Other Mortal Shell 2 Guides You Will Need
- How to Beat Caged Grisha in Mortal Shell 2
- How to Beat Urrig, The Executioner in Mortal Shell 2
- How to Beat Vrannic, the Grand Illusionist in Mortal Shell 2
- How to Beat The Wandering Shepherd in Mortal Shell 2
- How to Beat Grisha in Mortal Shell 2
- How to Beat Tainted Vestige in Mortal Shell 2
- How to Beat Sariel the Endless in Mortal Shell 2
- How to Beat Vellen, High Lord of Gammon in Mortal Shell 2
- How to Beat the Subjugated Guardian in Mortal Shell 2
- How to Beat the Prophet of Profane Infinities in Mortal Shell 2
- How to Beat Strange Grisha in Mortal Shell 2
- How to Beat the Infested Miner in Mortal Shell 2
- How to Beat Vrago, Solikar Champion in Mortal Shell 2
- How to Beat Tishina’s Confessor in Mortal Shell 2
- How to Beat the Gloombound Legion in Mortal Shell 2
- How to Beat the Bloodcursed Lithopod in Mortal Shell 2
- How to Beat the Broodshell Swarm in Mortal Shell 2
- How to Upgrade Your Weapons in Mortal Shell 2
- How to Beat the Warden in Mortal Shell 2
- How to Beat Gloombound Ritualist in Mortal Shell 2
- How to Beat Lucian, The Thirsting Knight in Mortal Shell 2
- How to Beat Droeg, The Conquerer in Mortal Shell 2
- How to Increase Your Health in Mortal Shell 2
- How to Beat Magdalena, the Lady of the Woods in Mortal Shell 2
- How to Unlock the Mortal Shell 2 Secret Ending
- How to Beat the Hexapod in Mortal Shell 2
- How to Beat the Nameless Captive in Mortal Shell 2
- How to Fast Travel in Mortal Shell 2
- How to Change Difficulty in Mortal Shell 2
- Mortal Shell 2 – All Shell Locations
- Mortal Shell 2 – All Weapon Locations