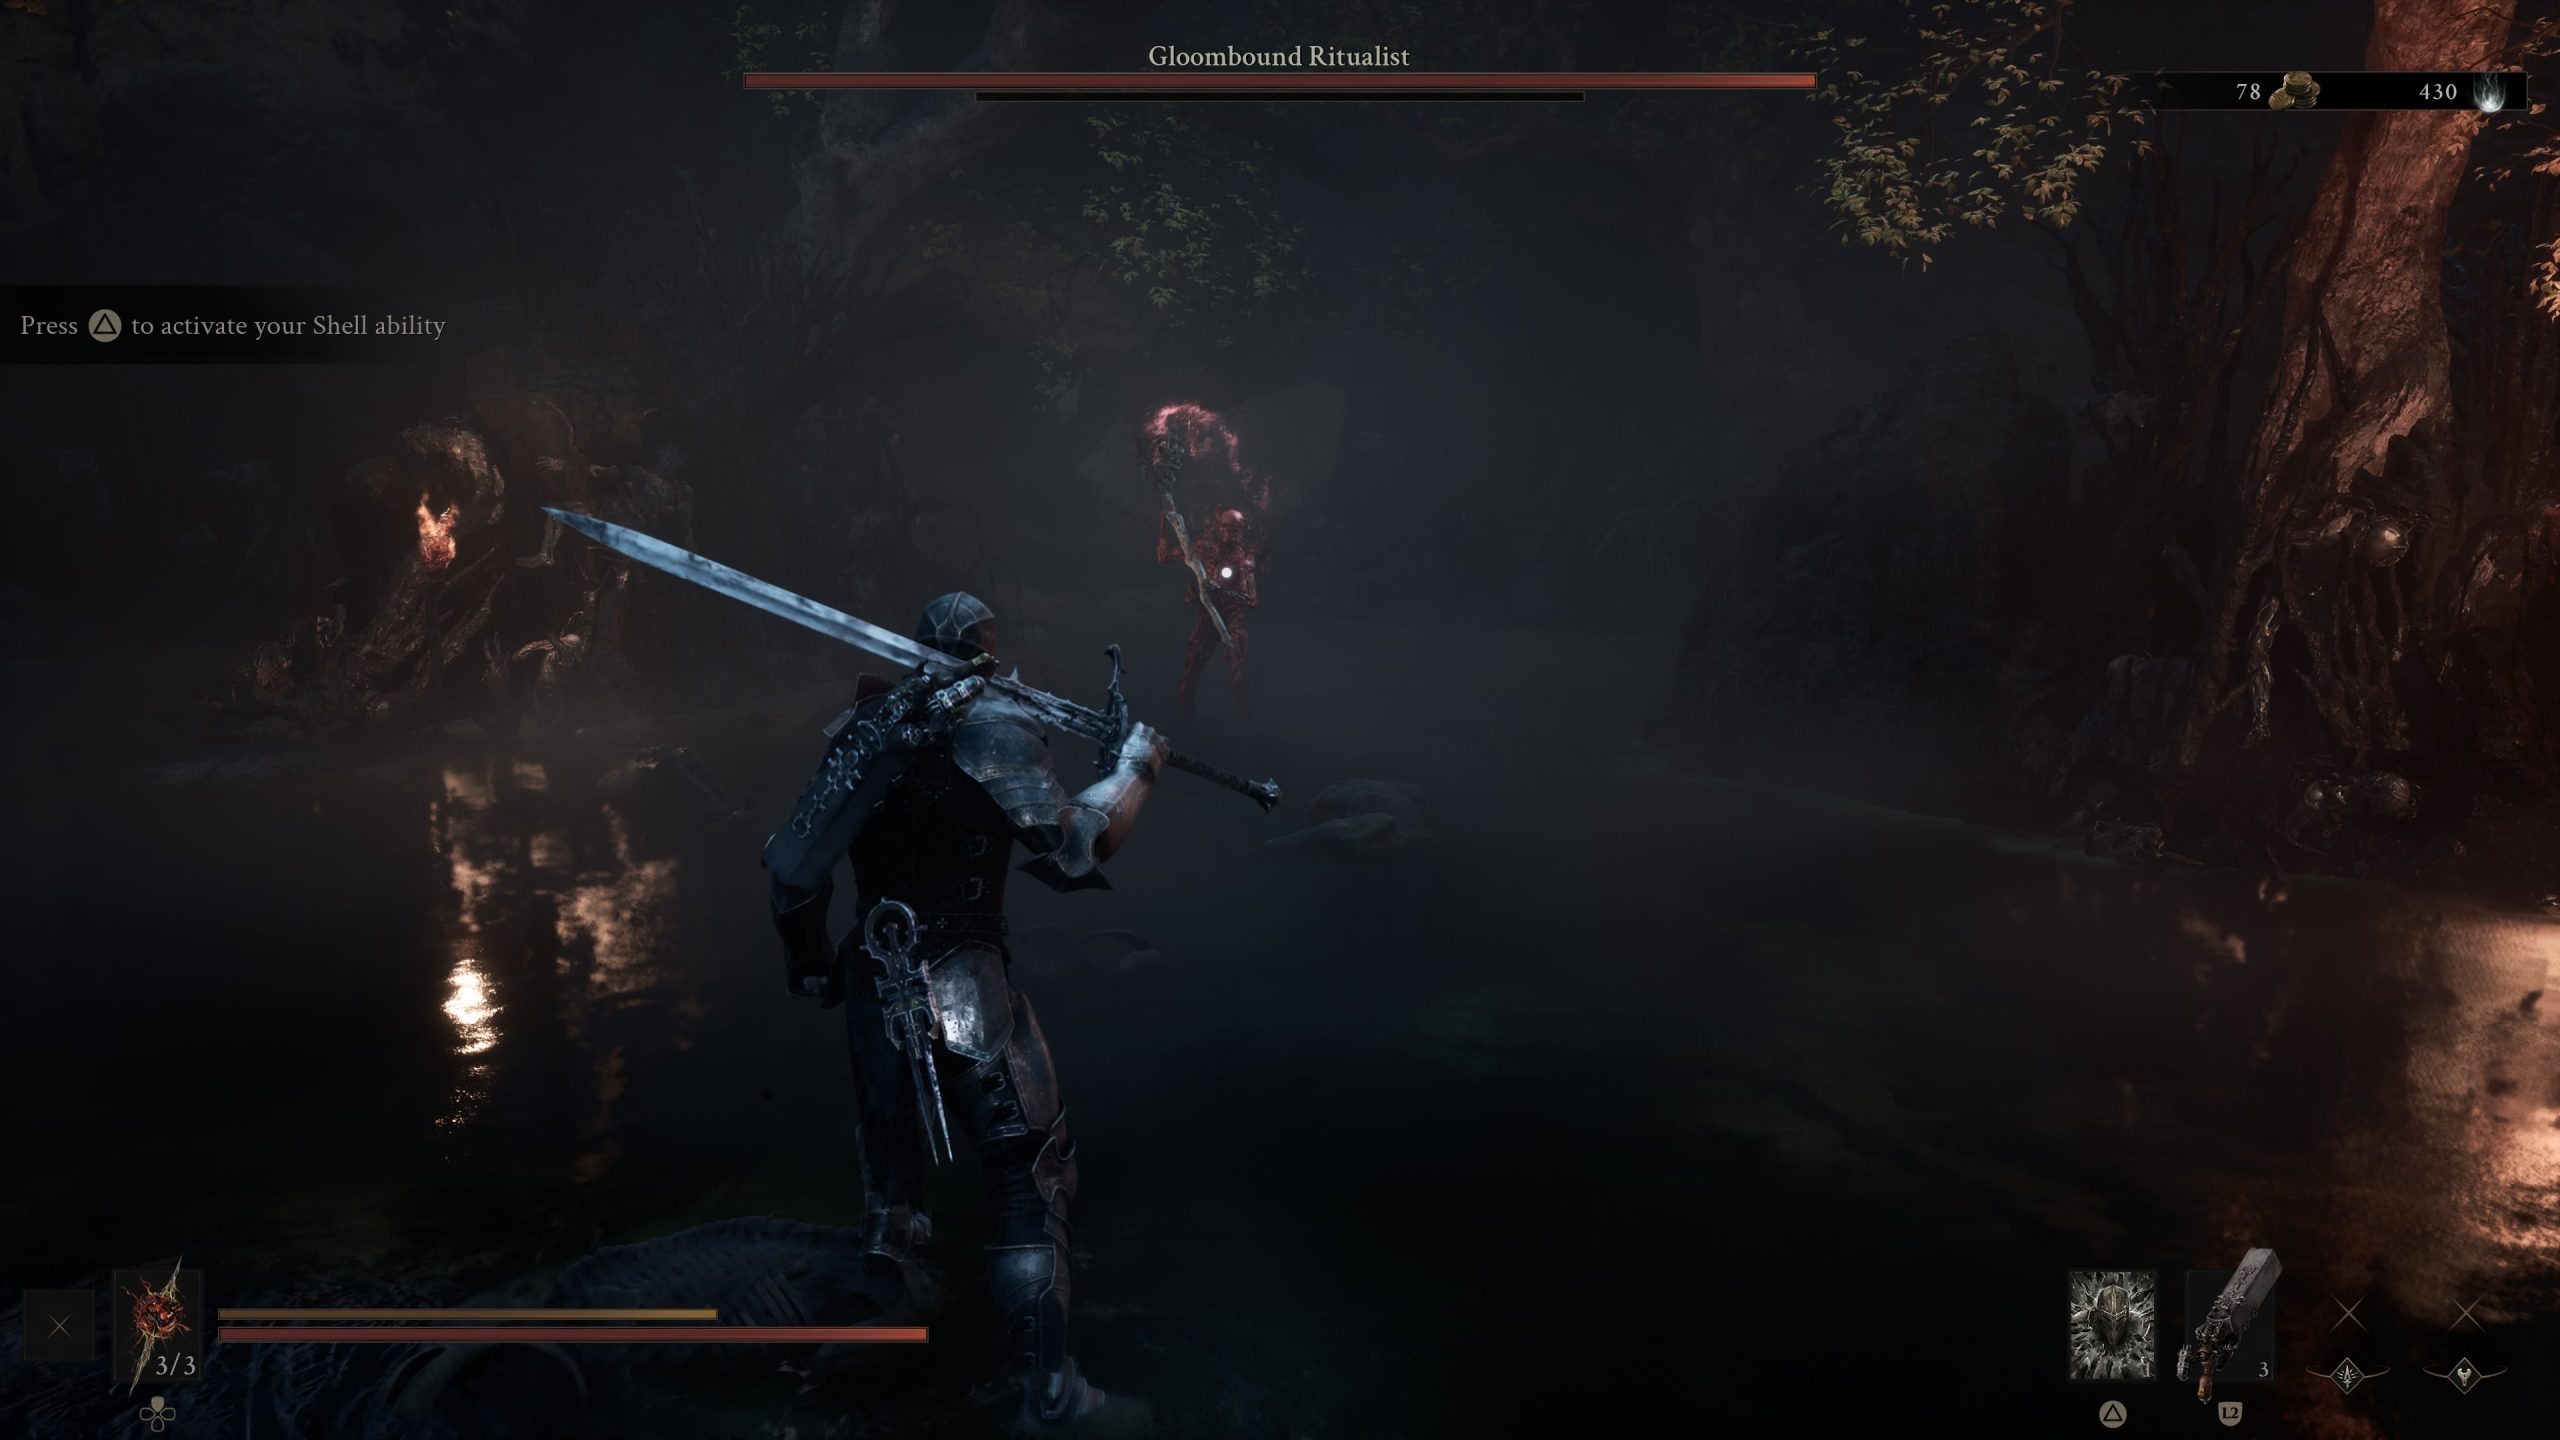
Mortal Shell 2 bosses are back on the menu, boys! After a rocky launch for the franchise in the first outing, the excellent sequel is serving up equal measures of hard bosses and fun gameplay, and if you’re here, you’re obviously struggling with one of them, in this case, the first boss of the game, Gloombound Ritualist. Don’t worry though; by the end of this guide, we’ll walk you through everything you need so you can figure out exactly how to beat Gloombound Ritualist in Mortal Shell 2.
Gloombound Ritualist Location in Mortal Shell 2
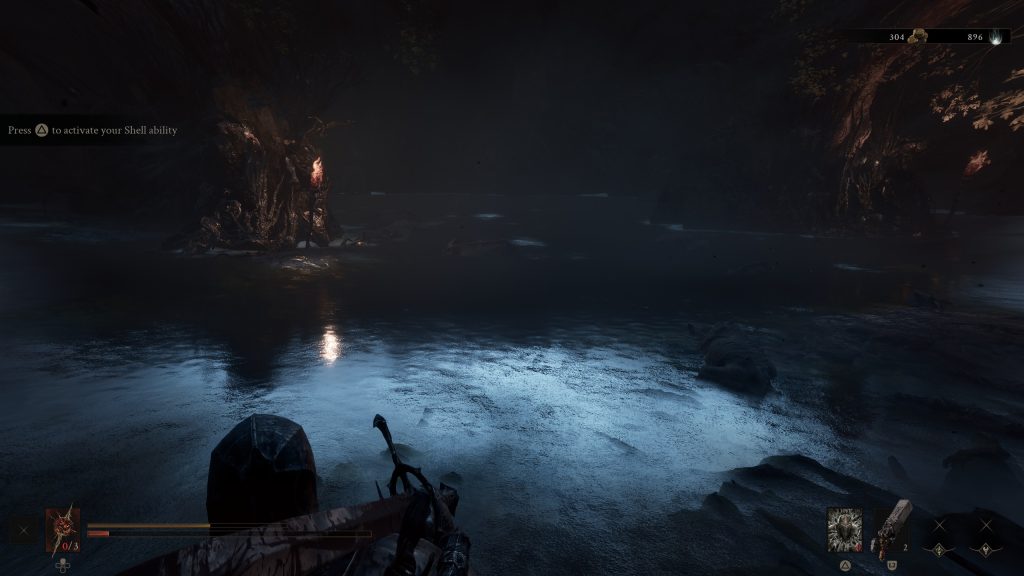
The first boss in the game, the Gloombound Ritualist, is impossible to miss. Serving as the first skill check and a pretty large part of the game’s prologue and tutorial, you’ll walk into his arena and be ambushed without even realising you’re coming up to him, and as such, you’ll probably be killed by him the first time round; don’t be ashamed. As you can see in the post-fight screenshot below, you’ll be encountering him in a swamp, and bar two massive trees, the arena is pretty open.
How to Beat Gloombound Ritualist in Mortal Shell 2
You’d think beating the first boss in a Soulslike would be easy, right? Well, thankfully, learning exactly how to beat Gloombound Ritualist is pretty simple once you understand his moveset. Looking like he’s wearing something straight out of Stranger Things’ Vecna’s wardrobe, he’s a Necromancer Mage that has a pretty limited set of moves to come at you with.
One click and you're done. Thank you!
As soon as you drop down into the arena, you’ll see him begin to spawn in front of you, rising from the swamp. Run up to him and use your Shell ability, hardening him in front of you, and sticking him in place. Take some quick attacks, making use of your free time to attack. You’ll see his stamina bar dropping pretty sharpish, but he’ll still recover from the Harden quite quickly, and this is where he’s dangerous.
At first, he won’t use his weapon to attack you directly. Instead, he summons/resurrects those around him, turning your boss battle from a 1-on-1 affair into a dogpile. You’ll be swarmed by these lesser enemies, and if you’re lucky, they’ll just swipe at you, but much more likely, they’ll end up ticking away like a time bomb, and then blowing up next to you. If this happens, get ready to use a Health Potion, but try to avoid it altogether by dodging or using those two aforementioned trees as cover. The lesser enemies aren’t the smartest and will run into those trees and blow up if you’re on the other side.
Nothing in Mortal Shell 2 comes easy, so if you’ve managed to swipe a few times during the opening and avoided his first wave of bomb-like enemies, you’ll now be faced with an onrushing Gloombound Ritualist, determined to dispatch you with his own hands. His combos aren’t particularly big, flashy or difficult to defend against; just ensure to keep some space behind you if you need to dodge, and don’t forget you can always run away if you need some time to heal, or just a breather.
You’ll want to attack him in the brief moments between his own combos, focusing on Light Attacks to allow for fleet of foot, and don’t miss out on some ranged damage with your gun when you have the opportunity.
Word of warning: if you put too much distance between yourself and the Gloombound Ritualist, he will throw magic at you, and along with him causing poison to you at times, it will drain your health quickly if you’re not paying attention. Use dodge when you’re not confident blocking, but always keep on the move. Don’t stop.
And that’s that; if you’ve followed the tips above, you’ll have defeated the first boss in Mortal Shell 2 and be on your way to a new adventure!
For your next read, you’re not going to want to miss our tips for Mortal Shell 2, or our review of the game.

Luke Addison is the Founder and Editor-in-Chief of Thumb Wars. Having previously been a part of multiple outlets over the years, including building an entire gaming team from nothing to something, he thought it best to forge his own path and answer only to himself. As likely to be found playing the latest game as he is in the kitchen relaxing (by cooking), he always brings the same bold and brash attitude to everything he does, with a heavy leaning on sarcasm and dry wit!