One click and you're done. Thank you!
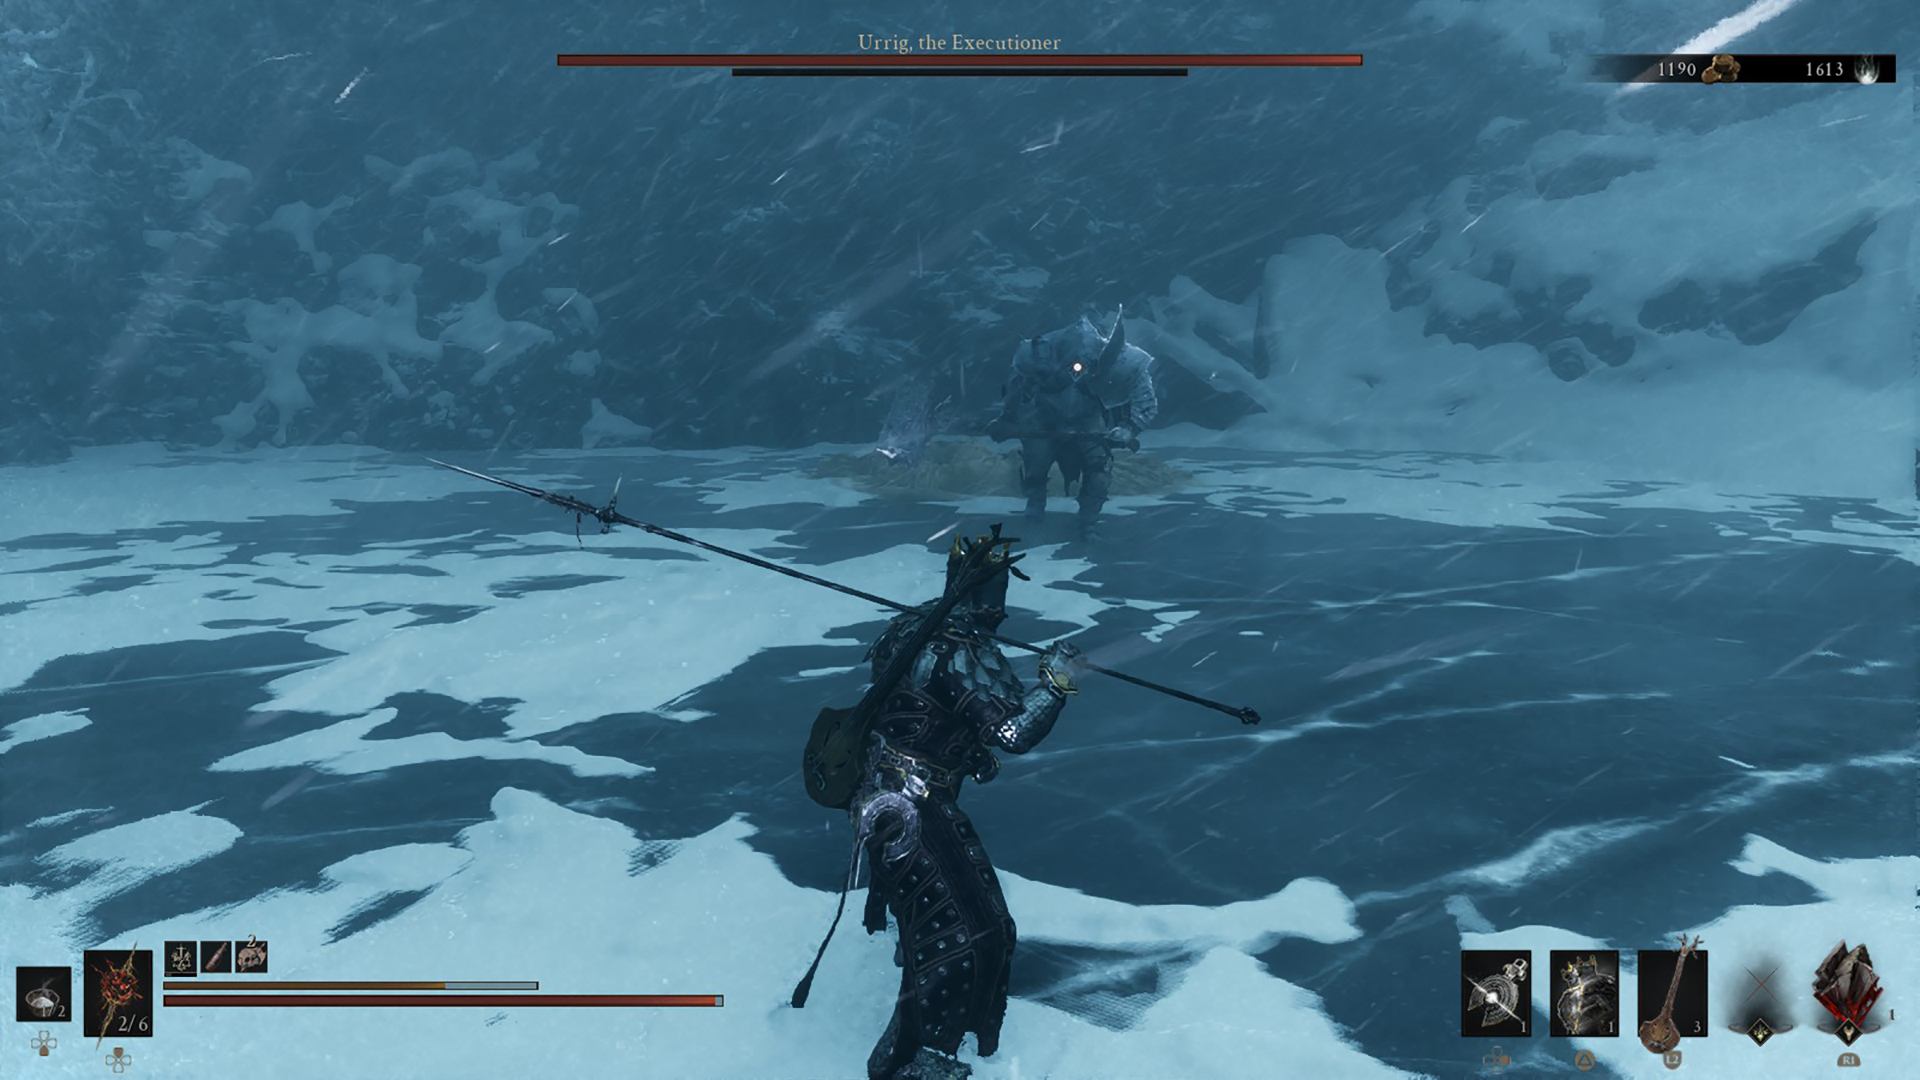
Throughout the world of Mortal Shell 2, you will come across a lot of different enemies in all the different areas, with one of these enemies being Urrig, The Executioner. Although he isn’t an overly noteworthy boss for you to fight, he does block your way to an important boss that you will need to defeat to beat the game.
How to Find Urrig, The Executioner in Mortal Shell 2
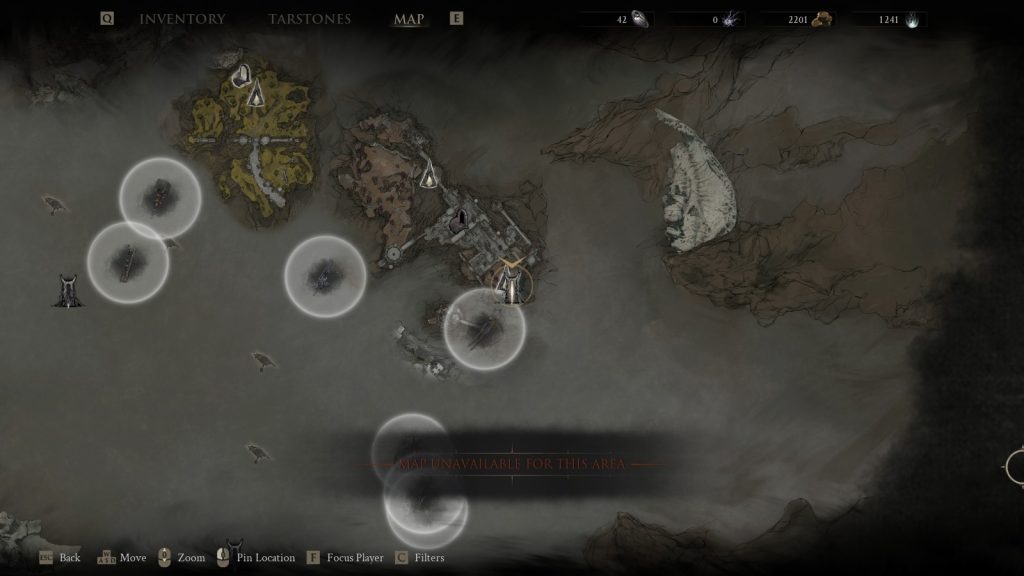
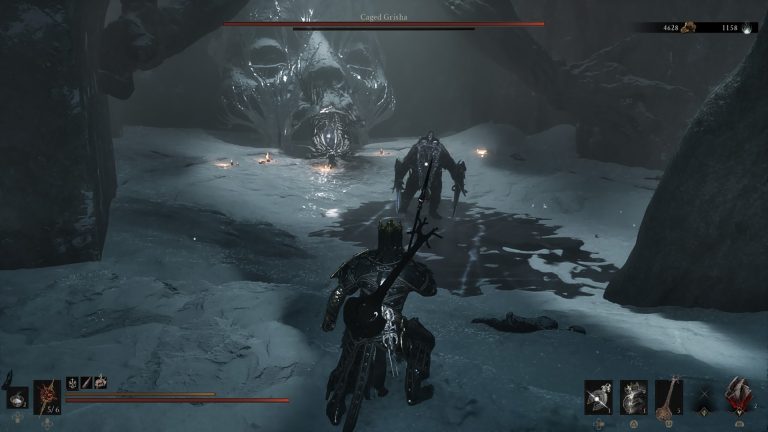
Just like The Caged Grisha, the way to find Urrig, The Executioner, is to search through the Corrupted Gate at the southeast of the game world. However, The Caged Grisha could be found within a beacon; Urrig, The Executioner can actually be found within the regular world as he blocks your progress within the Corrupted Gate, ensuring you do not get to the final boss of this area.
In terms of finding this boss, you do not need to worry too much as the Corrupted Gate is a very linear location with very few side paths that take you away from the main path, but that isn’t to say that this location isn’t dangerous as there are plenty of enemies that will make you fear this location and get annoyed all at once while also reminding you that sadly fall damage and the abyss are still a thing in games like Mortal Shell 2.
Due to Urrig, being a random boss you will encounter in the Corrupted Gate, you will need to keep an eye out for the telltale sign that you are approaching his arena. The easiest place to start would be the first beacon you find within the Corrupted Gate next to the frozen lake.
After finding your way across by activating the two bells that fix the bridge, similar to the bells you need to use to find the Black Needle weapon, you will then have a small pathway filled with monsters that you will have to navigate with a variety of enemies, from bats to the crawling exploding enemies to Grisha hunters, before ending up on a cliff looking down upon the arena with the boss standing by a geyser waiting for you.
Once you get to this cliff edge, you will be ready to fight Urrig, but do not be too alarmed, as he is a rather easy boss to deal with and won’t require too many healing items, so you can easily burn some in order to get to this boss encounter if need be.
How to Beat Urrig, The Executioner
After you have gone through the arduous journey of finding Urrig, The Executioner, you will likely want to beat him as quickly as you can so that you can head into the next boss fight on a boss-killing high, right? Well, good news, as we have the build right here that will aid you in this journey, as it is the build we used to defeat this boss on our first try.
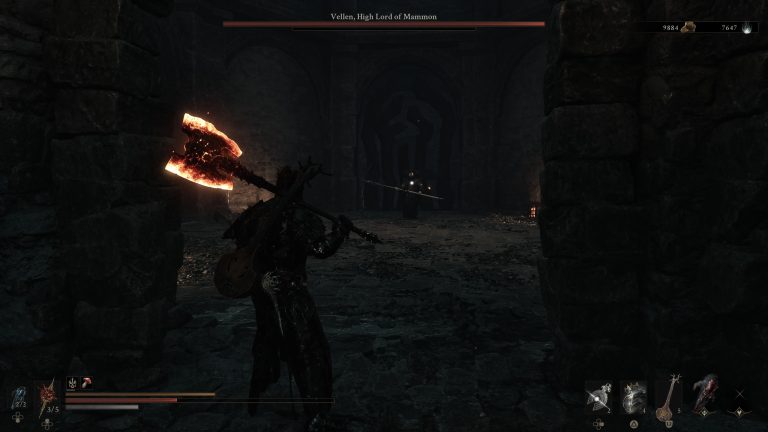
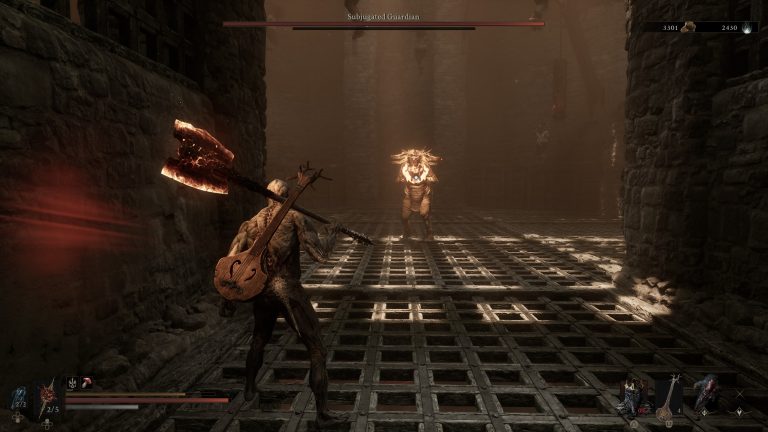
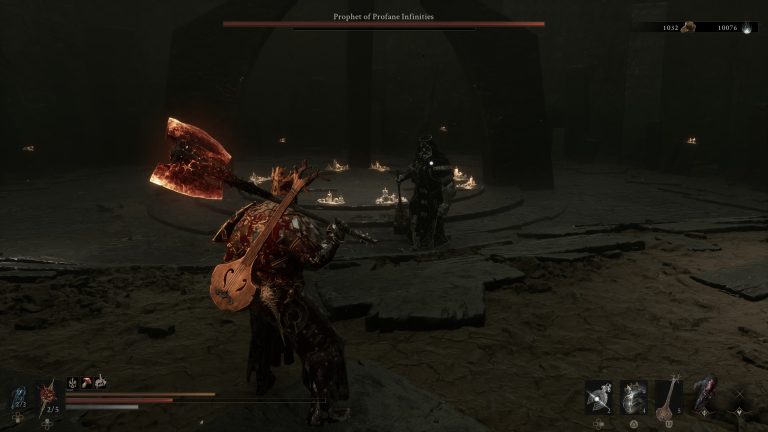
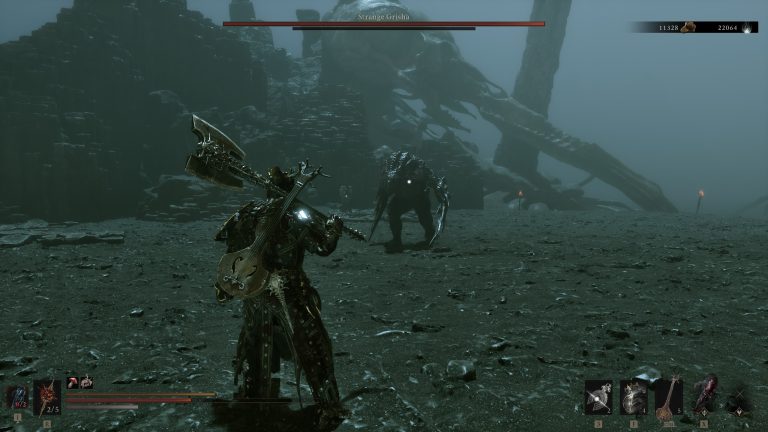
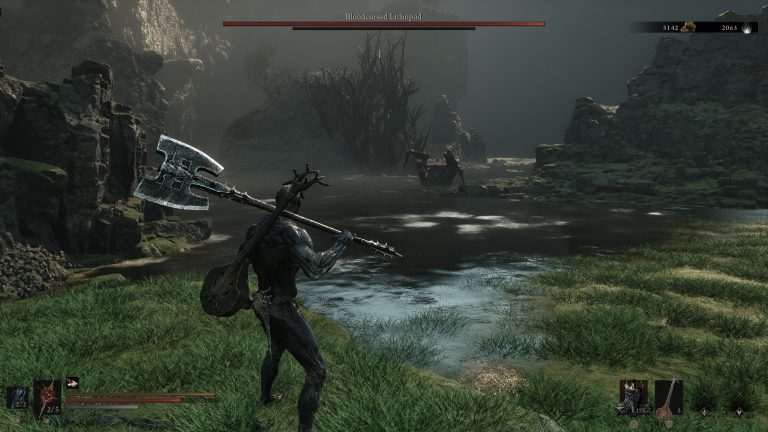
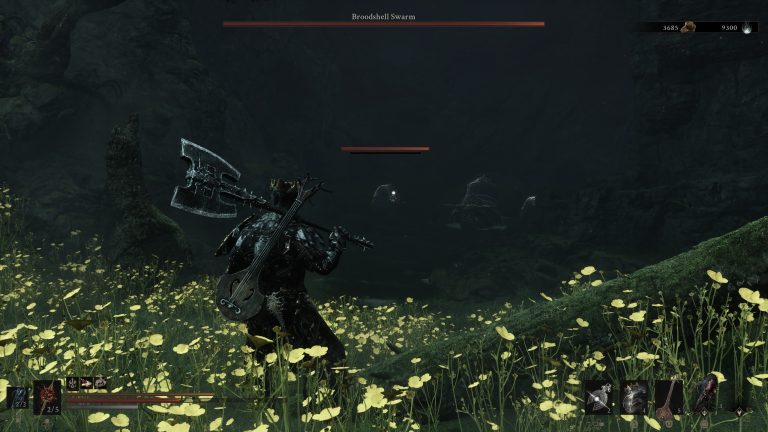
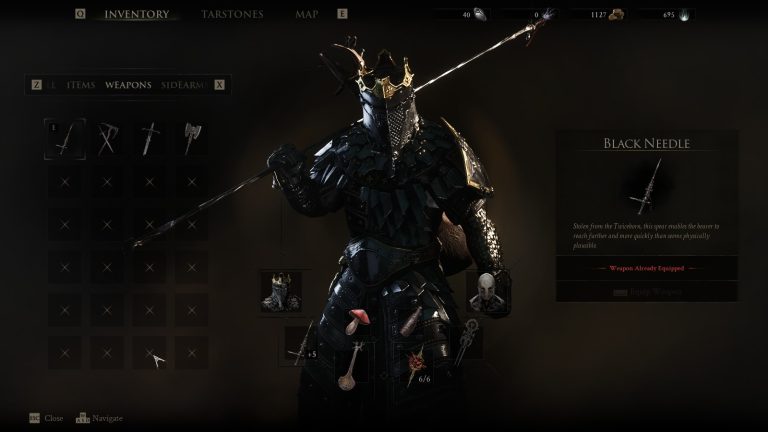
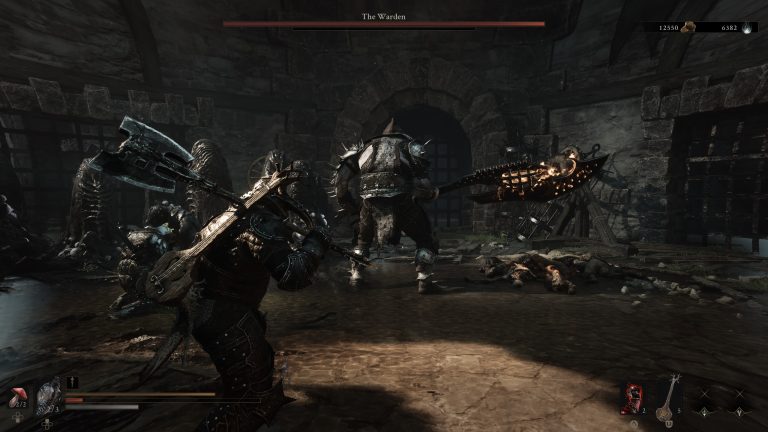
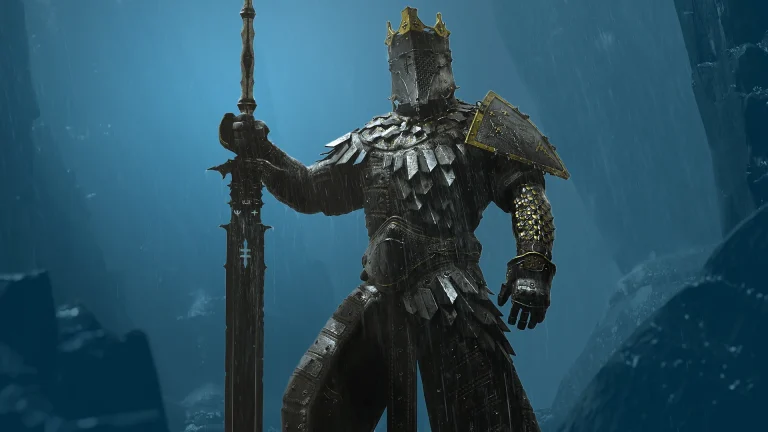
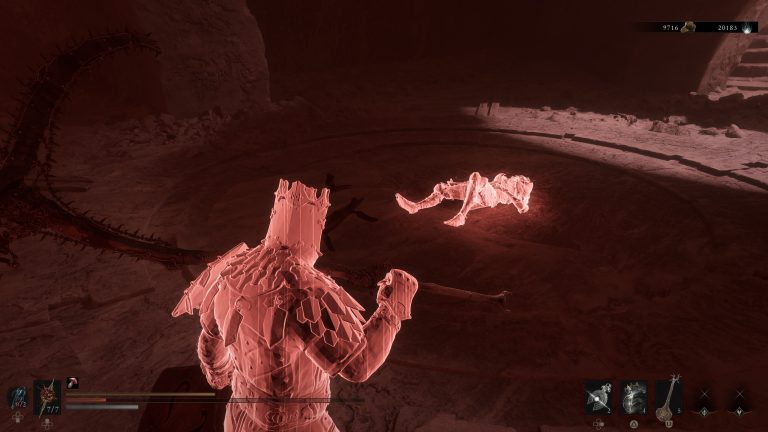
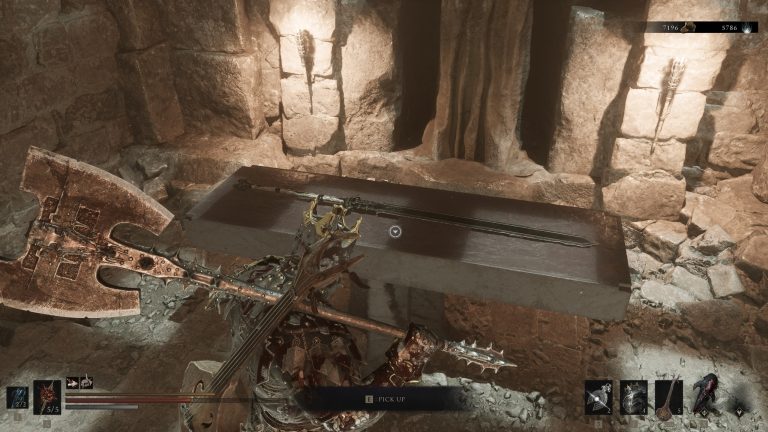
- Eredrim Shell – Location Here
- Black Needle – Location Here
- Untarnished Seal.
- Forgotten Crossbow.
- Retribution Stone – Increase Riposte Damage
- Auspicious Stone – Improves Melee Critical Damage
- Marksman Stone – Improves Ranged Critical Damage
- Parasitic Stone – Gain stacks of Leech after every kill
- Volatile Fragment – Enemies explode after being killed by a ranged attack
- Hand of Rock – Unleashes a swarm of relentless projectiles
- Acolyte’s Stone – Perform a charge light attack
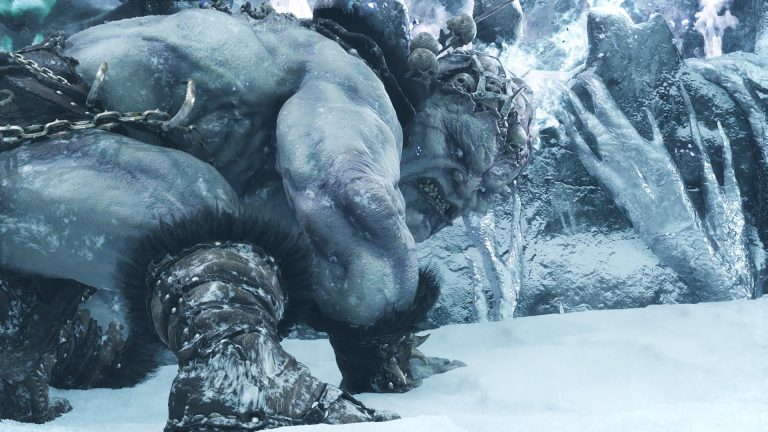
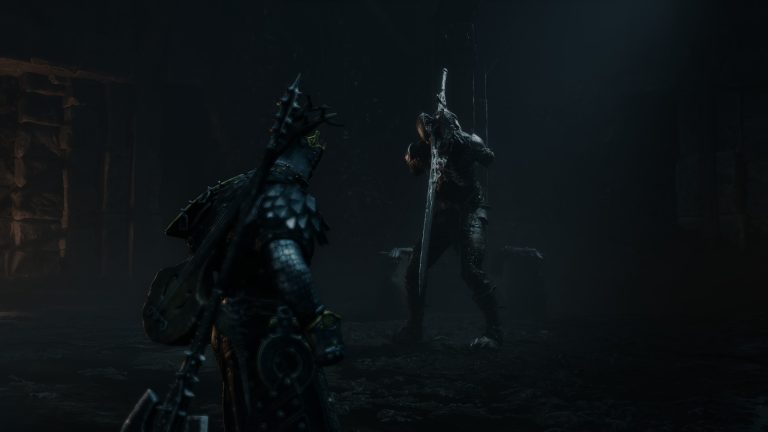
Now that you have the perfect build to fight this enemy and the location to do it in, it is time for you to jump down and get this fight started. Once you jump down and trigger the boss fight, there are plenty of combos the boss will use against you in order to beat you to a pulp with his large hammer, with many of these combos being rather long chains of unblockable attacks.
Because these combos mainly consist of unblockable attacks, it is highly recommended that you prepare yourself for a lot of dodging and getting small hits in where you can, as there aren’t too many opportunities to get damage in during this encounter. That being said, if you are lucky enough to get some of the rare parryable attacks, you can stun Urrig quite easily, allowing you to deal a large amount of damage.
Probably one of the biggest problems you will come across while fighting against Urrig is the fact that every time he hits you, he applies the frozen status to you, slowing your actions down to the point that if he applies enough of it, he can freeze you entirely. Because of this status effect, being hit too many times is essentially a death sentence for you simply because if you are too slow to dodge his very fast spinning unblockable attacks, you are sadly going to get very badly hurt or potentially defeated.
To make matters worse, if he doesn’t apply enough of the freeze status through his regular hits, he has a backup attack that will both deal a massive amount of damage to you and freeze you all at once, which is where Urrig will slam his hammer down on the ground with an unblockable attack, creating a small area of ice underneath it which can still affect you if you don’t get far enough away and can easily mess you up.
Sadly, this attack isn’t a simple one-and-done either, as when the boss initiates this attack combo, he will do this 4 separate times in which he will leap towards the player, making sure that he is able to make contact in some shape or form, but if you time it right, you can evade both the initial attack and its frosty aftereffects and keep yourself safe.
Other than these two unblockable combos that can easily knock you off your feet, Urrig’s regular combos don’t come very often, but when they do, you will feel very relieved, as they can be parried quite easily, but do not let your guard down, as in one combo in which Urrig swings his armour over his head to do a left-handed swing before doing a normal right-sided swing, he will sneakily follow this up with a very rapid jabbing attack with his weapon, which doesn’t hurt too much, but if it happens enough, it could mean the difference between a win and a loss.
After you manage to get yourself used to these attacks and perfect the opportunity attacks, you will easily be able to take this boss down like it is a normal enemy. If you are still struggling, we also recommend using your shell’s abilities to the max. When we had enough space, we often used Eredrim’s shoulder charge ability to get some sneaky damage and break damage all at once. Now that you can beat Urrig, The Executioner, you can finally claim your rewards, which are:
- A Relic – Warden’s Stone
- 7,000 Gloom
Defeating Urrig was the easy part of this adventure, as you now have the opportunity to push forward and deal with the final boss of this area and claim your prize.
For your next read, why not check out our tips and tricks guide in order to aid you in your ventures, or check out our review for Mortal Shell 2 if you want to hear our thoughts on the game.

Liam is a Senior Editor, Writer, and Critic for Thumb Wars and has been working with the team since day one. Liam is a big fan of all things gaming, as you will catch him playing all of the new releases from every genre you can imagine. Whether you find Liam gaming just for fun or spending his free time streaming, you will always find a smile on his face when it comes to all things gaming.
Other Mortal Shell 2 Guides You Will Need
- How to Beat Caged Grisha in Mortal Shell 2
- How to Beat Vrannic, the Grand Illusionist in Mortal Shell 2
- How to Beat The Wandering Shepherd in Mortal Shell 2
- How to Beat Grisha in Mortal Shell 2
- How to Beat Tainted Vestige in Mortal Shell 2
- How to Beat Sariel the Endless in Mortal Shell 2
- How to Beat Vellen, High Lord of Gammon in Mortal Shell 2
- How to Beat the Subjugated Guardian in Mortal Shell 2
- How to Beat the Prophet of Profane Infinities in Mortal Shell 2
- How to Beat Strange Grisha in Mortal Shell 2
- How to Beat the Infested Miner in Mortal Shell 2
- How to Beat Vrago, Solikar Champion in Mortal Shell 2
- How to Beat Tishina’s Confessor in Mortal Shell 2
- How to Beat the Gloombound Legion in Mortal Shell 2
- How to Beat the Bloodcursed Lithopod in Mortal Shell 2
- How to Beat the Broodshell Swarm in Mortal Shell 2
- How to Upgrade Your Weapons in Mortal Shell 2
- How to Beat the Warden in Mortal Shell 2
- How to Beat Great Arbiter of Flesh in Mortal Shell 2
- How to Beat Gloombound Ritualist in Mortal Shell 2
- How to Beat Lucian, The Thirsting Knight in Mortal Shell 2
- How to Beat Droeg, The Conquerer in Mortal Shell 2
- How to Increase Your Health in Mortal Shell 2
- How to Beat Magdalena, the Lady of the Woods in Mortal Shell 2
- How to Unlock the Mortal Shell 2 Secret Ending
- How to Beat the Hexapod in Mortal Shell 2
- How to Beat the Nameless Captive in Mortal Shell 2
- How to Fast Travel in Mortal Shell 2
- How to Change Difficulty in Mortal Shell 2
- Mortal Shell 2 – All Shell Locations
- Mortal Shell 2 – All Weapon Locations