At this point in Mortal Shell 2, you will have defeated all kinds of bosses, from small to large, with each providing its own challenges, with the best bosses being within the Corrupted Gates that you can find within the game world, specifically their final bosses.
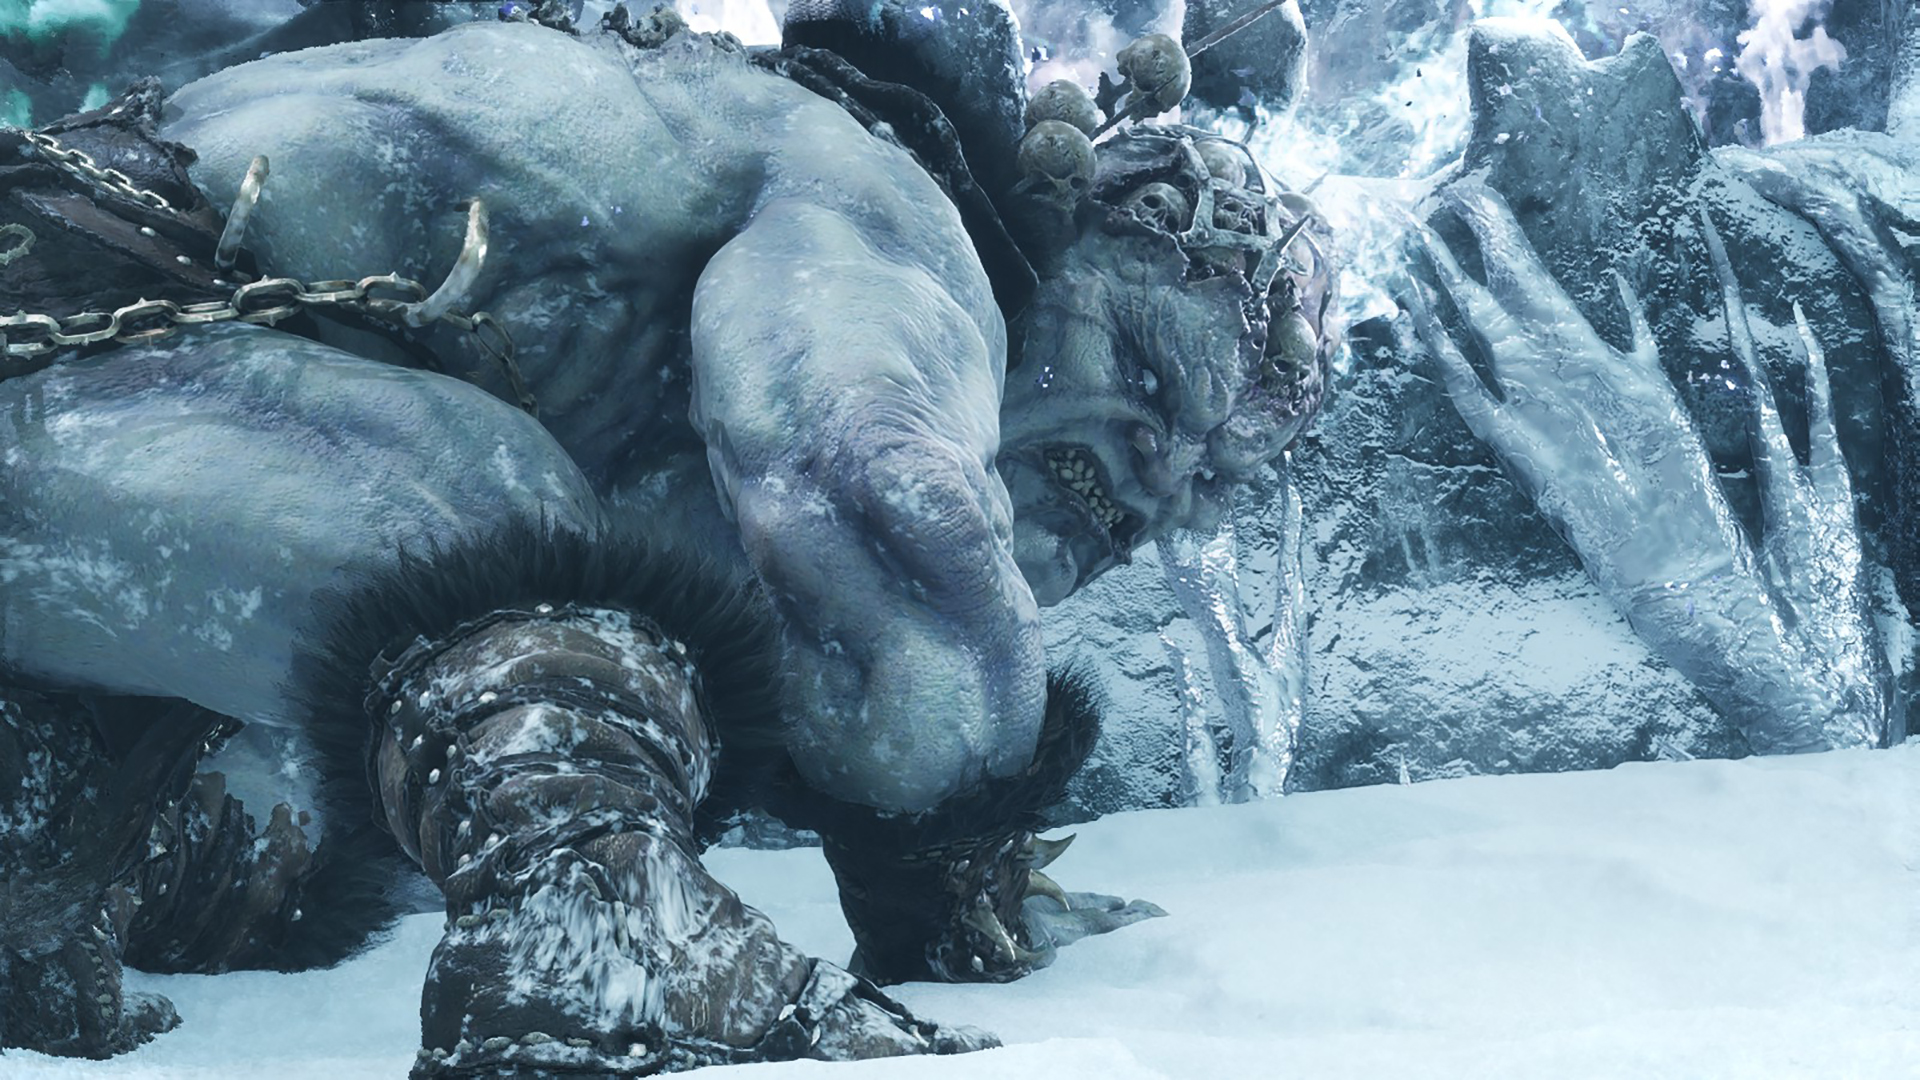
If you are reading this guide, you have likely already found this out, as you will have already defeated various bosses in this Corrupted Gate in order to get this far, but now you have found yourself before Droeg, The Conquerer, so we are here to aid you in defeating this monstrous enemy.
How to Find Droeg, The Conquerer in Mortal Shell 2
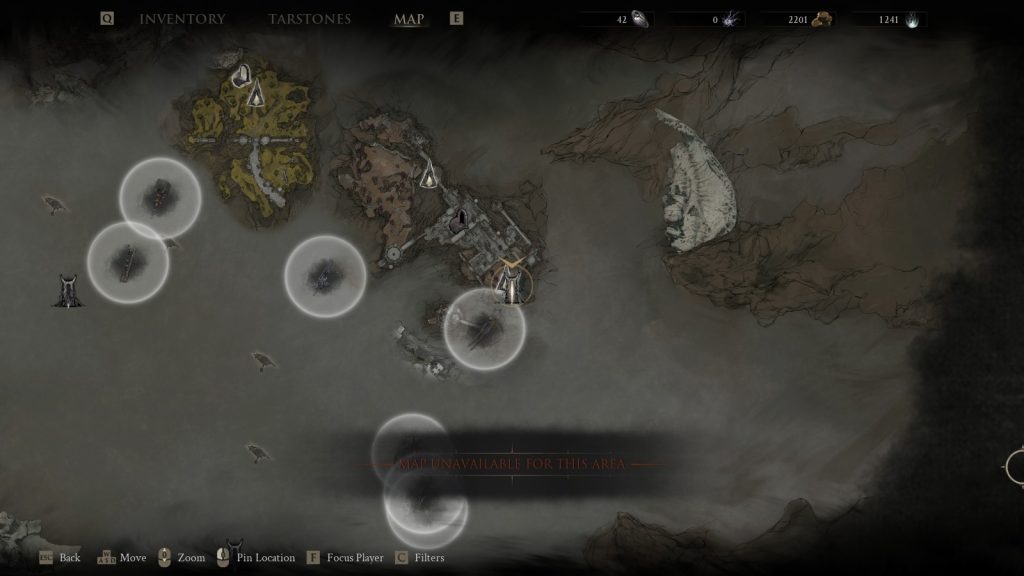
To begin your search for Droeg, The Conquerer, you will need to go to the Southeast Corrupted Gate and make your way to the end, which can take quite a while as there are numerous enemies blocking your path, the frost debuff slowing you down even to a dead stop if you are unlucky, and bosses such as the Caged Grisha and Urrig, The Executioner.
One click and you're done. Thank you!
Although this Corrupted Gate is very linear, there are some small paths that you can take to extra rewards that will aid you on your journey later in the game, but to find Droeg, you simply need to follow the path, with the only challenge being survival, as the enemies here can deal a lot of damage and there are plenty of holes you can fall into, ending your run quite rapidly.
How to Beat Droeg, The Conquerer
Now that you have found Droeg, The Conquerer, you now have the opportunity to try and take on this unique boss, and to do so you will have to start by teleporting over the gap between the beacon and the boss’s arena. After you traverse this gap, you will bear witness to a cutscene showcasing Droeg’s horrifying visage before the fight kicks off properly.
Before we jump into how this boss works, you might be wandering how you can get an edge on this boss and you are in luck as we have included our build below so you know how we defeated him:
- Eredrim Shell – Location Here
- Black Needle – Location Here
- Untarnished Seal.
- Forgotten Crossbow.
- Retribution Stone – Increase Riposte Damage
- Auspicious Stone – Improves Melee Critical Damage
- Marksman Stone – Improves Ranged Critical Damage
- Parasitic Stone – Gain stacks of Leech after every kill
- Volatile Fragment – Enemies explode after being killed by a ranged attack
- Hand of Rock – Unleashes a swarm of relentless projectiles
- Acolyte’s Stone – Perform a charge light attack
While fighting Droeg, there are quite a few different situations you will need to keep an eye out for in order to survive and get the most out of your time within the boss fight. For the first part of the fight, you mainly need to worry about the boss’s combos, as his attacks have a lot of reach, and due to his size, he can close distances quite quickly during the wind-up for his attacks.
The key part of each combo that you need to remember is that most of them end with an unblockable attack of Droeg slamming his bone weapon down onto the ground. However, because these combos are built up of parryable attacks using your parry or hardening, the early stages of this boss fight are a cakewalk, as you can easily break his poise using these methods.
You may be thinking, this sounds rather simple and will allow you to easily defeat this boss, but sadly, that isn’t the case as once you get the boss down to around 3/4 health, he will be forced into a stunned phase no matter how much break damage you have done, allowing you to do a riposte no matter what.
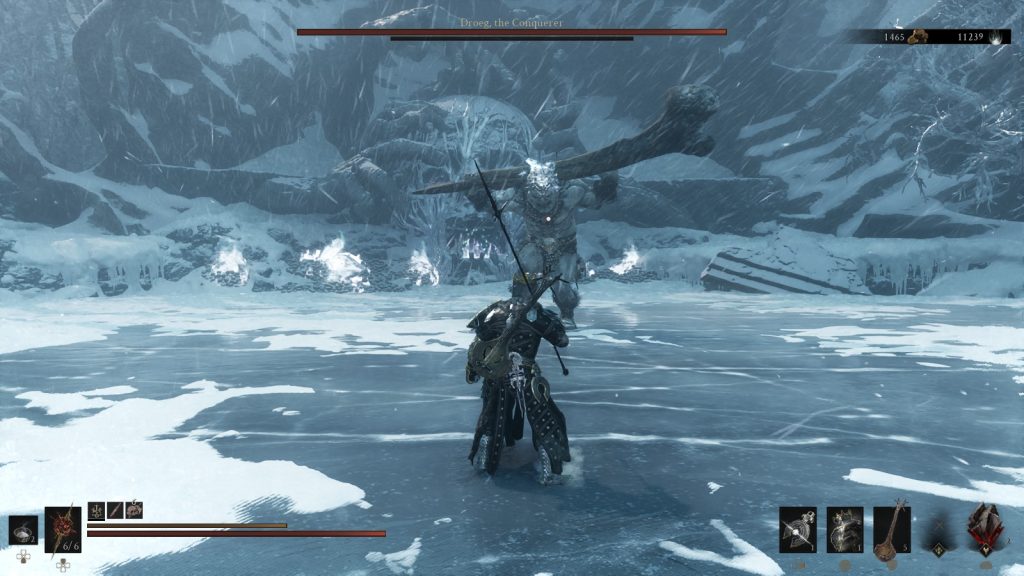
After you do this riposte in which you stab the boss in the brain with your seal, he will immediately begin charging an unblockable attack where he will spawn dozens of floating balls of fire that, after a few seconds, will fly towards you in order to hurt you. To avoid this attack, the best tactic we found was to dodge sideways, avoiding the balls altogether.
The main risk with this attack is that the boss doesn’t often wait for these floating balls to stop depending on the attack he does next, meaning that you might have to avoid two attacks at once which is very hard to do if he does an actual attack, but sometimes the boss can buff his weapon with fire instead allowing you time to breathe after avoiding the floating balls, but don’t get too cumfy as the next attacks won’t provide you any reprieve.
Once Droeg charges his weapon with fire, his attacks become a lot faster, with combos that normally would take a wind-up being so much faster and more dangerous, especially since any slamming attacks during this period will leave a patch of fire on the floor that will burn you if you stay in it.
Other than these situations, there isn’t a whole lot to worry about regarding Droeg, as his combos are very easy to predict once you see them enough, and once you get the parry/harden timings down, you will easily be able to knock Droeg, The Conquerer down to his knees, ultimately defeating him.
Now that you have defeated Droeg, The Conquerer, you will finally be able to claim the Ova hidden within and the rewards granted from beating Droeg, The Conquerer, which are:
- A Tarstone- Conqueror’s Reward
- 30,000 Gloom
If you haven’t already, make sure to head to the other Corrupted Gates within the southern half of the map in order to claim more Ova and complete the game, as well as search for the various weapons and shells hidden throughout the game.
For your next read, why not check out our review of Mortal Shell 2, or our tips and tricks guide, as it’s never too late to learn something new.

Liam is a Senior Editor, Writer, and Critic for Thumb Wars and has been working with the team since day one. Liam is a big fan of all things gaming, as you will catch him playing all of the new releases from every genre you can imagine. Whether you find Liam gaming just for fun or spending his free time streaming, you will always find a smile on his face when it comes to all things gaming.