One click and you're done. Thank you!
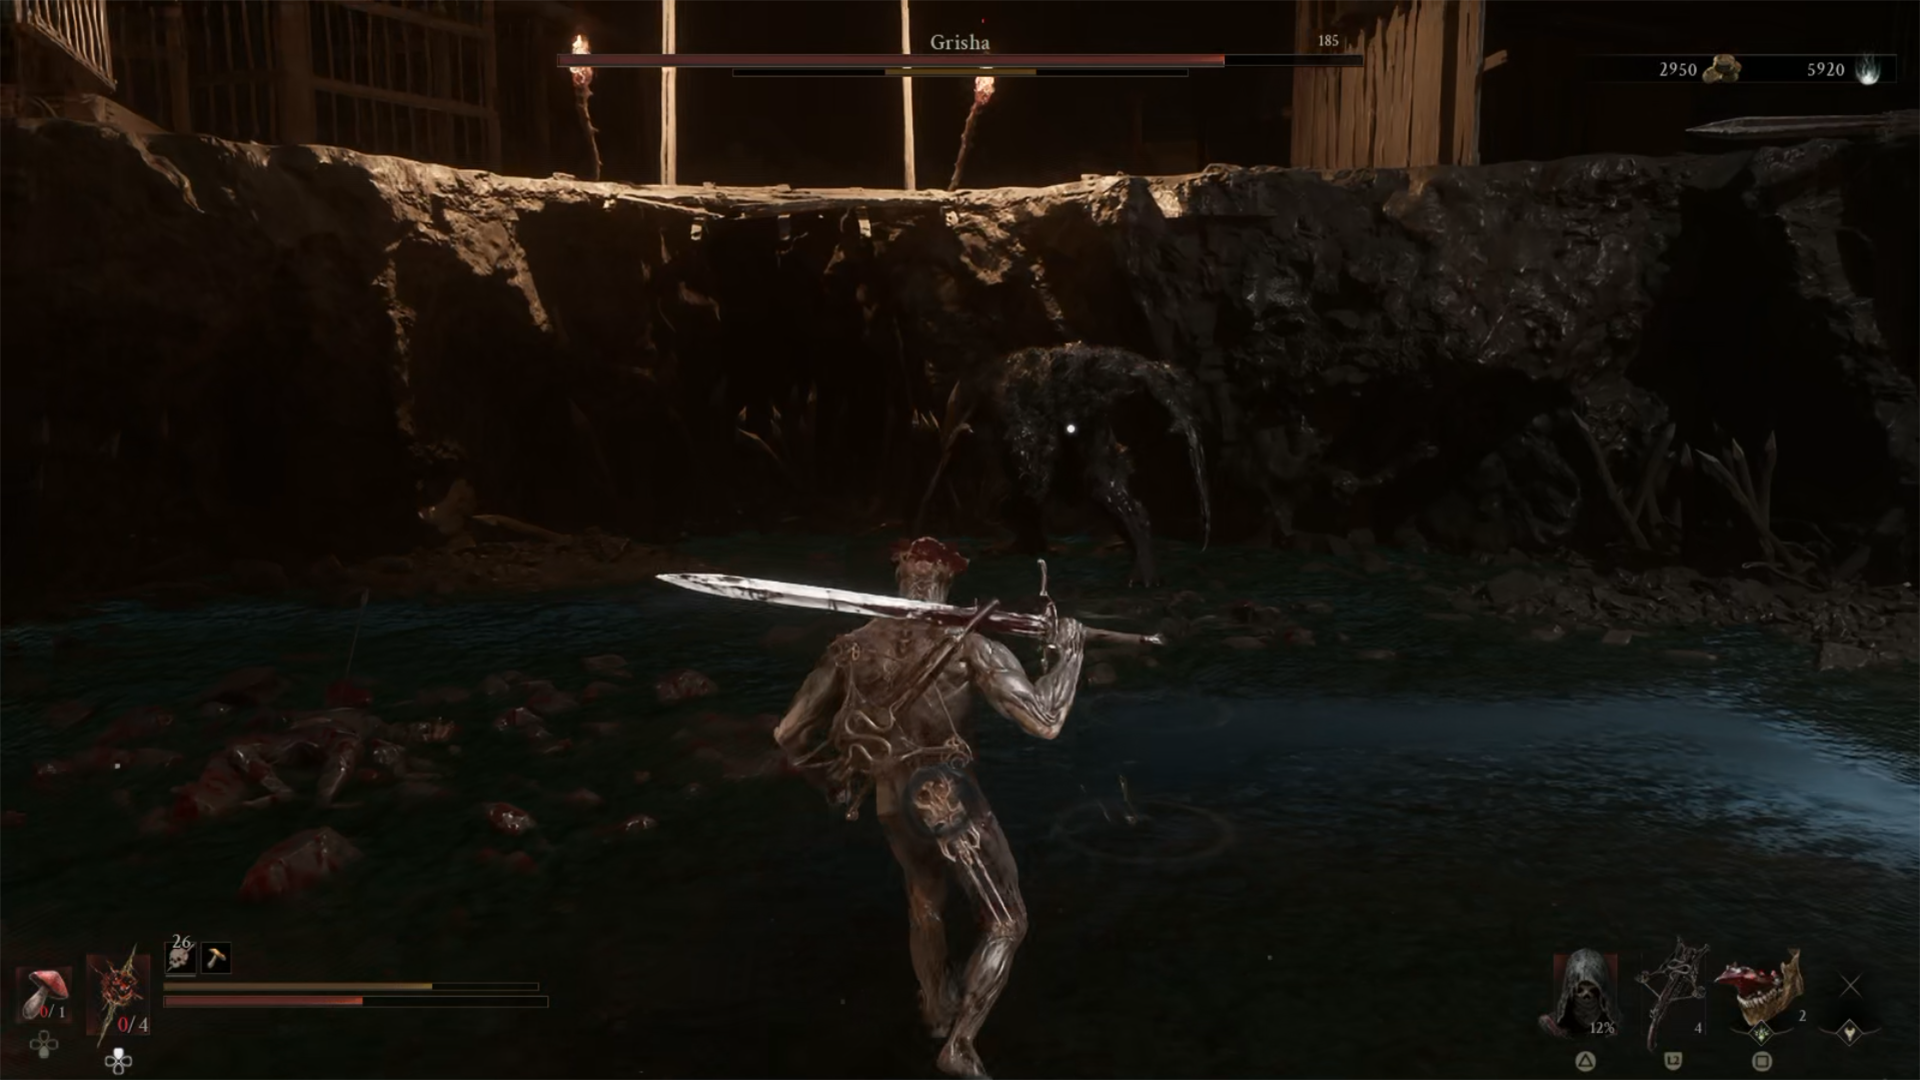
At this point within Mortal Shell 2, you will have likely taken on quite a few different bosses, each with their own unique attacks, defences, and rewards. The Grisha boss is rather unique amongst the bosses you might have fought so far, as this boss isn’t a person but is instead a bear with sharp spikes on its arms waiting to cause you harm.
While you are searching for the Grisha, there is also a second item you can be searching for within its location, which is the Forgotten Crossbow sidearm, so make sure you keep an eye out.
How to Find Grisha in Mortal Shell 2
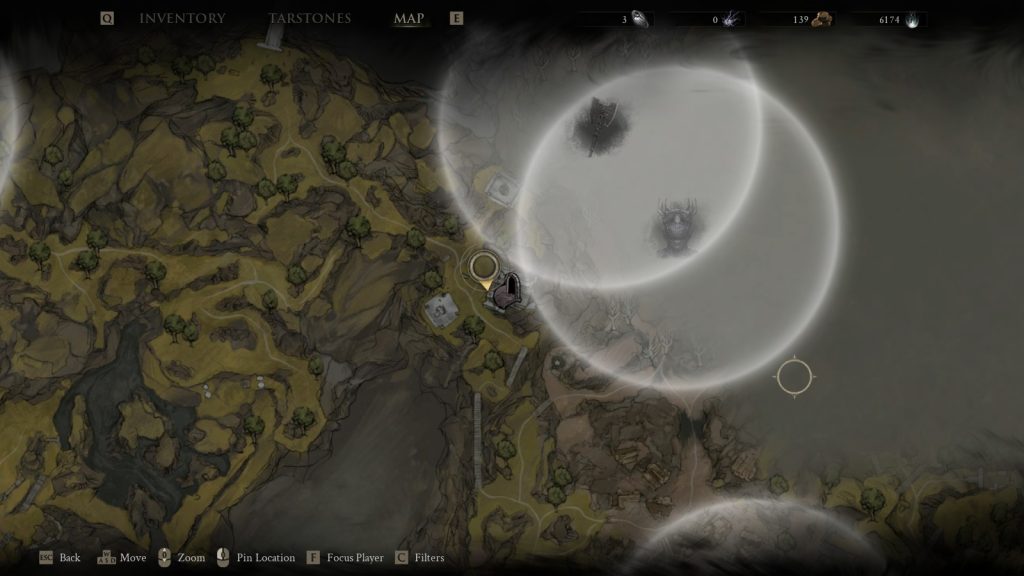
To find Grisha, first you will need to head to the Widow’s Overlook beacon and then proceed to head north from here past the trial, taking a slight left leading you towards a bridge. After this bridge, you will see Ruk is there with a map, so make sure you grab it before you continue to the next area.
Now that you have claimed the map, continue down this path over the second bridge, where you will then find a group of enemies in an open area. Within this area, there will be 3 enemies worshipping an archway that is blocked by wood. First, you will need to defeat these enemies and then break the wood behind the archway. Once this is done, you can then look through the archway towards a building on the other side, and it will reveal a doorway that you can now walk through, providing you access to the dungeon where Grisha resides.
The dungeon in question is known as the Flooded Village, and this is where you will find Grisha, but it’s sadly not as easy as it sounds, as there are plenty of threats lurking inside. As you enter the dungeon, it starts off like every other dungeon as you head down a staircase before taking an elevator down.
After this, you will now have a small challenge to overcome, as the next room has two enemies inside, one on the left and one on the right, but they will both attack at once. We recommend dealing with the enemy on the left first, as she has ranged attacks and is faster. Once you defeat these enemies, there will be a locked gate; to open it, there is a hidden button behind some boxes on the left side of the room.
As this gate opens, you will find a second elevator behind it. Take this elevator down, but be prepared for a bumpy landing as you are now entering the Flooded Village. To find Grisha, it is quite simple, as you simply need to head forward into the main area of the dungeon where numerous enemies are hidden within; once you defeat these enemies, you will want to head to the right, where you will see a large building.
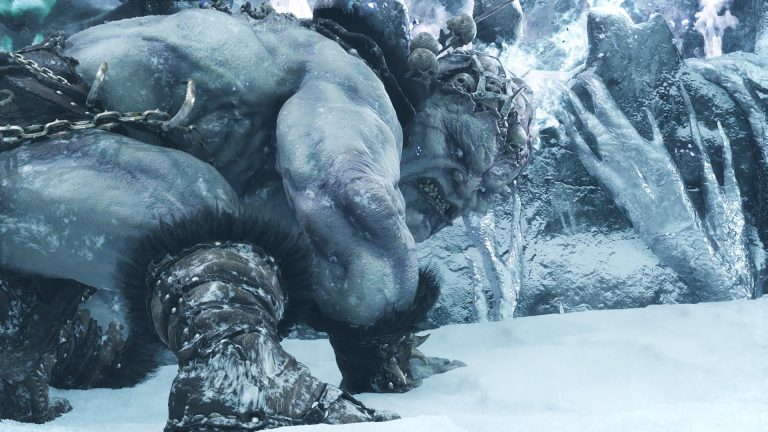
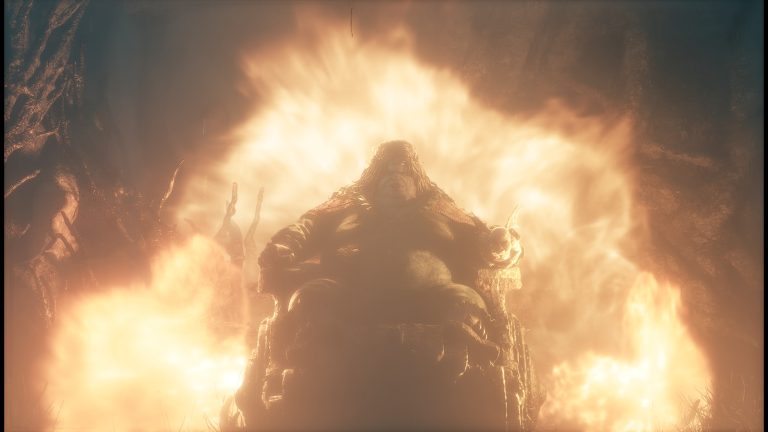
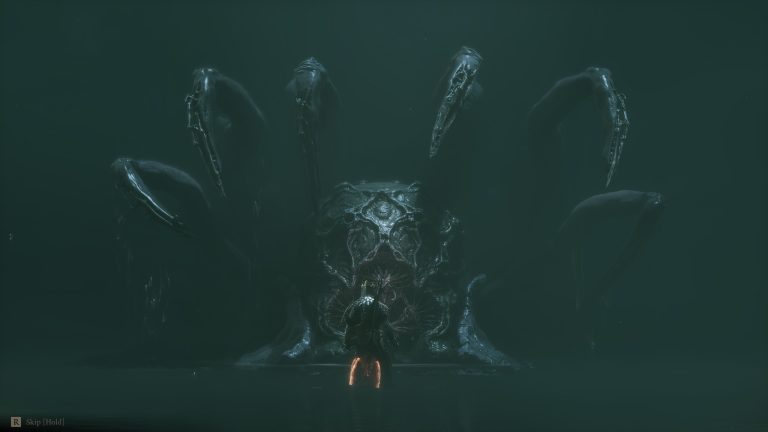
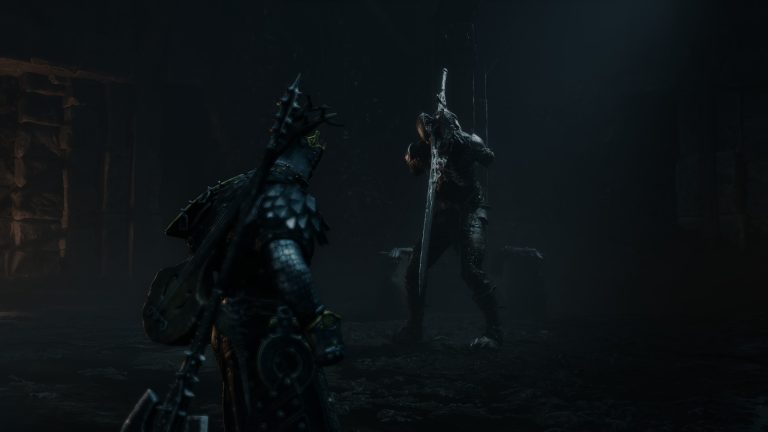
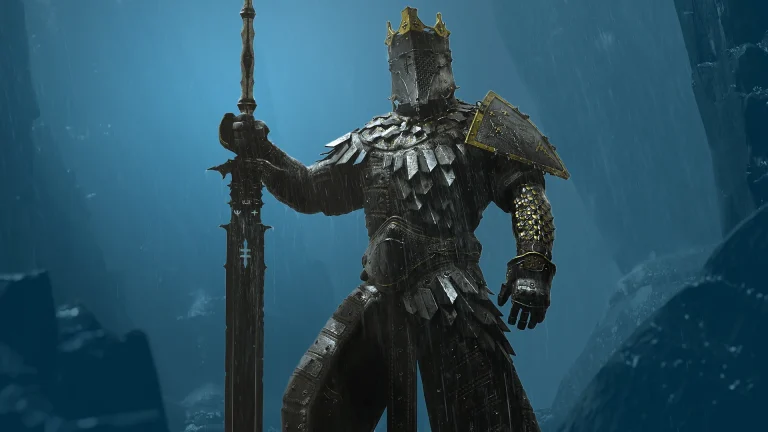
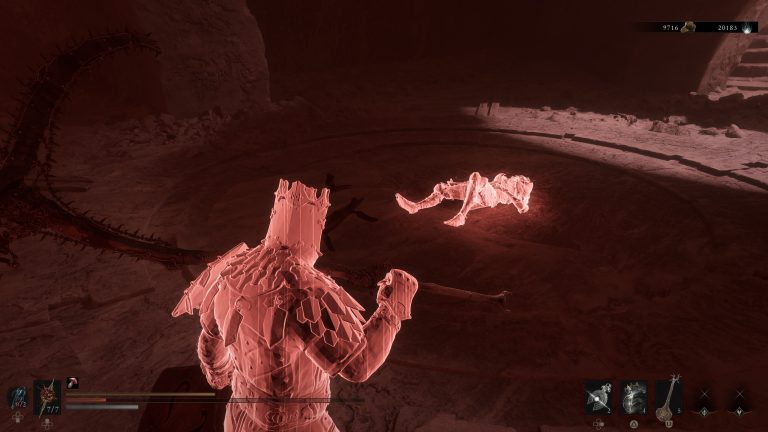
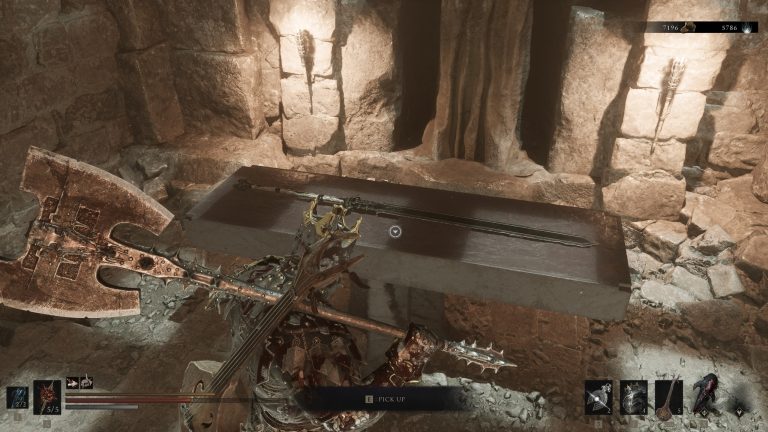
Rather than going to the front of this building to the left, you will instead want to follow the side of the building to the right, eventually leading you to a small camp with cages inside. Now, if you haven’t figured it out by the cages, this is where the Grisha will be hiding, as just after this area there is a pit that the Grisha is sitting inside, waiting for any unsuspecting players to fight it.
How to Beat Grisha
Now that you know where Grisha is, it is time for you to try and take down this monstrous enemy and its devastating attacks. Even though Grisha doesn’t have many combos that it will employ to kill you, each of these combos does deal a significant amount of damage and can be used rather quickly, meaning that you will constantly be on the back foot against this boss.
Before we jump into how to beat Grisha, if you are feeling slightly unprepared, you can copy the build that I was using during this boss fight so that you too can defeat Grisha with relative ease.
- Tiel Shell – Location Here
- The Iconoclast – Starting weapon.
- Untarnish Seal.
- Forgotten Crossbow – Location Here
- Retribution Stone – Increase Riposte Damage
- Auspicious Stone – Improves Melee Critical Damage
When it comes to the combos that Grisha uses, there are only 3 combos that the boss will use while fighting you, with no real order to how they will appear. The first combo is quite a simple one as the boss drags its claw along the ground as it walks towards you before doing one large upwards slash with its arm.
The other two combos are both 3-hit combos that each behave in different ways. The first is a rather basic combo in which the Grisha swings its right arm first before swinging its left and then back to its right in a normal animalistic combo. The second is a more complicated combo, as the boss will start the combo again with its right arm, but instead of swapping to its left, it will bring its right arm down with a backwards slash and then finish the combo with an unblockable stabbing attack that can be quite painful.
Because there aren’t that many attacks that Grisha will throw at you, it is quite easy to get used to either parrying or avoiding these attacks in order to defeat the boss quickly. If you do manage to parry and break the poise of Grisha, you will be able to witness a rather funny riposte as you kick the Grisha in the stomach/groin before stabbing it in the head with your seal.
Now that you have the skills to beat the Grisha, you will be able to claim its rewards that are as follows:
- A Synaptic Vessel
- A Grisha Remnant
- 2,000 Gloom
Once you claim these rewards, you can then only leave the arena one way, which is through a geyser that will send you to a so-far-unexplored part of the cave filled with enemies and exploration.
For your next read, why not check out our tips and tricks guide to help you if you are stuck, or check out our review for Mortal Shell 2.

Liam is a Senior Editor, Writer, and Critic for Thumb Wars and has been working with the team since day one. Liam is a big fan of all things gaming, as you will catch him playing all of the new releases from every genre you can imagine. Whether you find Liam gaming just for fun or spending his free time streaming, you will always find a smile on his face when it comes to all things gaming.
Other Mortal Shell 2 Guides You Will Need
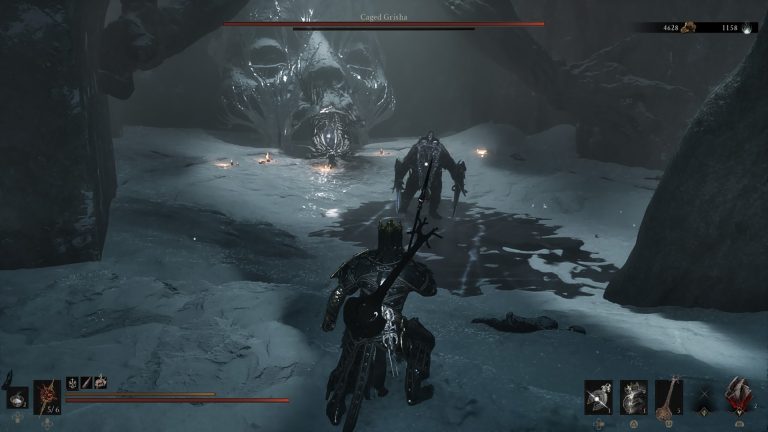
- How to Beat Caged Grisha in Mortal Shell 2
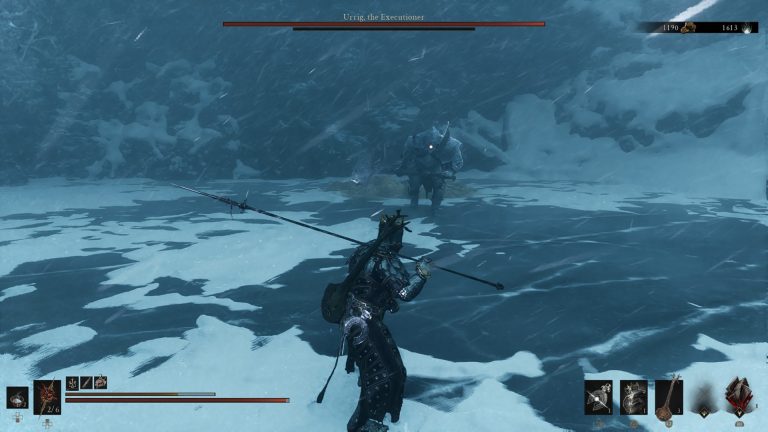
- How to Beat Urrig, The Executioner in Mortal Shell 2
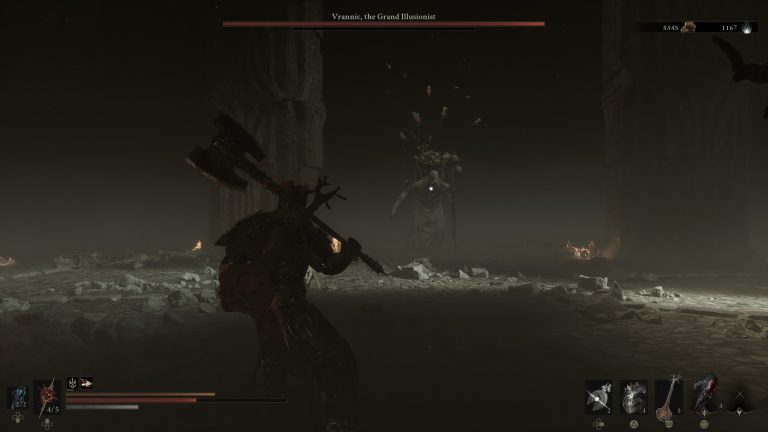
- How to Beat Vrannic, the Grand Illusionist in Mortal Shell 2
- How to Beat The Wandering Shepherd in Mortal Shell 2
- How to Beat Tainted Vestige in Mortal Shell 2
- How to Beat Sariel the Endless in Mortal Shell 2
- How to Beat Vellen, High Lord of Gammon in Mortal Shell 2
- How to Beat the Subjugated Guardian in Mortal Shell 2
- How to Beat the Prophet of Profane Infinities in Mortal Shell 2
- How to Beat Strange Grisha in Mortal Shell 2
- How to Beat the Infested Miner in Mortal Shell 2
- How to Beat Vrago, Solikar Champion in Mortal Shell 2
- How to Beat Tishina’s Confessor in Mortal Shell 2
- How to Beat the Gloombound Legion in Mortal Shell 2
- How to Beat the Bloodcursed Lithopod in Mortal Shell 2
- How to Beat the Broodshell Swarm in Mortal Shell 2
- How to Upgrade Your Weapons in Mortal Shell 2
- How to Beat the Warden in Mortal Shell 2
- How to Beat Great Arbiter of Flesh in Mortal Shell 2
- How to Beat Gloombound Ritualist in Mortal Shell 2
- How to Beat Lucian, The Thirsting Knight in Mortal Shell 2
- How to Beat Droeg, The Conquerer in Mortal Shell 2
- How to Increase Your Health in Mortal Shell 2
- How to Beat Magdalena, the Lady of the Woods in Mortal Shell 2
- How to Unlock the Mortal Shell 2 Secret Ending
- How to Beat the Hexapod in Mortal Shell 2
- How to Beat the Nameless Captive in Mortal Shell 2
- How to Fast Travel in Mortal Shell 2
- How to Change Difficulty in Mortal Shell 2
- Mortal Shell 2 – All Shell Locations
- Mortal Shell 2 – All Weapon Locations