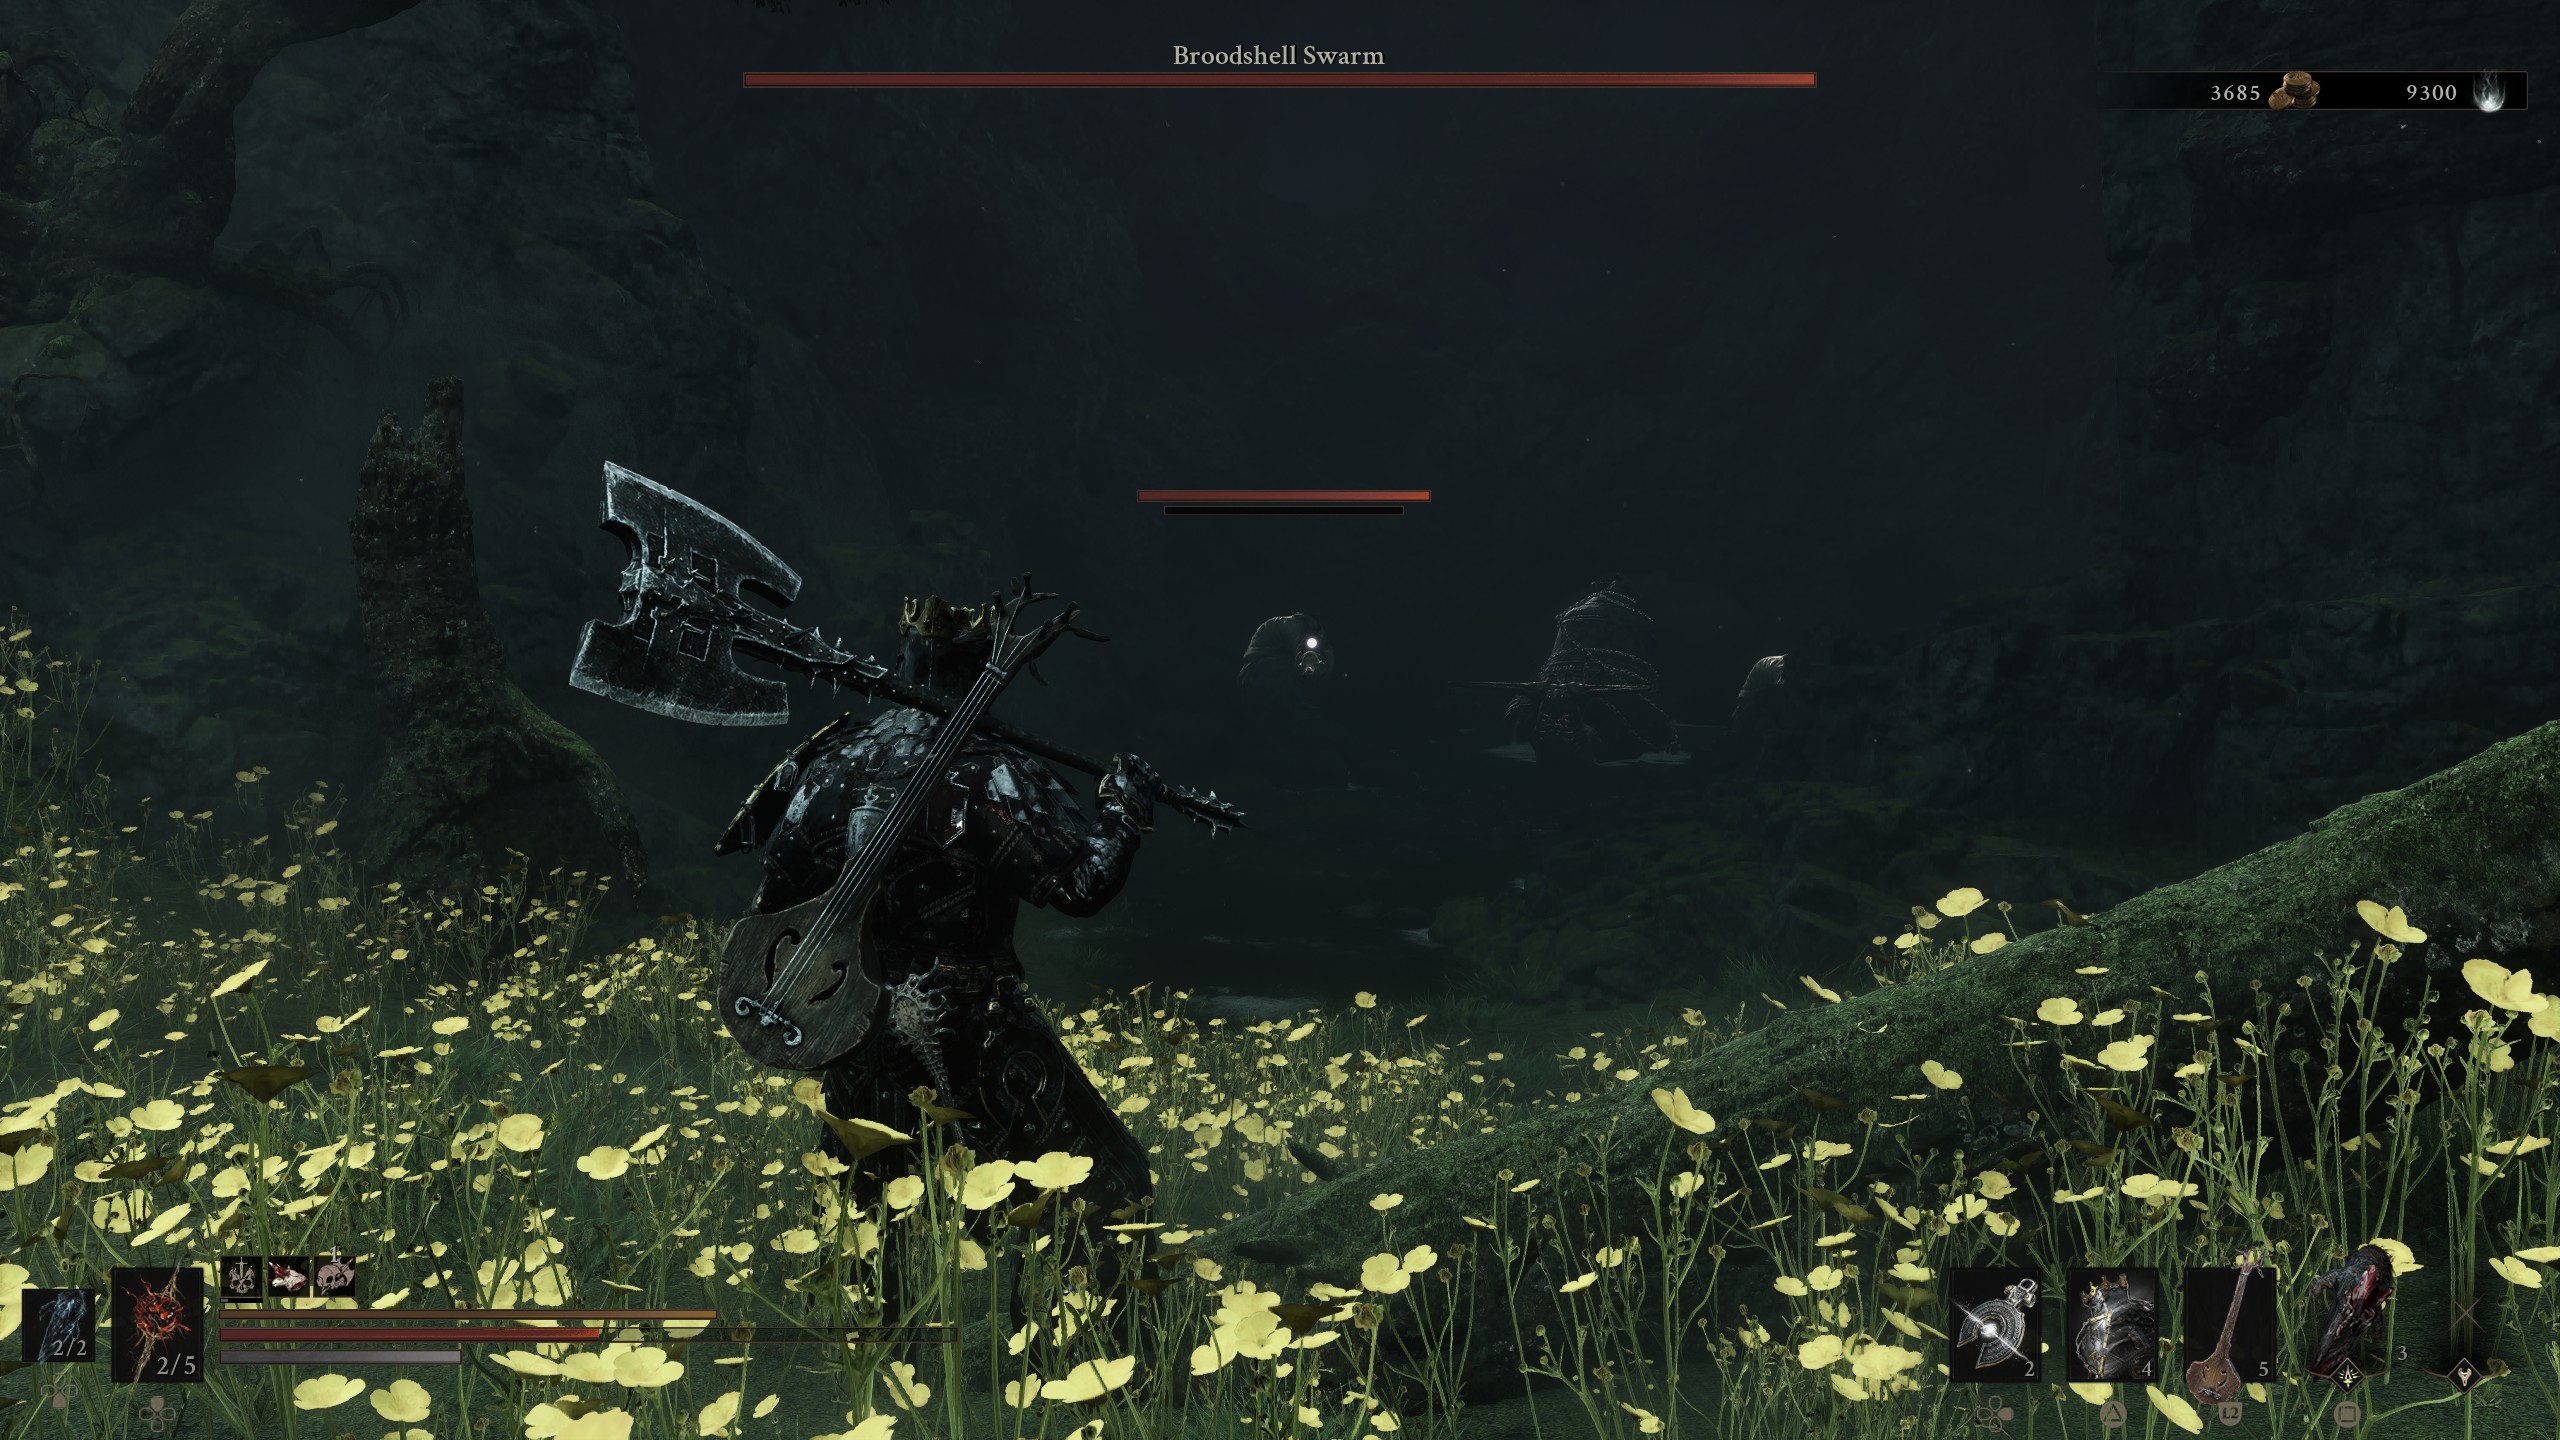
By the time you’re looking for and fighting the Broodshell Swarm, you’ll have been around the map a few times and likely fought harder and more obtuse bosses, however, some people’s easy is another person’s hard, so if you’re here, don’t worry, we’ll walk you through everything you need to know to find and then how to beat the Broodshell Swarm in Mortal Shell 2.
Broodshell Swarm Location in Mortal Shell 2
The Broodshell Swarm is one of those bosses that is in an unassuming location, and you’ll almost certainly run into it without even realising you’ve done it. The arena isn’t really an arena; instead, it’s a small cave all but the most uncurious of players will find themselves in.
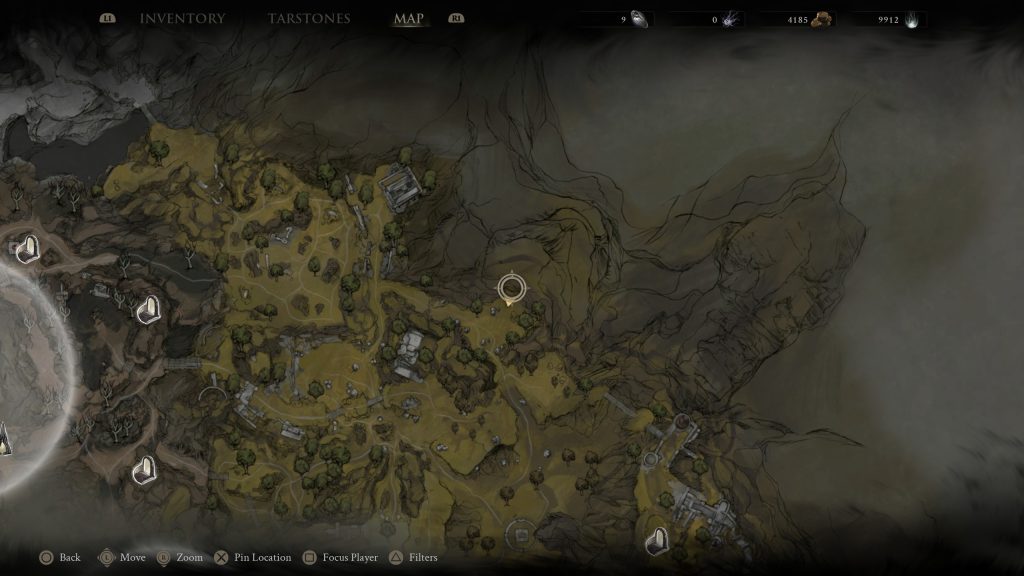
If you’ve found the Heart of Vatra for Gragu, you’ll no doubt have been close to the location of the Broodshell Swarm. From the One Legged Wolf Beacon, head up the mountain towards the stone structure above you. It’s difficult to miss. You’ll come to a gate; head through and across the bridge. DO NOT PICK UP THE ITEM ON THE BRIDGE. It’ll teleport you all the way across the map to the Citadel of Penance, and towards the Warden. Instead, head across the bridge and follow the path until you’re presented with two options. You can go right or left, both across a wooden bridge, taking you in opposite directions.
One click and you're done. Thank you!
Head left, defeating the knight in front of you, and follow the wall to your right. It’ll take you to a camp with two or three human enemies in. Get rid of them and continue moving to the right, following the mountain wall. You’ll come to a clearing with multiple smaller snail enemies in it – you’re in the right place. Kill these, and for the last time, follow the area around to the right, and to the cave in front of you. This is where the Broodshell Swarm is, and prepare for a fight. An easy fight, but a fight.
How to Beat the Broodshell Swarm in Mortal Shell 2
As you walk into the cave, you’ll notice the Broodshell Swarm emerge. As the previous smaller snail enemies may have hinted at, this boss is just a huge one of those, except it’s flanked by two of those eel things, and that can make life difficult. So you have an idea of how to beat the Broodshell Swarm in the same manner as me; my build for this fight was:
- Eredrim Shell – Location here.
- Veteran’s Battle Axe – Location here.
- Troubadour Lute.
- Vatra Seal.
- Marksman’s Stone – Increases crit chance of ranged weapons.
- Retribution Stone – Increases Riposte damage.
- Deadeye Stone – Increases ranged crit damage.
- Berserker Stone – Increases damage output the lower your health is.
- Grudge Stone – Inflicts a critical hit every so many strikes.
Having the Troubadour Lute will make this boss fight so much easier than if you didn’t have it. If you do, strum it several times as soon as the fight starts. Worst case, you’ll stun them so you can do a Riposte attack on one of the three, maybe two. Best case, they’ll in-fight and attack one another. If this happens, just stand back and let the madness ensue.
If they don’t attack themselves, or you don’t have the Lute, you’ll have to do this the hard way. Using your Shell’s abilities, in this case Eredrim and his Shoulder Bash, will make your life far easier, but make sure to focus on only one of the three at any one time. They may share a health bar, but they also have their own, and the fight becomes far easier with each of the three you get rid of. Thankfully, they don’t have an abundance of defense or health, and if they do attack you, you’ll want to use Harden or Parry at the right time so you can get on the attack again as quickly as possible. This is not a fight that you’ll want to be defensive and take your time with.
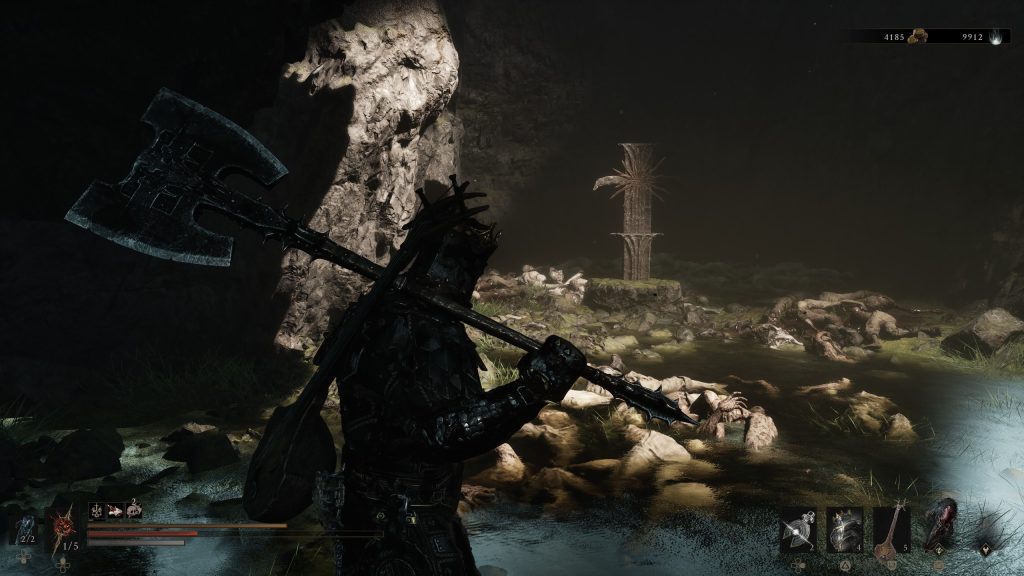
Truly, defeating the Broodshell Swarm isn’t as difficult as you’d expect when they first show up, especially if you use your Shell and the right combo of weapons to your advantage. Once you’ve won the fight, head to the back of the cave to pick up your rewards: some gold and a new stone, the Justiciar Stone, which will give you increasing amounts of gold from slain foes.
For your next read, go see our review of the game, or our tips and tricks you’ll need to know to make Mortal Shell 2 a doddle.

Luke Addison is the Founder and Editor-in-Chief of Thumb Wars. Having previously been a part of multiple outlets over the years, including building an entire gaming team from nothing to something, he thought it best to forge his own path and answer only to himself. As likely to be found playing the latest game as he is in the kitchen relaxing (by cooking), he always brings the same bold and brash attitude to everything he does, with a heavy leaning on sarcasm and dry wit!