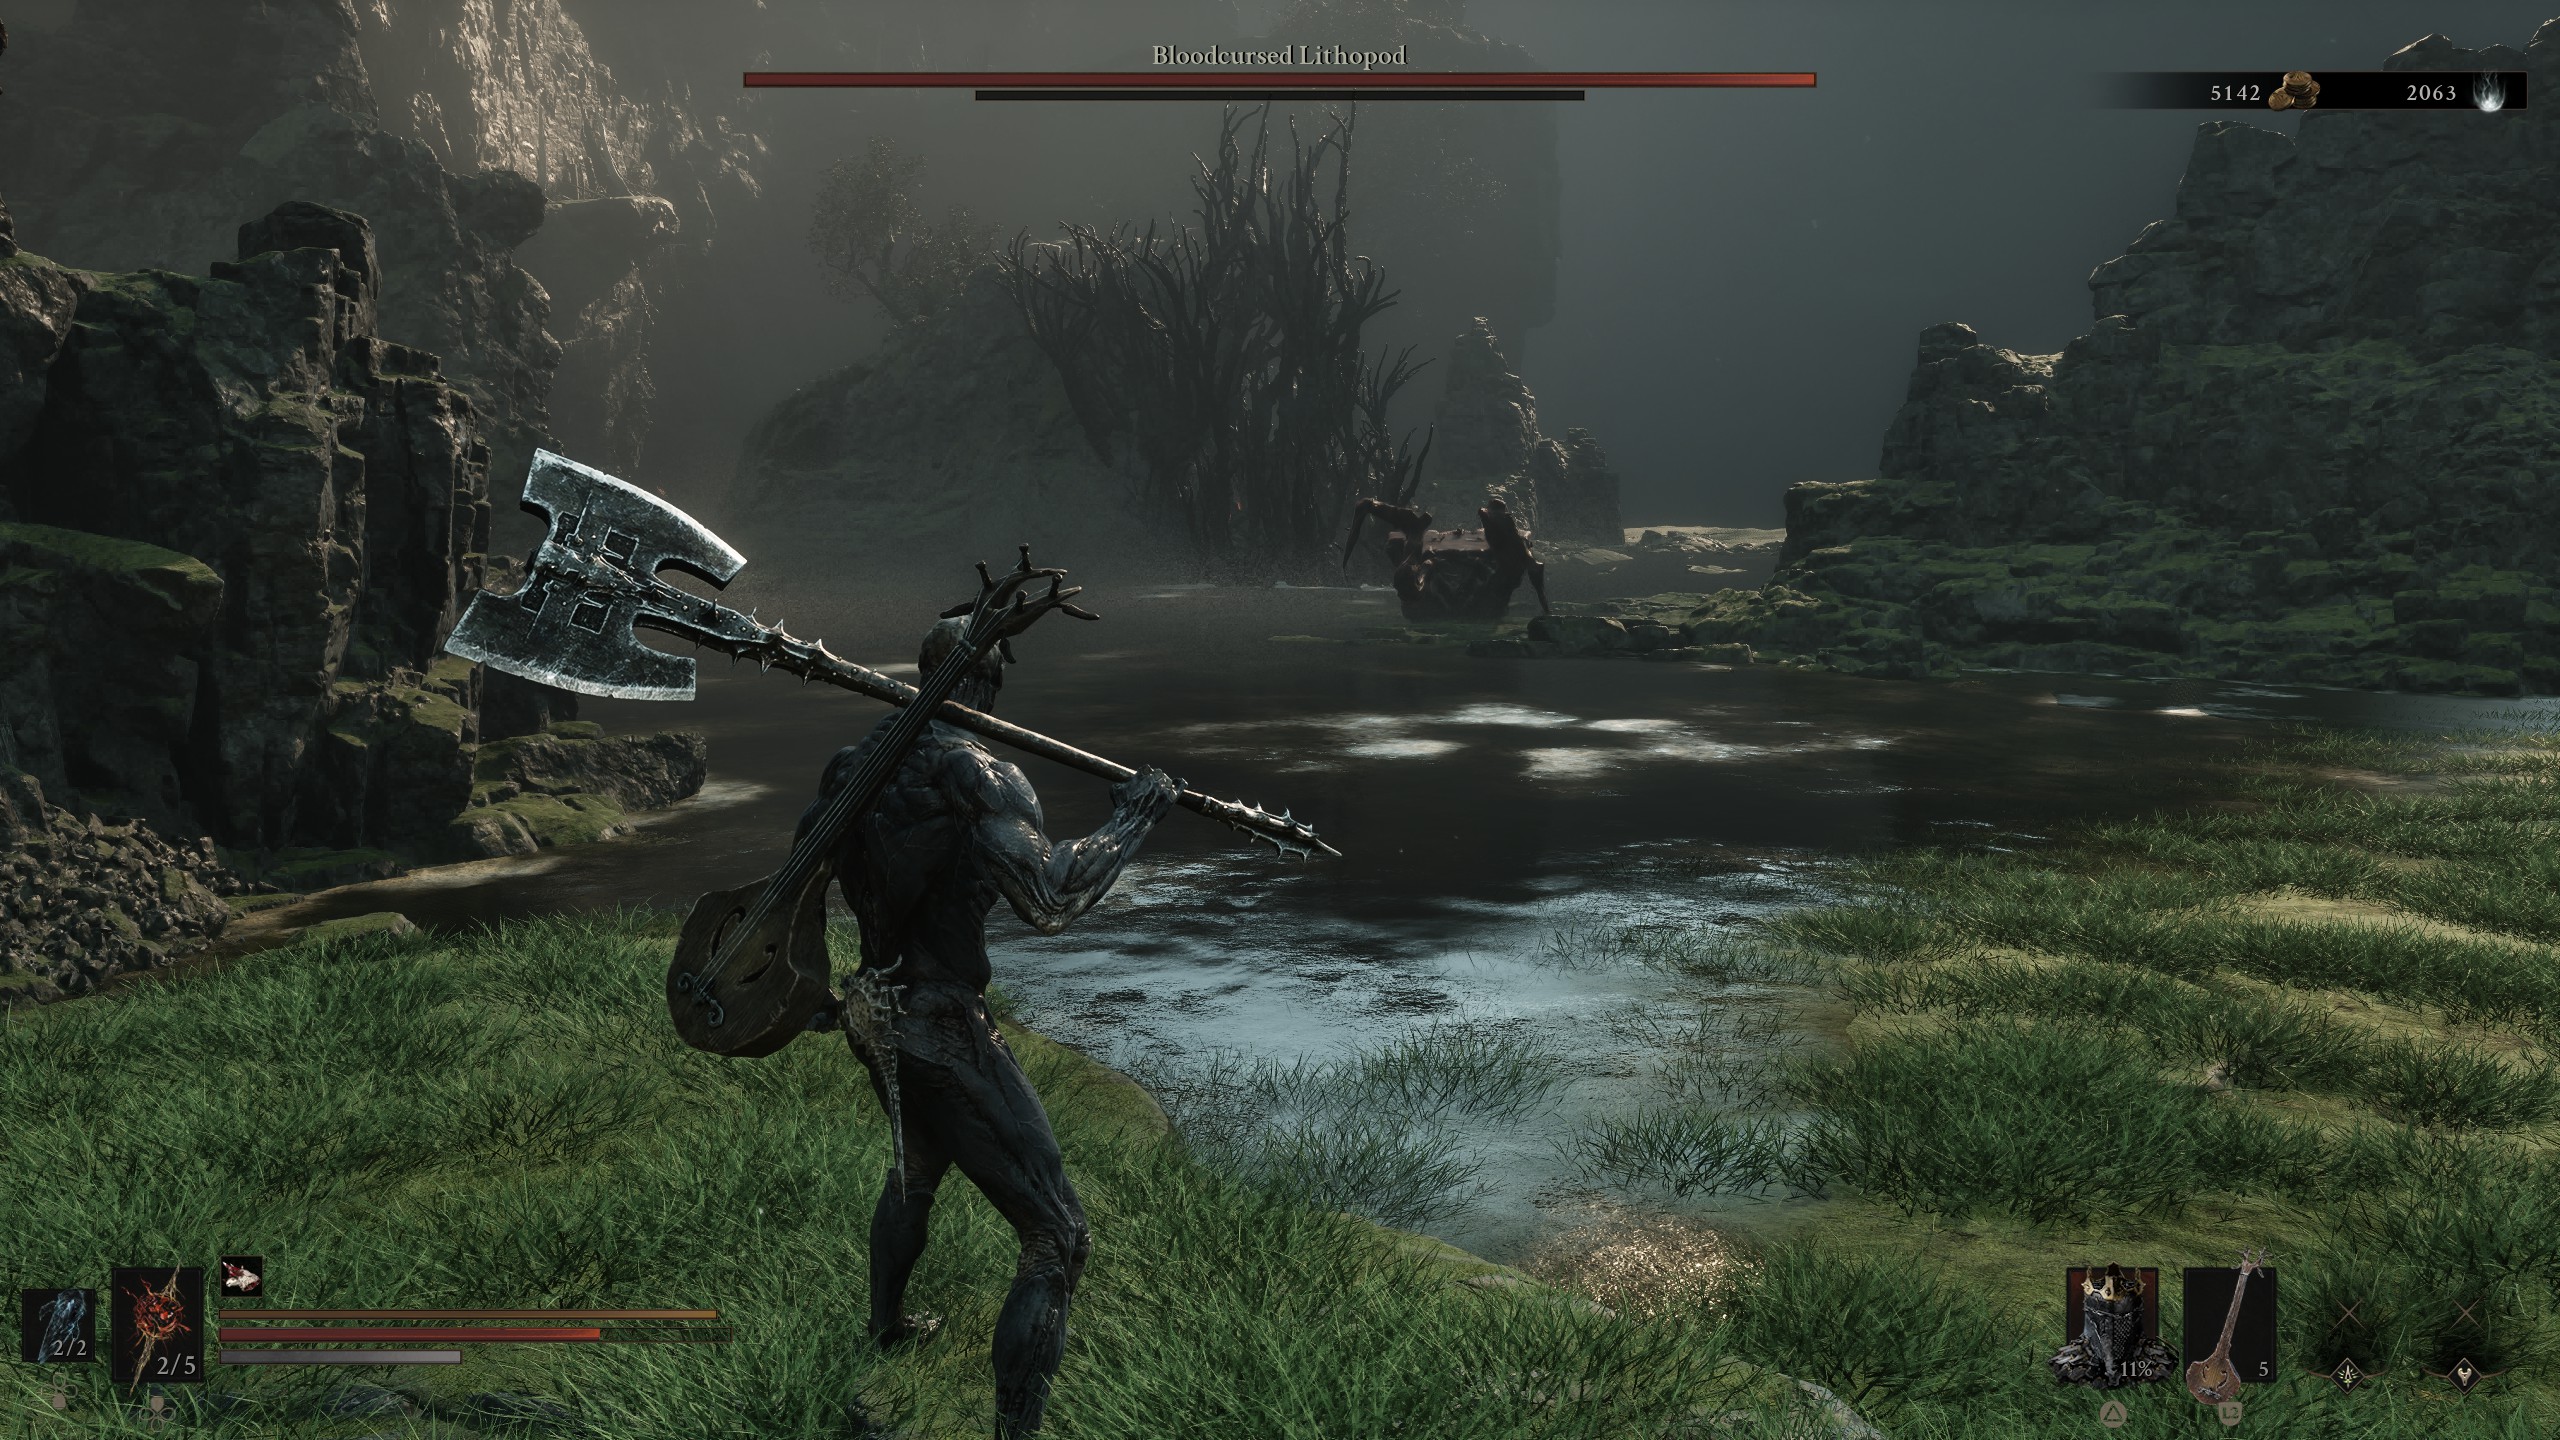
There’s no shame in losing a battle or two to the bosses in Mortal Shell 2. Thankfully, some of them are easier than others. If you’ve already bested the likes of the Warden, you’ll be fine here, but just in case you’re not, we’ll show you exactly how to beat the Bloodcursed Lithopod in Mortal Shell 2 and how to do it easily. We’ll also explain where to find it and what you get for your trouble.
Location of the Bloodcursed Lithopod in Mortal Shell 2
As is becoming a trend with Mortal Shell 2, getting to where the Bloodcursed Lithopod is means you’ll need to work your way through caves, winding paths, and past numerous different types of enemies, including those disgusting-looking eel snake things, human knights, and the poisonous Goblins as well. Don’t worry though, we can get you there with minimal fuss.
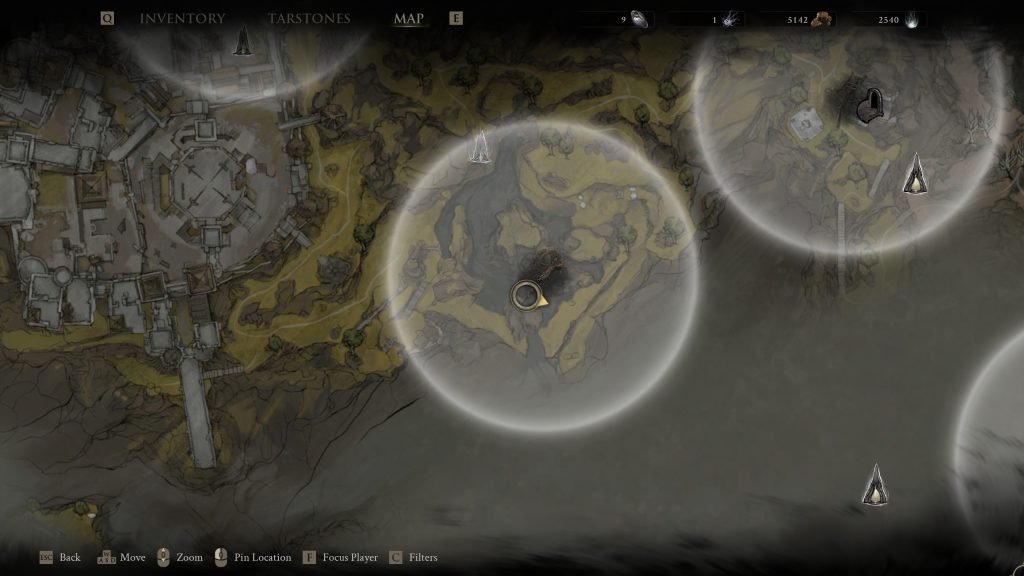
If you start at the Groomshade Grove Beacon, you’ll want to head directly south from there, but obviously you can’t. Instead, you need to head left from the Beacon, past the skirmish and up the small cave, which will bring you out looking at the Citadel of Penance main gate. Head down the slope to your left as you emerge, and you’ll see several human knights. You can ignore these. If you’re facing down the slope, you’ll want to head right through the stone pillars, where there’s a well-hidden wooden boardwalk. Follow this down and round, past the poisonous Goblins and down the hill. You’re now in the lake. Kill all the enemies here and head right, and you’ll be exactly where you need to be to fight the Bloodcursed Lithopod.
One click and you're done. Thank you!
How to Beat the Bloodcursed Lithopod in Mortal Shell 2
You’ll recognise this enemy type from your time exploring the nearby areas. However, unlike those smaller, equally rocky versions, the Bloodcursed Lithopod is absolutely stacked with health and hits so much harder. That said, he’s also just as slow, telegraphs his minimal attacks in an obvious fashion, and doesn’t put up a huge amount of his own defense from your attacks. So you understand how to beat the Bloodcursed Lithopod, here’s the build I ran with:
- Eredrim Shell – Location here.
- Veteran’s Battle Axe – Location here.
- Troubadour Lute.
- Vatra Seal.
- Marksman’s Stone – Increases crit chance of ranged weapons.
- Retribution Stone – Increases Riposte damage.
- Deadeye Stone – Increases ranged crit damage.
- Berserker Stone – Increases damage output the lower your health is.
When you head into the clearing in the lake, you’ll see him emerge, and this is your opportunity to get a ‘free hit’ in, as it were. You’ll be able to swing away with pretty much reckless abandon, but as soon as you see him rear onto his hind legs, you’ll want to prepare yourself to Harden, Parry or Dodge. In these moments where he attacks, he’s surprisingly spritely and can cover large distances quickly, so don’t feel safe.
CHEESE METHOD: You’ll notice a cliff side in the arena. You can position the Bloodcursed Lithopod so he ends up stunned (using your Troubadour Lute) near it. You can then Riposte attack him, and the animation ends with kicking him away. At the right distance, this will kick him off the cliff. Careful though, if you’re too close you’ll get dragged right with him.
Having already fought the Rabid Grishna Pack and gotten full familiarity with the Grishna Remnant, I used this to summon two Grishna to attack when I healed, giving me a moment’s breather. If you, like me, have the Troubadour’s Lute, you’ll want to use it to stun and put it on the back foot. It takes three strums to fill his Riposte meter to max, allowing you a Riposte attack, which will do a considerable amount of damage compared to your normal attacks.
After that, it’s a matter of rinse and repeat, making sure to block/Harden when needed, and keeping an eye on where in the arena you are. The last thing you want to do is get it close to death and then dodge yourself straight over the cliff. Once you’ve defeated the Bloodcursed Lithopod, you’ll get the Citadel Lever as your reward, allowing you to open the main gate to the Citadel of Penance. You’ll also be able to make your way round to the next weapon you’ll find, the Salvaged Trebuchaxe.
For your next read, don’t miss some of the most important tips you could get for Mortal Shell 2, or our review of the game.

Luke Addison is the Founder and Editor-in-Chief of Thumb Wars. Having previously been a part of multiple outlets over the years, including building an entire gaming team from nothing to something, he thought it best to forge his own path and answer only to himself. As likely to be found playing the latest game as he is in the kitchen relaxing (by cooking), he always brings the same bold and brash attitude to everything he does, with a heavy leaning on sarcasm and dry wit!