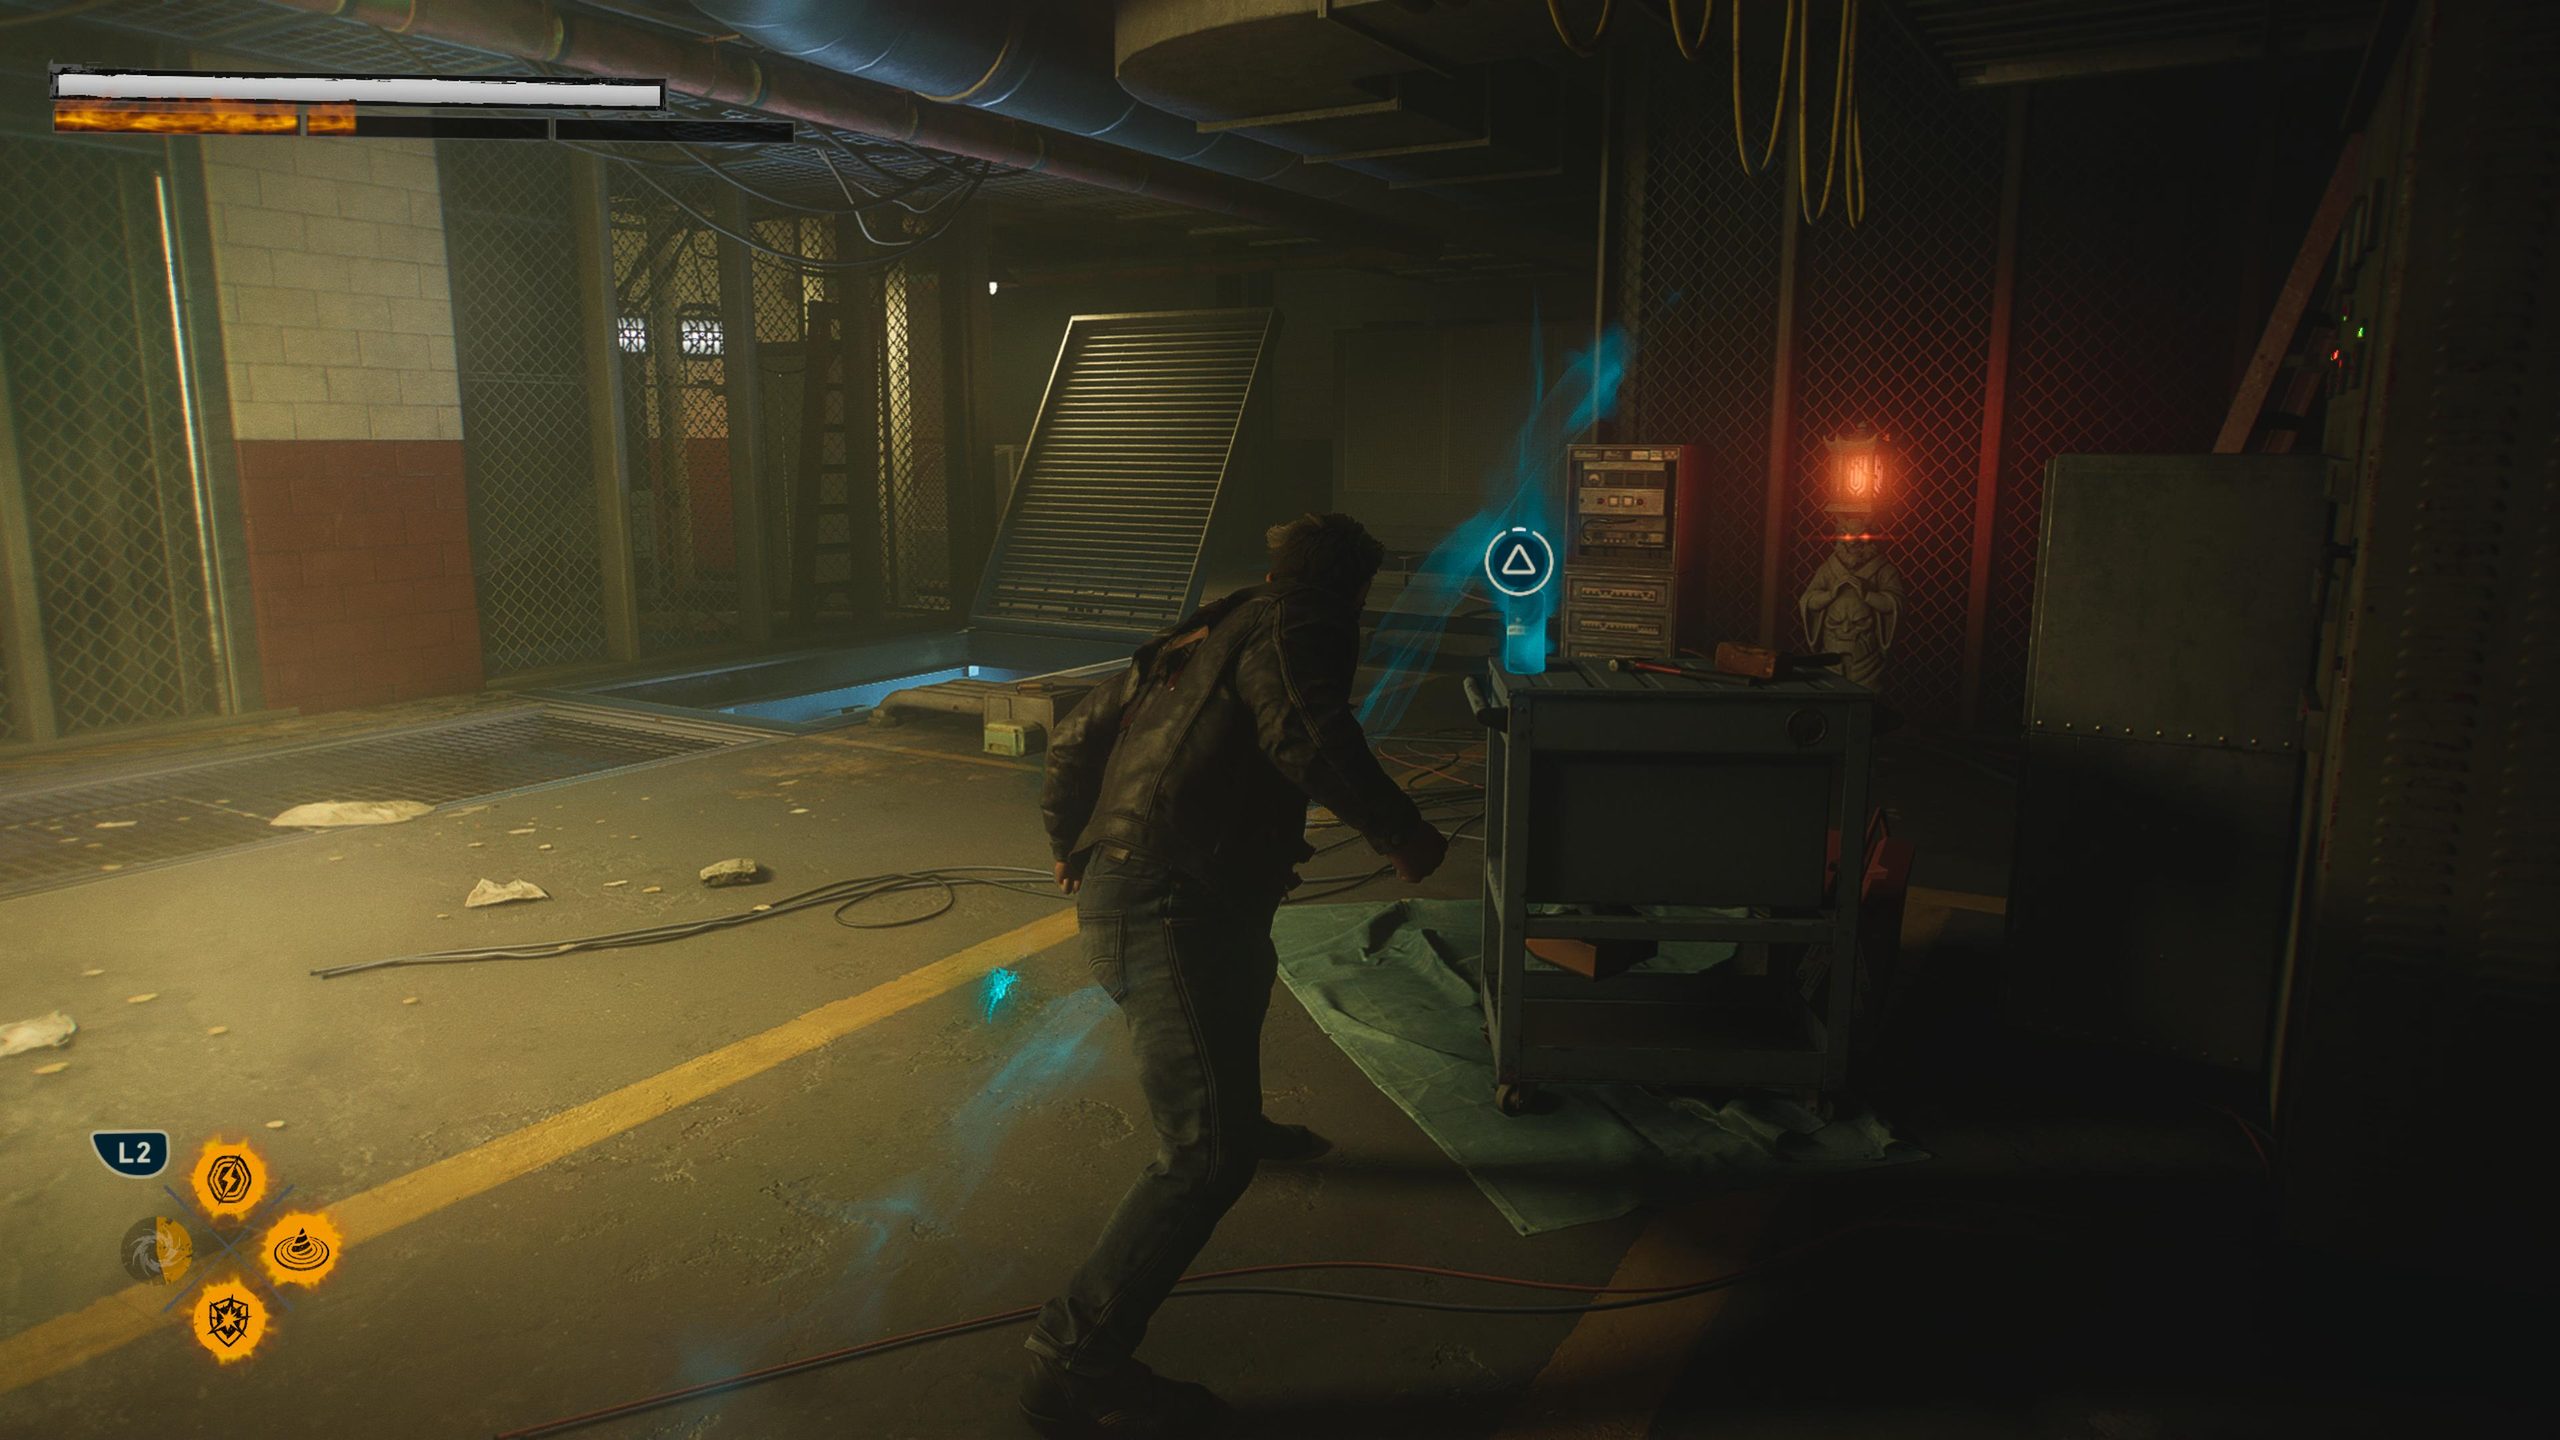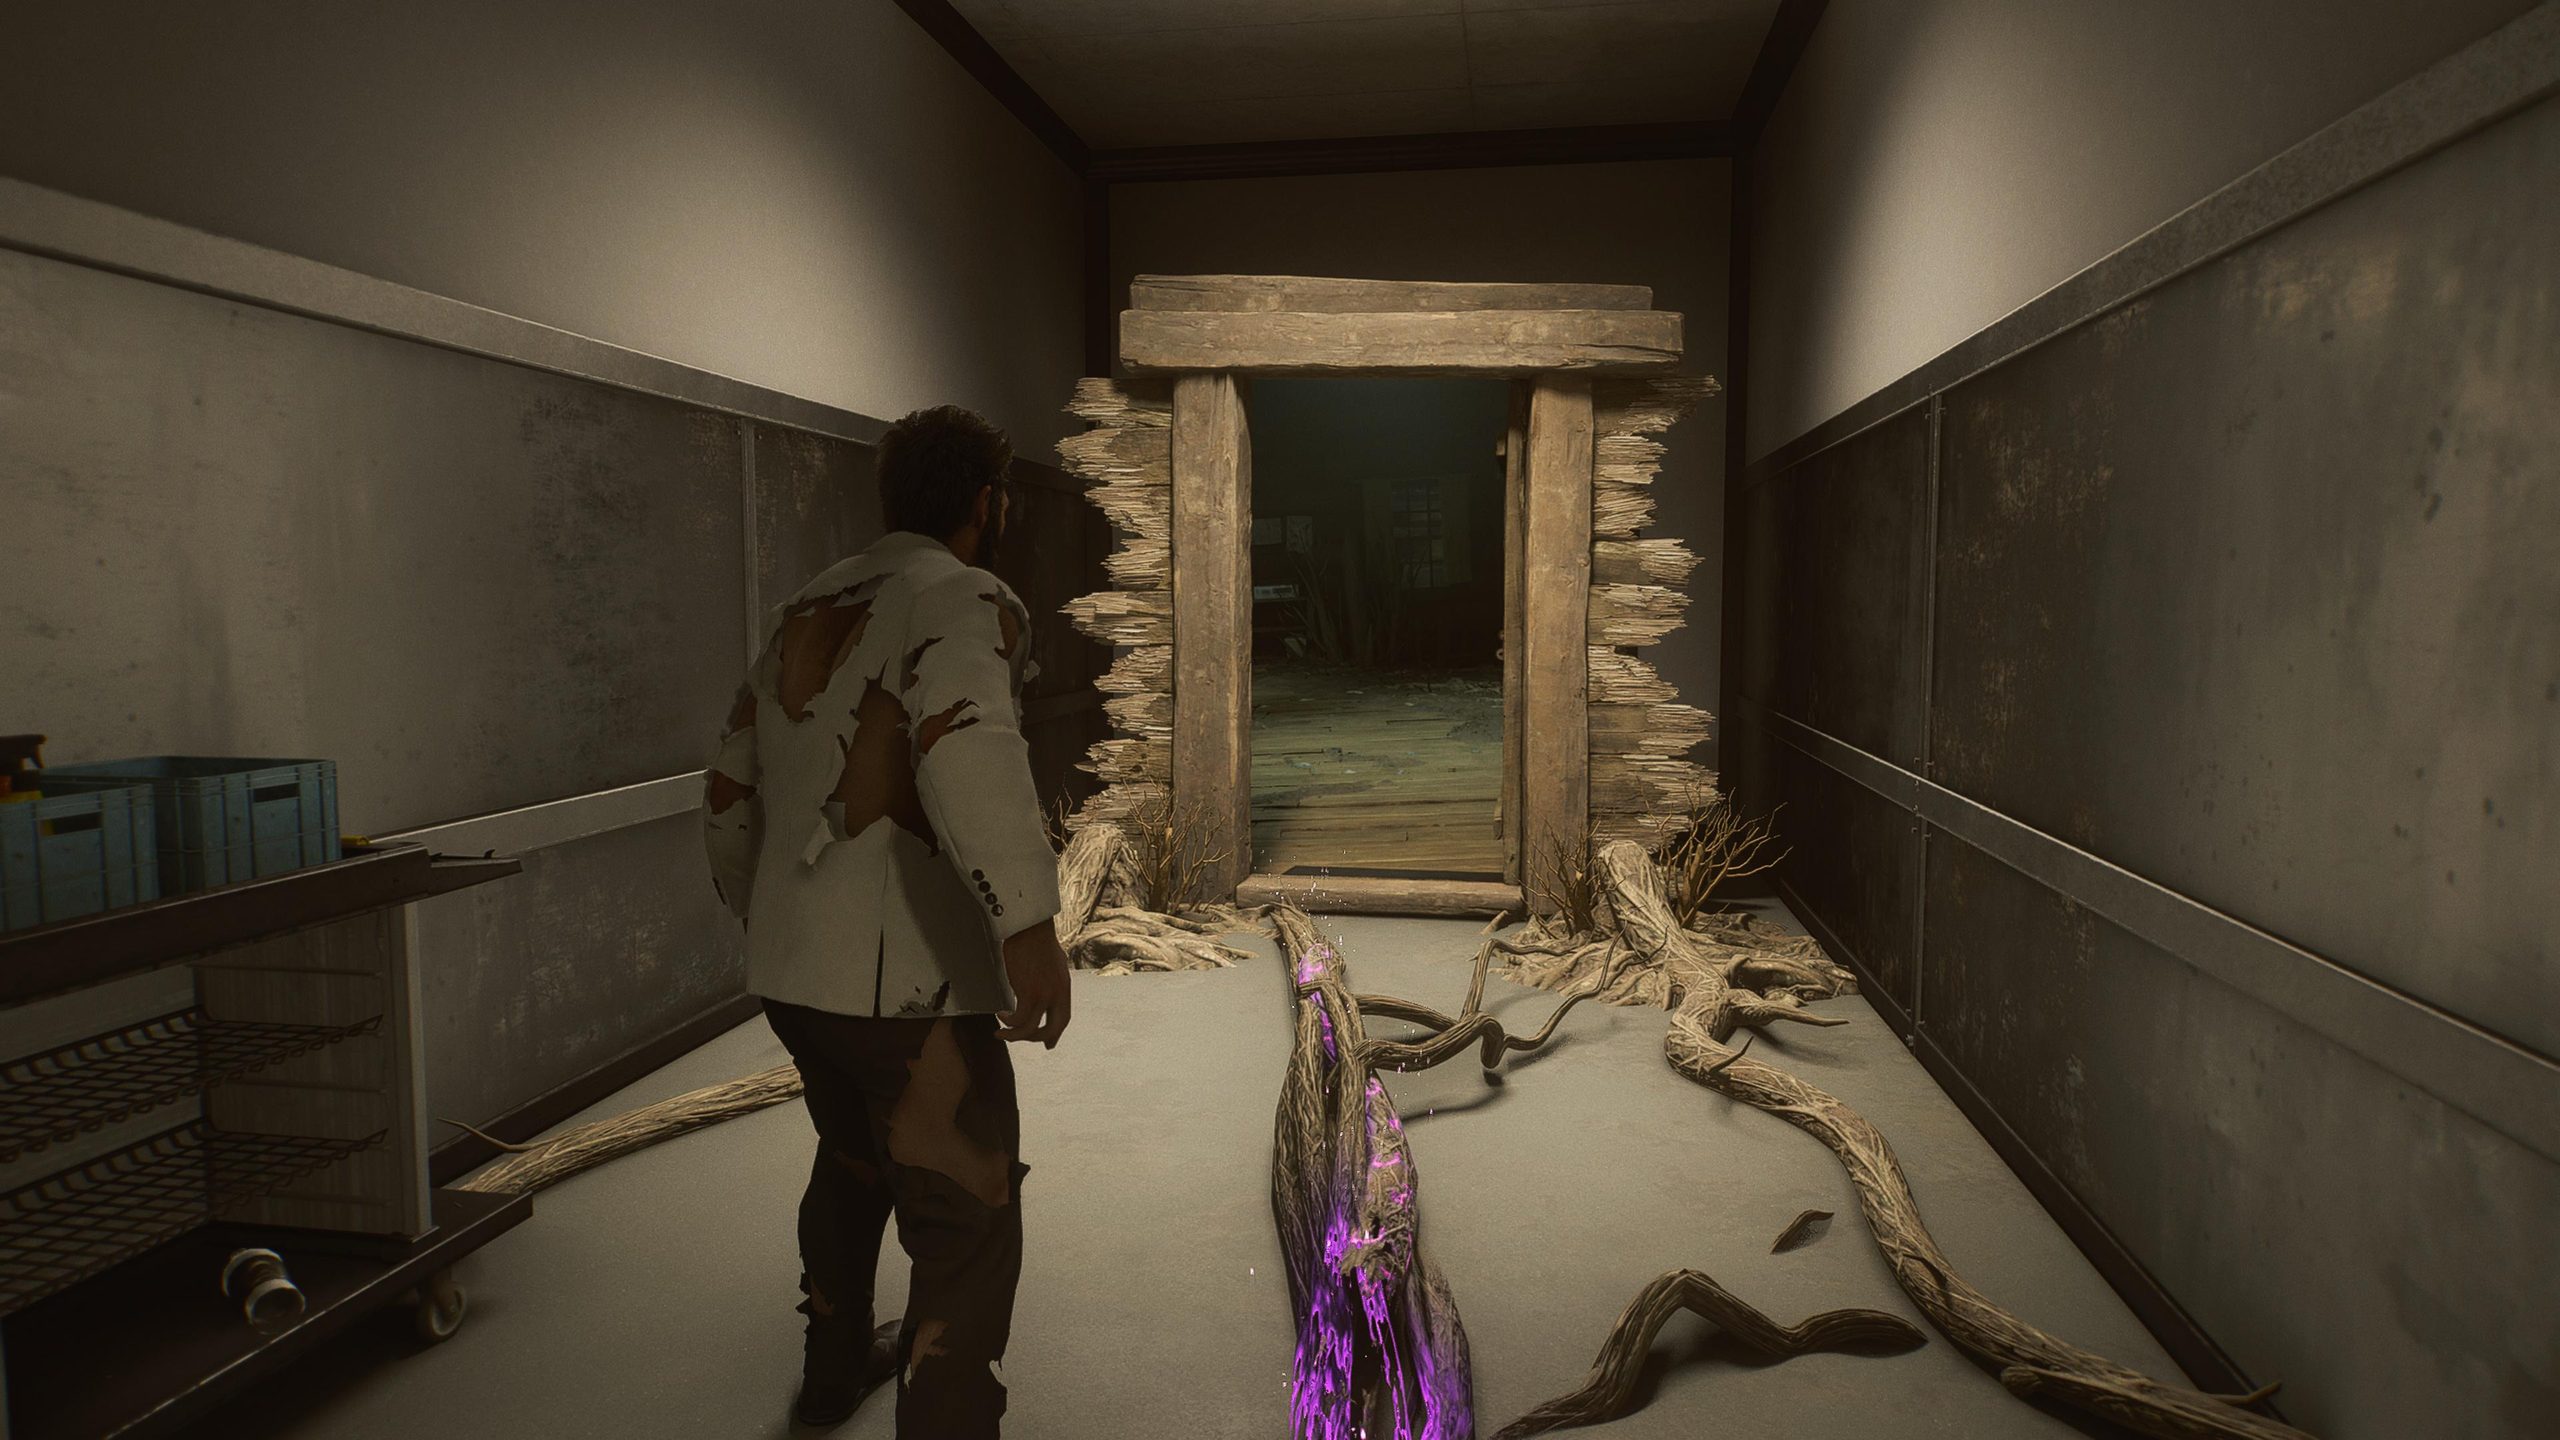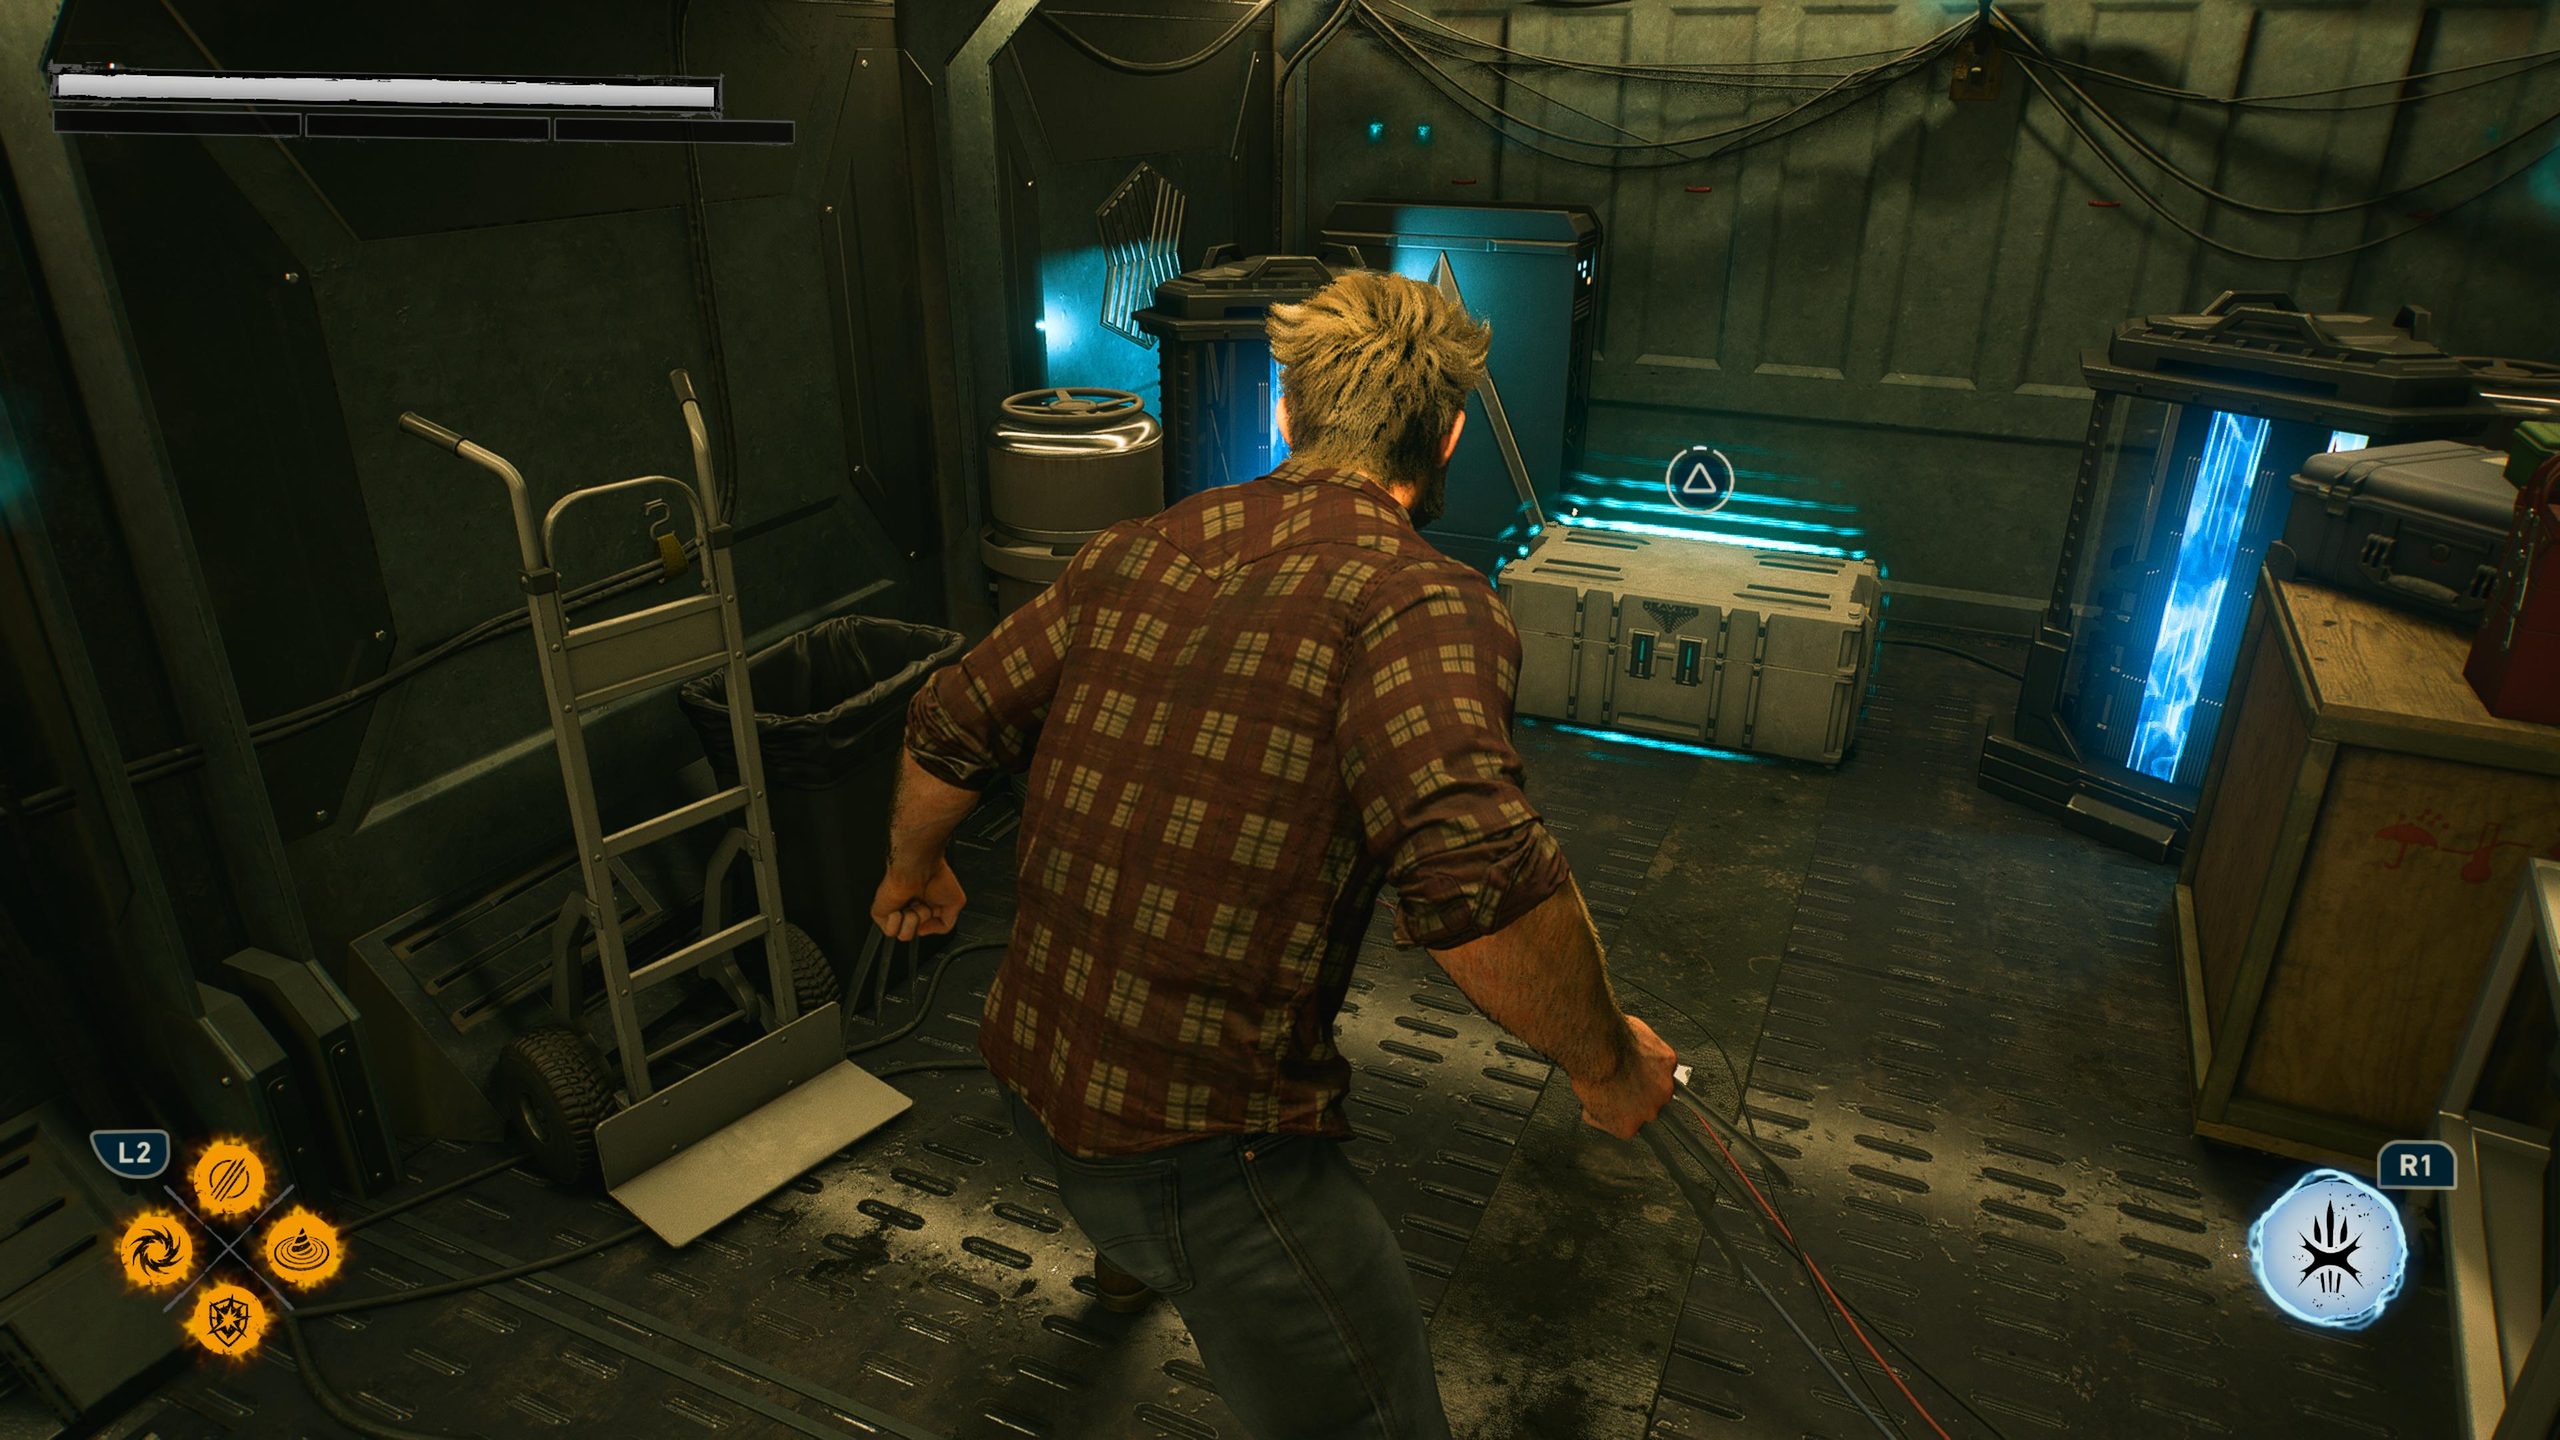
One of three collectibles in Marvel’s Wolverine, the Material Crates are sprinkled throughout every level of the game. Most are easy to find, others are nearby Nightmare Doors and Whiskey Bottles, while a few are ridiculously well hidden. Either way, by the end of this meticulous guide, you’ll have every single Material Crate, and the trophy linked to it.
- Canada – Homecoming
- Vancouver – The One That Got Away
- Canada – Raise Some Hell
- Canada – Strays
- Canada – Something Much Stronger
- Madripoor – Knock Knock
- Madripoor – Mutant Detected
- Madripoor – One Last Mission
- Japan – Get Angry
- Japan – Bad Blood
- Japan – In the Shadows
- Japan – Death Comes to Death
- Japan – We Were Wrong
- Japan – Hell Followed With Him
- Japan – Sinister Tidings
- Madripoor – Way Down Low
- Madripoor – Roll the Dice
- Madripoor – Field Test
- Madripoor – I’m Still Here
- Madripoor – This Was The Dream
Canada – Homecoming
Crate One
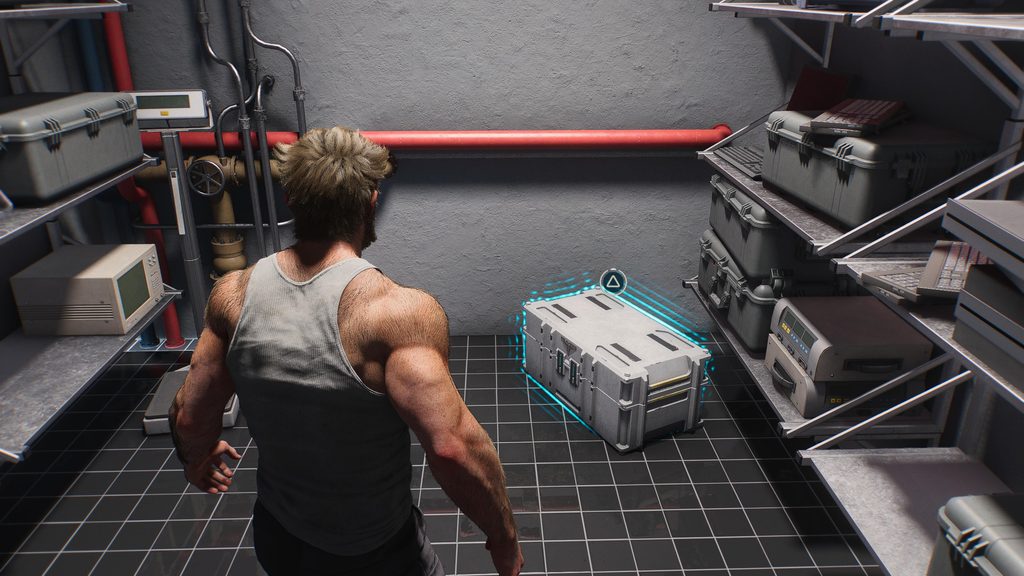
Similar to the Whiskey Bottle and Nightmare Door in this level, these are almost impossible to miss. When your cutscene ends, you’ll be at Walter’s lab, and he’ll ask you to enter the storeroom to grab some materials to fix up your new suit. Head to the back; there will be a handily outlined box. Stick your claws in it and grab the materials, then head back to Walter.
Crate Two
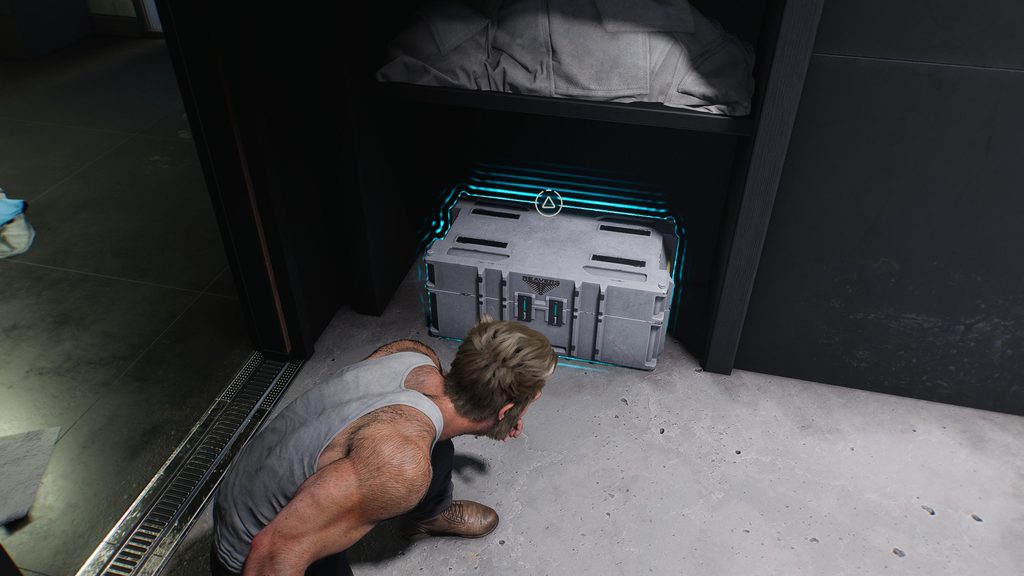
The second box has been taken by Victor, aka Sabretooth. Not exactly your biggest fan. Head out of the lab, turn right, go up the stairs in the general area, and left. You’ll be able to follow your nose to his room, and then sneak through it to grab the box in the back. That’s the second Materials Crate, and the final one for this level.
One click and you're done. Thank you!
Vancouver – The One That Got Away
Crate One
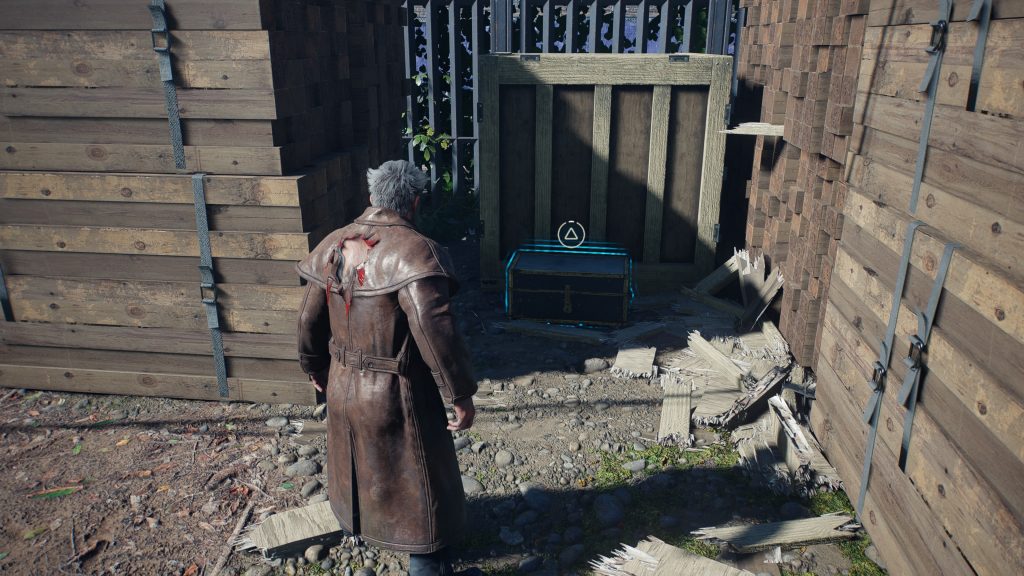
After you’ve made your way through the mansion, investigating the missing mutants and you’ll be following Jean’s scent. Follow it until you jump from a balcony onto a rooftop below, and end up in a fight against two Reavers next to some logs. Once you’ve beaten them, turn left and head to the corner of the logging yard, where you’ll find the first Crate hidden behind some boxes.
Crate Two
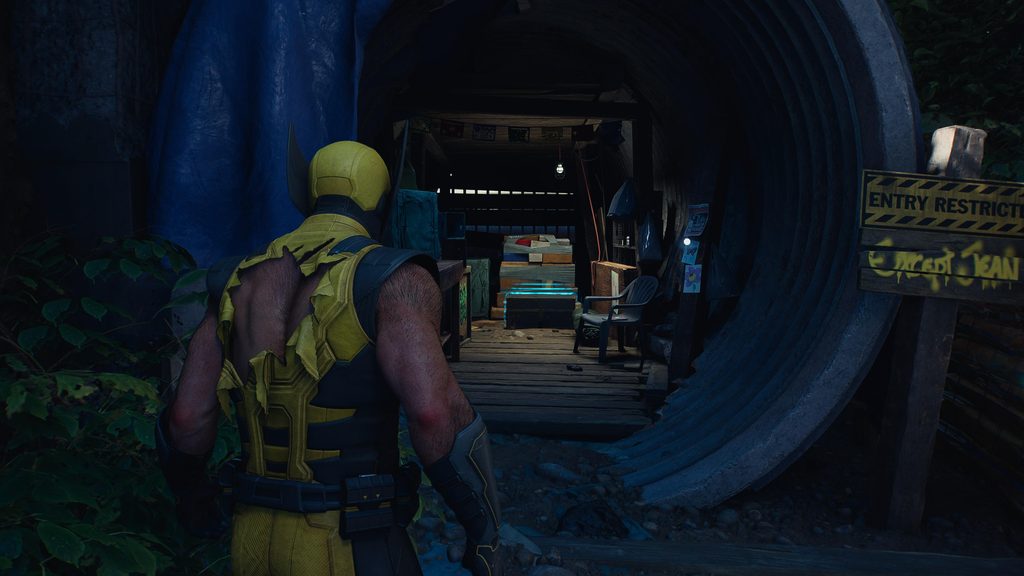
This crate is found a little way through the level. You’ll have investigated the destroyed house, made your way outside and through some of the construction site, following the scent. You’ll fight twice: first a duo on the ground, and then a single guy from above, in a destroyed building. Once you find and remove the single guy, head to the floor of that building and pick up the recording of Leech, before turning around and seeing the Crate hidden away at the back of a room. Hard to miss once you know it’s there.
Crate Three
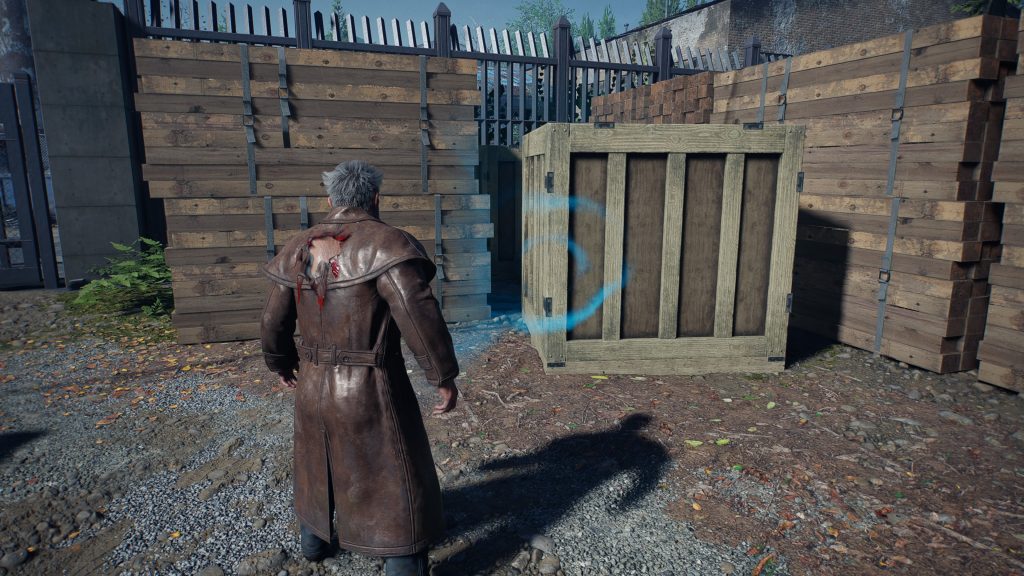
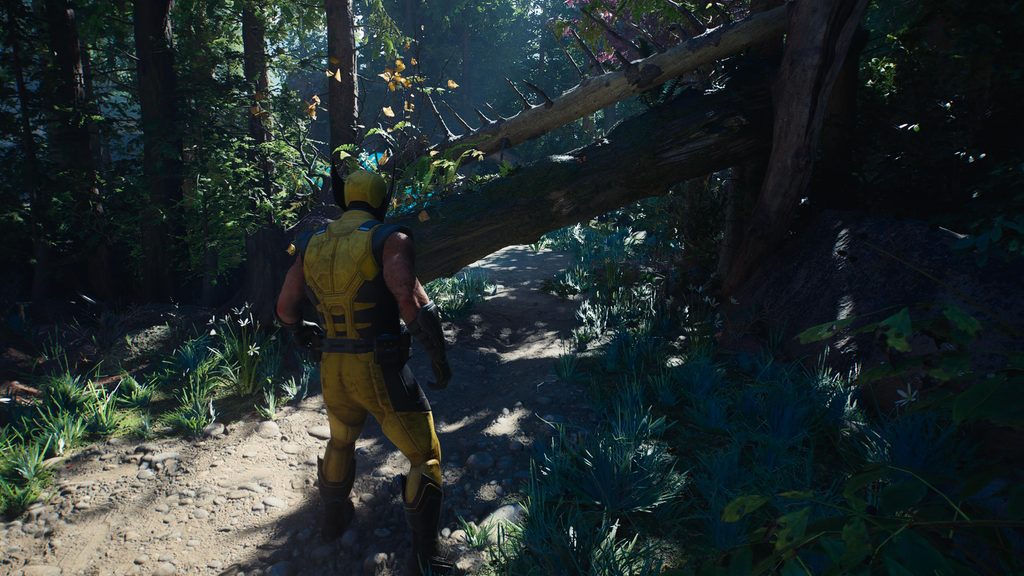
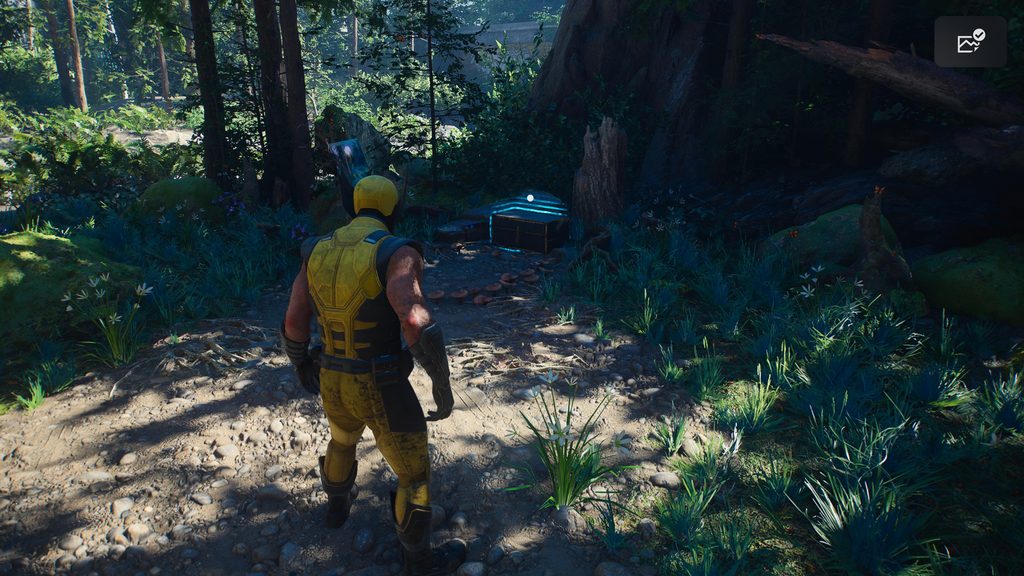
Crate Three is close to the Nightmare Door of the level. You’ll be at a stream with forest all around. Before heading in the direction the game is trying to send you, head to the right and down the stream. On the right side of the stream, you’ll begin to hear a pinging noise. The pinging noise of a nearby Crate. When you see a tree blocking your path, as in the picture below, you’ll know you’re in the right area. Slide through, and there’s the second Crate.
Crate Four
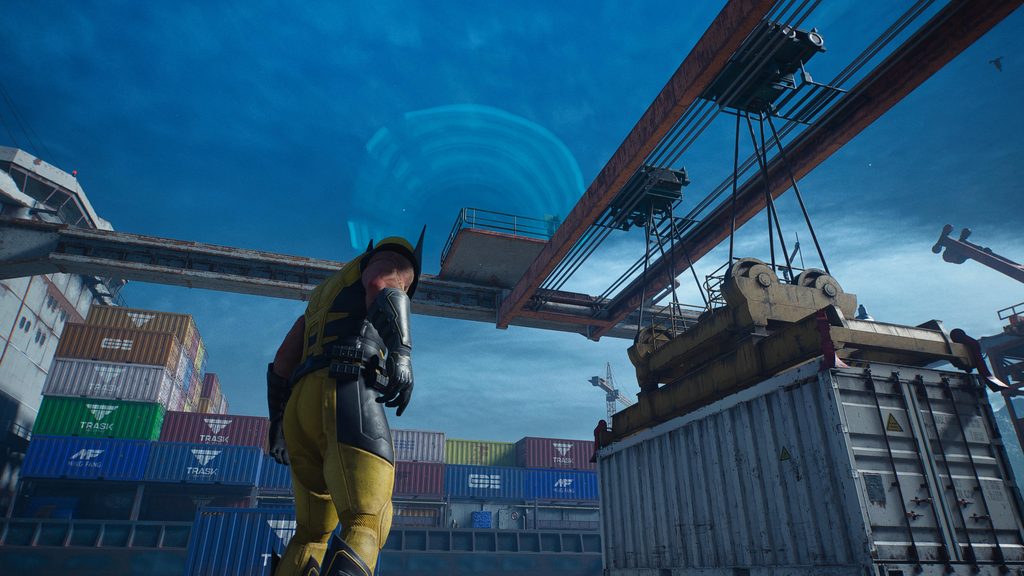
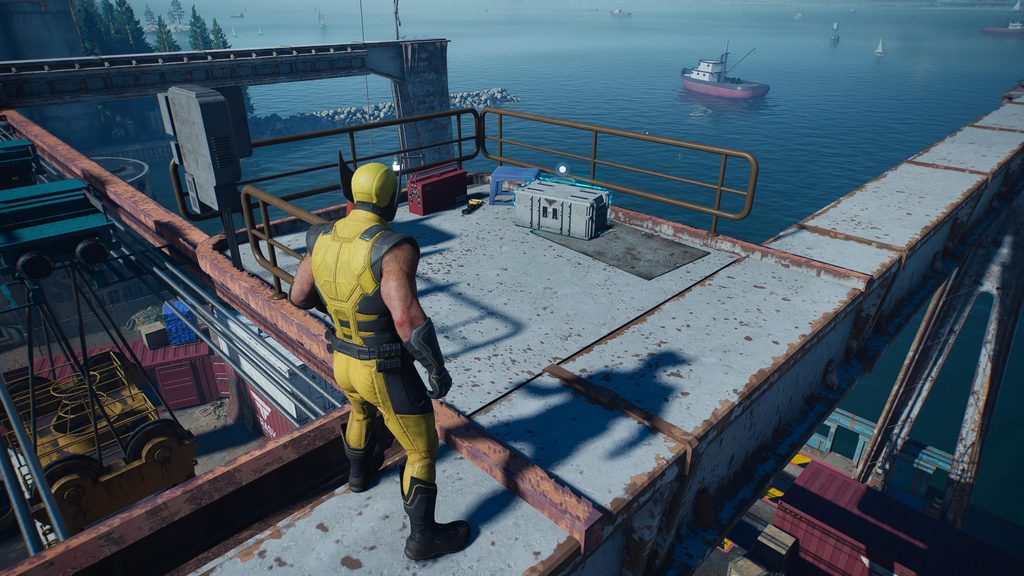
Once you’ve made your way into the shipping dock, you’ll have two choices: make it a stealth section and systematically take out the Reavers, or go all out. Either way, once you clear the first small section and cross a bridge, you’ll see a crane above you moving. This is instrumental to reaching the third Crate. Kill the enemies in the area, then head over to the far left, where you’ll see a rope with a hook on. Climb the rope, then follow the structure across until you find the Crate on the other side. The first one you could easily miss.
Canada – Raise Some Hell
Crate One
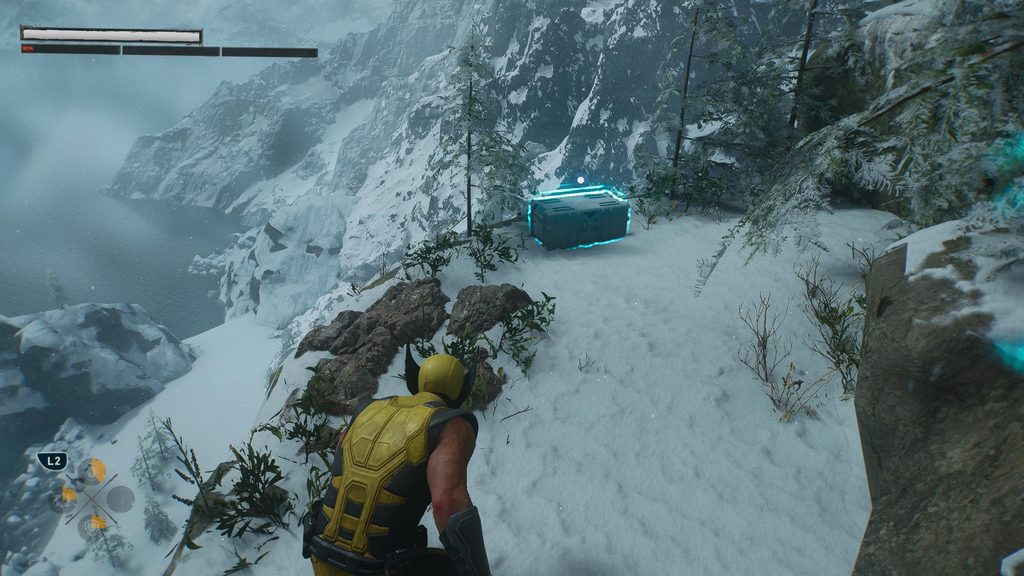
Shortly after the beginning of the level, and right after you’ve taken out the initial group of enemies, you’ll have to jump across a mountain gap. On the far left of the next area is where you’ll find this Crate. Make sure to take out the sniper on the far right of the area if you want to remain stealthy.
Crate Two
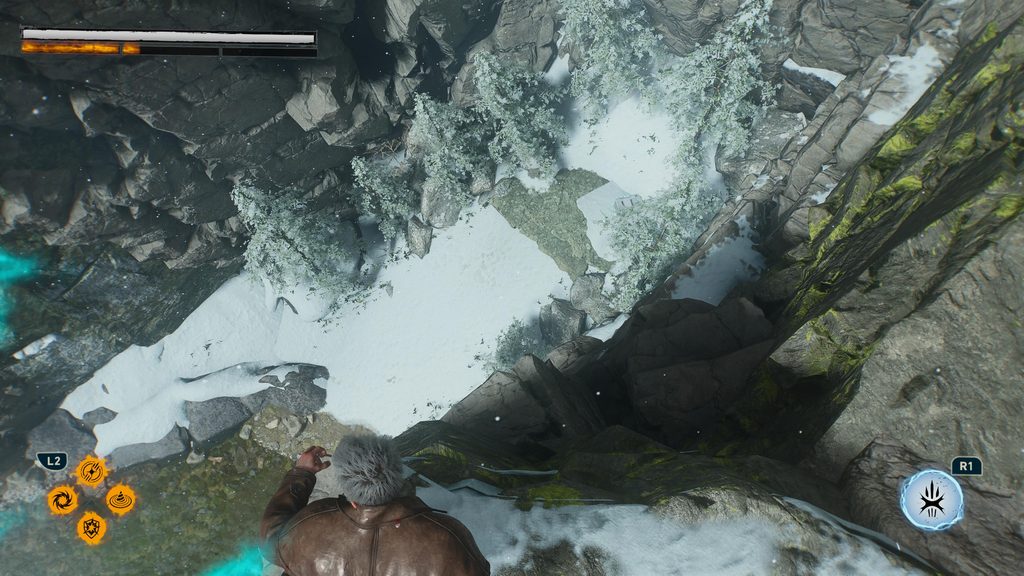
In the same area as the above, except this one is on the far right in a crevice between two mountain gaps. If you find the stream, you’ll be in the right place.
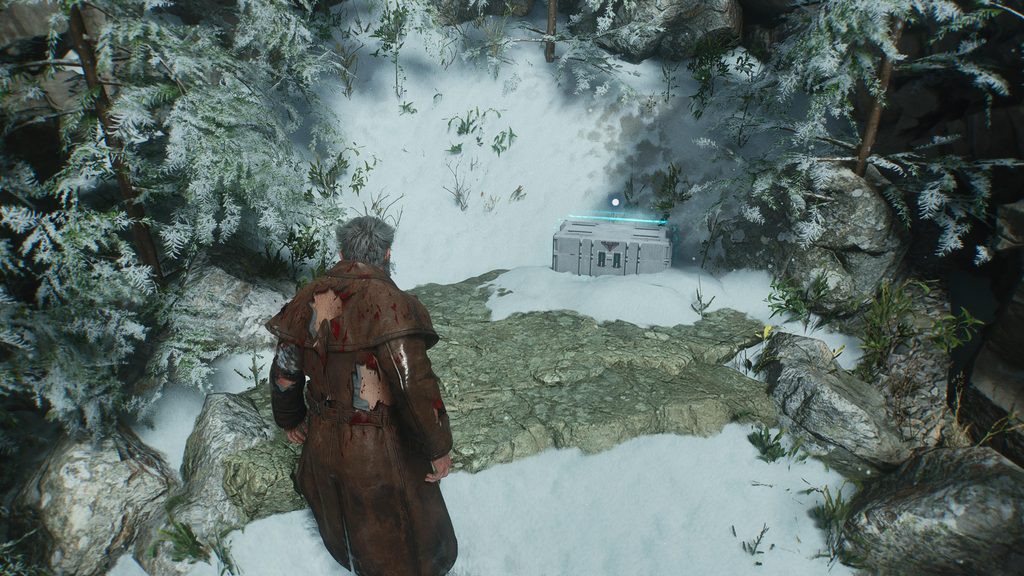
Crate Three
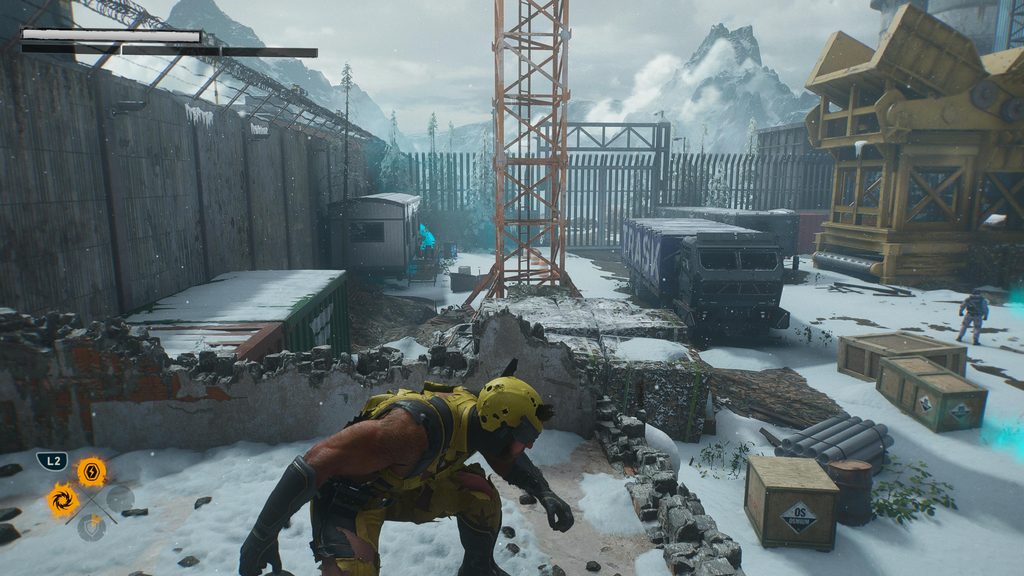
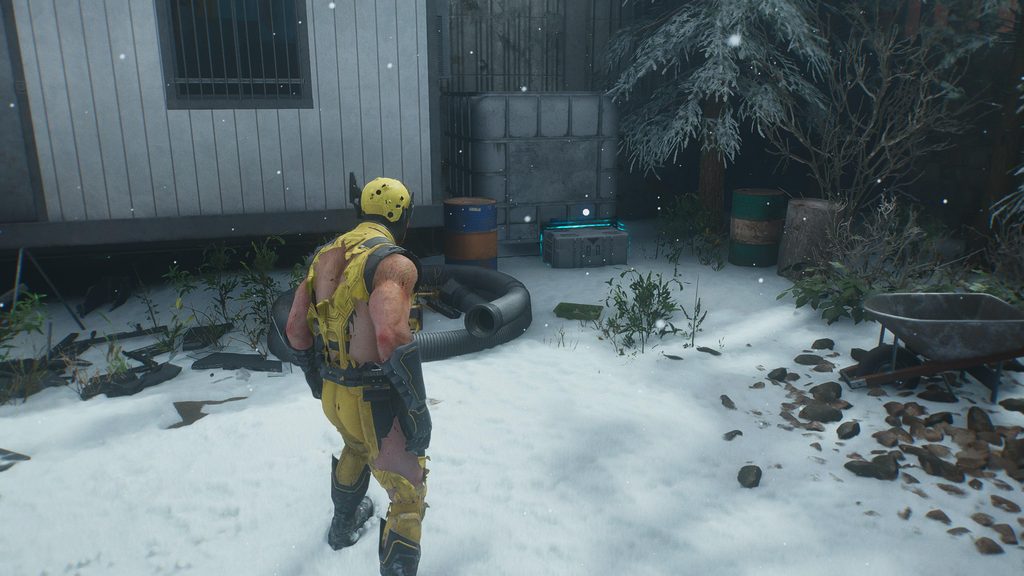
Not long after the last one. By now you would have killed all the Reavers outside the fortress, and made it in, kicking down the door and entering yet another destroyed corridor. As you emerge, Wolverine will call Essex to update him on the situation, and you should see the familiar orbing of another Crate. Kill the Reavers in this small courtyard and then make your way over to the top left corner, picking up the second Crate of the level.
Crate Four
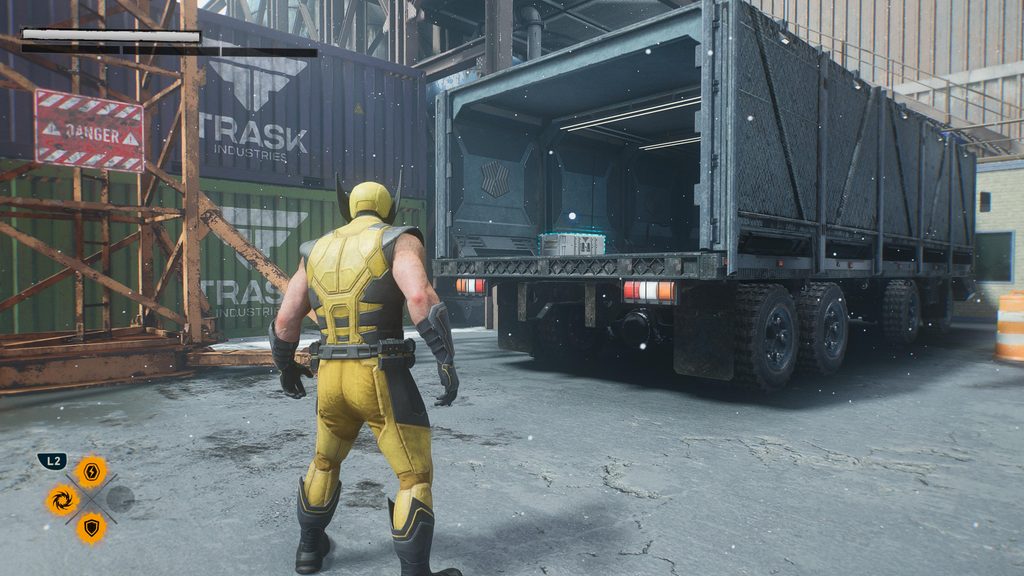
Straight after the Nightmare door of this level, head out of the door, and then turn right around the container. In front of you will be a truck, and inside is the third Material Crate.
Canada – Strays
Crate One
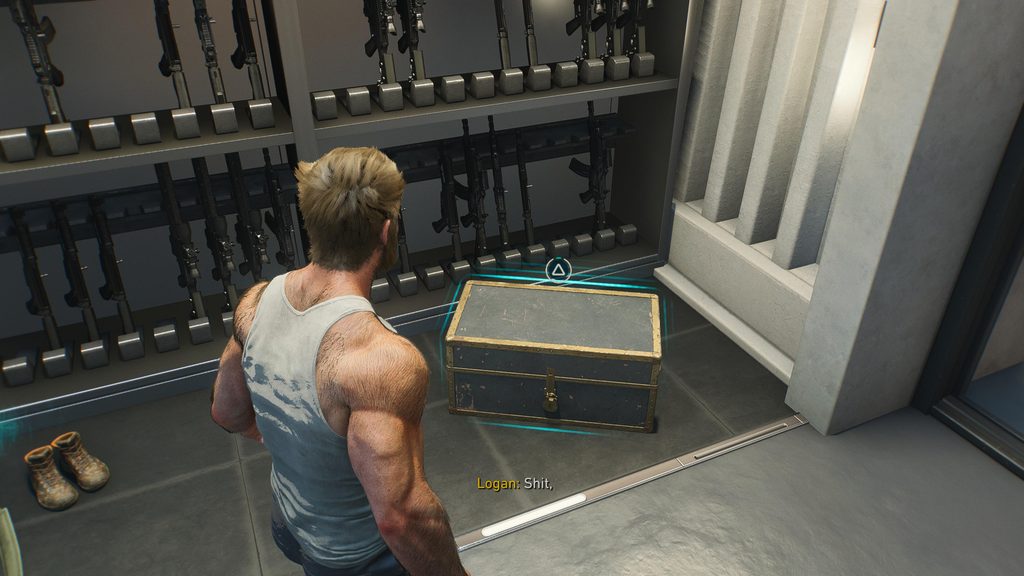
The only Crate of this short level. Leech has barricaded himself into another room, and to get him out, you have to complete his little game and solve his riddle. You’ll end up searching the area for his pictures, alongside Jean. After the first picture in the common room, continue on past Annalee cooking and through the next door. The Crate is on your immediate right, in front of the gun rack.
Canada – Something Much Stronger
Crate One
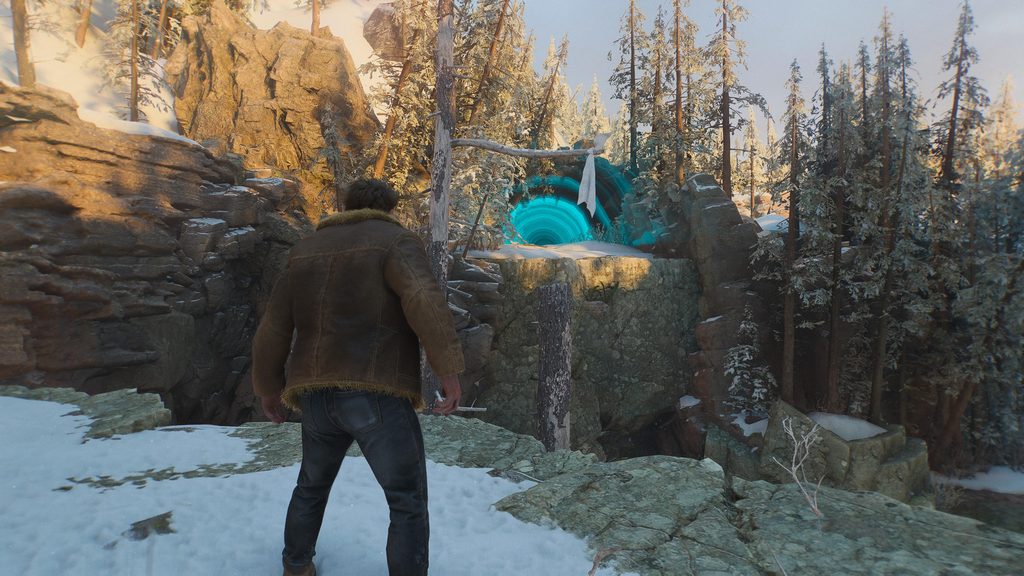
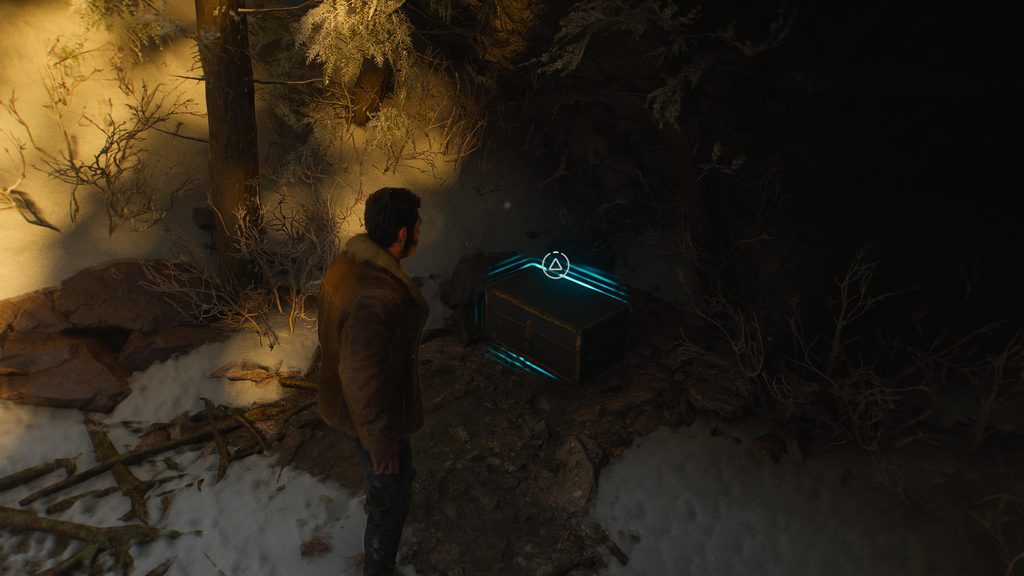
At the beginning of this level, you’ll find yourself in a snow-covered forest, heading towards your cabin. Go through this, destroying the hay bales for some experience as you go, until you slip down a slope and Logan comments on the water temperature. When this happens, you’re close to the first Crate. Follow the stream for a few meters and then jump up the ledge in front of you, then immediately turn around.
You’ll likely hear and see the familiar blue light and hum of the first Crate. Swing across and collect it.
Crate Two
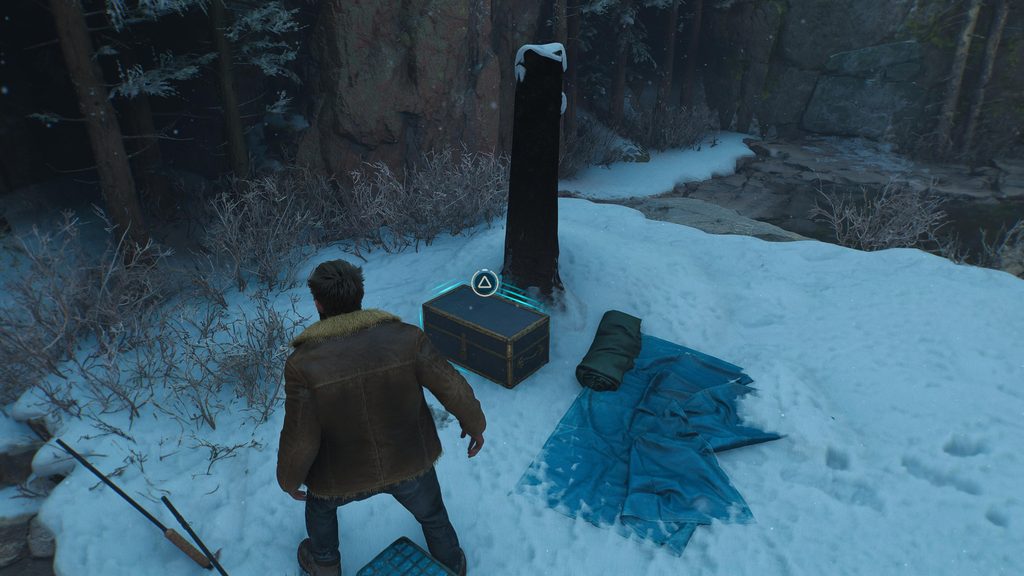
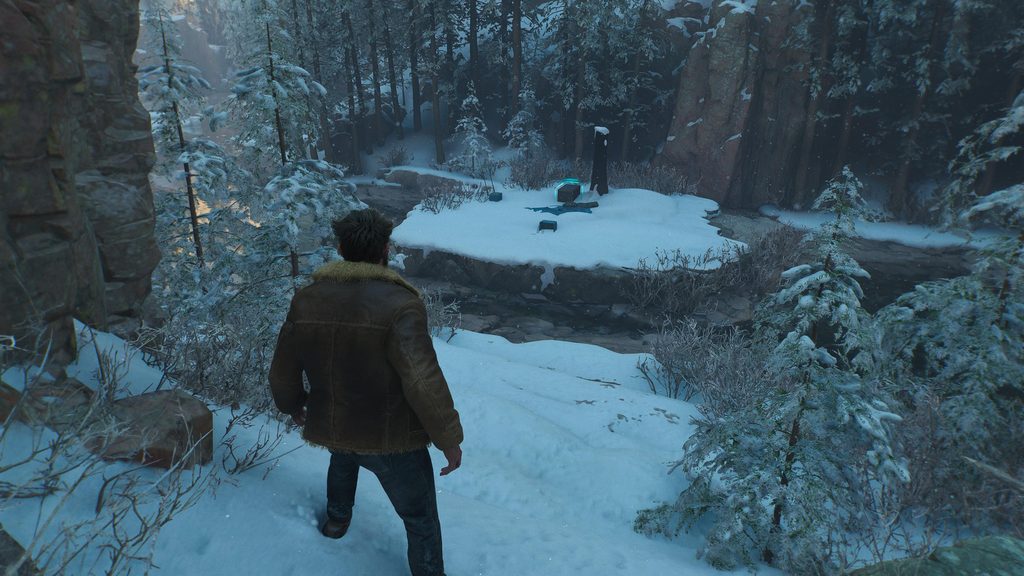
The second Crate is a little later into the level. You’ll have freed the wolf from its vine prison and finished the latest Nightmare Door. As you continue your way around the lake, through the forest, you’ll know you’re in the right place after Logan comments on the wolf drinking up due to the storm coming. After that, head forward, and you’ll see a fallen tree you’re supposed to walk along and continue via, but instead, head to the left and to the small island in the mouth of the river, which houses the latest Material Crate.
Crate Three
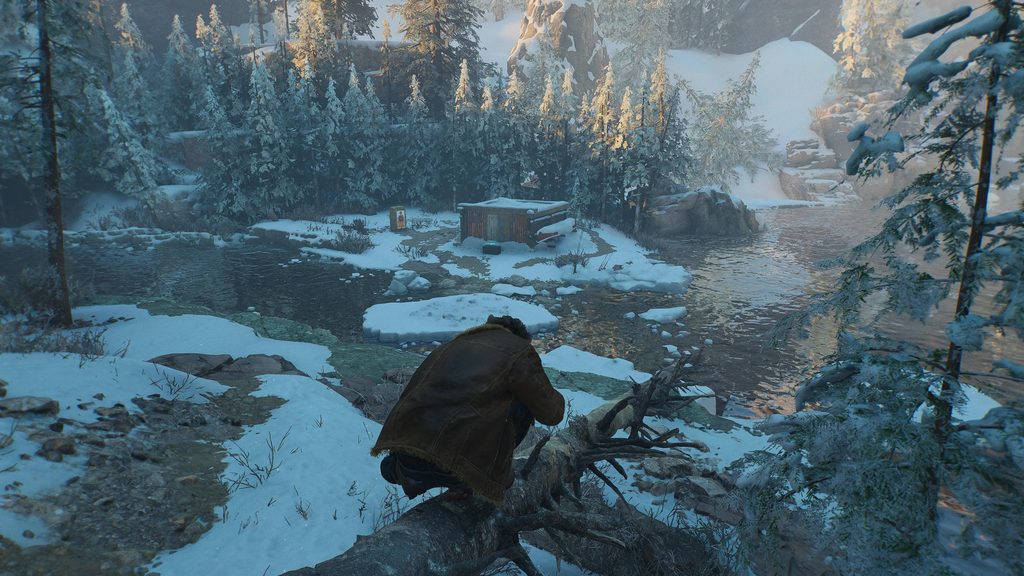
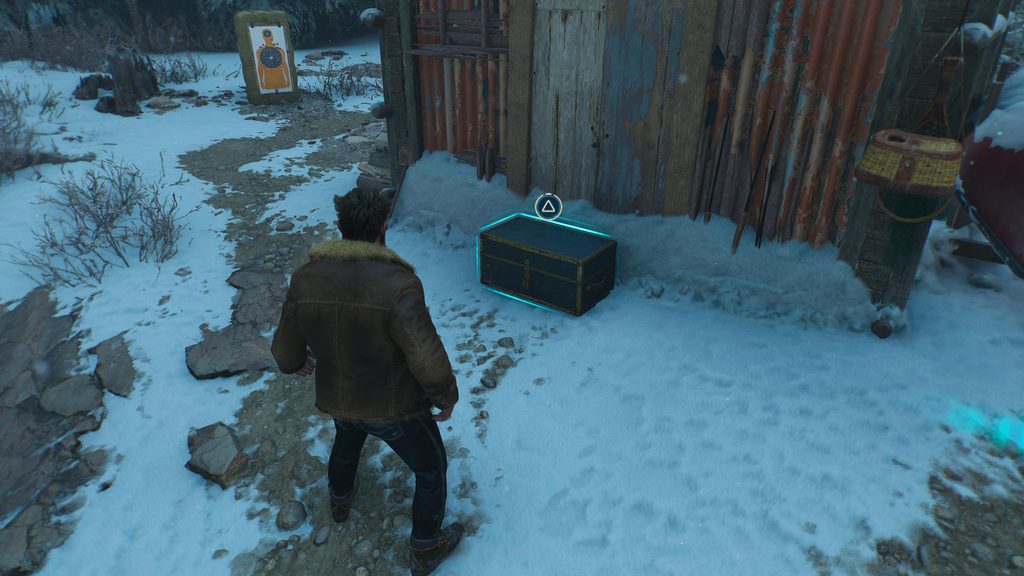
The third Material Crate is right after the second. After the second, run up the fallen tree and follow the path through the trees. You’ll come to a fork in the path; head right, towards the barking and howling wolf, and you’ll come to another open area. Down on an island of ice is a cabin, and right in front of it is the third Crate, ready for you to open.
Crate Four
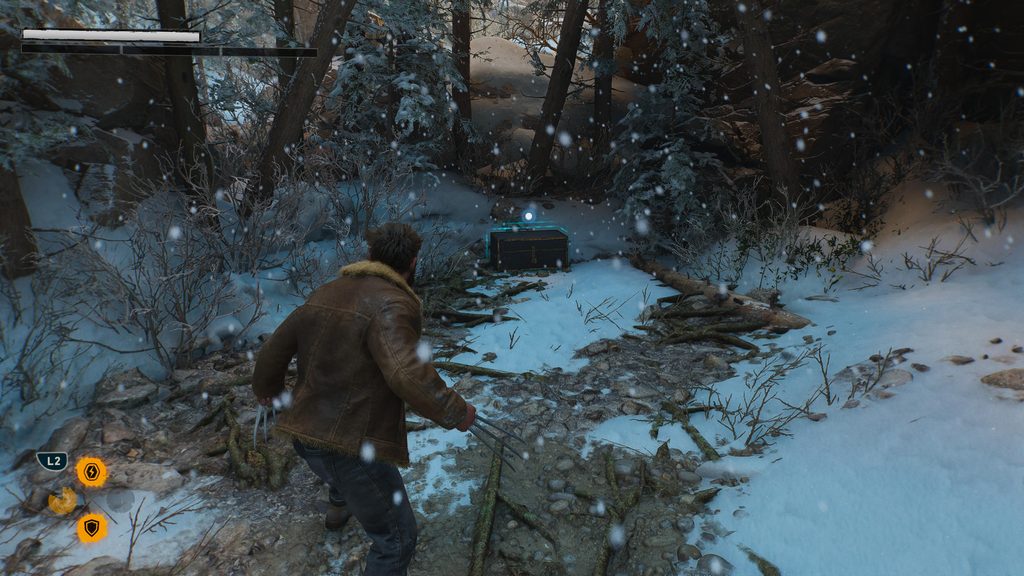
The fourth and final Crate of the level is found when you finally reach your destination. After the third Crate, you’ll end up passing by two wolves and climbing a rocky and icy wall. After you almost fall, climb to the very top, and the cabin is in front of you. Head right, and there is the last Crate of ‘Something Much Stronger’.
Madripoor – Knock Knock
Crate One
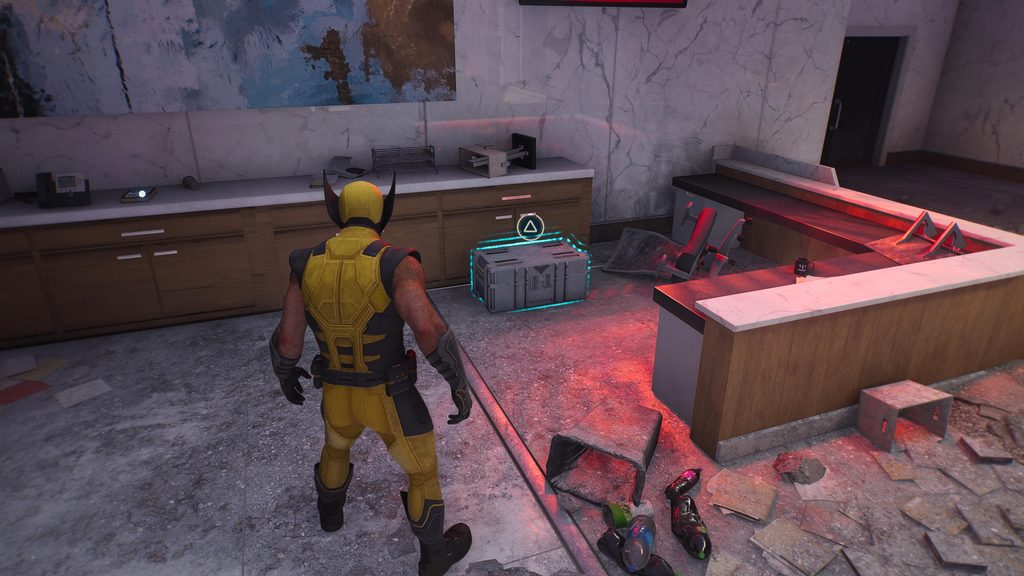
Knock Knock is our first trip to Madripoor, as we look for Trask after his despicable actions cause us to lose a friend. There are only two Crates on this lengthy level, so you’ll be able to focus on the bloody combat of it all, rather than looking for collectibles. The first of two Crates is a little into the level, after you and Sabretooth have mowed down countless guards and Reavers. You’ll know you’re on the right path when a Jeep carrying a potent laser arrives, and you’ll have to destroy it, along with Sabretooth’s help. Once the Jeep is dealt with, and there’s now a hole in the wall, head through and it’ll be right in front of you.
Crate Two
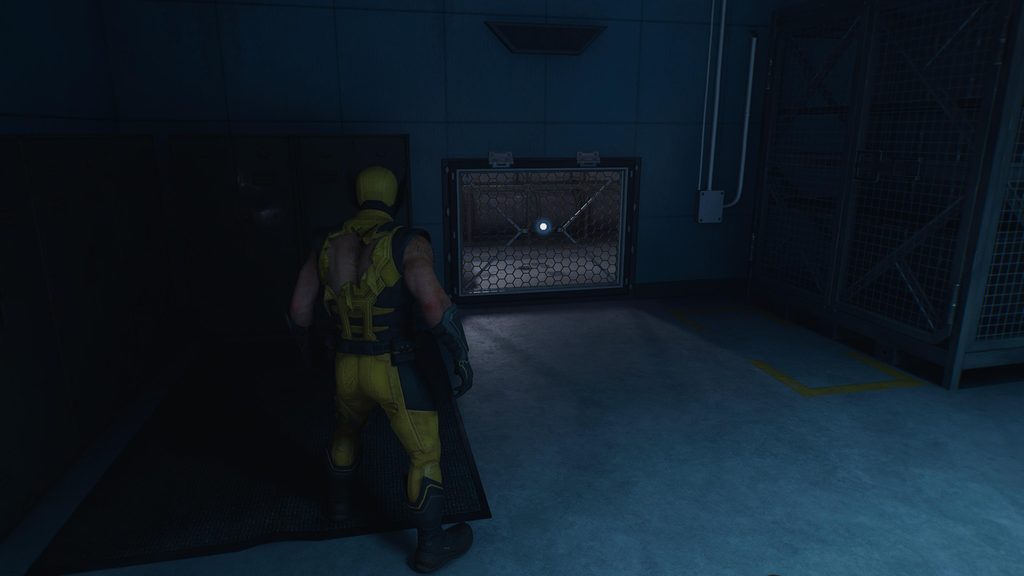
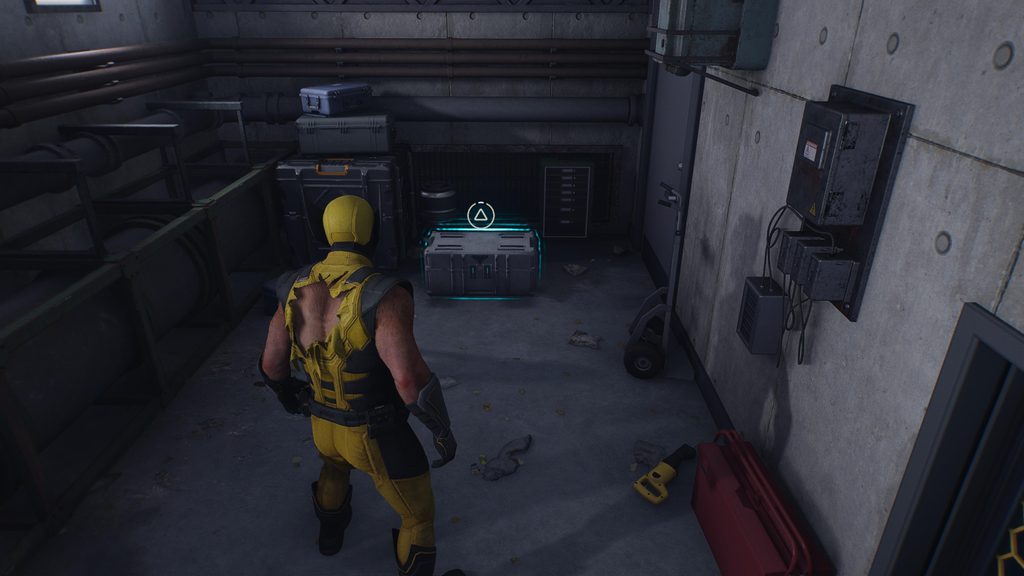
The next and final Crate is a little further on. You’ll think you’re getting close to the Power Core you need to reach, but walls and more security measures will activate. This forces both you and Sabretooth down an elevator shaft and into a room full of bad guys. Get rid of these and continue on, and right before the room Sabretooth is standing outside of, grunting and laughing maniacally at, you’ll see a vent in the wall. Approach and cut through it, and there’s the second Material Crate of the level.
Madripoor – Mutant Detected
Crate One
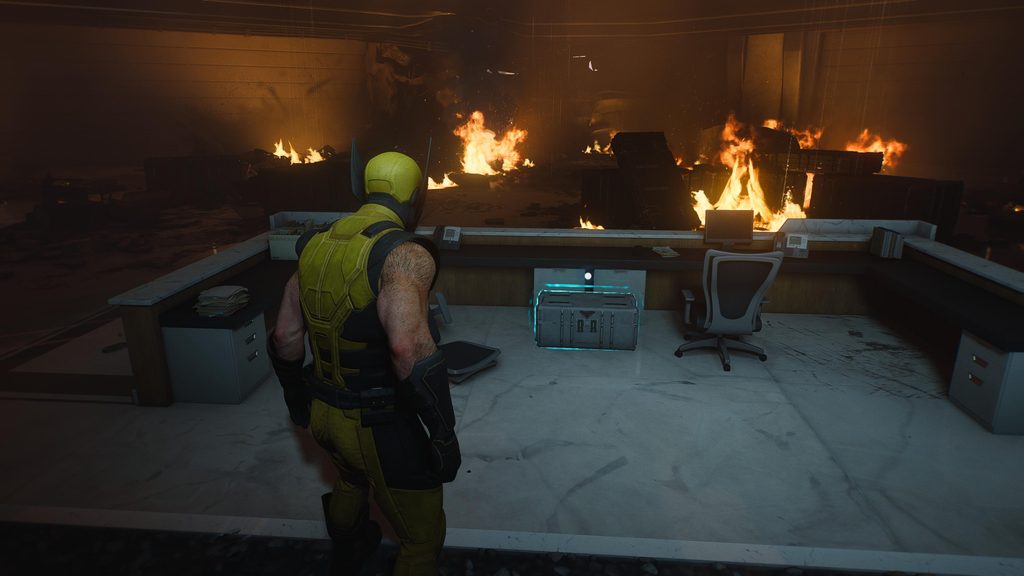
Right at the very beginning of the level, behind the reception desk.
Crate Two
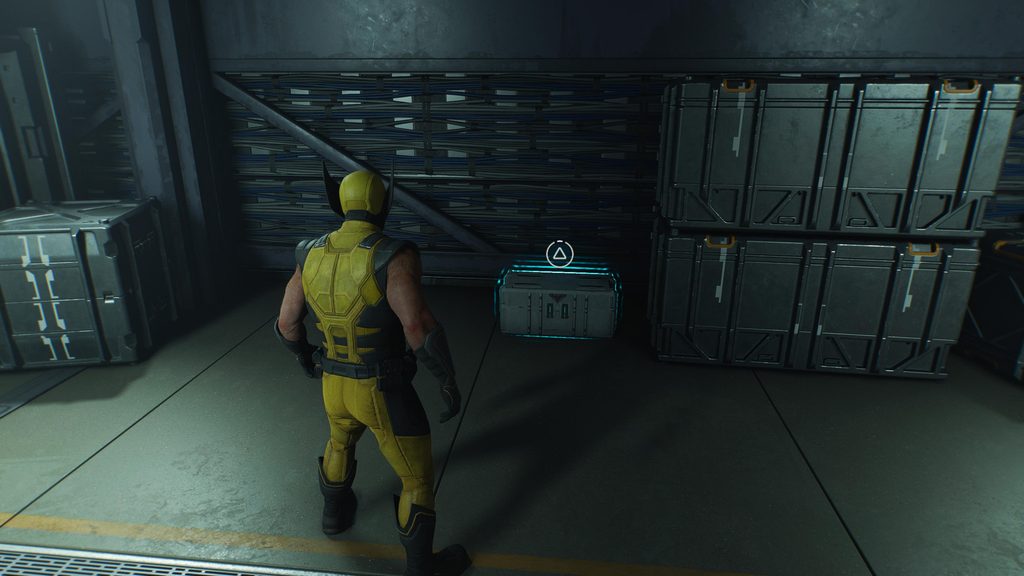
16% into the level, after you’ve seen Mystique turn into Trask, and then had to stealth-kill a group of enemies in the previous room, she will open a door that’ll push you onwards in the mission. As you enter, turn right, and the Material Crate will be right in front of you.
Crate Three
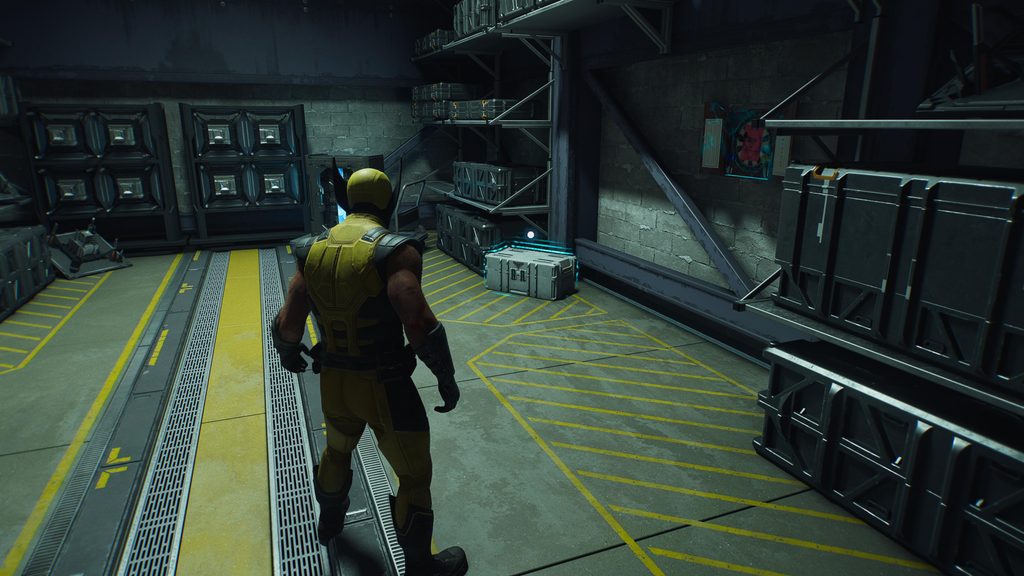
Quite a bit further, a little over halfway through the level, you’ll enter a cutscene with Mystique, regarding the number of Mutants there are in the world. Right after this, and during your check-in with Essex over comms, you’ll be walking along a scent path towards Trask. At your first available right, turn down it off the main path, and head towards the locked door. Enter the pin 0291 and then you’ll see the Crate right in front of you.
Crate Four
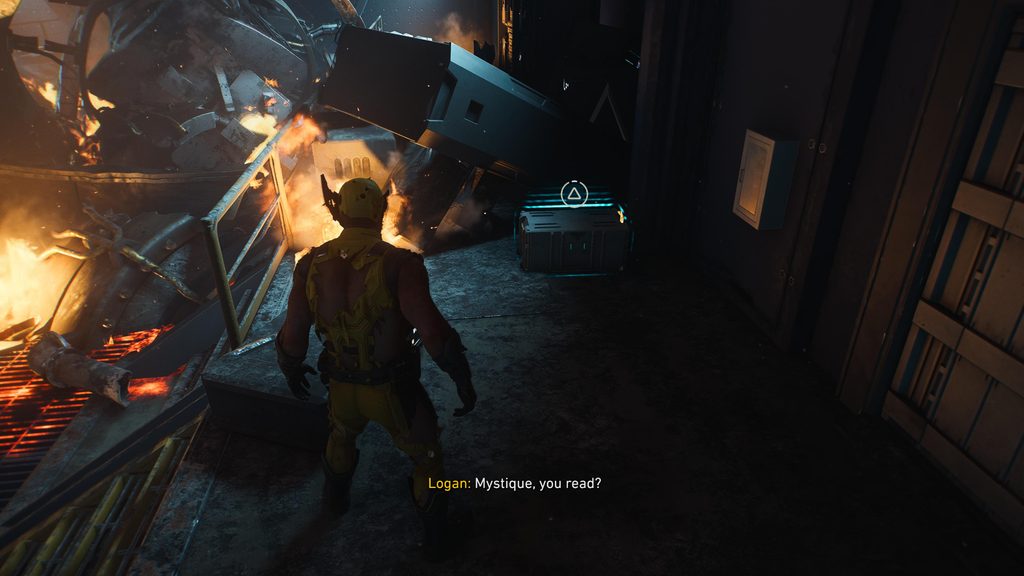
The last of the Material Crates is another that’s hard to miss. Right after the third Crate, you’ll go through a Golden Gate that will then take you into a particularly flammable cutscene. After this, you’ll be in a room surrounded by fiery debris. Head forward and then right, and you’ll find the final Crate behind a pile of rubble.
Madripoor – One Last Mission
Crate One
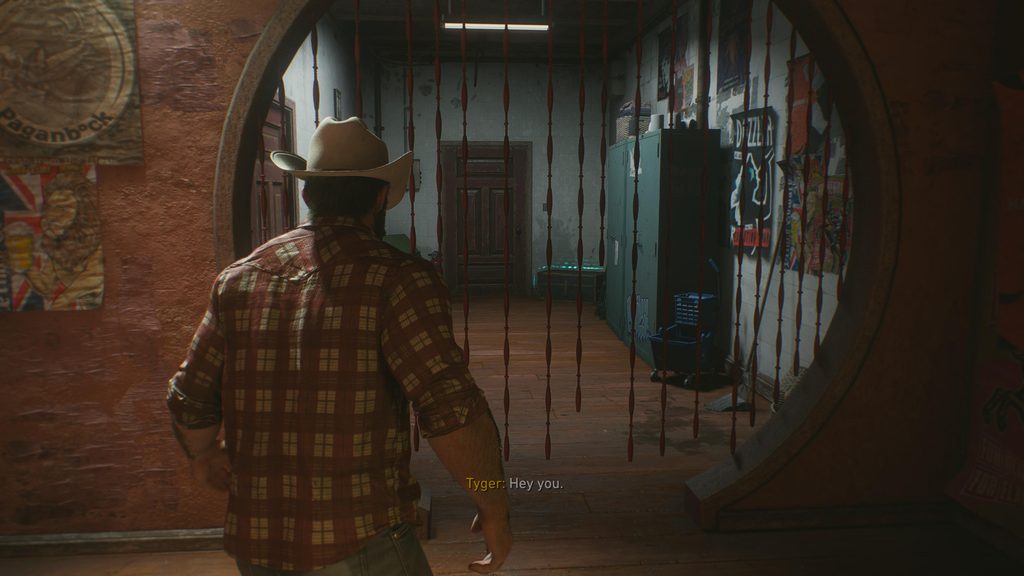
At the beginning of the mission, after you finish chatting to Tyger, you’ll have to head upstairs. Before you do this, head to the right, through an archway with hanging beads, and find the first Crate in the corner.
Crate Two
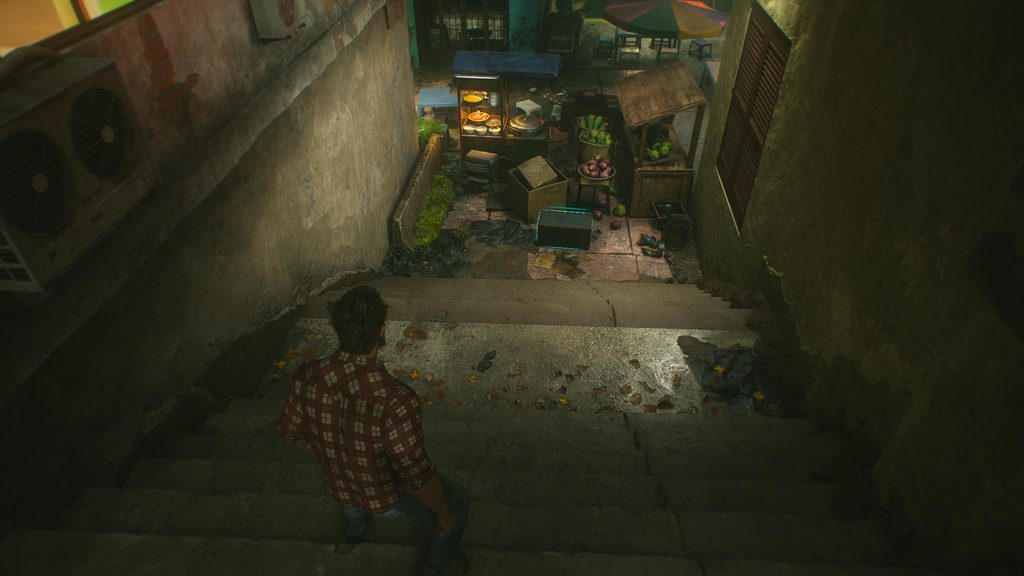
A little further through the mission, after you’ve had your chat with the three team members and ended up outside, do not follow the scent as the objective wants you to. Jean can wait. Instead, head as far right as you can, following the road, until you come to a dead end. Then look to your left for a set of stairs, and at the bottom you’ll find your second Crate.
Crate Three
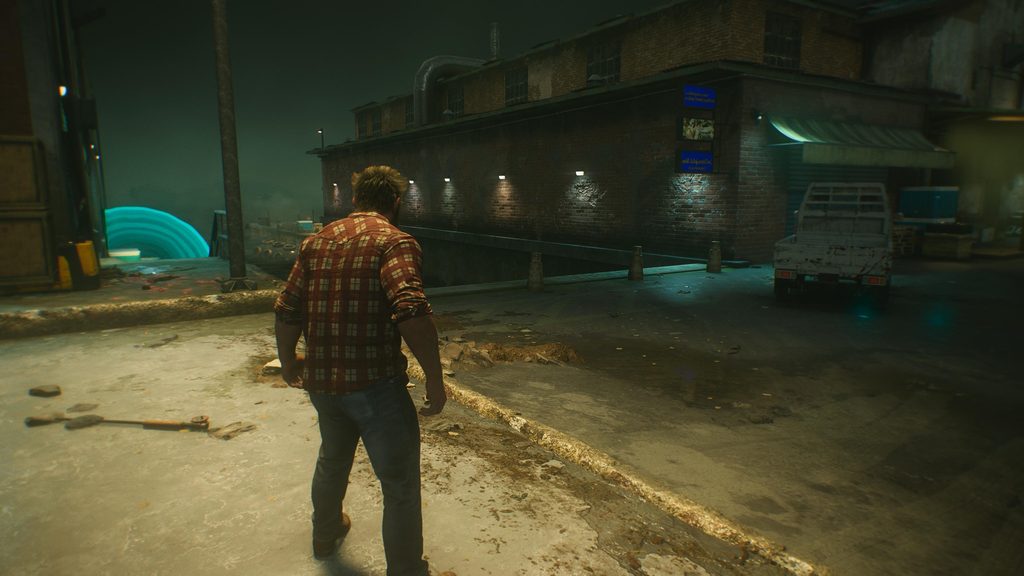
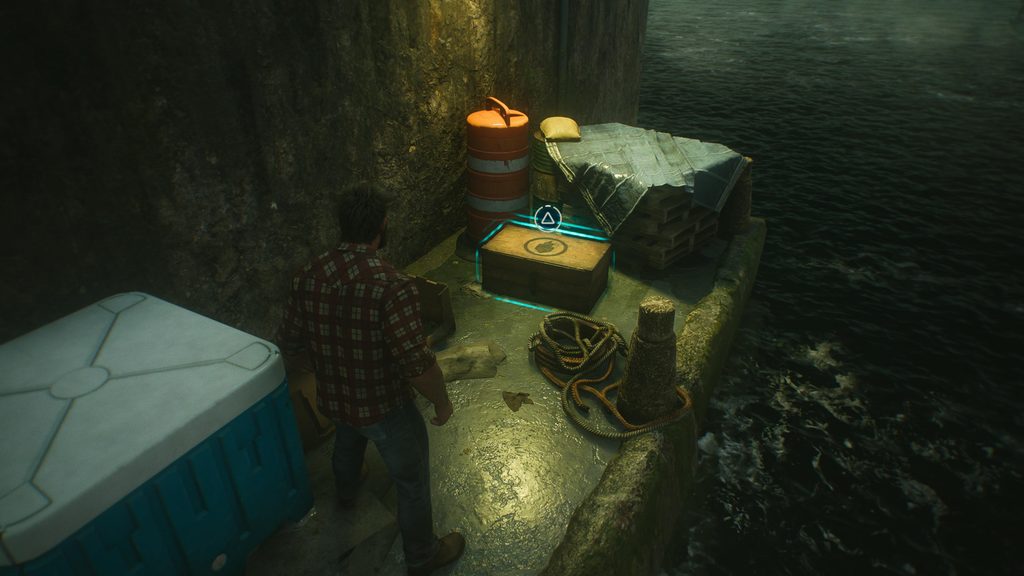
Near the end of the mission, you’ll have tracked down Jean and had a little heart-to-heart with her, but then all hell breaks loose. Walter is kidnapped, and you have to follow those responsible. After you fall through a window with three Hand in tow, you’ll be at a dockyard. Kill the enemies and wait for Logan to make a comment about some blood.
As you head into the dockyard, look to your left, down the alley, and you’ll see the last Crate down the side of the building. If you’re struggling, stand on a roof once all the enemies are killed and listen for the pinging of it in the distance, and then go to it.
Japan – Get Angry
Crate One
This first mission in Japan features five Material Crates, and sticks you in the middle of a Japanese district full of people, noises, and ultimately, distractions. When you open the mission, continue until you see the fire engine, and Logan makes a comment about Jean’s scent. At the fire engine, take a right and head forward.
A Hand Telepath will talk to you, and then Logan will have to decipher between the many noises and track down Jean, presenting numerous blue circles to look at. The first Crate is a little past the fire engine, so make sure to walk forward until you get to a building with ‘Smash Compete!’ above its doorway. Take the alley directly behind that building and find your first Material Crate.

Crate Two
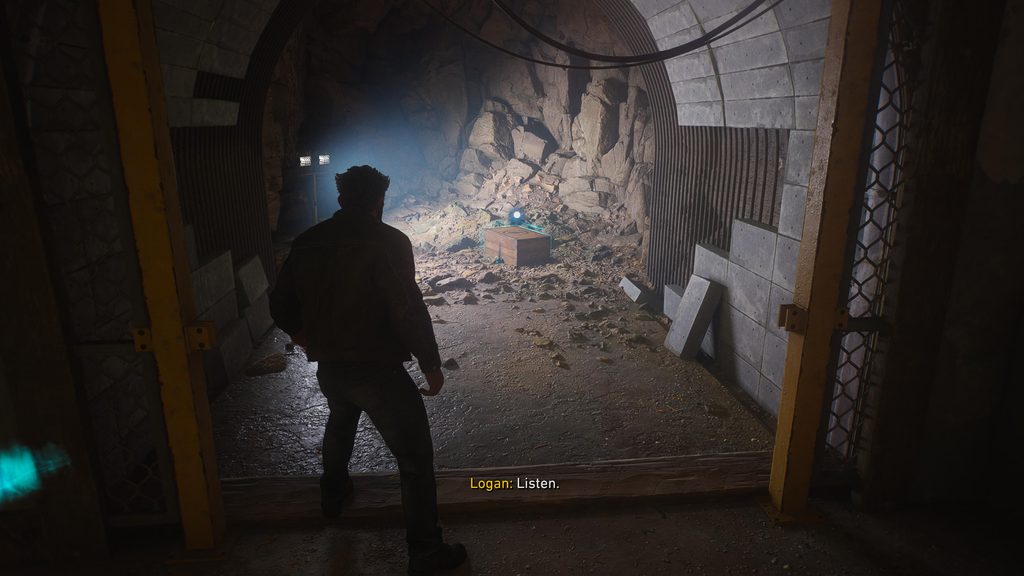
Crate Two is quite a bit further into the level. After you’ve rescued Jean, fought in the park and then headed to the Bar, you’ll find yourself in a basement after a short elevator ride. As soon as you come out of the elevator, head to the right, and in the mineshaft is your second Crate.
Crate Three
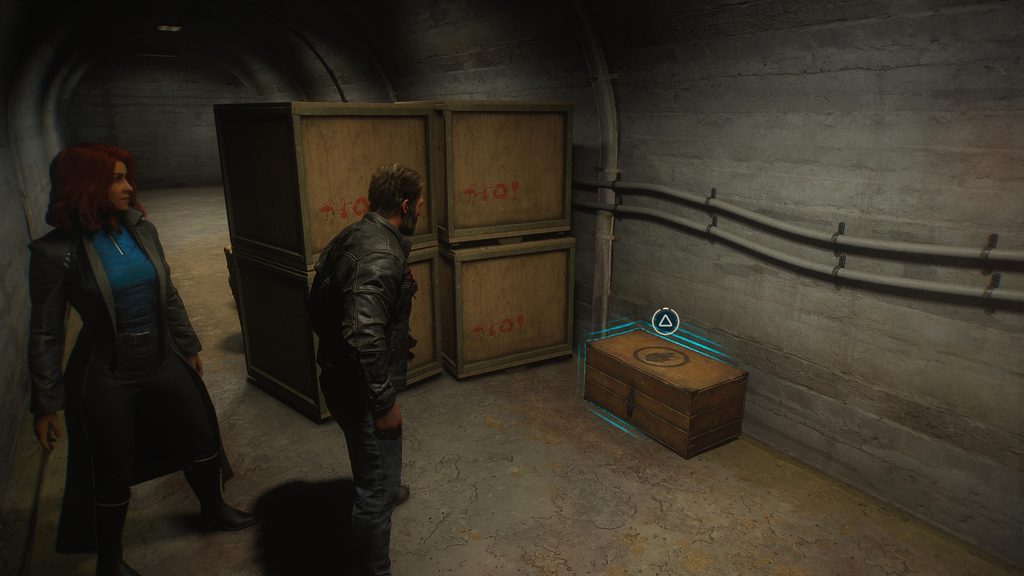
Crate Three isn’t far after Crate Two. After you’ve had the discussion with Jean about the incense burners, you’ll come to a room where you’re running in circles, thanks to the hallucinogenic properties of the burners. Remove the two burners in the room, and continue on your way. Pretty much as soon as the hallucination stops, you’ll hear the pinging, and it’s right outside the door, down a corridor on your right.
Crate Four
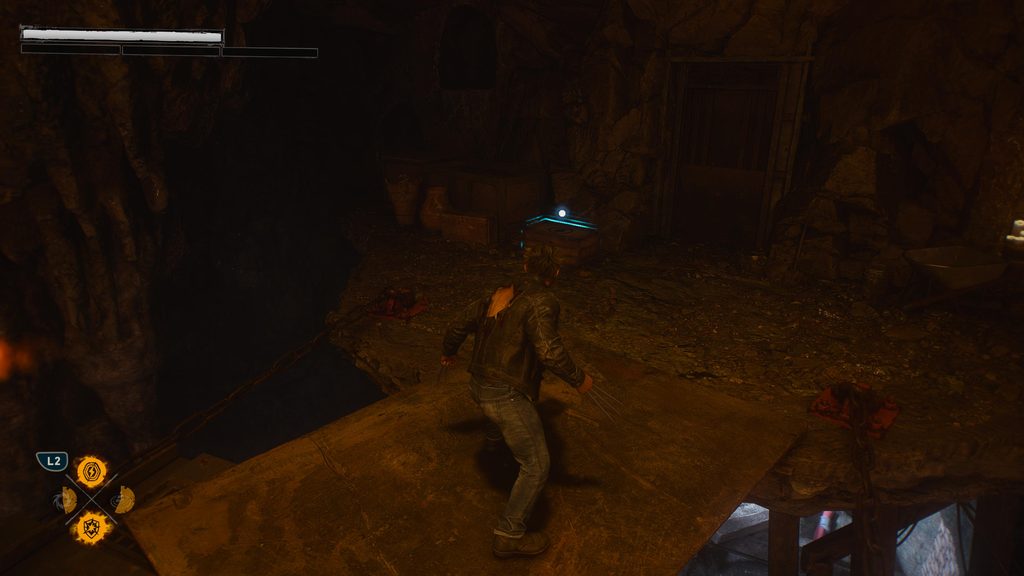
As you progress, you’ll go down a second elevator, and now you’re in a gigantic cave with a bottomless pit. After some platforming and Jean moving rubble to find chained and deceased workers, she will rush ahead, and you’ll try to follow her. You’ll swing across several poles before climbing up on a cage, and Jean will start fighting more of The Hand. Before you go and help, turn around and go back across the cage, going back the way you swung across, and find the fourth Material Crate hidden away, easily missed.
Crate Five
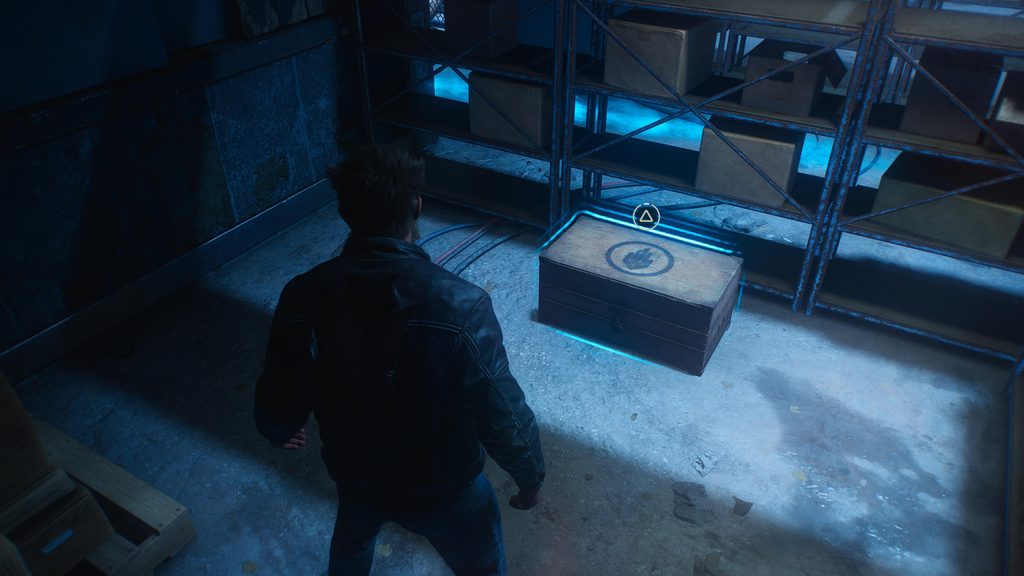
The final Materials Crate is located 91% through the level. Jean will regroup with you after taking the civilians back to the surface, and then you’ll take yet another elevator ride. Once this comes to a stop, you’ll be in a stock room of sorts, and Logan will say he can smell Walter. Behind the shelves, before you leave the room, is the final Materials Crate.
Japan – Bad Blood
Crate One
Early on in the mission, you’ll be explaining the situation with Shiro to Jean and climbing up the rooftops. After you slackline across a huge gap, right after Logan mentions which building is Shiro’s, you’ll land near the first Crate of the mission.
Crate Two
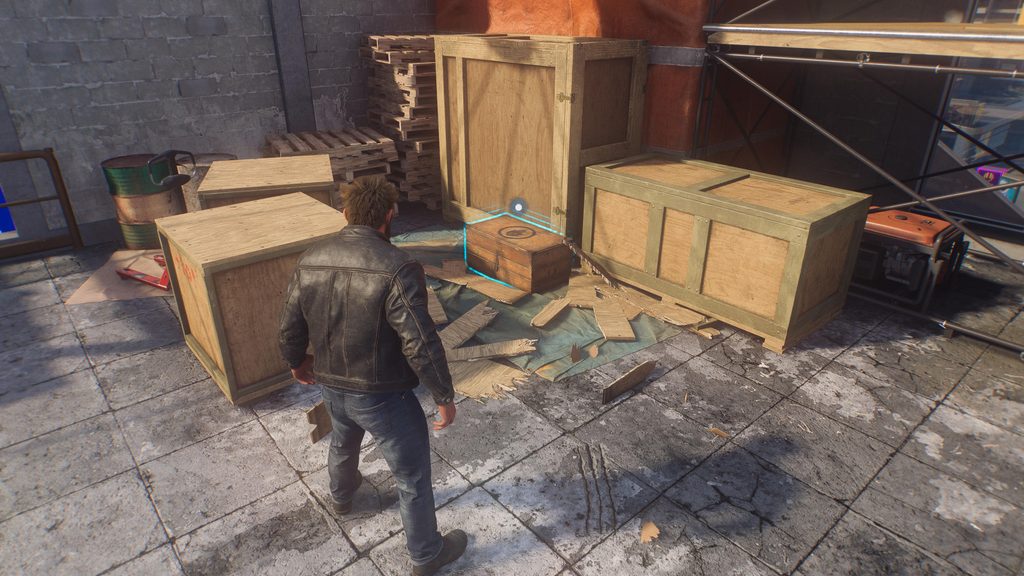
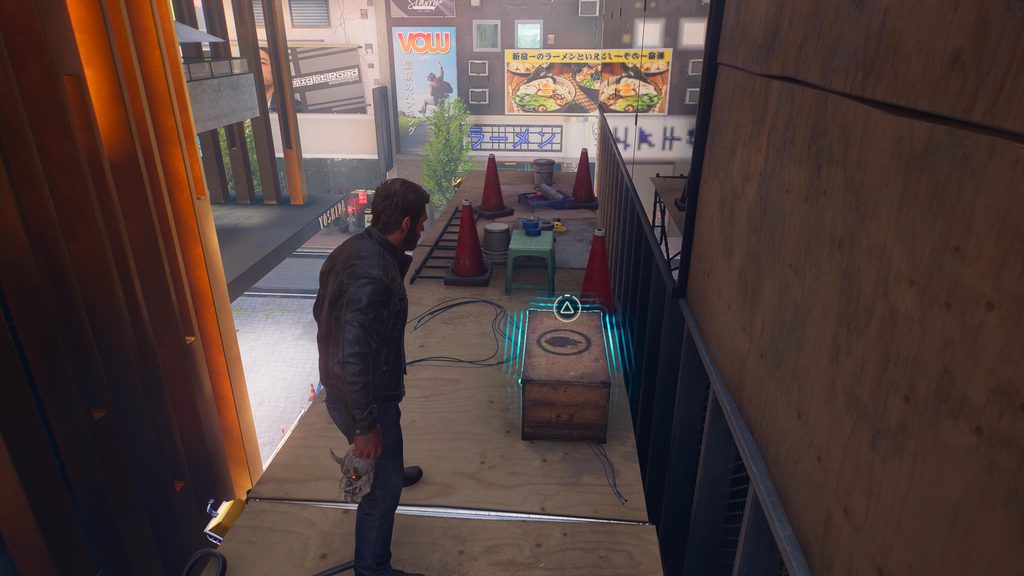
After you meet Jean at Shiro’s place, she’ll mention the Doorman won’t let you in. You’ll be climbing to the penthouse, and the unmissable ping of a Crate will start. Before you get too high on the scaffolding, make sure to look back and see the second Crate sitting there.
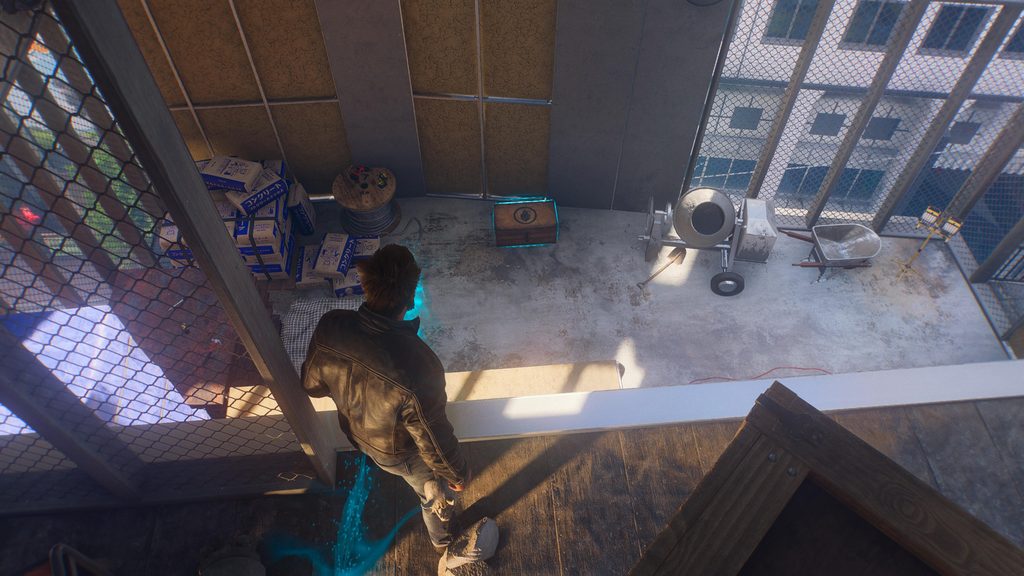
Crate Three
Crate Three is almost right after the second. You’ll be in a construction site, climbing your way to the top. As you break through a chain-link door, there will be a statue in front of you that you should destroy, and the Crate is below on the lower floor. Hard to miss if you’re paying attention.
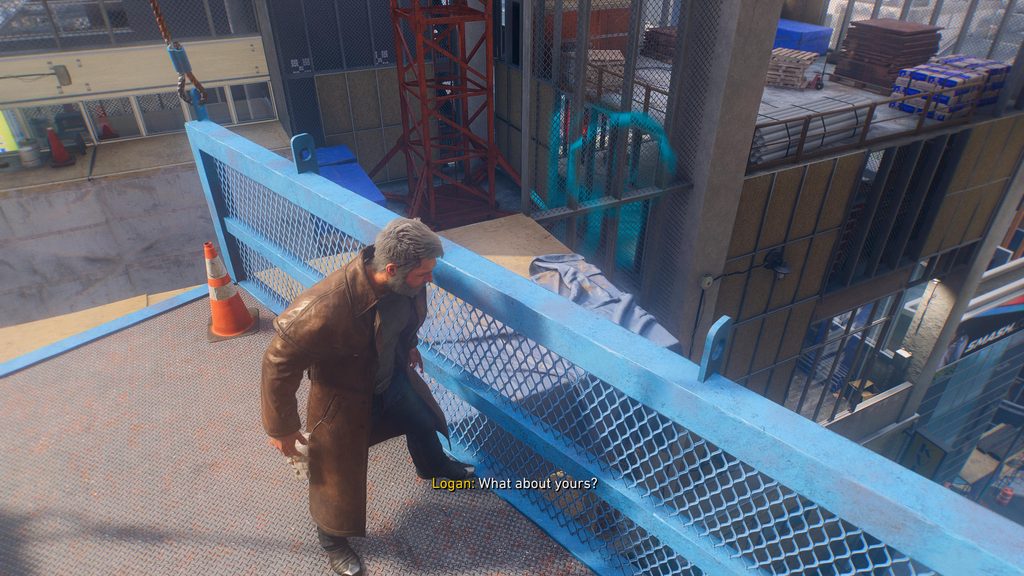
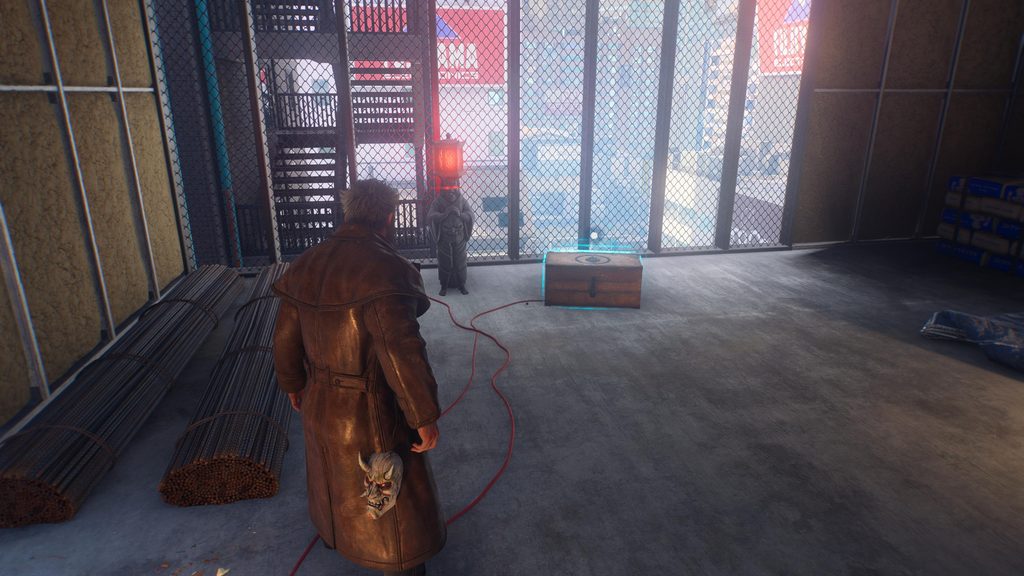
Crate Four
As you come to the end of the construction site, Jean will save you from falling to your ‘death’ from a malfunctioning platform. When this happens, don’t continue climbing up to Shiro’s hideout, but turn around and look back the way you came from. You’ll see the Crate in a room below you.
Japan – In the Shadows
Crate One
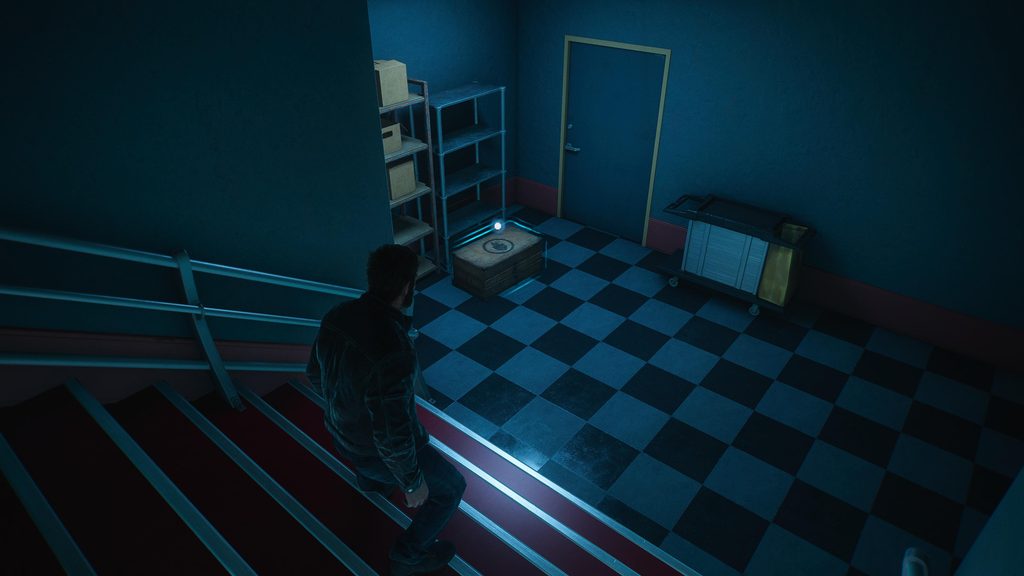
Right at the beginning of the level, you’ll enter the Arcade that Shiro directed you to earlier. Before you go in, head down the stairs again, on your left, and find the first Crate at the bottom.
Crate Two
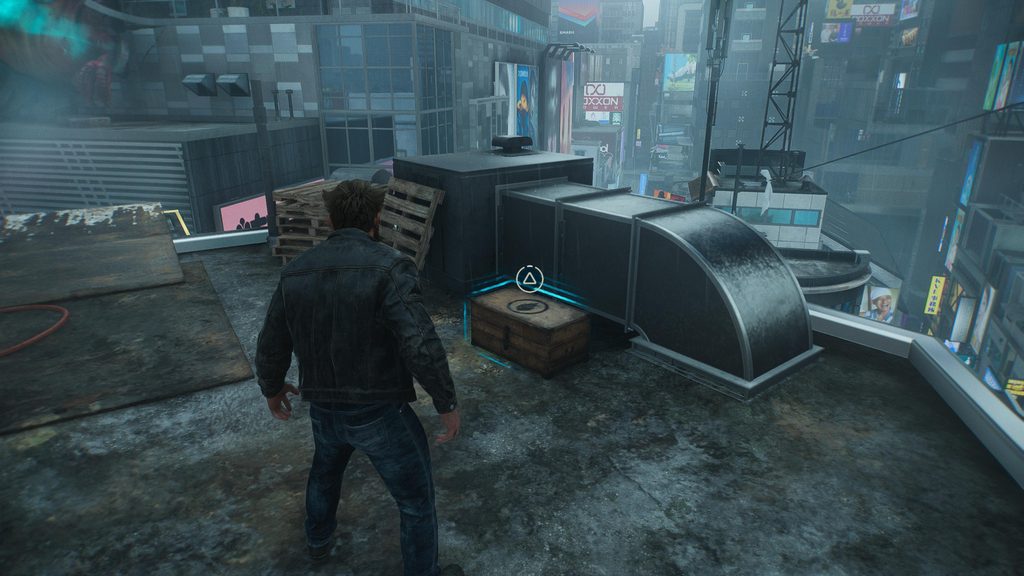
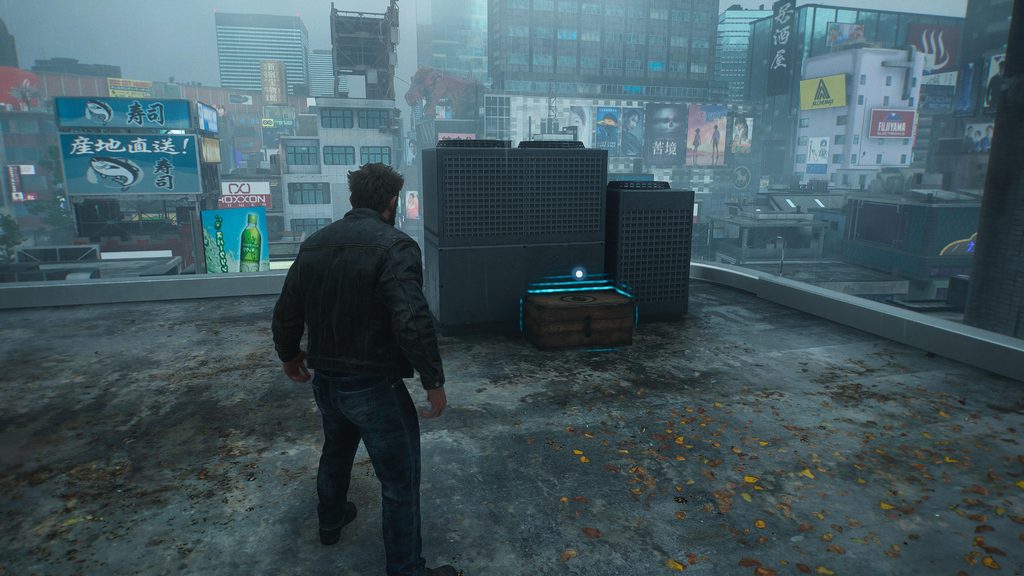
This Crate is a little more involved. After you find the first and second Mutant Detectors, you’ll then be on your way to the third. This will push you up onto the roofs of the area. When you get to the rooftop where Logan comments on the Roxxon Power billboard (referencing the events of Miles Morales), you’ll want to run and jump across the gap towards the billboard, grabbing the wire and zipping up to another rooftop. Jump across again, and you’ll find your second Crate.
Crate Three
Crate Three is right after the second. Once you return from the second back to the rooftop you started on, head towards the beacon, but instead of going to get the Power box, instead, jump across to the rooftop opposite, and you’ll find this Materials Crate hidden behind an air vent.
Crate Four
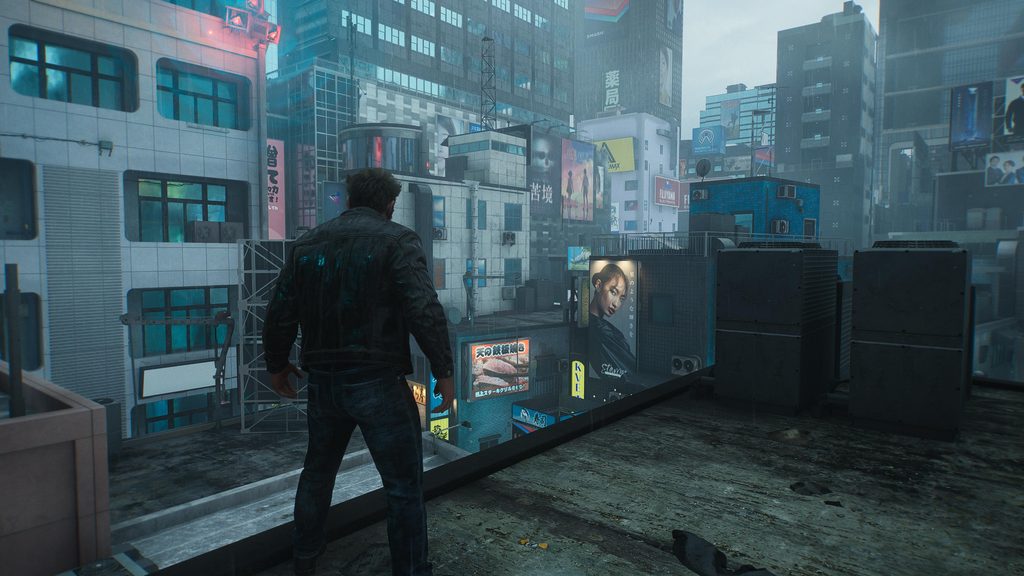
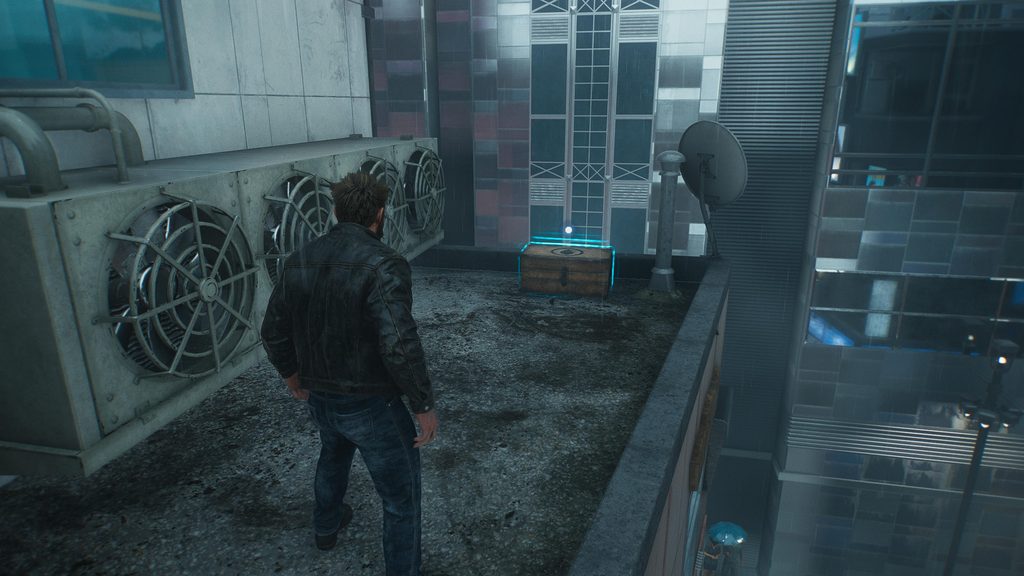
Shortly after Crate Three, and after you’ve destroyed the power box of the third detector, Logan will be directed to a cluster of detectors to destroy, in an aim to get The Hand’s attention. Before you do this, you’ll want to head to a rooftop some distance away. Look below at the pictures for clear instructions, but it’s northeast of where you currently are, and to the right as you’re looking, of the cluster.
Crate Five
The fifth Materials Crate is located in the next area. You’ll end up tracking a Hand member into his hideout, before then ending up chatting amicably to a fast food delivery driver. He will take you to a construction site, where The Hand allegedly put in their food orders.
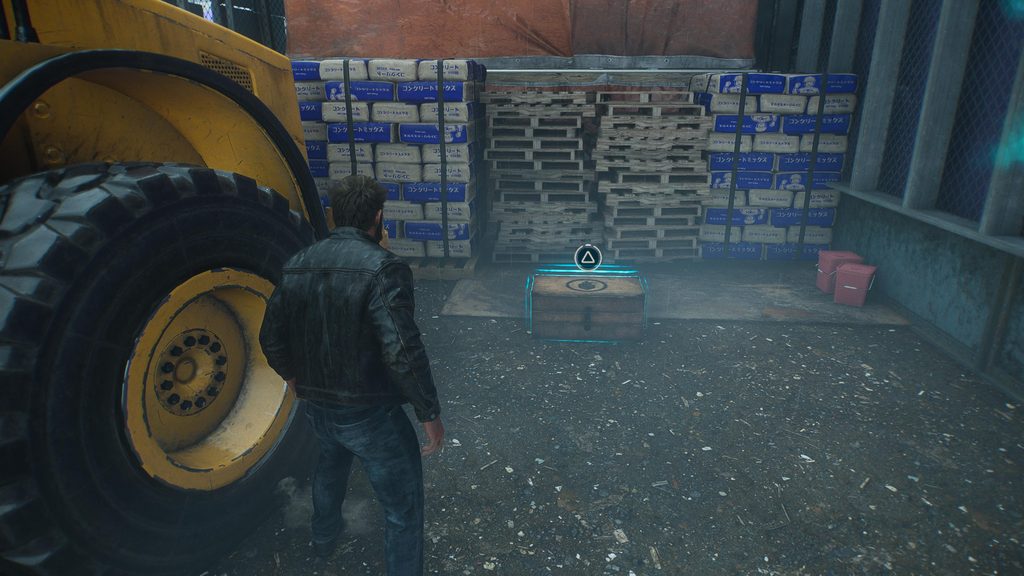
When you can take control of Logan again, immediately head as far left as you can, back the way the driver brought you. Almost at the entrance of this site, next to a heavy plant vehicle, is your fifth Crate.
Crate Six
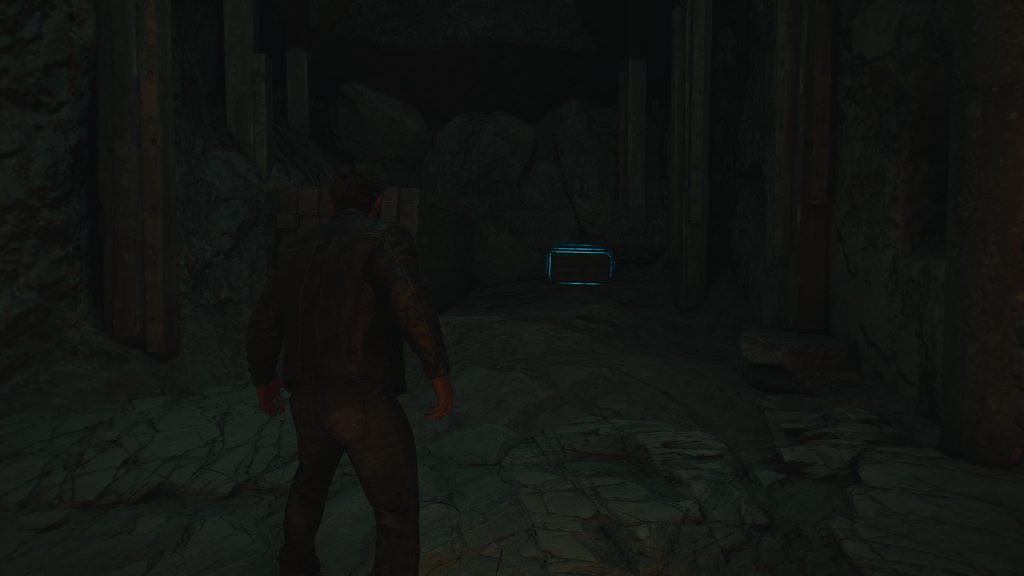
A little while later into the level, at the 79% mark, you’ll have regrouped with Jean and have just passed through the secret Hand meeting of the Chosen. Once you find the Secret Exit and head to the back, you’ll come to a fork in the path. Right is the destination, and left is where your latest Materials Crate sits.
Crate Seven
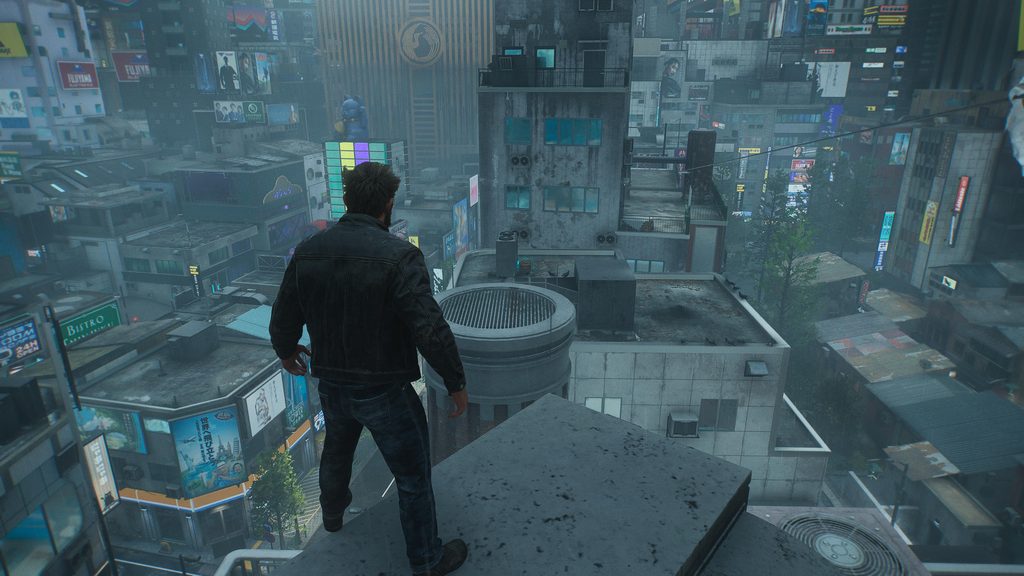
The last Crate is another one that’s difficult to miss. After your introduction to Lady Deathstrike and somewhat of a boss battle against Fist, you’ll find yourself back on the rooftops of the area. Before heading over to Shiro’s to check on Walter, make sure to drop down to the rooftop below you, which has the seventh Crate of the level.
Japan – Death Comes to Death
Crate One
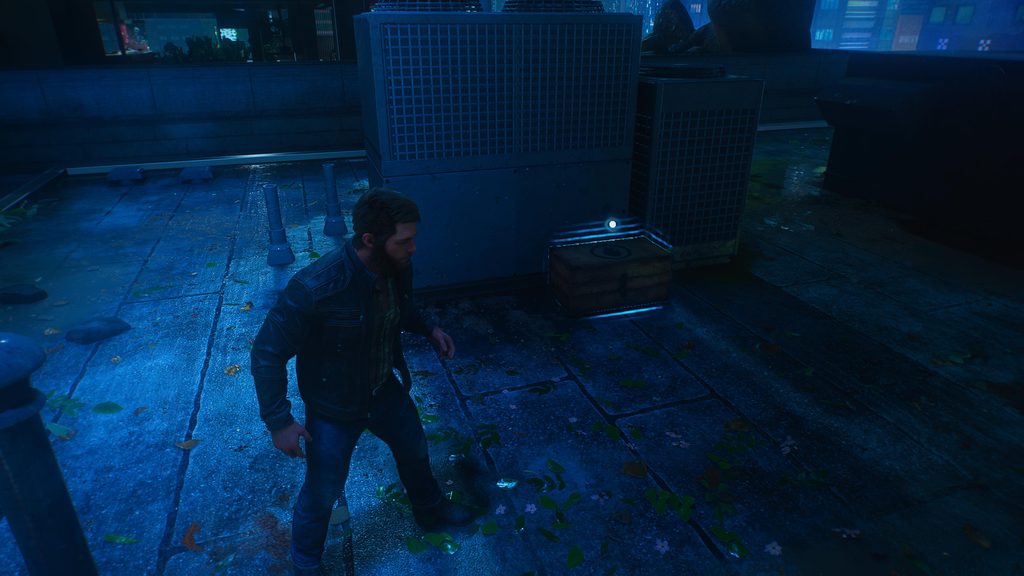
At the very beginning of the level, after the cutscene and during your telepathic chat with Jean, you’ll be standing on a rooftop overlooking your objective. BEFORE you move off it, make sure to head to the left to find your first Crate.
Crate Two
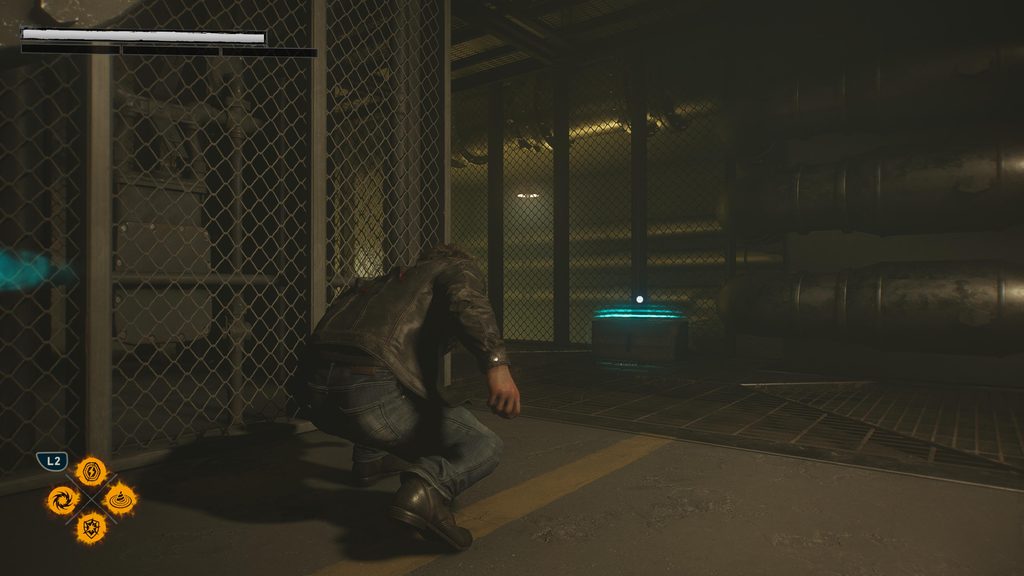
Another Crate, difficult to miss. Just over halfway through the level, you’ll see a CCTV cutscene of a Hand VIP being introduced to the Helix Engine, and it doesn’t go so well. Straight after that, you’ll need to head down some stairs and go through a chain-link door on the left. Before heading over to the Nightmare Door that has appeared, head right, under the pipe, and find another Crate.
Three
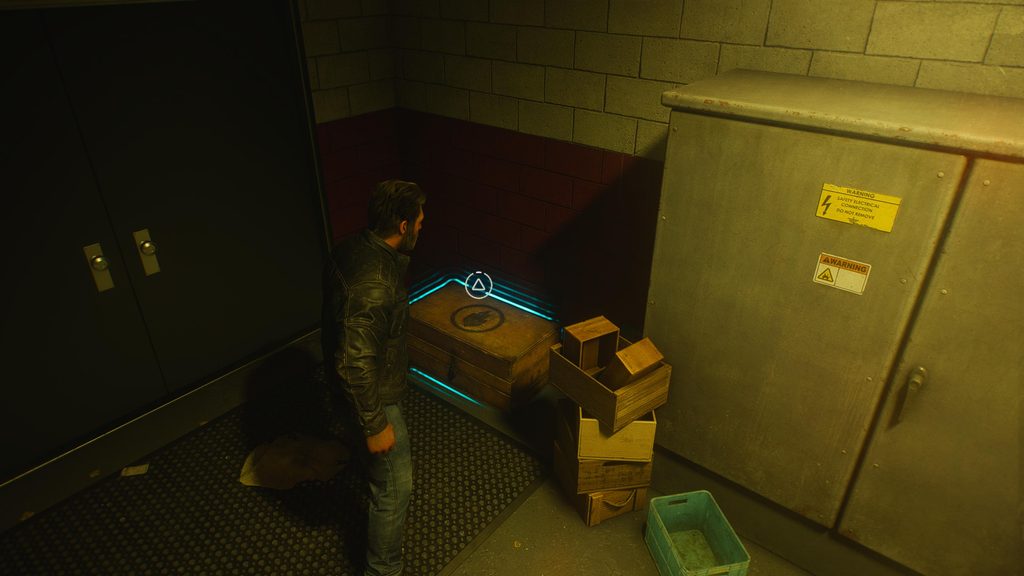
The third and final Crate is nearly three-quarters through the level. You’ll have just finished a stealth section killing The Hand in a steam-filled room, and then following a path through a hidden door. As Jean is telling you about Lady Deathstrike’s attendance at the ceremony above, you’ll come to an elevator shaft. Before entering, turn right and find the final Materials Crate hidden in a corner behind a storage unit.
Japan – We Were Wrong
Crate One
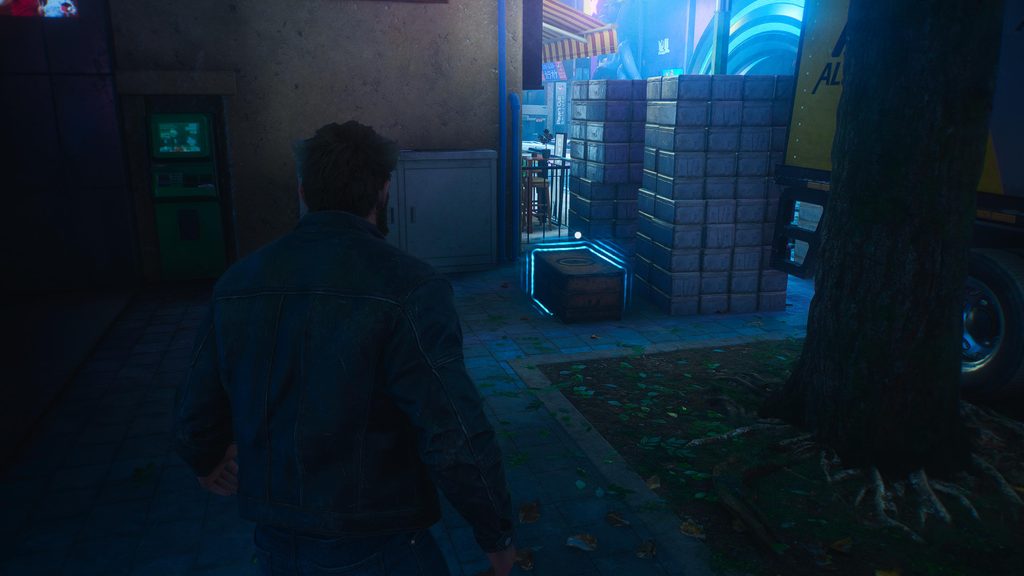
The first Crate is near the beginning of the level. You’ll follow Jean through rubble and destruction, before filtering through a convenience store and then out the other side. You’ll continue on through some streets, and then Logan will mutter about people running away, “but not from us”. At that point, look to the right, and you’ll see a large delivery van, and behind it is your first Crate.
Crate Two
Shortly after the first Crate, you’ll find yourself breaking into a building with Jean. Below, The Hand will be discussing the Helix Engine and how they’re responsible for stopping you, or at least slowing you down. Make sure to move all the way to the left to cut the rope supporting the Saturn Planet, unlocking the Saturn Slam trophy, and then clear out the remaining enemies. Once you’ve done that, climb up the back and find your second Materials Crate.
Crate Three
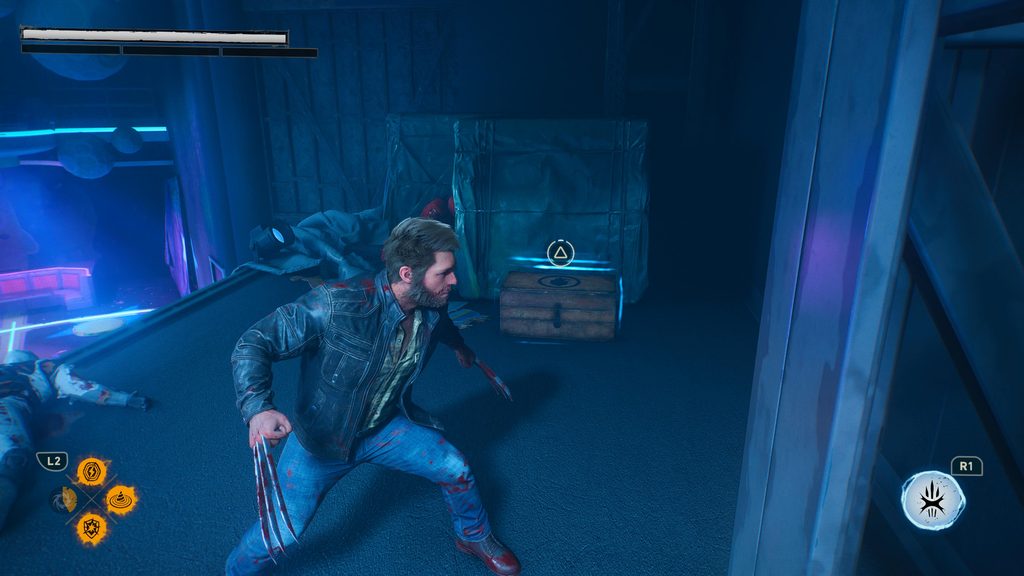
After an encounter with some Ghost Hand enemies, you’ll see an overturned car in the distance. Head to this, and then head left, down the street. A little while on and you’ll find the third Material Crate hidden in a little nook, out of sight.
Crate Four
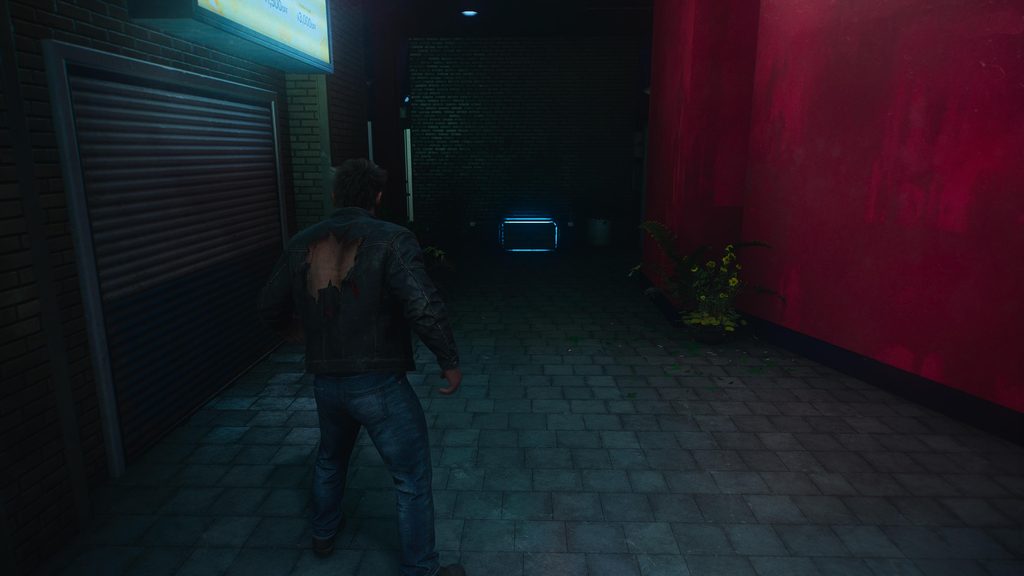
Crate Four isn’t much further ahead. You’ll end up fighting a much larger contingent of Ghost Hand in the central area between many buildings, and then heading through a broken brick wall to what looks like a distribution courtyard. Another lorry is hiding this one, so head to the left and behind the lorry, destroy the boxes, and open up the second-to-last Crate.
Crate Five
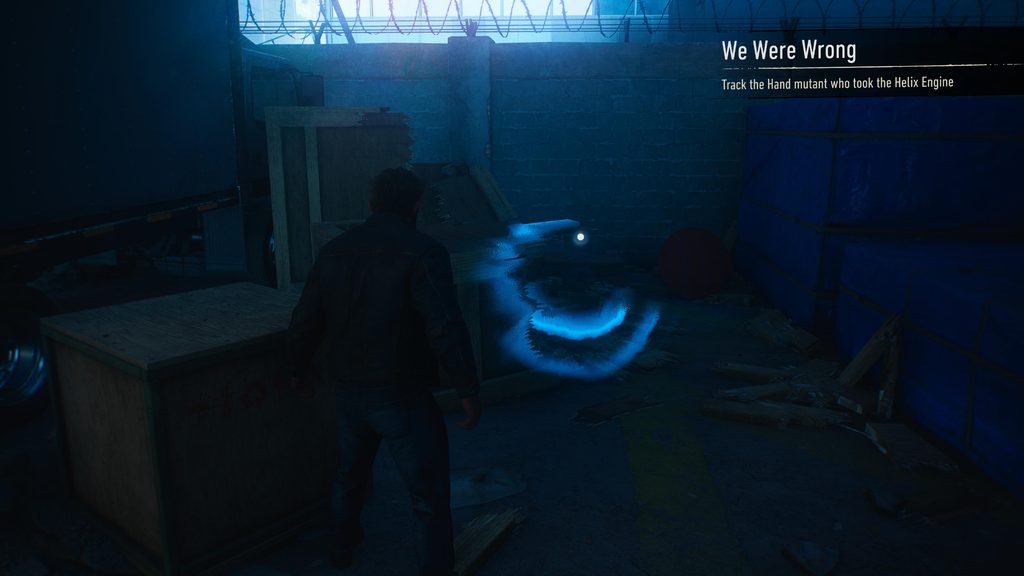
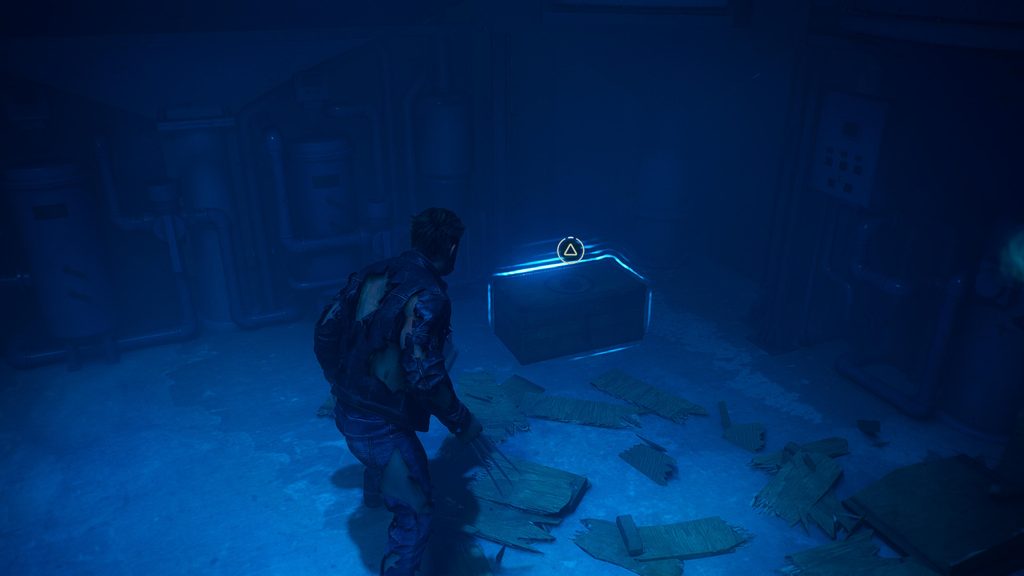
The final Materials Crate is near the end of the level. Once you’ve gone through the doorway that Jean opens for you, after you’re interrupted by two more hiding enemies, you’ll go down some stairs, still following the big footsteps. Once at the bottom, don’t miss the ping of the Crate and head left. Destroy the boxes, and that’s your final Crate of the level.
Japan – Hell Followed With Him
Crate One
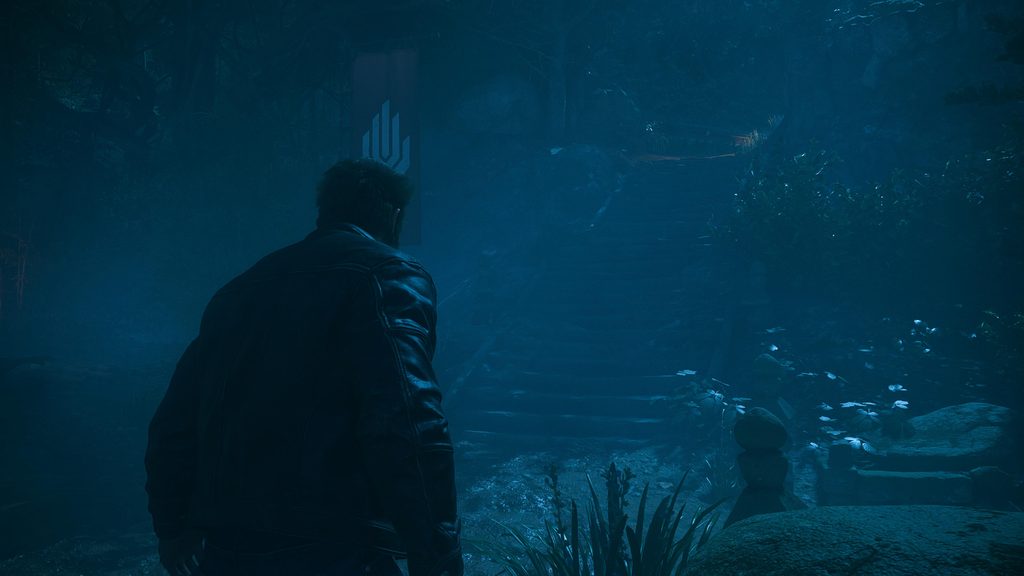
Right at the beginning of the level, after you’ve gotten off the motorcycle, follow the tracks to the right. Jean will be kneeling in front of a weapons rack, but go past her and to the dead end to the left. Here lies the first Materials Crate.

Crate Two
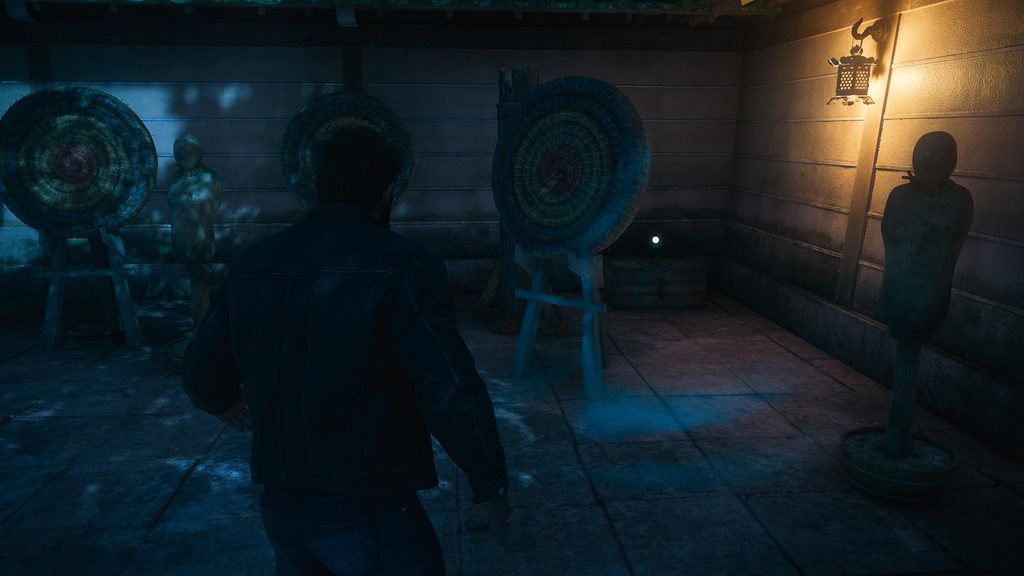
Crate Two is nearby, so don’t go too far ahead. On the far right of this area, way past the Shrine to the Founders of the Hand, is a set of stairs. Climb them, and you’ll come to an archery training range. In the corner, behind three targets, is the second Crate.
Crate Three
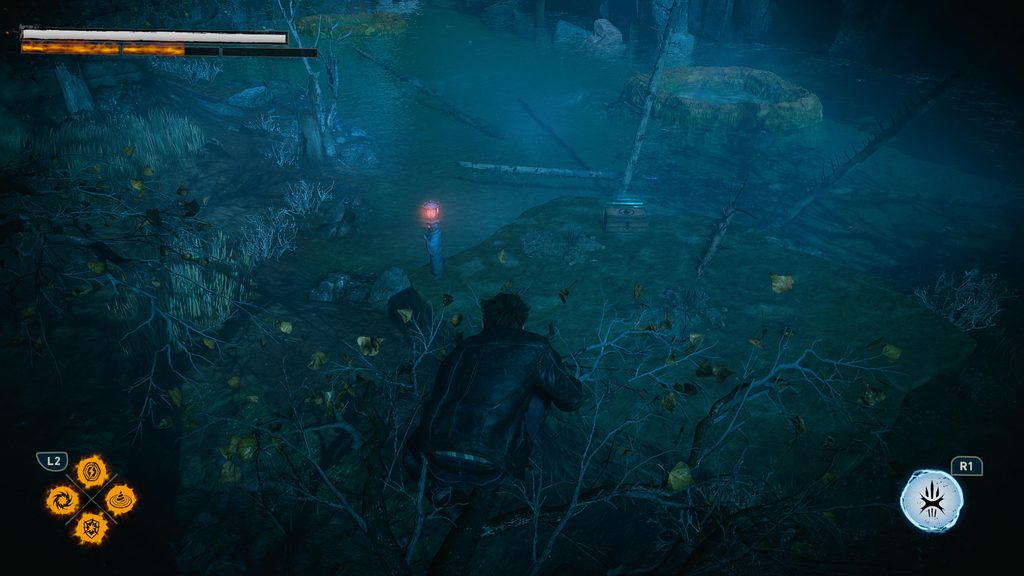
Crate Three is towards the end of the stealth section following Crate Two. You’ll be tasked with taking out the Hand guarding the Stronghold and using Jean’s Migraine-esque ability to stun them; you should have no trouble doing so. On the right side of the area, before the largest group of enemies at the back, you’ll see a duo standing, looking over a small cliff with the third Crate sitting on.
Crate Four
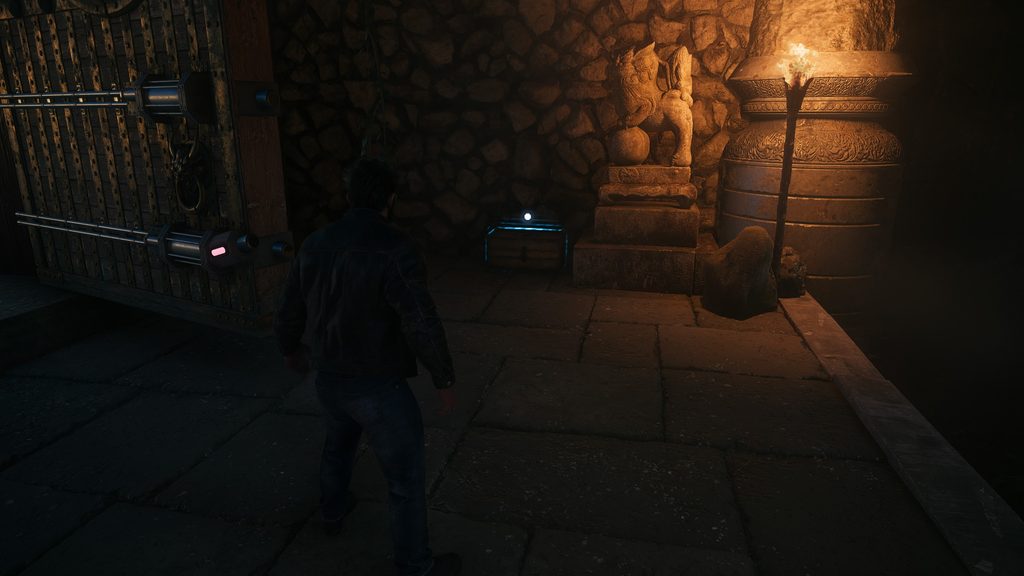
The final Crate is at the 70% mark of the level. You’ll go through the stealth section above and be greeted with a huge courtyard made up of multiple Hand. You’ll need to kill them all, and then head to the large gate, at which point Invoker returns for another boss fight, albeit shorter and easier than the first time you met him. Go through the gate, and sitting there on the left is your final Materials Crate.
Japan – Sinister Tidings
Crate One
After your chat with Essex, you’ll be able to move out of the bathroom again. Go into Shiro’s Hand Shrine to find the only Material Crate of the level.
Madripoor – Way Down Low
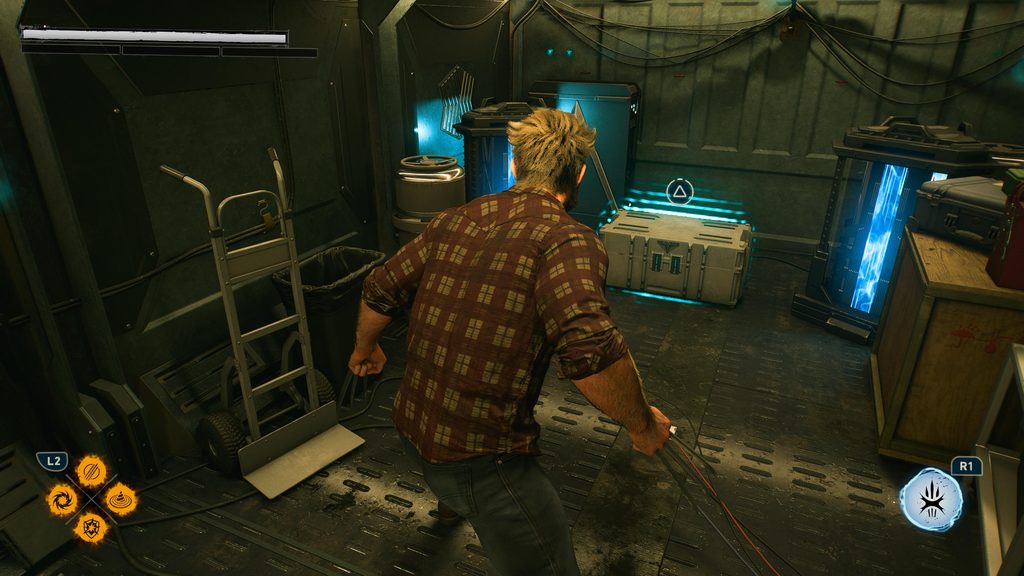
Crate One
After you’ve escaped from the crates and emerged into the level, you’ll have to take down a checkpoint full of Reavers. Right after this, you’ll free a group of Dormant Mutants from a trailer. The Crate is inside, at the very back of the trailer.
Crate Two
Similar situation to the above. Jean will knock down a wall right after the first Crate, and offer Logan a lift to the Clocktower. He declines and says he’ll take the scenic route. As soon as the wall goes down, head forward towards another checkpoint, this time flanked by multiple snipers and a gun turret. After you’ve killed them all, the trailer on the left will be housing more Dormant Mutants and the second Crate.
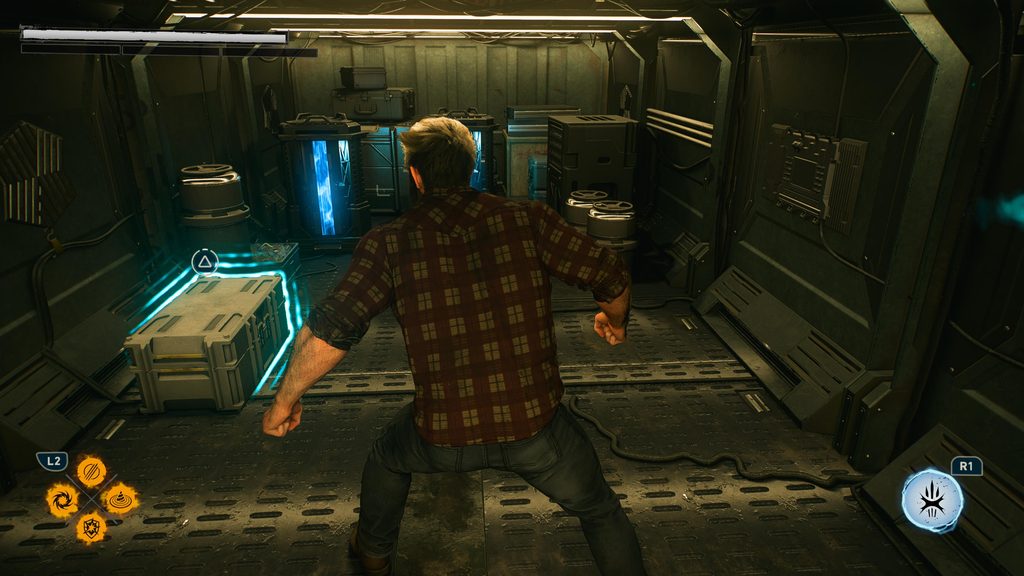
Crate Three
In what’ll surprise absolutely no one, the third Crate is also in the back of a trailer containing Dormant Mutants. Head to the left of the second Crate until you can’t anymore. You’ll come to another checkpoint flanked by several Reavers, two snipers, and so on. Kill these enemies as quickly as you can, and then open the trailer in front of you for the third Crate.
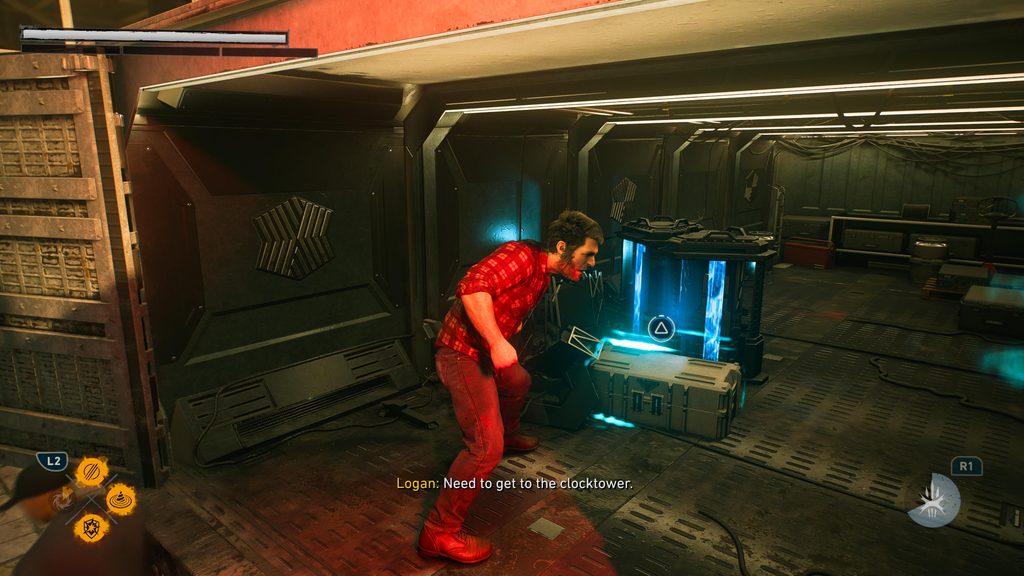
Crate Four
The final Crate is not inside a trailer full of Dormant Mutants, but in fact on a rooftop later on in the level. After you’ve secured the hand from the Reaver VIP to unlock the container, you’ll be heading to the radio station via the rooftops, avoiding sniper fire the whole time. As you climb the rooftops, you’ll hear the ping before you see it, most likely, but the rooftop you’re looking for is in the middle of the Hotel Royale and the radio station, and has both a radio spire of its own and a big blue water container on it.

Madripoor – Roll the Dice
Crate One
A little while into the level, after you’ve lifted the keycard from the VIP, after it’s all gone to hell and you’re fighting in the casino, and after the fight has subsided, you’ll be heading towards the service elevator. Before you do that, make sure to grab the Material Crate in a corridor off to the right.
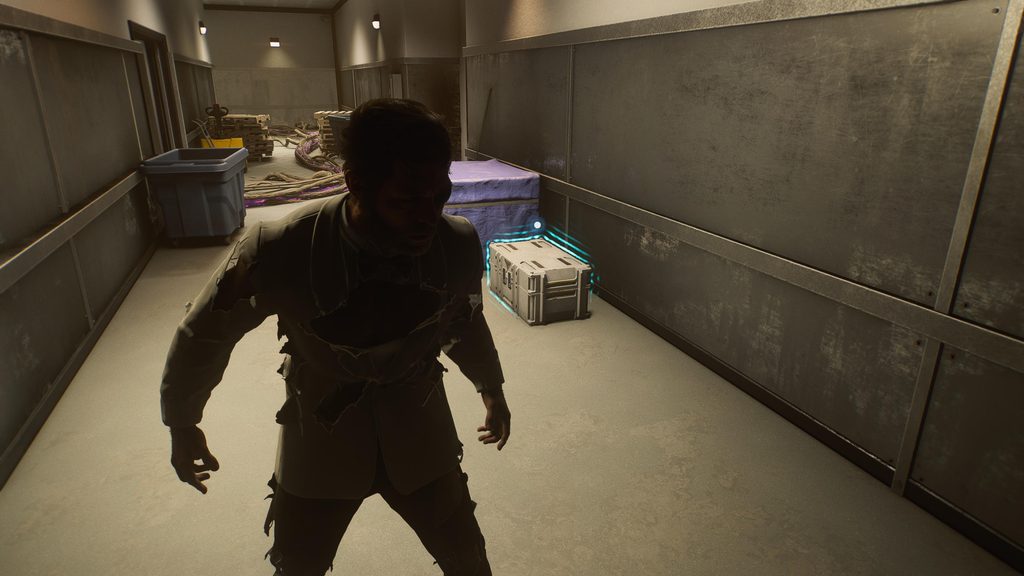
Madripoor – Field Test
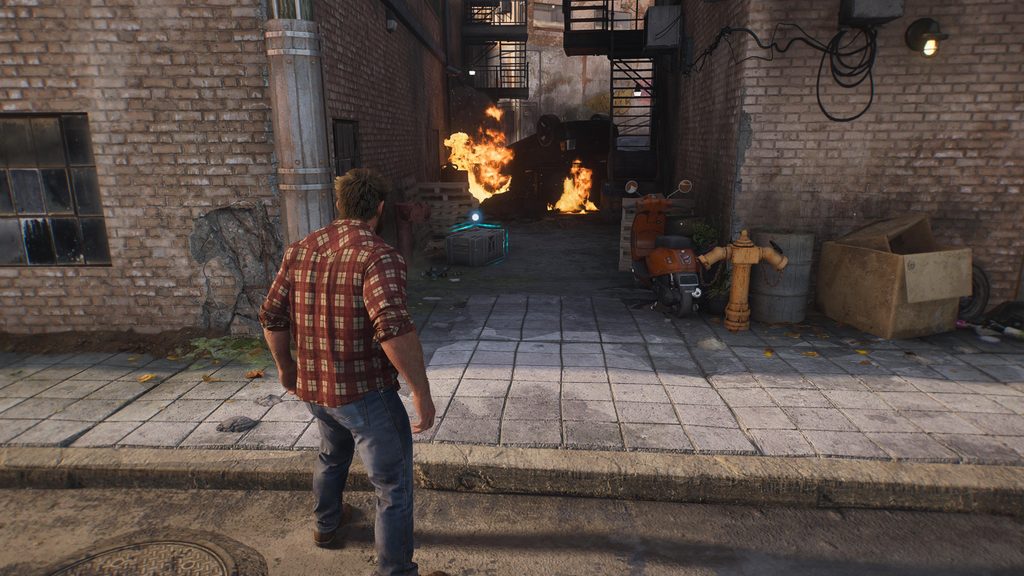
Crate One
This level shows the lengths that Essex is willing to go to, not only to test his new Helix Engine, but also to showcase how he thinks his ideology is above all others. After you’ve saved numerous civilians from Reavers and Sentinels alike, you’ll end up running towards where Jean is, after she’s bombed by a VTOL. You’re unaware if she’s okay, or even alive, so you’d be forgiven for missing this Material Crate. As you run up the street, pay attention to an alley on your right, as this is where this Crate is located.
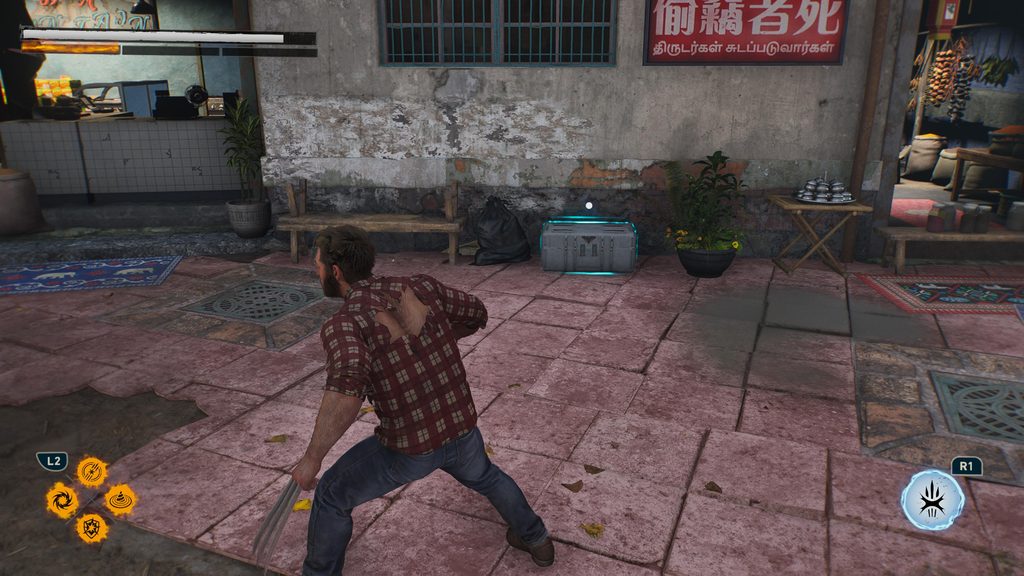
Crate Two
Not long after the last Crate, you’ll be heading up a hill towards Jean’s location. You’ll also have a red sniper laser on you, and this is when you’ll know you’re in the right place. Before you go up the hill, make sure to grab the Material Crate on the far left of the open area.
Madripoor – I’m Still Here
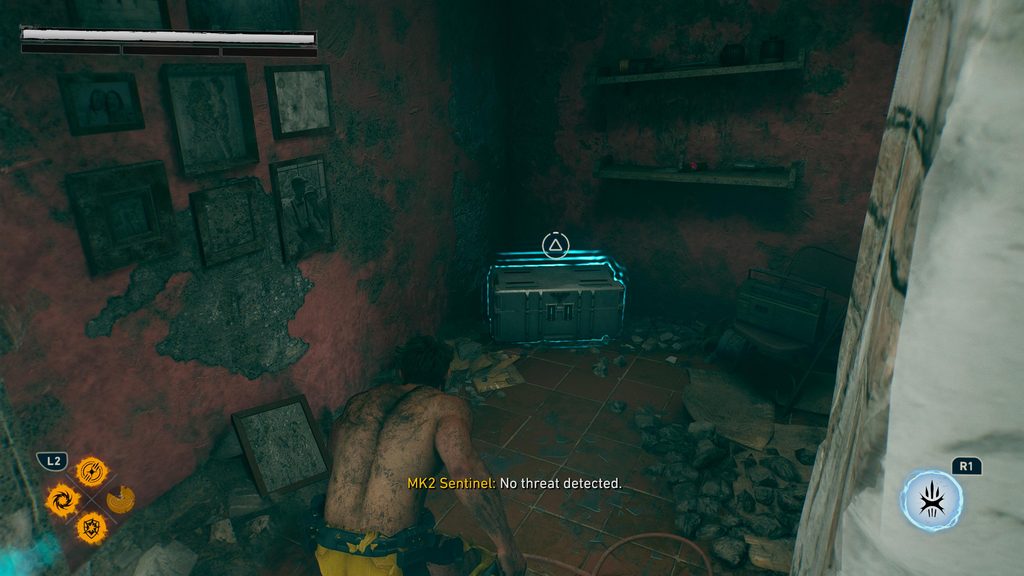
Crate One
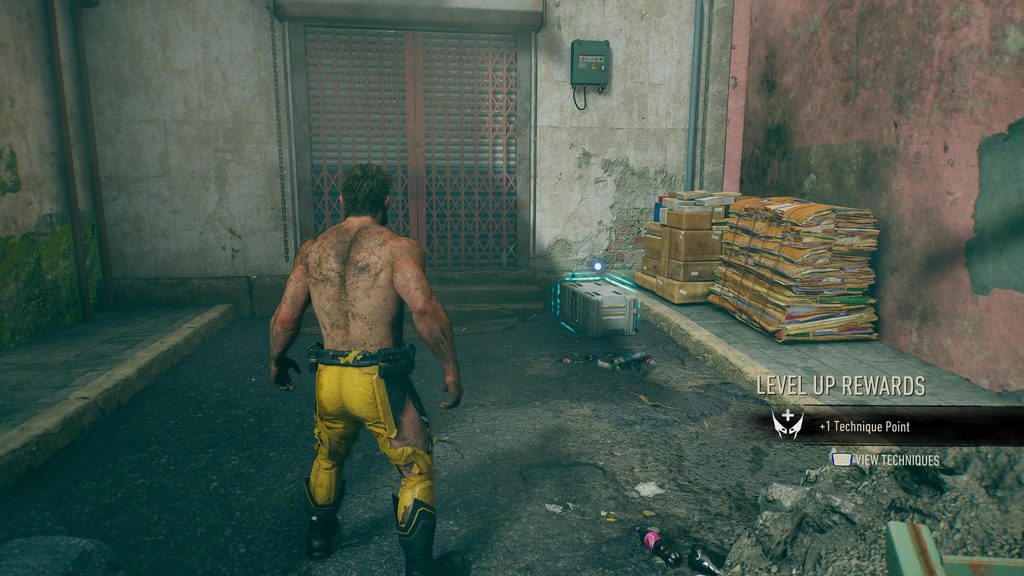
You’ll awaken in Logan’s grave, after a particularly harrowing moment in his psyche, uncovering the truth of what Essex actually did to you. You’ll be walking through the ruins of Lowtown as you see and hear large Sentinels patrolling to find hidden mutants. After Logan makes a comment about the destroyed Sentinel on the floor, you can go either left or right. Left is the way you should go, so head all the way right to find the first Crate hidden in a room, right next to a giant Mutant dead under some rubble.
Crate Two
After you’ve collected the Crate above, make sure to head down the alley nearby and climb the launch point. Work your way around and kill the Sentinel directly beneath you, and then continue on down the road until you see another one over some rubble.
Kill that one as well, and then look to your left for this Crate hidden by a couple of pallets. It’s also possible to find this same Crate from the Whiskey Bottle at Tyger’s Bar, but you’ll just go through a barricade of rubble and then follow the footsteps to the same location.
Crate Three
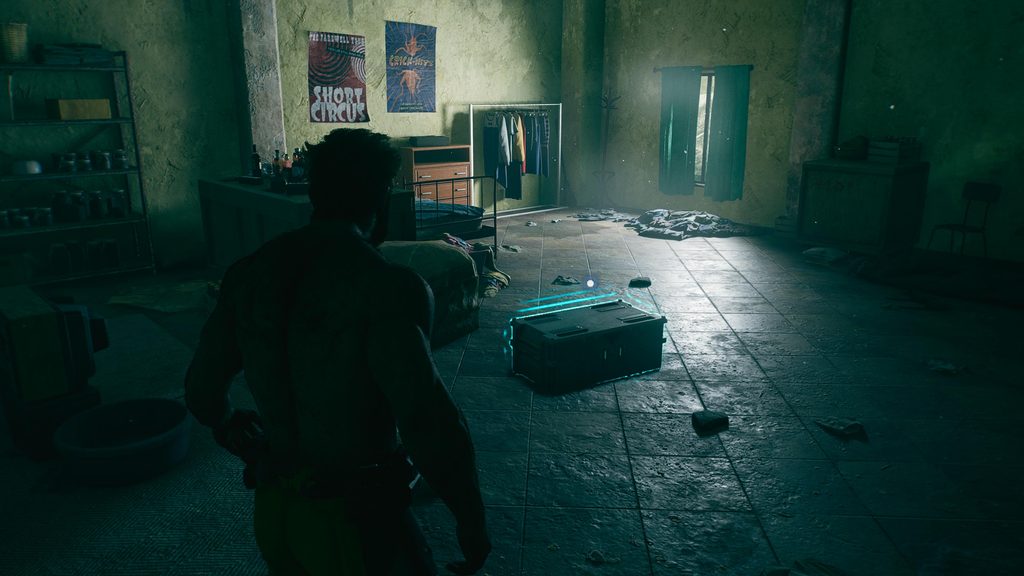
Continue on, and you’ll enter a Noodle Bar. Look on the left to trigger a dialogue line from Logan, and then head down to the bottom level. After you slide down, don’t continue on; instead, jump up the wall and through the door slightly to the right of where you’re supposed to go. This will take you into a new room, and the Crate will be in plain view.
Crate Four
After your reunion with Mystique, you’ll go through a door looking for Jean, and end up in a large open area filled with Sentinels also looking for Jean. As you come into this area, look to your left and on the floor, and you’ll find this Crate in a half-destroyed corner of a room.

Crate Five
Shortly after Crate Four, you’ll end up on a rooftop and see Jean for the first time. Jump down and look to your left; you’ll see two Reavers chatting. Right next to them is the fifth and final Crate.

Madripoor – This Was The Dream
Crate One
You’ll have been ambushed by a group of Reavers inside a church before you get anywhere near the first Crate of this level. As you go up via a zipline attached to a church bell, you’ll come to a stop on the balcony of said church. On your right, in plain view, is the first Material Crate.

Crate Two
The second Crate is right after Essex gets into your mind, showing you an illusion of Tyger’s Bar. You’ll come out of that, and then Jean will open the shutter door in front of you. Smash through the window in front of you and drop down, and then you’ll find the second-to-last Crate in the game.

Crate Three
The third and final Materials Crate in Marvel’s Wolverine will be found after yet another illusion. This time Essex will show you and him inside the Team X Mansion from the beginning of the game, and after you get out again, you’ll want to go through the hole that Jean has created and up the stairs to your left. Right in front of you will be the final Crate in the game, and the trophy will pop.
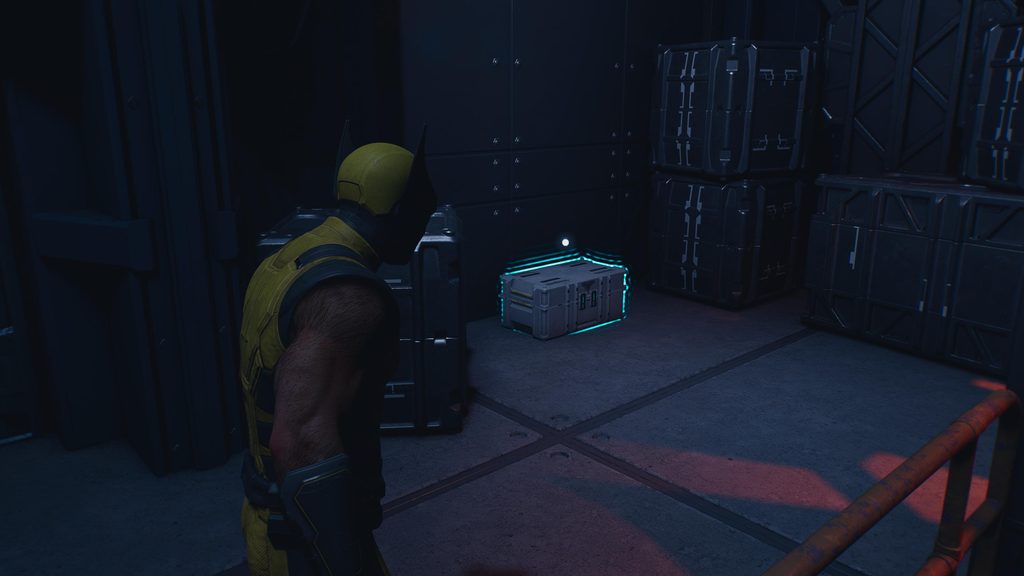
And that is every Materials Crate collected! Now you have the trophy and the outfit for your trouble. Was it worth it?
For your next read, check out our Nightmare Doors locations or how to beat Omega Red.

Luke Addison is the Founder and Editor-in-Chief of Thumb Wars. Having previously been a part of multiple outlets over the years, including building an entire gaming team from nothing to something, he thought it best to forge his own path and answer only to himself. As likely to be found playing the latest game as he is in the kitchen relaxing (by cooking), he always brings the same bold and brash attitude to everything he does, with a heavy leaning on sarcasm and dry wit!