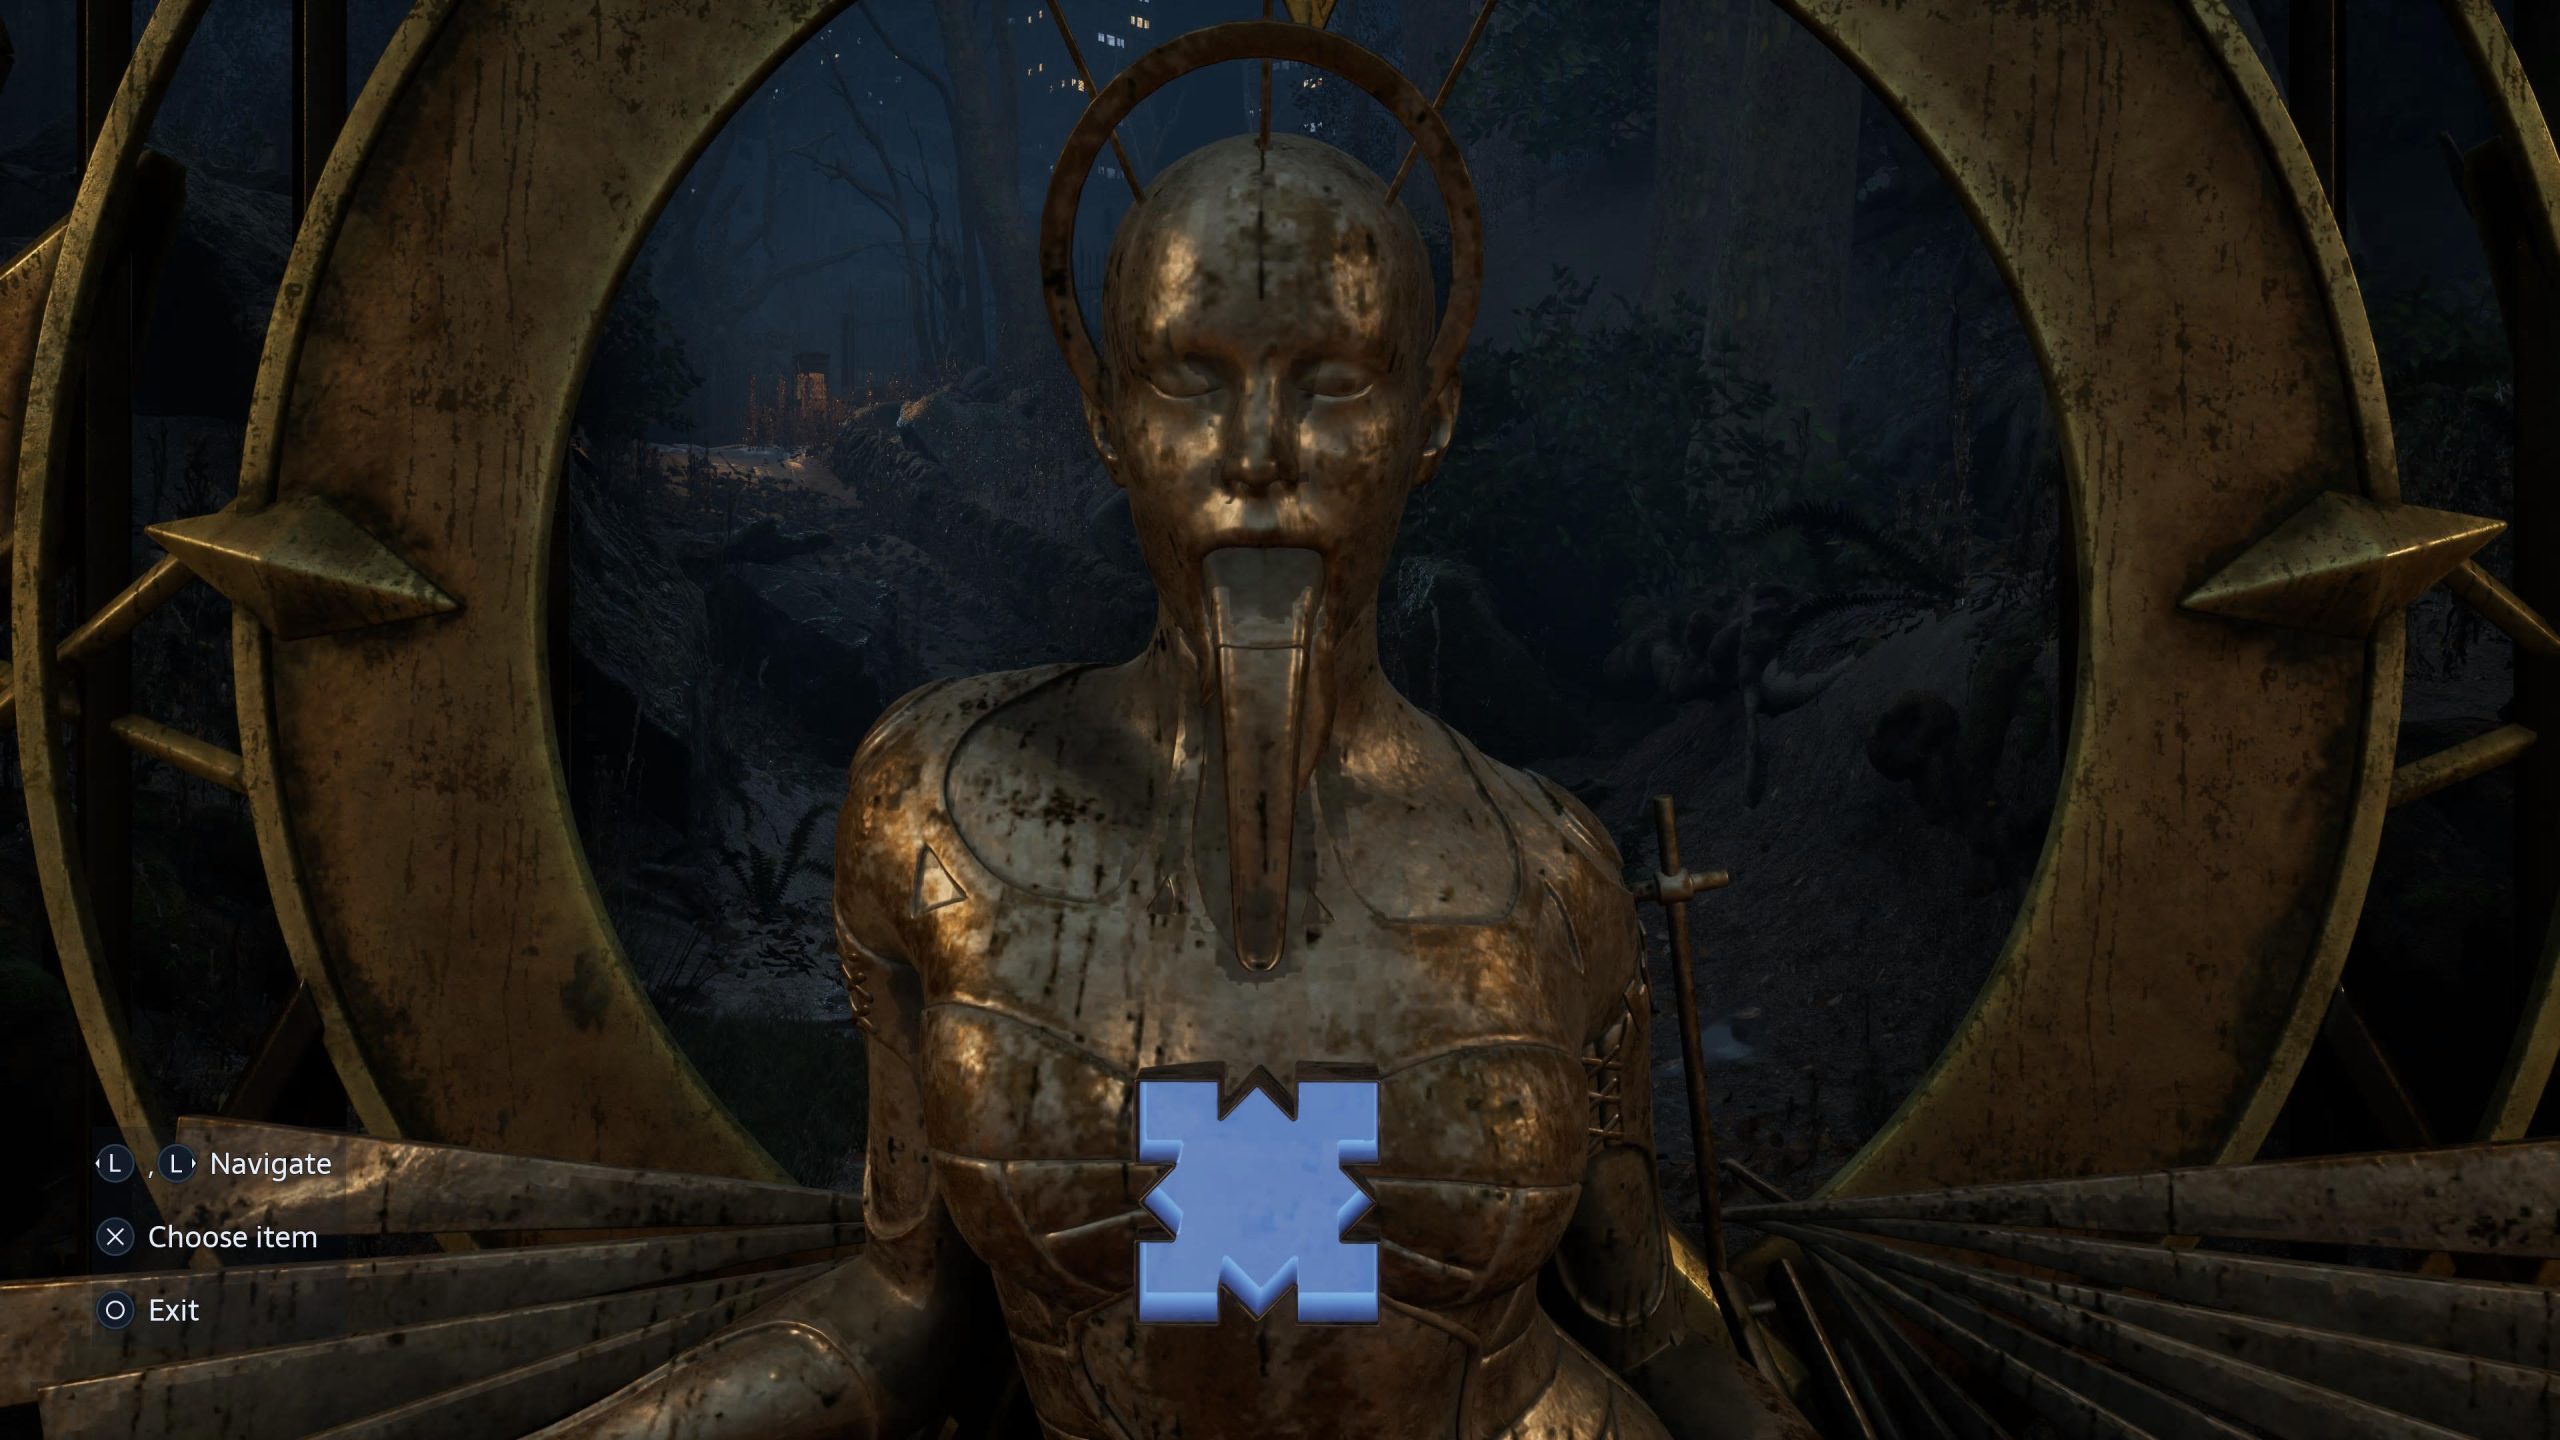
Hellraiser: Revival is full of sex, drugs, and lots and lots of violence. It’s also full of puzzles, some of which can take a long while, like the missing statue parts puzzle earlier in the game, and others can be relatively short lived, like the M359 door puzzle right at the beginning.
The reason you’re here though, getting through the Skull door at the Fetish club? That’s right in the middle, and easy to make far harder for yourself if you’re not careful. By the end of the guide, you’ll know how to open the skull door in Hellraiser: Revival, and how to do it simply.
How to Open the Skull Door in Hellraiser: Revival
You’ll have just reunited with Sunny for the second time, giving her the heart you obtained after beating Charlotte, and made your way through the Labyrinth once again. After you leave her, you’ll emerge into the Cult’s Fetish club, albeit a rather empty one. In front of you as you leave the elevator you rode up on is a door with a snake lock, something to remember for the future, and a corridor on your right.
One click and you're done. Thank you!
As the snake door is locked right now, head down the corridor, and you’ll come to a big open foyer area. If you head right, you’ll run into Zora again, where you can chat with her about the latest developments, barter and buy recipes, and sell unneeded items. What you want to do first though, is head straight forward. As you go through the door and corridor in front of you, you’ll wind round a corner and hear voices. There’s several Cult members here, so get rid quickly, and you’ll see two doors.
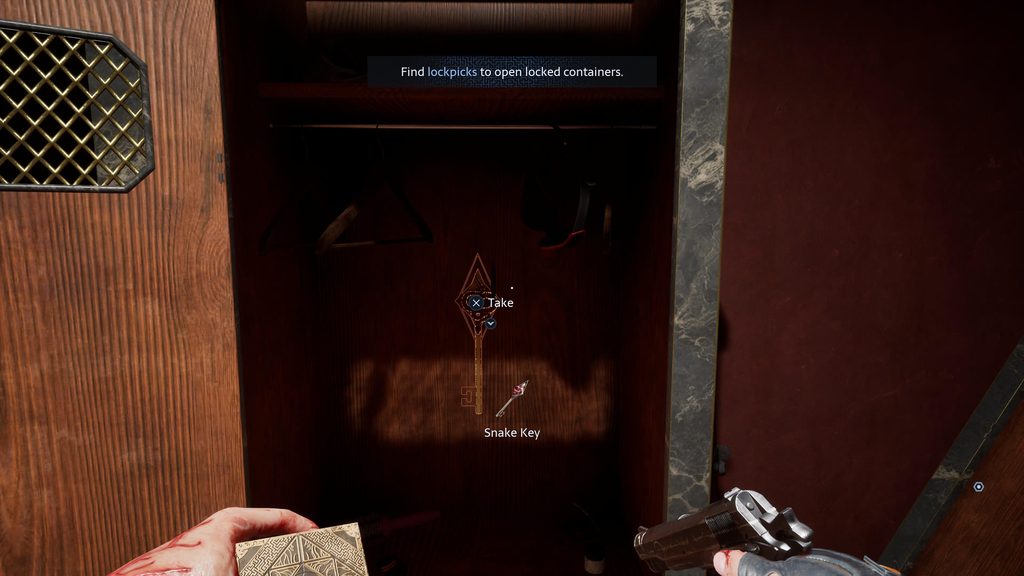
One that has a bunch of CCTV equipment inside, and the other a ticket machine close by. For now, you need none of this, so turn around and then head almost back on yourself down another corridor, slightly to the right of where you came in. This will bring you to a changing room of sorts, with lockers and all sorts everywhere. One locker needs a lockpick, one doesn’t. In the one that doesn’t is the snake key. Pick it up, and I think you know where it goes.
Snake Door and the Voyeur’s Ticket
Go almost to the very beginning of the area and enter the snake door using the key you just picked up. Inside is a few different crafting components, some coins and the ‘Voyeur’s Ticket’, which will take you through the door next to the ticket machine you saw earlier. Now go back there and use the ticket.
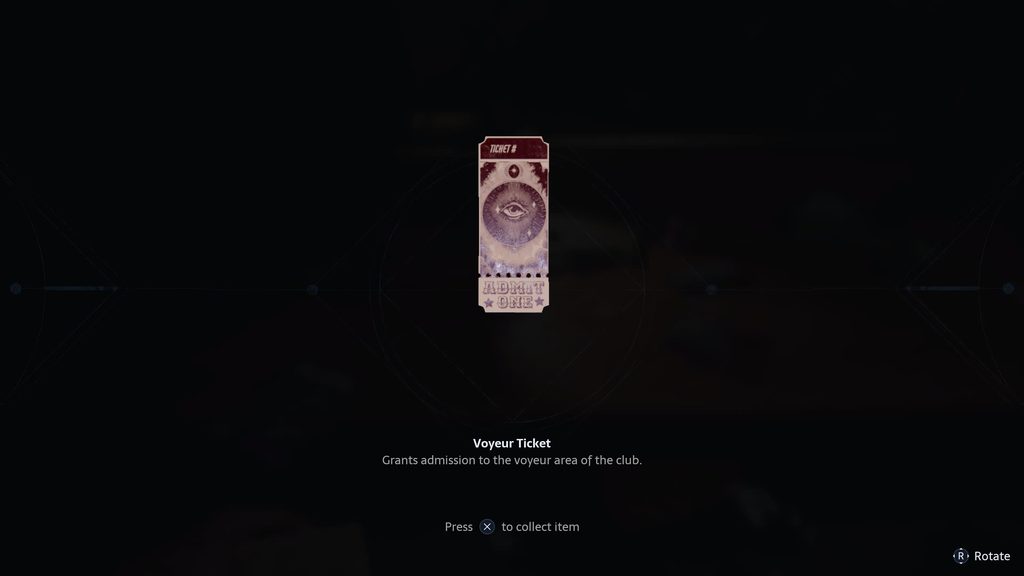
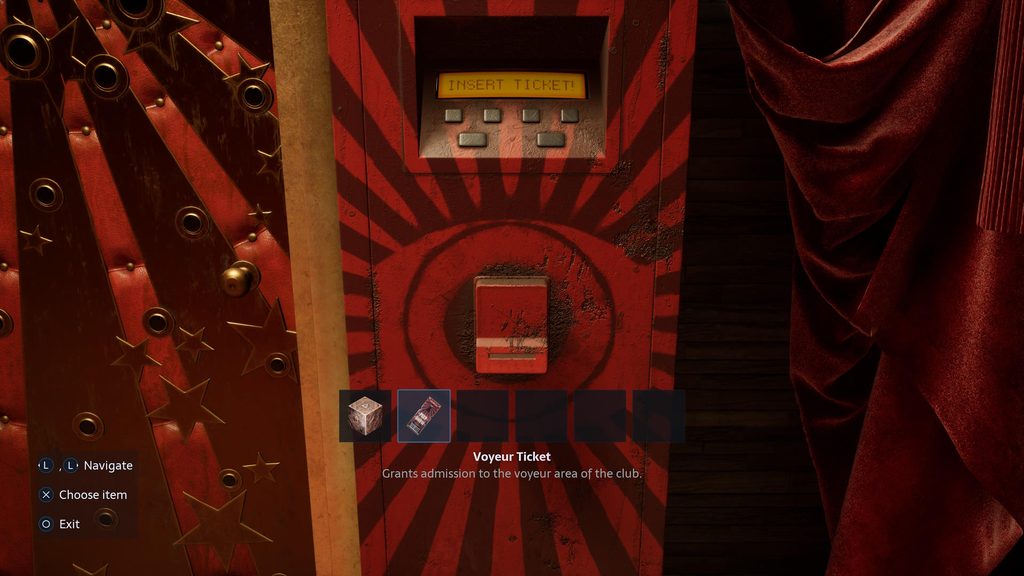
You’ll be in the Voyeur’s section of the club now, and as you head down the linear corridor, you’ll hear Marlowe talking with the Sister. Continue past them and the locked door on the right and follow the corridors, through the darkness and under the hanging hooks. You’ll come to a room with a huge, worm like creature that a lot of arms, and it’ll be dormant… for now. After you’ve explored the area and made your way back, it won’t be.
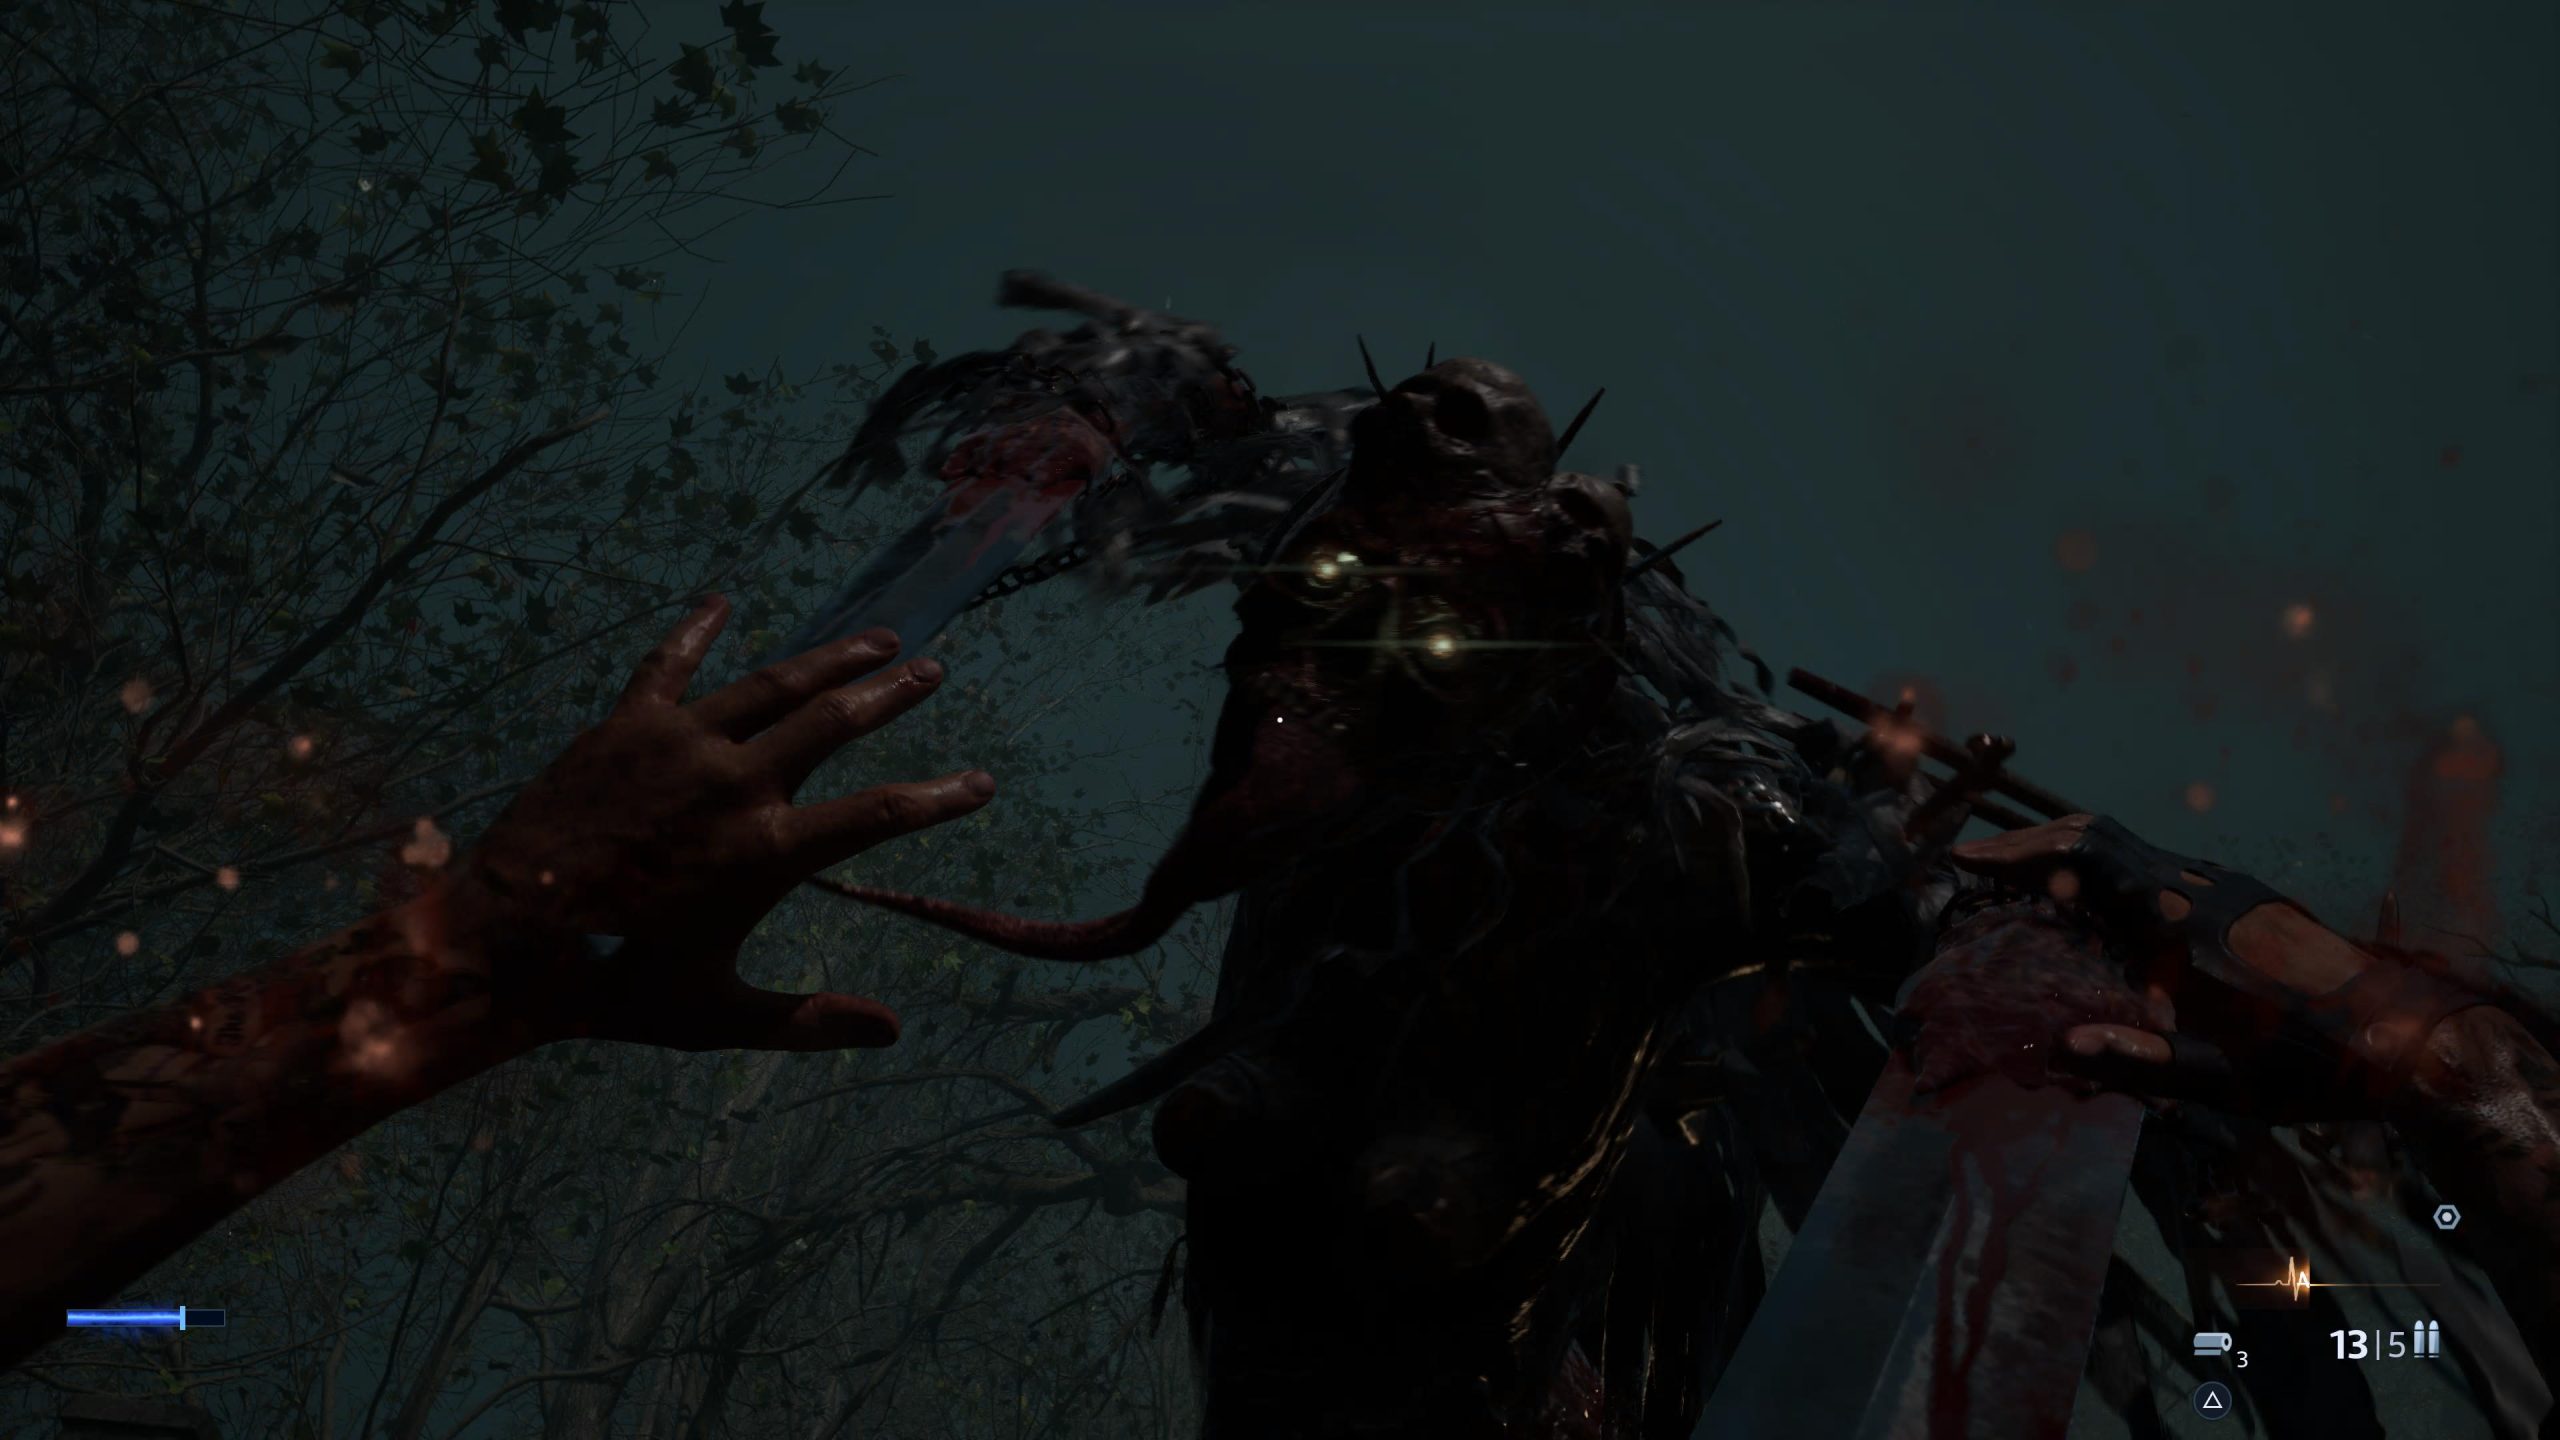
Aptly called The Embracer, you’ll need to damage each of its arms and cut them off. You can do this with guns or sharp weapons, but make sure to avoid it’s projectile vomiting and grab attacks. They’re highly damaging. When you’ve gotten all the arms cut off, Banish the Embracer and continue on.
You can now get into the room that was previously chained off, which has both a ladder and an item, the Peephole Inset. If you were paying attention, you’d have noticed this was the missing piece of the door you faced when listening to Marlowe’s conversation with the Sister. Head up the ladder and you’ll be back at Zora, but everything in the main foyer has changed. Blood, destruction and more has appeared.
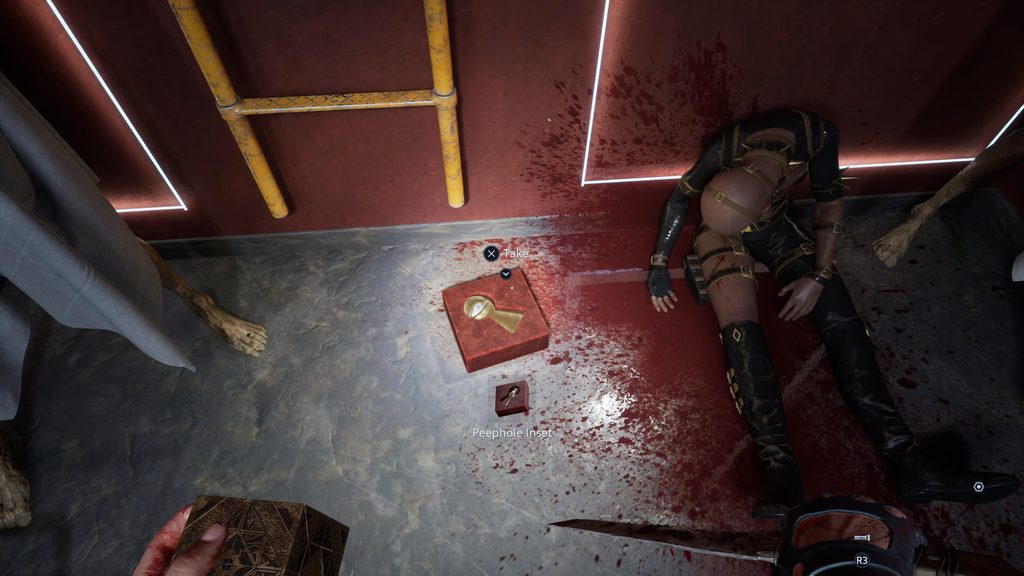
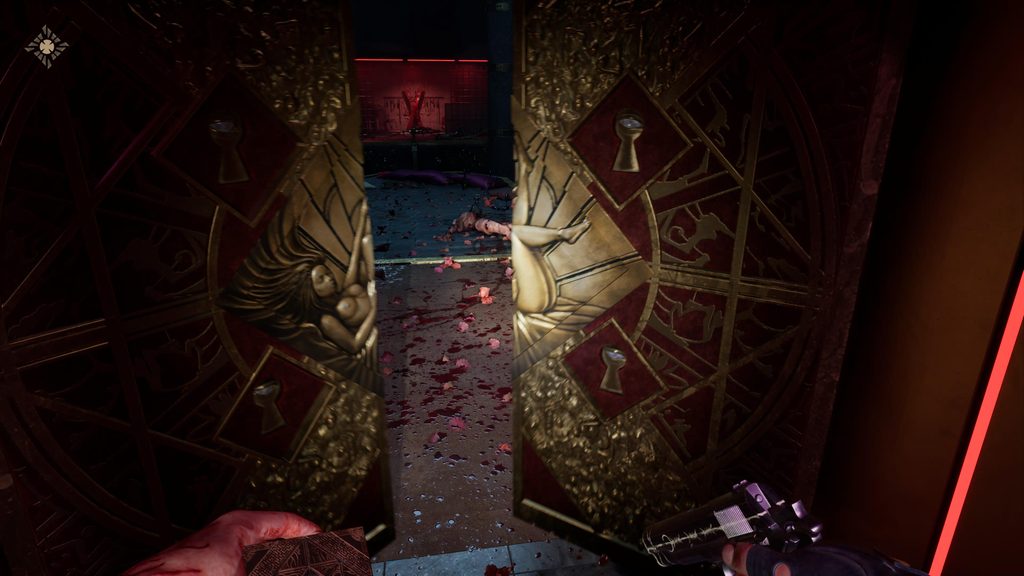
Go to the Voyeur’s section and head down the stairs to the door below, placing the insert into the opening. You now have to make the pattern in the middle match up, and depending on the eye you choose is what will allow you to move the relevant piece. You’ll need to line them all up until you see the image of a woman on her back, and then the door will open. One tip, move individual pieces where possible, and work outwards.
The Sister of Mercy
Get the solution, the door swings open and you can see the devastation inside. Now is the time you meet the Sister. As she says, you’ll be playing a game of cat and mouse, and avoiding the light, and her, is the name of the game. Take your time, make use of the bottles littered around, don’t step on the glass and make your way upstairs. You’ll end up alerting her and having to sprint away anyway, and end up in the Labyrinth once more.
The long and short of it is, you’ll need to make your way down through the Labyrinth until you can recover the Lament Configuration Box back into your possession. Be careful of the traps, moving parts, and unspeakable monsters you’ll encounter. It won’t take long before you grab the box and be on your way to exiting the Labyrinth, with some of the best puzzles of the game standing between you and beginning the hunt for Marlowe again.
Puzzle Block Door
As you come to the end of the Labyrinth this time, you’ll be given another, almost over-powered skill from one of the Cenobites, the Hell Chains. You’ll now be back in the Fetish Club, and if you head down the corridor with all the rooms off it, you’ll be able to pick up a puzzle block from the far end room on the left. Then, turn around and head through the door into the main foyer once again.
Now you have the puzzle block, you’ll be able to open the door opposite the Skull door, and at first you may think there’s no obvious solution, or no hint nearby. Back up a little and look at the four giant posters on the wall. The solution is nothing to do with the background of the puzzle blocks this time, and instead the images of the couples instead.
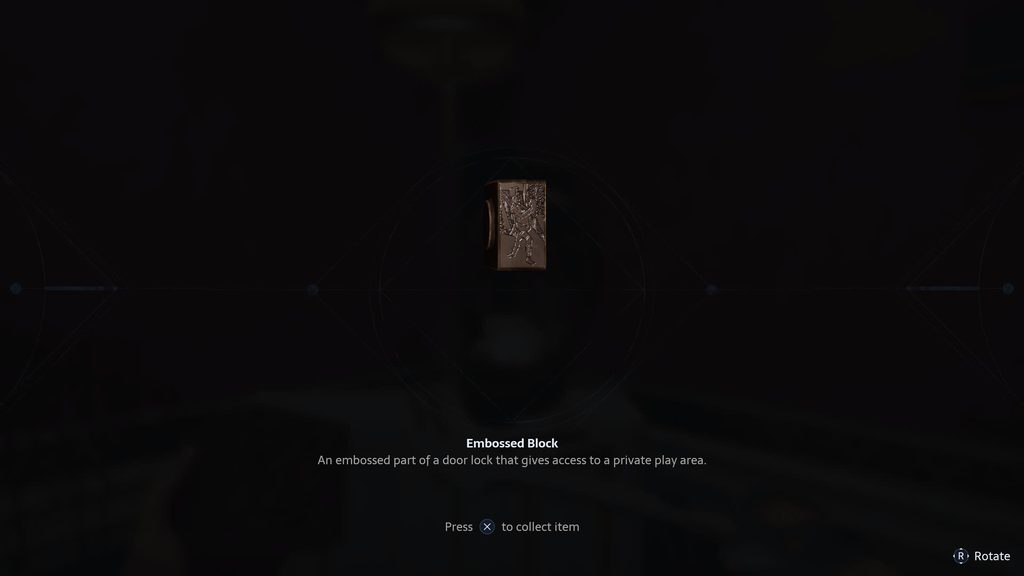
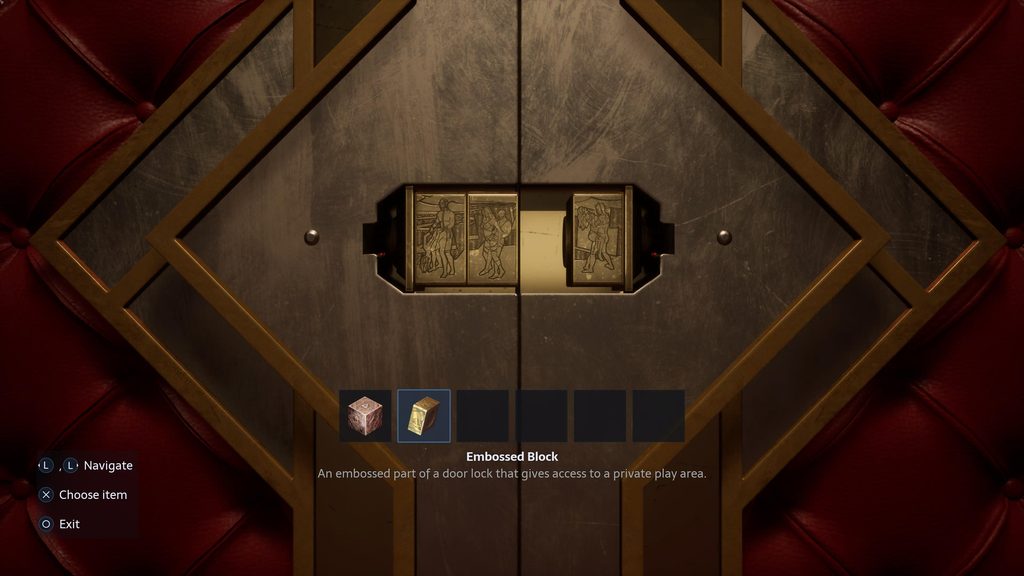
Now you’re through into the next section, make quick work of the few enemies you see and listen to their discussion of ‘The Unworthy’, as they’re the ones responsible for the carnage around you. You’ll catch glimpses of them moving about through windows and doors as well.
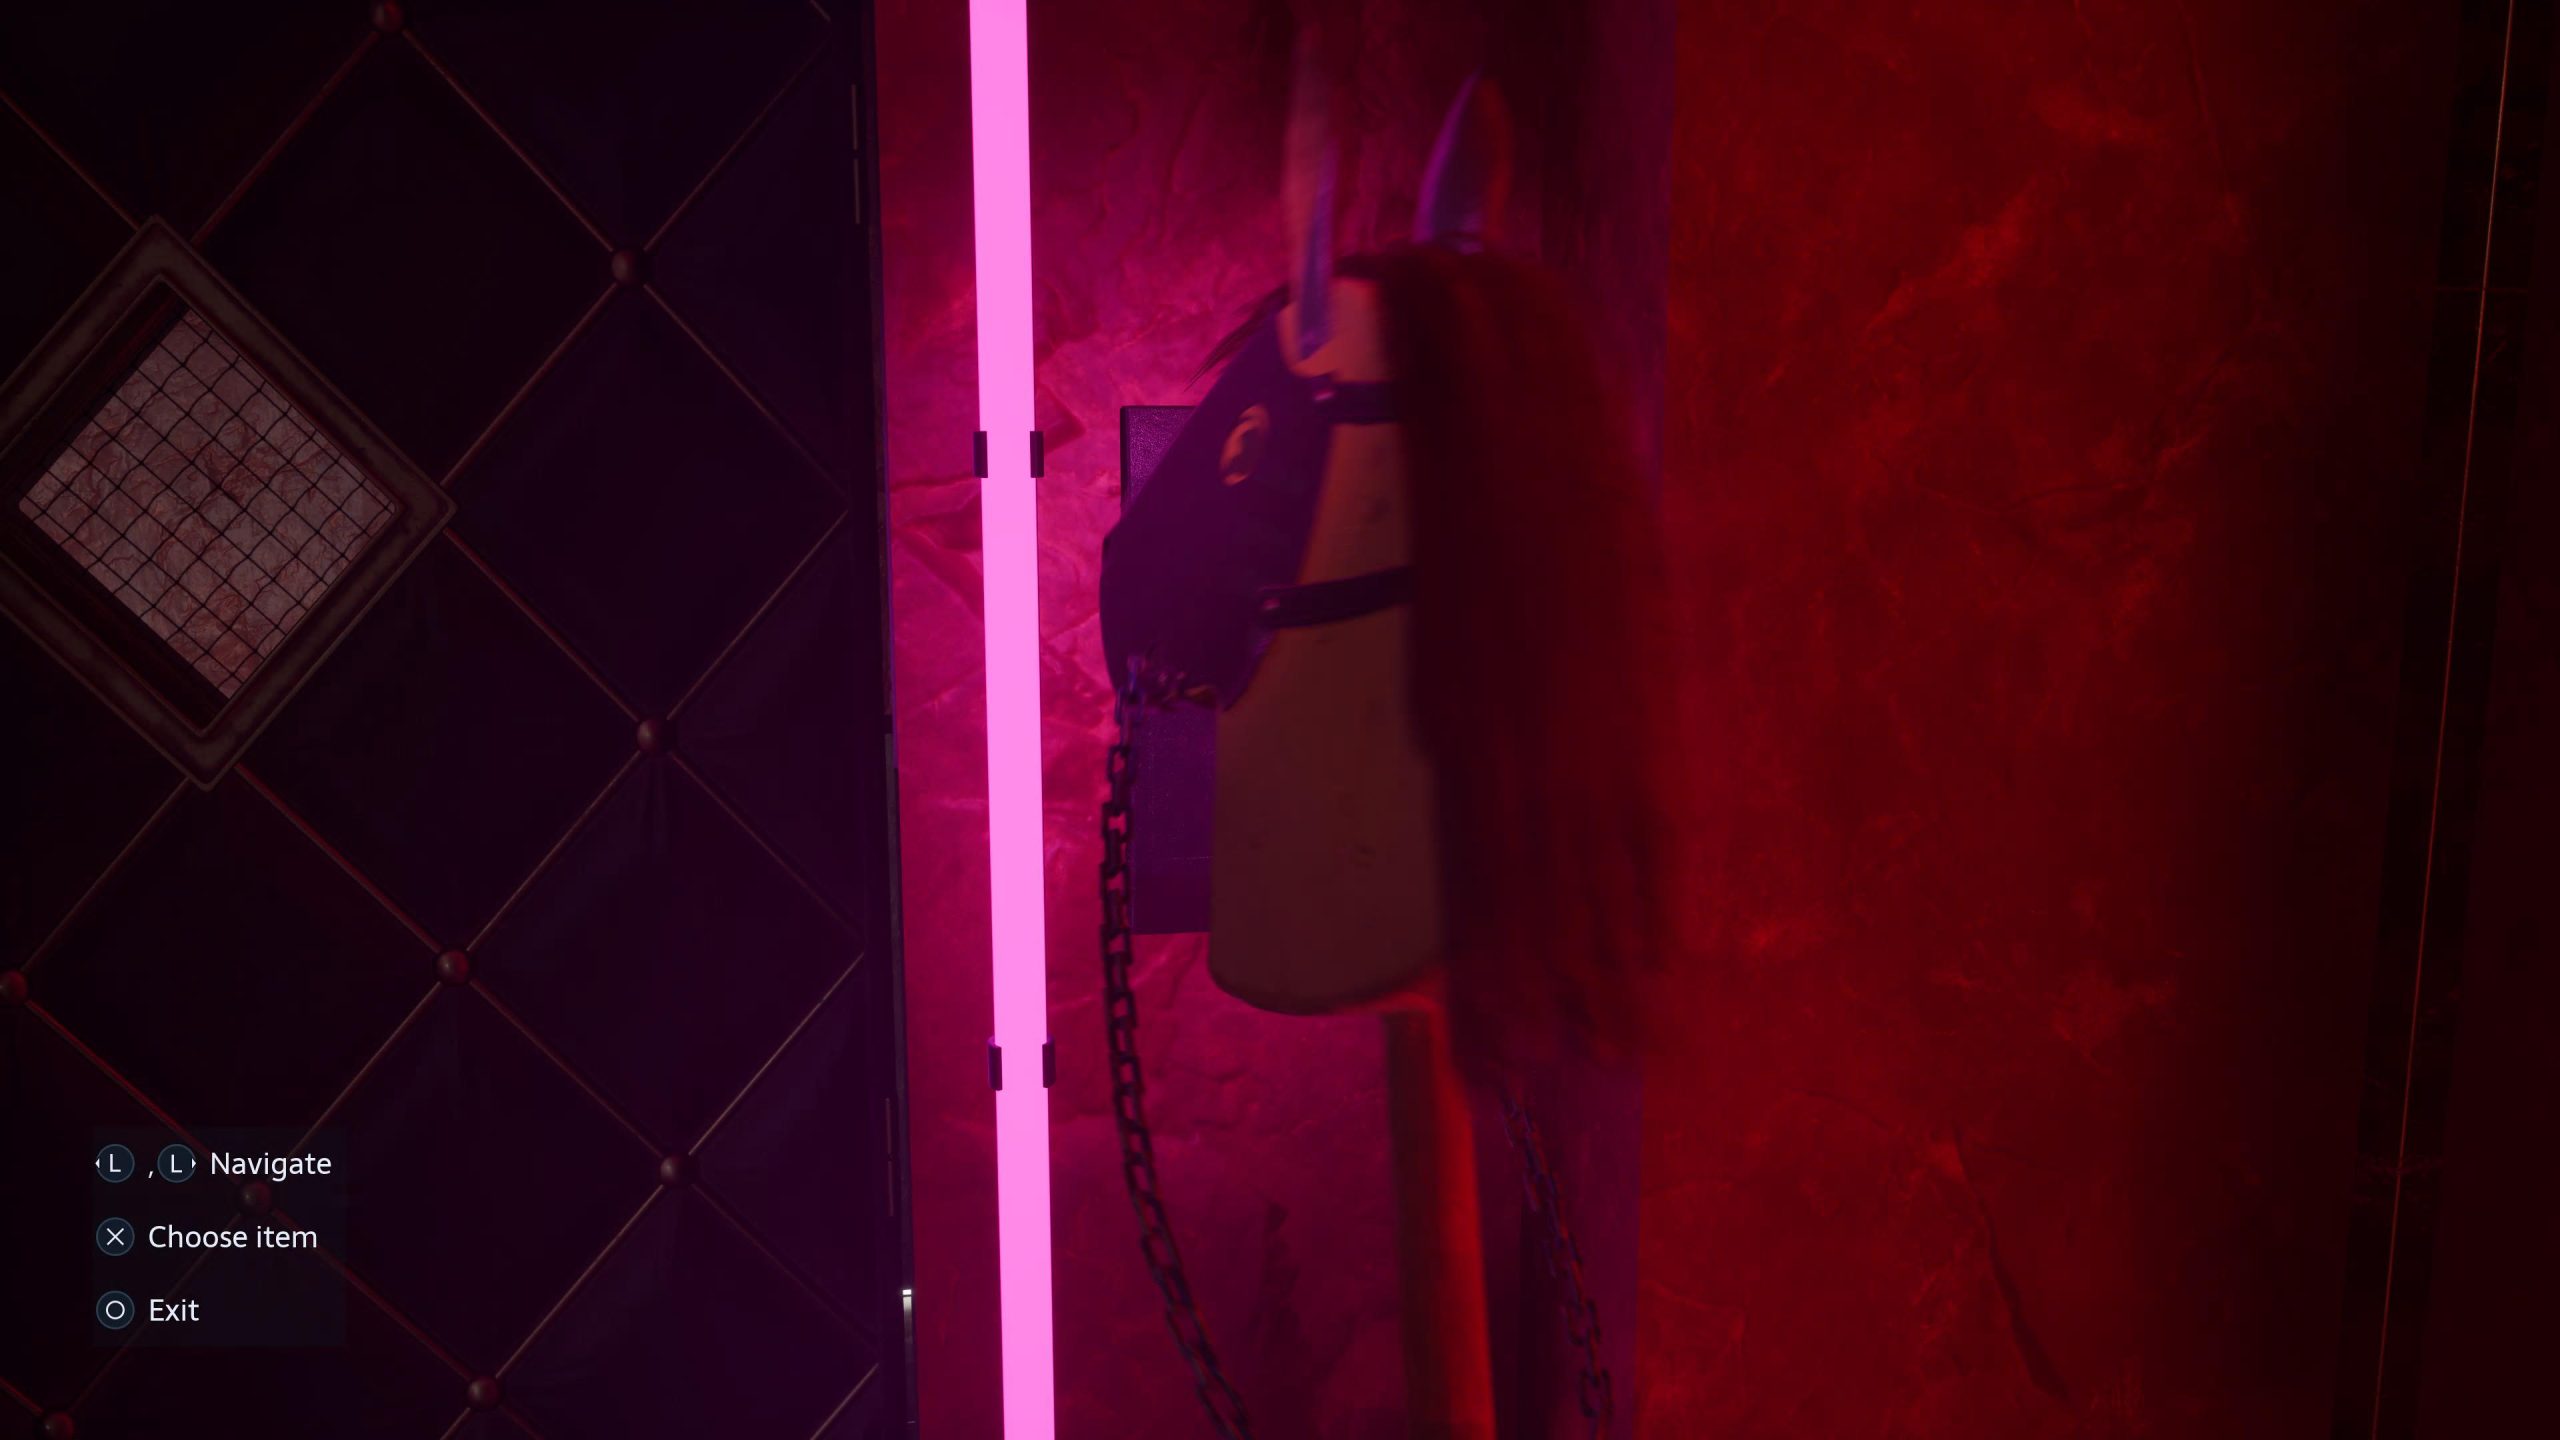
Move through this area and explore. You’ll eventually come to a door with a Horse lock on it. Head down the stairs and find the room with the ladder in, climb it, and then move through the rooms until you can drop down onto a table below. In the room adjoining this is the Hobby Horse key, which will get you into the room we just mentioned. As soon as you try and leave this room to head upstairs, you will be swamped by The Unworthy. Ten or more will be attacking you, and they’re very fast, so make sure to have plenty of ammo and weapons to hand.
The Horse Key and the Skull
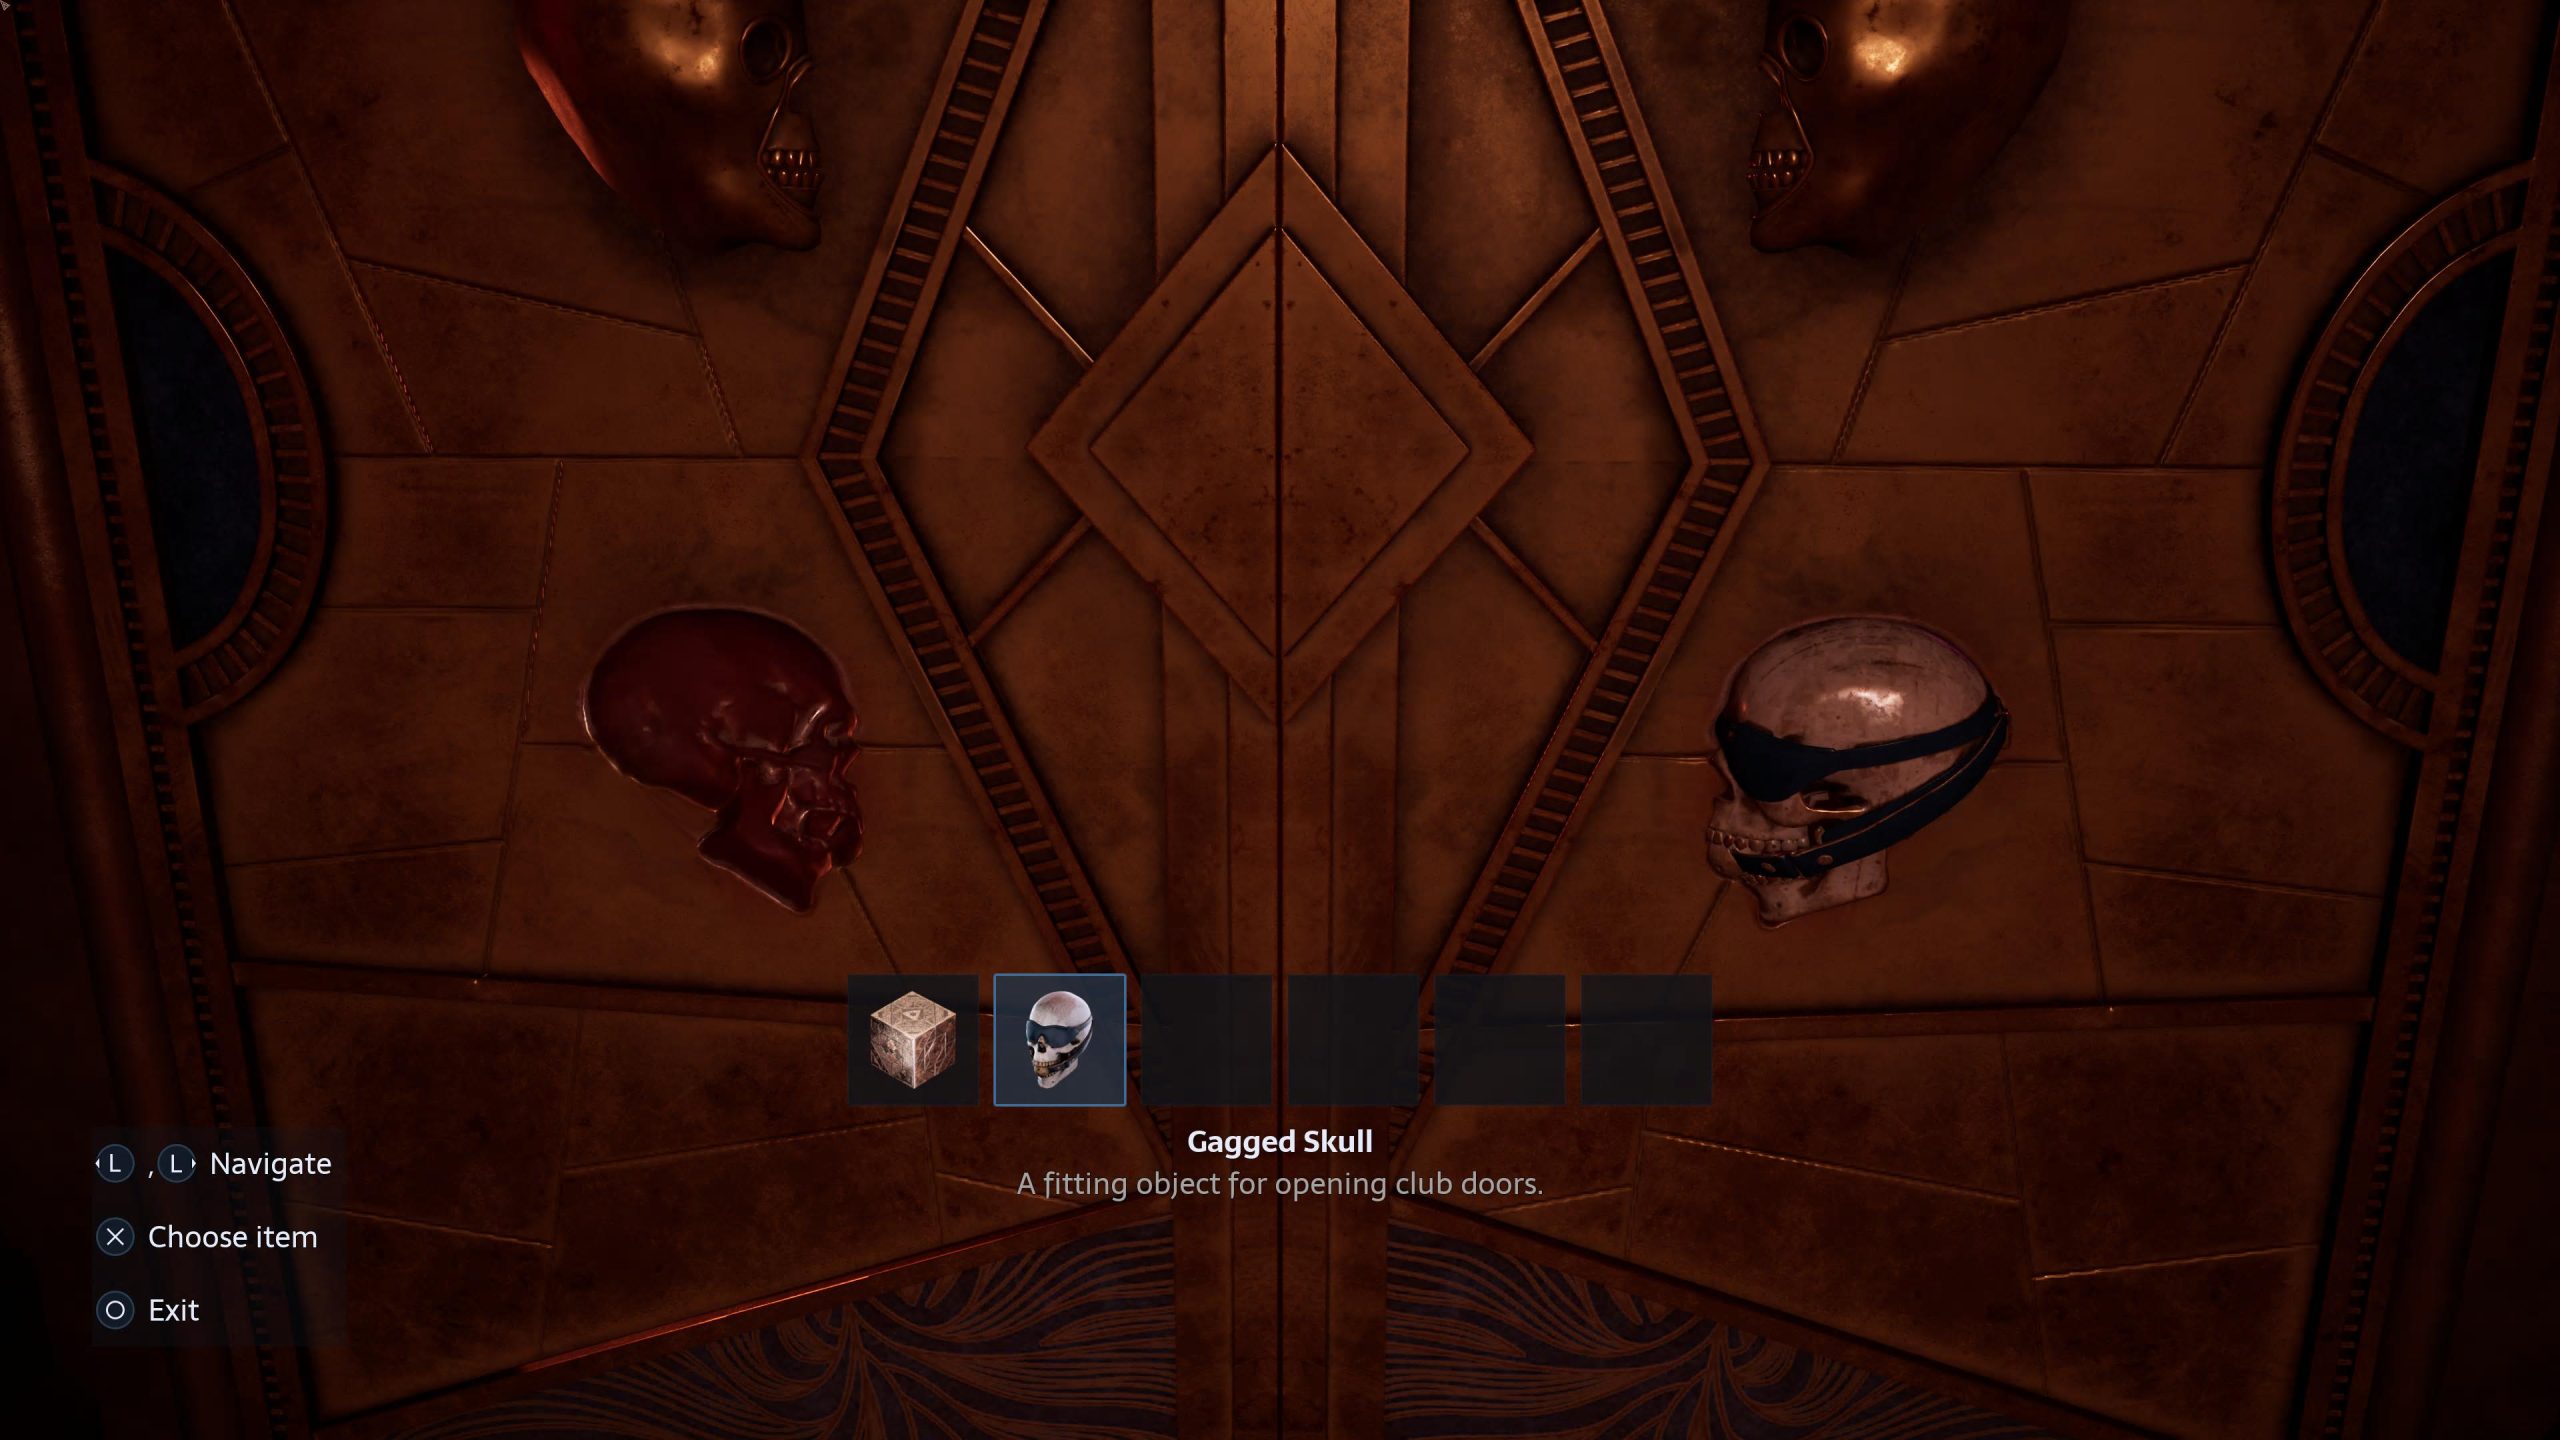
After you’ve dispatched them, go upstairs to the door and use the key to unlock it, heading through. This is another long corridor with multiple rooms off it, but ignore all of them and head to the end. You’ll come out to a huge room, a nightclub reception area if you will as you exit the corridor. On the far right of this room is where you’ll finally find the Gagged Skull, the item that’ll allow you to open the skull door of the Fetish club. It’s been some journey to get here.
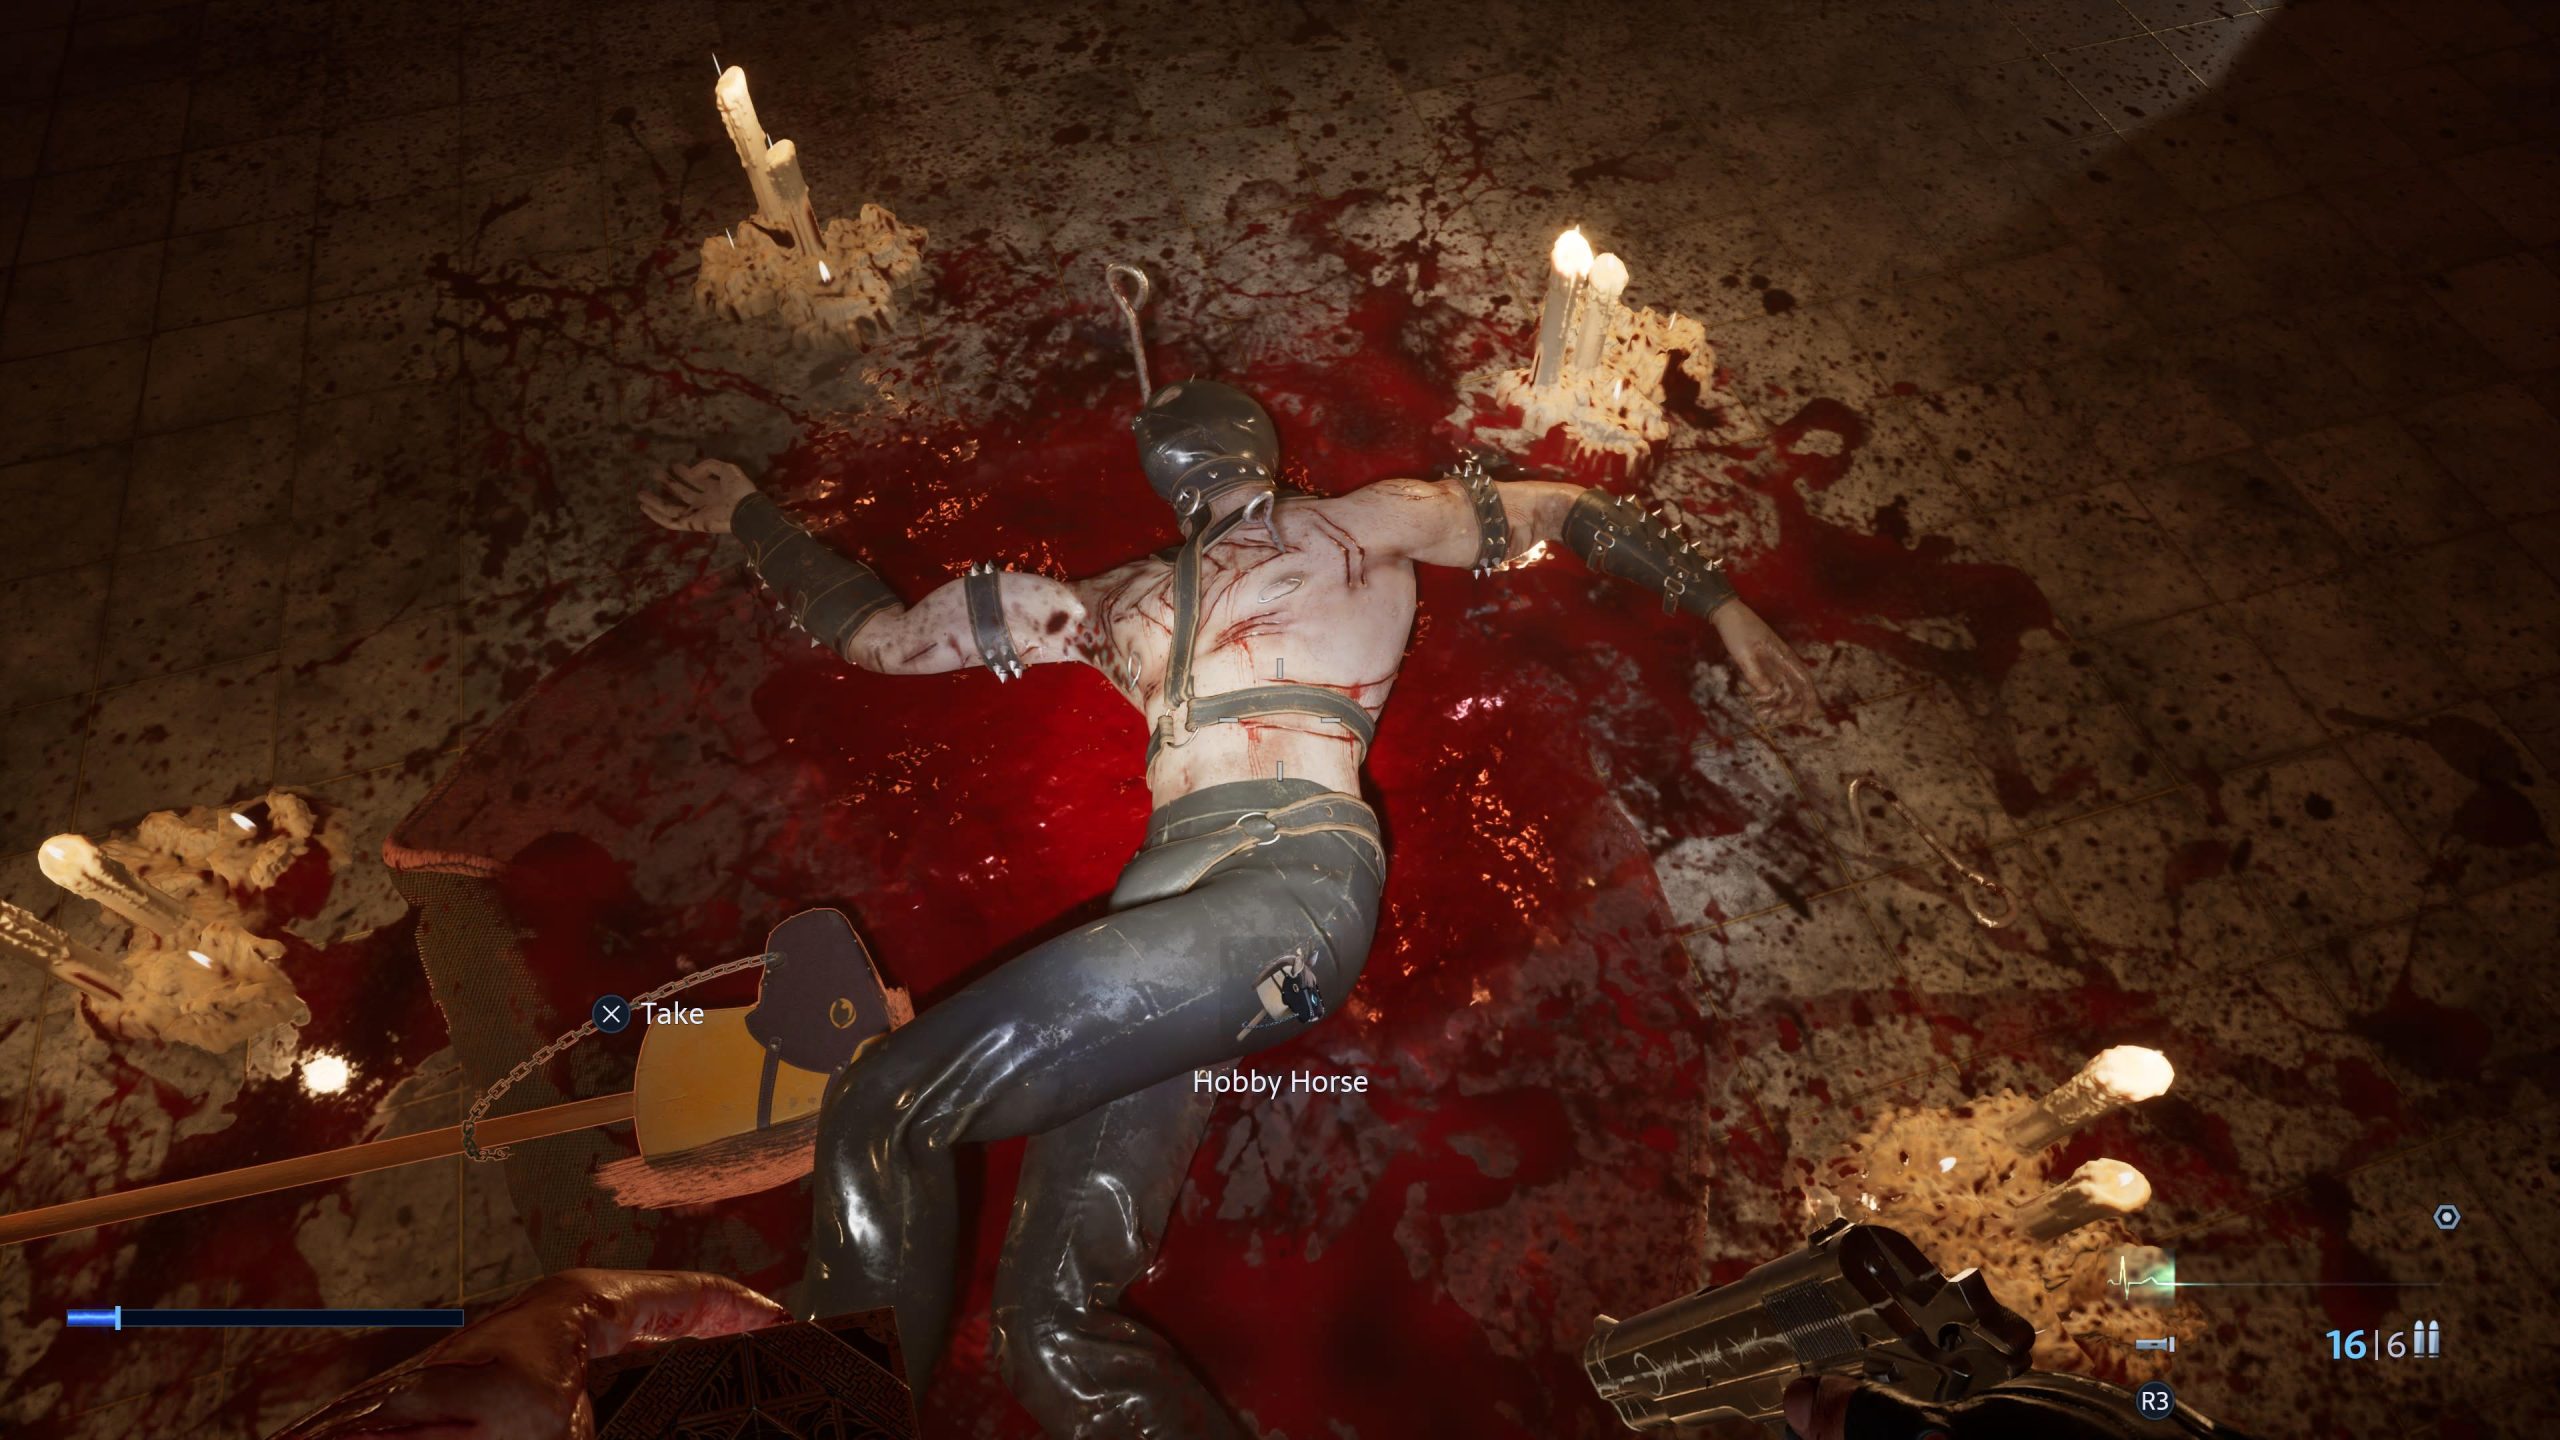
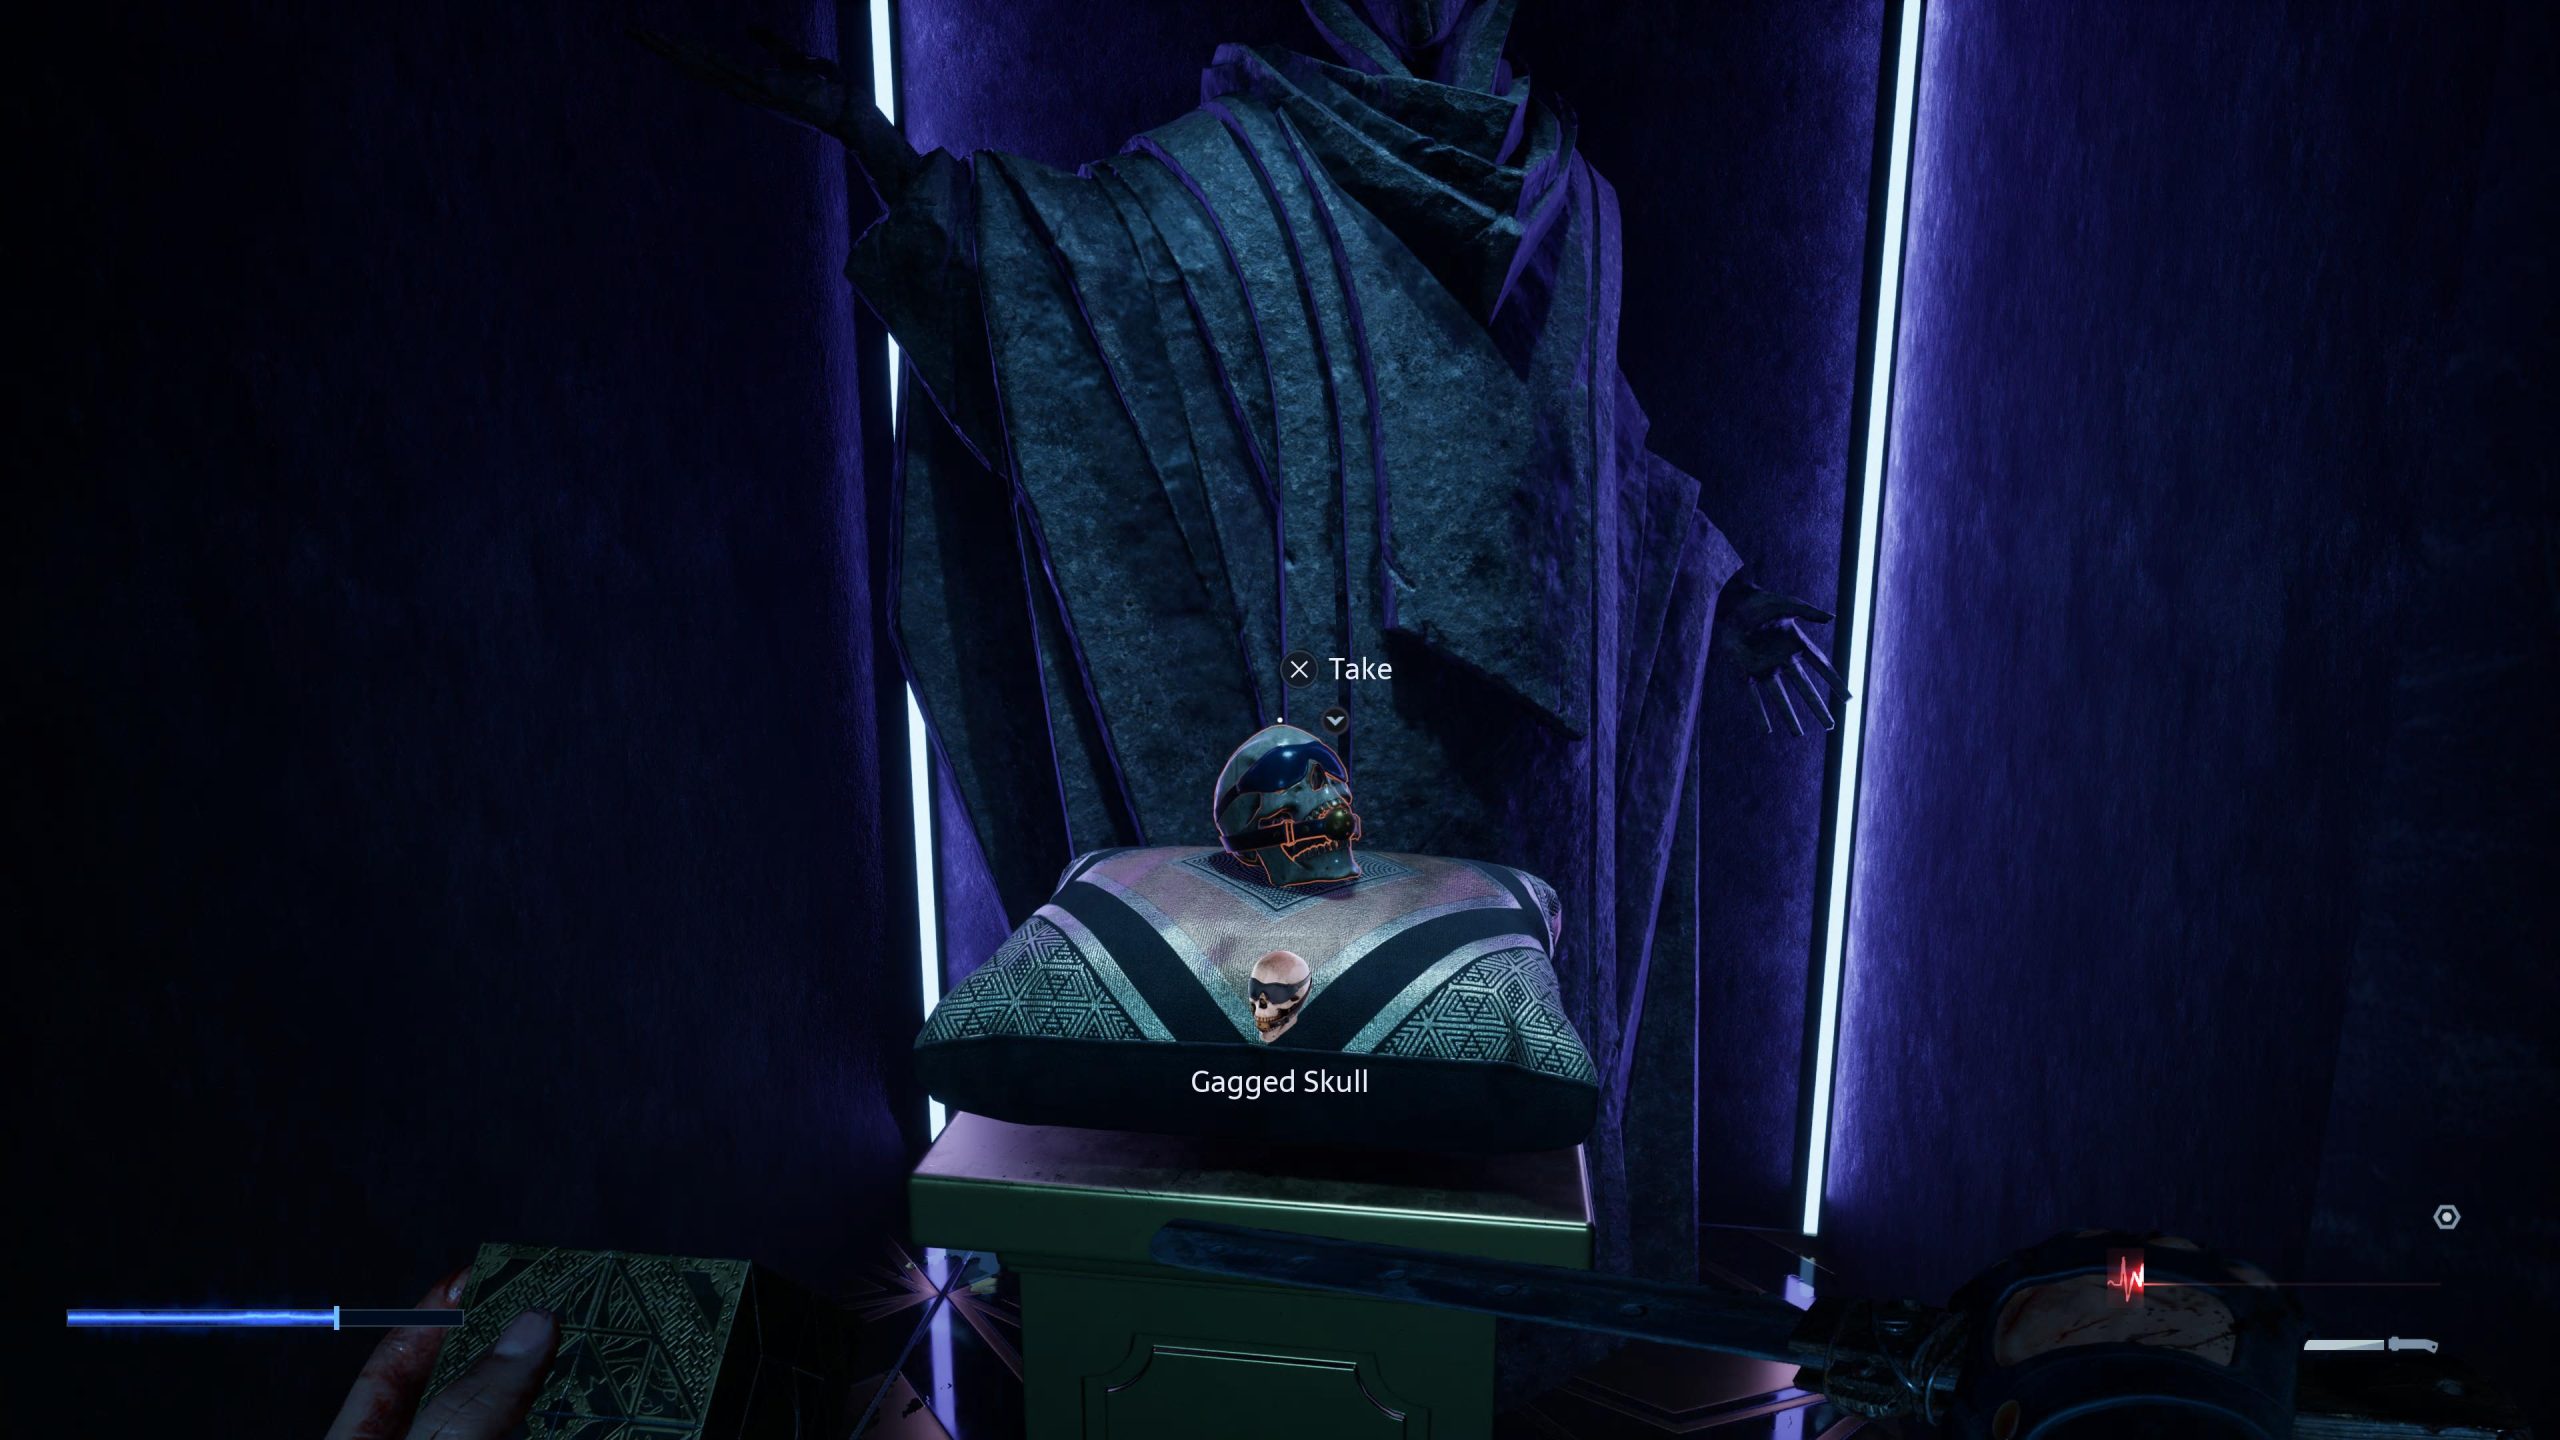
As soon as you pick up the skull, another Embracer will appear, and just like that one, you need to remove its arms to kill it. If you have the Hell Chains built up, use them as they’ll take out several of the arms in one go. Once you’ve killed the Embracer, you can make your way all the way back to the skull door of the Fetish club and place the skull in the hole, opening the door finally.
And that’s how you open the Skull Door in Hellraiser: Revival, and now you’ve got something, or someone else, to contend with.
For your next read, check out our review of Hellraiser: Revival, or our top tips for how to make the game a bit easier.

Luke Addison is the Founder and Editor-in-Chief of Thumb Wars. Having previously been a part of multiple outlets over the years, including building an entire gaming team from nothing to something, he thought it best to forge his own path and answer only to himself. As likely to be found playing the latest game as he is in the kitchen relaxing (by cooking), he always brings the same bold and brash attitude to everything he does, with a heavy leaning on sarcasm and dry wit!