Hellraiser: Revival is hotting up now! You’ve just got out of the Labyrinth after agreeing a deal with Pinhead, found and revived Sunny, albeit, some of her, and now you’re hunting down hearts from several people in order to bring her back to life fully. Of course, things are never as easy as they could be, and before you can hunt down Charlotte to get her heart, you need to find the Statue’s Missing Parts in order to open the gate to her.
This is further complicated by there being three gates, three different pieces missing, and no real clue as to which you need. By the end of the guide, you’ll know exactly where the piece is, what it is, and which gate to put it in, because we’re trying to make finding the statue’s missing parts as easy as possible.
How to Find the Statue’s Missing Parts in Hellraiser: Revival
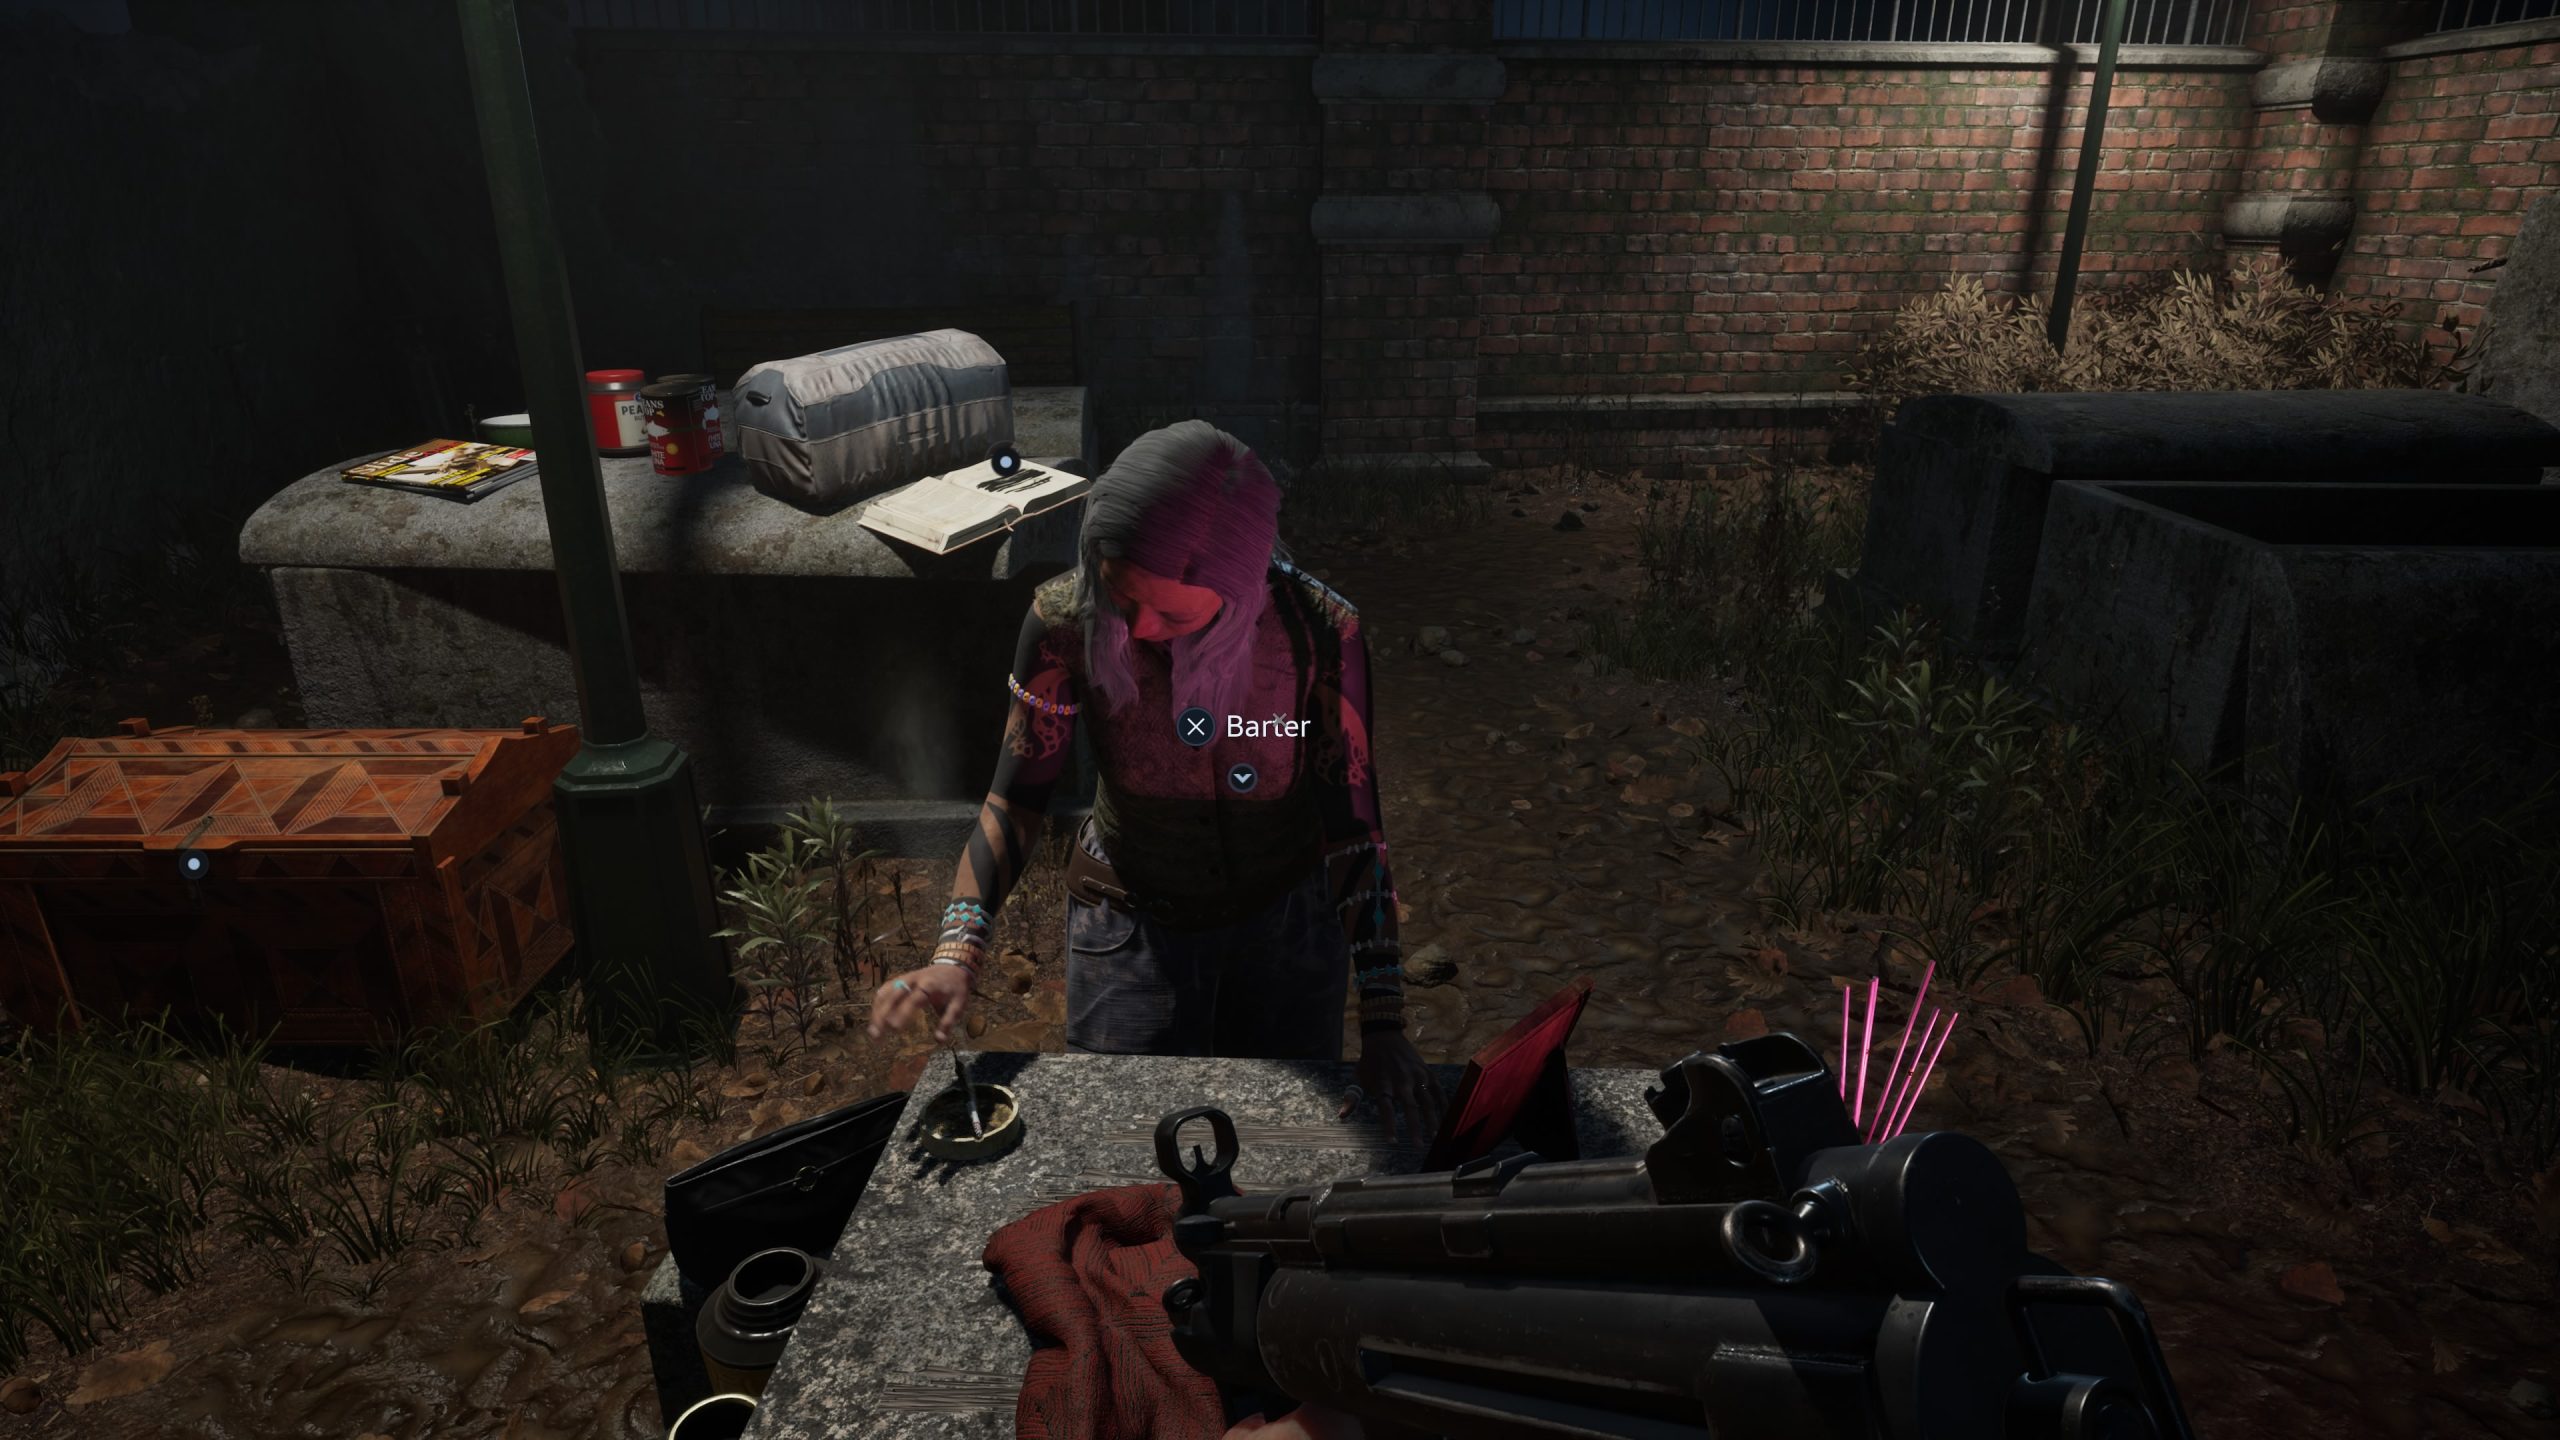
Before you go anywhere, you’re going to want to interact with each of the three gates so you can hear Aidan’s awful one-liners, and then head over to Zora to purchase a few bits and pieces to make the coming journey easier. This quest is a three part job, where you find the missing part of each of the statue gates, and in doing so, get a little closer to Charlotte. Up first, the missing Hand.
One click and you're done. Thank you!
The Statue’s Missing Parts – The Hand
When you’re ready, head up the stairs to the right of Zora, and you’ll come to two Cultist’s talking about an undercover detective. Get rid of them and head to your right, and under the cover on the table will be a pair of boltcutters which you need to pick up. Now head in the other direction and you’ll find the purpose of those boltcutters, a locked basement door.
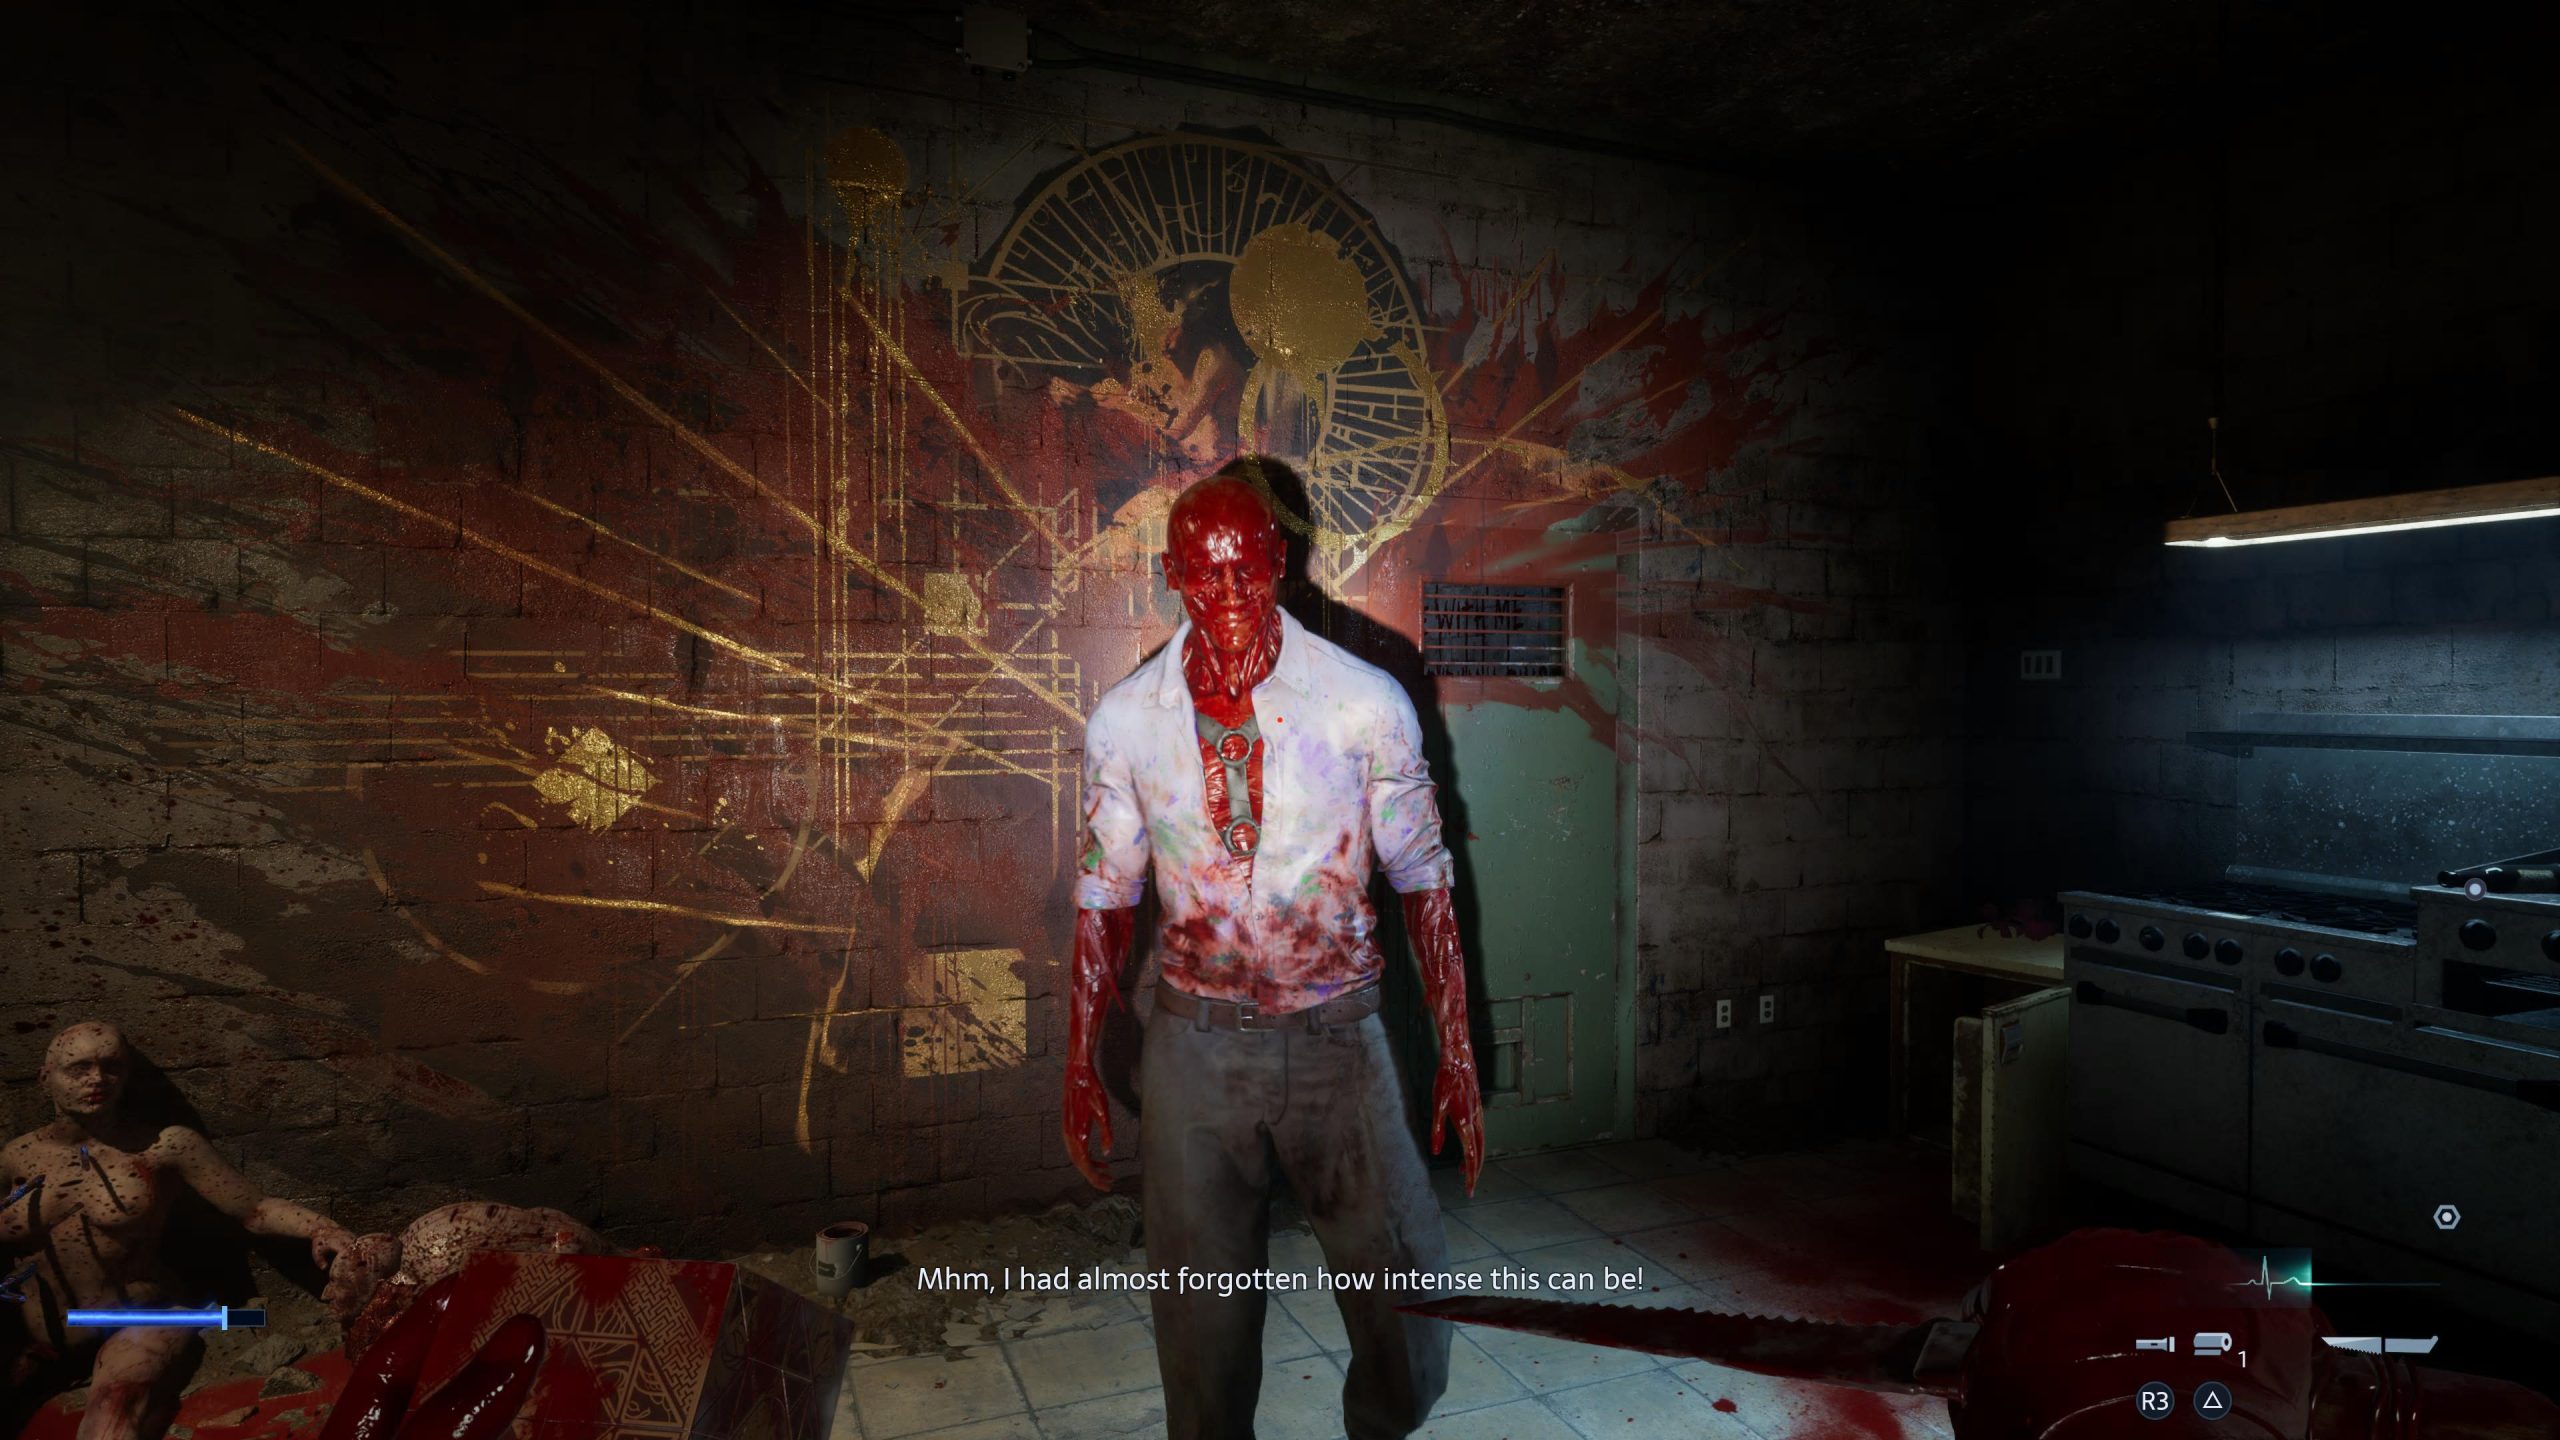
Make your way into the basement and through the rooms, avoiding the littered bodies and making sure to pick up the crafting components around. You’ll quickly come to an elevator with what looks to be Bruno’s mask inside it. As you pick it up, you’ll realise that it is indeed Bruno’s mask, and he’s not quite as dead as you thought. What follows is a boss fight with him, and once you’ve beaten him, you can continue on.
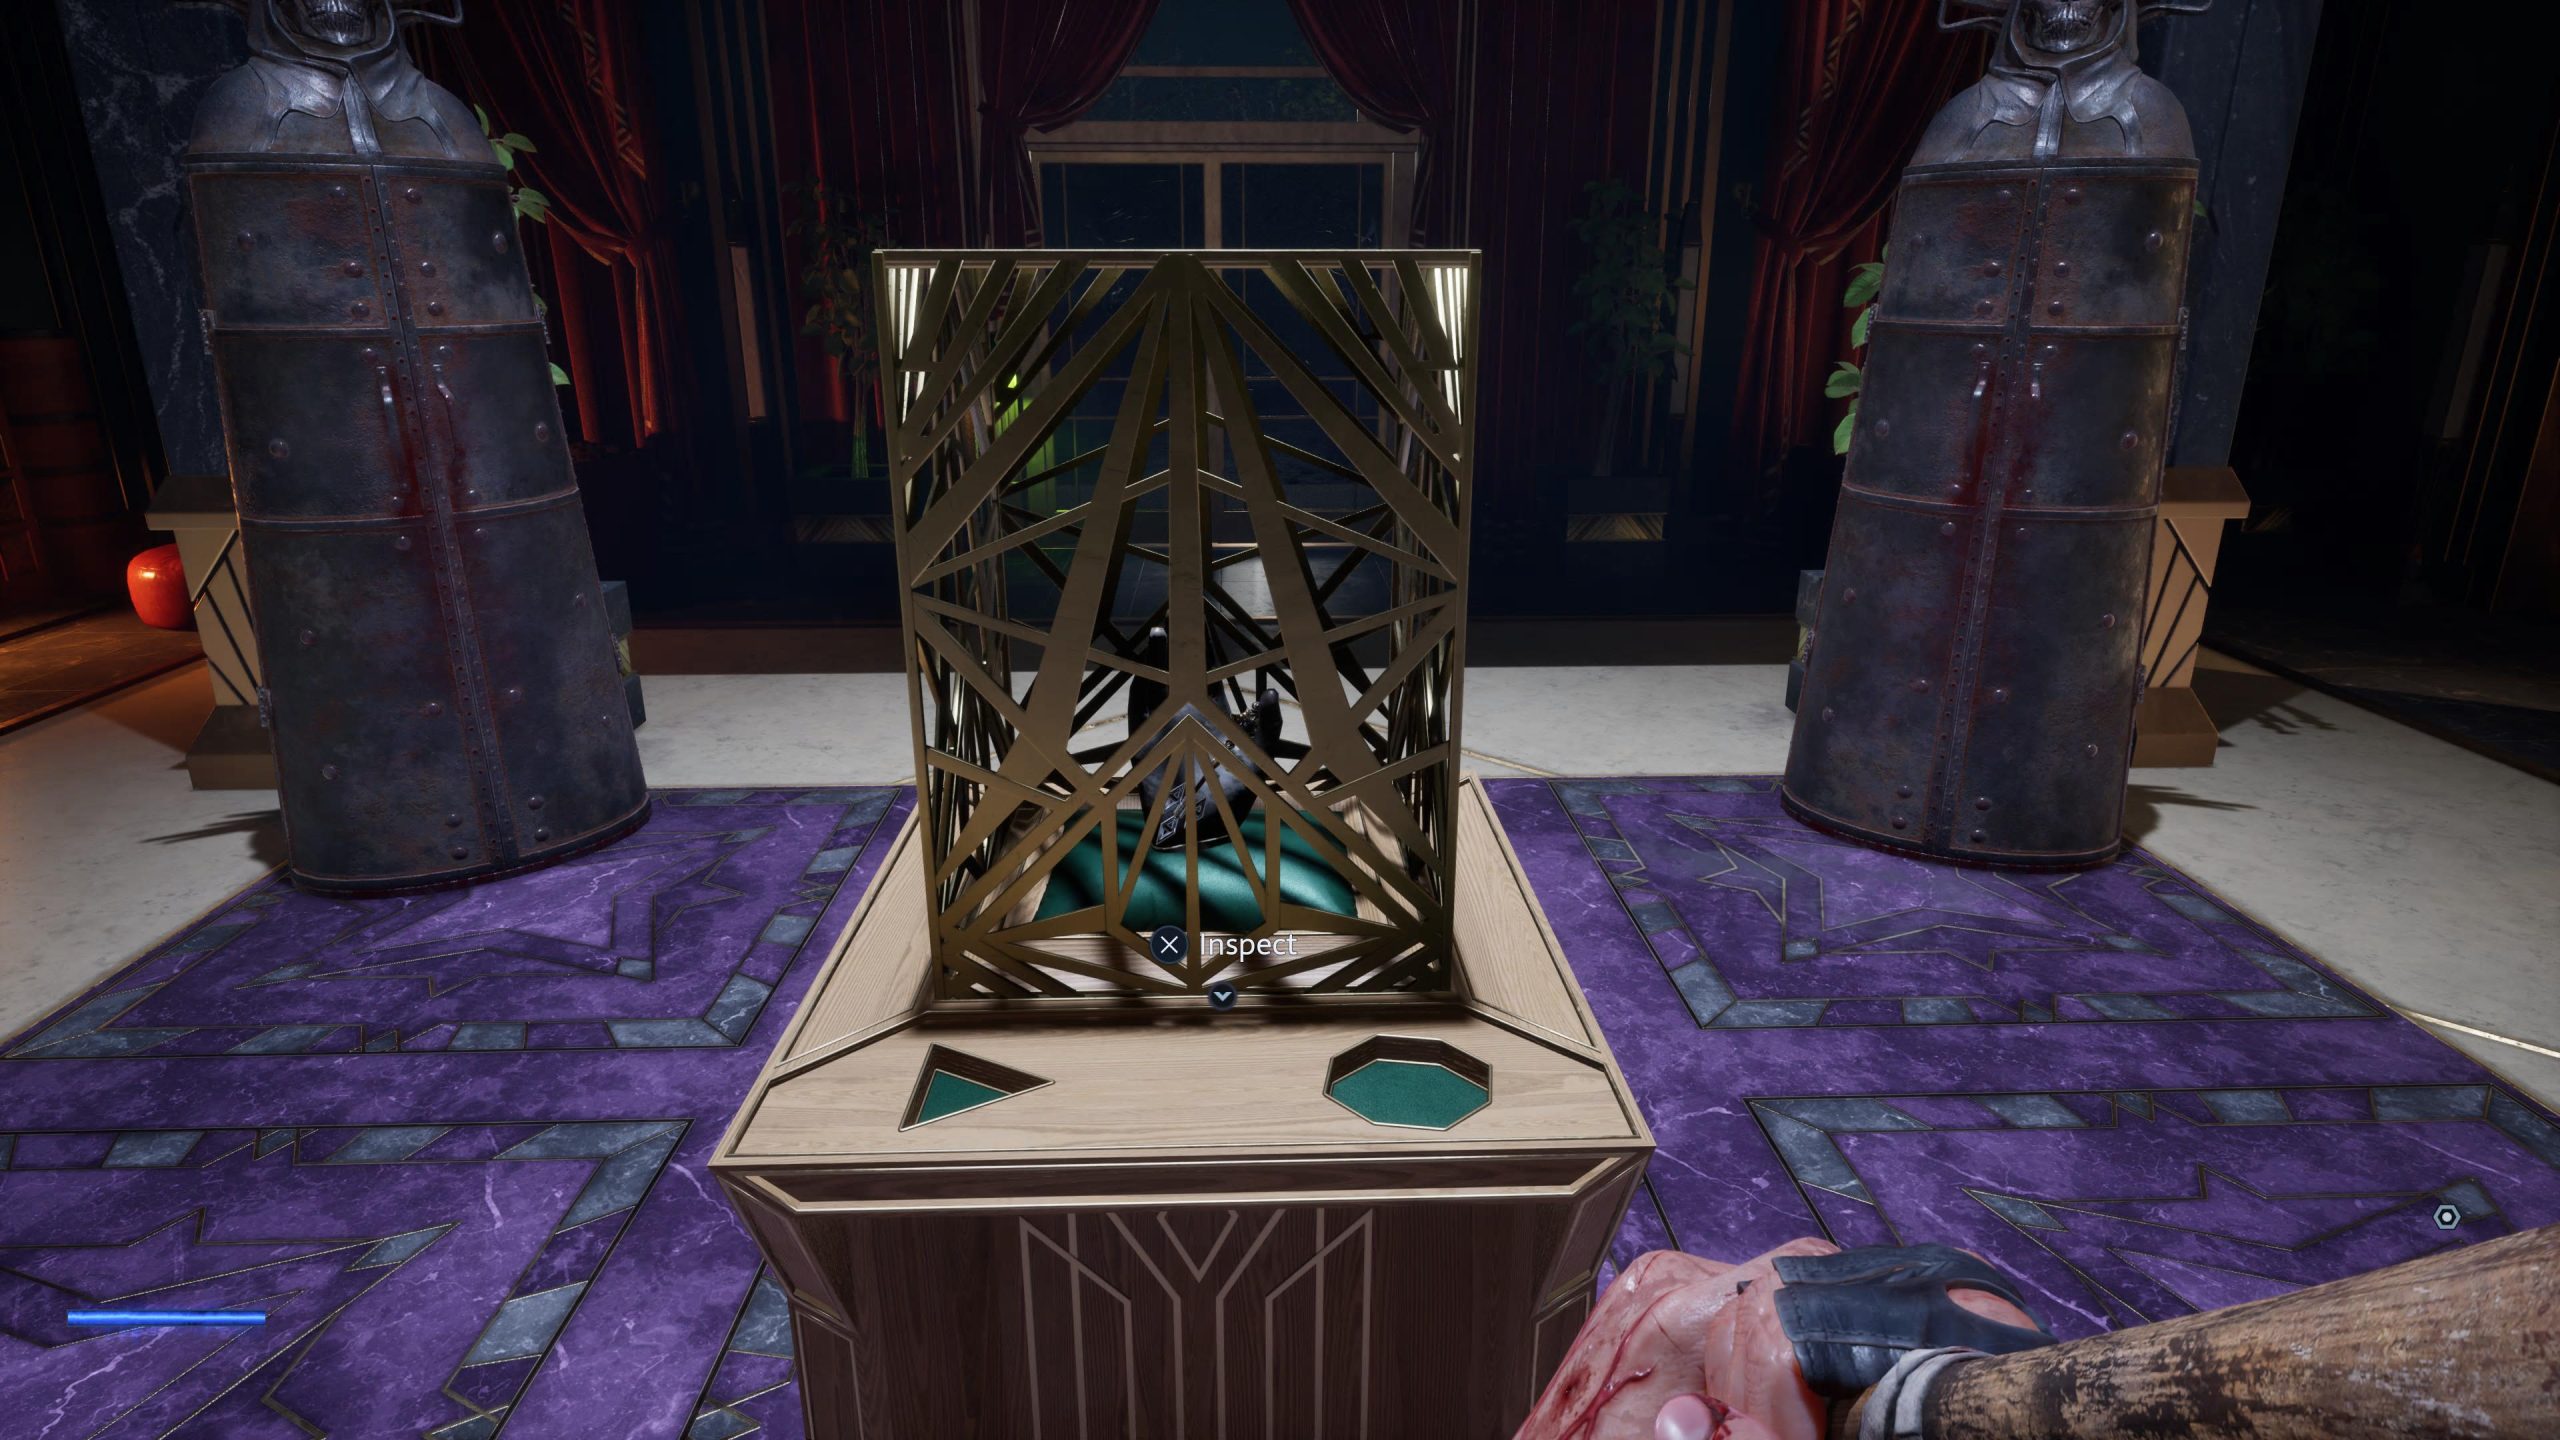
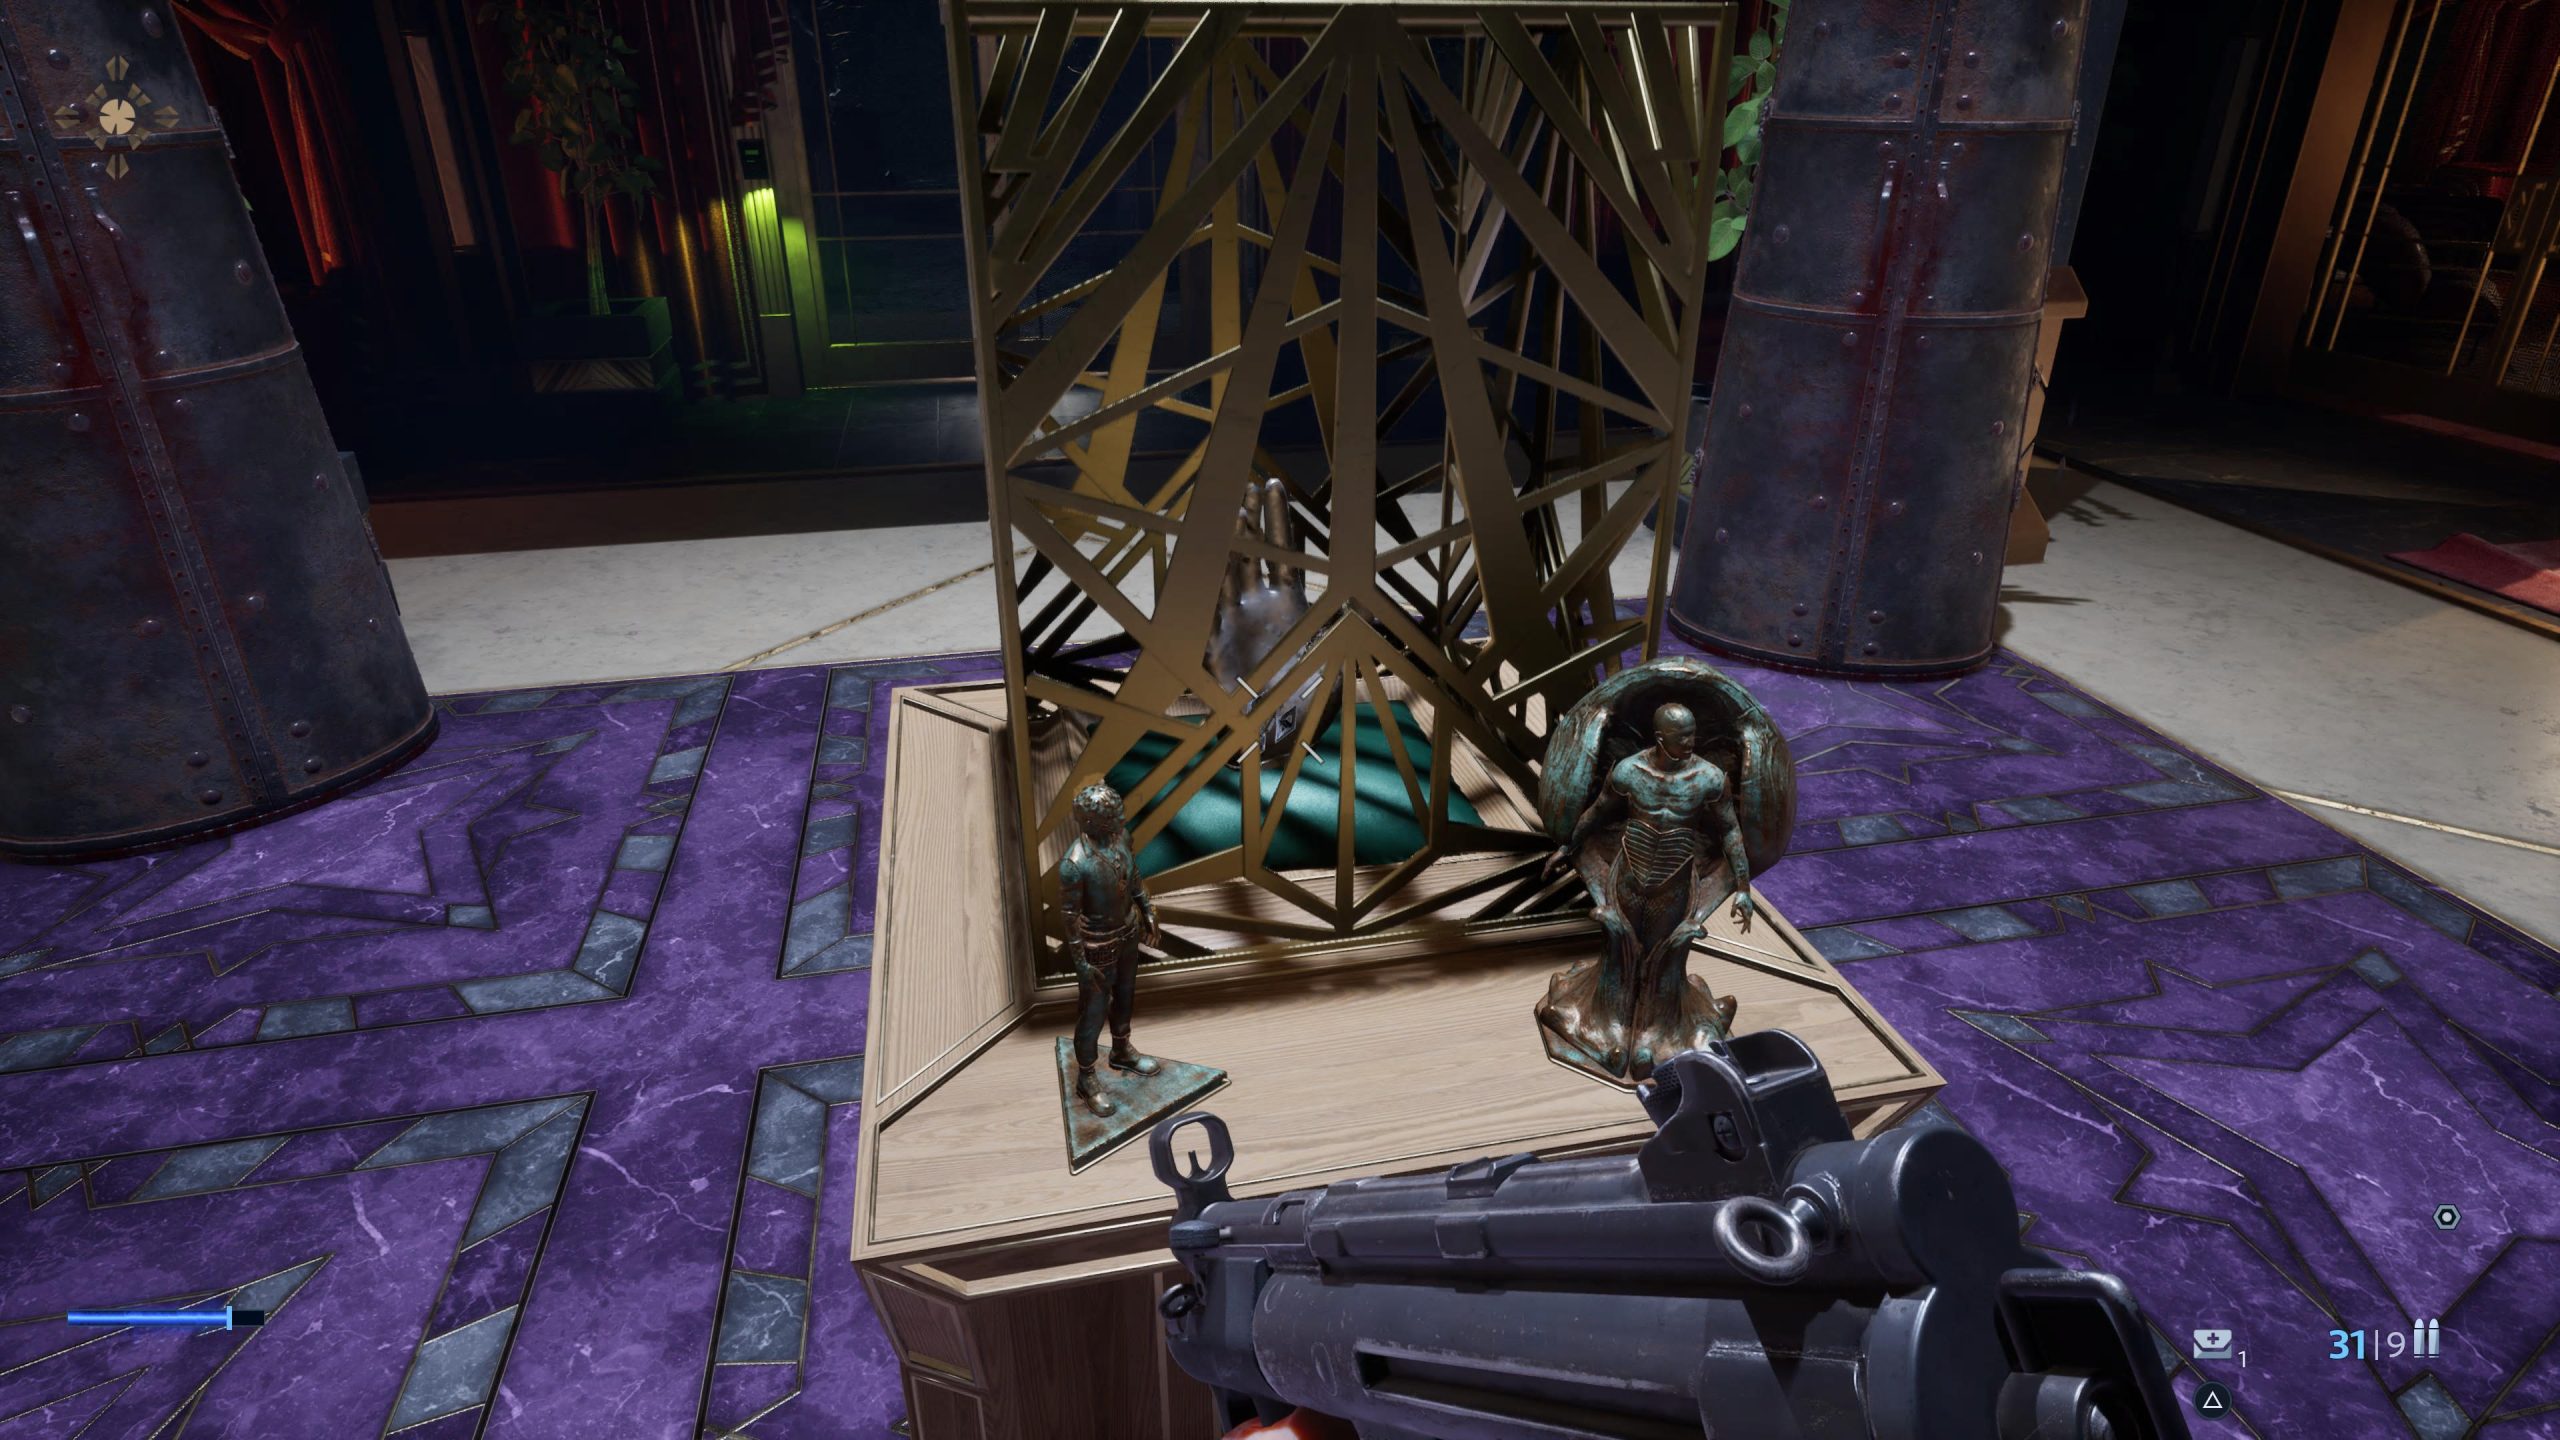
Head up the elevator into the lobby, and you’ll end up having another chat with a previously unmet Cenobite. After this has ended, explore the building and pick up all the crafting components, as well as some disturbing notes and recordings from Bruno, before heading back to the centre of the lobby. Here, in a box, is the first of the Statue’s Missing Parts, a hand. To open the box, you’ll need to find both the corresponding items to place inside the holes on the plinth.
This is a multi-step process, so to keep it simple:
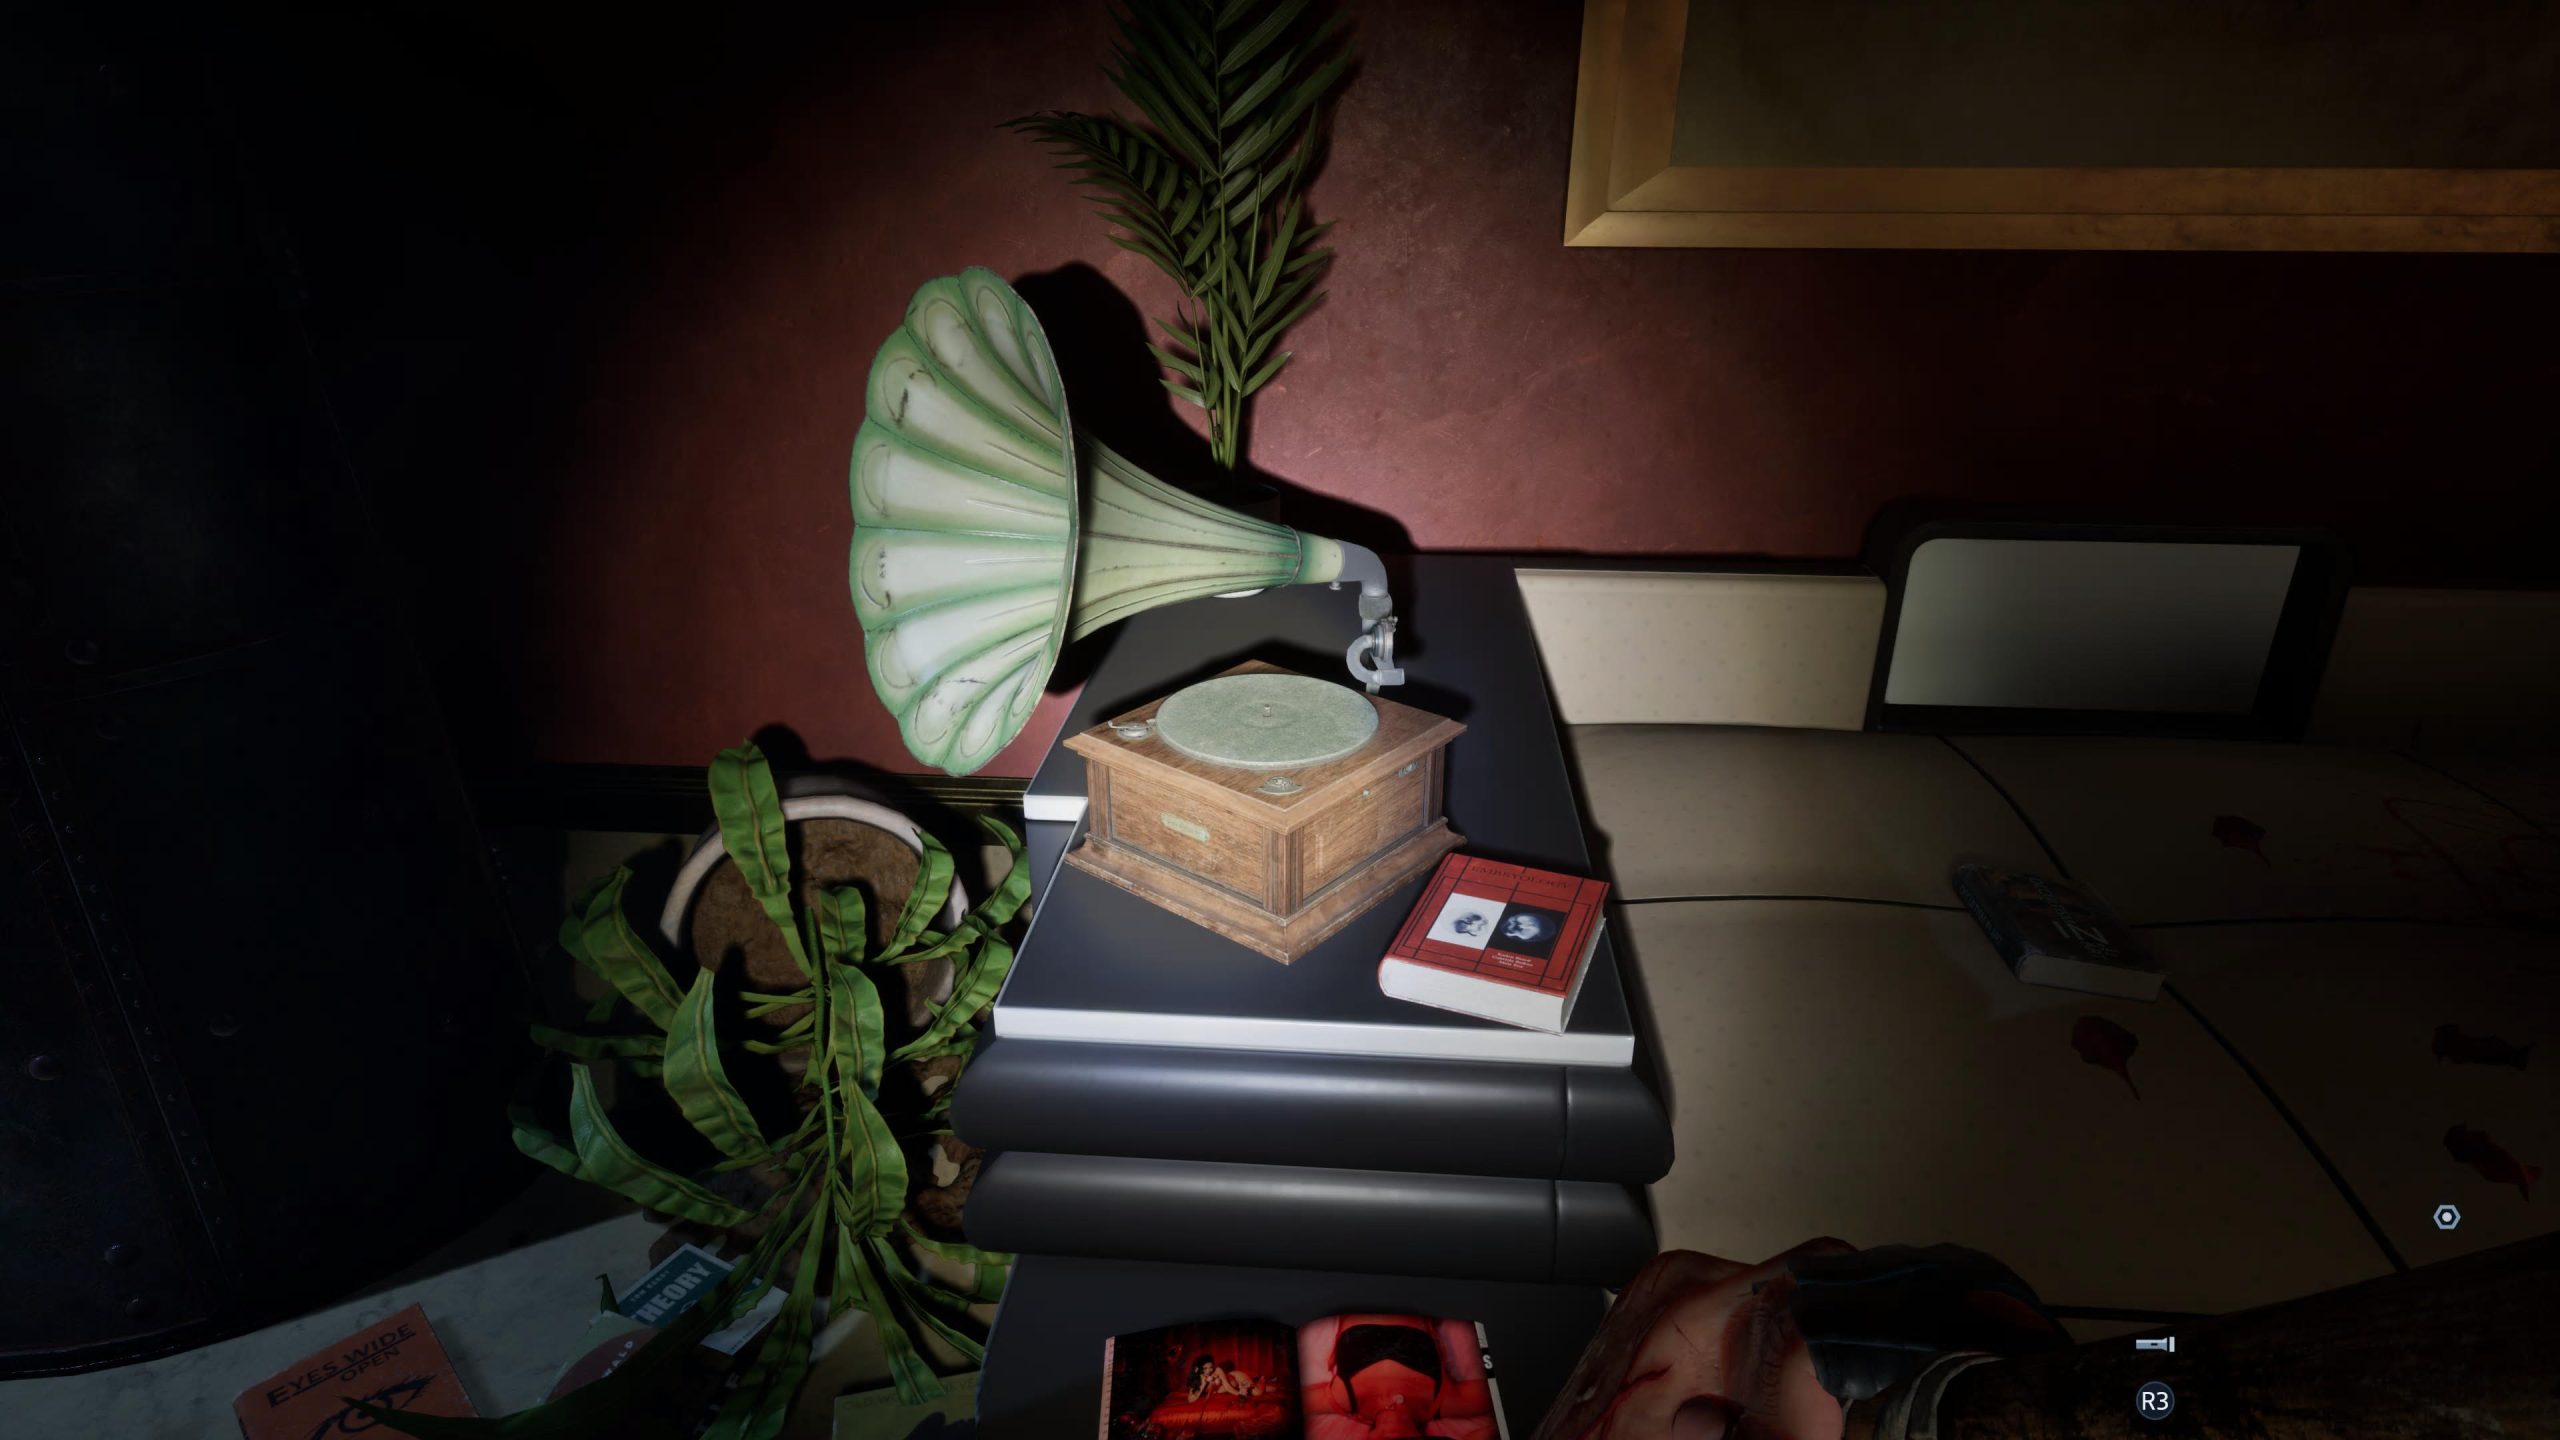
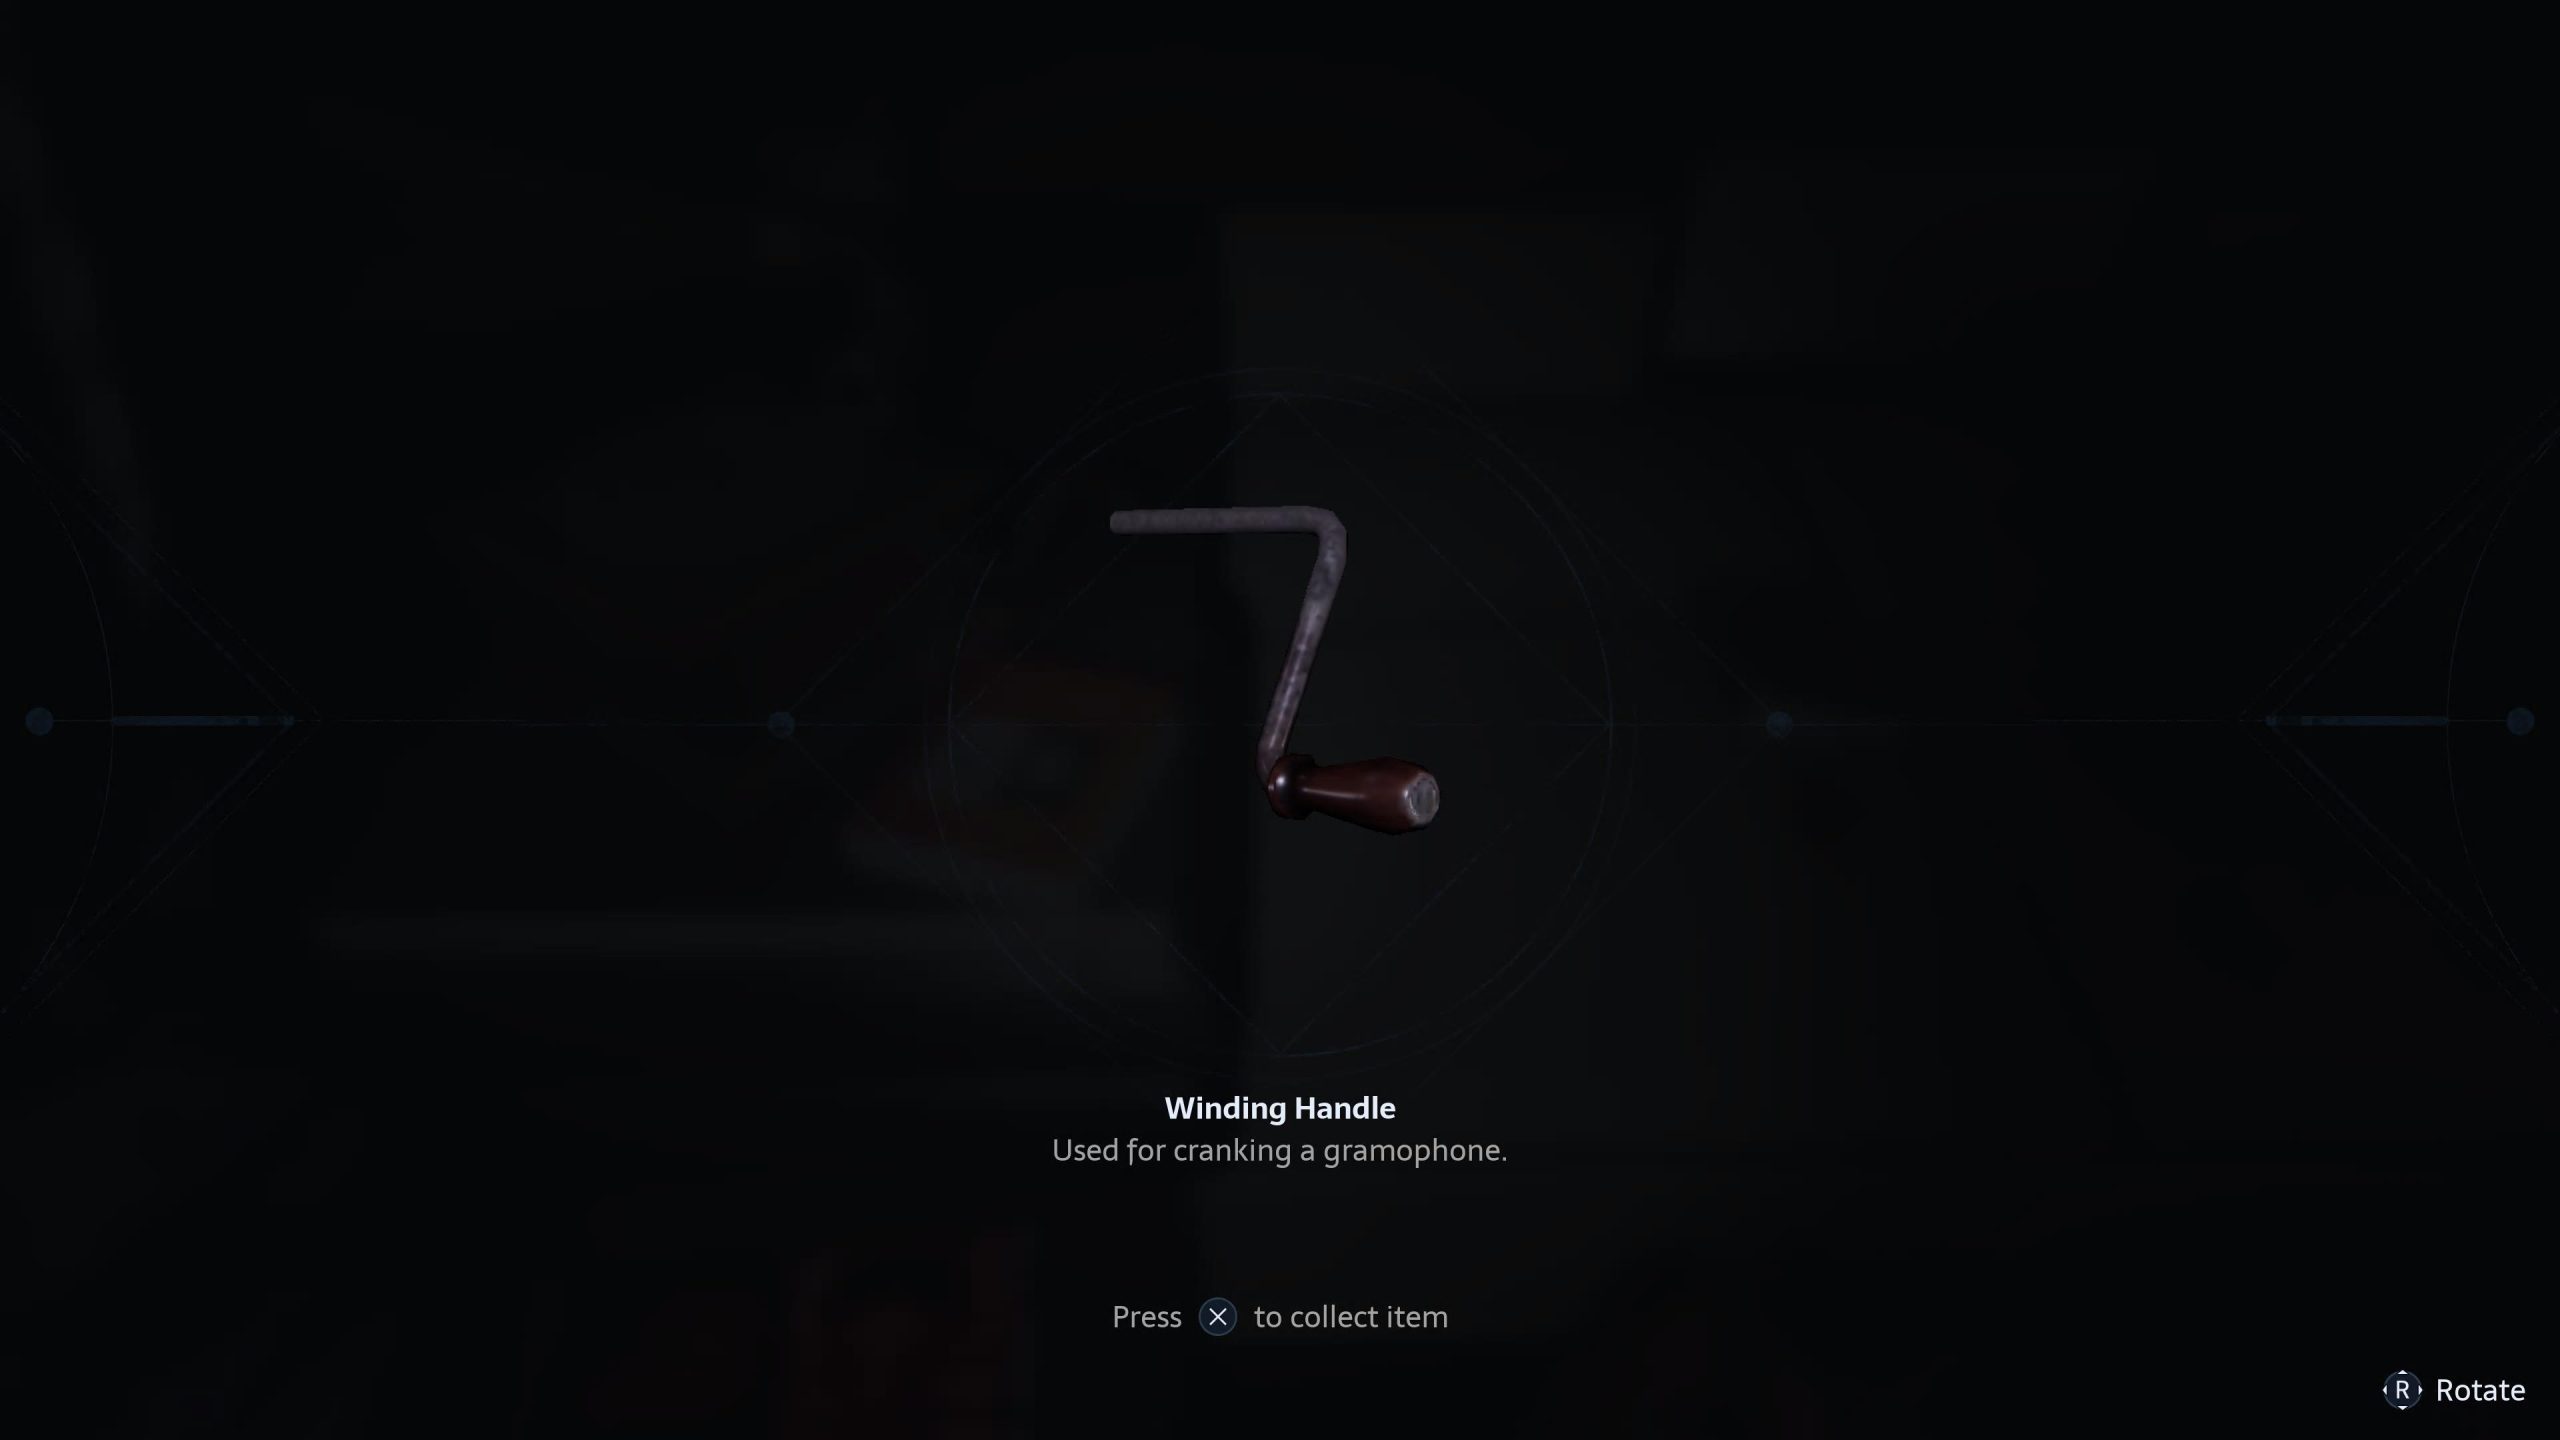
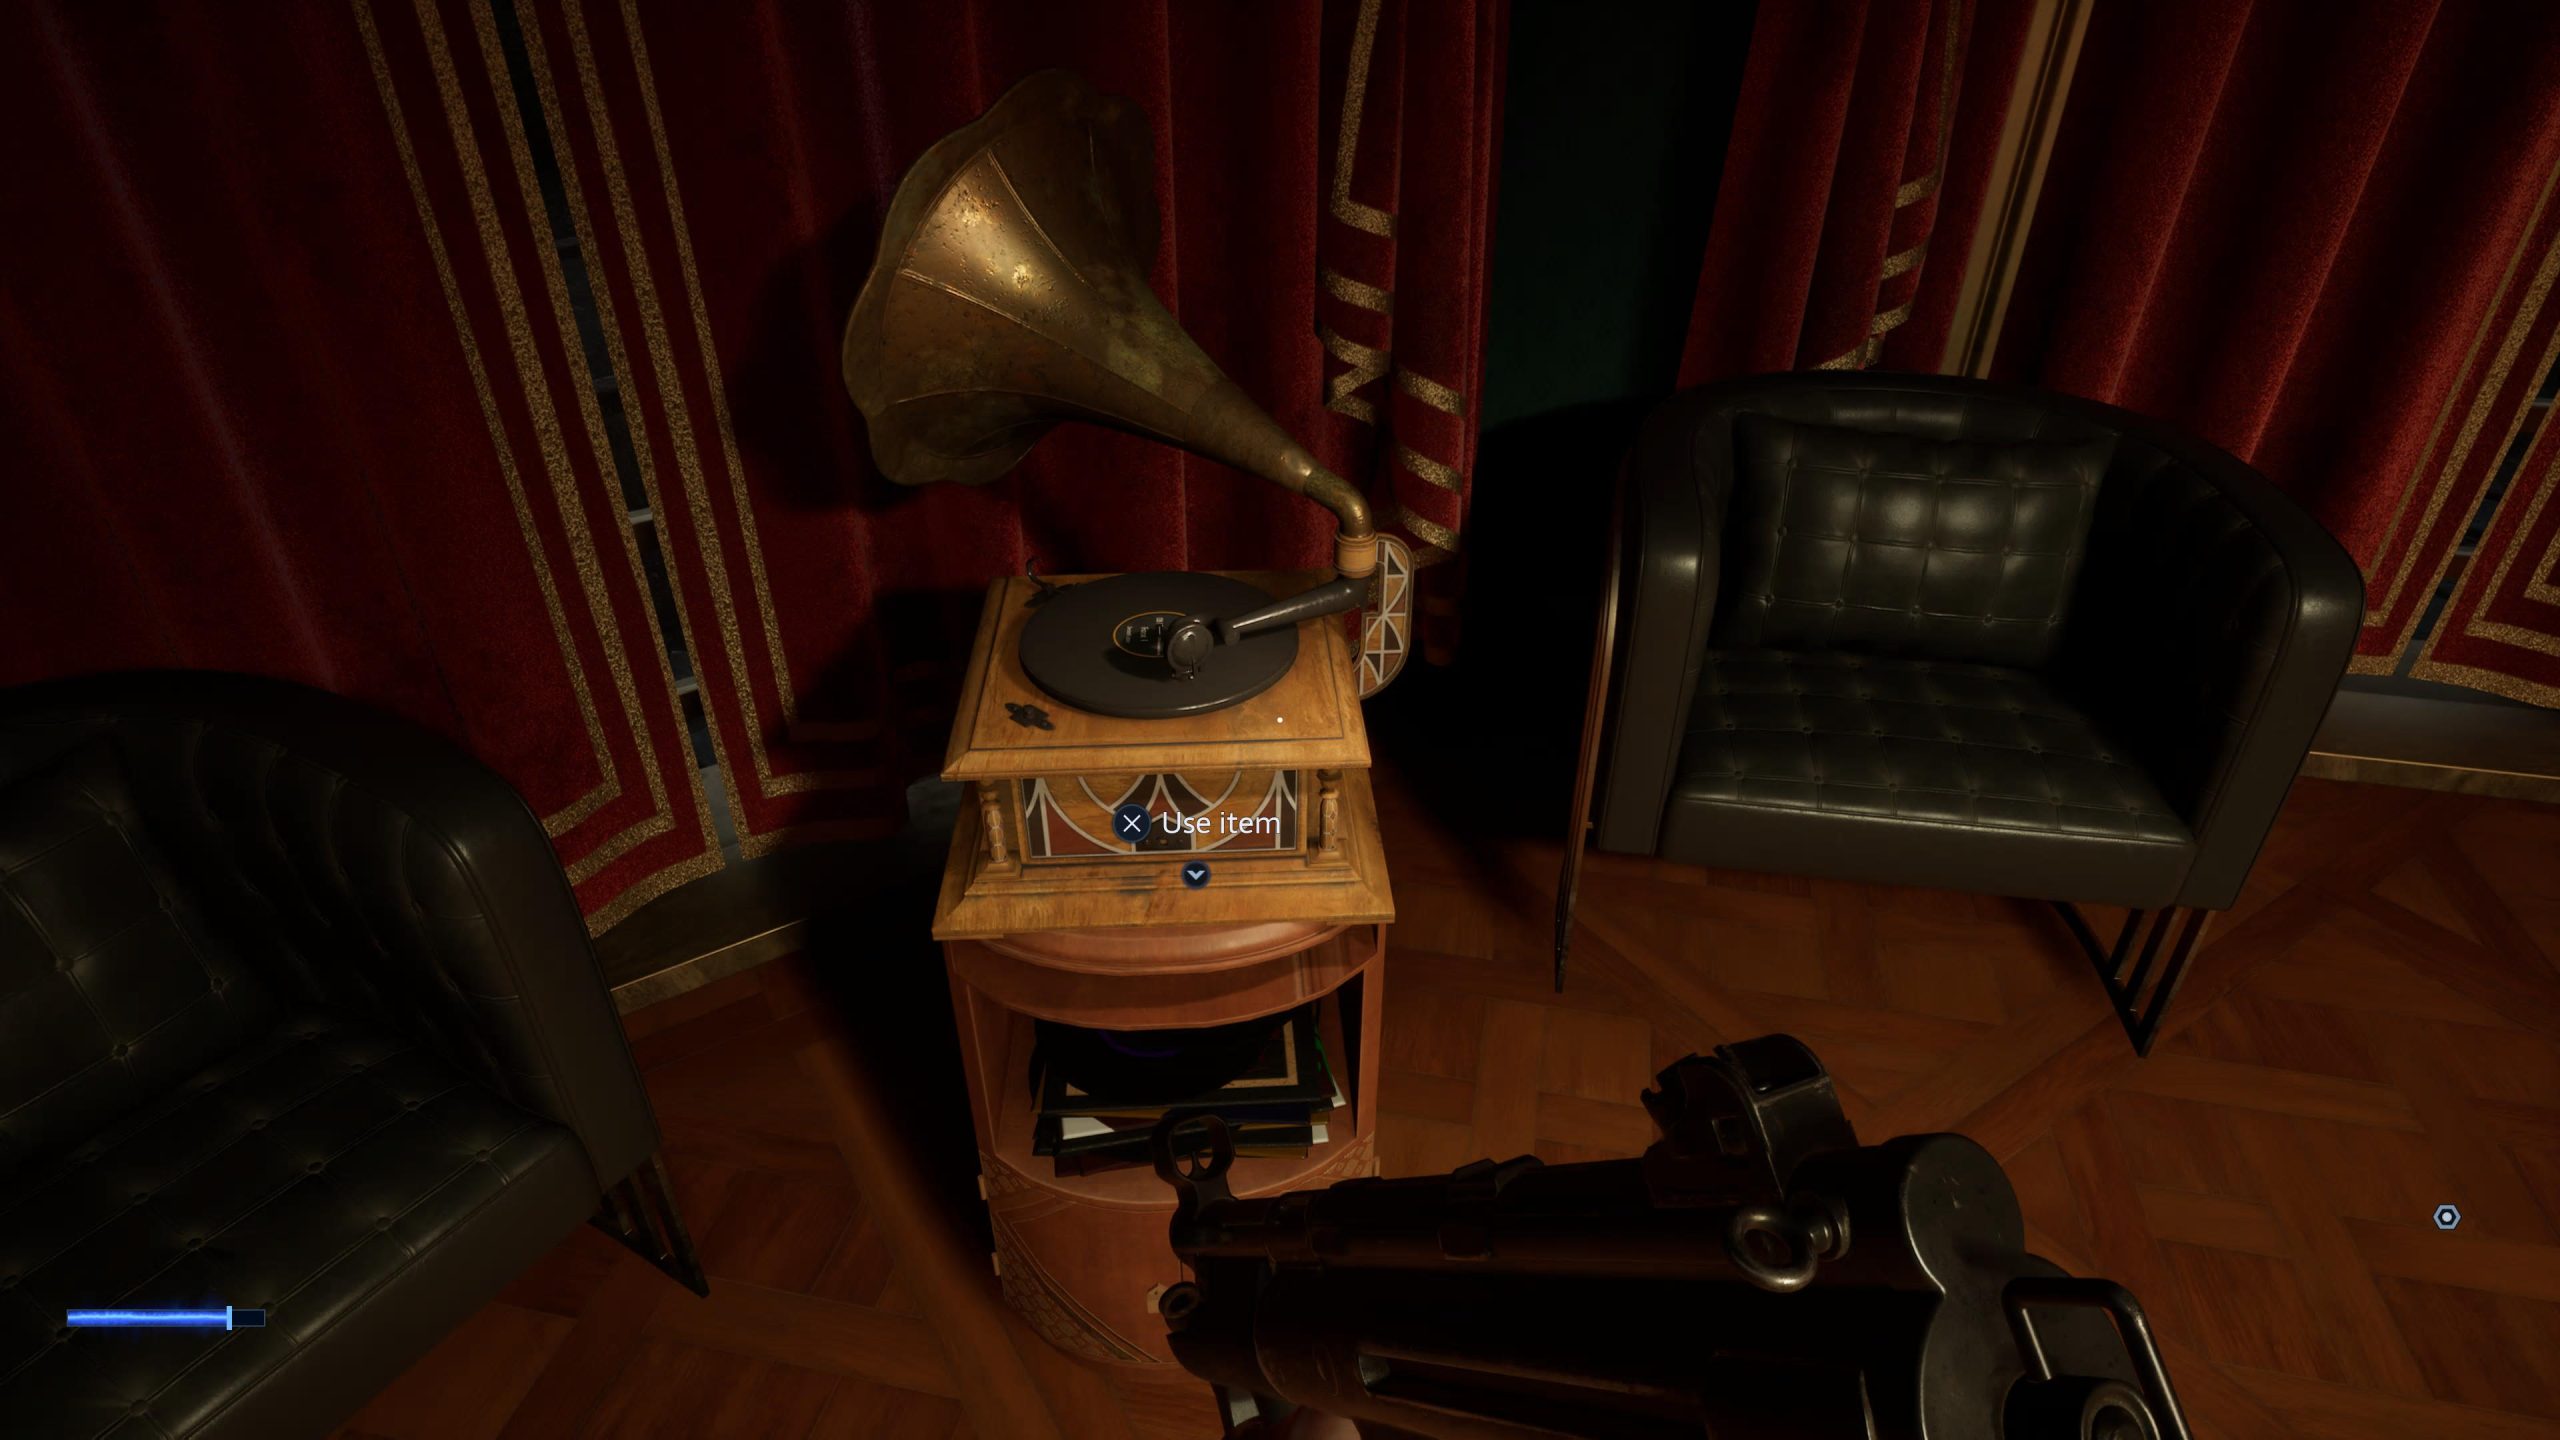
- Head upstairs and take a left, then a right. You’ll end up in a room with a bookcase, bed, and a piano, amongst other things. Near the bed with the dead Cultist on is a Gramophone, interact and grab the Winding Handle, you’ll need this soon.
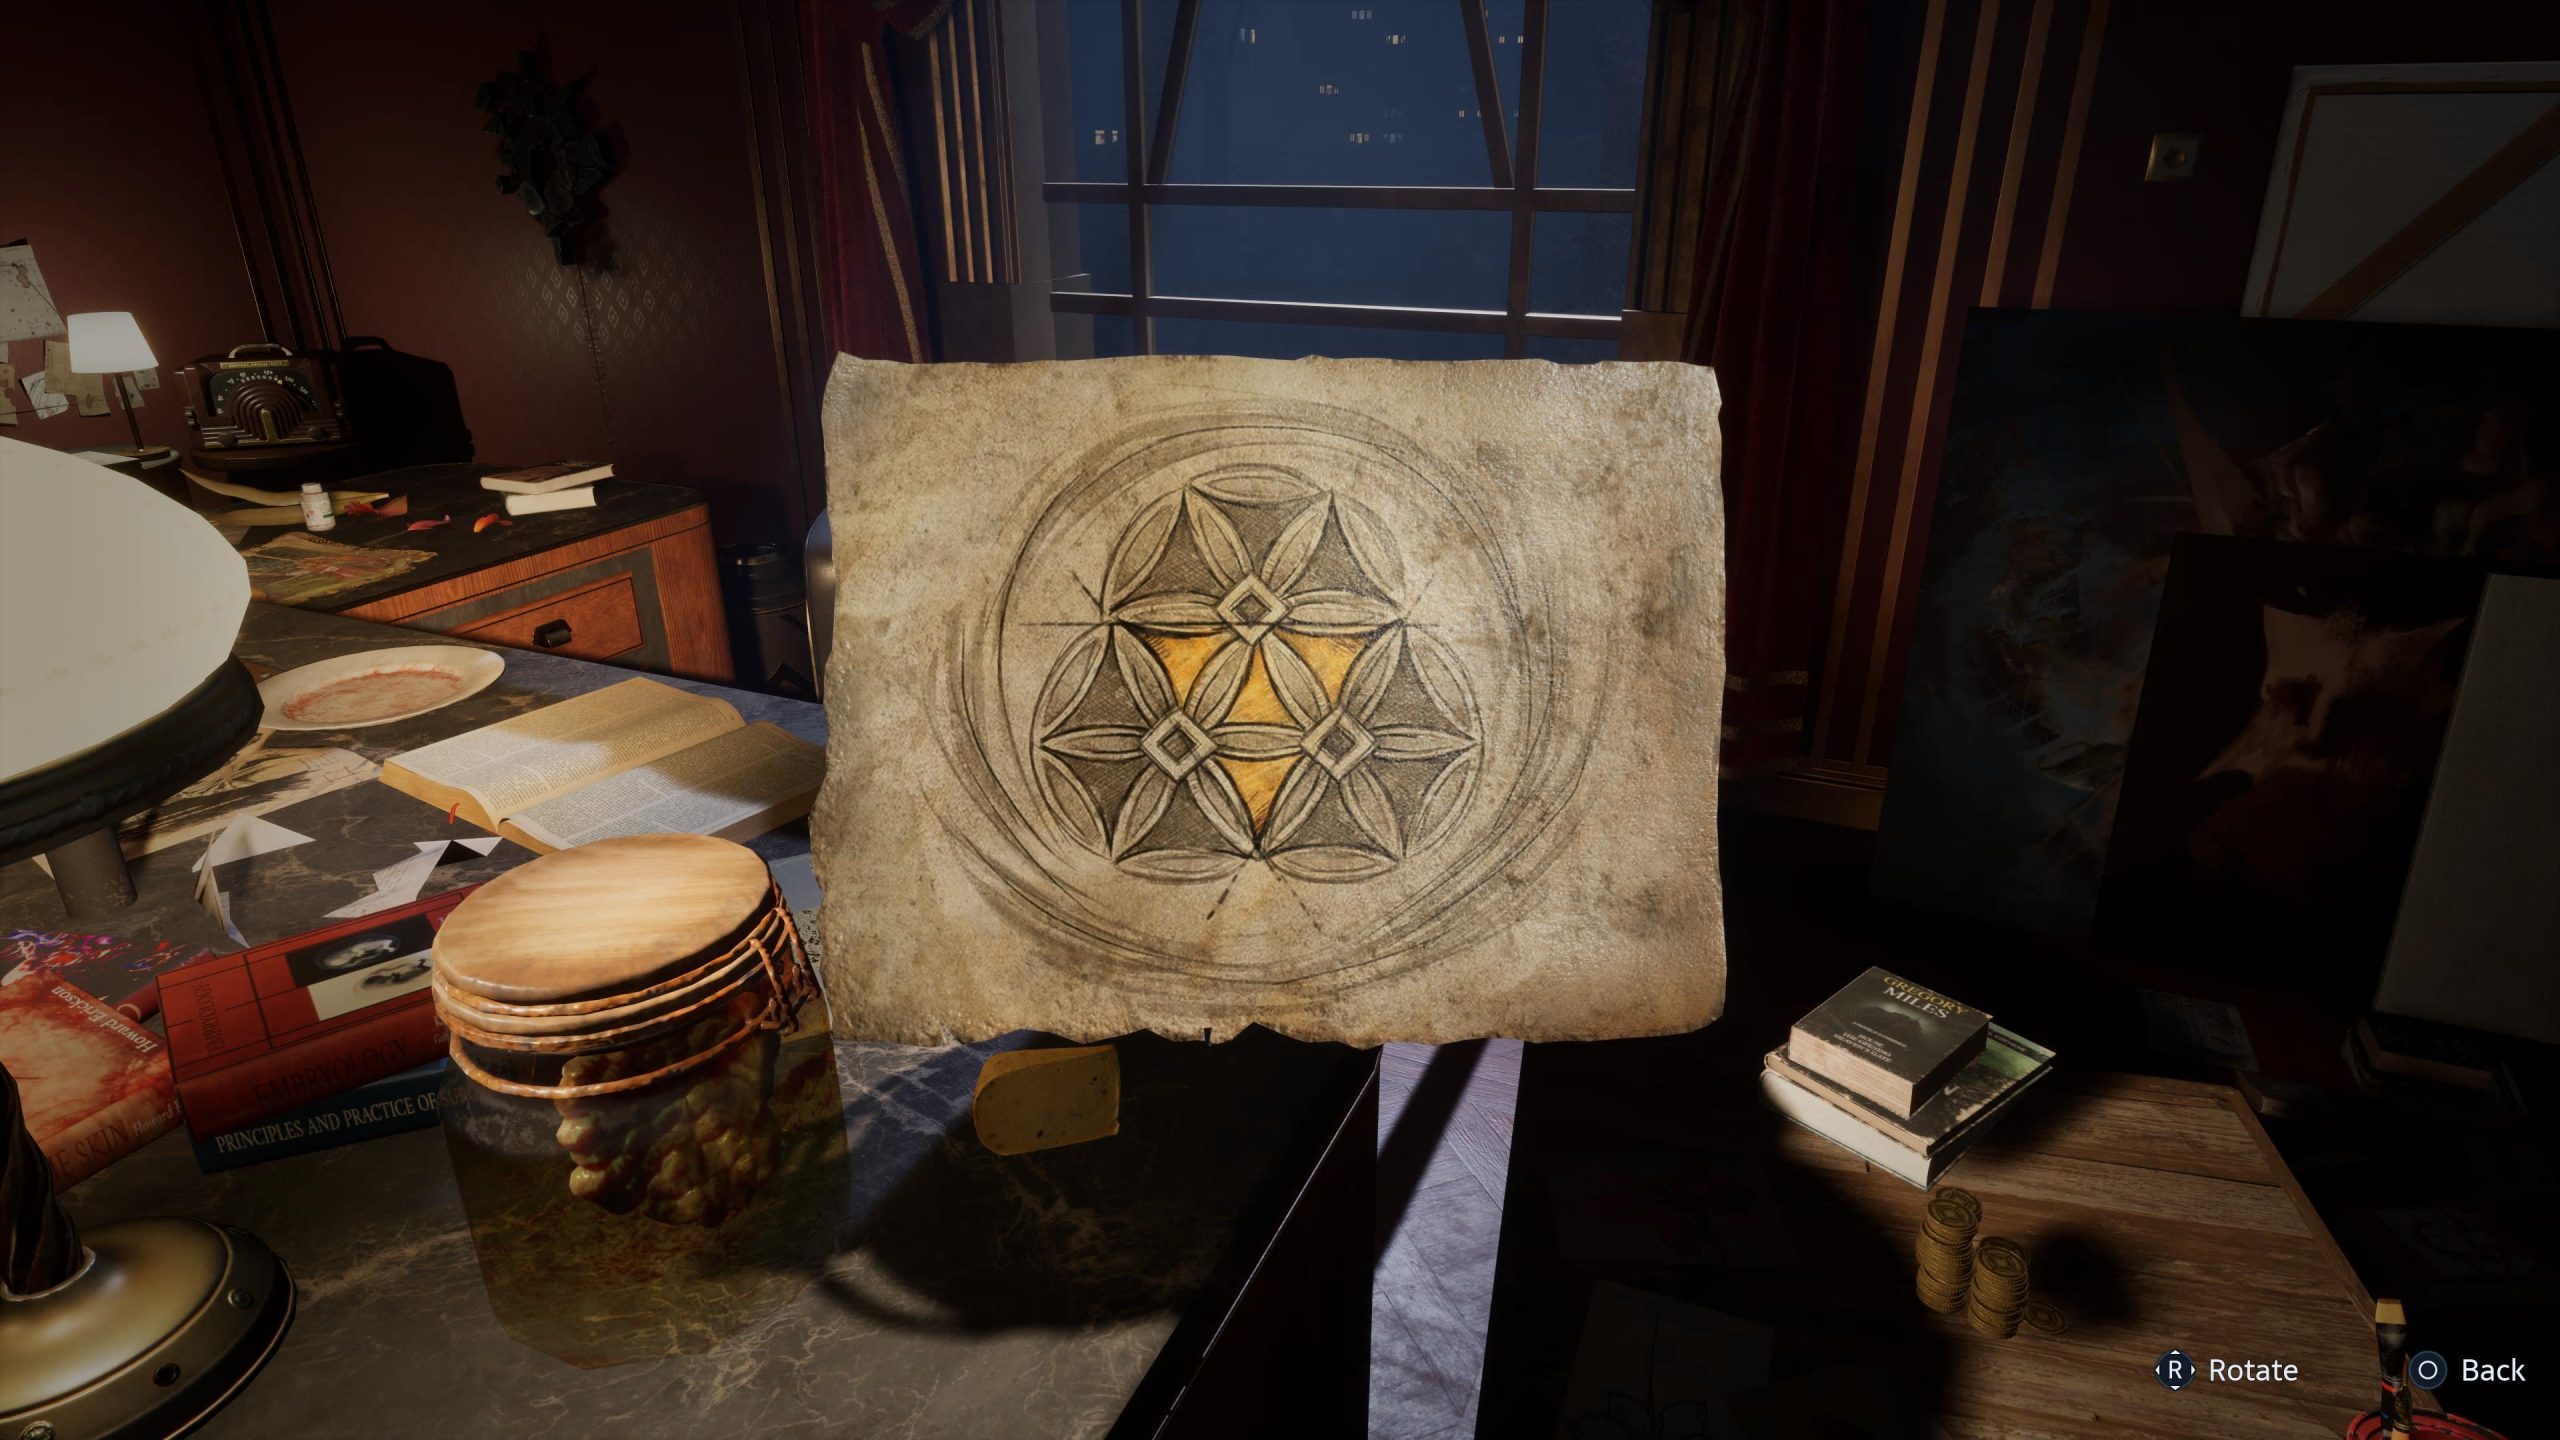
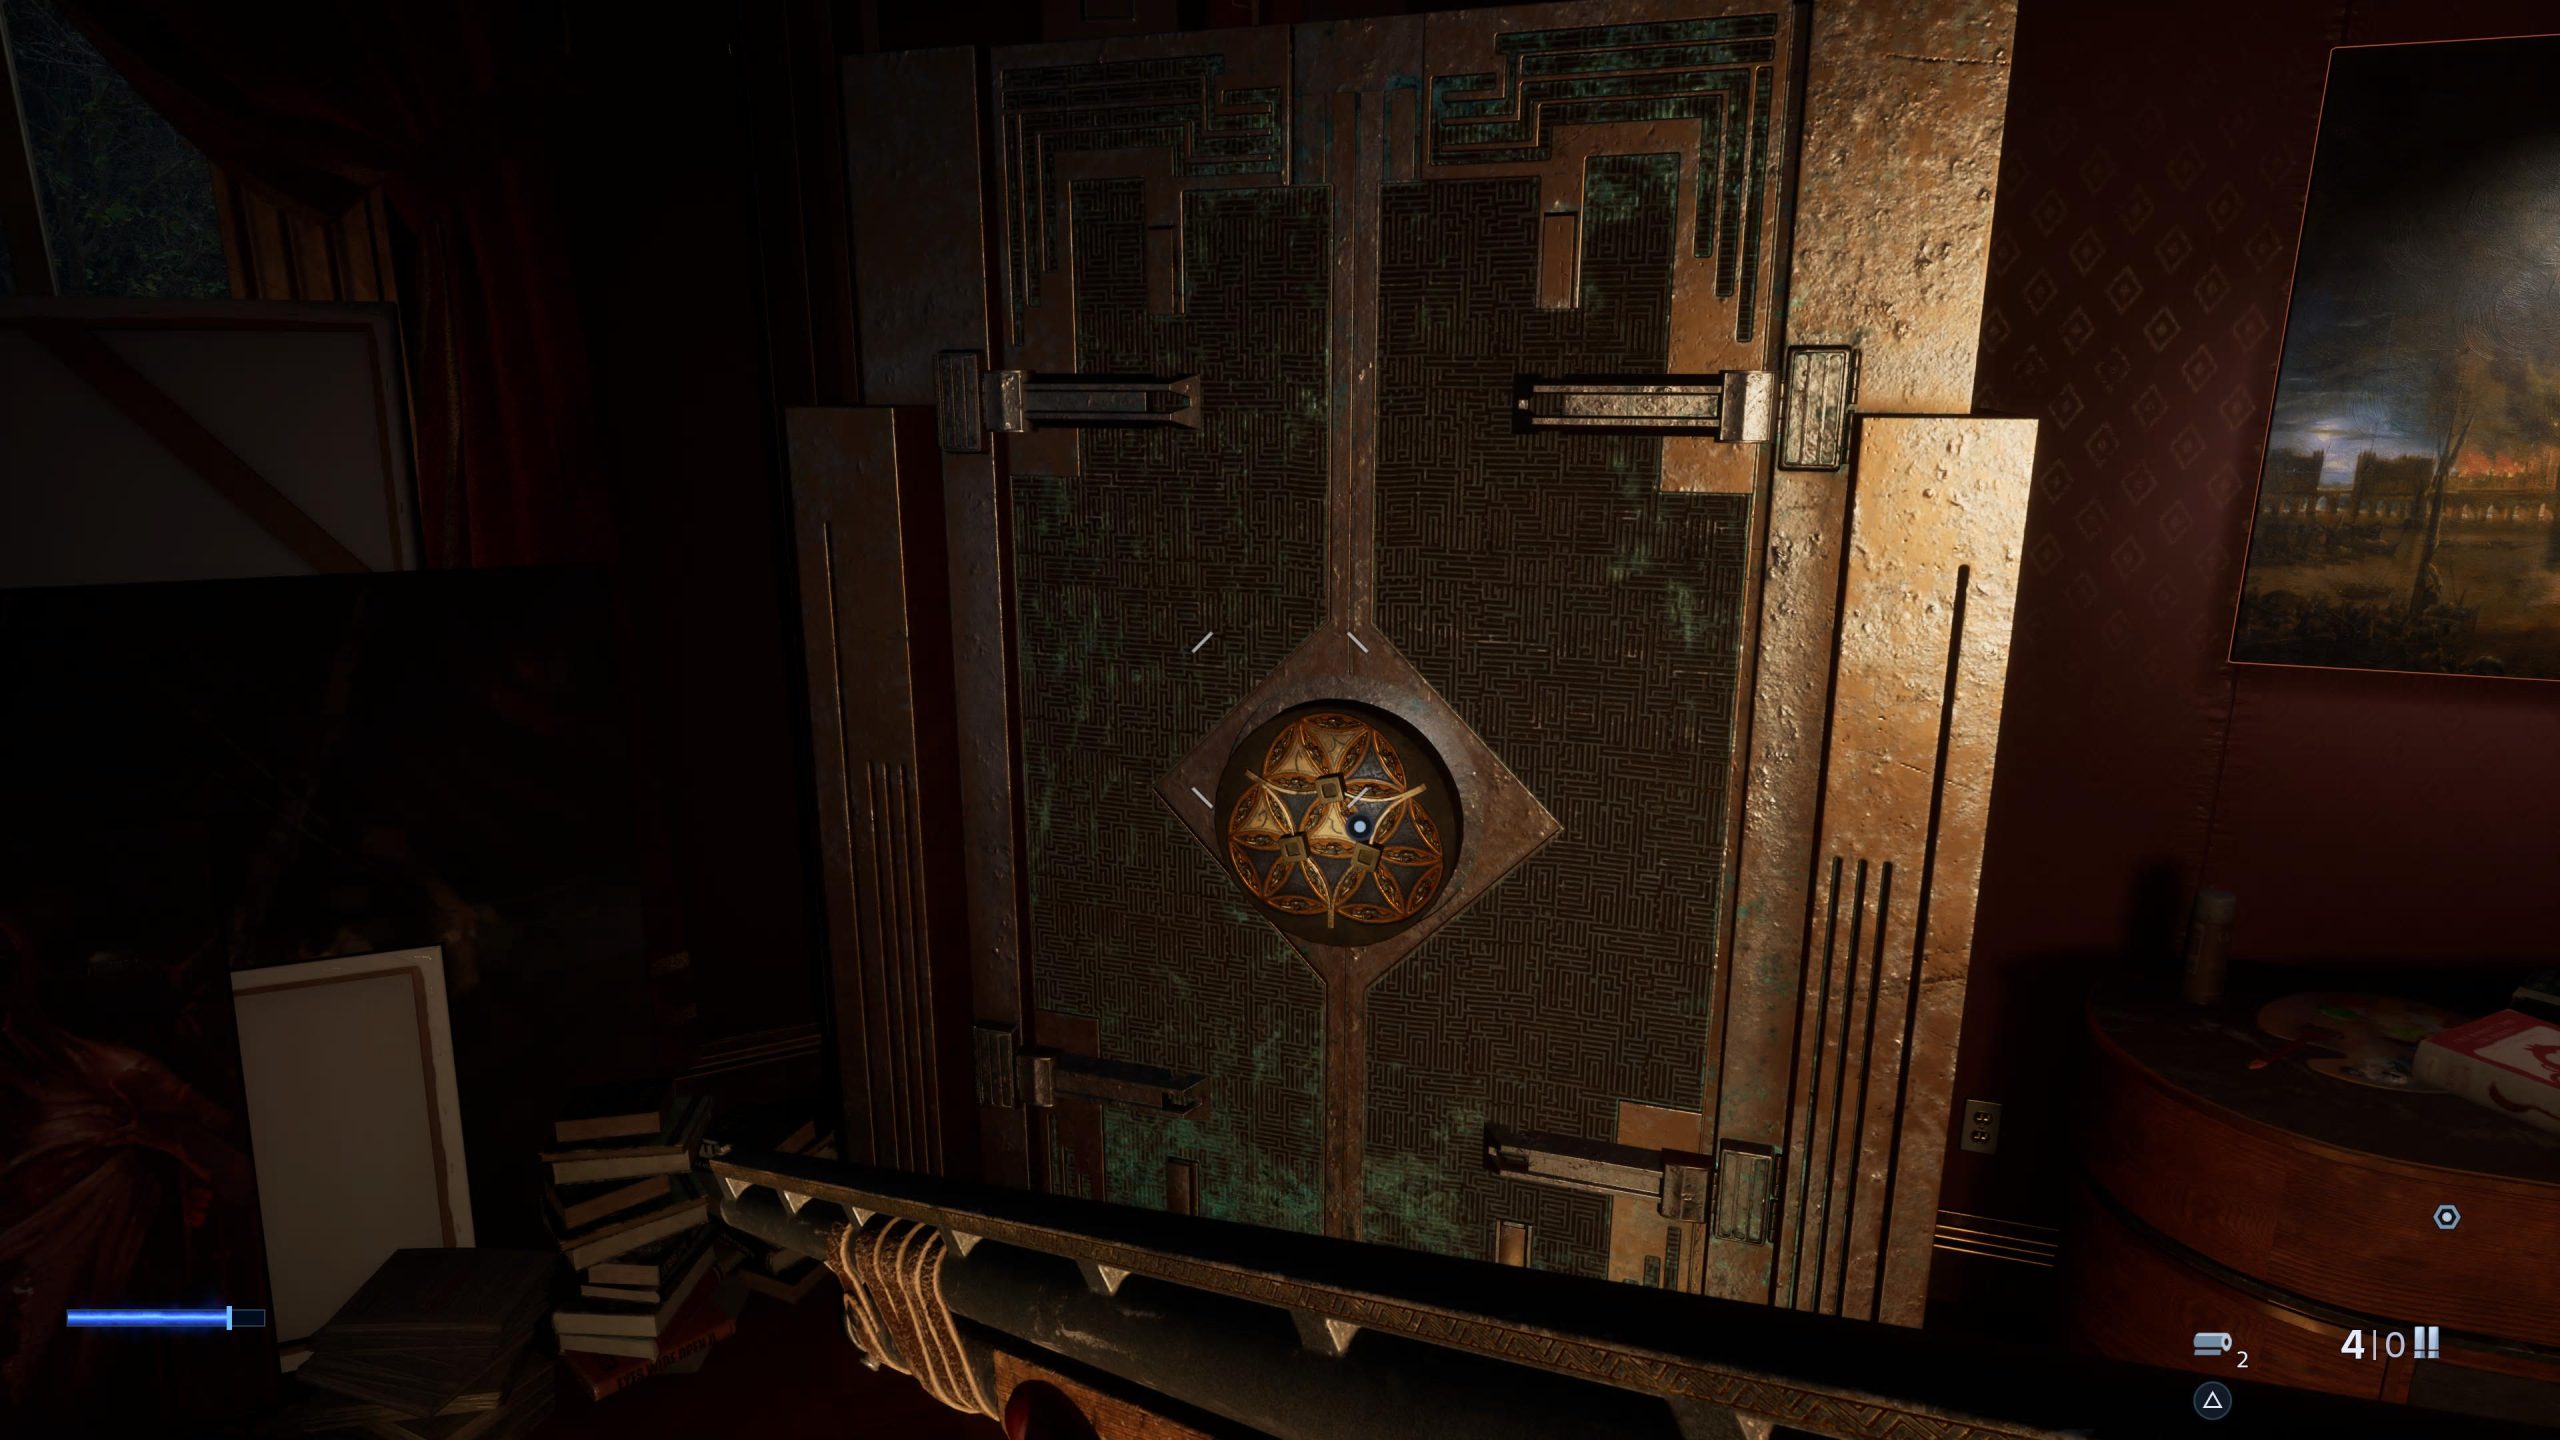
- Come out of that room and go round hallway until you end up in what looks like an office. There’s an easel with a painting of multiple faces on it, and a huge safe which Aiden makes comment about ‘hiding something precious’.
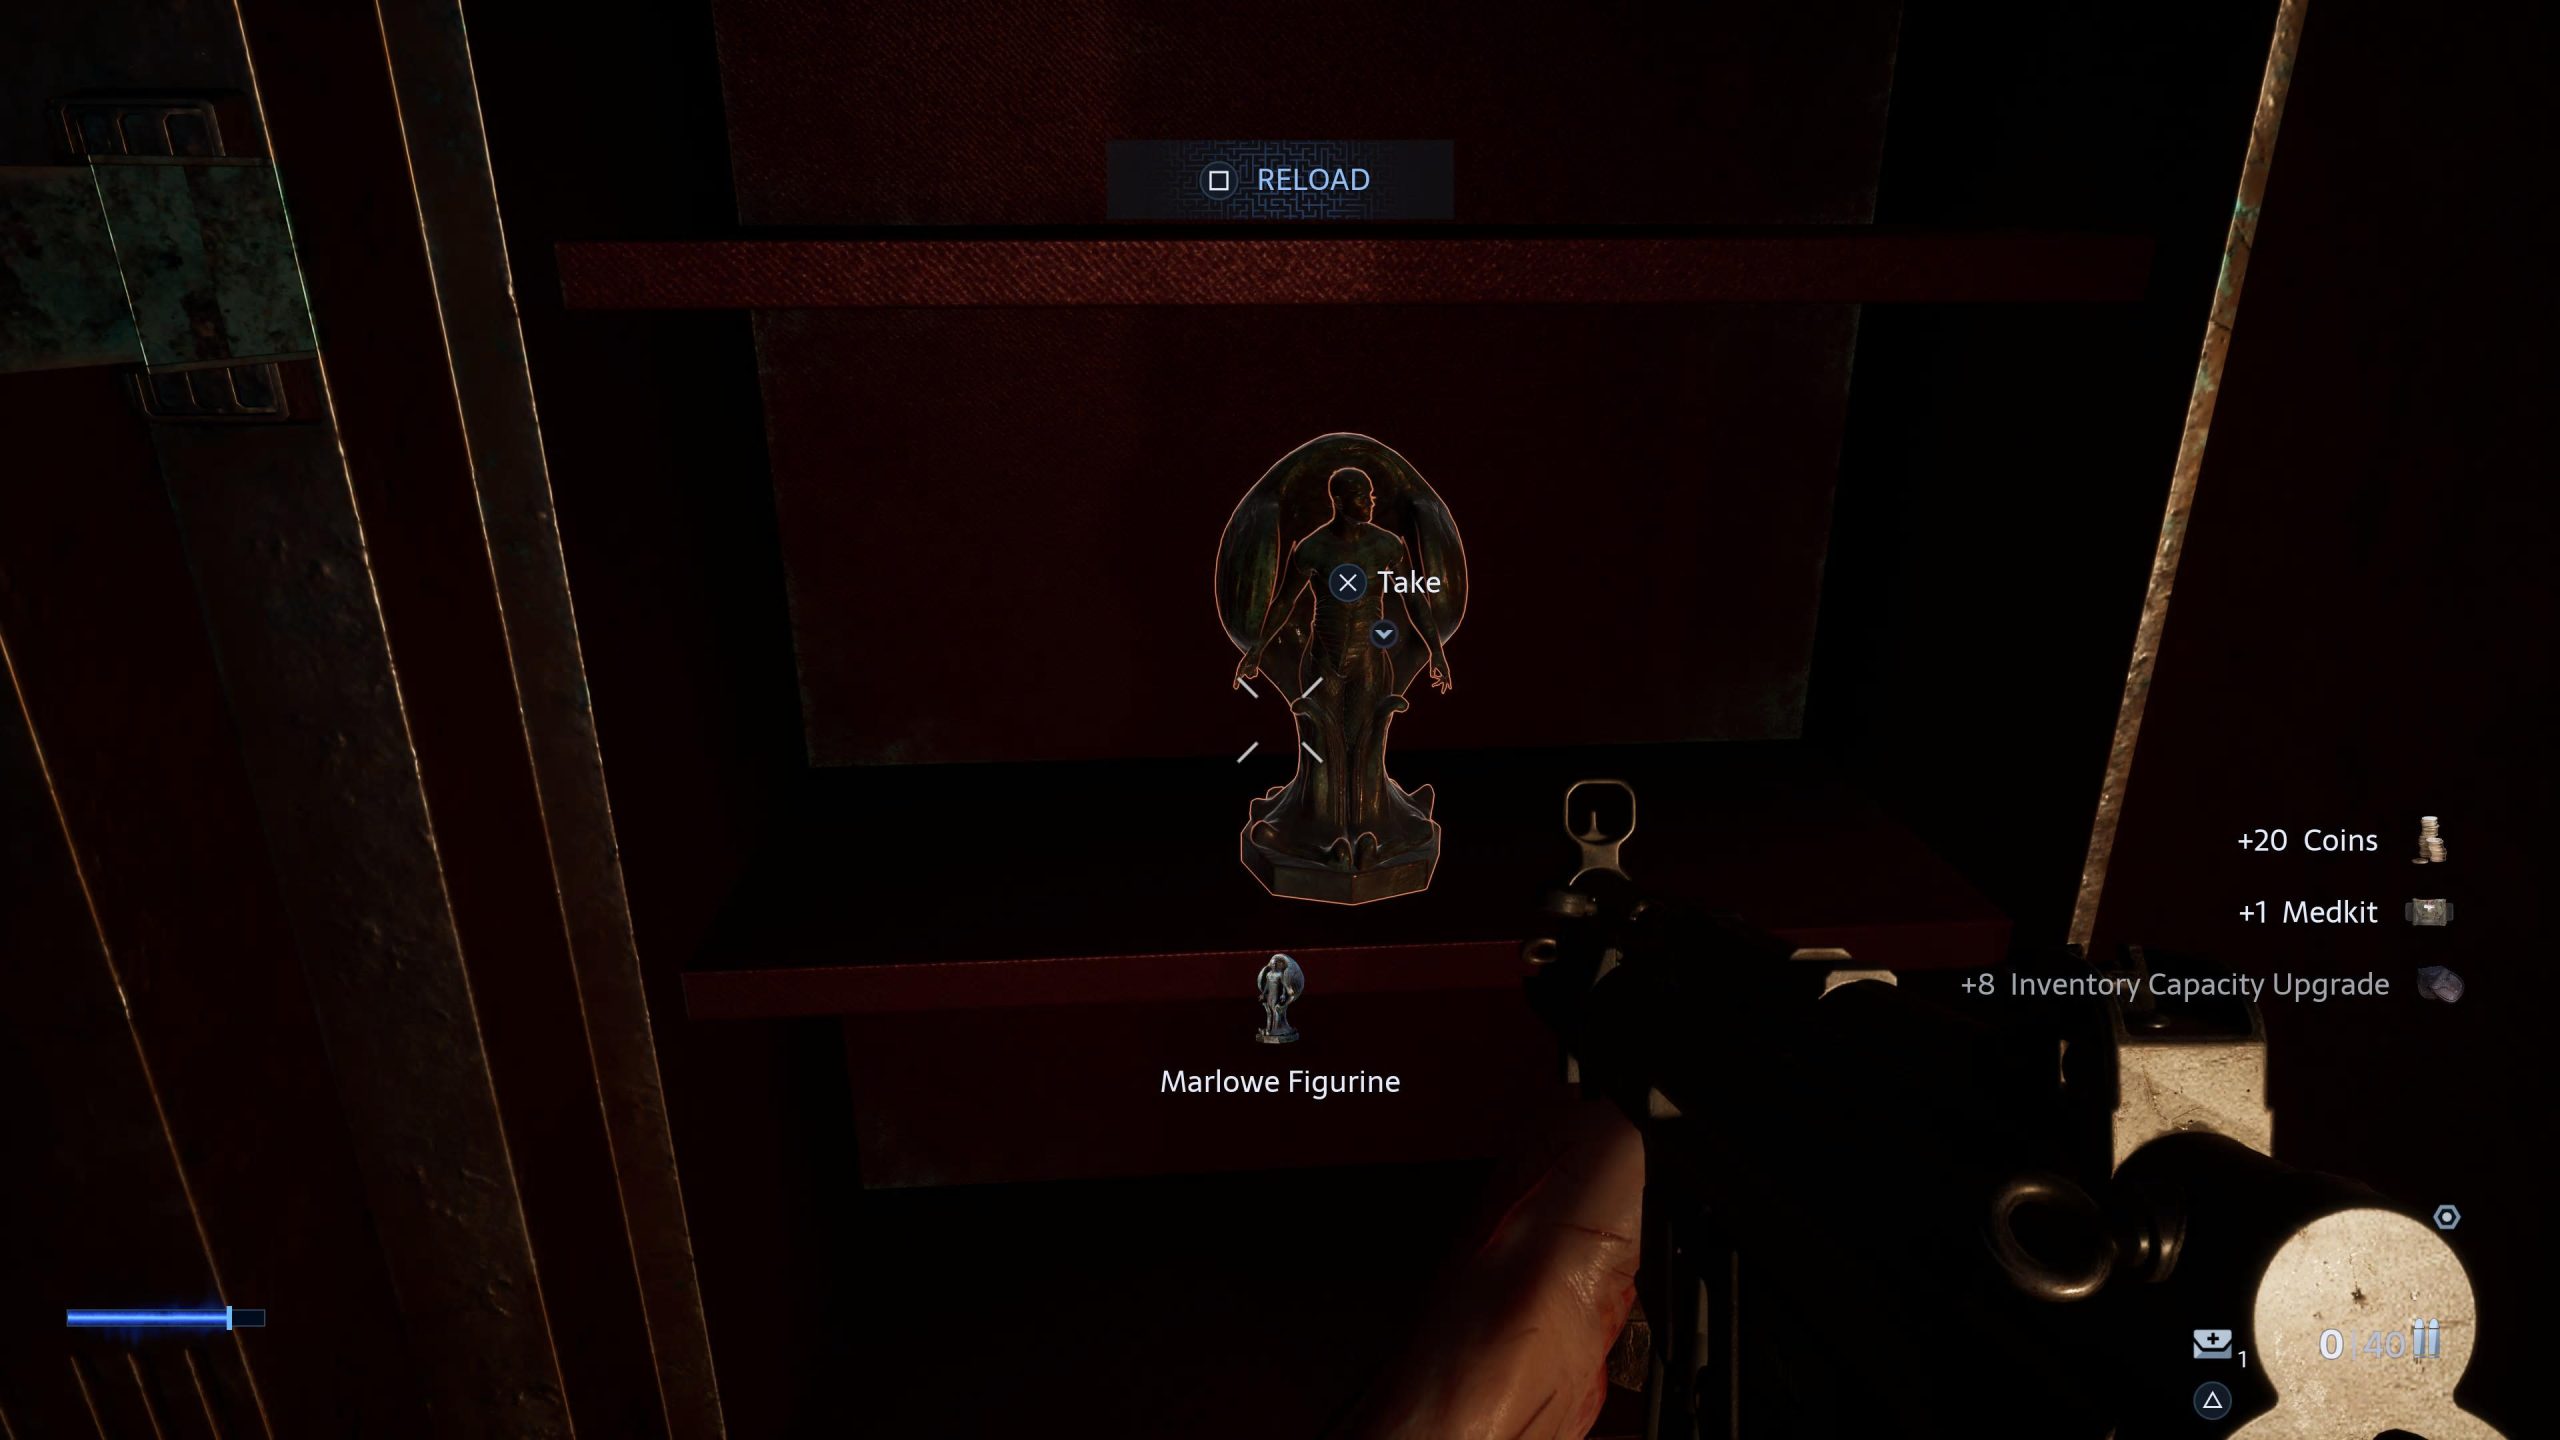
- The solution to the safe is directly behind you on the desk. Match that, and it will open, revealing crafting materials, an SMG and ammo, and a Marlowe figure. This is one of the two items needed.
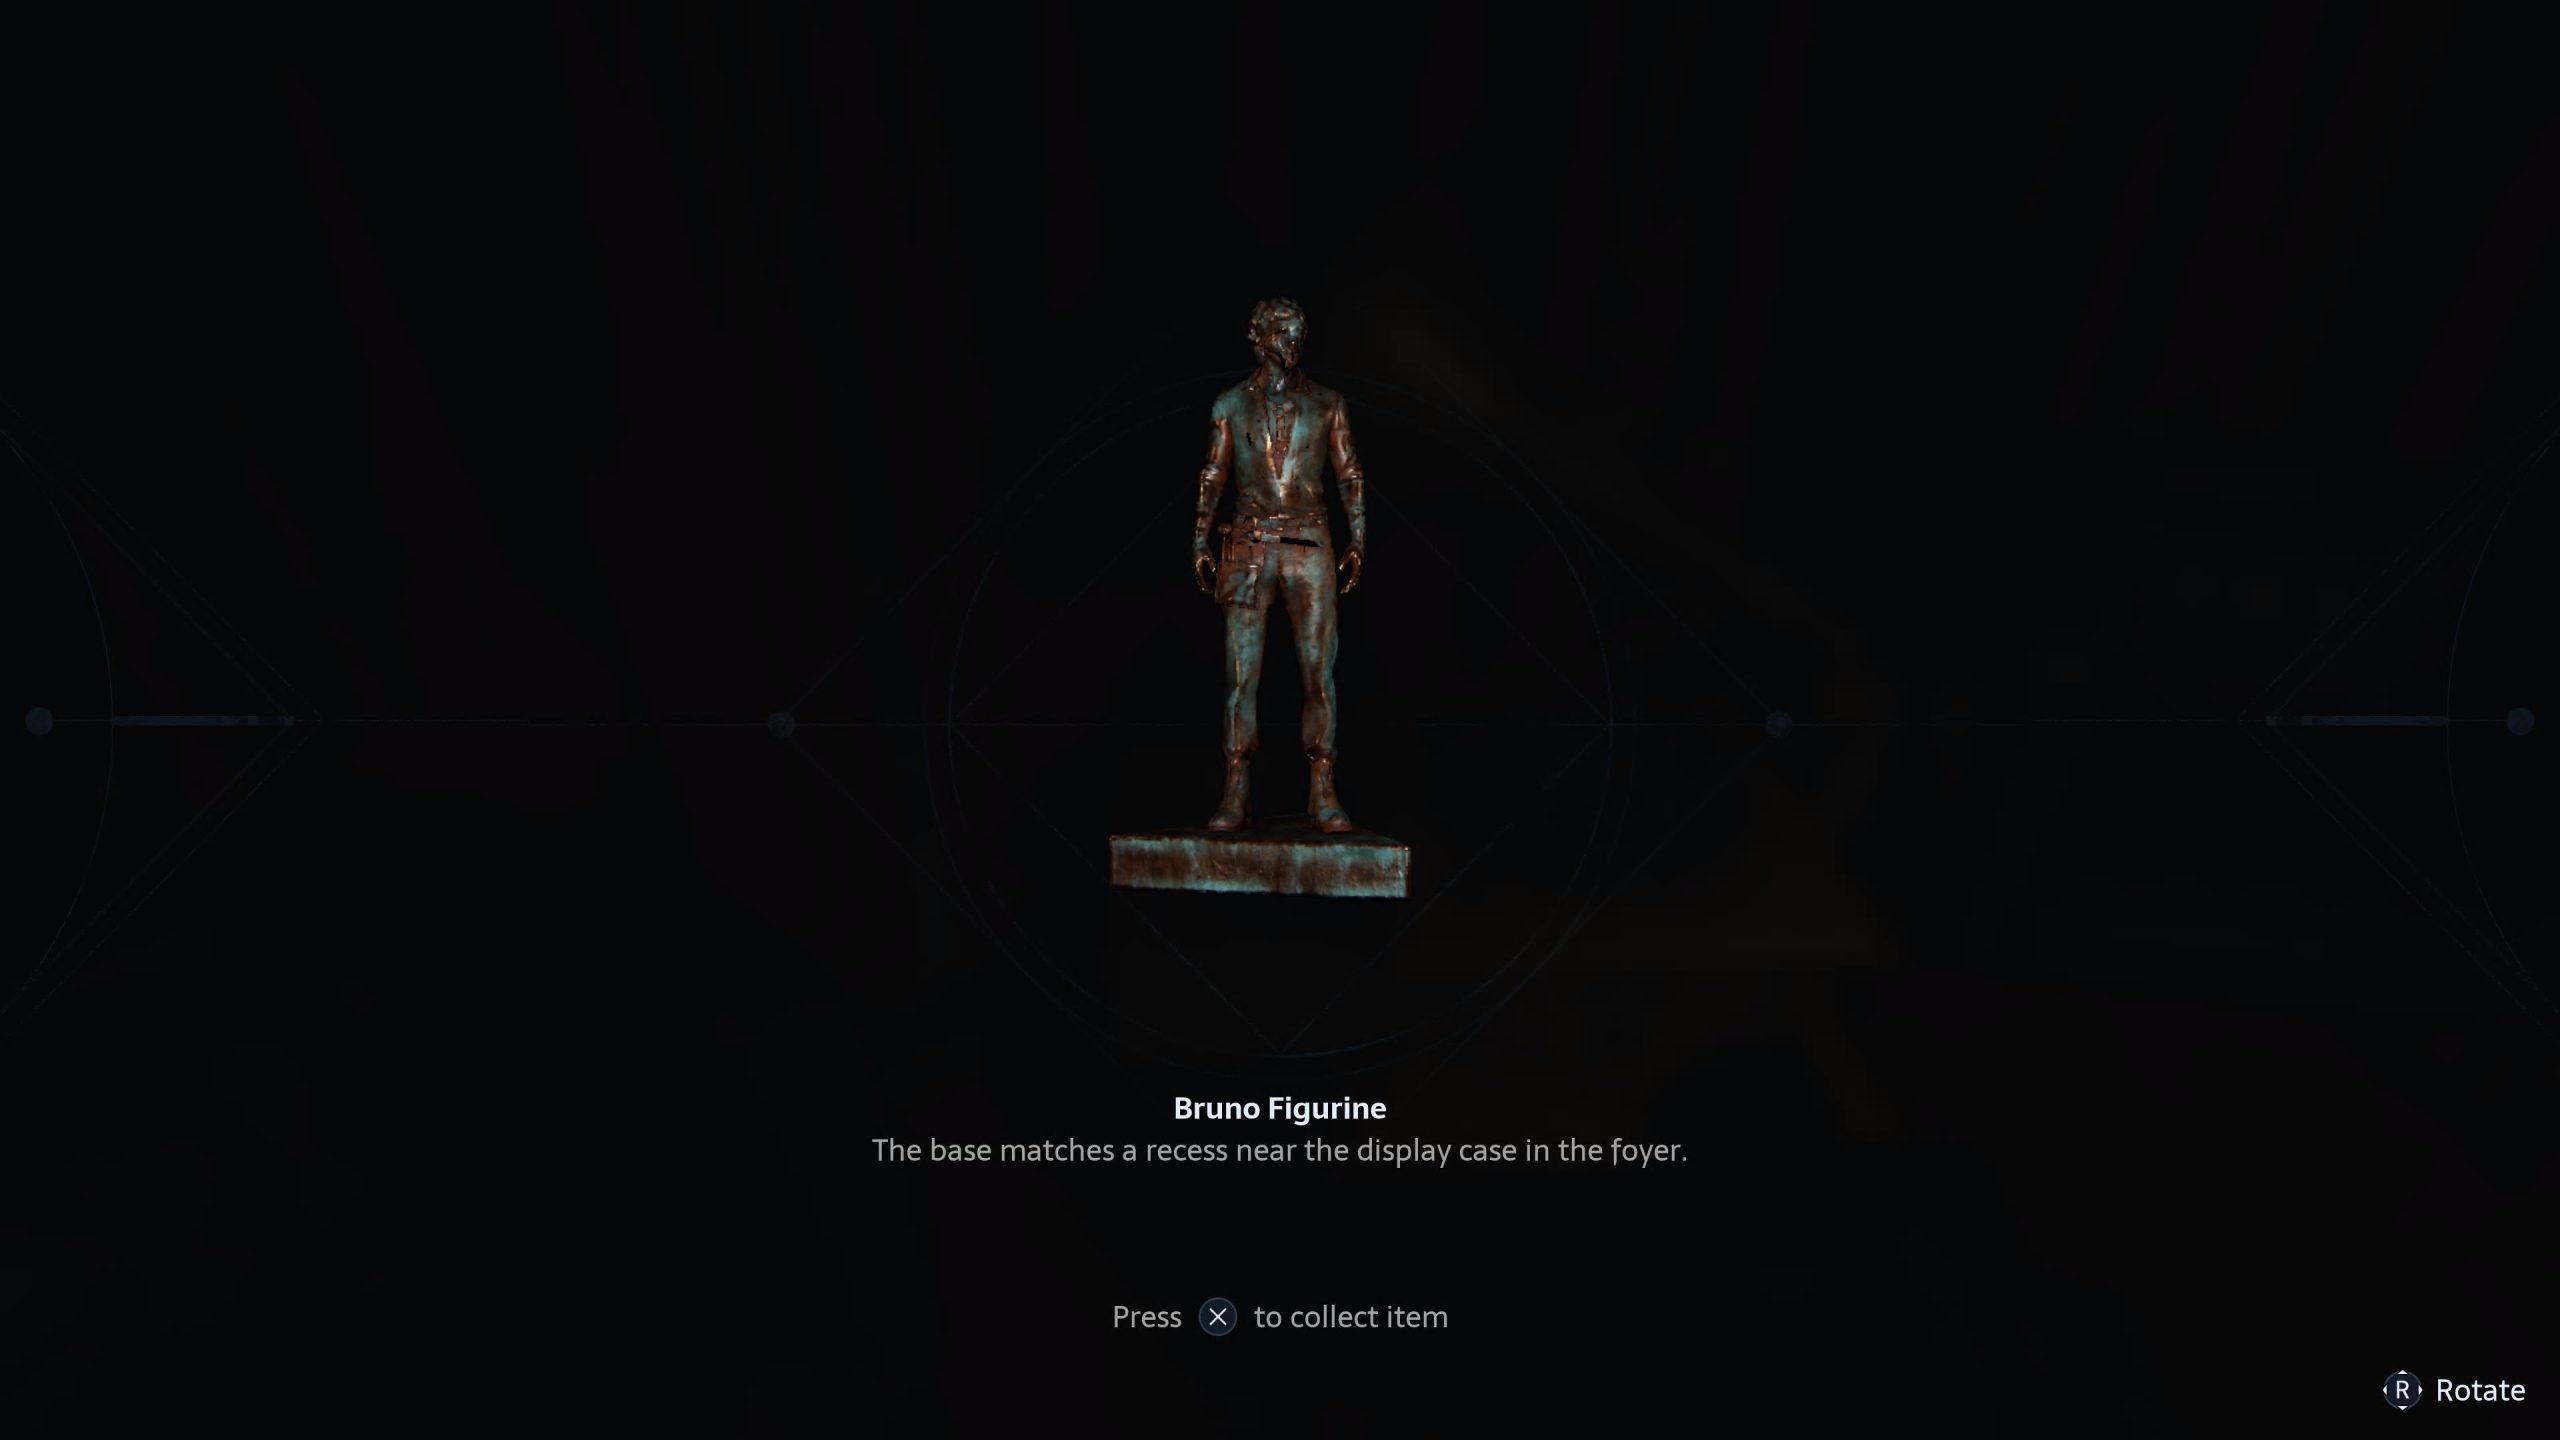
- Go downstairs and into the dining room off the main foyer. Place the Winding Handle into the Gramophone and turn it. The drawer will open and a Bruno Figurine will be inside. Grab that.
- Go to the main foyer behind you and place both items into the relevant slots.
As well as the hand, you’ll also pick up the Resurrection Key, which is used to open a door in the same room once the lockdown occurs. Inside this next room, you’ll be locked in, with gas pouring in and you slowly dying. You’ll need to alter the three statues in the room in accordance with the painting on the wall, but in short:
- Scales even.
- Human face.
- Turn the staff upside down.
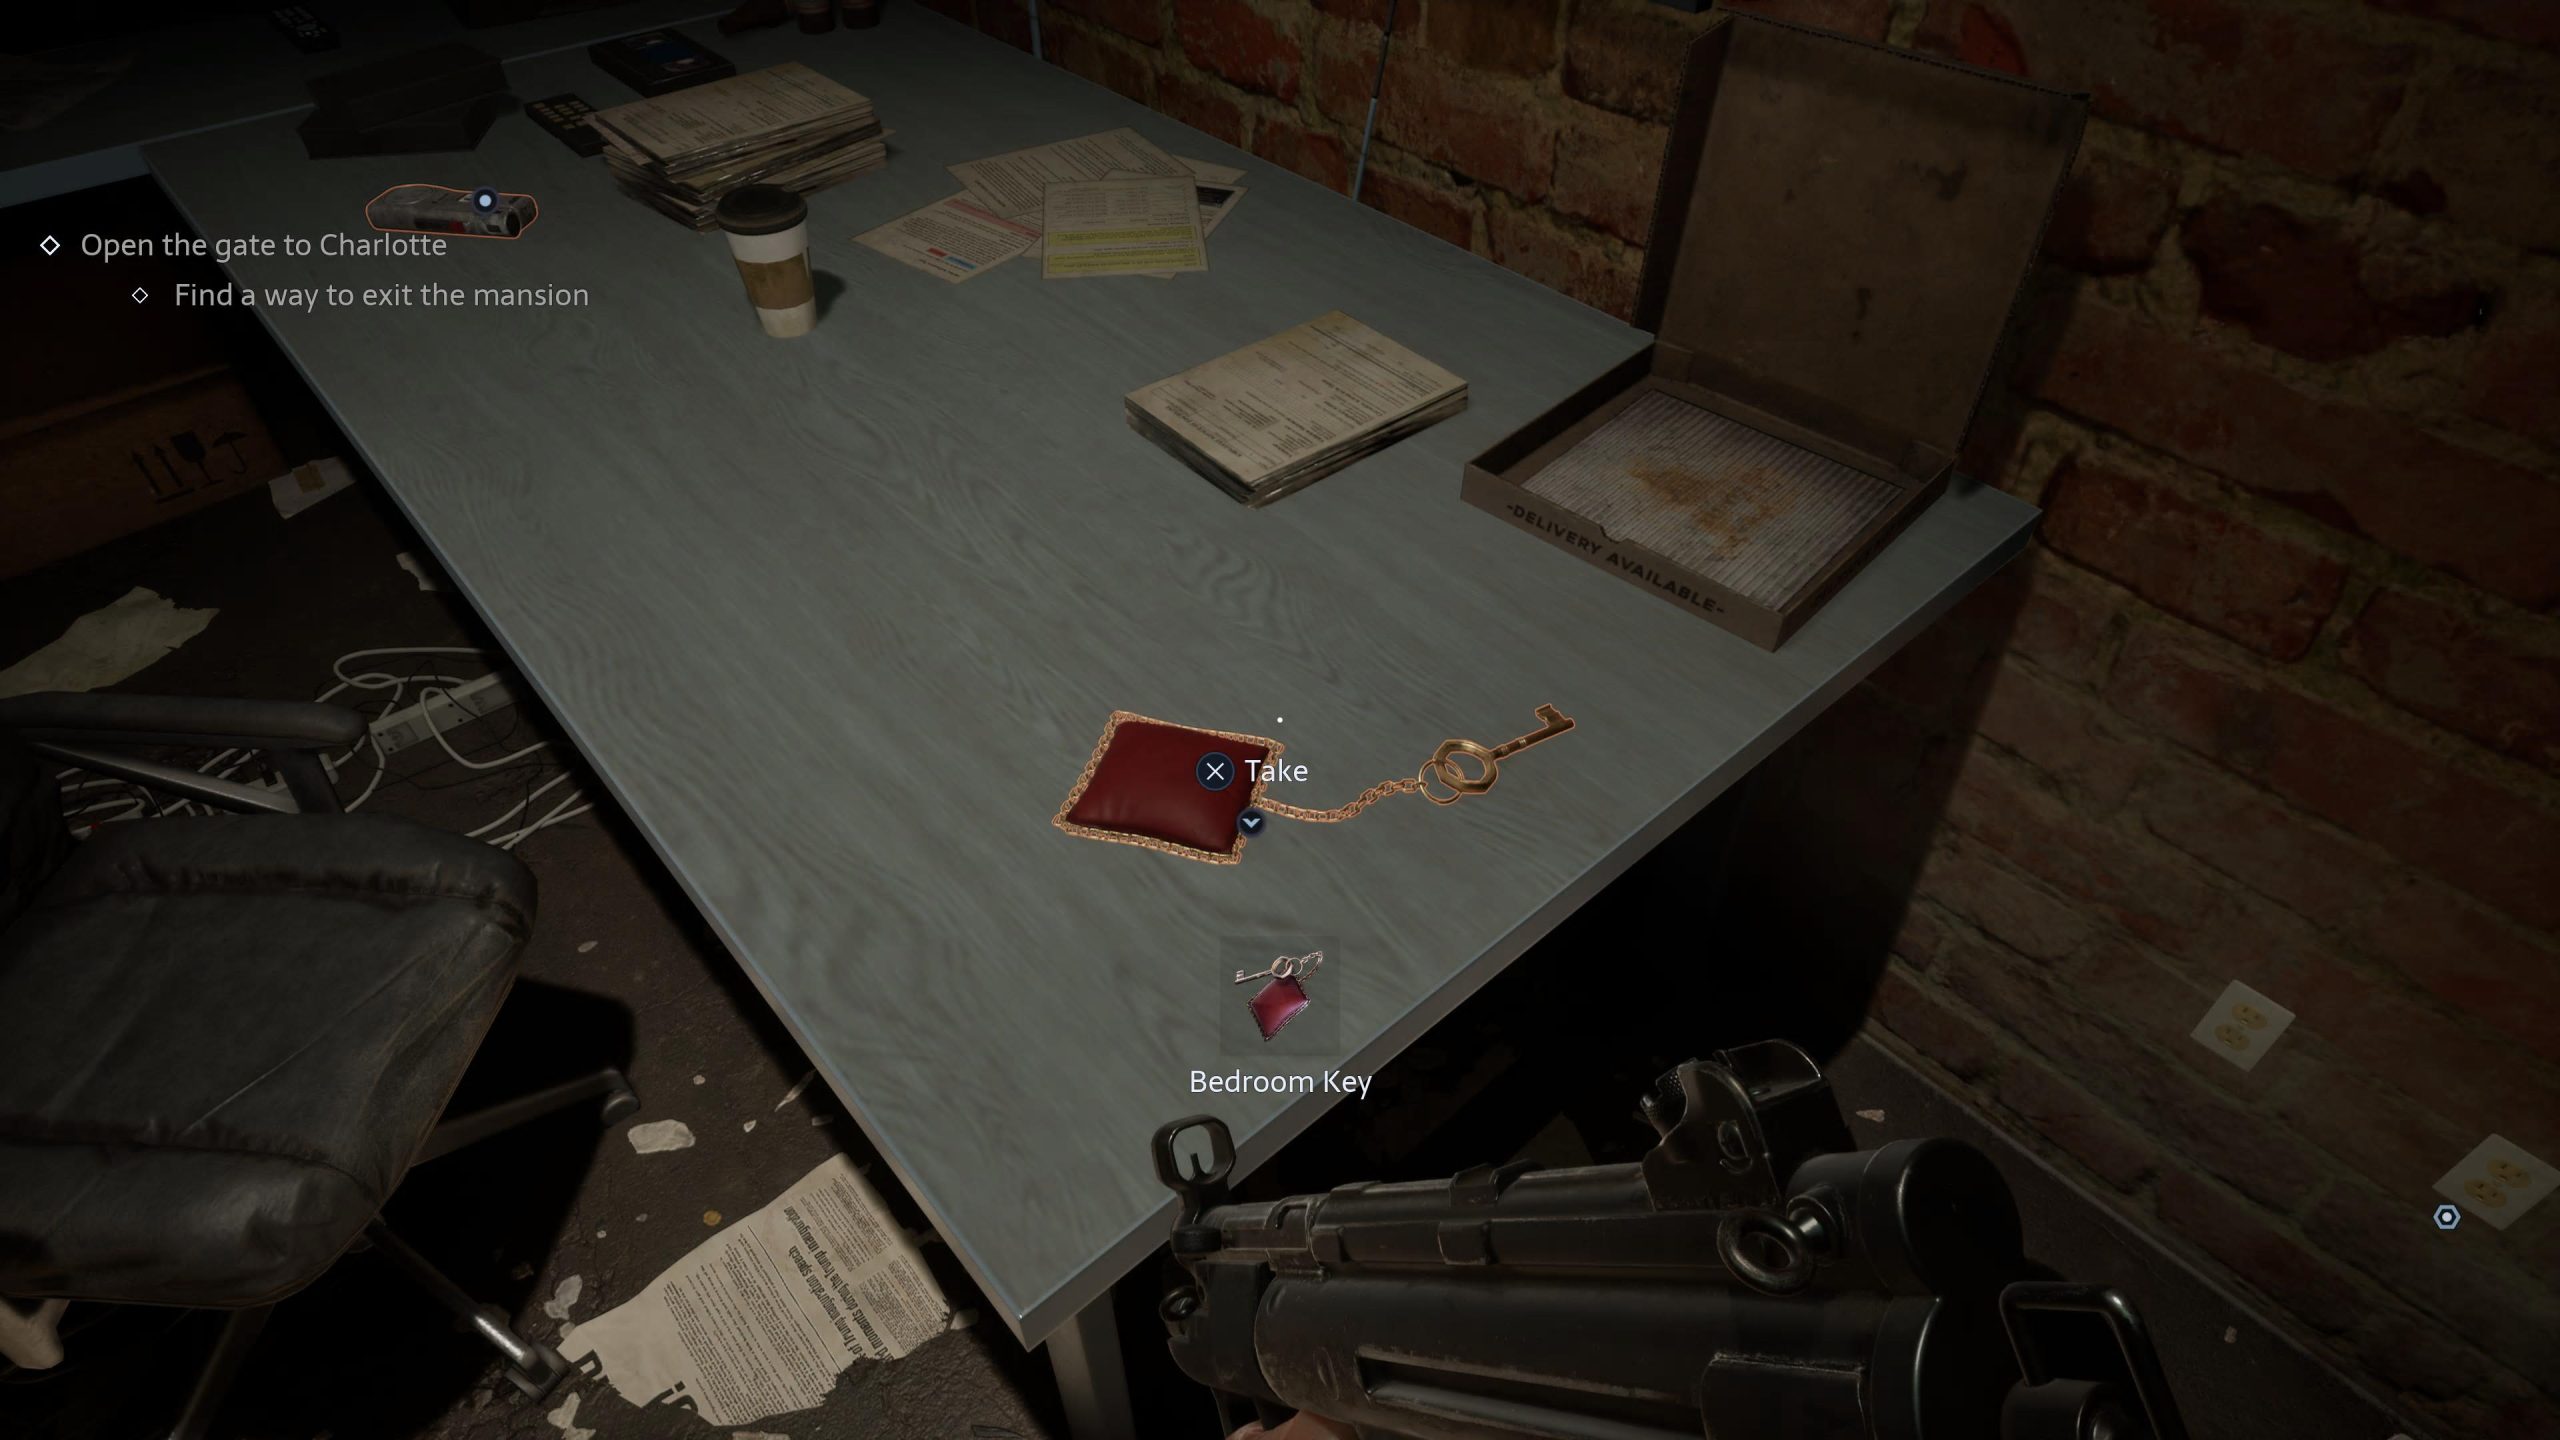
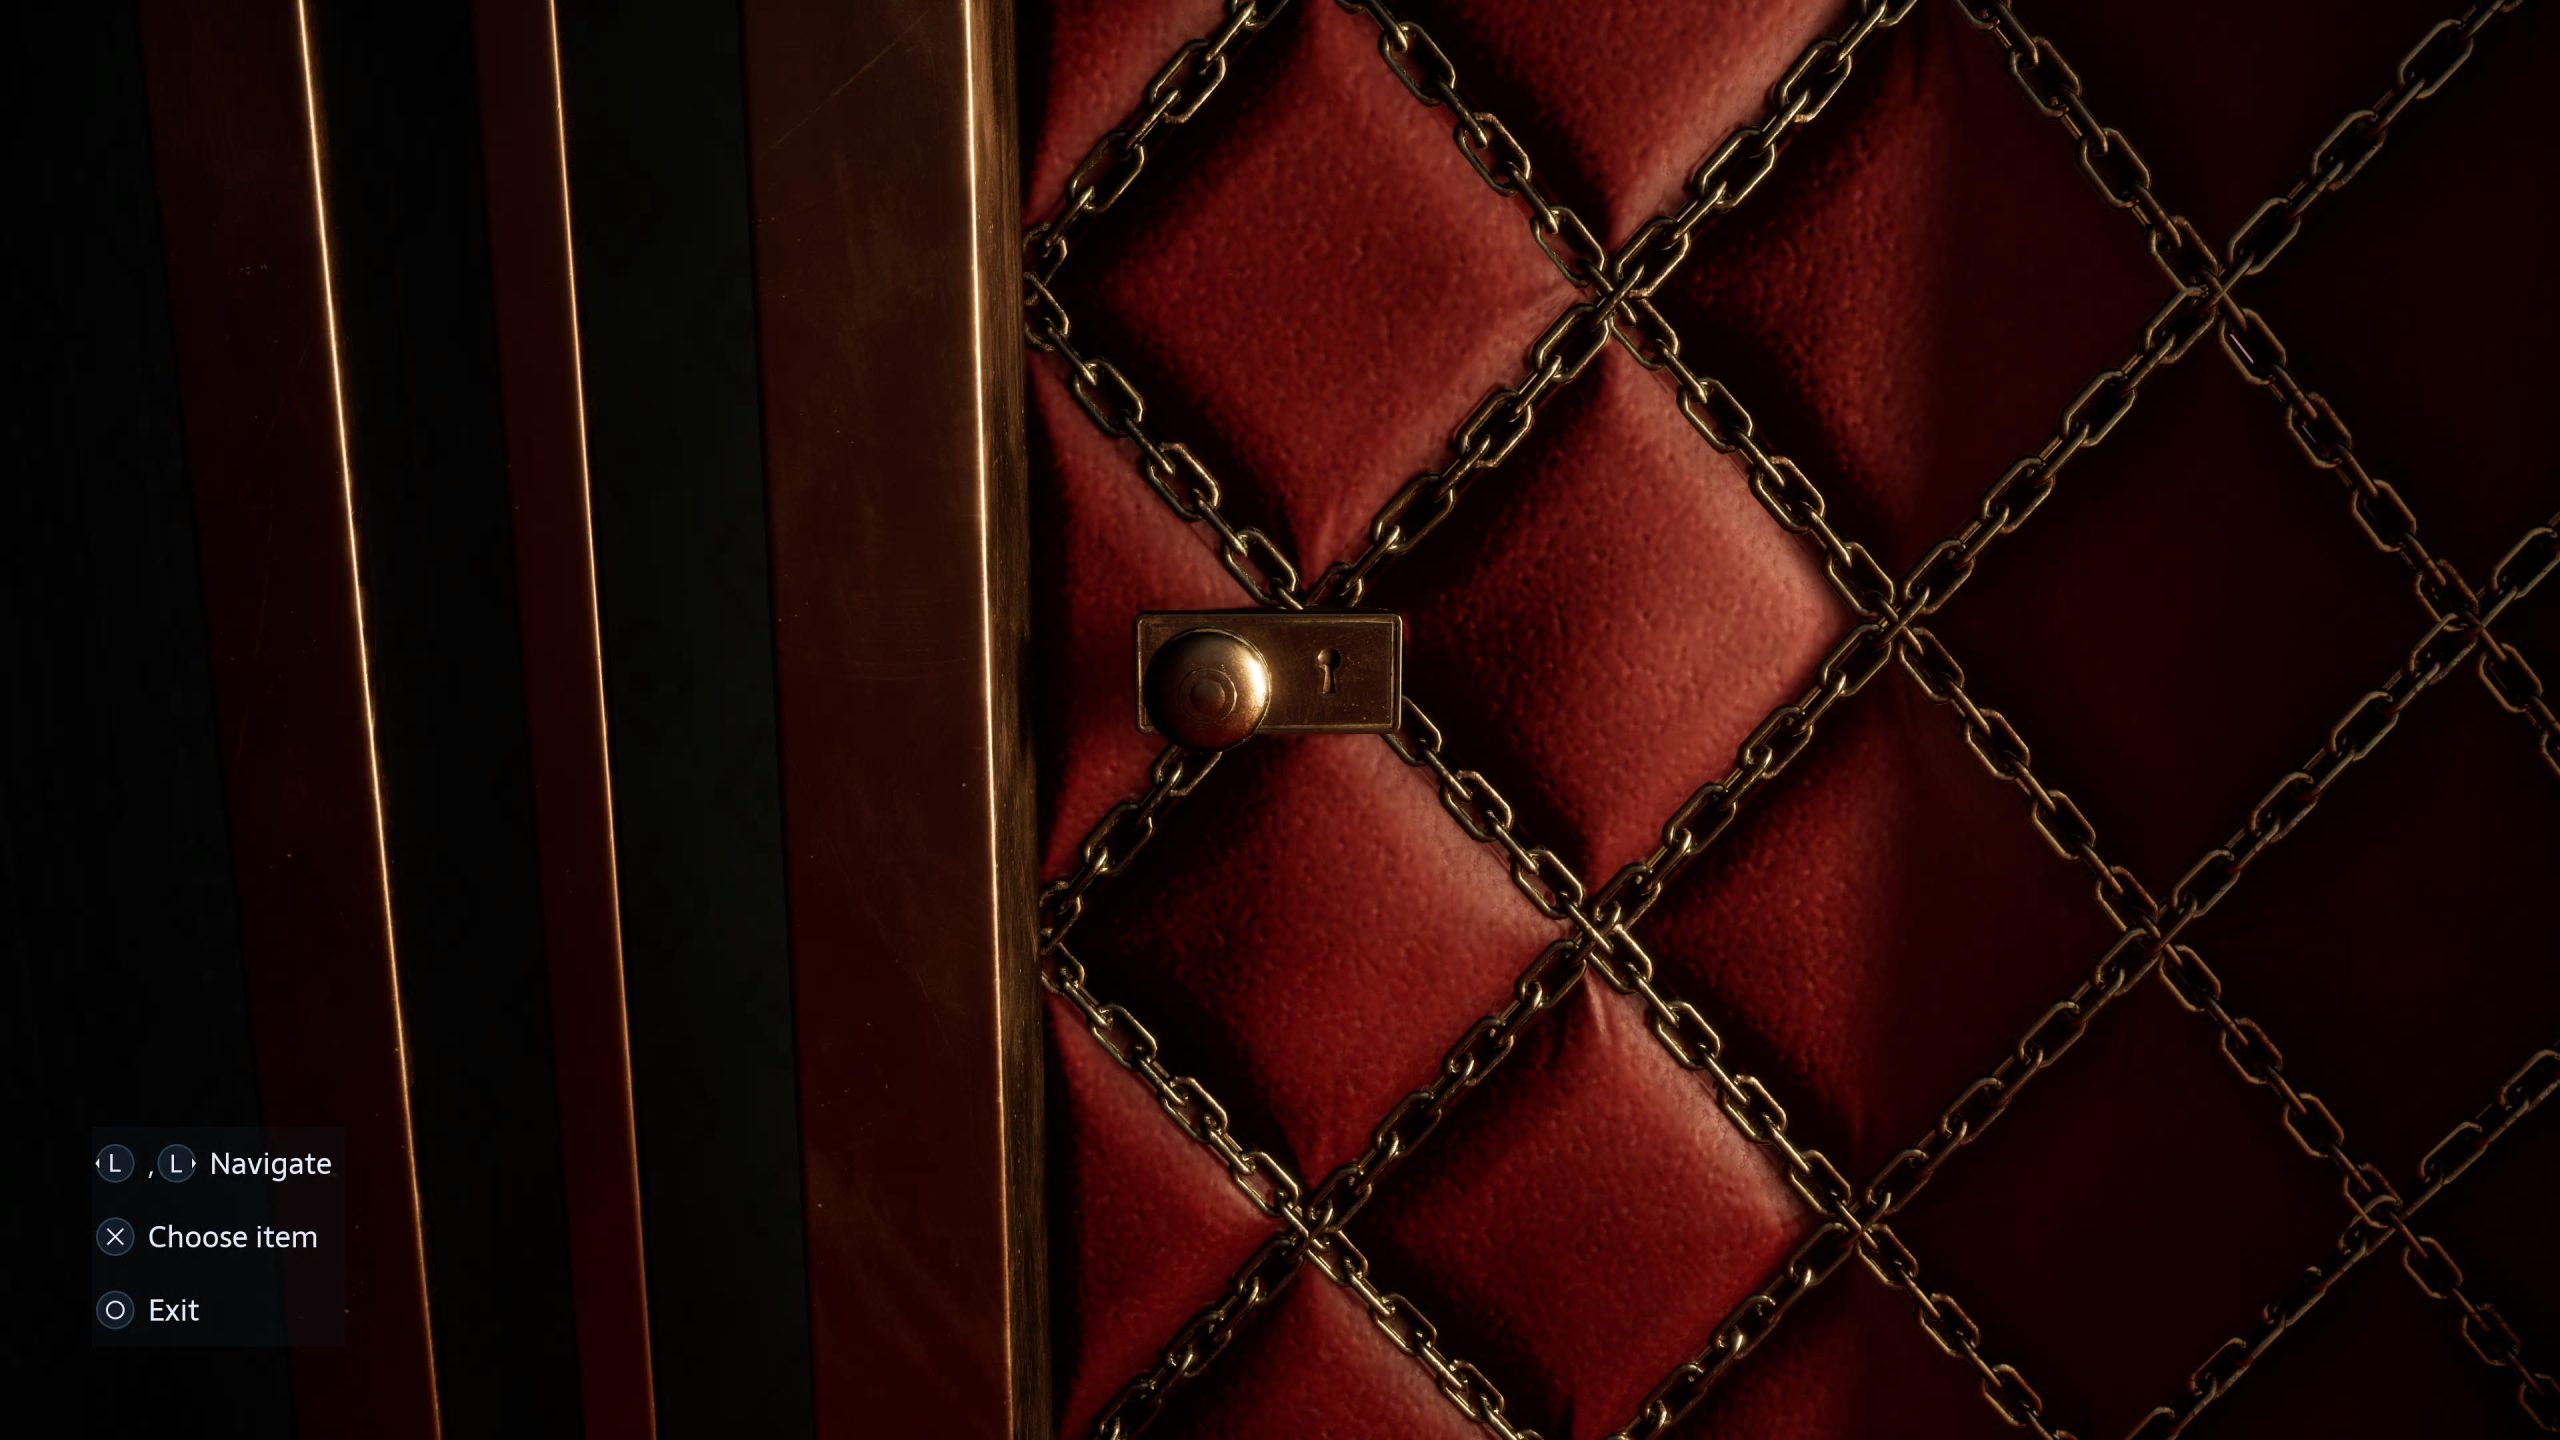
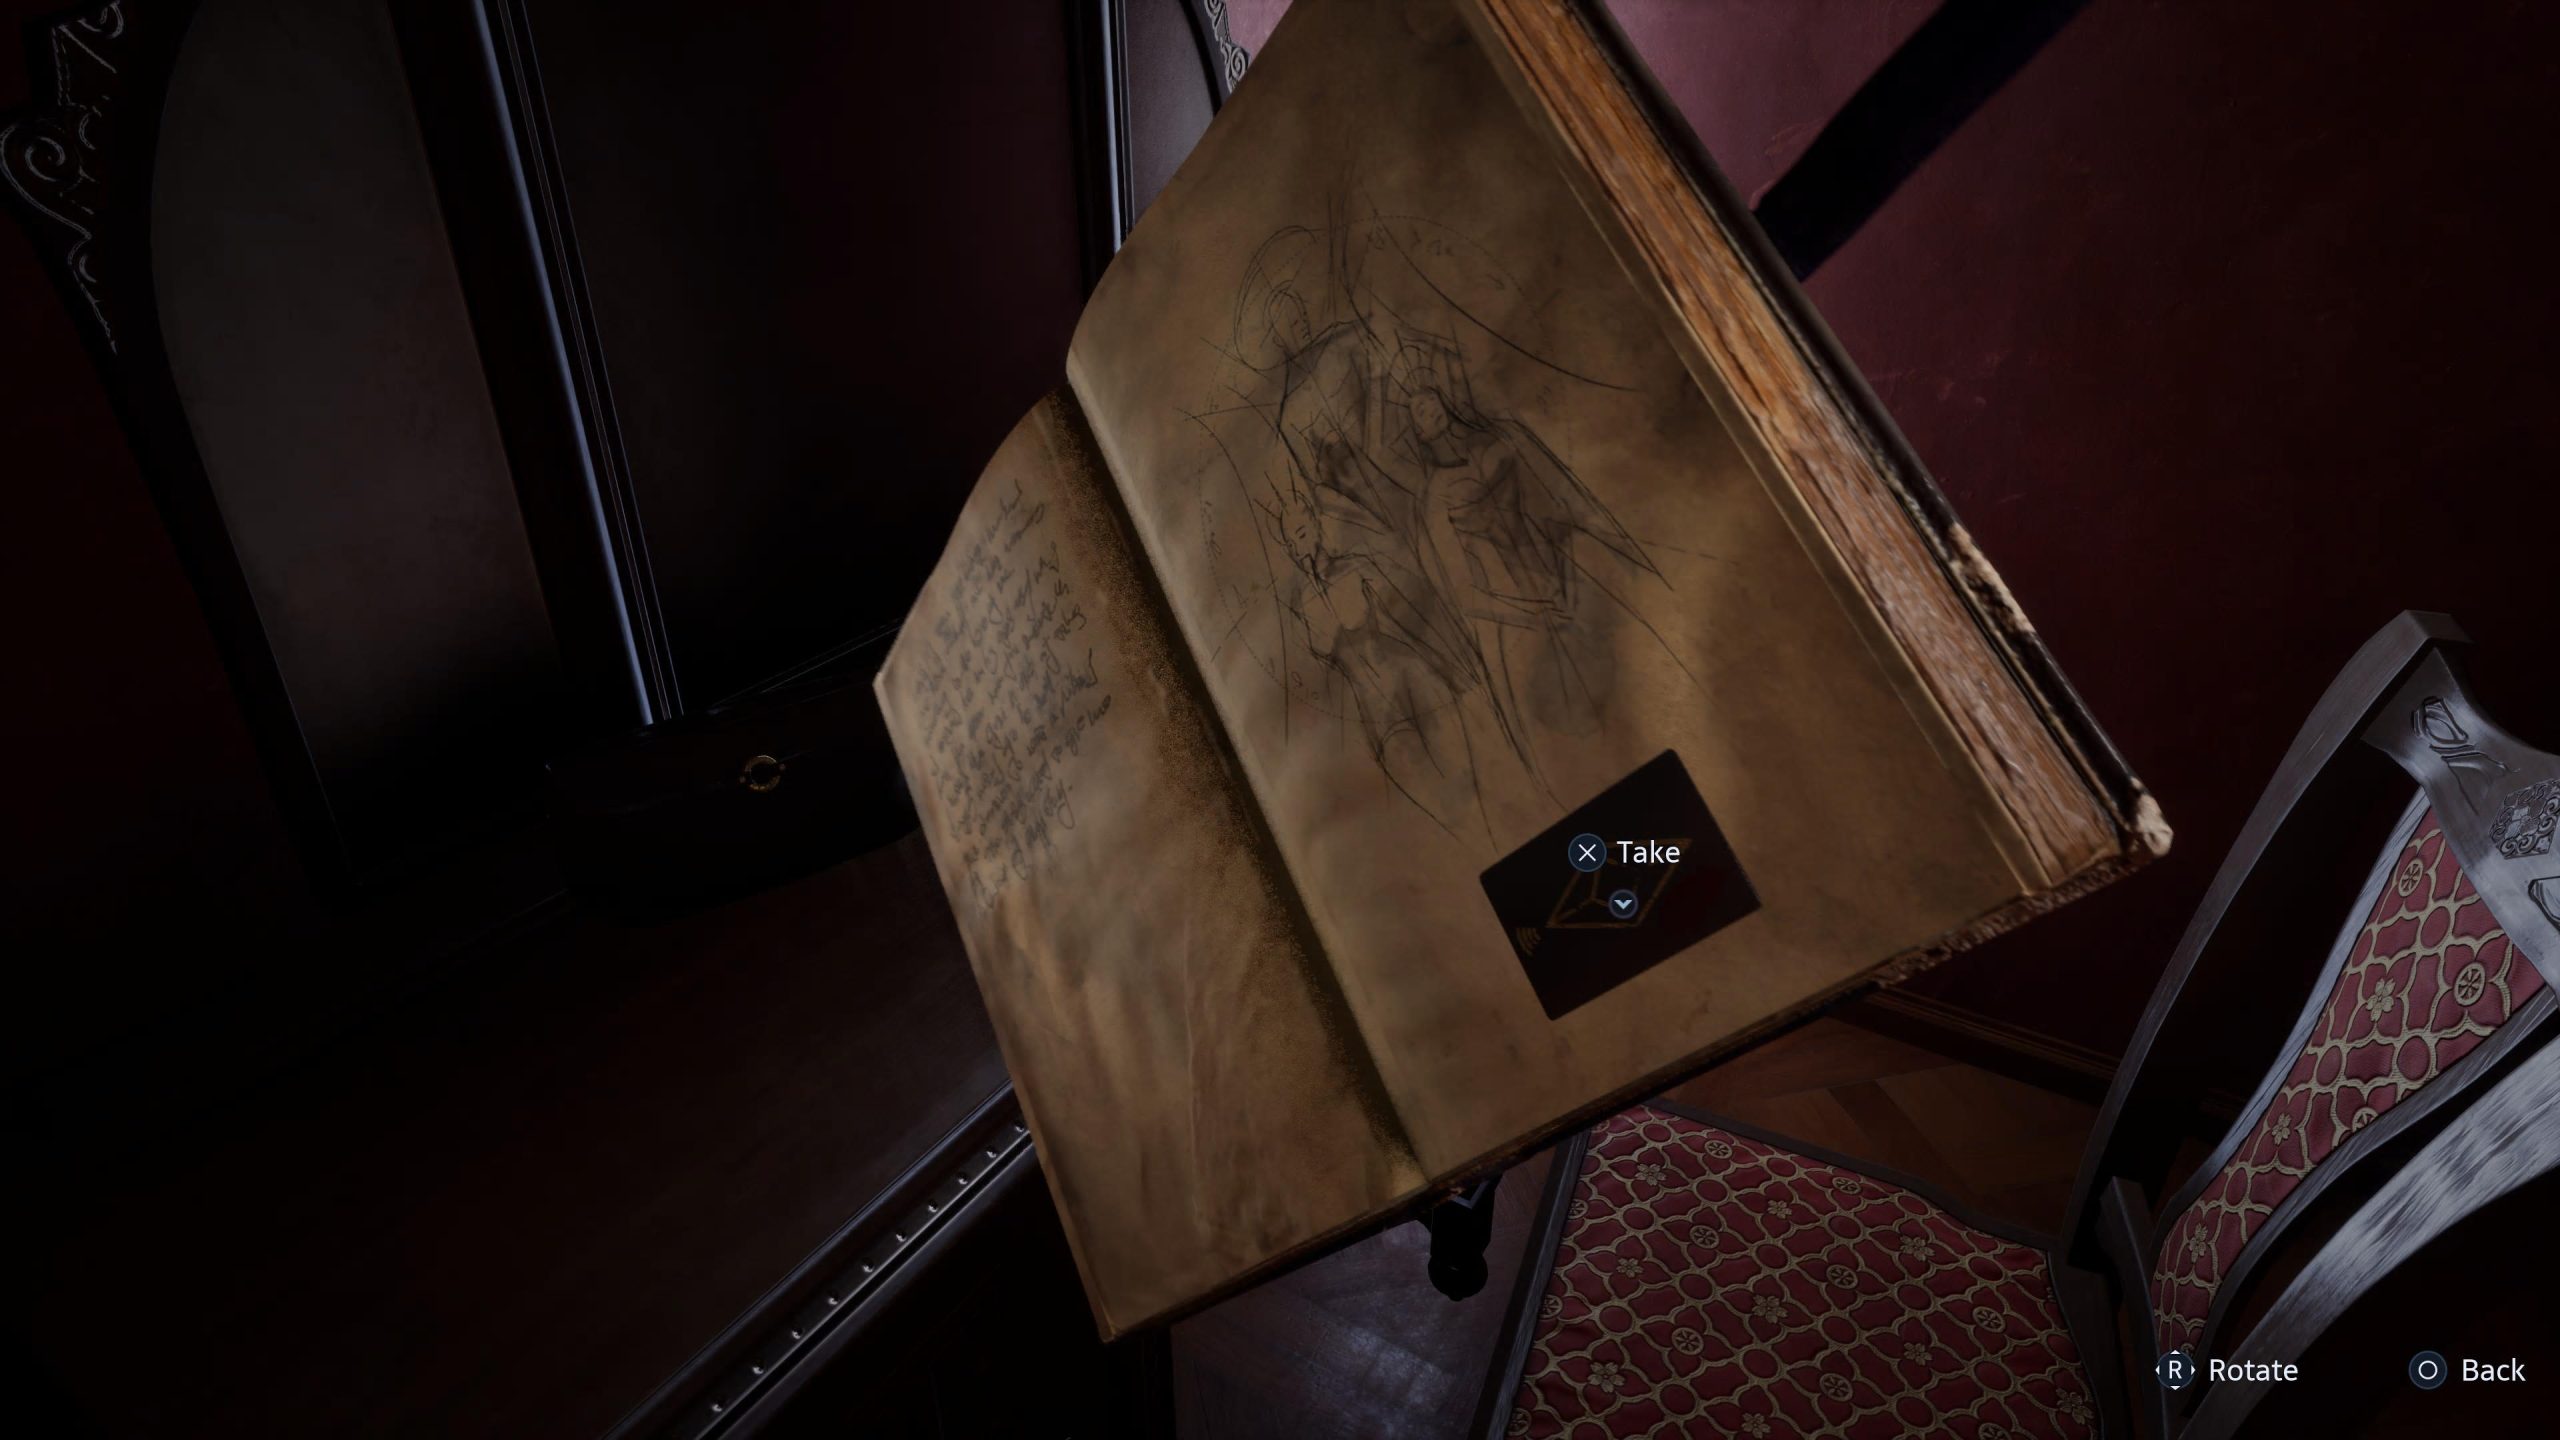
That’ll cause a door to open and you to make your escape. Grab Bruno’s bedroom key from the desk and push the wall to make your back into the foyer. Now you need to head back upstairs to the room all the way around the balcony, which you now have the key for. On the desk is a book which contains Bruno’s Keycard, or in otherwords, your way out.
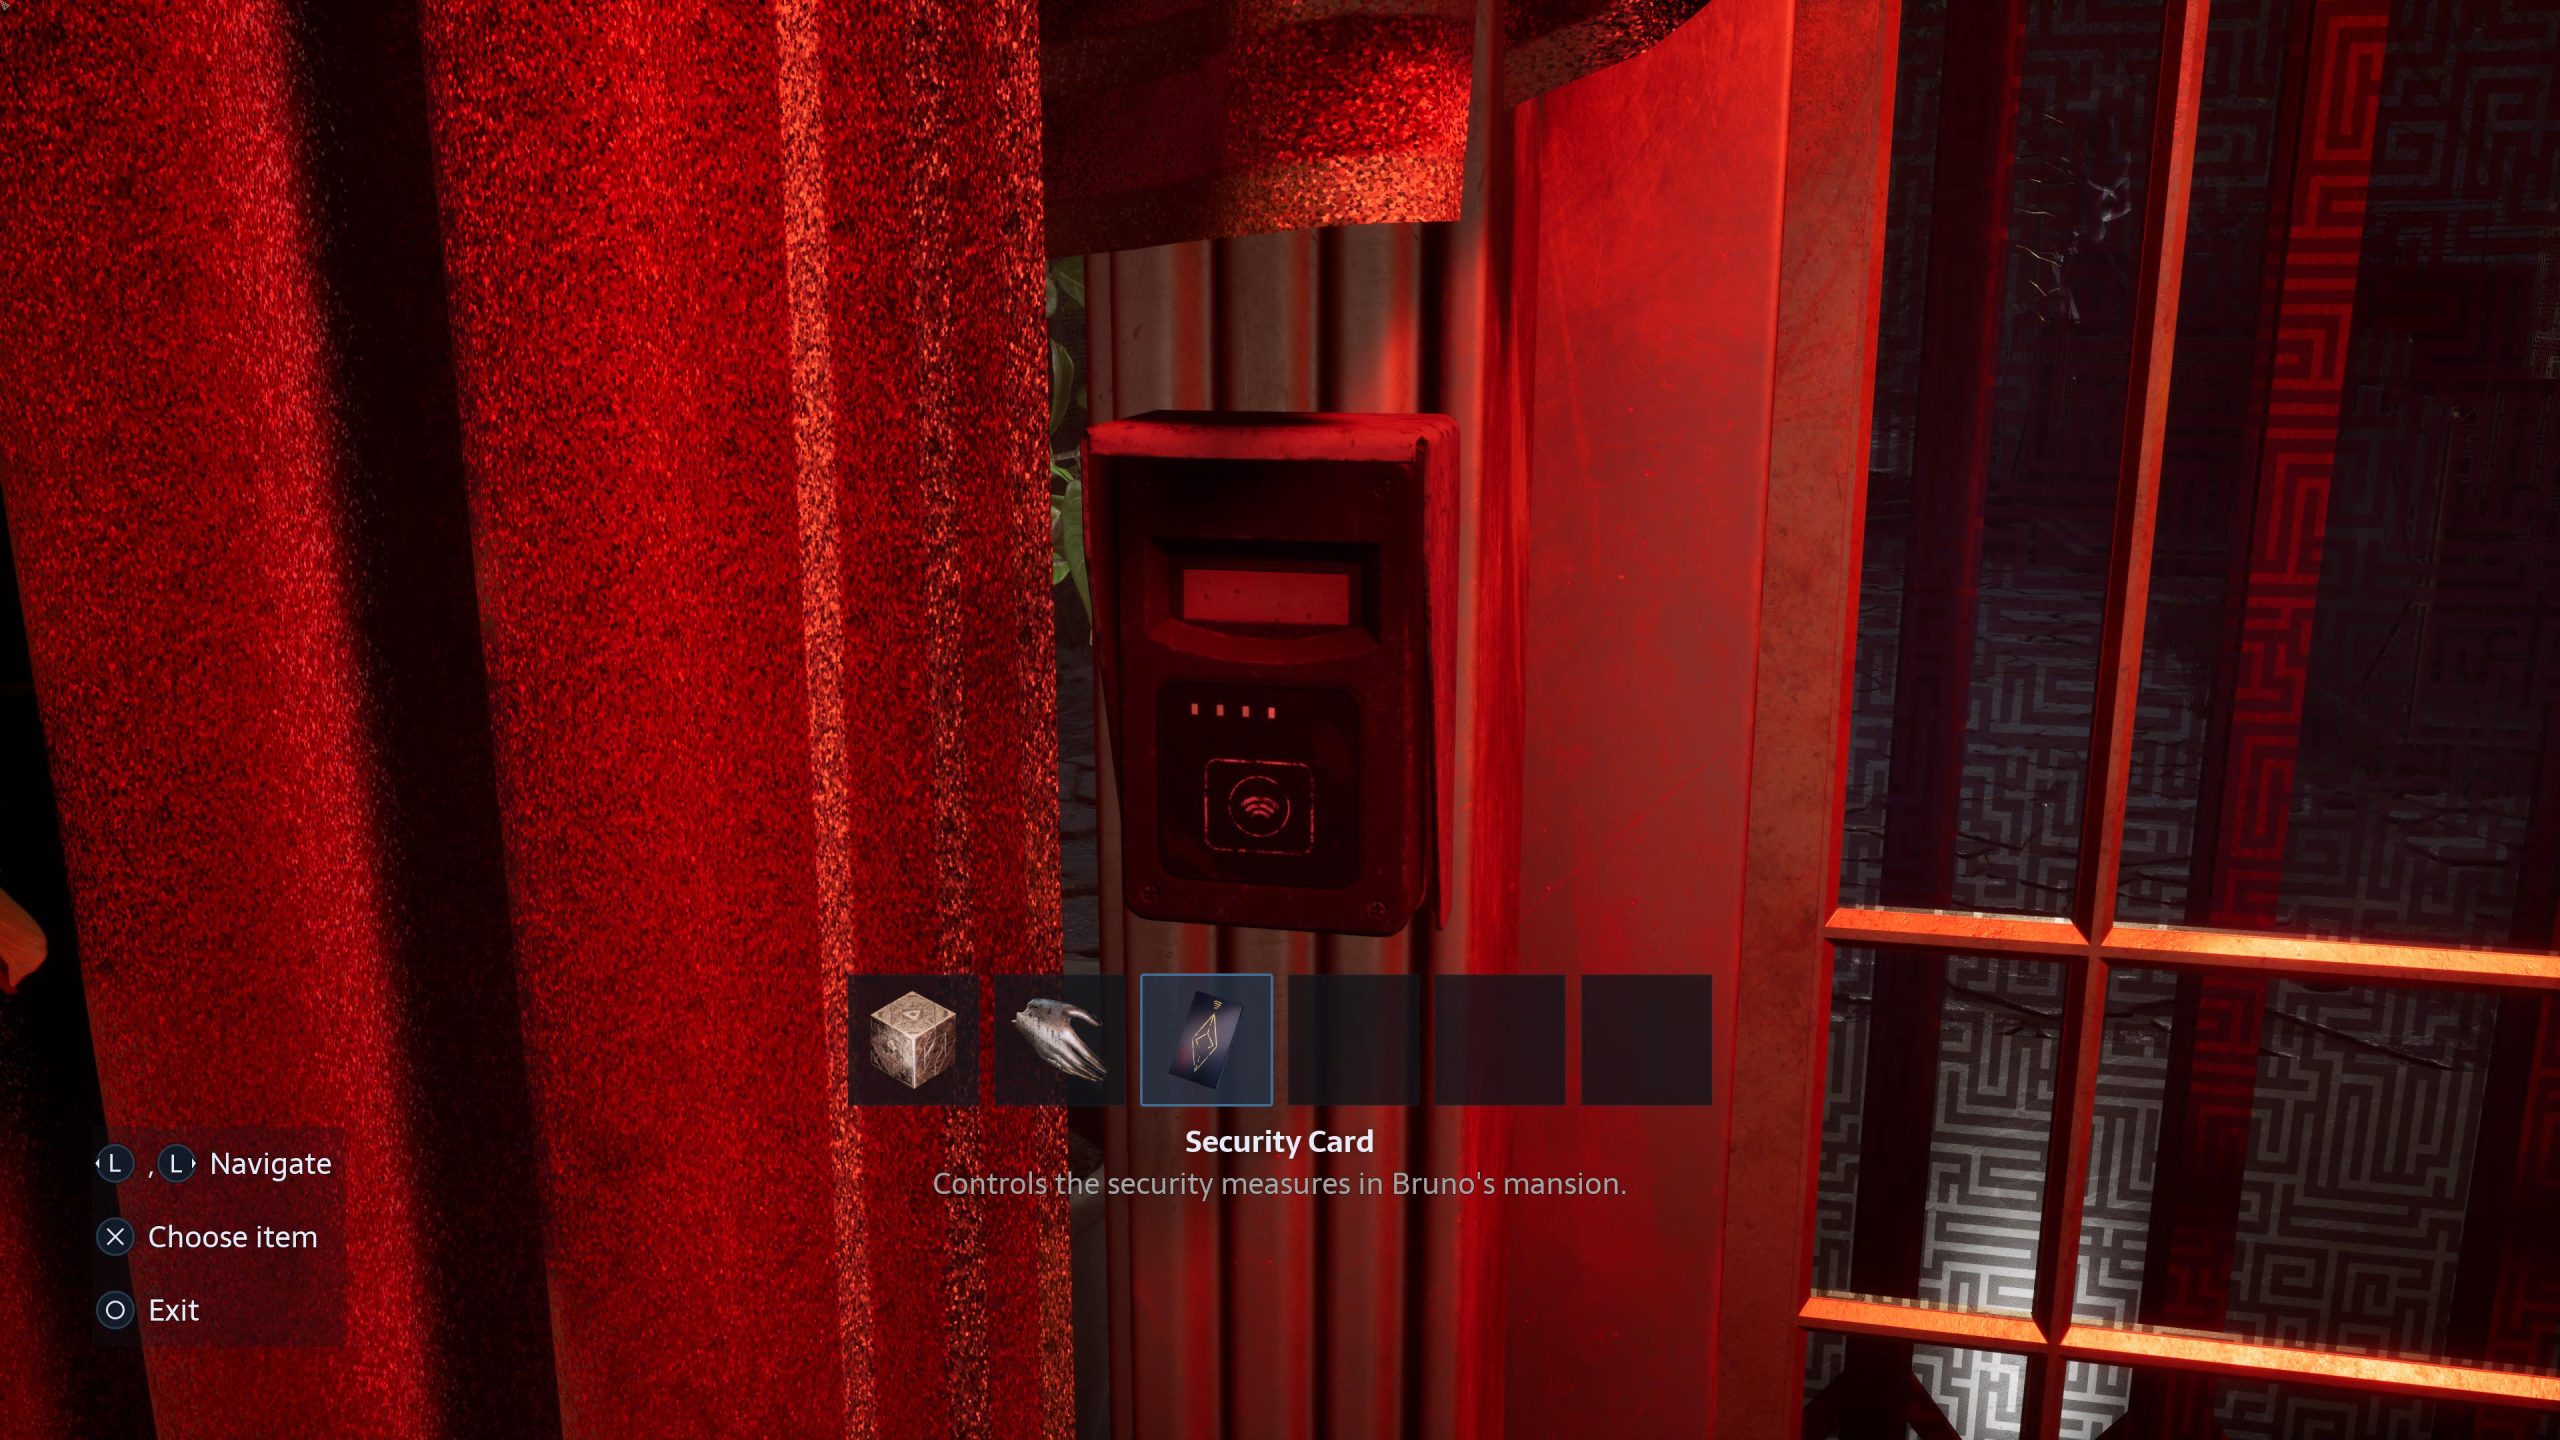
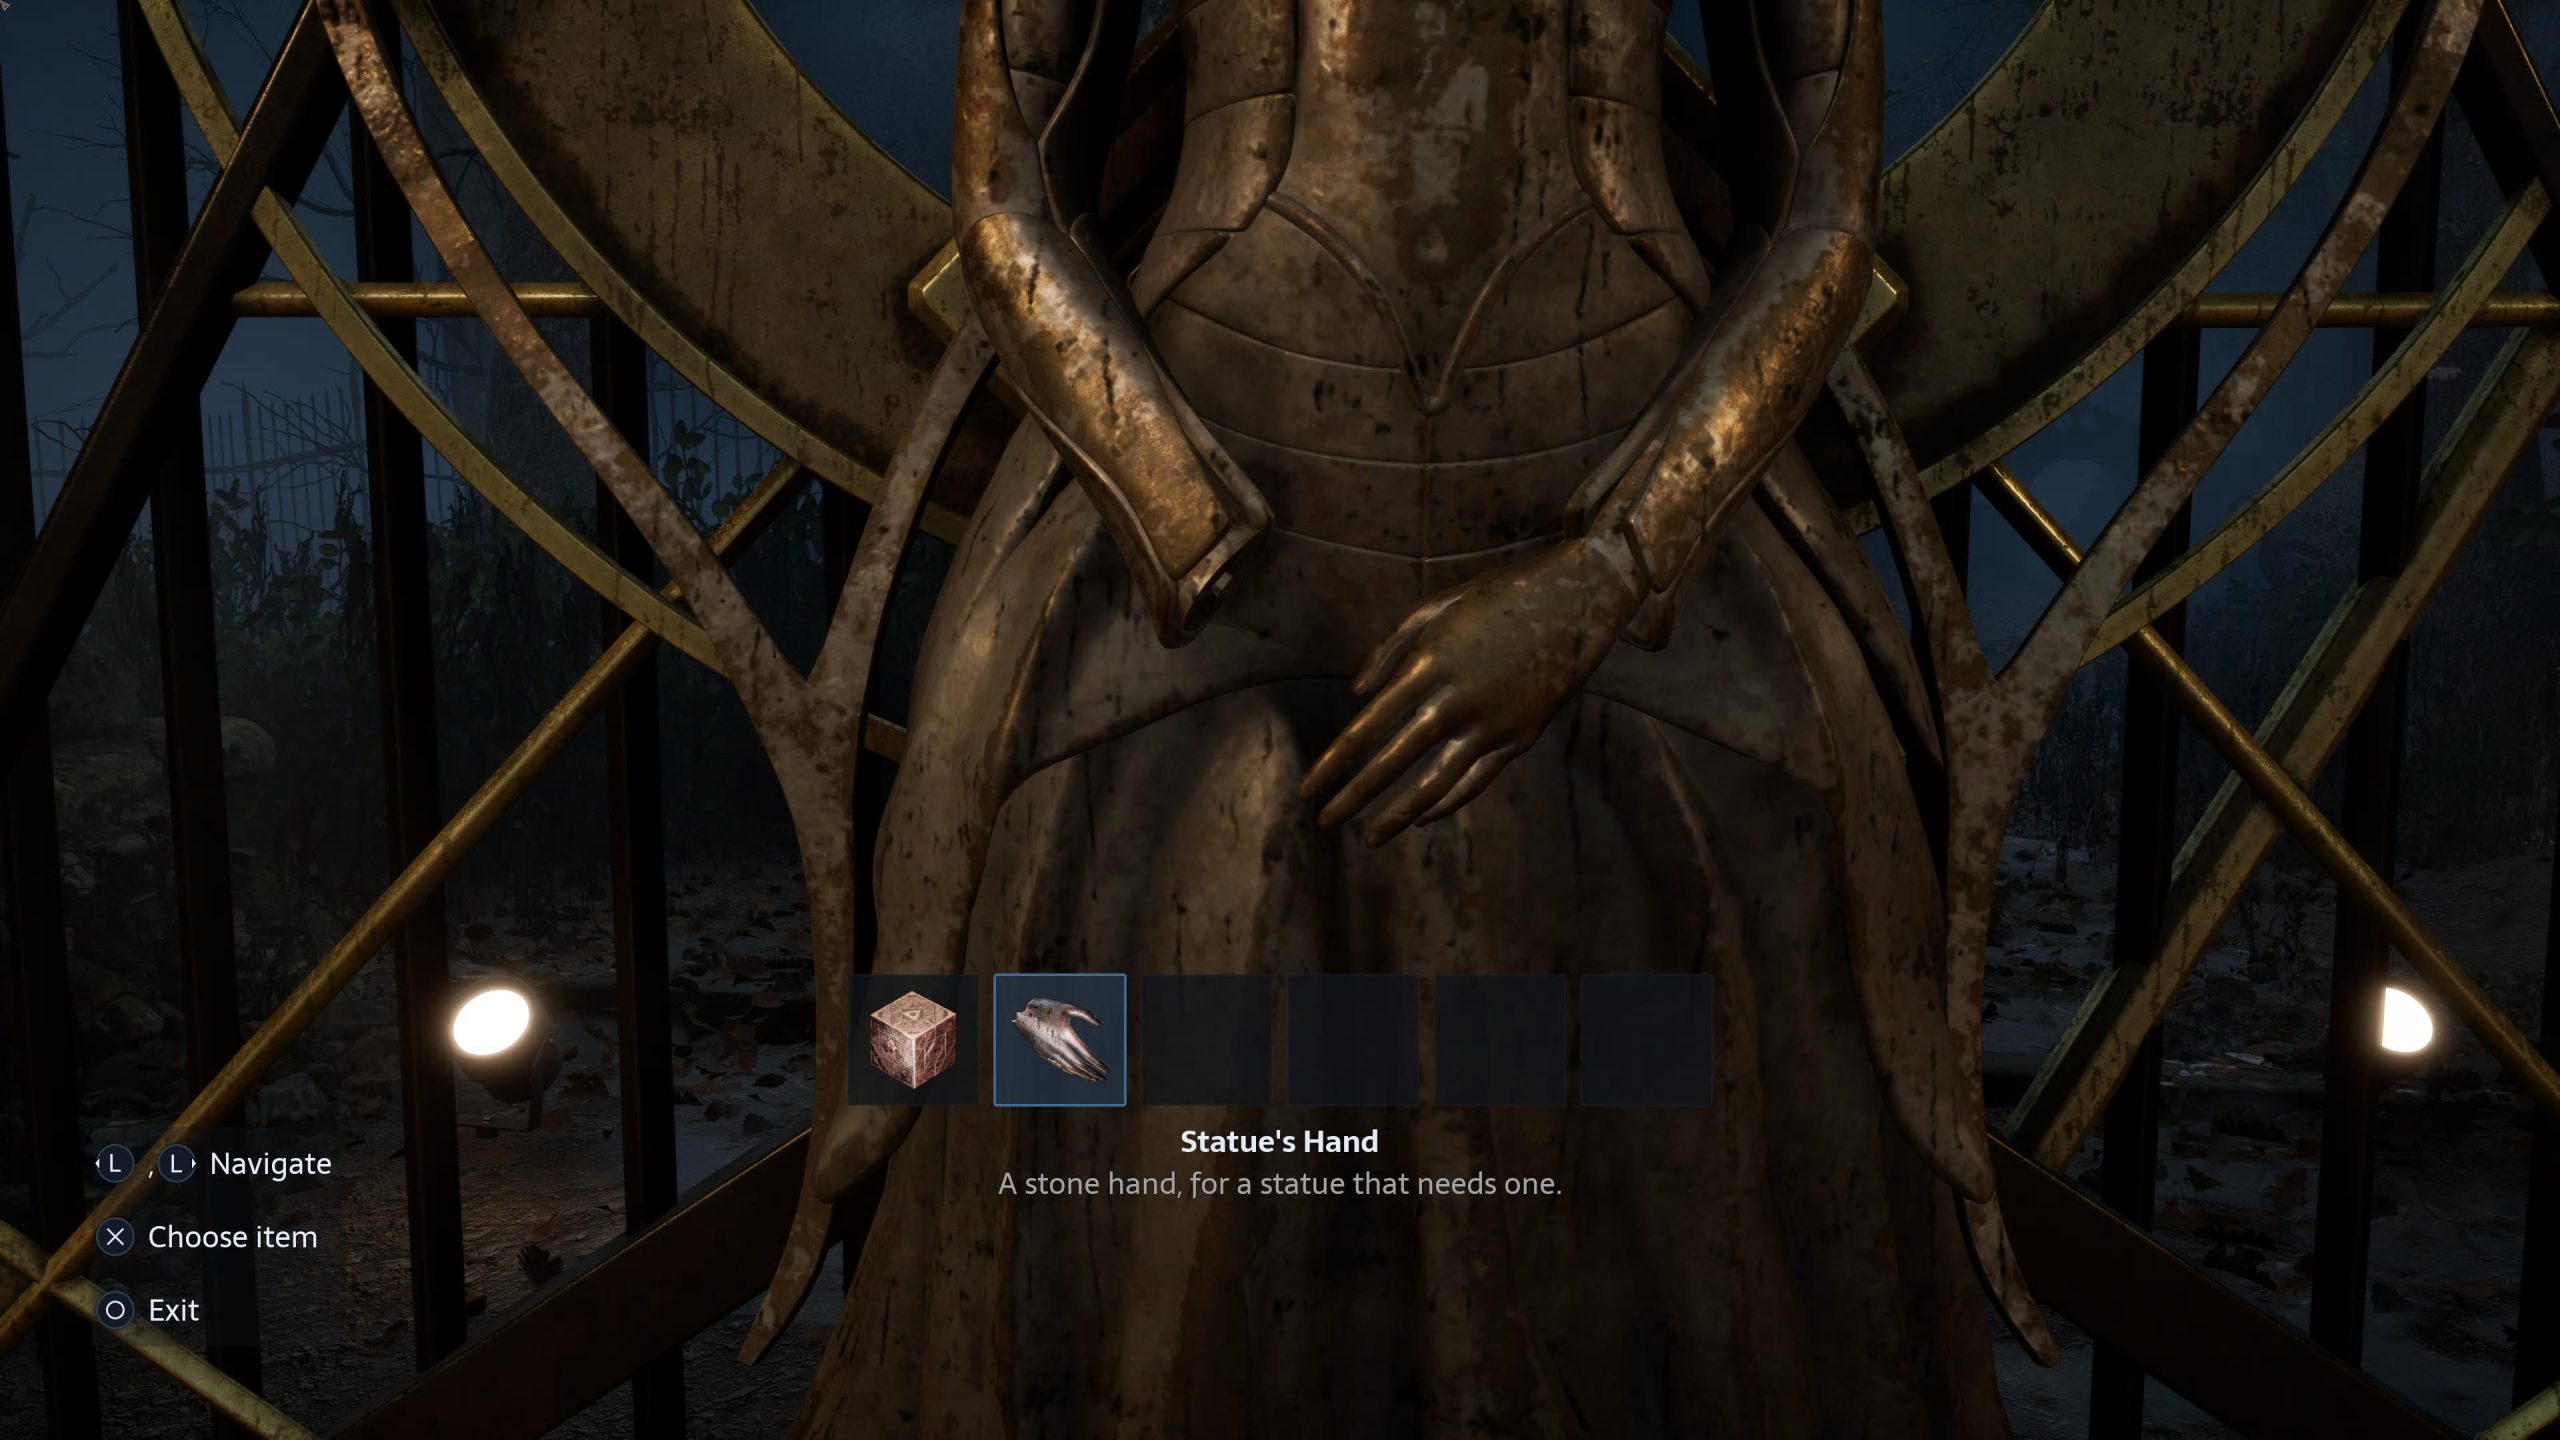
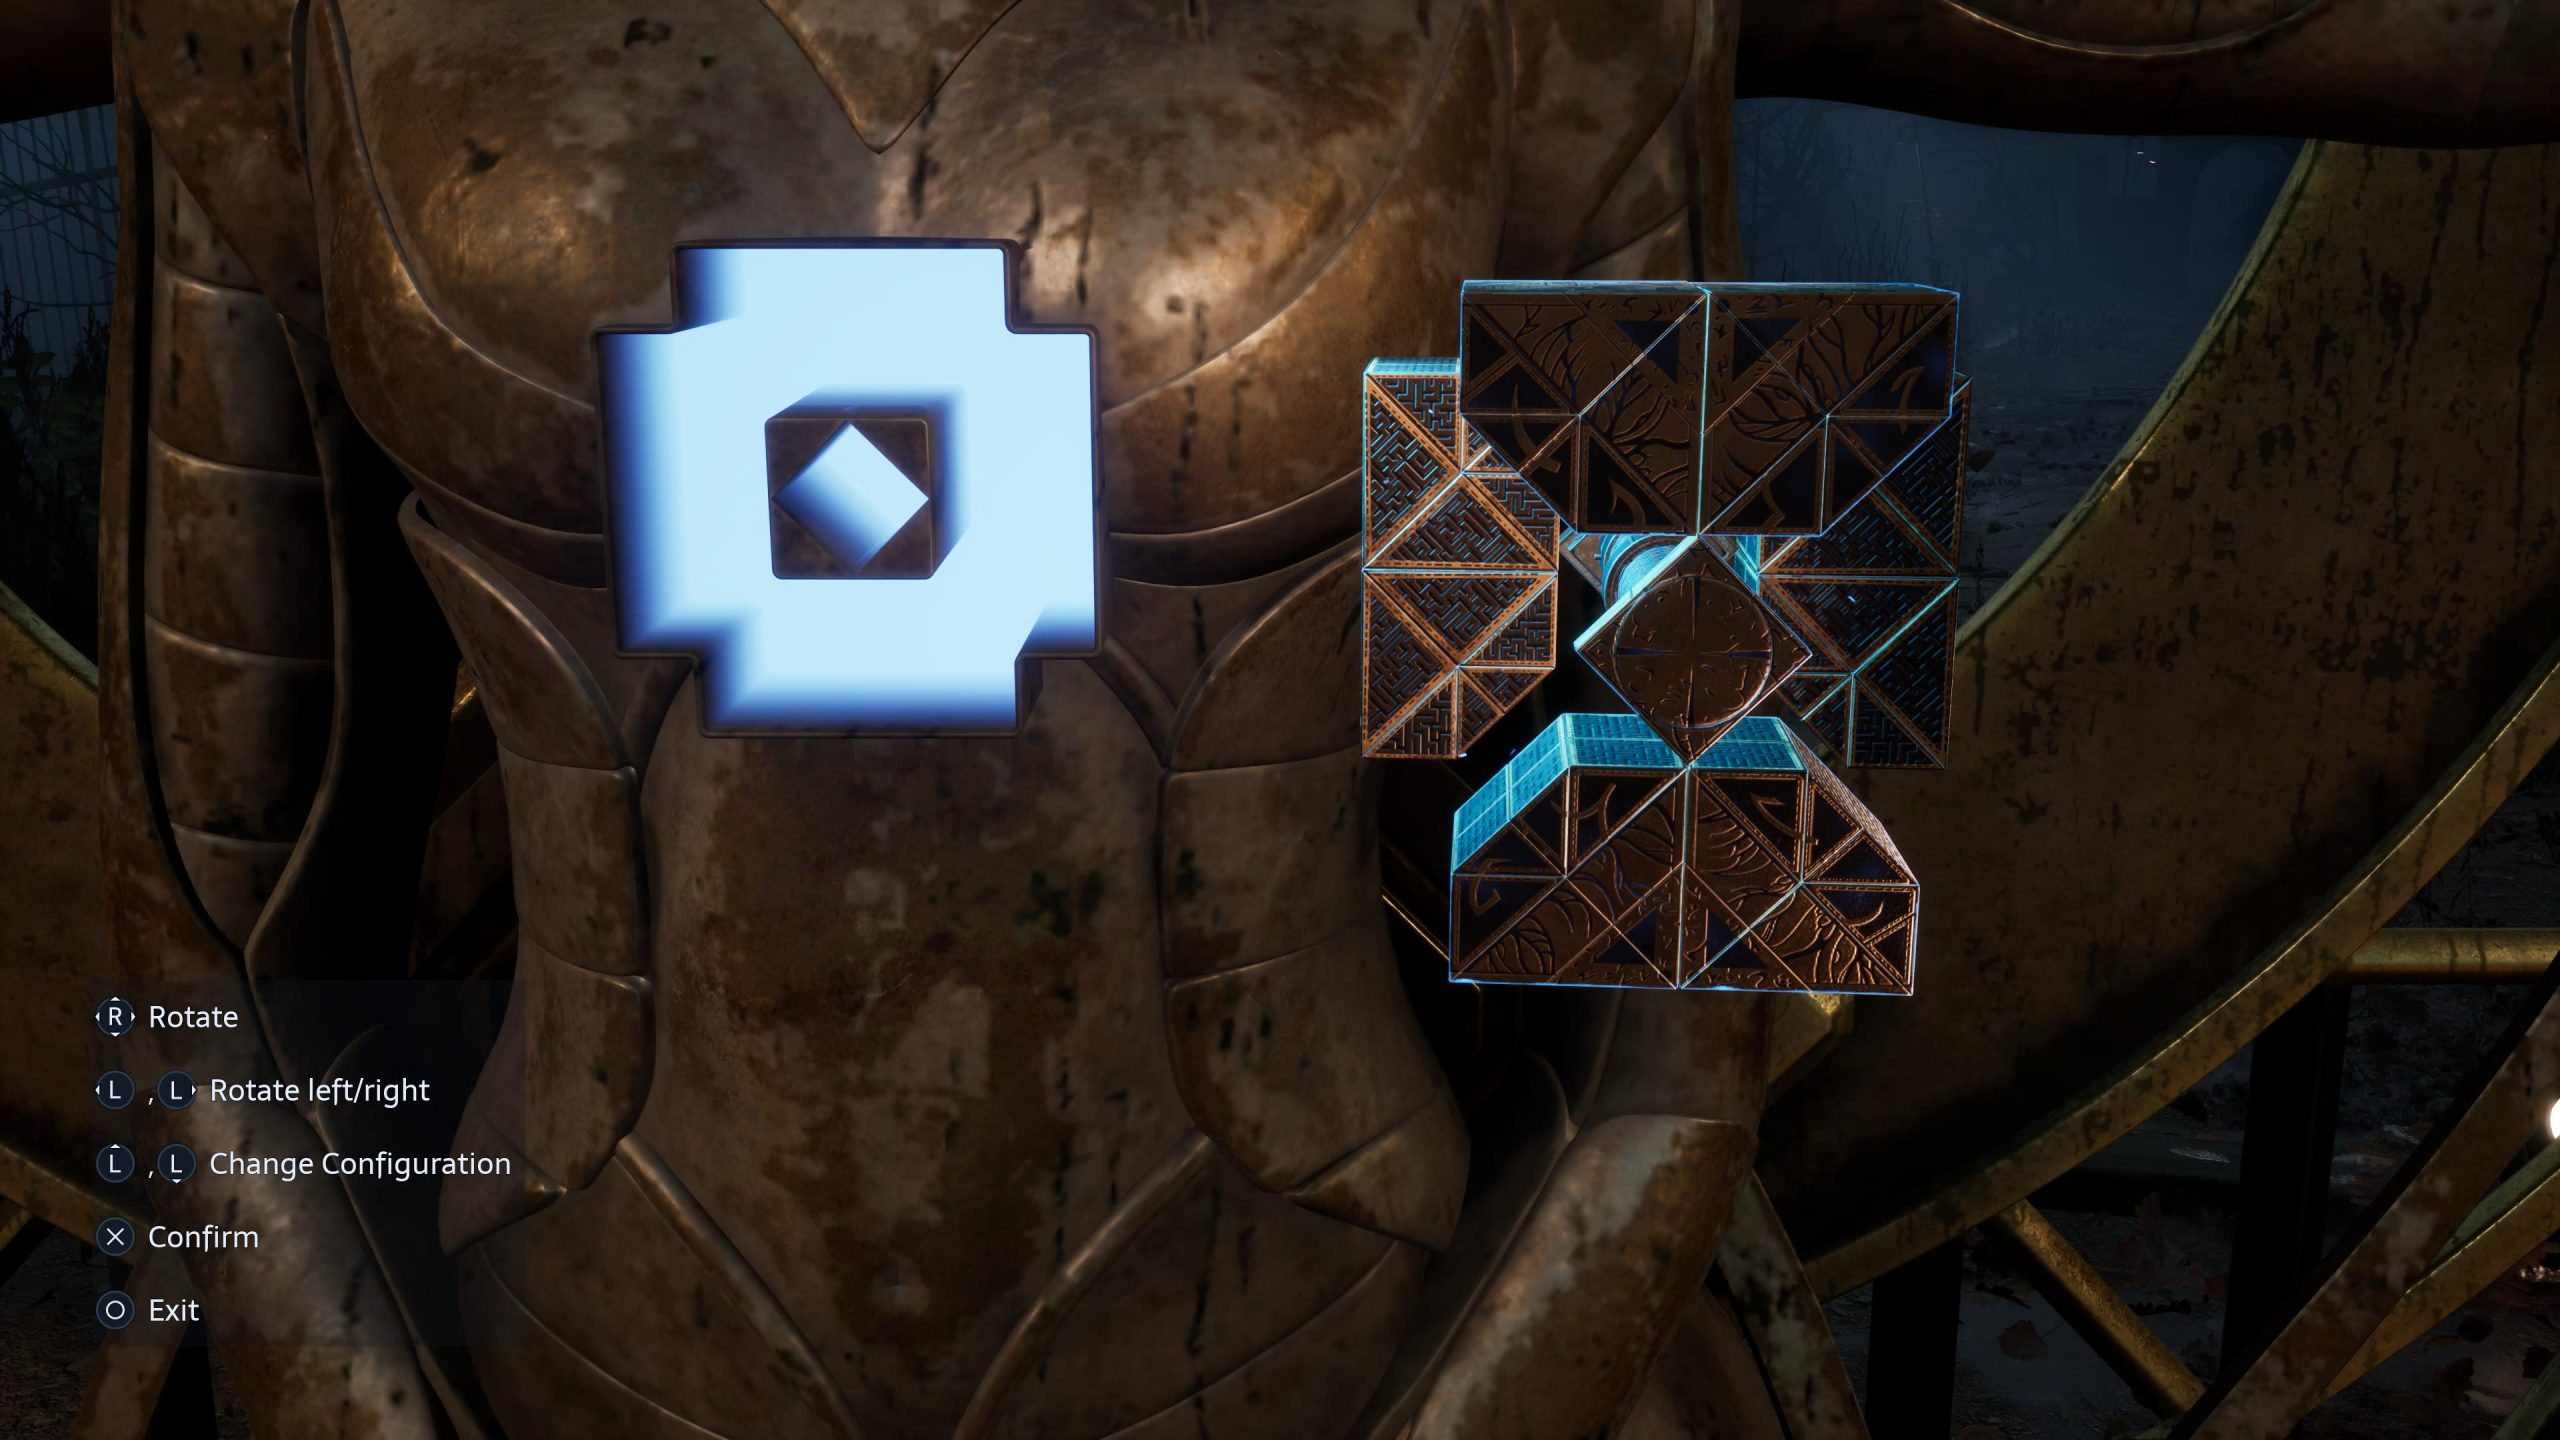
Head to the main door in the foyer, exit, and make your way down to the main area below. You can chat to Zora, who will have some choice words for you, and then head to the gate with a missing hand. Place it, and then configure your Lament Configuration Box like below. Once that’s done, you’re one third of the way there to finding the Statue’s Missing Parts and making your way to Charlotte.
The Statue’s Missing Parts – The Head
Finding the Head is far simpler than that of the Hand, thankfully. Head through the gate, and you’ll find yourself on the edge of a lake, or something similar. There’s a jetty on your left, a food stall on your right, and an arch that you have to head towards in front of you. Be careful as you approach though. as you’re about to be introduced to a new enemy type that’ll wreck you if you’re not careful. Dispatch of them and then continue through the archway and towards the stairs in front of you.
This next area is very linear, with nothing but a few enemies getting in your way. Keep going until you hit the cabin in the woods, as Aidan humorously comments in a very meta fashion about. Inside the cabin is another recording for Sean and Charlotte, as well as a few crafting components and, on the chair by the fire, the less-than-elusive Head of the Statue you’ve been looking for. Pick it up and prepare for one hell of a fight.
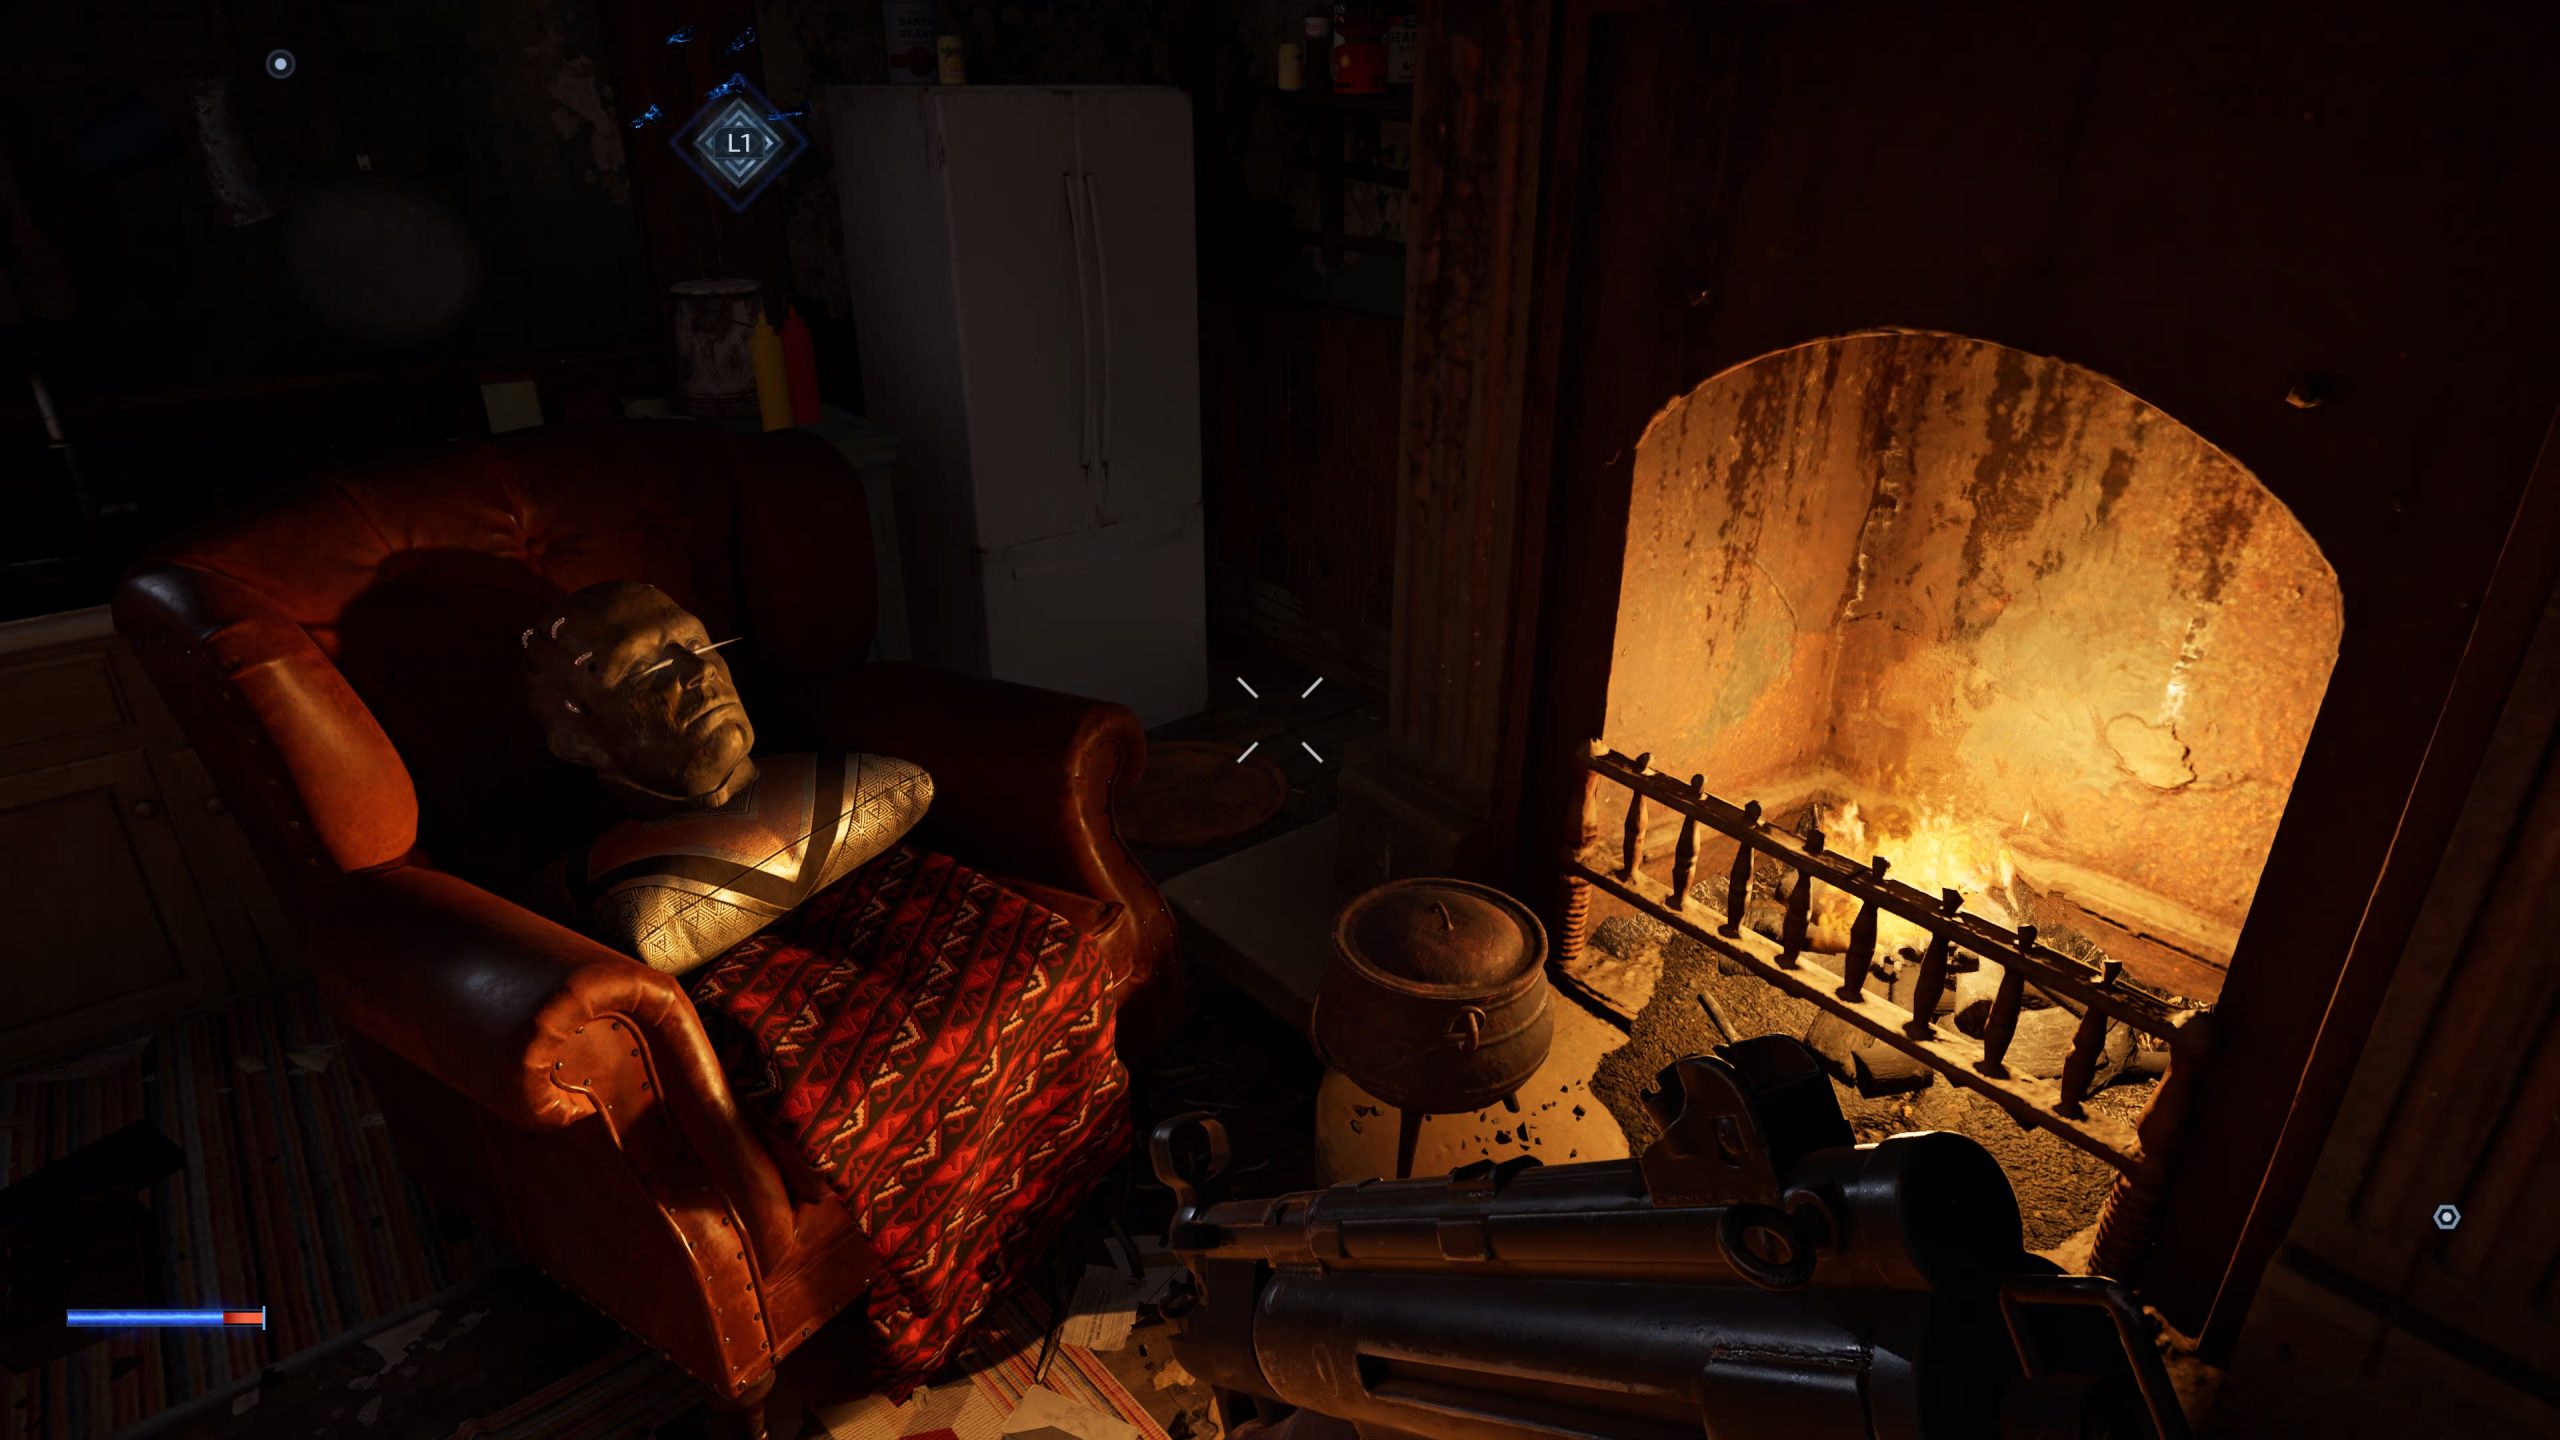
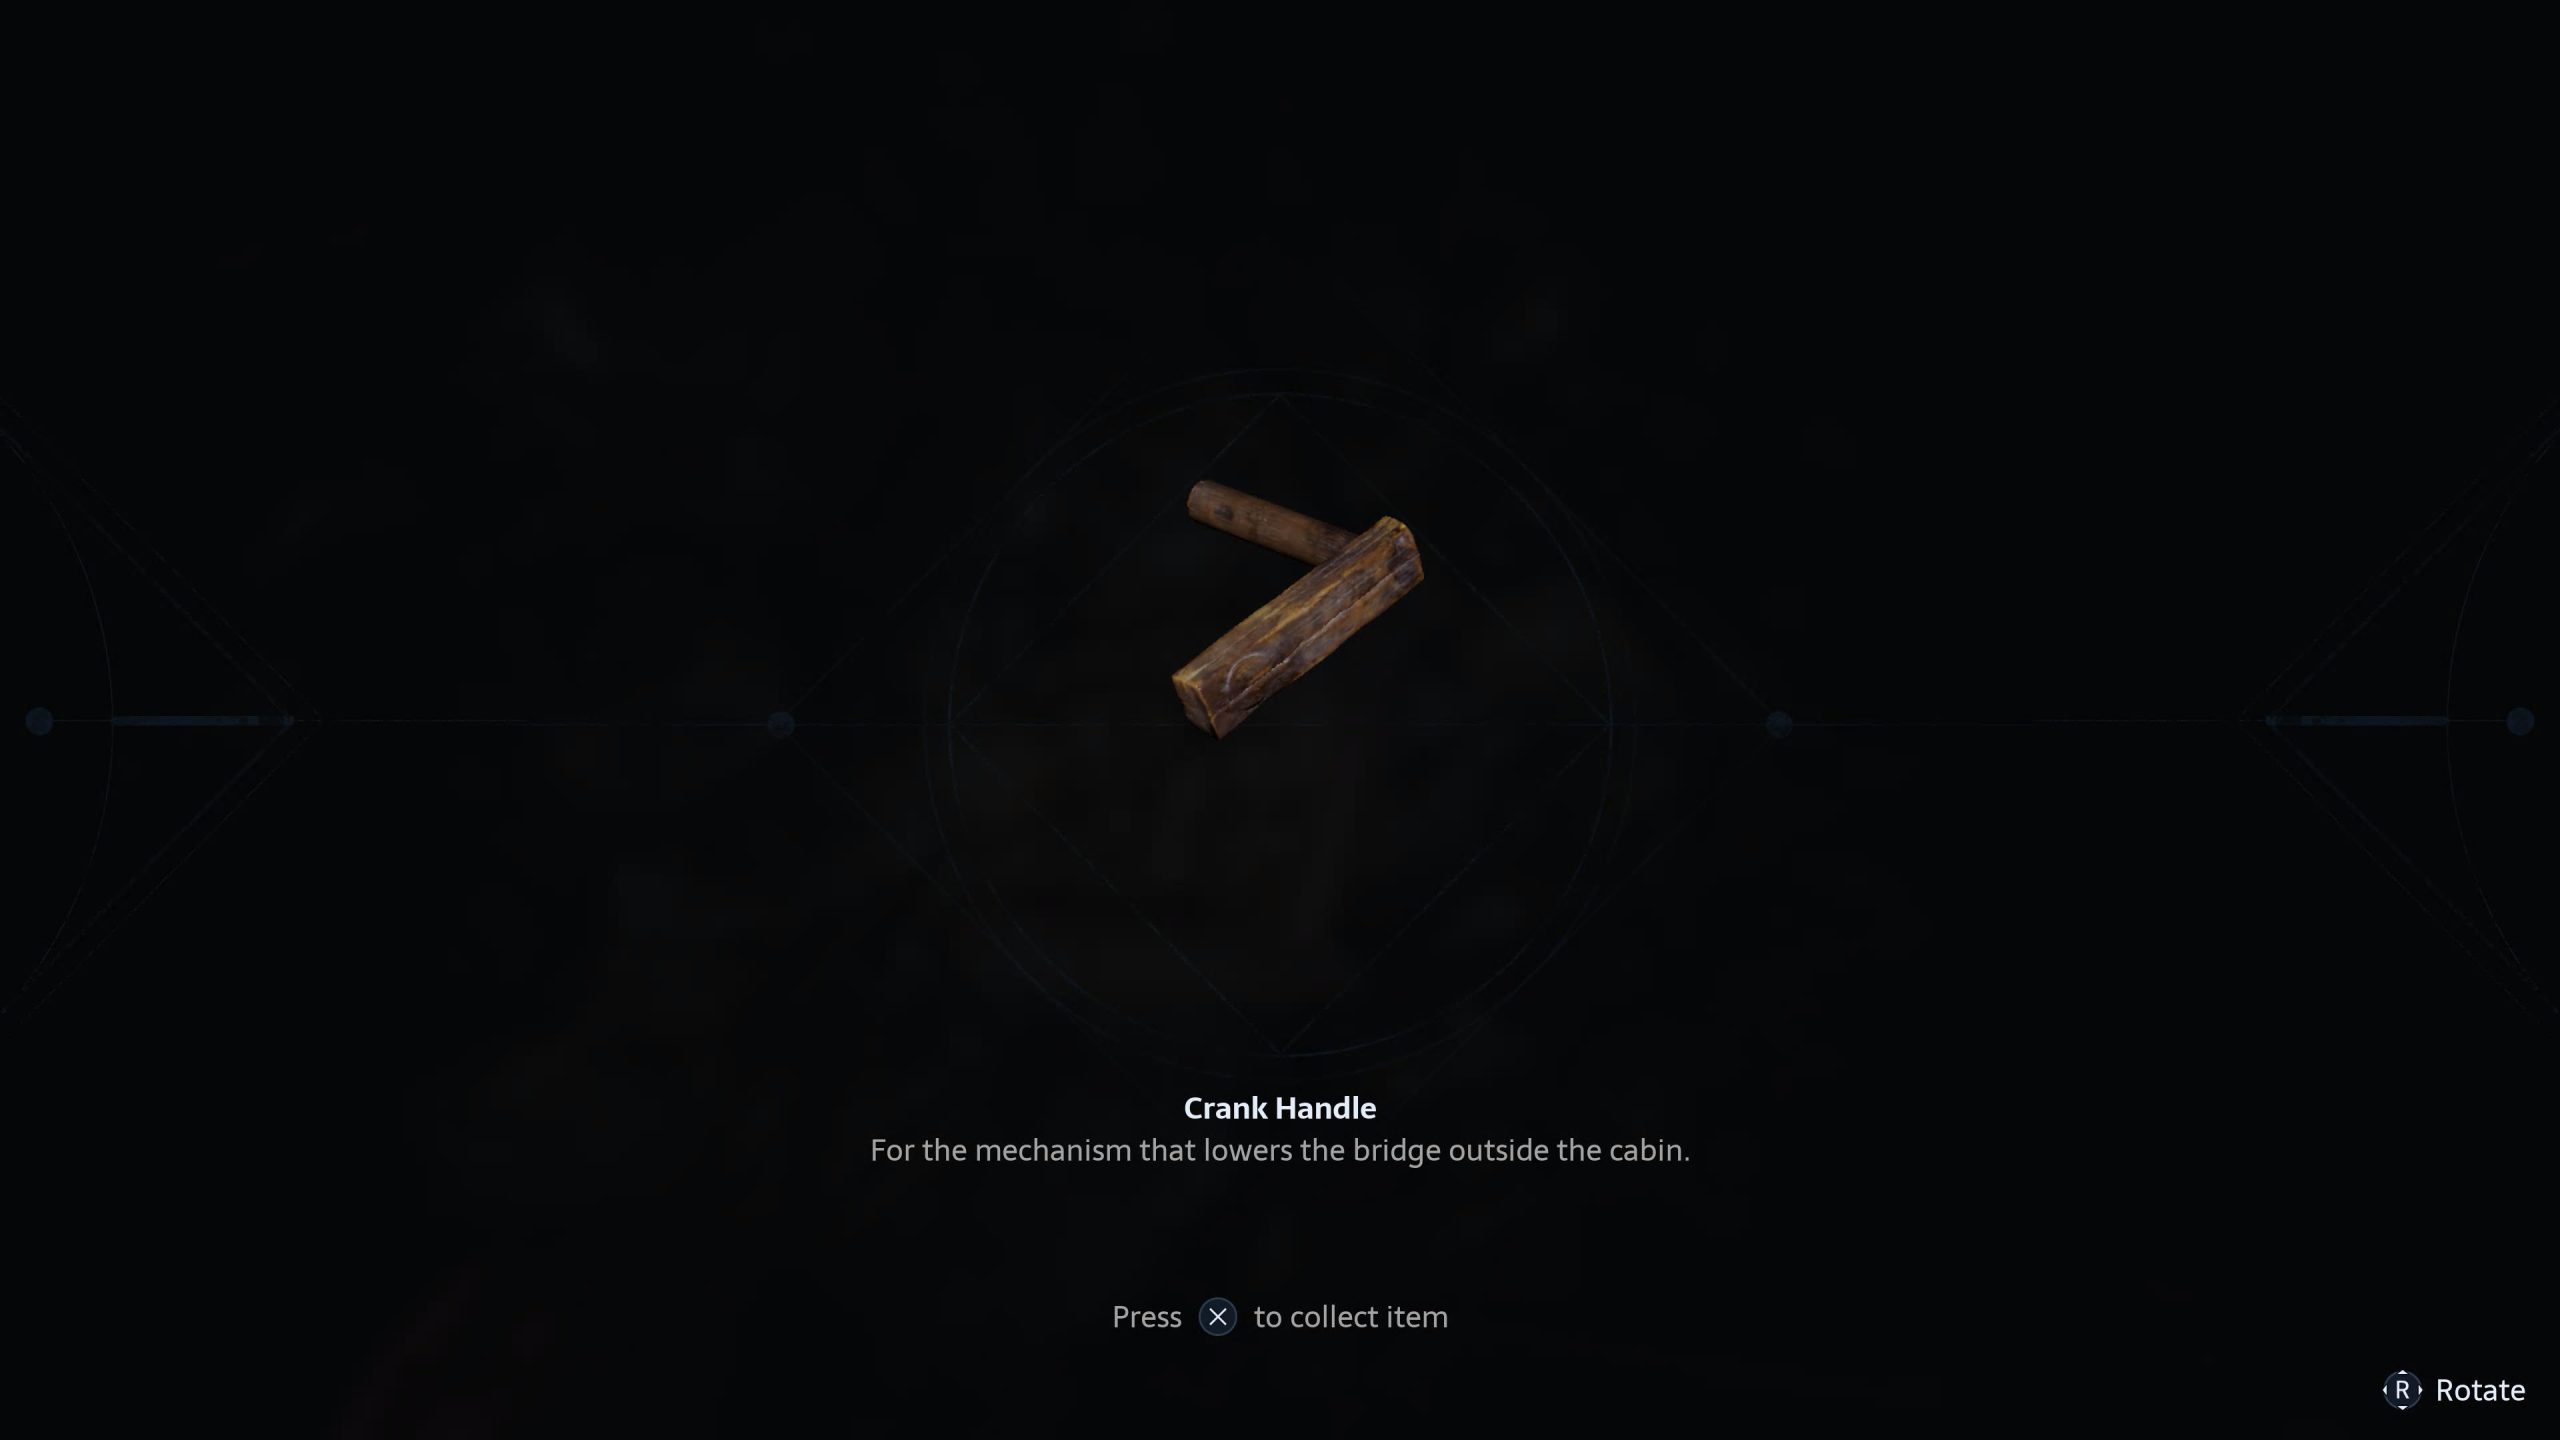
The cabin will become filled with enemies if you’re not quick to board up the windows, and eventually, regardless of your efforts, they’ll pour through the ceiling anyway. Continually dodge, shoot and slash your way through them until one of the new exploding enemies turn up, and you’re pushed below by the explosion. Make sure to grab the Crank Handle before you make your way out of here, by the way.
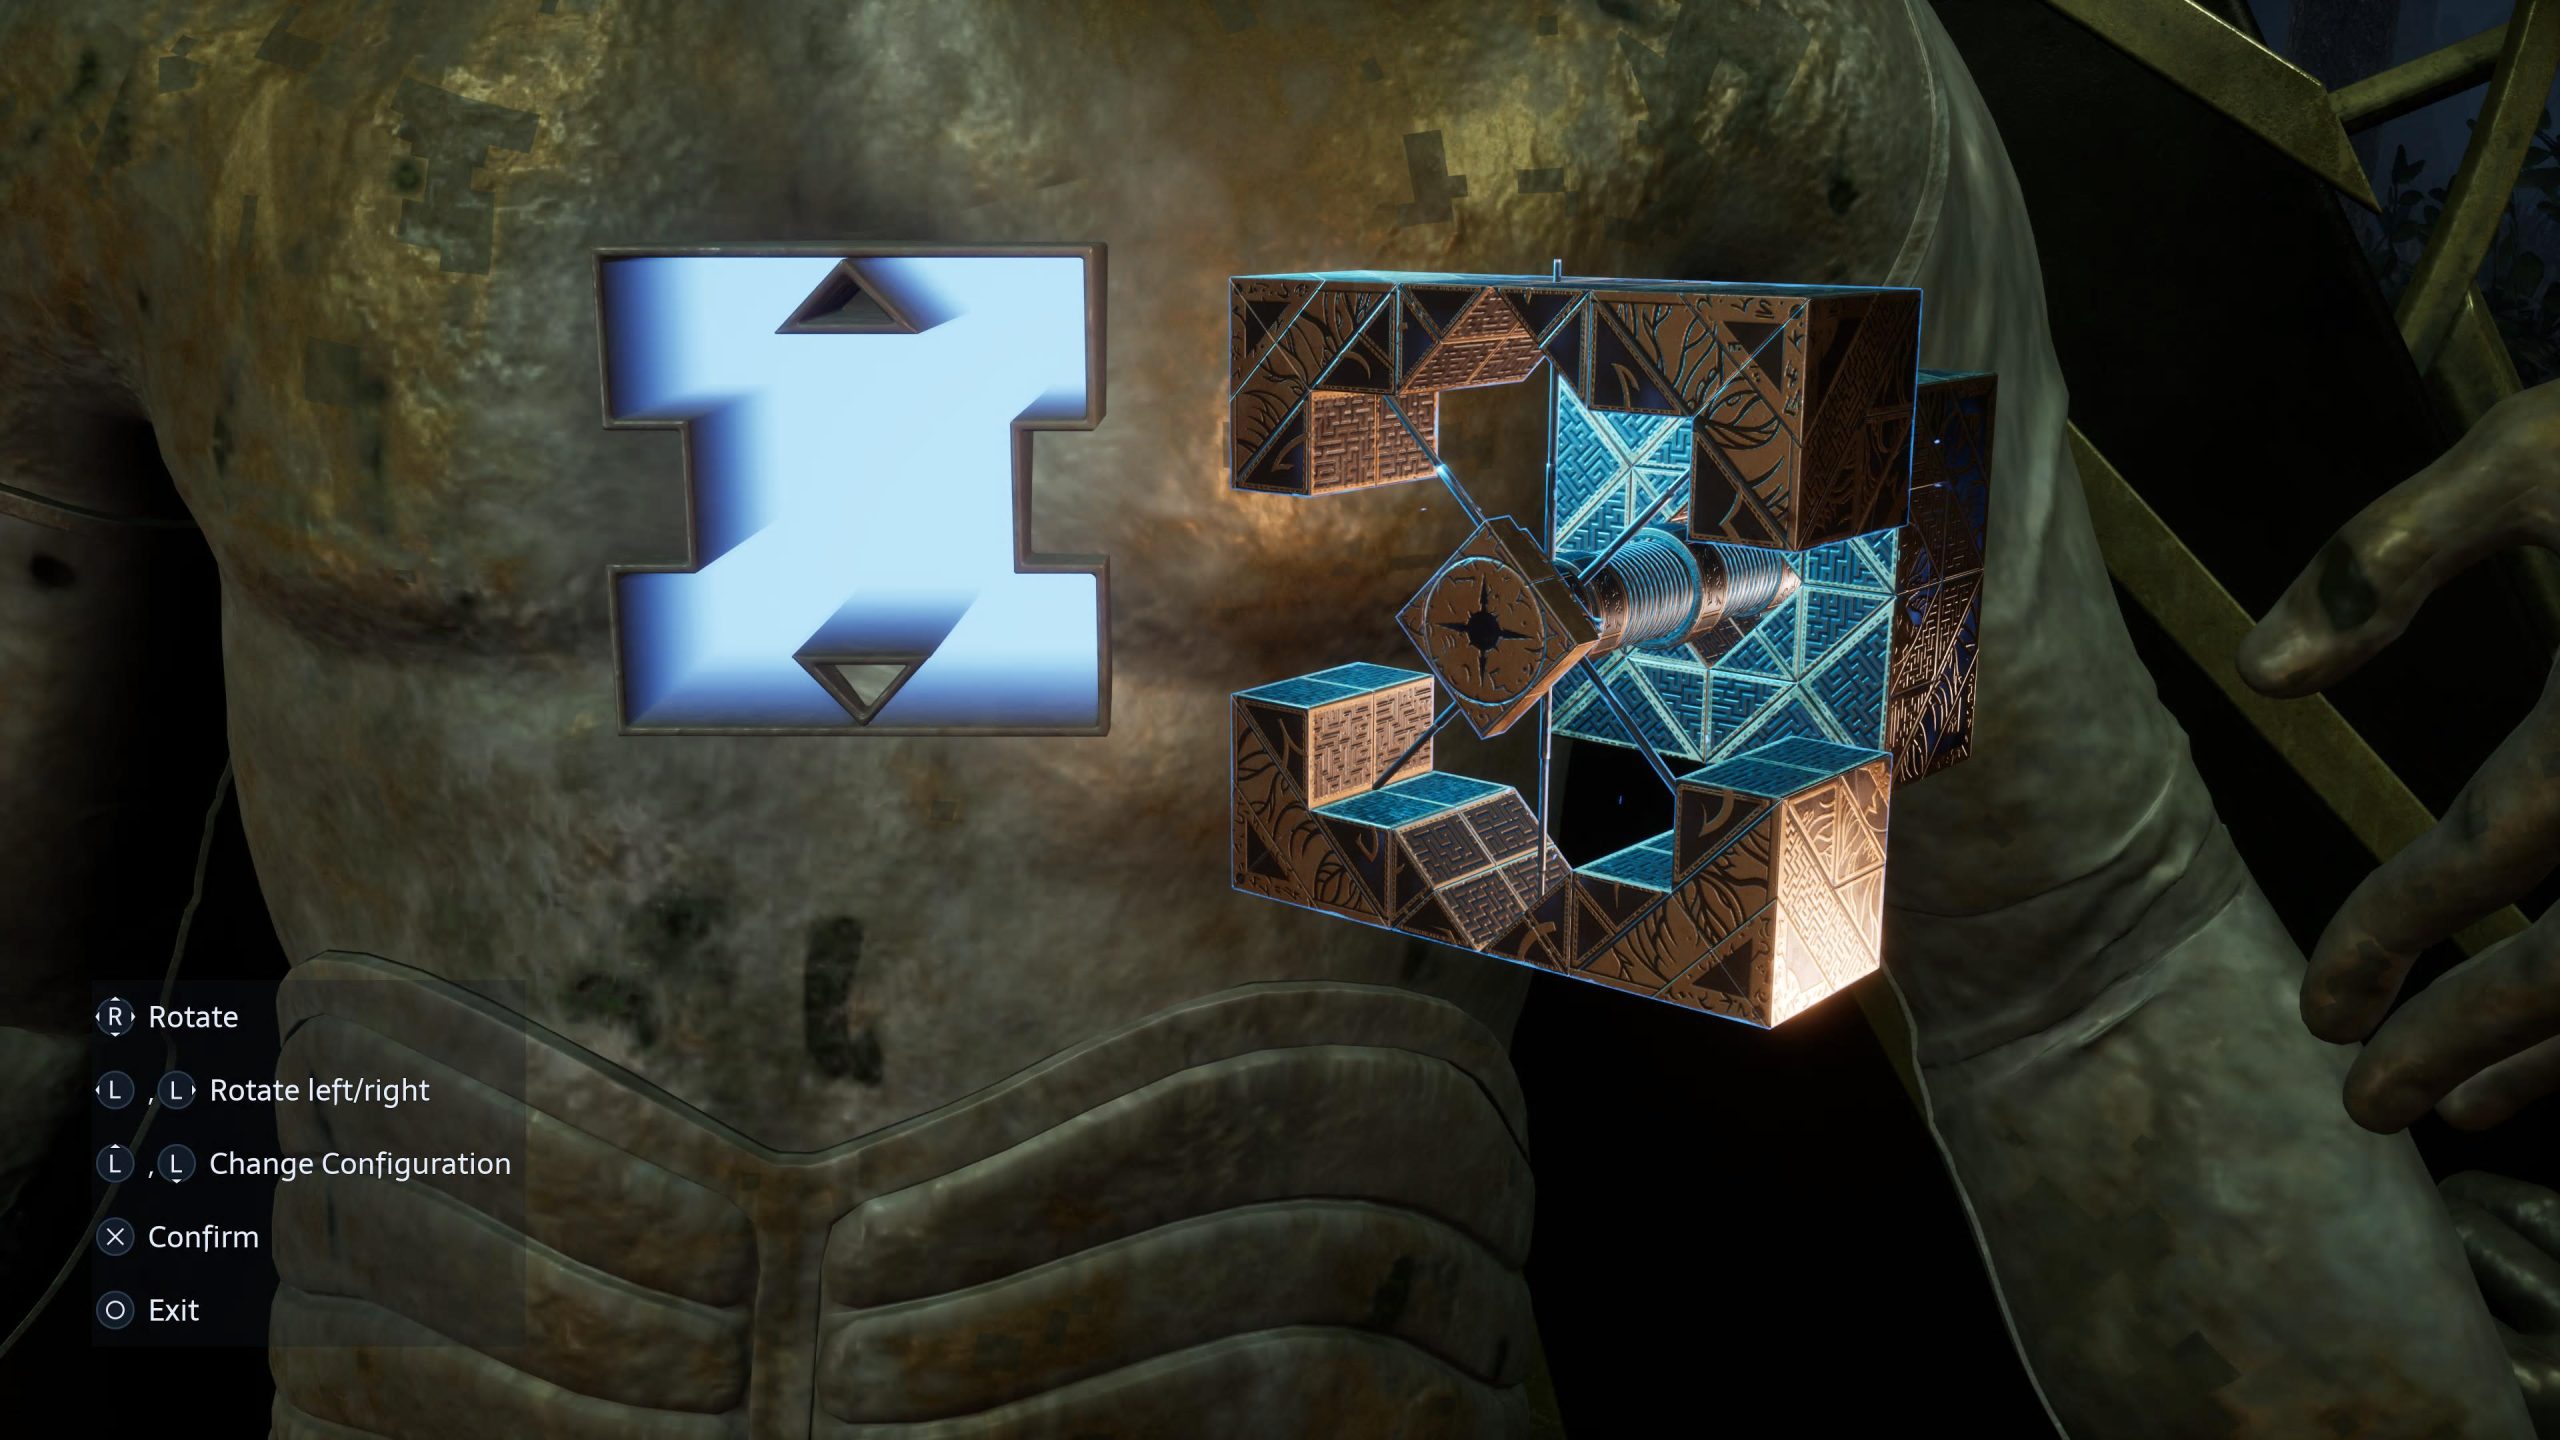
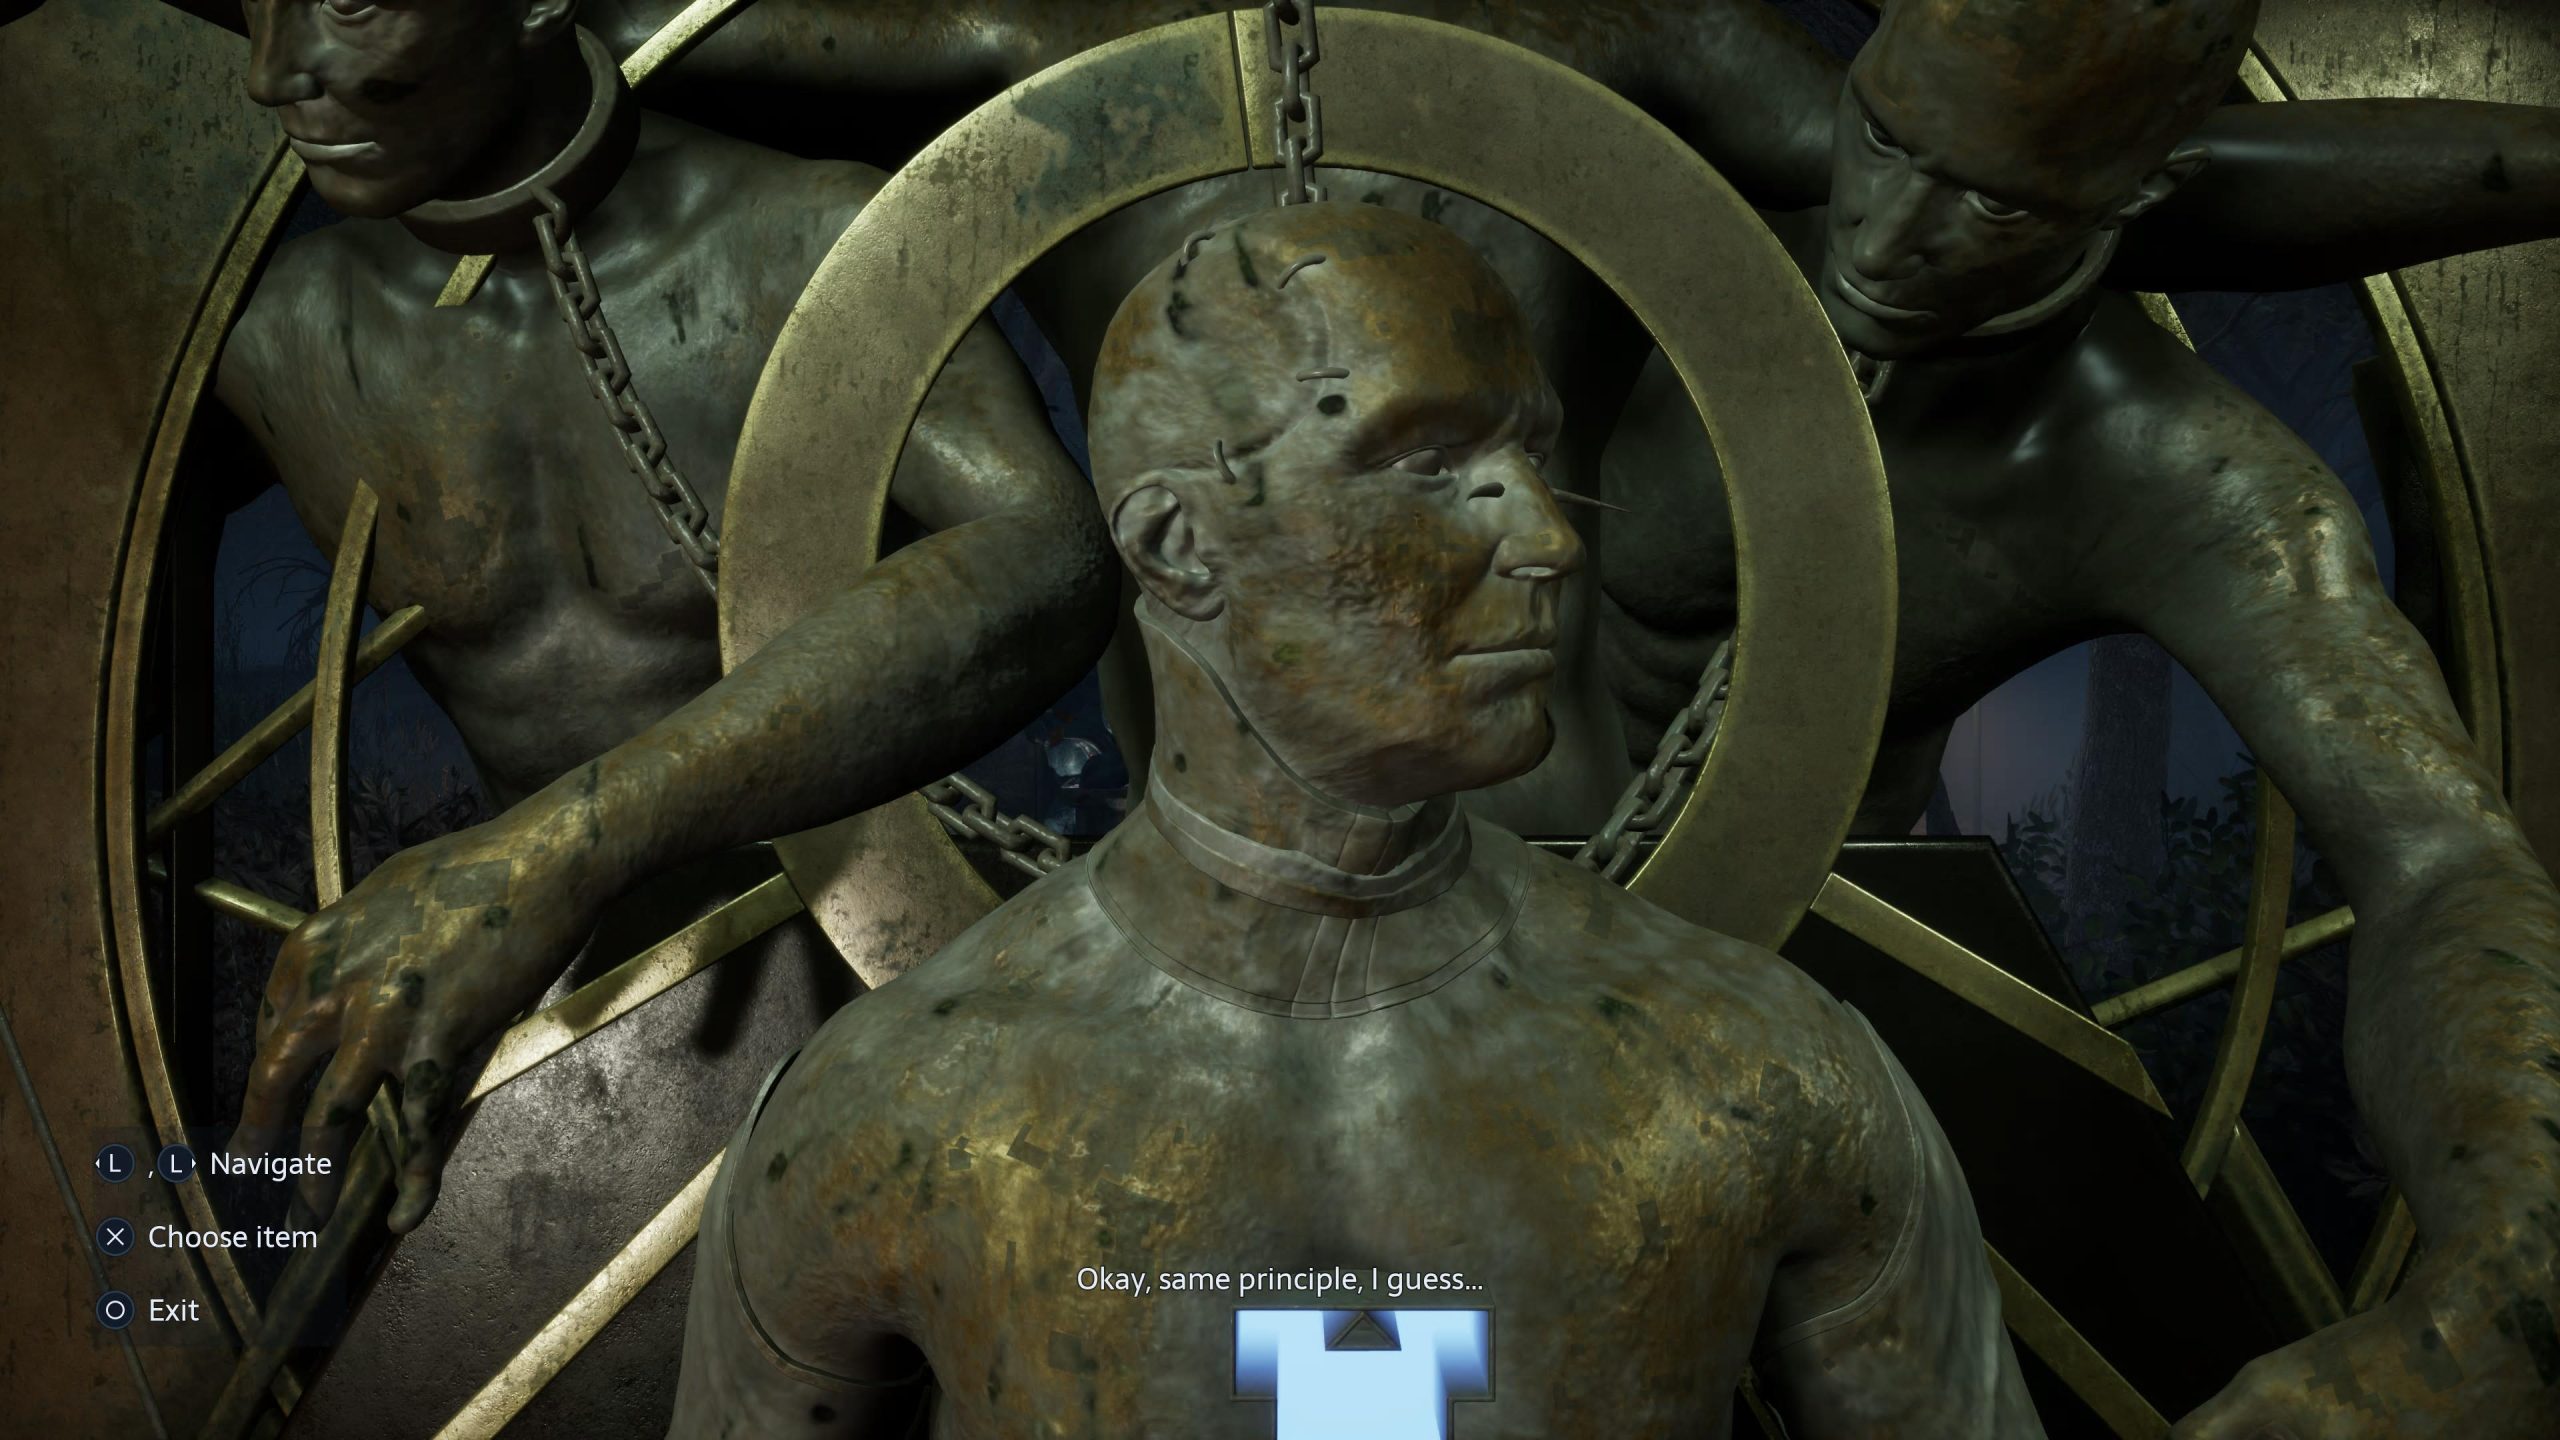
Climb back up and put the Crank Handle into position, lowering the bridge, and make your way back to the statue area. Again, you’ll be able to chat and purchase from Zora, but go to the statue and place the Head on top. You’ll have another Lament Configuration Box puzzle to complete, which the solution is shown below, and then the gate will open. You’re now two thirds of the way there, and onto the final part.
The Statue’s Missing Parts – The Tongue
The final gate is open, or final of the three at least, and you can head through to obtain the final piece of the statue hunt, the Tongue. Another linear path, and before you get too far down it, you’ll run into the same Cenobite from earlier. After a quick discussion, she reveals that the Box can do more than you thought so far, and you’ll unlock the ability to use fire in your arsenal. Throw it an enemies, or use it for puzzles, the choice is yours going forward.
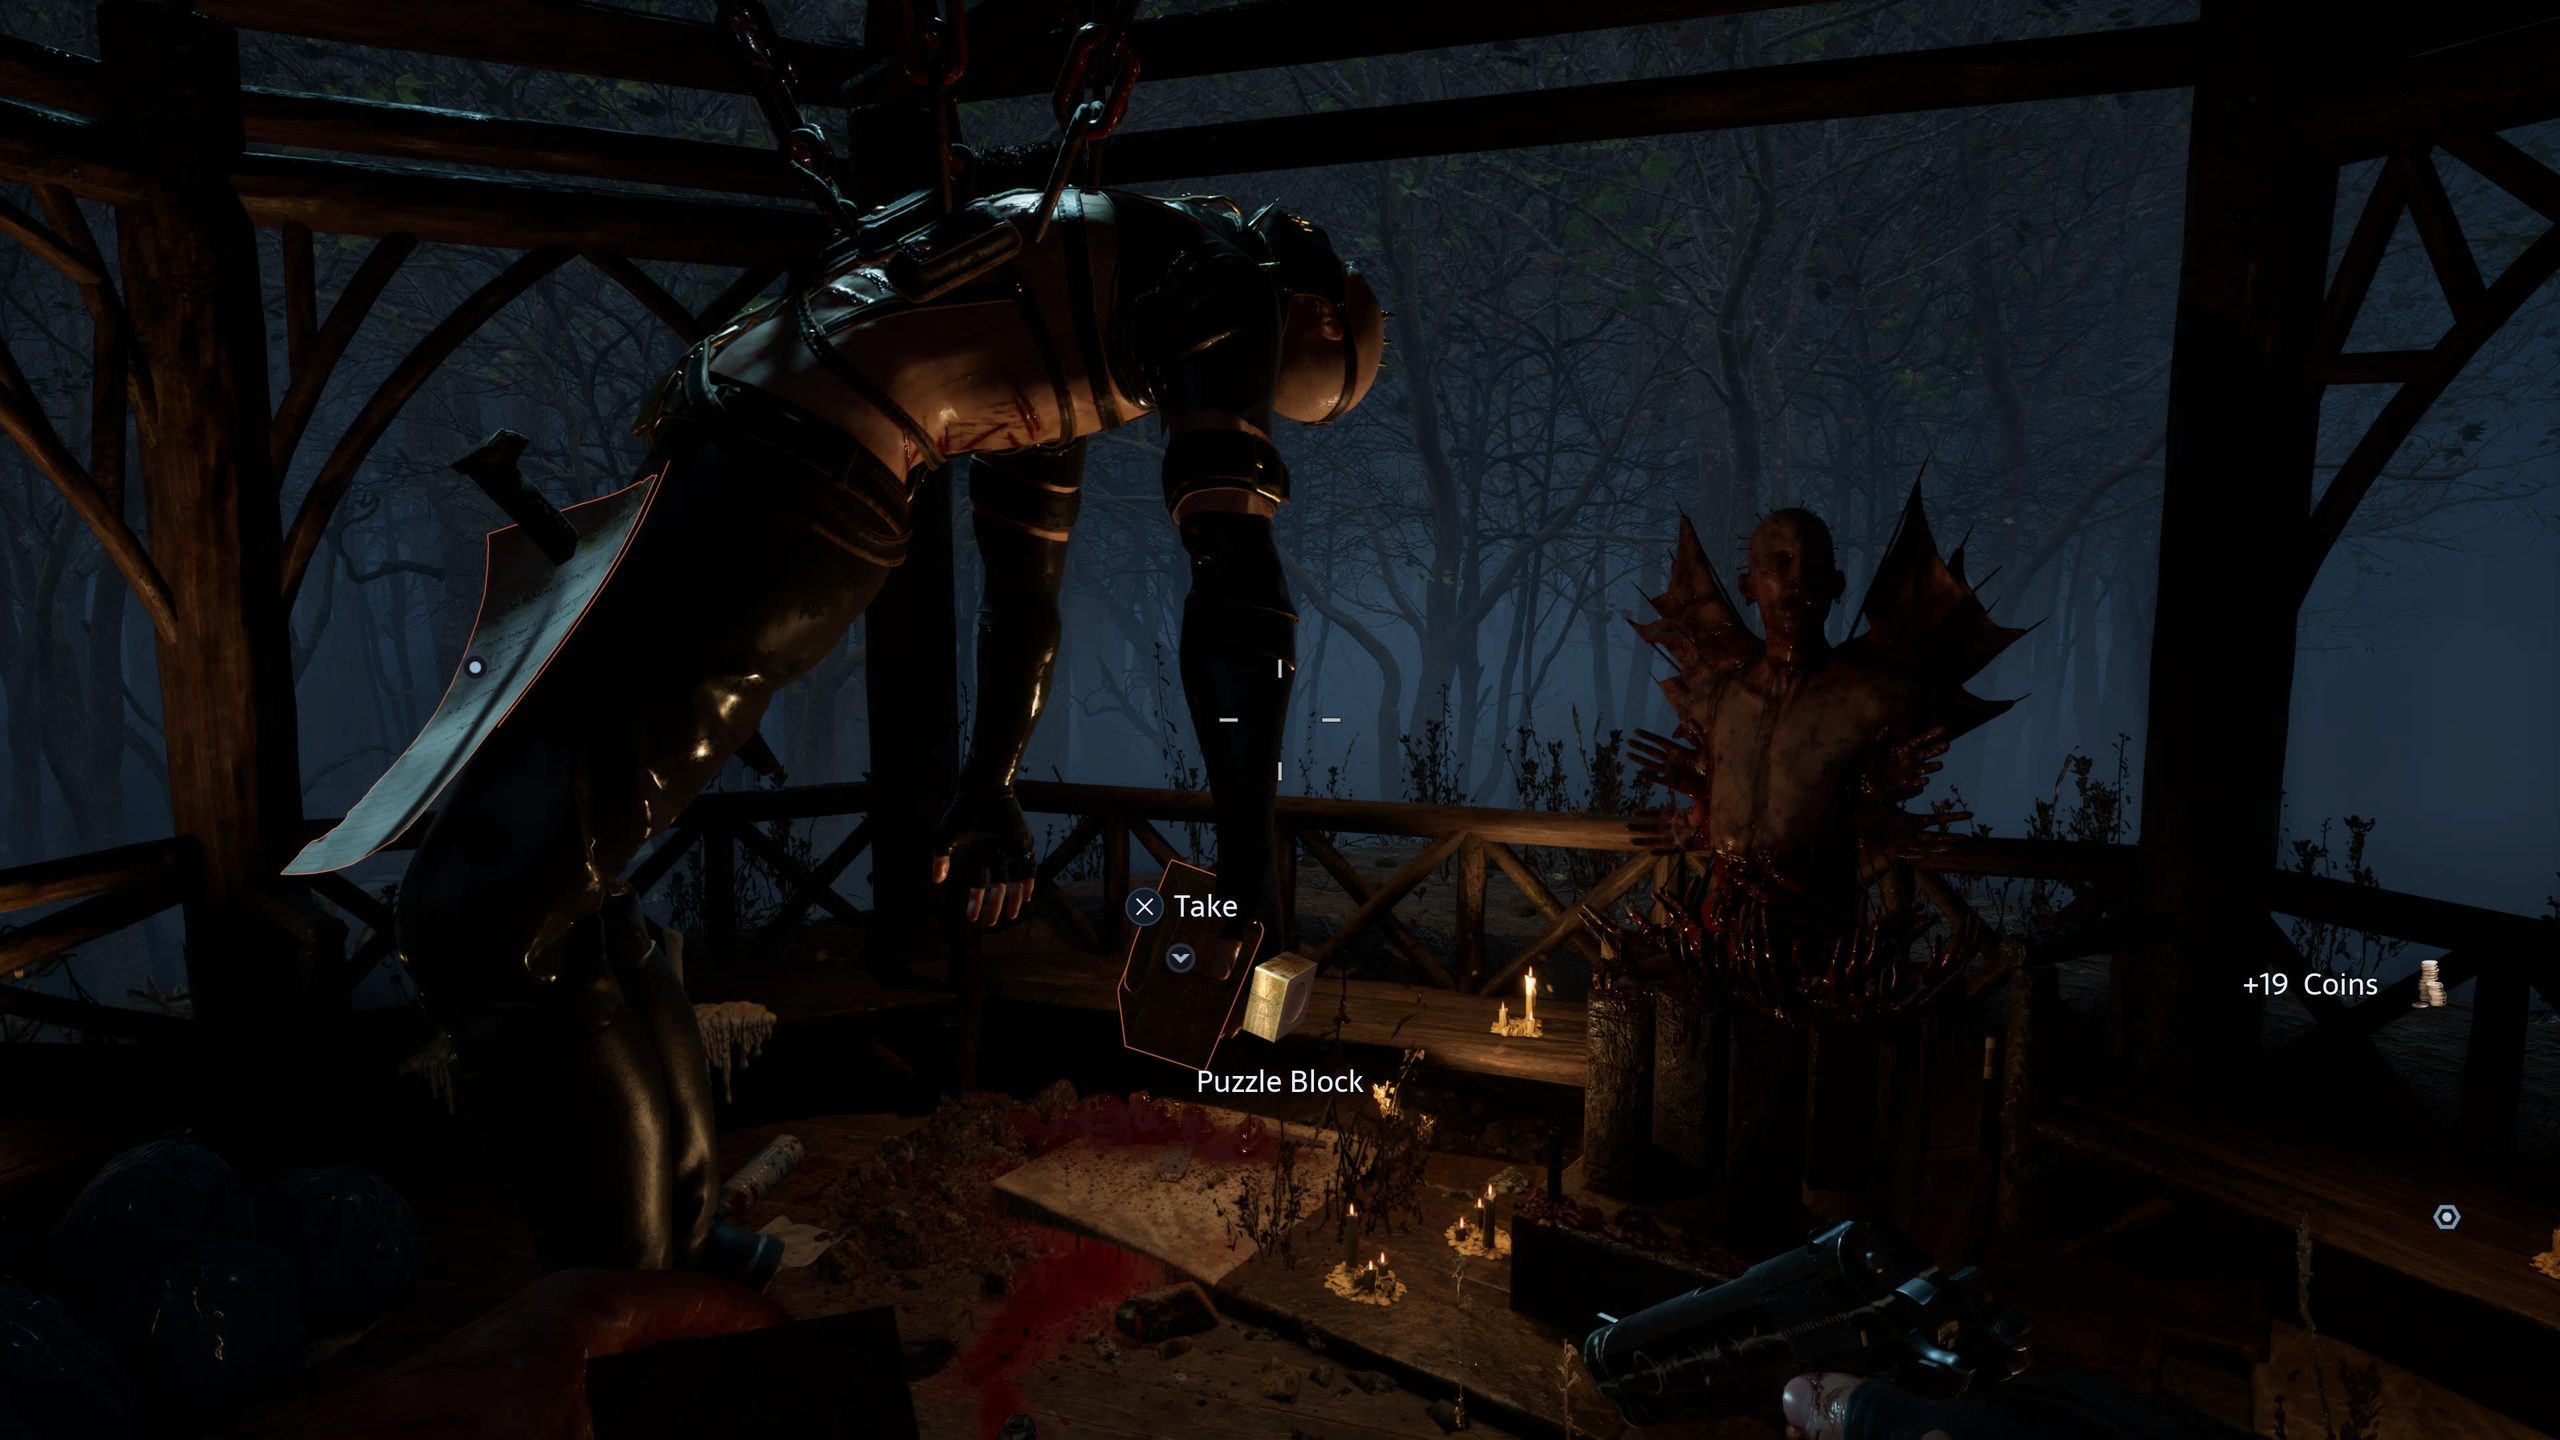
Make your way forward a slight way, and then head right. You’ll see a small shed and a pergola in the distance, and inside the latter is a strung up Cult member. Reading the note you’ll realise this is Sean’s handiwork, and in the body’s hand, a Puzzle Block. Pick it up, as you’ll need this later. If you want a Shotgun upgrade, unlock the safe in the shed opposite, otherwise continue on your way down the path (after killing three of the onrushing exploding enemies).
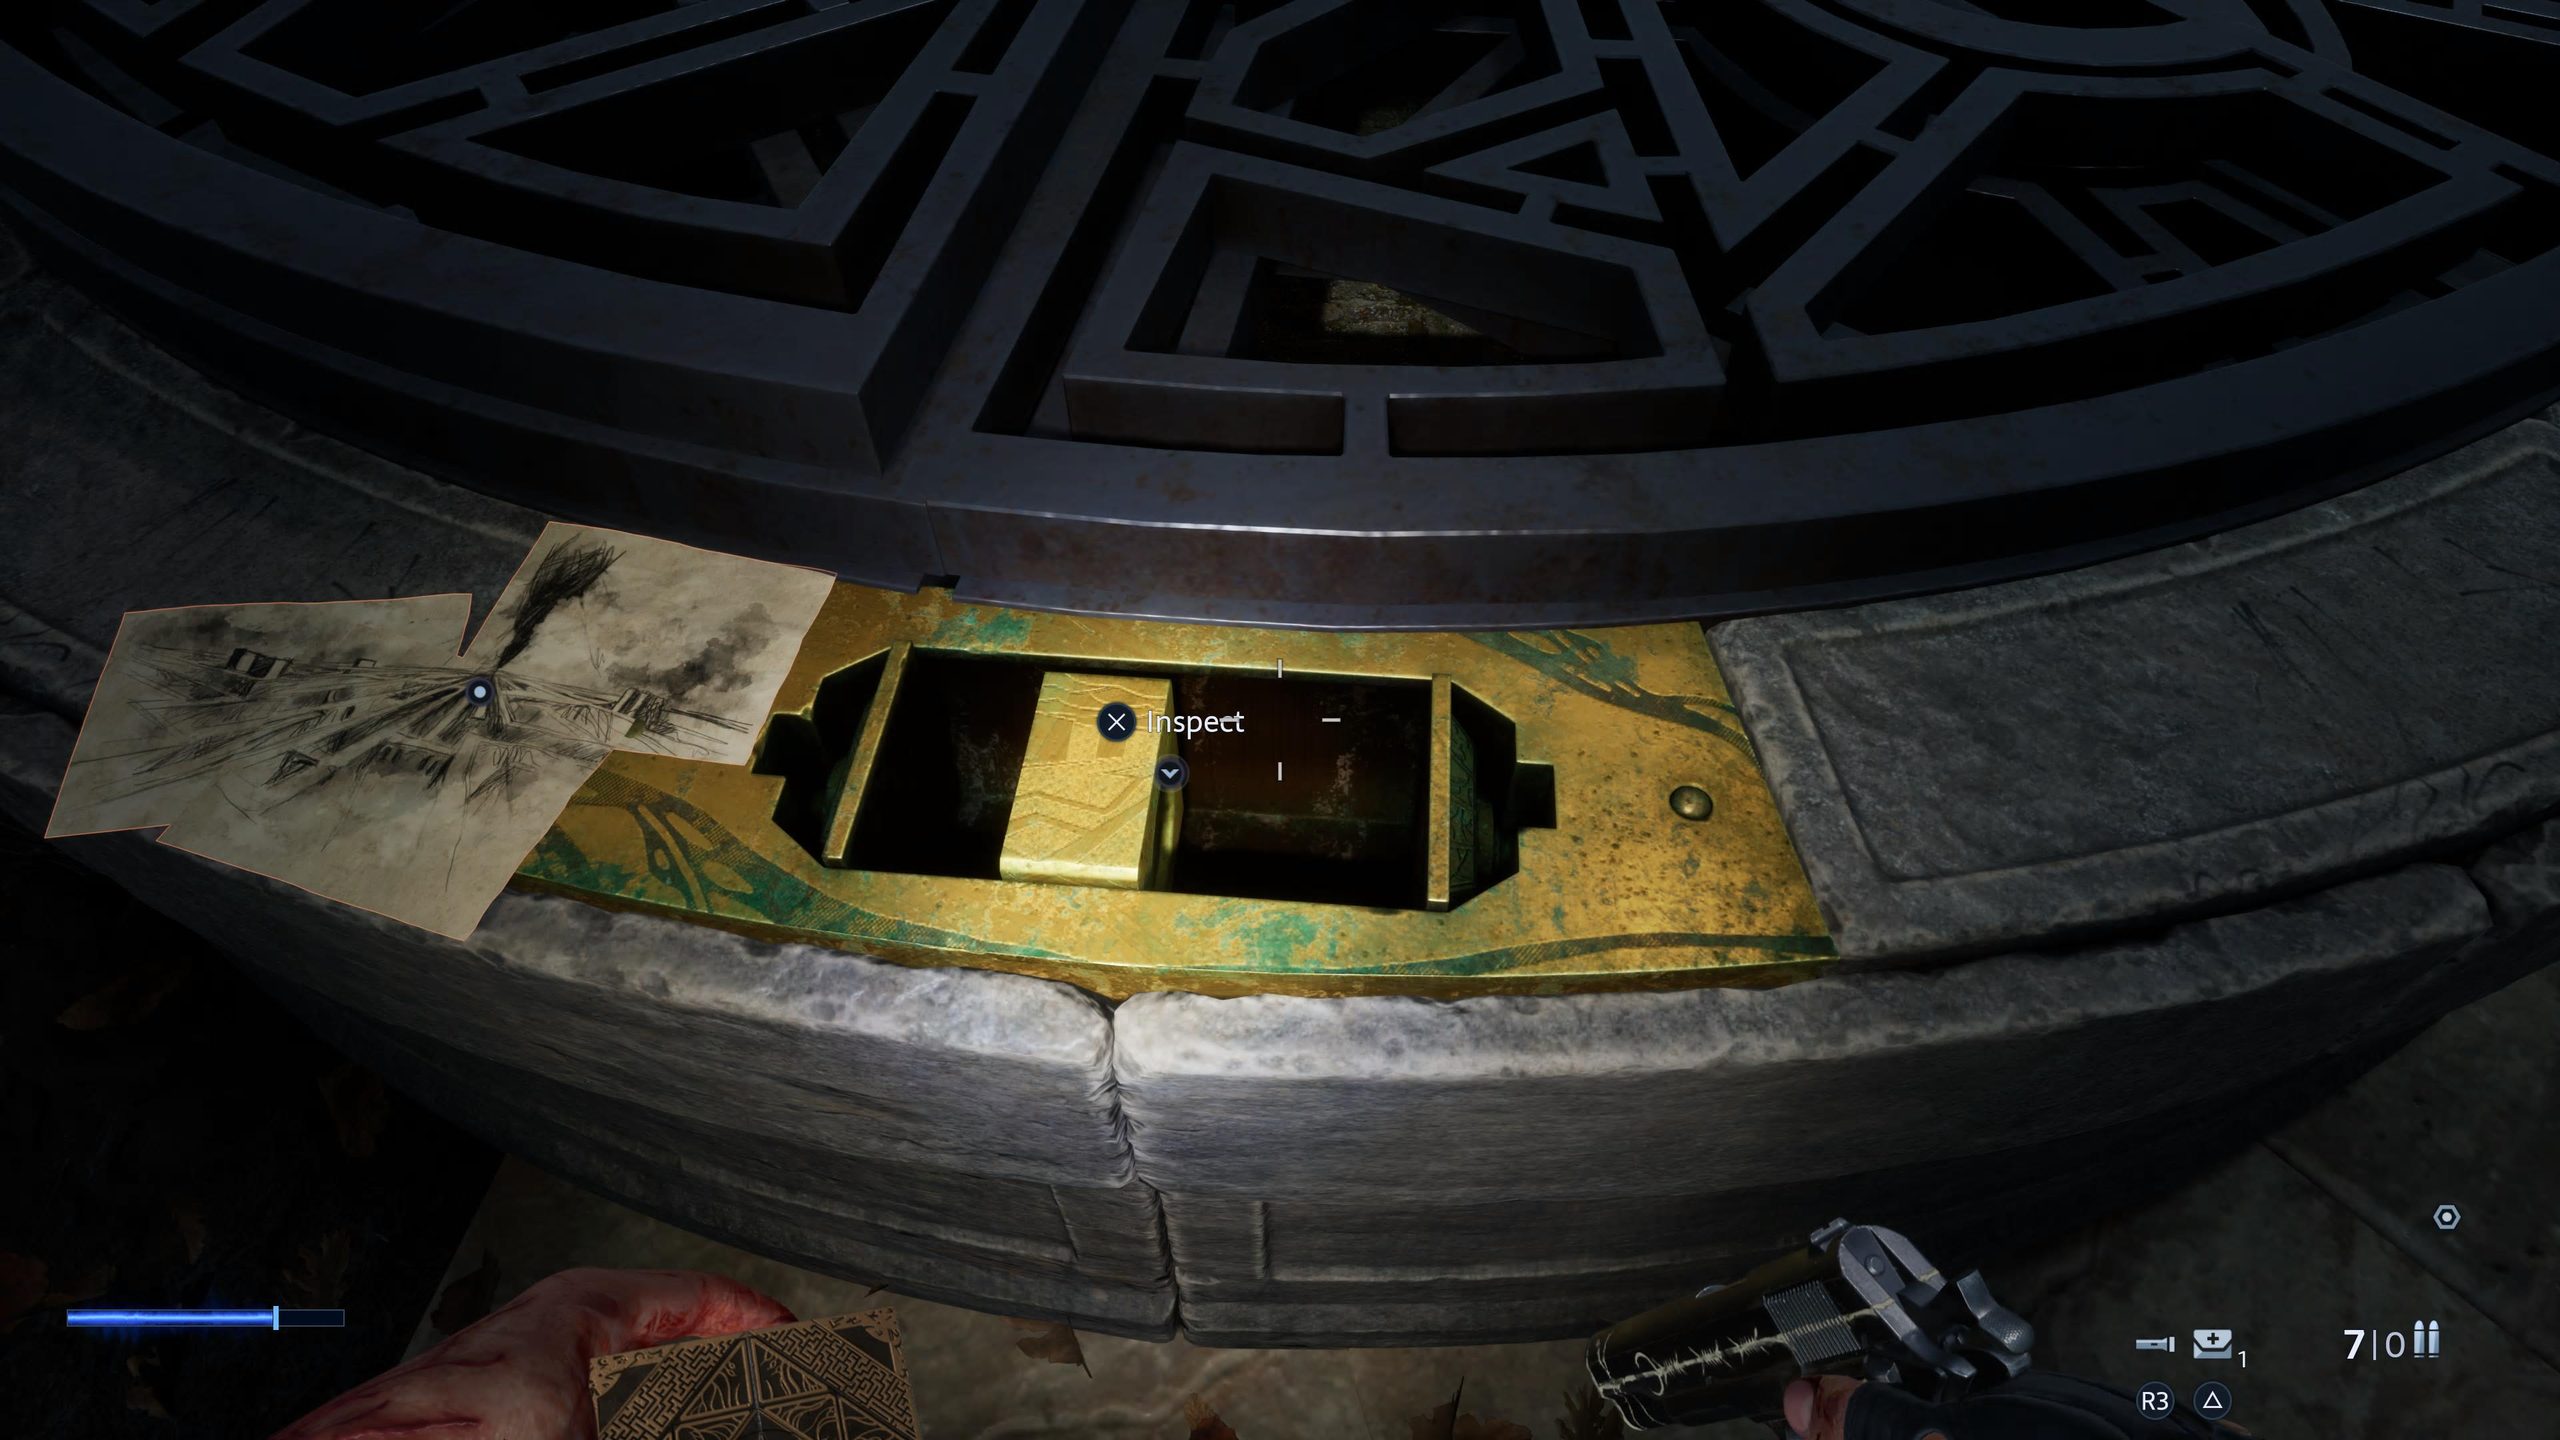
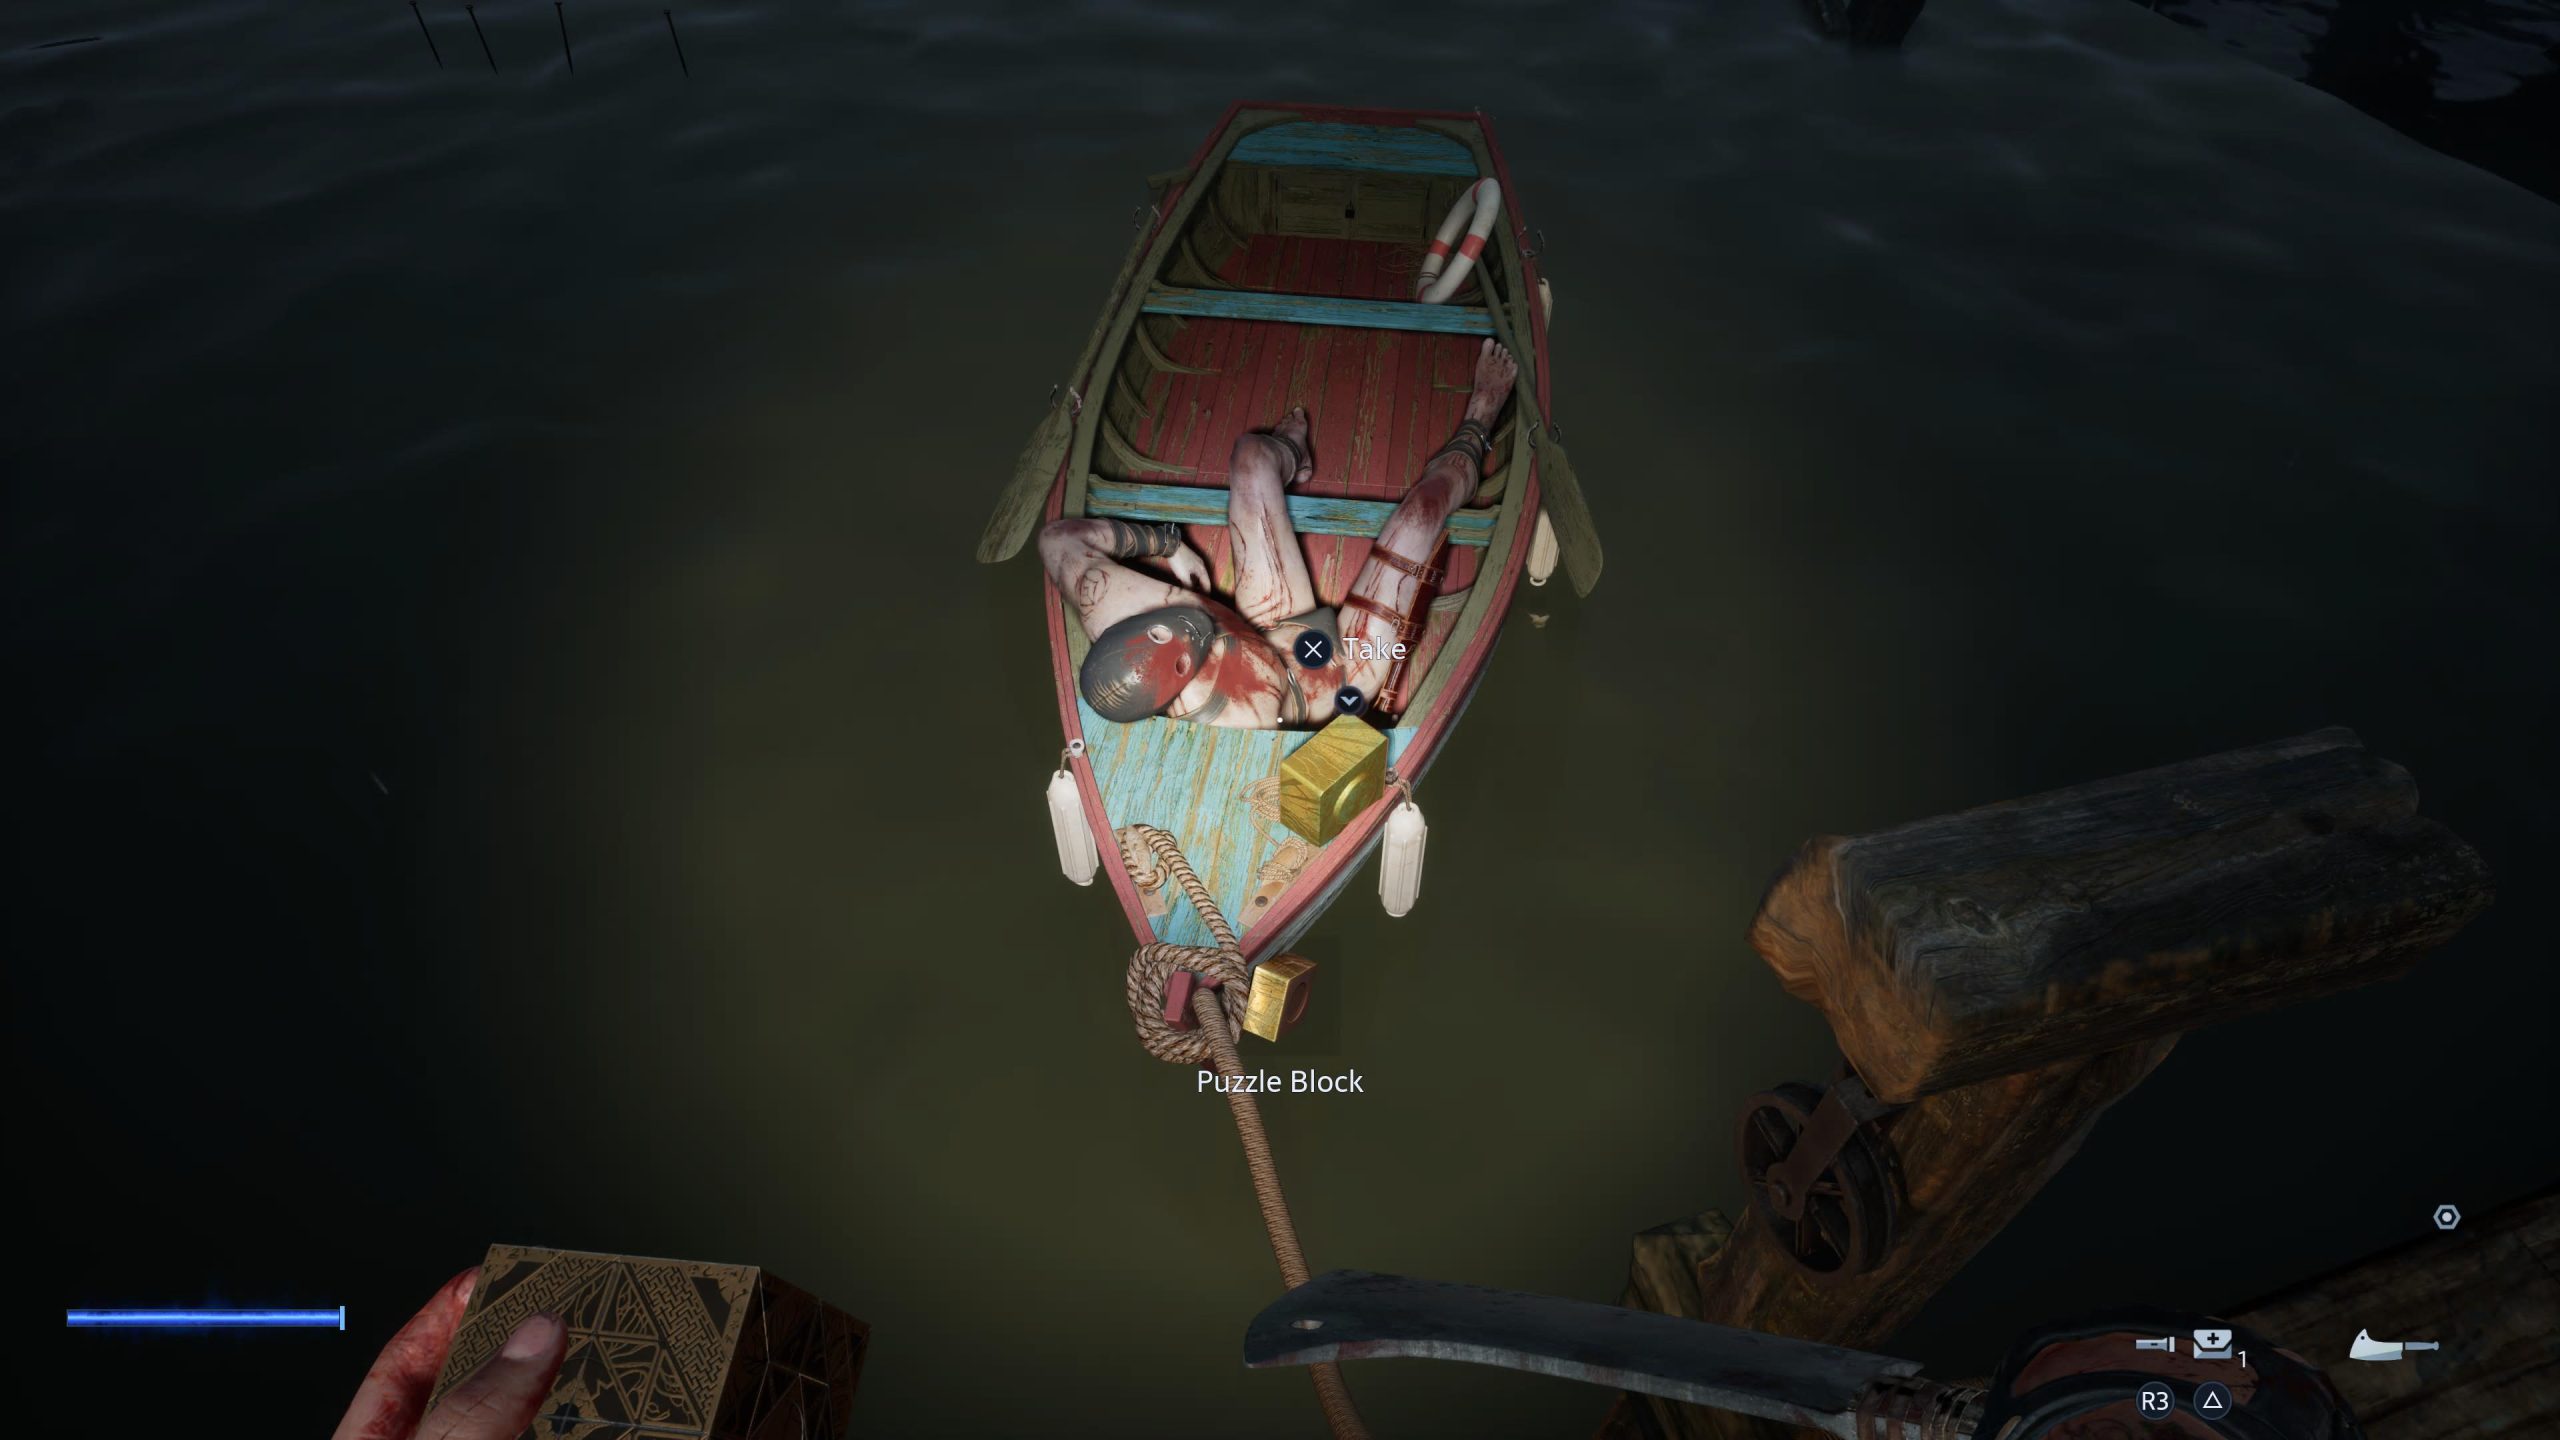
As you’ll see as you continue round, there’s a huge circular object that you need to open, and it takes four pieces. One is there, and you just picked up the second, and now it’s time to find the third and fourth. If you head up the small set of stairs nearby, and take a right, you can find a small dock. I’d suggest laying a bear trap and spilling the fuel in the fuel cannister before doing anything else, and then pull the boat to the dock. Just like the cabin earlier, prepare for another big fight, making use of the fuel cannister, bear trap, your new fire skill and any guns you have to hand are a must.
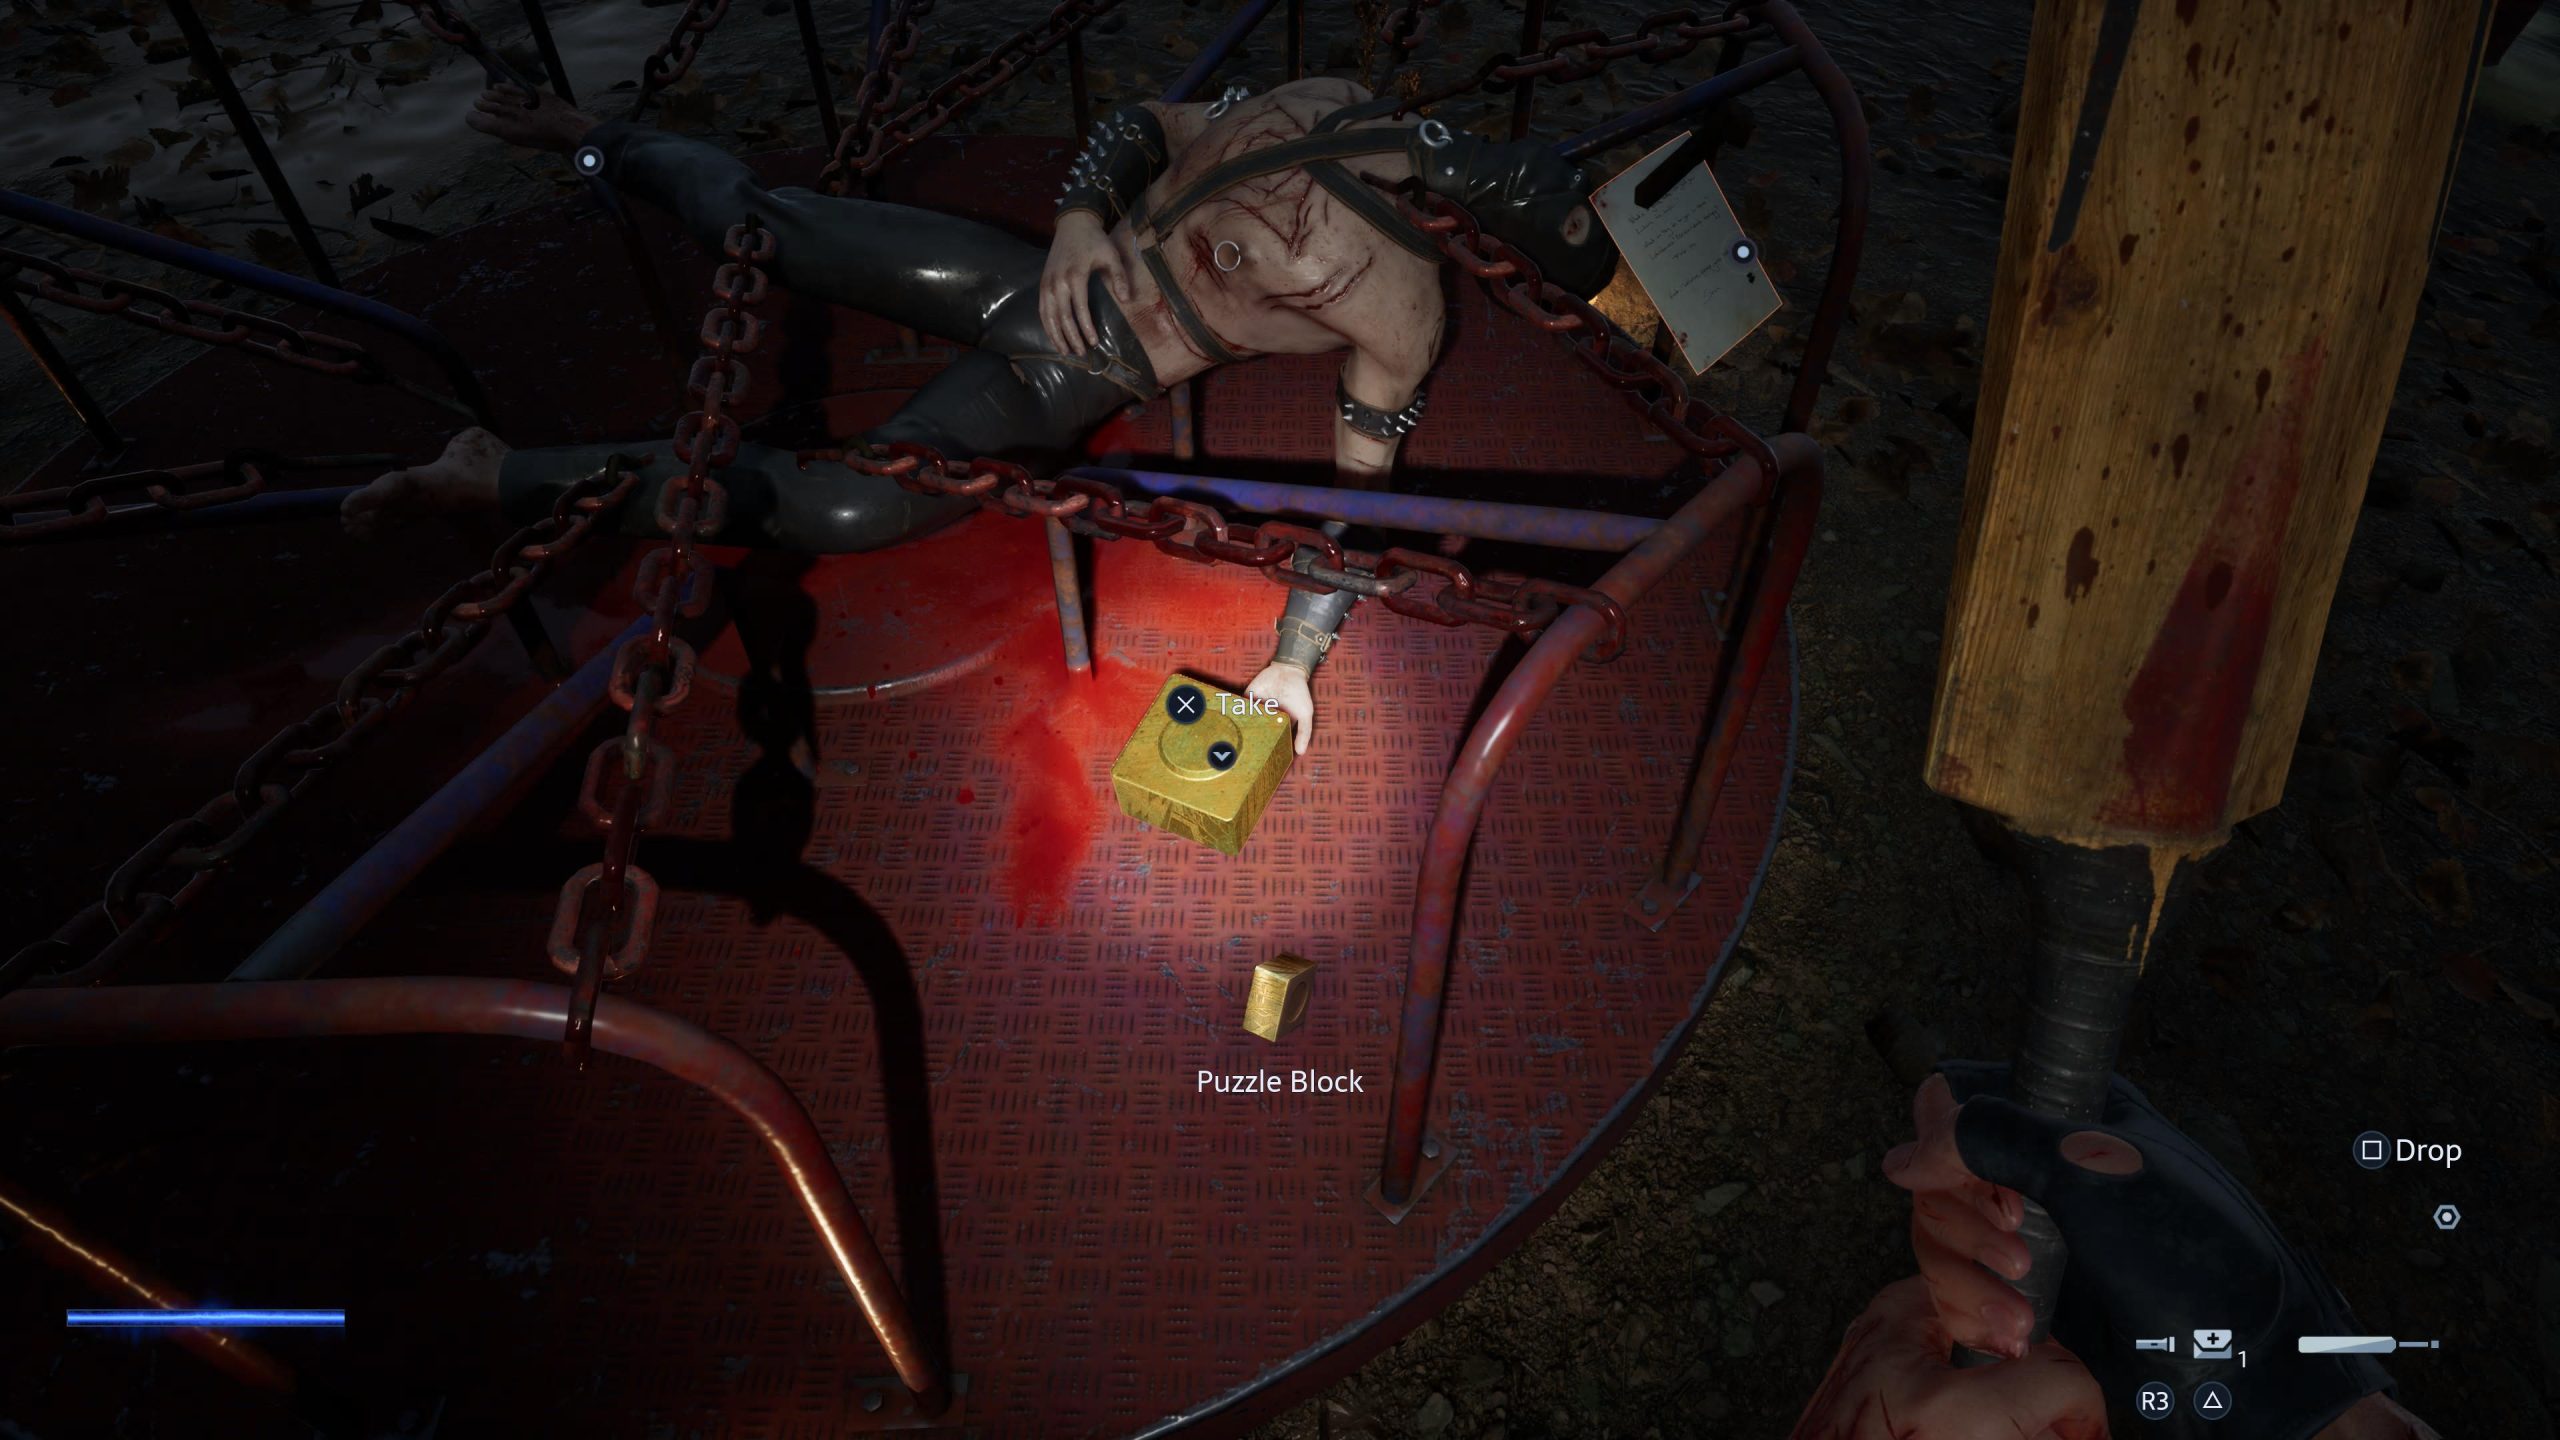
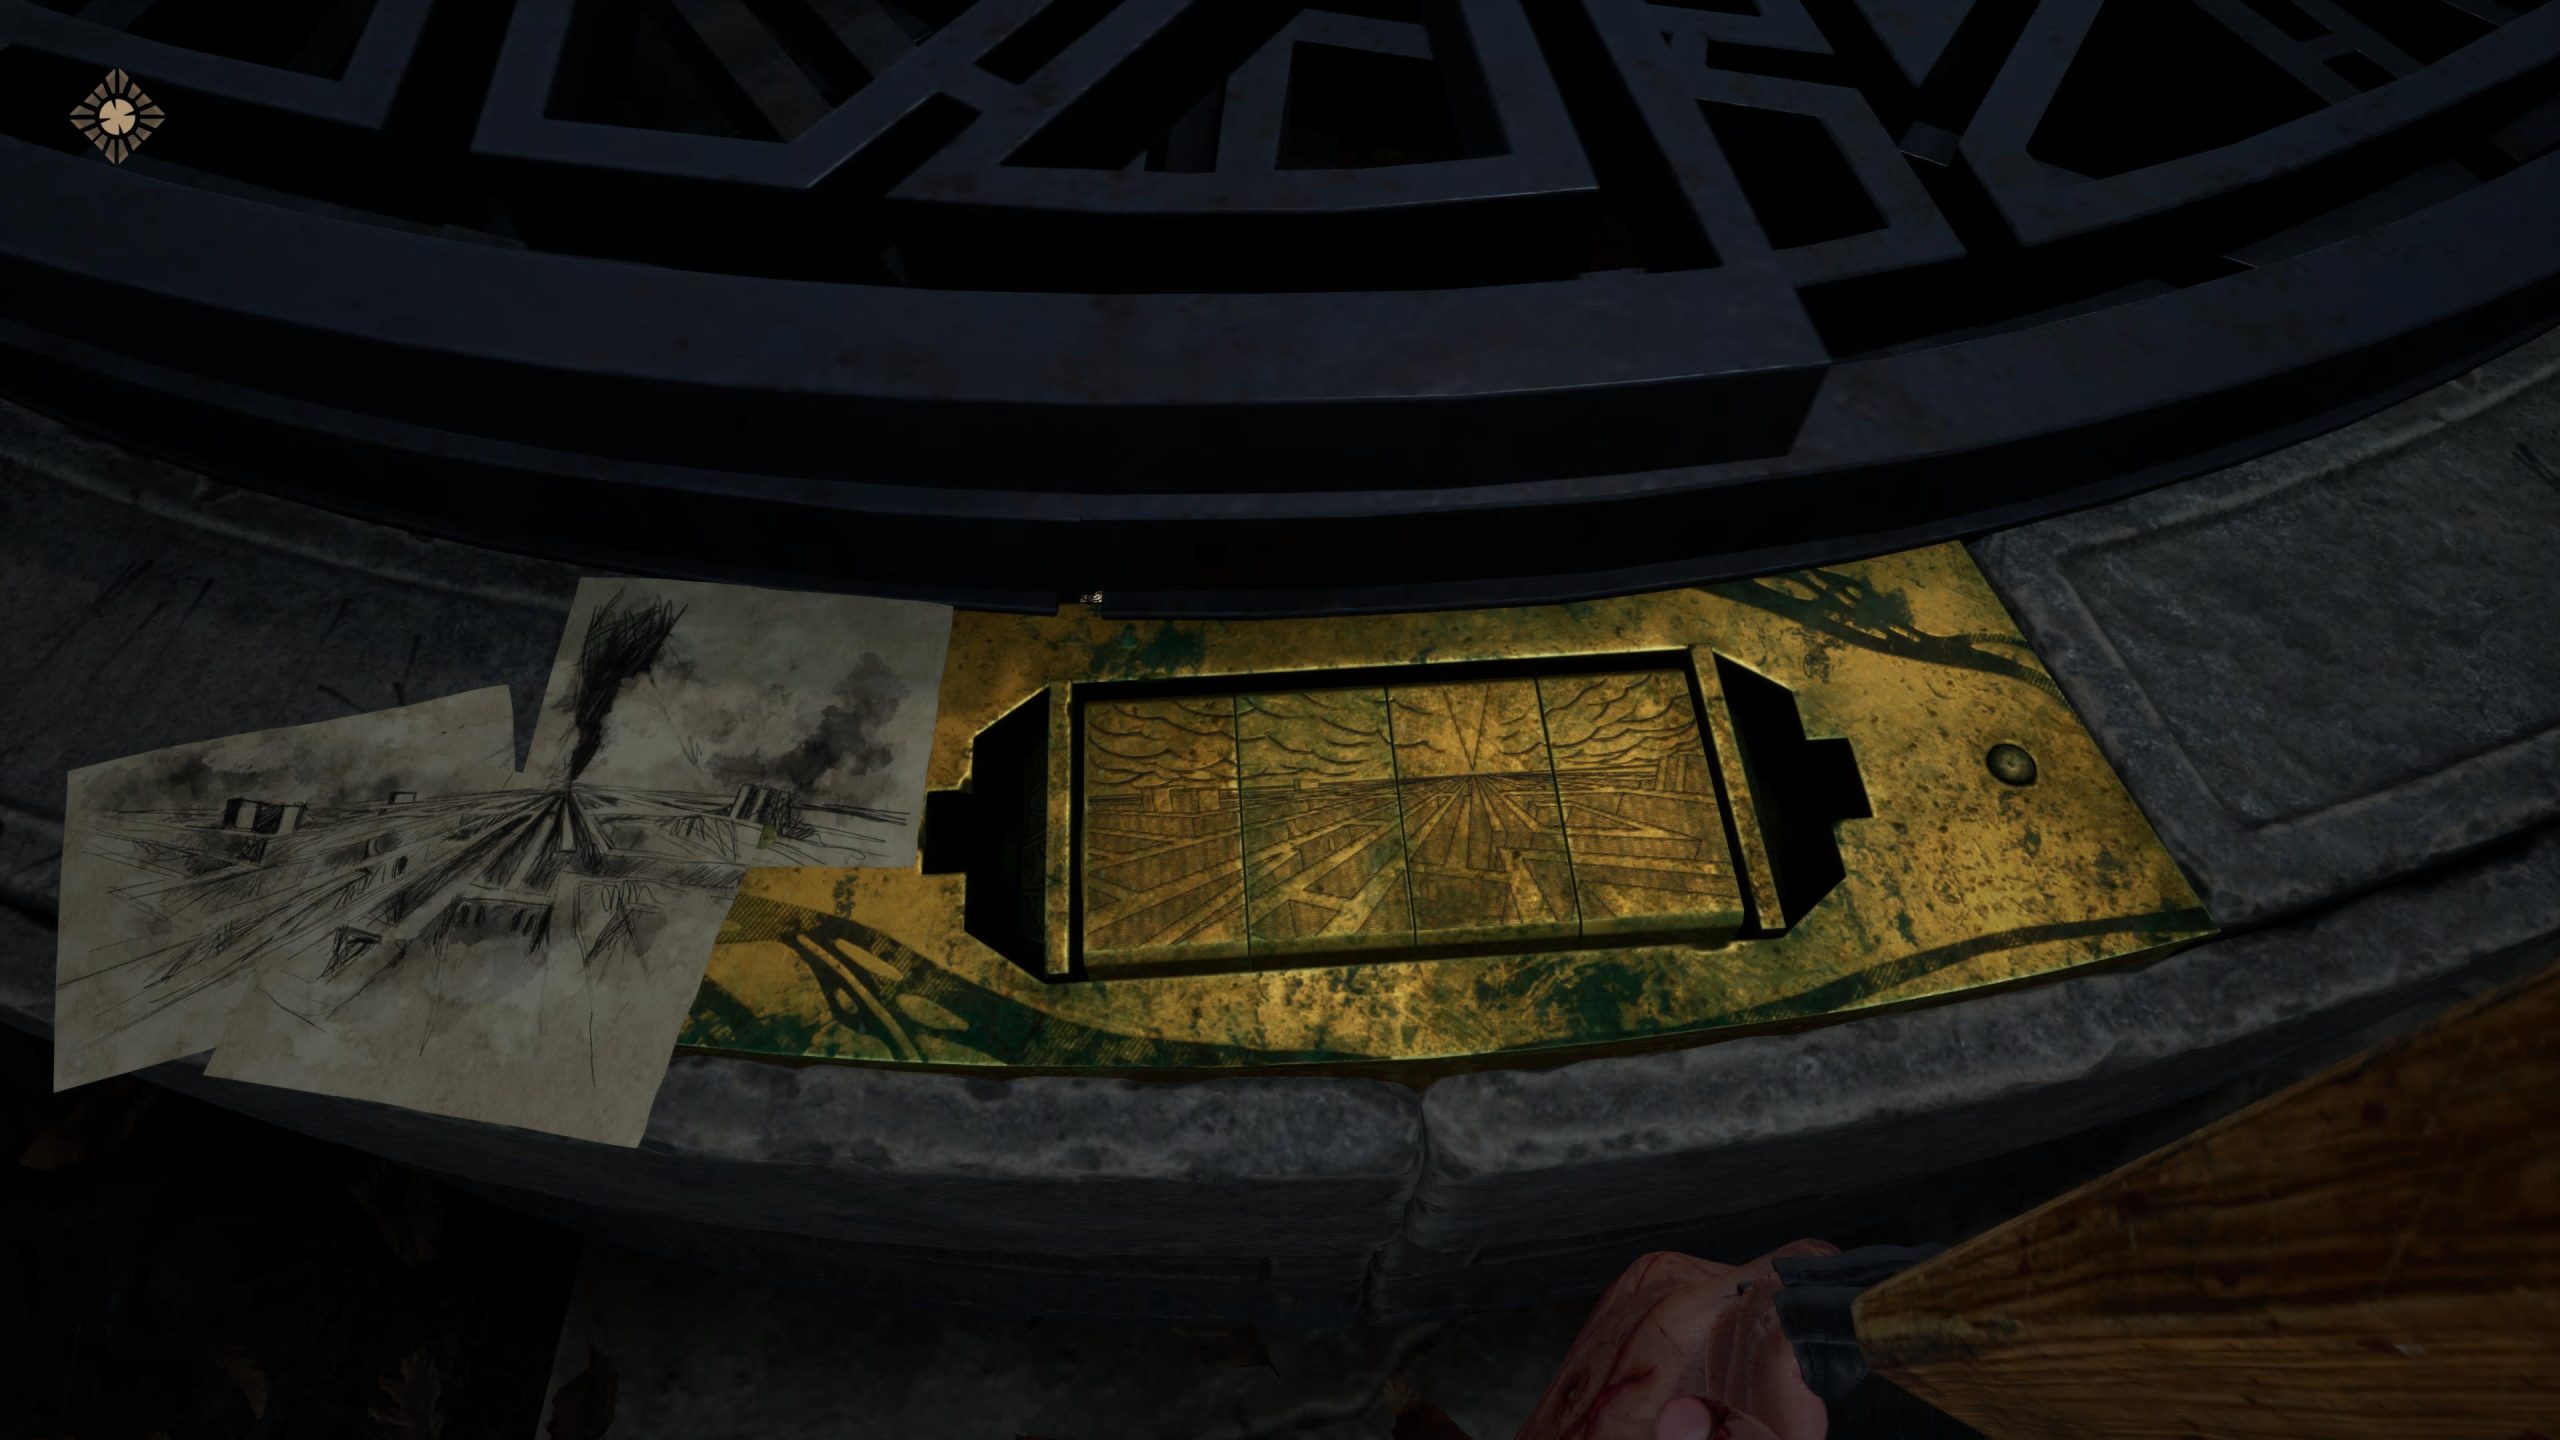
Get rid of the enemies in any way you see fit, and then backtrack a little, looking out for the archway on your right. This is a children’s playground, with a slide, merry-go-round etc. On the latter is another dead Cultist thanks to Sean, and the final Puzzle Block. Pick it up and prepare for a smaller, mini-fight, before going back to the ladder and solving the puzzle to unlock the ladder. The paper to the left of the puzzle shows the solution, so match up the blocks to that, and it should unlock.
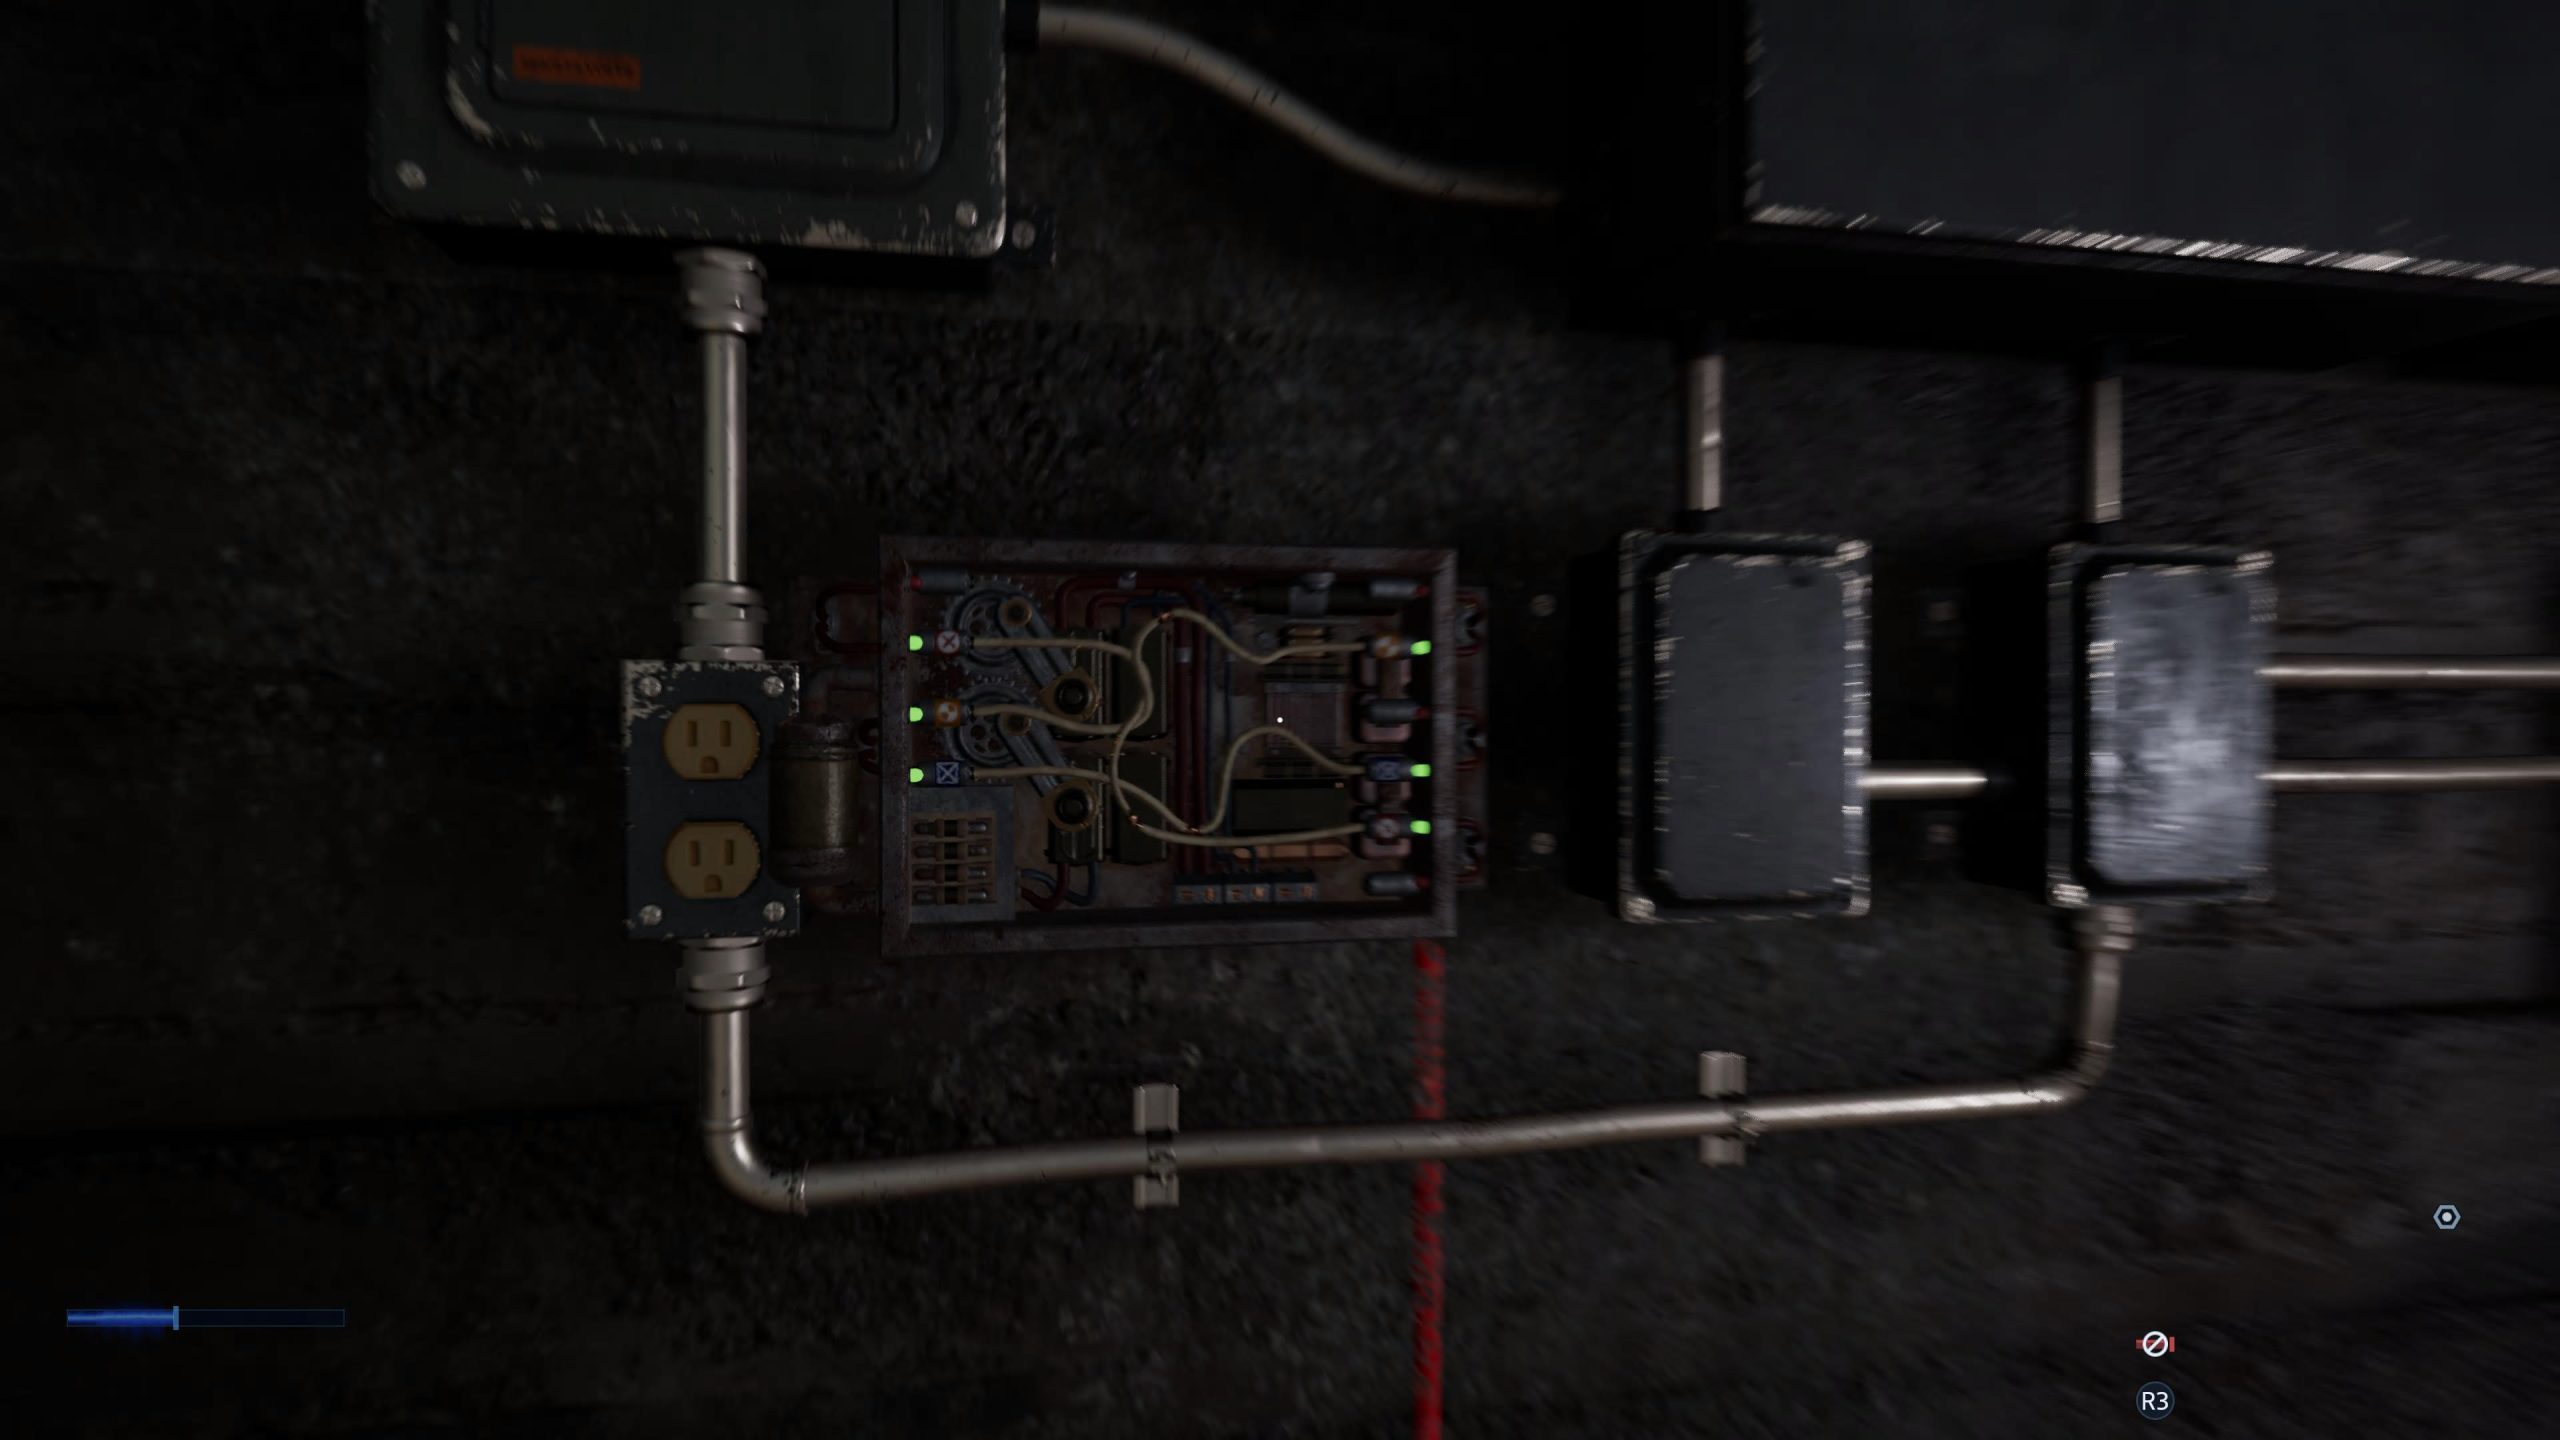
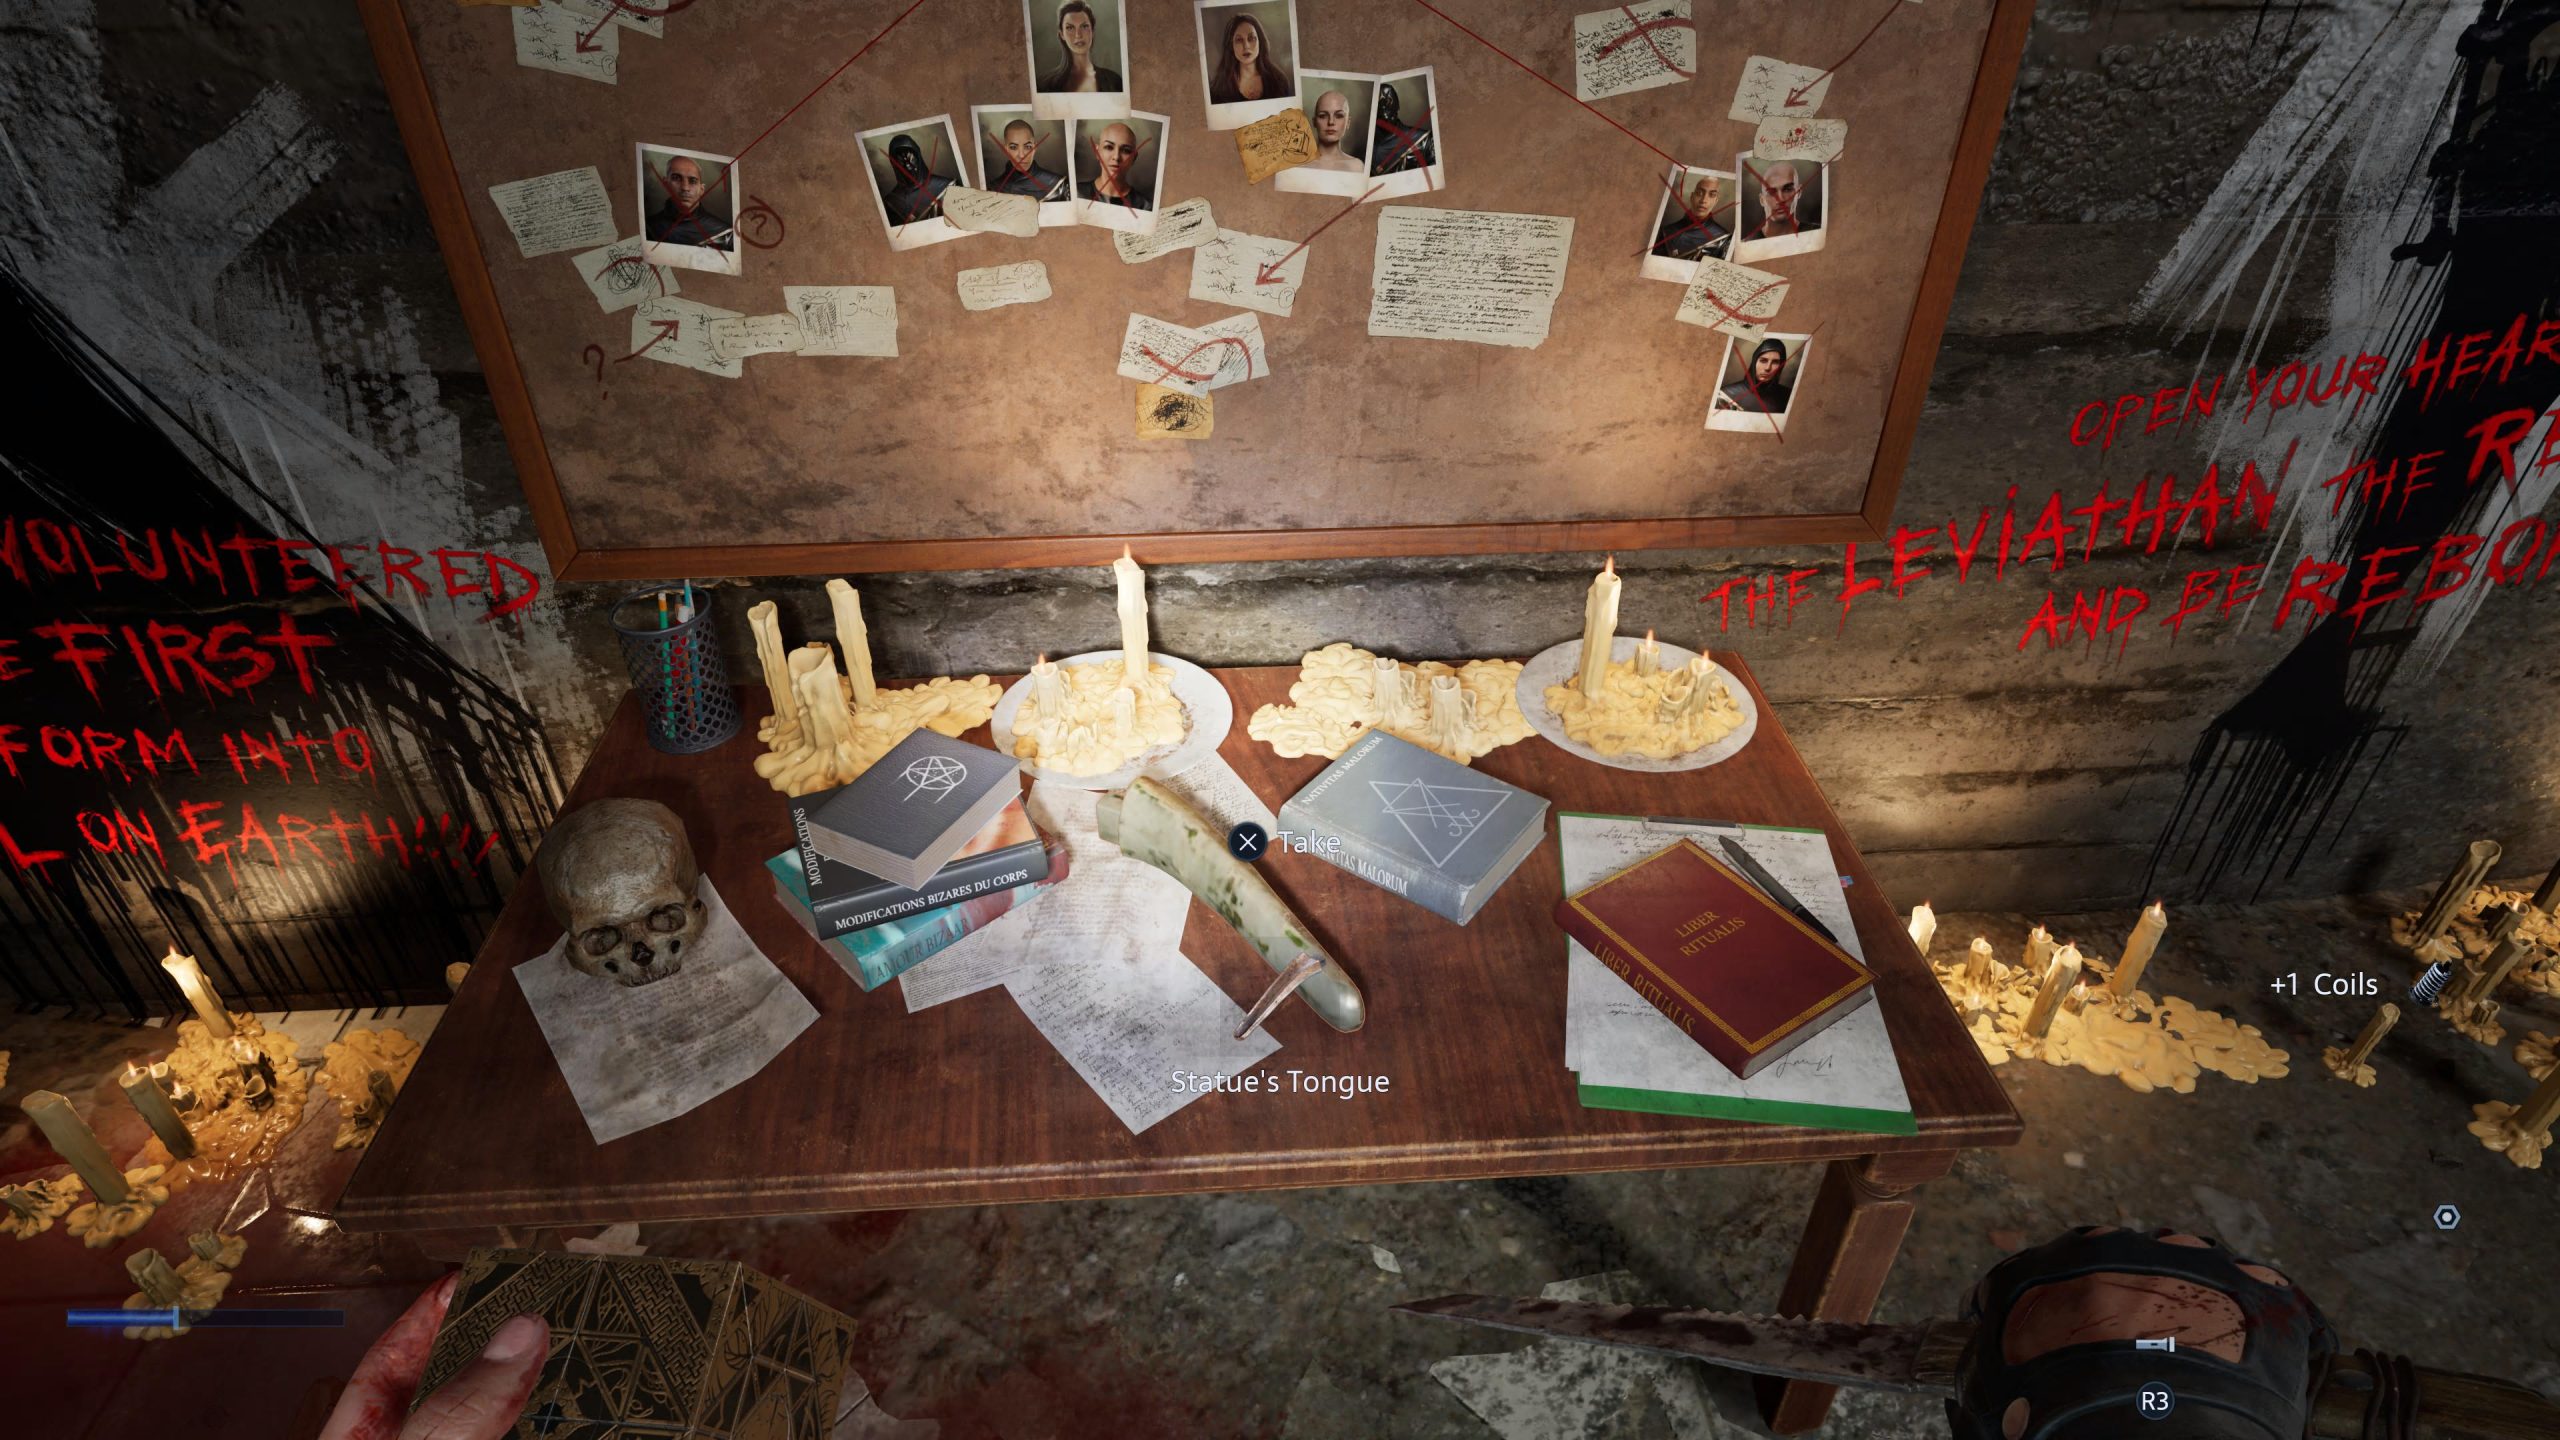
Head down the ladder and into the caverns below, where you’ll be greeted with more of Bruno’s handiwork. There are three tunnels here, so head down the one on the right, where there is numerous different items, but most importantly, the Statue’s Tongue. You’ll now need to open the tunnel gate that is still locked, which, if you follow the red wire, ends up in a terminal in the same room as the Tongue. The aim is to reconnect the broken wires to the corresponding one on the other side, which you can see below. Once you do this, the tunnel gate will open and you’ll be able to go through it.
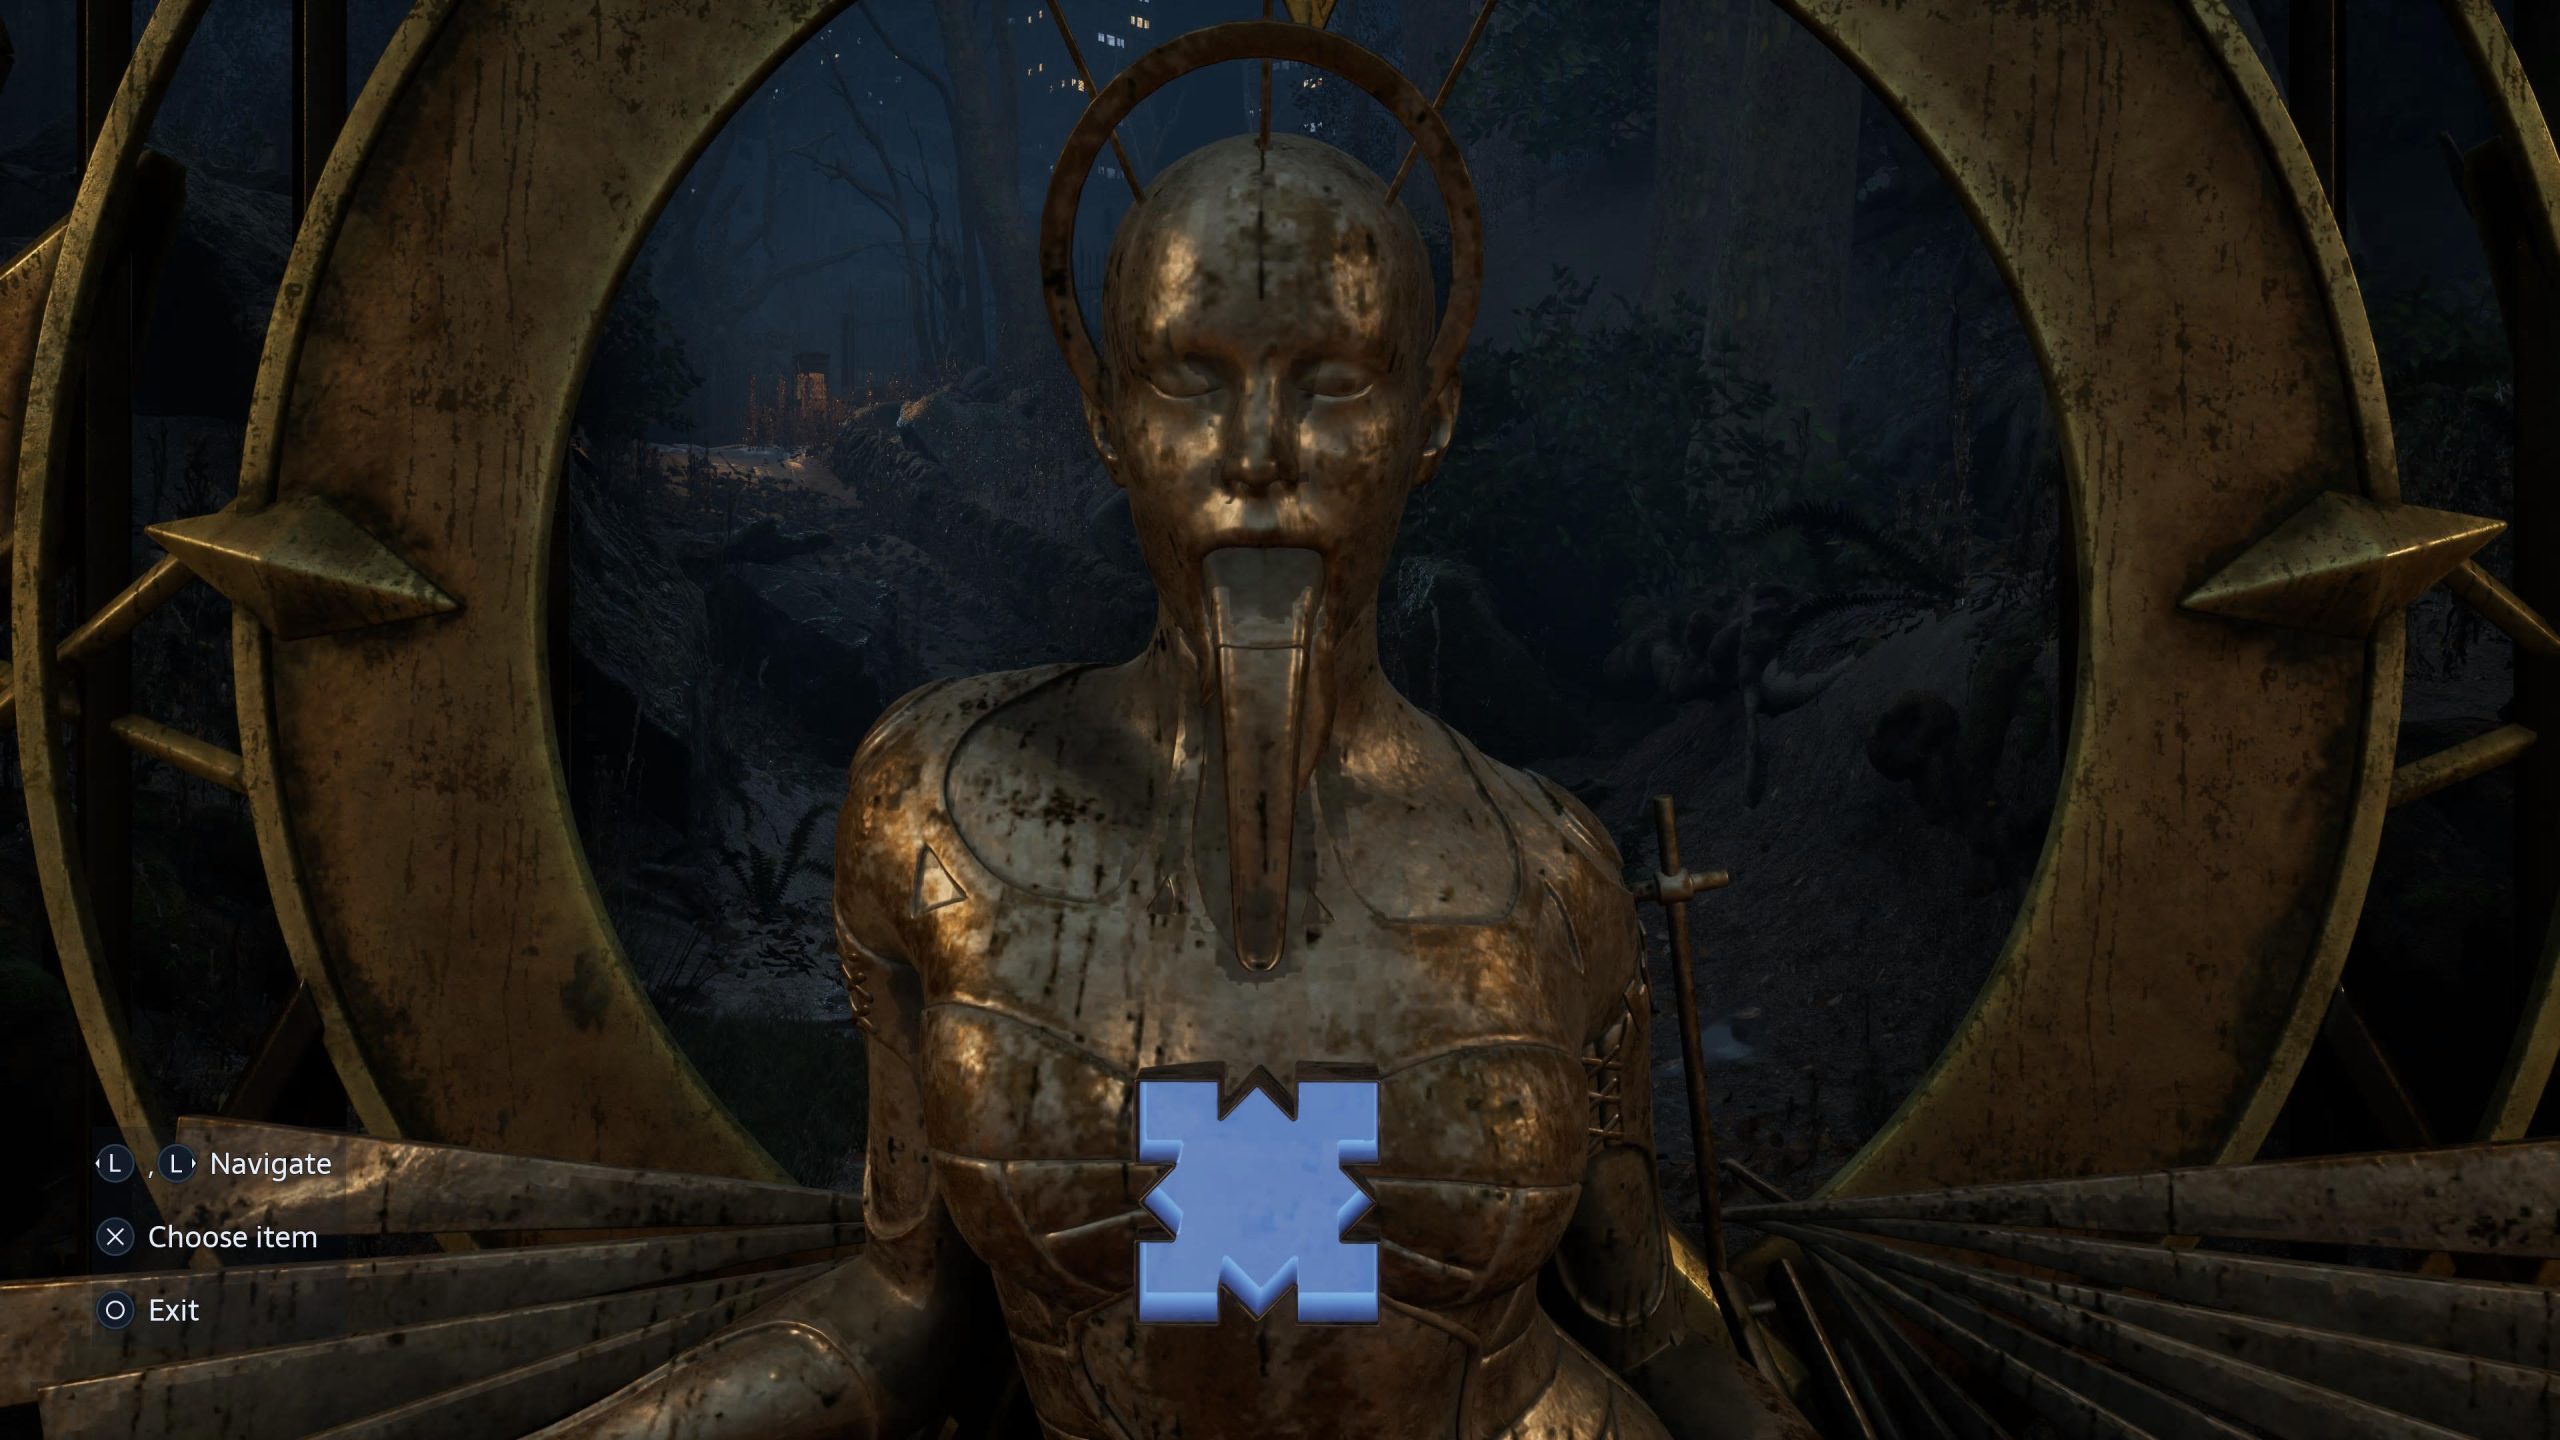
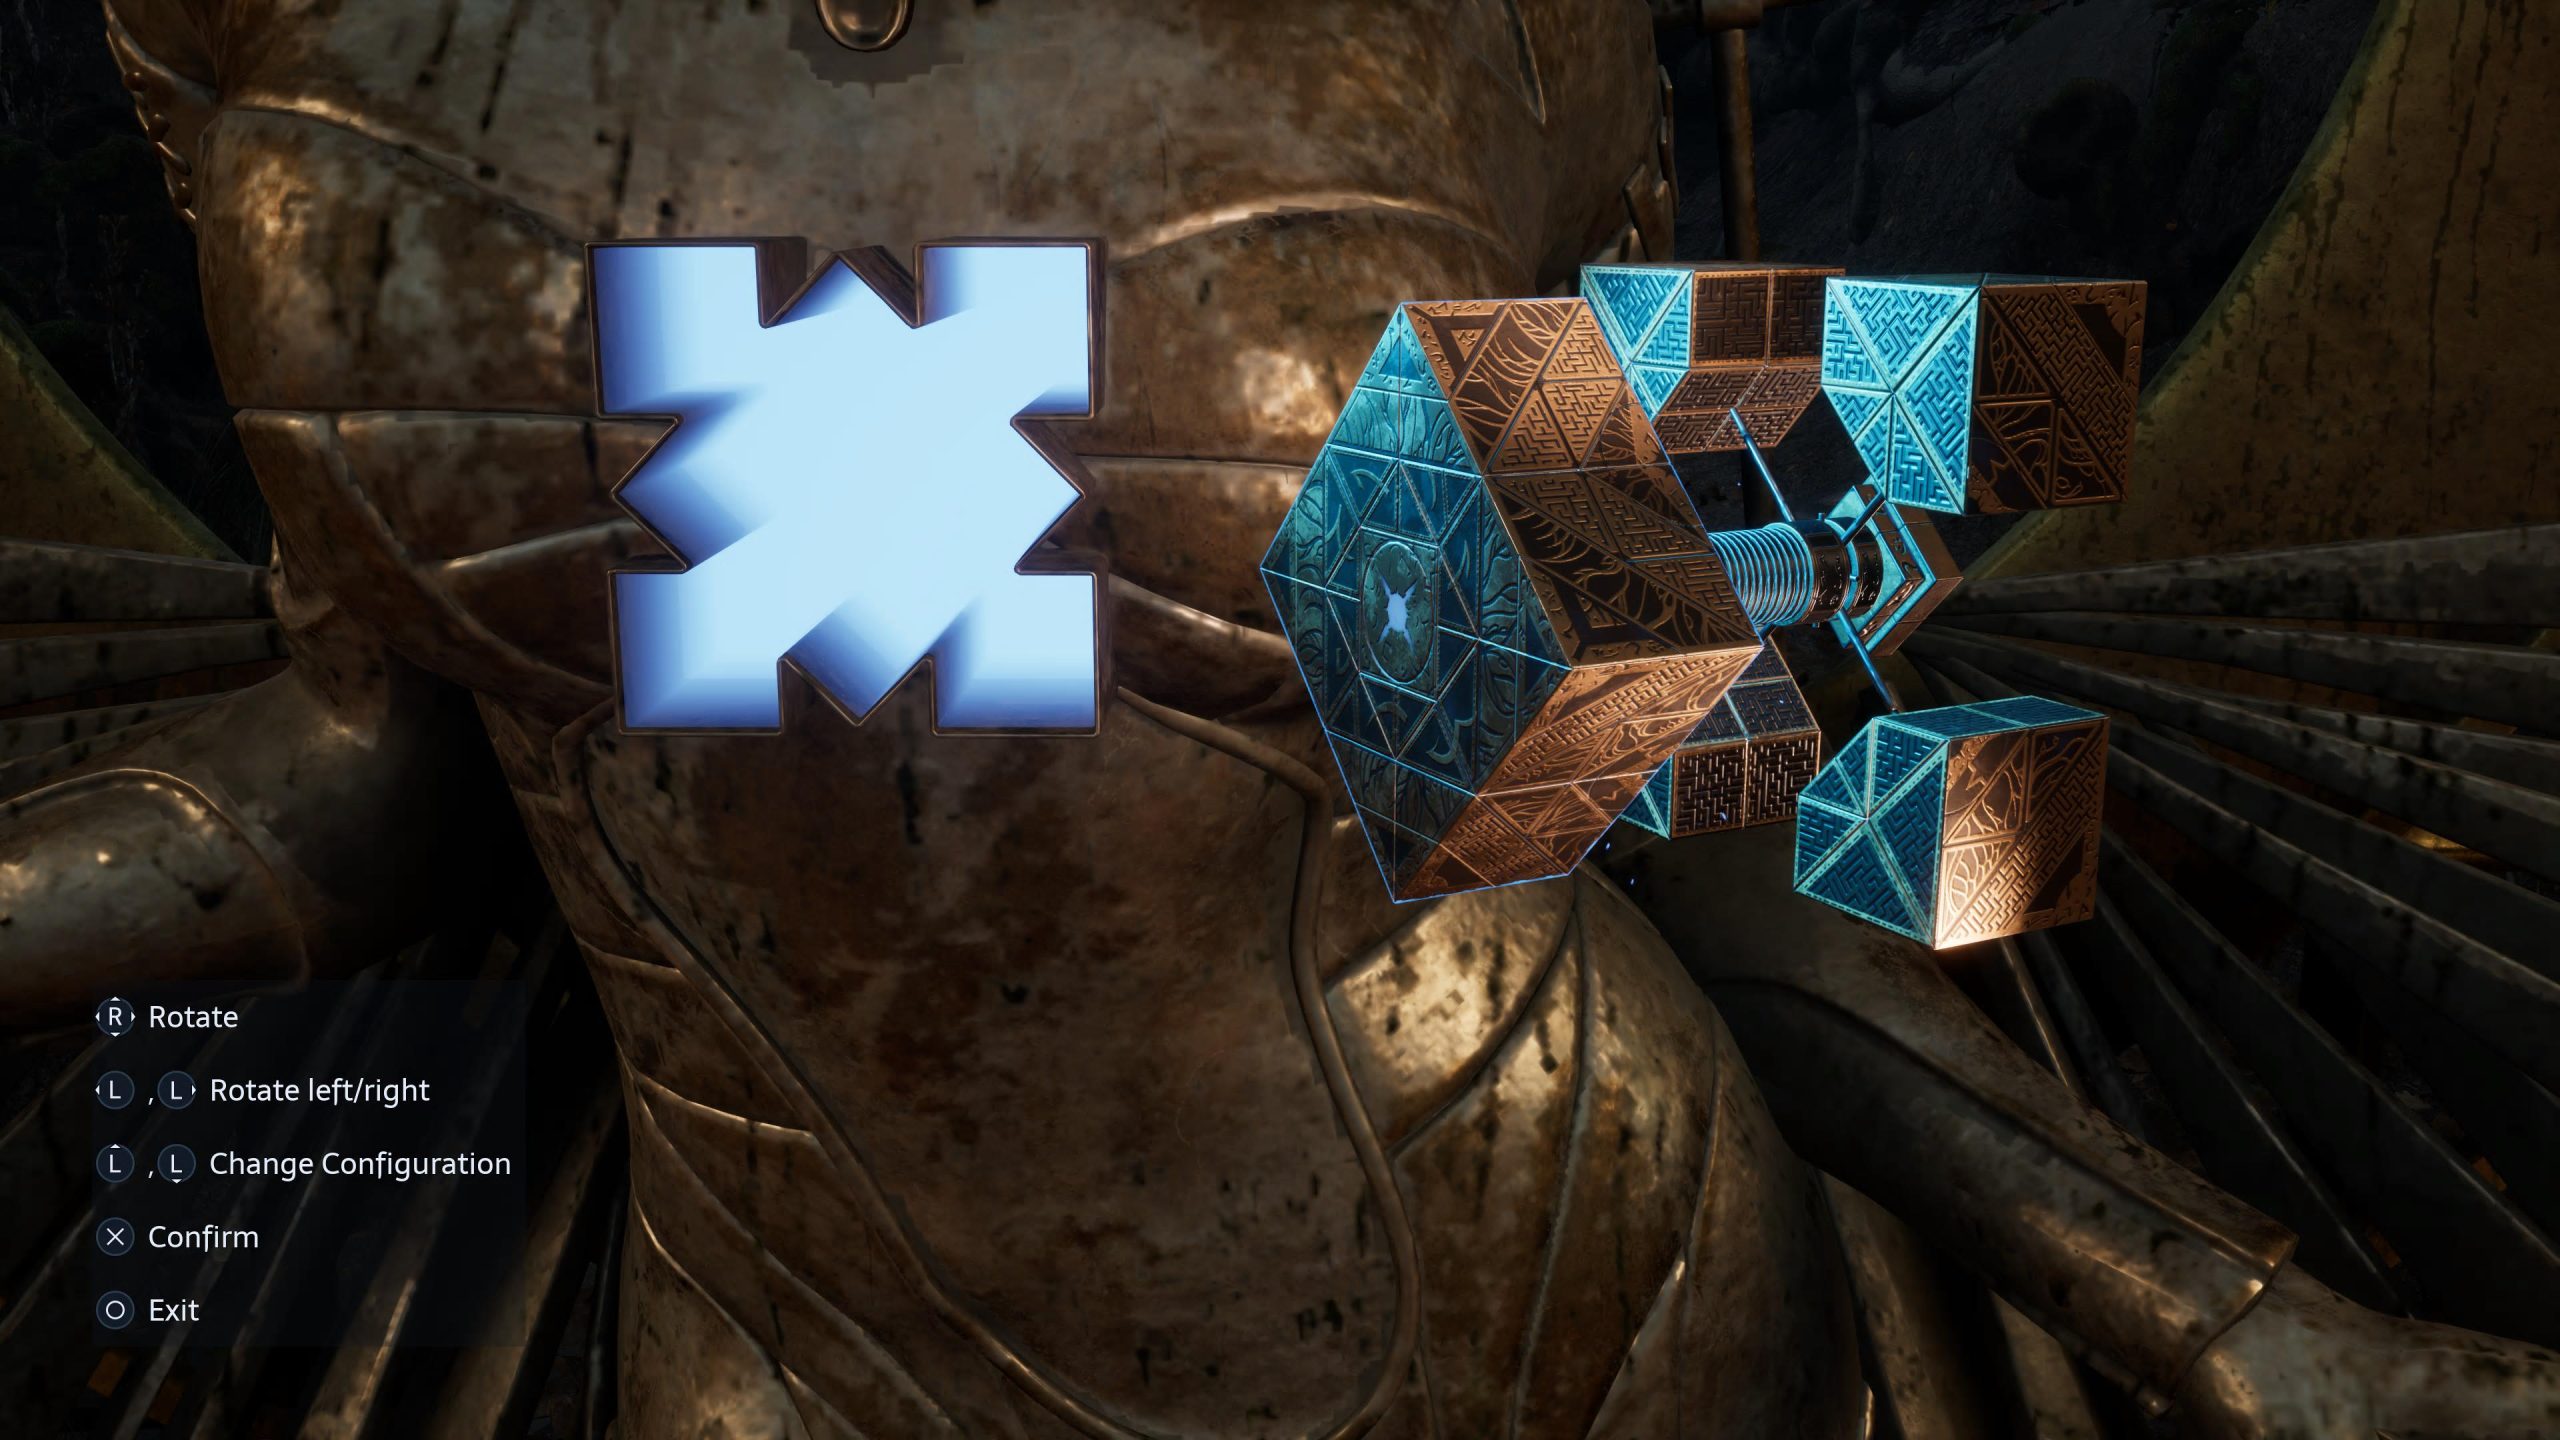
This is another linear path which is impossible to get lost in, so keep going forward until you come to a stairway. On the right is a small button that’s easily missed. Press it and head up and outside. If you turn around, you’ll recognise this as the big statue you saw right after opening the second gate. Turn around now and head to the third and final gate, where you’ll put this Statue’s Missing Part in.
And that’s it, you’ve found all of the missing parts of the Statues and unlocked the gate to Charlotte. Now, prepare yourself for one hell of a boss fight, which you may well need a helping hand with.
For your next read, don’t miss our review of Hellraiser: Revival, or our top tips to making the game a little easier.

Luke Addison is the Founder and Editor-in-Chief of Thumb Wars. Having previously been a part of multiple outlets over the years, including building an entire gaming team from nothing to something, he thought it best to forge his own path and answer only to himself. As likely to be found playing the latest game as he is in the kitchen relaxing (by cooking), he always brings the same bold and brash attitude to everything he does, with a heavy leaning on sarcasm and dry wit!