One click and you're done. Thank you!
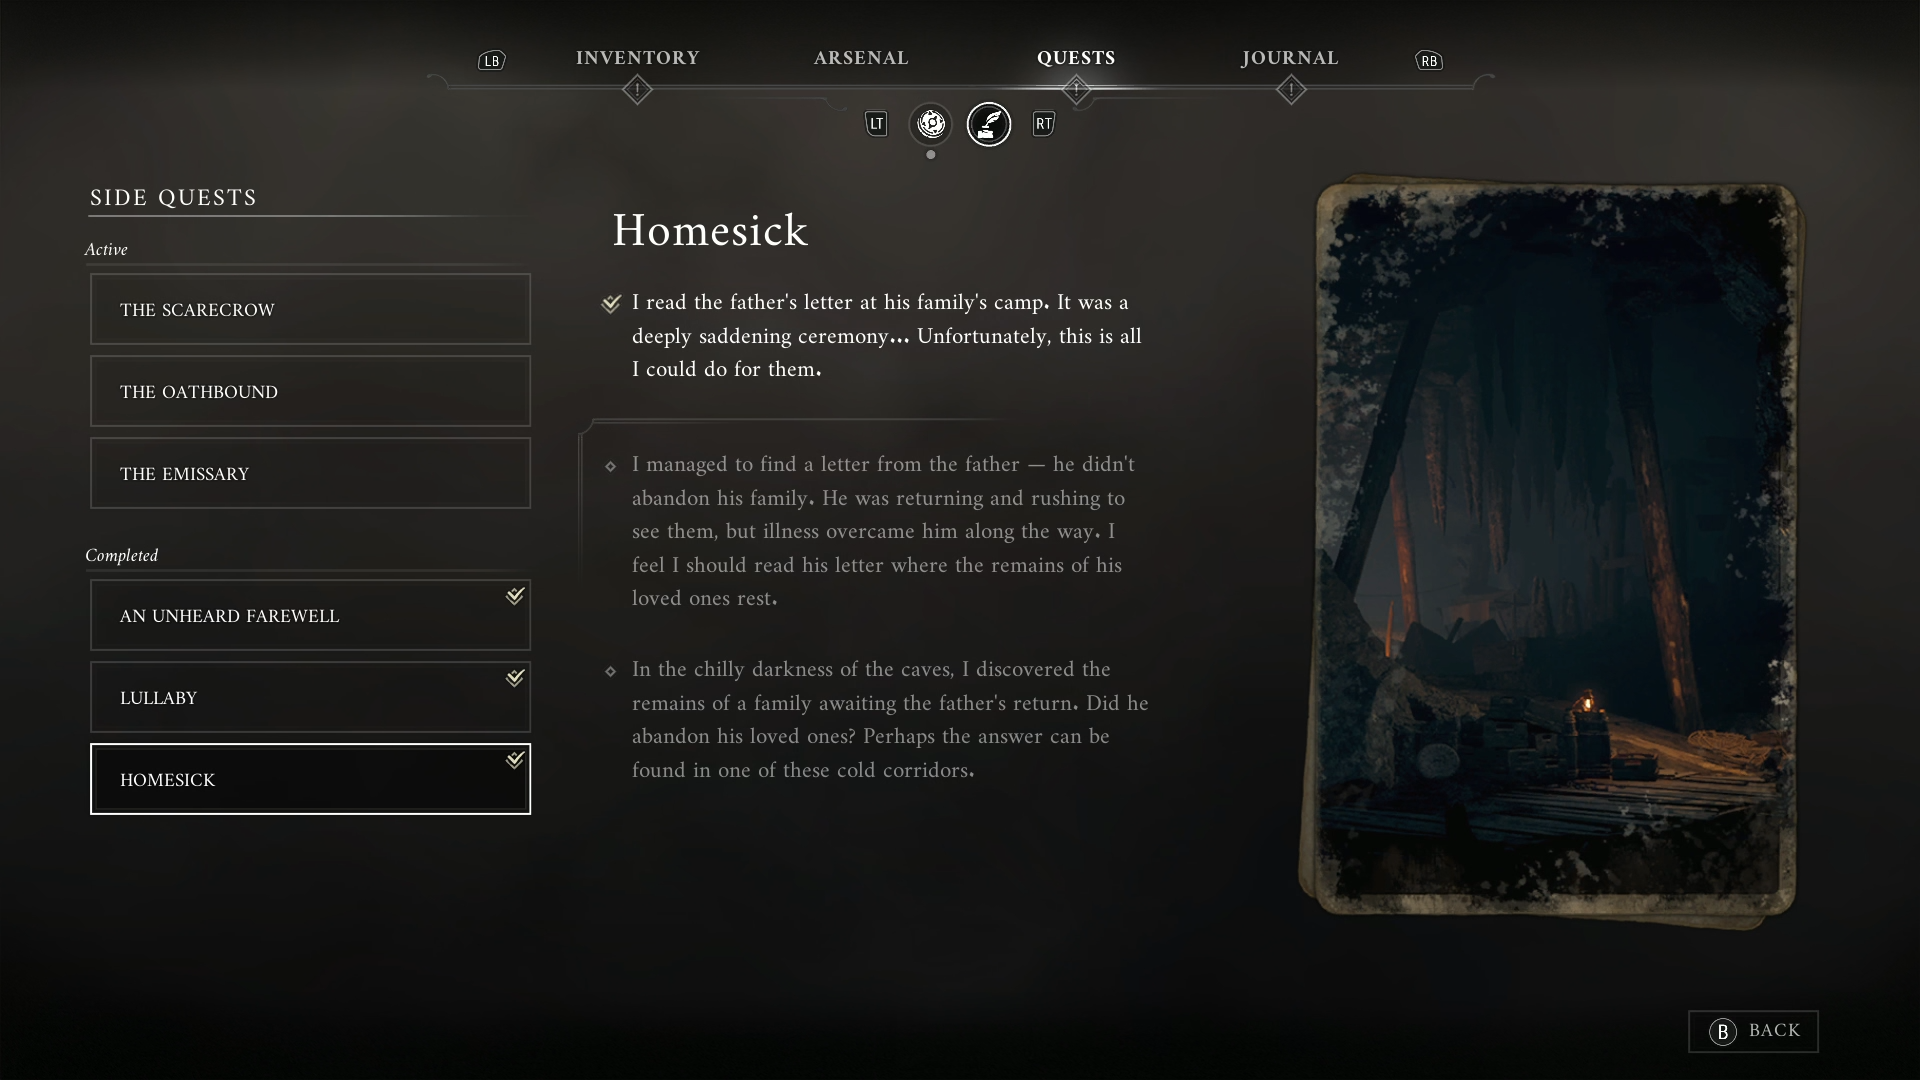
In Chapter 4 of the main story of Valor Mortis, you’ll find a particular side quest called Homesick. It’s about a father who couldn’t reach his family, who were waiting for him. You’ll find a letter that talks about this. In the Caverns, you’ll find the remains of the waiting family, which will trigger the side quest. If you haven’t found it yet, don’t worry, by the end of this guide we’ll walk you through every step of the Homesick Side Quest in Valor Mortis, so you don’t miss a thing.
How to Complete the Homesick Side Quest in Valor Mortis
At the Last Sunlight fast travel point, where you can also rest, you’ll find the beginning of the path that starts the Homesick side quest. The Caverns section in Chapter IV is very intricate, with many paths to take as you begin exploring this massive area, which is full of secrets and, especially, enemies.
How to Find the Family’s Remains to Start the Homesick Side Quest
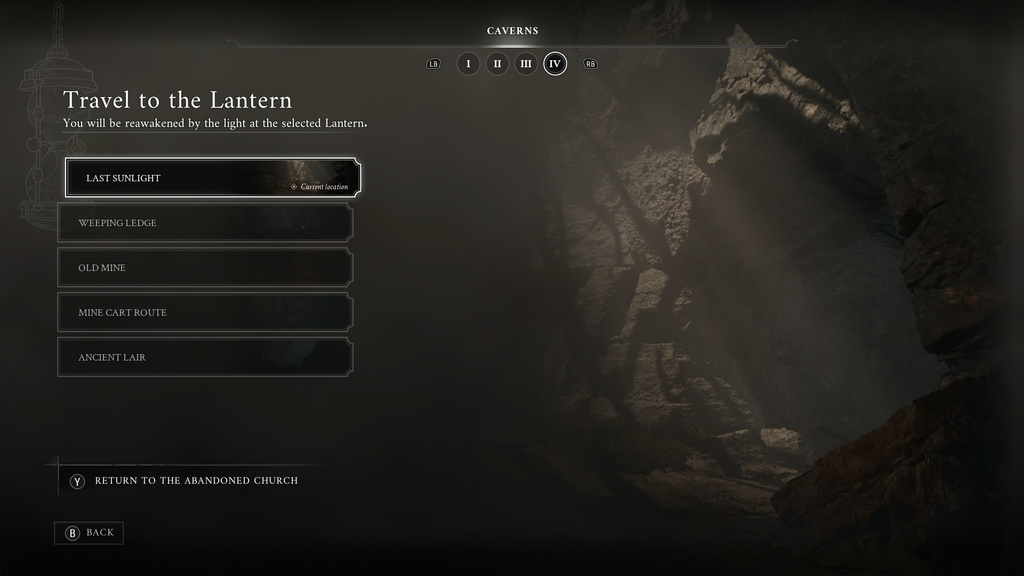
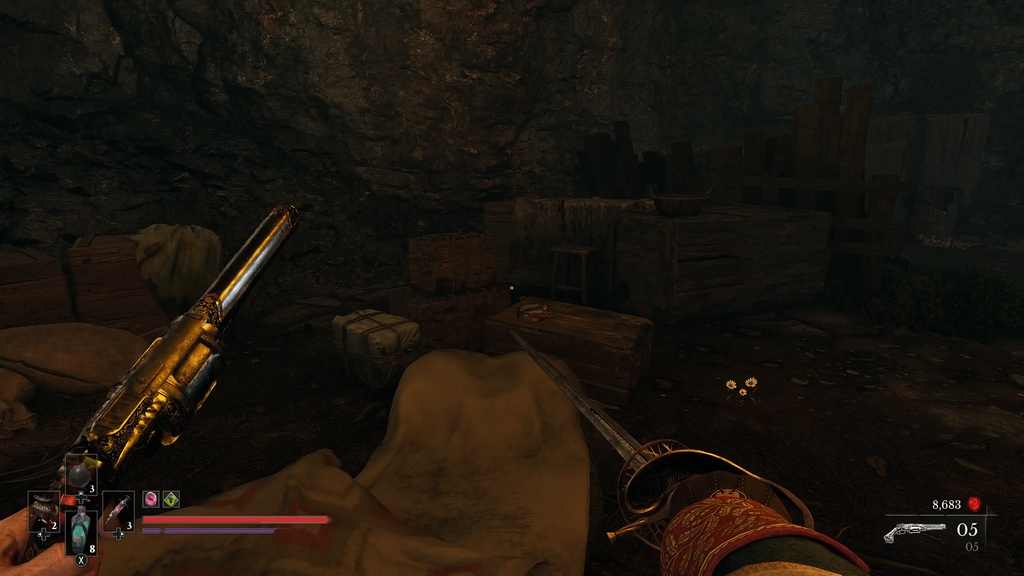
Right after you reach the Last Sunlight fast travel point, you’ll see some pictures on the walls of the cavern depicting a family. If you turn to the other side of those drawings, you’ll find two possible paths. You have to take the one on the right. After taking a few steps, you’ll find a campfire with several improvised beds. When you go through the caverns for the first time, there will be no other path to follow except for the one leading to the side quest.
These are the family’s remains. Then, you’ll see a blue fire that will trigger the side quest with a flashback of the family talking. Once the quest starts, you can choose between two ways of moving forward. Going along the main path or to the right of the campfire will take you to the stealth section. You’ll find a crouching opening to enter and defeat several enemies along the way.
Getting through this part will be full of enemies at every angle, so be prepared to kill as many as you can using stealth to avoid confronting a tonne of enemies at once. There are holes in the floor, so avoid stepping into them. Another thing to note is to look at the ceiling, as there are enemies up there, too.
A Couple of Ways to Reach the Second Blue Fire in the Side Quest
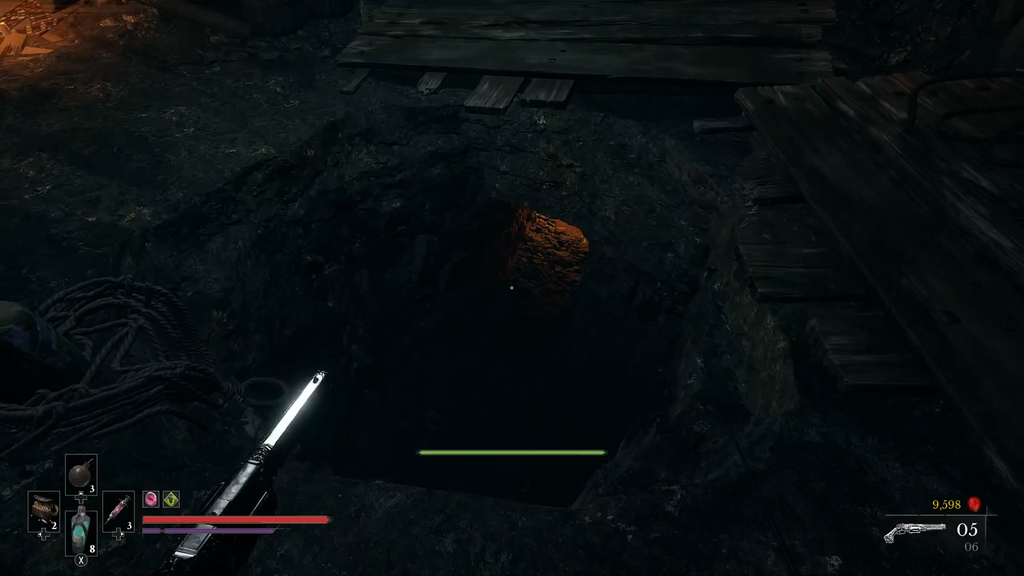
After taking care of all the enemies in this area with holes in the floor, you can choose to go through one of the holes where light is coming through. This will lead you to a parkour-like sequence to keep moving toward the next part of the side quest.



You’ll reach a wall and see a barrel behind an enemy that can deal a tonne of damage, allowing you to kill the enemy with one blow. As you keep moving along the only available path, you’ll encounter three more enemies coming from different directions. When you clear the area, you can choose between two paths: going left toward the grappling hook or going right in an easier, stealthier direction. You’ll see one enemy below and two to the right, which you can kill with an explosive barrel.
Behind the enemies with the explosive barrel, there is a shortcut wall that you need to open up using the Grapple ability that you obtained from Chapter 3 to open the shortcut leading you to the second memory fire that you will need to activate in order to continue with the quest.
The Last Steps to Completing the Homesick Side Quest
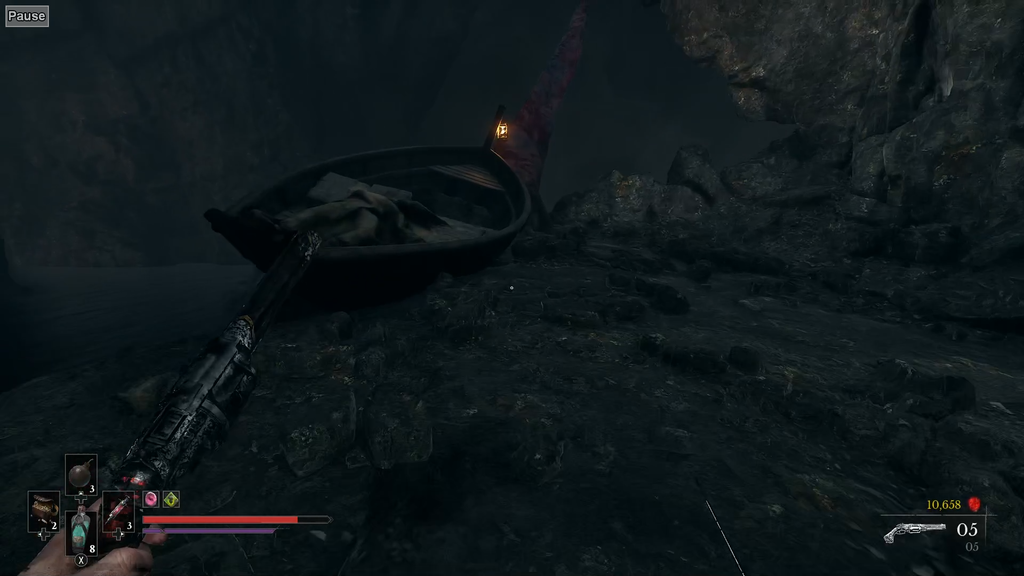
Moving forward after blowing up the enemies to the right, you’ll have a couple of opportunities for stealth kills. Then, by jumping a little to the left, you’ll see a big enemy. This one can be killed using an environmental trick by looking up and shooting a rock above. After killing this enemy, you need to move in that direction, where you’ll find a boat with a note.
You now need to go back along the same path you came from, but instead of going right, go left and keep jumping toward the area near the fast travel point that will take you back to the campfire where the Homesick side quest first started.
When you reach that area, you’ll hear the main character talking, and the side quest will be completed. This closes the story of this family and their unfortunate fate, as, sadly, they couldn’t meet again.
For your next read, you can try our complete review of Valor Mortis, or check out our tips and tricks to help you with the rest of the game.

Other Valor Mortis Guides You Will Need
- How to Upgrade Transmutations in Valor Mortis
- Valor Mortis The Iron Marshall and Grapple Ability Guide: How to Beat, Location and Rewards
- How to Get the Blunderbuss Shotgun in Valor Mortis
- How to Complete The Lullaby Quest in Valor Mortis
- How to Complete The Scarecrow Quest in Valor Mortis
- How to Get the Rapier in Valor Mortis
- How to Upgrade Weapons in Valor Mortis
- How to Fast Travel in Valor Mortis
- Valor Mortis General Lothaire, The Eagle-Bearer Guide: How to Beat, Location and Rewards
- How to Complete An Unheard Farewell in Valor Mortis
- How to Get the Pistol in Valor Mortis
- How to Get the Fire Transmutation in Valor Mortis
- How to Respec Your Character in Valor Mortis
- How to Upgrade Your Stamina in Valor Mortis
- How to Increase Your Health in Valor Mortis
- Valor Mortis Combat Guide: How to Parry, Dodge and Counter
- Valor Mortis: How to Stop Dying So Often
- Valor Mortis: Things the Game Doesn’t Tell You
- How to Stagger Enemies in Valor Mortis
- How Long to Beat Valor Mortis? Game Length Broken Down and Explained
- Valor Mortis – Release Date, Platforms, Story, Game Modes & Everything Else You Need to Know