One click and you're done. Thank you!
While exploring the world of Valor Mortis, you will eventually stumble into Chapter 4 of the game and come up against one of the many unique bosses within the game, and this is definitely in the top tier of bizarre enemies in the game.
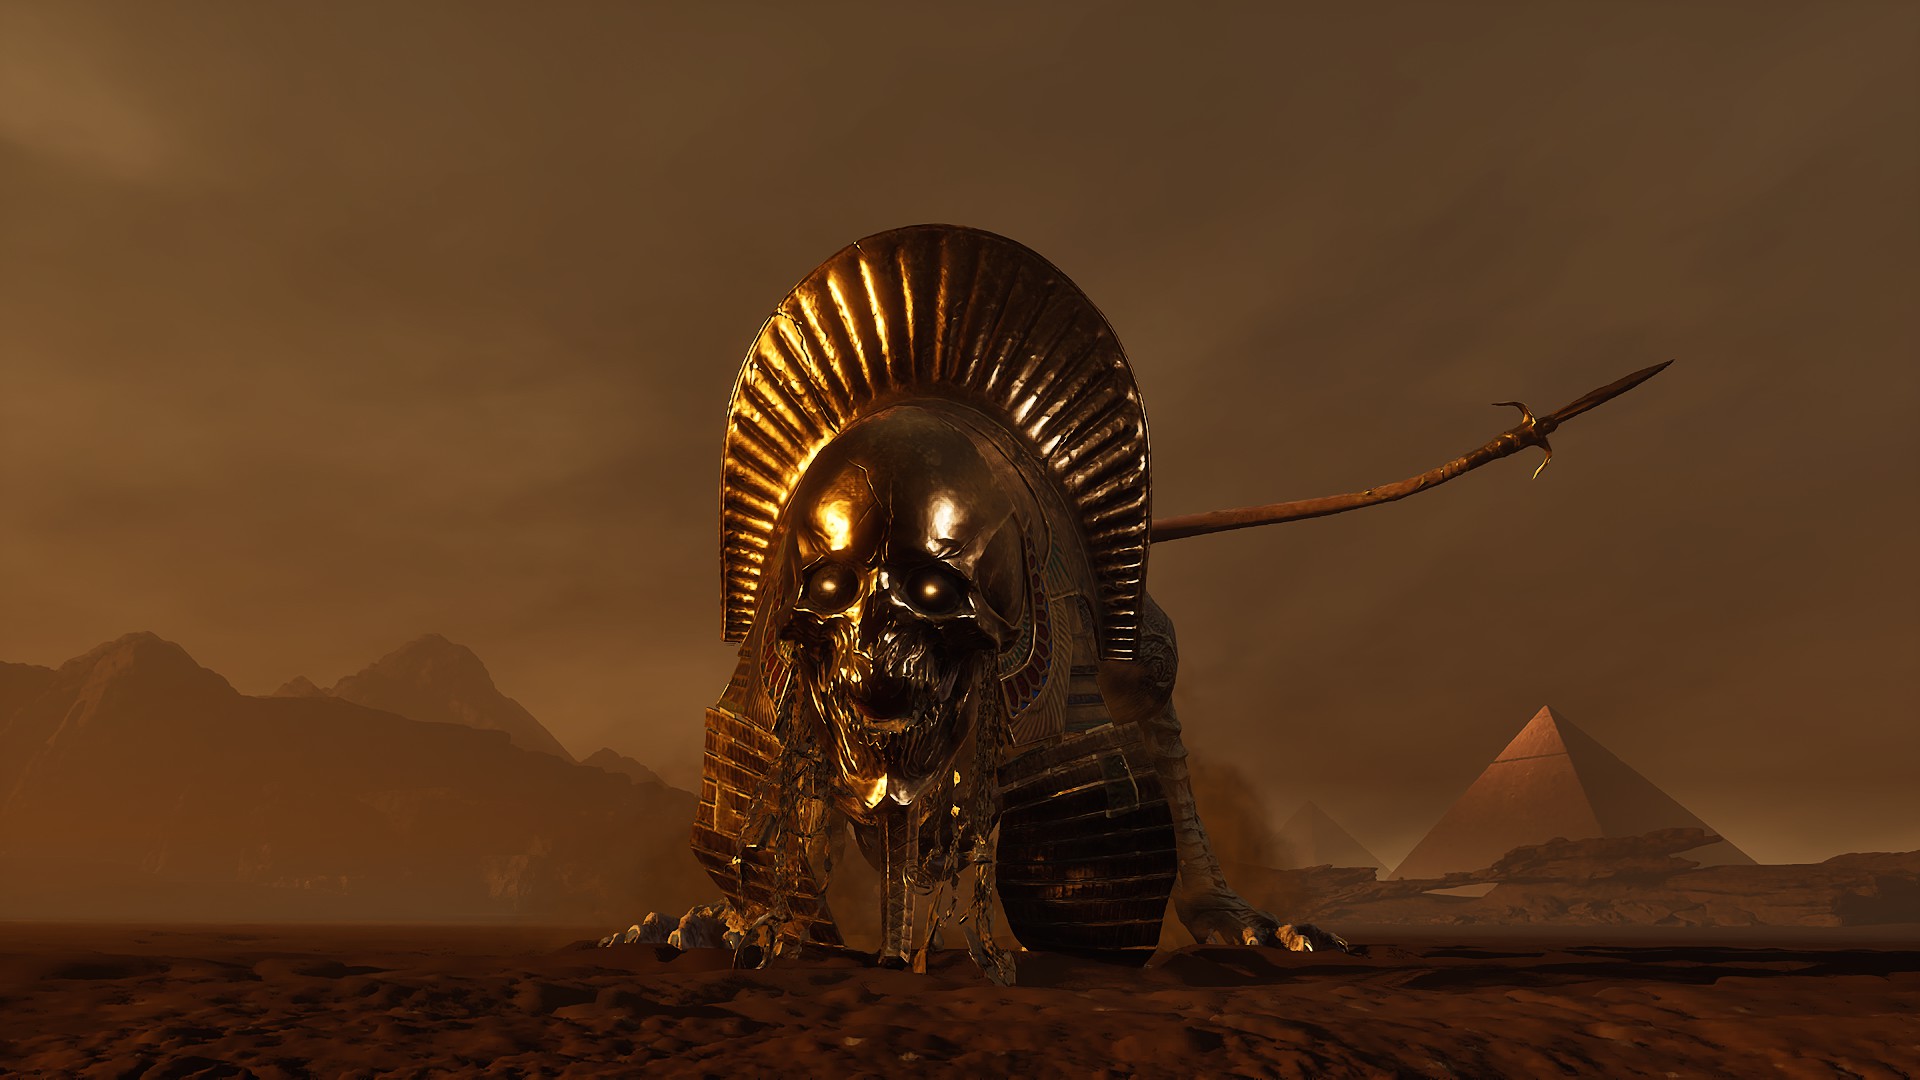
The Sphinx, Devourer of the Unworthy, is such a powerful enemy that is very clearly inspired by the Sphinx from Egypt while also playing a rather large role in Valor Mortis to showcase that the Crimson Plague and the entire overarching story isn’t just connected to Napoleon and the French.
How to Find the Sphinx, Devourer of the Unworthy in Valor Mortis
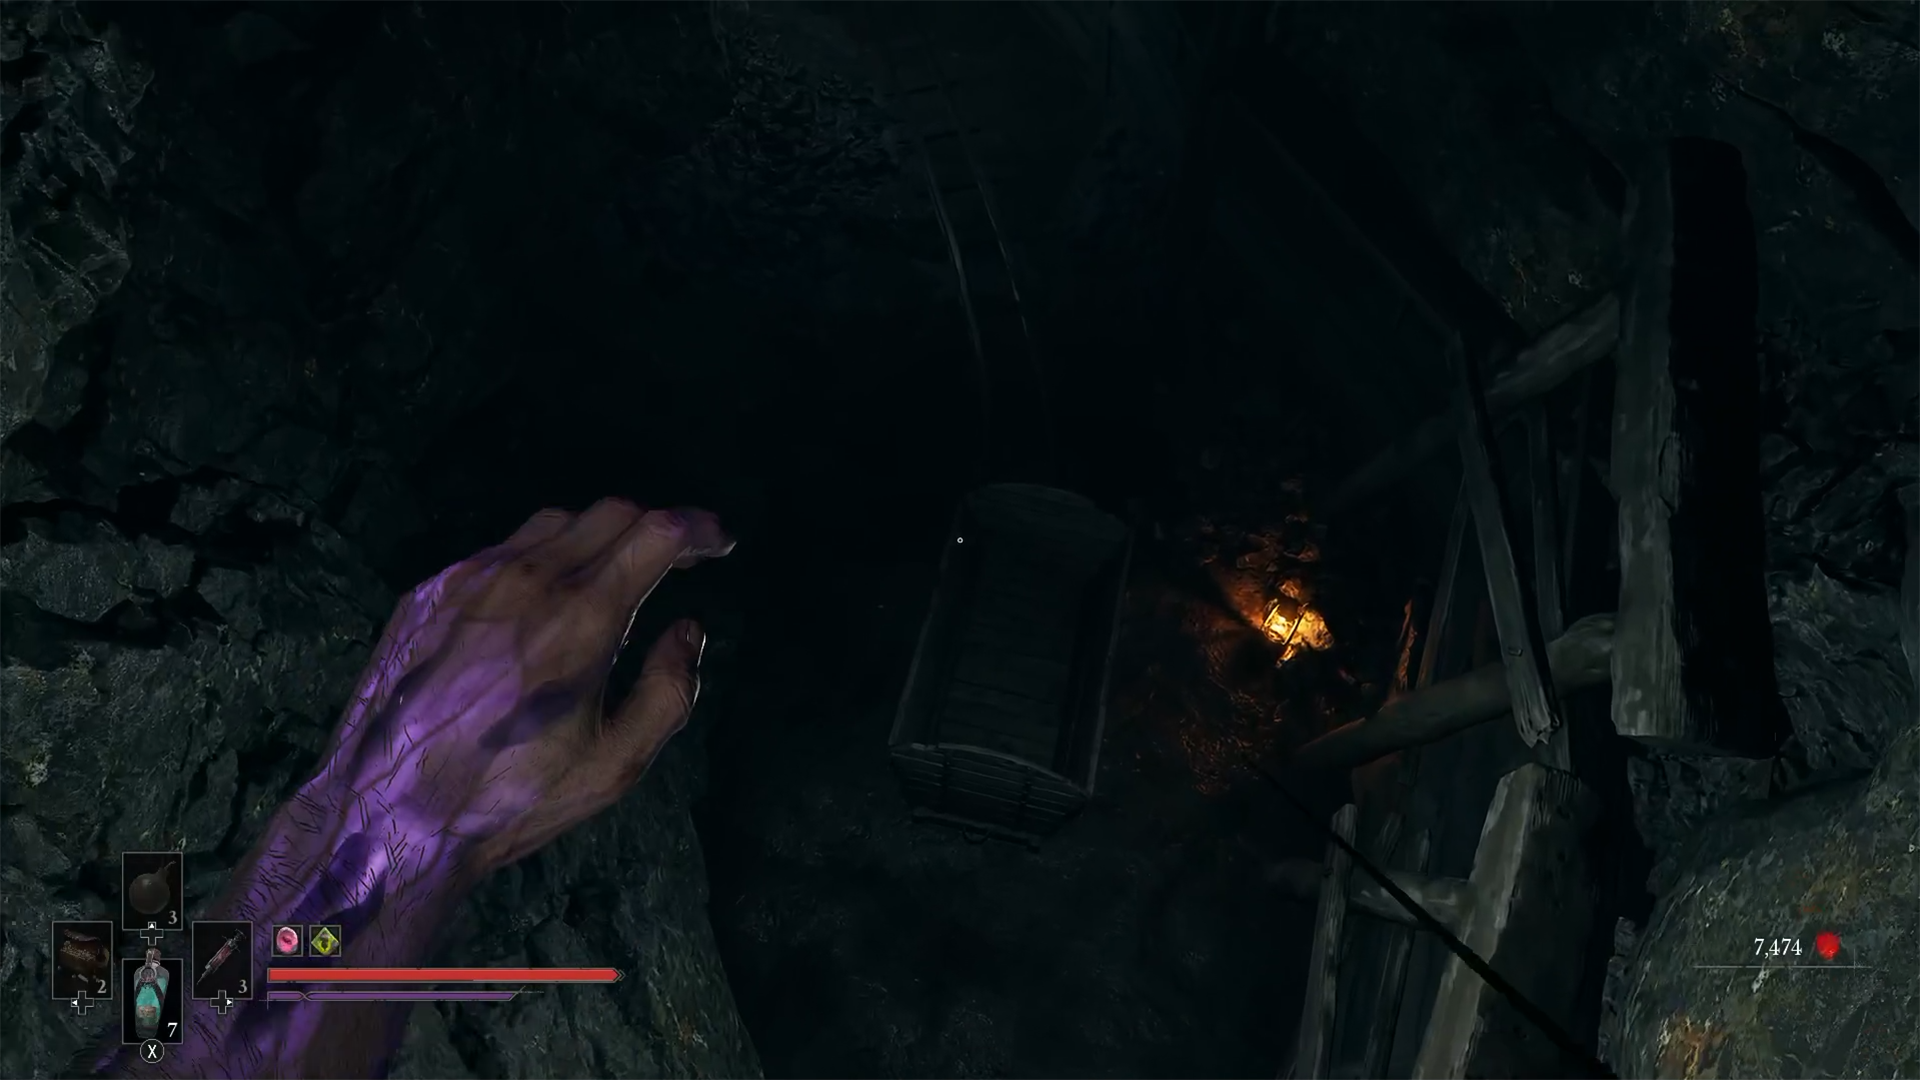
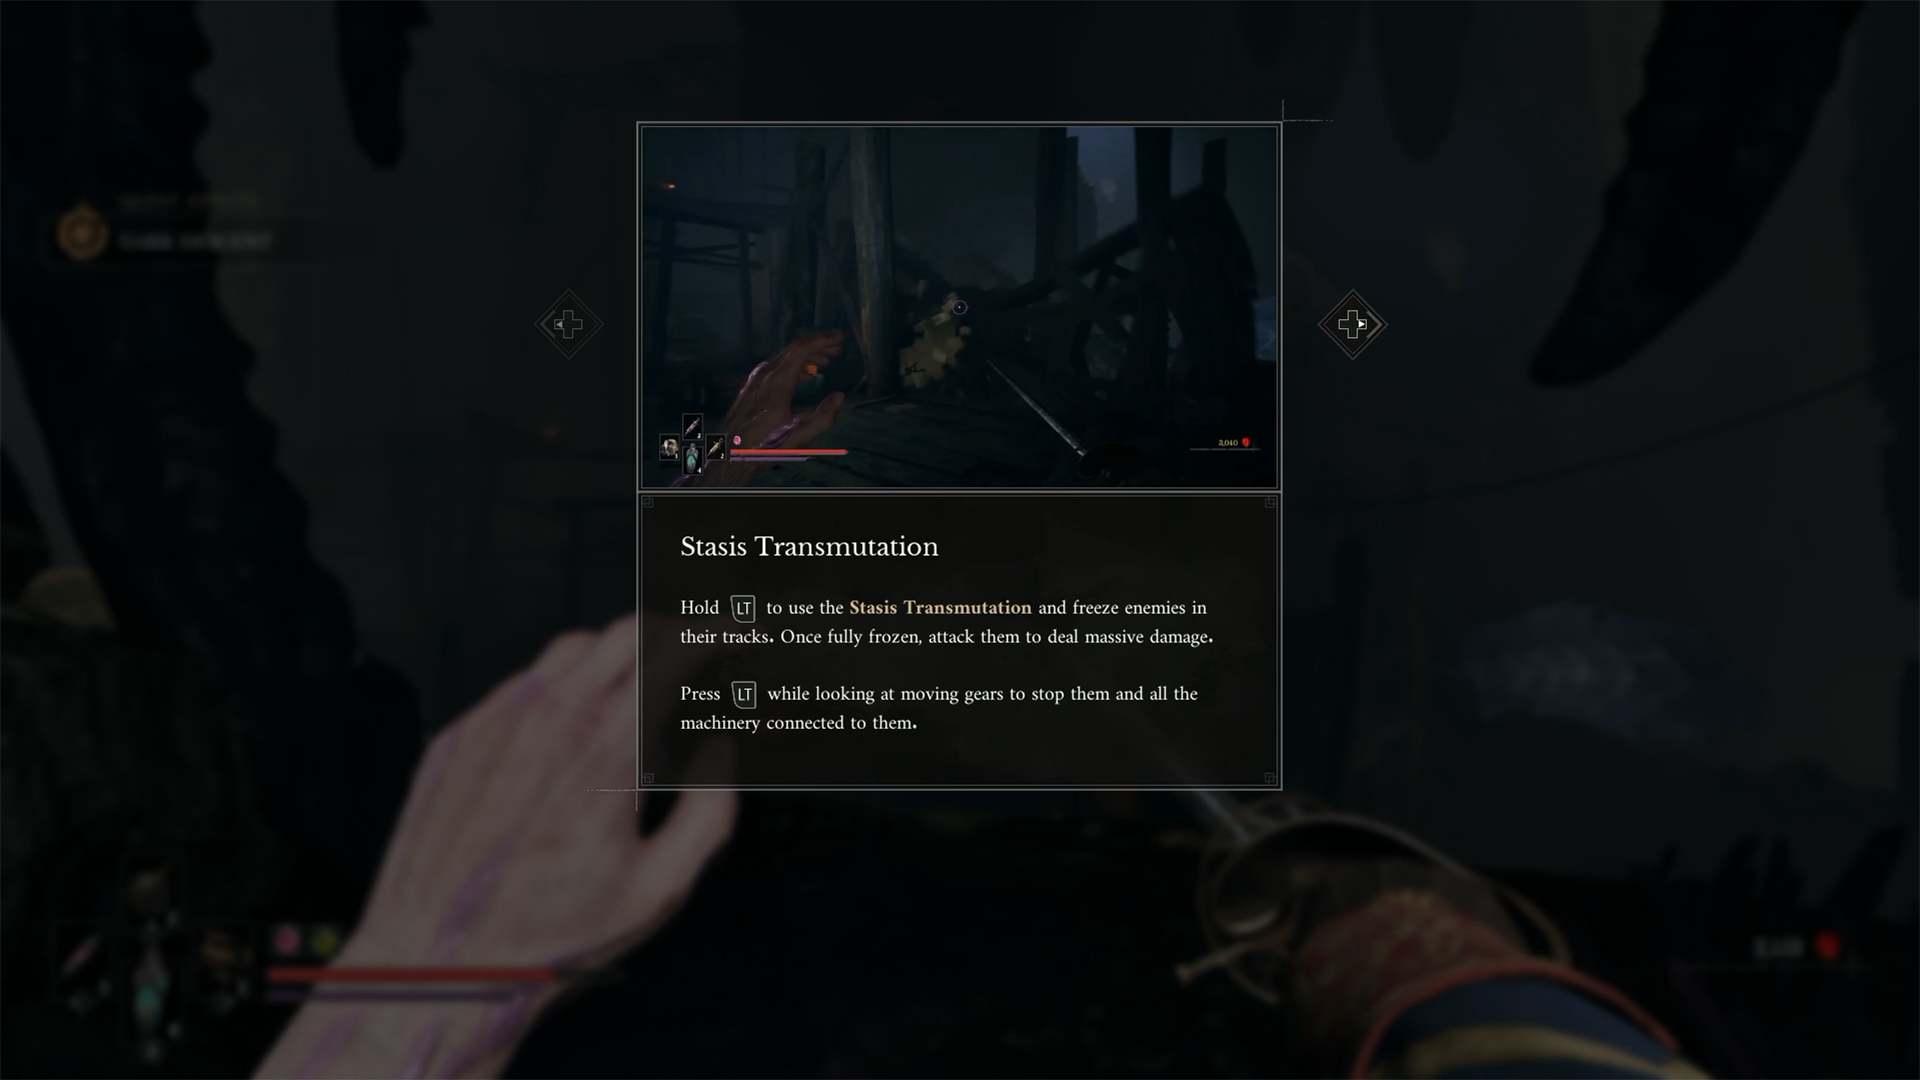
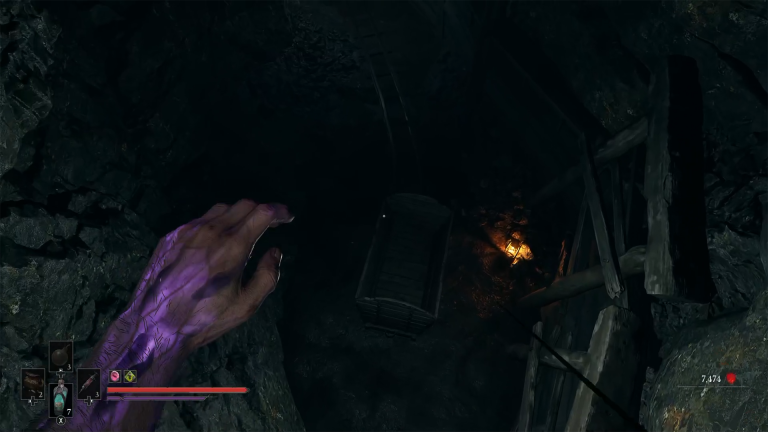
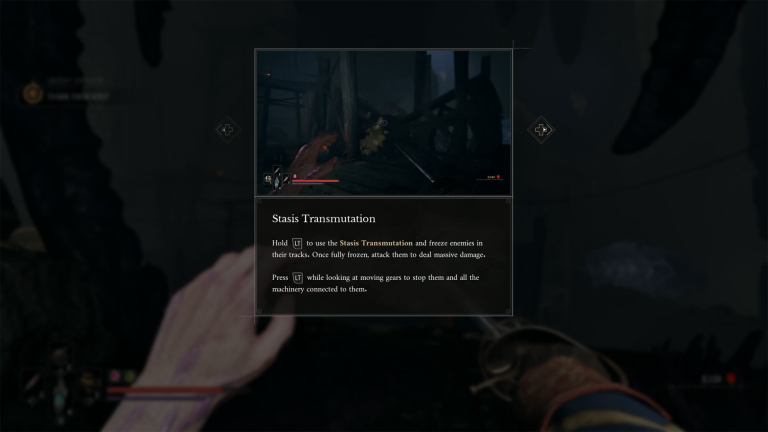
To find this interesting boss, you will first need to be at Chapter 4 within Valor Mortis, and you will need to be at the end of this chapter to discover this boss. You will know when you are in the right position to find this boss, as you will have managed to acquire the Stasis Transmutation as well as have ventured past the minecart sequence, which is the final obstacle blocking your path.
Before this, however, you will have quite a few struggles in venturing through the Salt Mines, as they are quite maze-like, but once you begin to explore this location and narrow down what paths are dead ends and what paths are a direct path to where you need to go, you will eventually begin to make your way through with no problems.
In regard to when you actually make your way to the boss, there isn’t any real warning that you are there except for the lantern that allows you to rest, as there is no fog wall, just a large arena-like area that doesn’t even take effect as you are whisked away to a secondary location to battle out in instead.
How to Beat the Sphinx, Devourer of the Unworthy Phase One
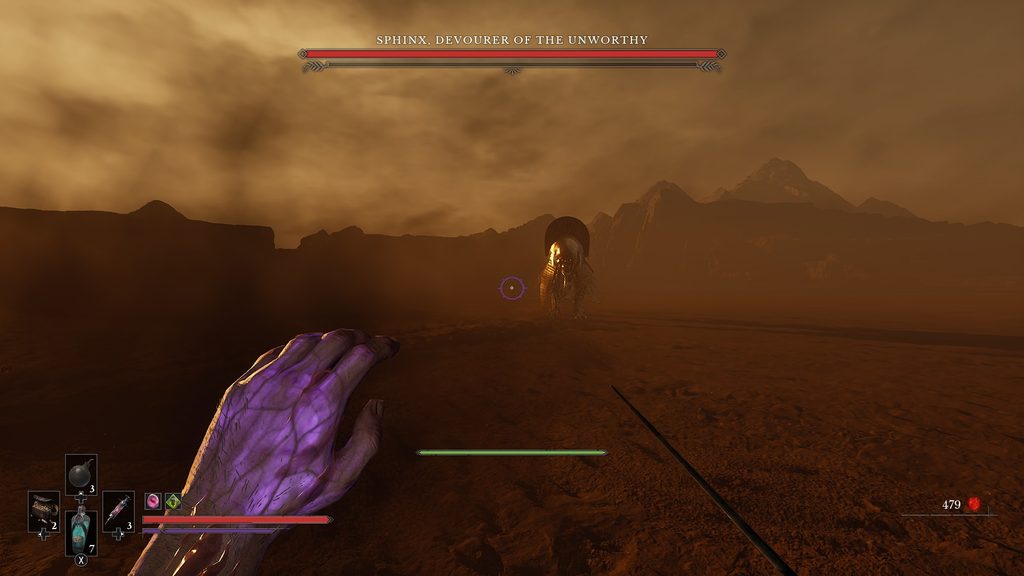
Now that you have managed to gain access to this boss fight, you will now need to actually fight this boss, and fight it you shall, but be warned this creature will not go down without a fight, as it will move fast around the arena, chunk your health with devastating attacks, and even hide behind a second phase that will make you run in fear.
But for now, let’s focus on the first phase of this boss fight, as once you walk into this unique arena, your character will be whisked away to the sands of Egypt, where the Sphinx, Devourer of the Unworthy boss, will be waiting for you as it makes a cool entrance, showing off its unique design and deadly features.





During this boss fight, you will need to avoid and deal with a lot of different attacks from this boss, so to avoid overwhelming you, we have compiled all the attacks this boss will use during its first phase into the list below:
- A basic attack the boss will often use is when it will lunge towards you with its right paw and purple claws unleashed as it swipes at you
- A combo attack the boss often uses is when it slams a paw down on the player one at a time, advancing towards them, starting with the right paw, then left, then right again before stopping for a few seconds
- One attack the boss doesn’t use often is when it jumps in front of the player and spits out a swarm of flies dealing a lot of damage, but it can be easily dodged
- An unblockable attack the boss will employ is when it jumps straight into the air and slams down where the player is standing, but when you dodge out of the way, it does not track, so move quickly
- A distance-closing attack from the boss often happens when it gets too far away, and that is when it pounces towards the player with both claws and lands on top of them, slashing them
- A complicated combo that the boss sometimes employs is when it does two large swings, one with each power in front of itself, before jumping into the air with an unblockable attack; again, this can be easily dodged if you time it right
- Another combo the boss will use is when it slashes with its right paw and turns too far before spinning back and attacking with its tail instead
- Although the boss often gets up close to attack, it can also summon 3 purple claws from the floor in front of itself that it can send forward towards the player
- The final combo the boss will use in this phase is where it leans towards its back paws and brings its tail into the air before summoning a ball of fire in the air; as quickly as you can, you will need to shoot this ball of fire, otherwise it could mean the end of your run
These are all the attacks the boss can use against you during this phase, but there are a few other notes we need to make so you can fight it effectively. The first is that the boss, when it hits you, can inflict you with the Stasis debuff as well, which, when it triggers, can massively decrease your stamina, so be careful of that. The second is that if you manage to stun this boss and stagger it, you can only do the stagger attack from a circular ring that appears at its head, so make sure you are there and not by its feet.
How to Beat the Sphinx, Devourer of the Unworthy Phase Two
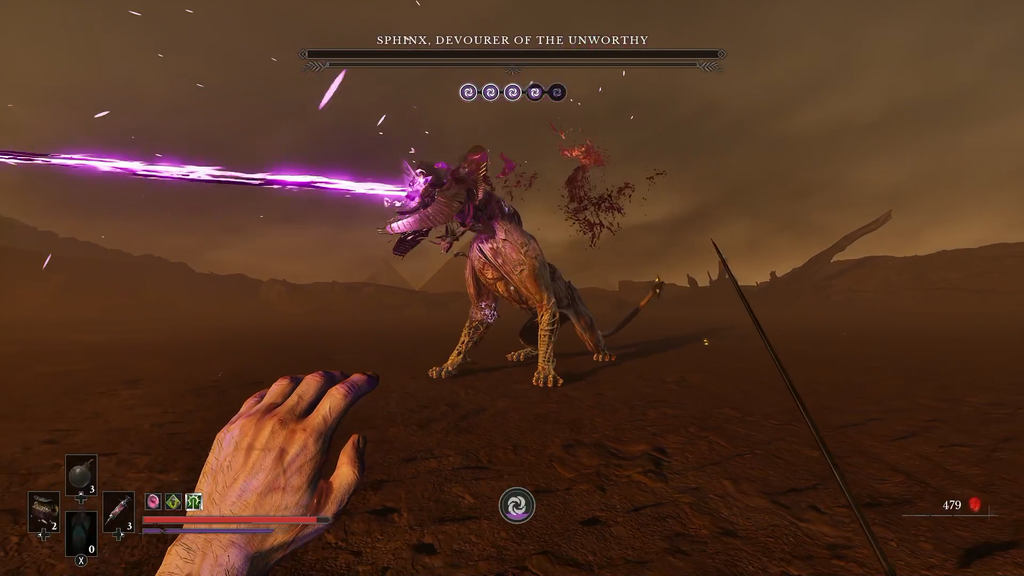
Once you manage to get the Sphinx, Devourer of the Unworthy, to zero health, it will begin to get very erratic as it starts shooting a large purple beam from its face into the sky, indicating that the second phase is starting. After it has finished doing this, it will have a new set of attacks that you will need to be aware of and now has a weak spot in its face, so make sure to focus some of your attacks here.
Just like above, we have provided all of the attacks the boss will use in a list below, so make sure to have a look and prepare for this chaotic phase in this boss fight. Along with this, be aware that this doesn’t mean the boss won’t use the attacks from above, as it will still use a majority of those attacks.
- The boss will jump into the air, slam down, and generate a circle of purple claws around it that travel outwards in a circle before the boss leaps at you with both claws
- A rather dangerous attack is when the boss charges a purple beam at its face, which it will shoot forward towards the player; it can be easily dodged to the side, but you can burn your stamina quickly
- Sometimes the boss will do a backflip, hitting you with its tail
- Similar to the lunge attack from the first phase, the boss will jump forwards with both claws, but if that misses, it will rear up onto its back legs and do a slam with its paw, and after it does this, it will lie on the floor for a good few seconds
- The boss now has a new locust attack where it will spit up a group of locusts up towards the area, creating a circular vortex of insects that will damage you, but you can run away and escape
These are all the attacks the boss will use against you, and once you defeat the boss, you will earn 20,000 Catalysts that you can use to upgrade your character, and you will also see a cutscene that teases more of the game’s story before being teleported back to the Abandoned Church, allowing you to begin the next chapter in the game.
For your next read, why not check out our review for Valor Mortis, or check out our tips and tricks guide for Valor Mortis!

Liam is a Senior Editor, Writer, and Critic for Thumb Wars and has been working with the team since day one. Liam is a big fan of all things gaming, as you will catch him playing all of the new releases from every genre you can imagine. Whether you find Liam gaming just for fun or spending his free time streaming, you will always find a smile on his face when it comes to all things gaming.
Other Valor Mortis Guides You Will Need
- How to Complete the Minecart Section in Valor Mortis
- How to Get the Stasis Transmutation in Valor Mortis
- How to Get the Wall Running Ability in Valor Mortis
- How to Complete the Homesick Side Quest in Valor Mortis
- How to Upgrade Transmutations in Valor Mortis
- Valor Mortis The Iron Marshall and Grapple Ability Guide: How to Beat, Location and Rewards
- How to Get the Blunderbuss Shotgun in Valor Mortis
- How to Complete The Lullaby Quest in Valor Mortis
- How to Complete The Scarecrow Quest in Valor Mortis
- How to Get the Rapier in Valor Mortis
- How to Upgrade Weapons in Valor Mortis
- How to Fast Travel in Valor Mortis
- Valor Mortis General Lothaire, The Eagle-Bearer Guide: How to Beat, Location and Rewards
- How to Complete An Unheard Farewell in Valor Mortis
- How to Get the Pistol in Valor Mortis
- How to Get the Fire Transmutation in Valor Mortis
- How to Respec Your Character in Valor Mortis
- How to Upgrade Your Stamina in Valor Mortis
- How to Increase Your Health in Valor Mortis
- Valor Mortis Combat Guide: How to Parry, Dodge and Counter
- Valor Mortis: How to Stop Dying So Often
- Valor Mortis: Things the Game Doesn’t Tell You
- How to Stagger Enemies in Valor Mortis
- How Long to Beat Valor Mortis? Game Length Broken Down and Explained
- Valor Mortis – Release Date, Platforms, Story, Game Modes & Everything Else You Need to Know