Beating bosses in Mortal Shell 2 is as easy or hard as you make it, depending on your skill level, willingness to suffer, and overall level of your character in various ways. If you’re here, you’ve found Vrago, and are trying to figure out how to get the better of him. One of the harder, more aggressive bosses on offer, we’ll have you running circles around him by the end of this guide, so don’t worry, your search for how to beat Vrago, Solikar Champion in Mortal Shell 2 is over.
Vrago, Solikar Champion Location in Mortal Shell 2
Like Lucian and Vrannic, Vrago is one of those bosses right next to a Corrupted Gate, hidden inside a Beacon that you’ll need to Cleanse to access the gate. Finding him is easy when you know where, right? As you’ll no doubt know, there is a traversal gate near the lake you beat the Bloodcursed Lithopod. Hop over this, across the huge chasm, and then run up the hill, ignoring the monsters. Turn right and head towards a series or archways; you’ll see a range of trees coming out of the lake bottom. When you see these, head left and forward. You’ll need to run or fight numerous enemies here.
If you continue this path, you’ll end up running up yet another hill, passing three enemies praying at a statue, and head under another arch into the Ruins of Nochte. Head to the left and jump up the launcher near the waterfall, and then follow the path around once more to the right. You’ll see a bridge ahead that is raised. Go to it, lower it, and then you’re following a linear path that’ll bring you to both the gate and the beacon.
One click and you're done. Thank you!
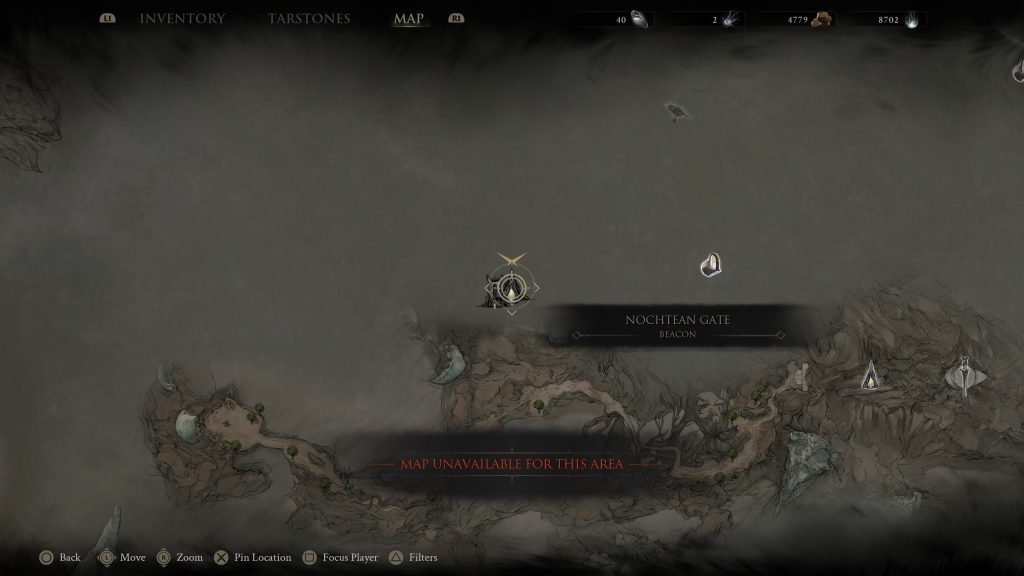
Once at the Beacon, the Nochtean Gate, you’ll want to jump into it to cleanse it, and now, you’re almost at Vrago. As soon as you enter the Beacon, it’s business as usual. Down the stairs and elevator, before finding yourself in the Abandoned Shrine. You can either fight the three enemies between you and the boss, or sprint past; your choice. Head down the linear path, and when you enter the room with a drop and two enemies, immediately head right, and you’ll see the hulking monstrosity that is Vrago, Solikar Champion, in front of you.
How to Beat Vrago, Solikar Champion in Mortal Shell 2
Now you’ve found him, you need to beat him. How exactly? Well, as hindsight is 20/20, I’d suggest a fleet-of-foot shell like Tiel, compared to Ededrim, whom I used, and maybe the Axe and Dagger, again compared to the Veteran’s Battle Axe I used, just because Vrago is rampant, non-stop, frenetic, and unrelenting in his pursuit of you. Just two of his hits will be enough to break your Shell, and then two more to kill you. He’s not a very forgiving boss, but as you’re here to find out, here’s my build that I used to take down the big man:
- Eredrim Shell – Location here.
- Veteran’s Battle Axe – Location here.
- Troubadour Lute.
- Vatra Seal.
- Marksman’s Stone – Increases crit chance of ranged weapons.
- Retribution Stone – Increases Riposte damage.
- Deadeye Stone – Increases ranged crit damage.
- Berserker Stone – Increases damage output the lower your health is.
As you can see, even down to the secondary weapon, this is a build centered around slow, heavy damage. This wasn’t conducive to Vrago, Solikar Champion whatsoever, and made beating him unnecessarily difficult compared to if I’d taken a quick, light build, but never mind.
As mentioned, Vrago is incredibly hard-hitting. When you drop in, he’ll begin to approach you slowly, before increasing his pace out of nowhere. Before you know it, he’ll be in your face swinging that big shield of his at you. Don’t try to parry or Harden any of his attacks. While some are, primarily his three-piece swinging combo, most have the big red flashing unblockable indicator front and center, so you’ll want to dodge quickly and regularly.
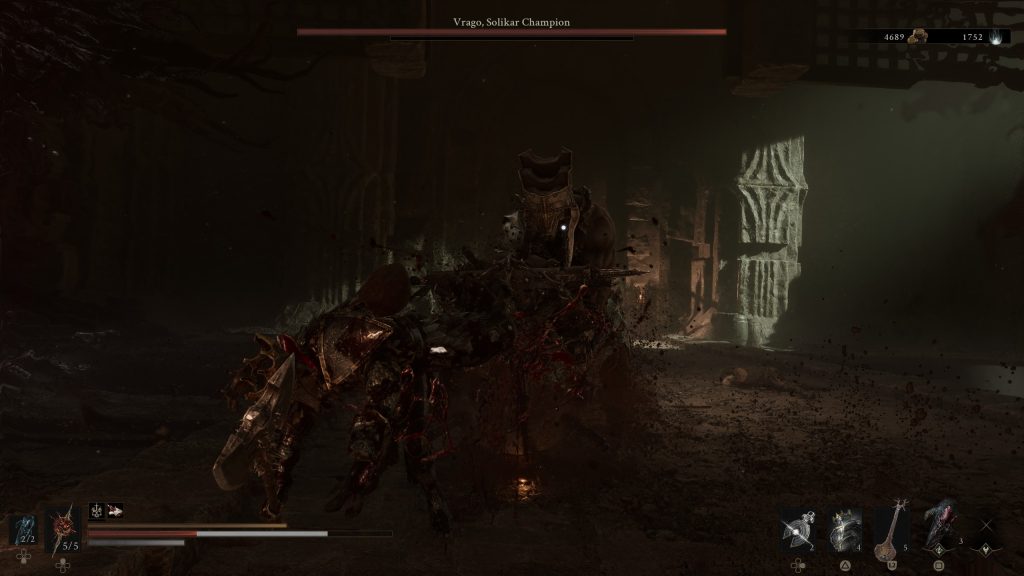
If, like me, you’re using the Lute, take your time and hit him with a Strum after each of his combos. Any more than one and you risk getting hit mid-instrumental. It takes five or six strums to stun him completely, so don’t rush it. You can also alternate with getting a Light Attack or two in after his combos, but the order of the day is simple: don’t get greedy, don’t try and get too much, and don’t take unnecessary risks.
Using your Shell’s abilities, taking your time, and always making sure to keep plenty of distance between you and the boss is key to surviving the fight, but this is one of the fights in Mortal Shell 2, like The Warden, that may have you trying more than once or twice to beat.
CHEESE METHOD: There’s a small window where he’ll charge at you, and if you can get him to hit the back wall of the arena, where you drop in, he’ll get stuck momentarily. This is where a heavy damage based build comes in handy. Be warned though, if you even manage to get him stuck, he releases himself mid animation and will likely hit you multiple times before you can kill him.
When you see that final health bar drop to zero, and you do beat Vrago though, you’ll get some decent rewards:
- Gloom
- Glimpse x 2
- Voltaic Crown
And there you have it! How did you find beating Vrago in the end?
For your next read, check out our tips for the game, or our in-depth review of Mortal Shell 2.

Luke Addison is the Founder and Editor-in-Chief of Thumb Wars. Having previously been a part of multiple outlets over the years, including building an entire gaming team from nothing to something, he thought it best to forge his own path and answer only to himself. As likely to be found playing the latest game as he is in the kitchen relaxing (by cooking), he always brings the same bold and brash attitude to everything he does, with a heavy leaning on sarcasm and dry wit!