With a huge open world, lots to explore, and even more to find, you’ll have plenty of bosses cross your path in Mortal Shell 2. Some are difficult, others not so much, and your current villain in the Gloombound Legion could be either. Thankfully, we’ve got some tips that’ll help push the scales in your favour, and by the end of the guide, you’ll know how to beat the Gloombound Legion.
Gloombound Legion Location in Mortal Shell 2
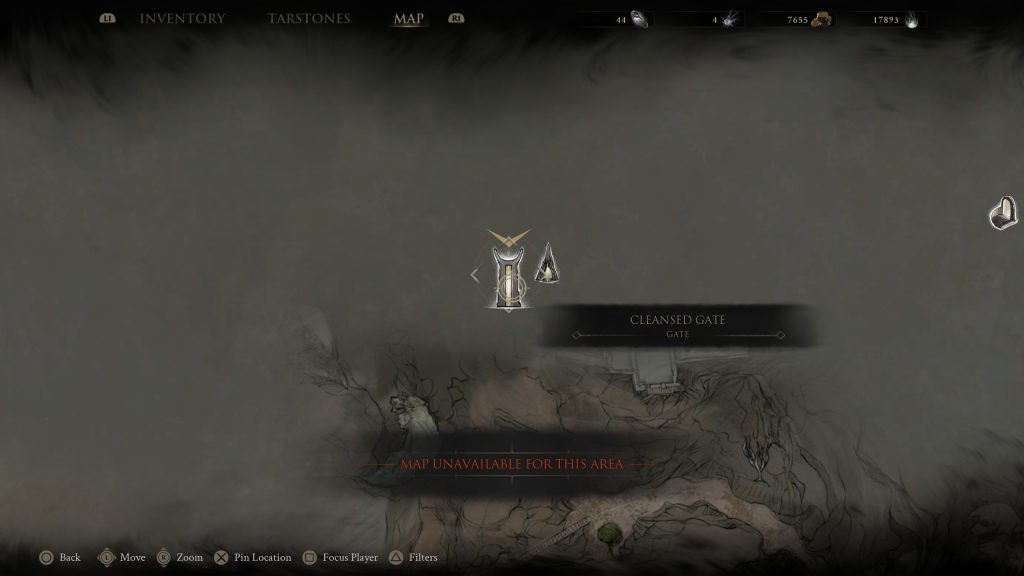
As you progress through the game, you’re going to have to make your way to three Corrupted Gates, to cleanse and free them, plus grab the Ova from within. The Gloombound Legion is the first of three bosses in the Western-most gate, near the Nochte Beacon, right after Vrago. Finding your way there is as simple, once you know. From the lake that housed the Bloodcursed Lithopod, head down to the traversal gate and jump over. Then follow the path right until you get to another lake filled with trees and enemies. Head left through the wooden fence, and you’ll see a statue being prayed to by several enemies. Run on and through an arch way, then up a wooden bridge and use the launcher near the waterfall.
Once again, head right, lower the bridge and cross it, and now you’ll just need to follow the path ahead of you and you’ll end up at the Nochte Beacon and Corrupted Gate. Jump into the gate, and follow the linear path inside through a few enemies, around the castle grounds until you come to the arena with the Gloombound Legion in. That’s the benefit of these Corrupted Gates, they’re all linear, bar one or two small offshoots for treasure.
One click and you're done. Thank you!
kjhasdk
How to Beat the Gloombound Legion in Mortal Shell 2
Beating the Gloombound Legion could be the easiest boss battle in the entire game, if you play your cards right, or it could be one of the most frustrating. That difference depends entirely on your secondary weapon, but, before we get to that, you’ll need to know my build to help you beat the Gloombound Legion:
- Eredrim Shell – Location here.
- Veteran’s Battle Axe – Location here.
- Troubadour Lute.
- Vatra Seal.
- Marksman’s Stone – Increases crit chance of ranged weapons.
- Retribution Stone – Increases Riposte damage.
- Deadeye Stone – Increases ranged crit damage.
- Berserker Stone – Increases damage output the lower your health is.
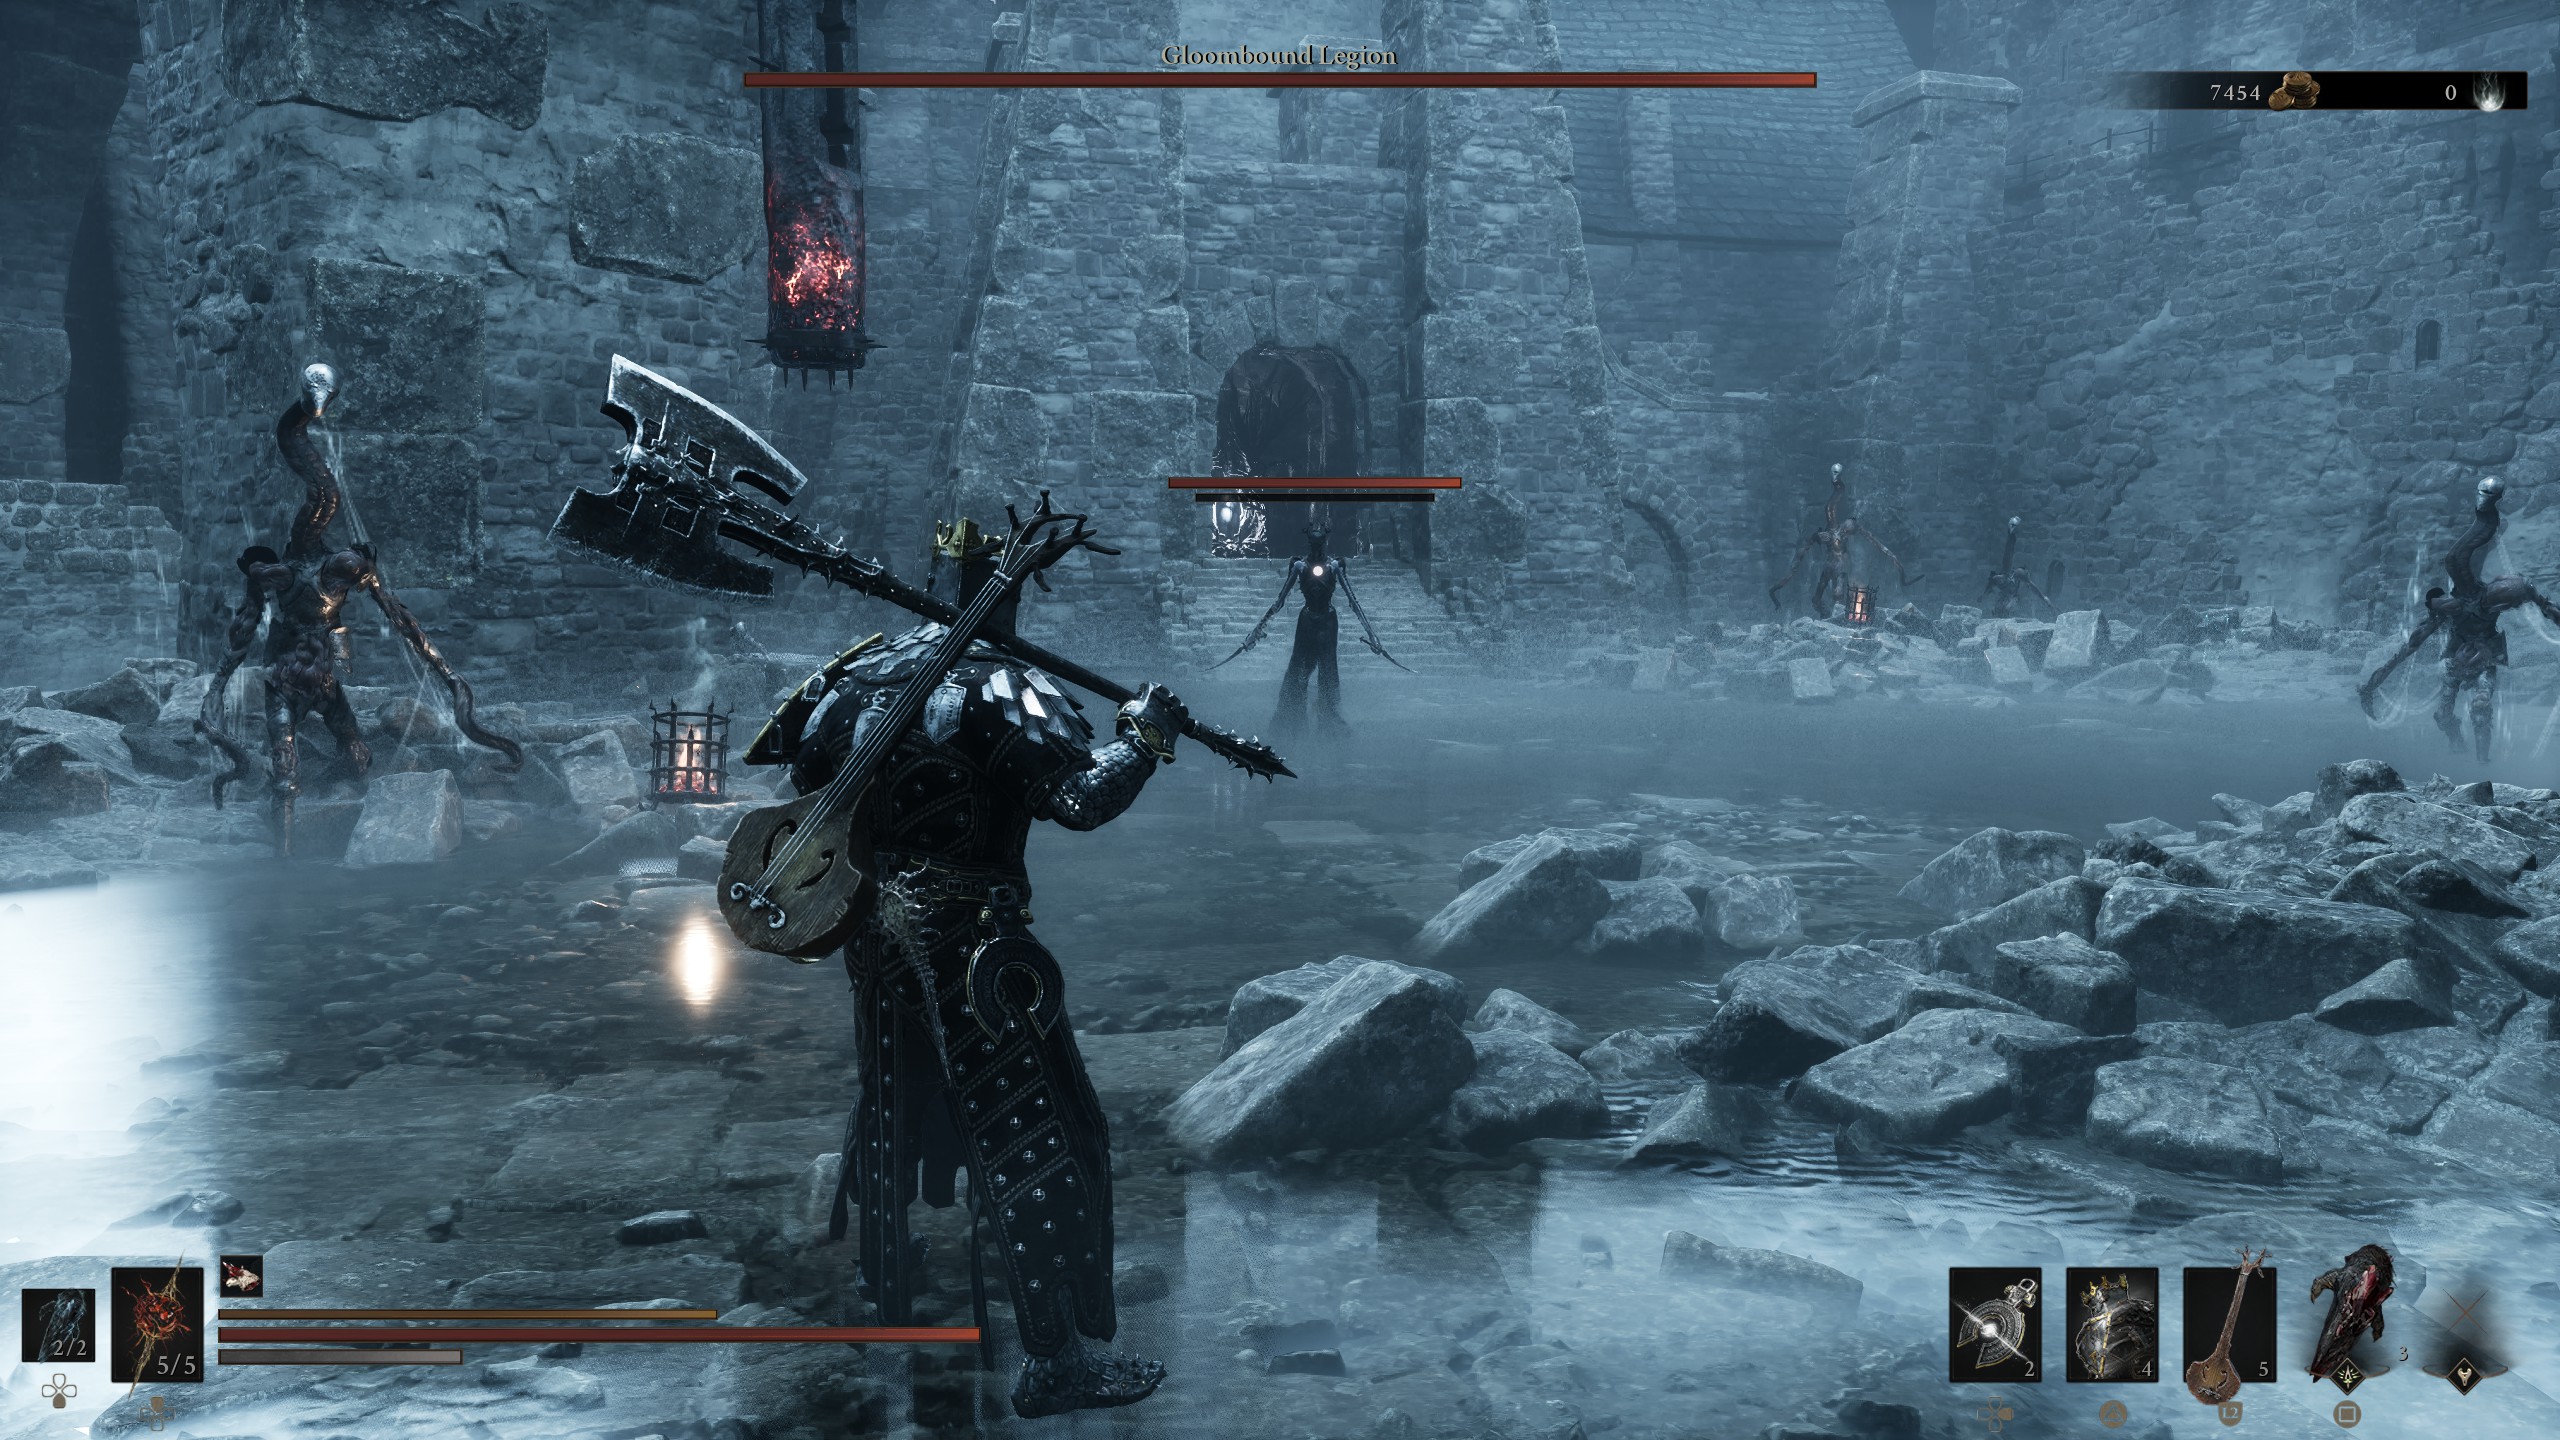
As you can see, when you enter the courtyard, you’ll be swarmed by numerous enemies. Four or five mutated soldiers, and several quick-moving, hard-hitting female assassin’s. If, like me, you have the Troubadour’s Lute, you’ll want to immediately pull it out and strum, aiming at several different encroaching enemies as you do. This will at worst Confuse them, and have them attacking one another, or best case, instantly stun them, allowing for a Riposte attack.
The only reason this fight could be difficult is the sheer number of enemies in front of you, all of which are generally quick in their movements. The Lute takes this worry out of contention.
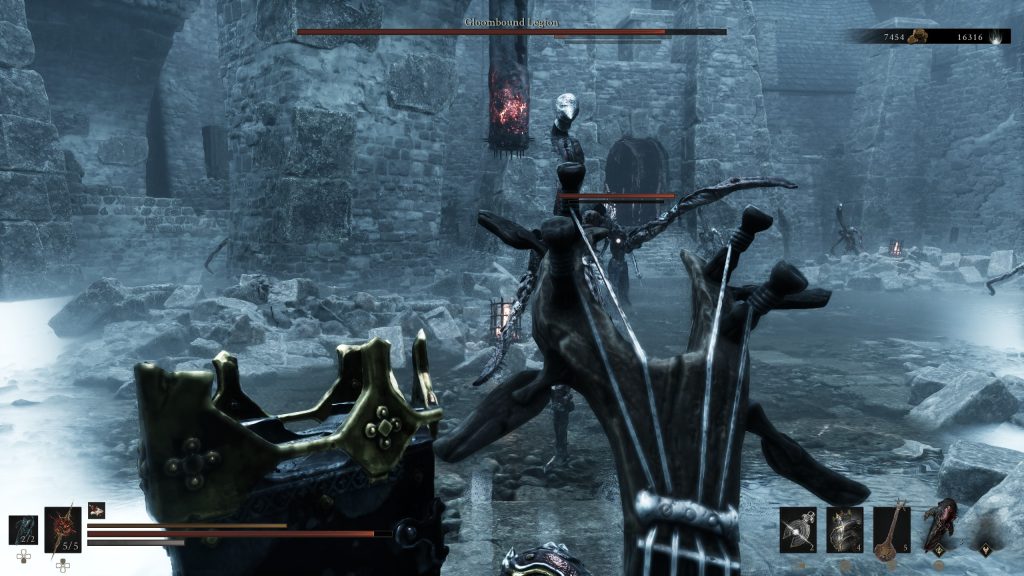
The mass of enemies share a health bar, just like the Broodshell Swarm before it, meaning you’ll be double dipping every time they attack one another. You can either sit back and let them attack and kill one another, or take the opportunity to hurt them more and wade in. The benefits of running with a heavy weapon like the Veteran’s Battle Axe is that as you use a heavy attack, the swing of the axe will hit multiple different enemies in your path.
As long as you keep yourself at a distance, or, if you’re in the midst of them parry/harden as needed, you’ll make light work of the Gloombound Legion, and be on to the next, bigger and badder boss fight.
For your next read, check out our tips for making Mortal Shell 2 a cakewalk, or our review of the game.

Luke Addison is the Founder and Editor-in-Chief of Thumb Wars. Having previously been a part of multiple outlets over the years, including building an entire gaming team from nothing to something, he thought it best to forge his own path and answer only to himself. As likely to be found playing the latest game as he is in the kitchen relaxing (by cooking), he always brings the same bold and brash attitude to everything he does, with a heavy leaning on sarcasm and dry wit!