One click and you're done. Thank you!
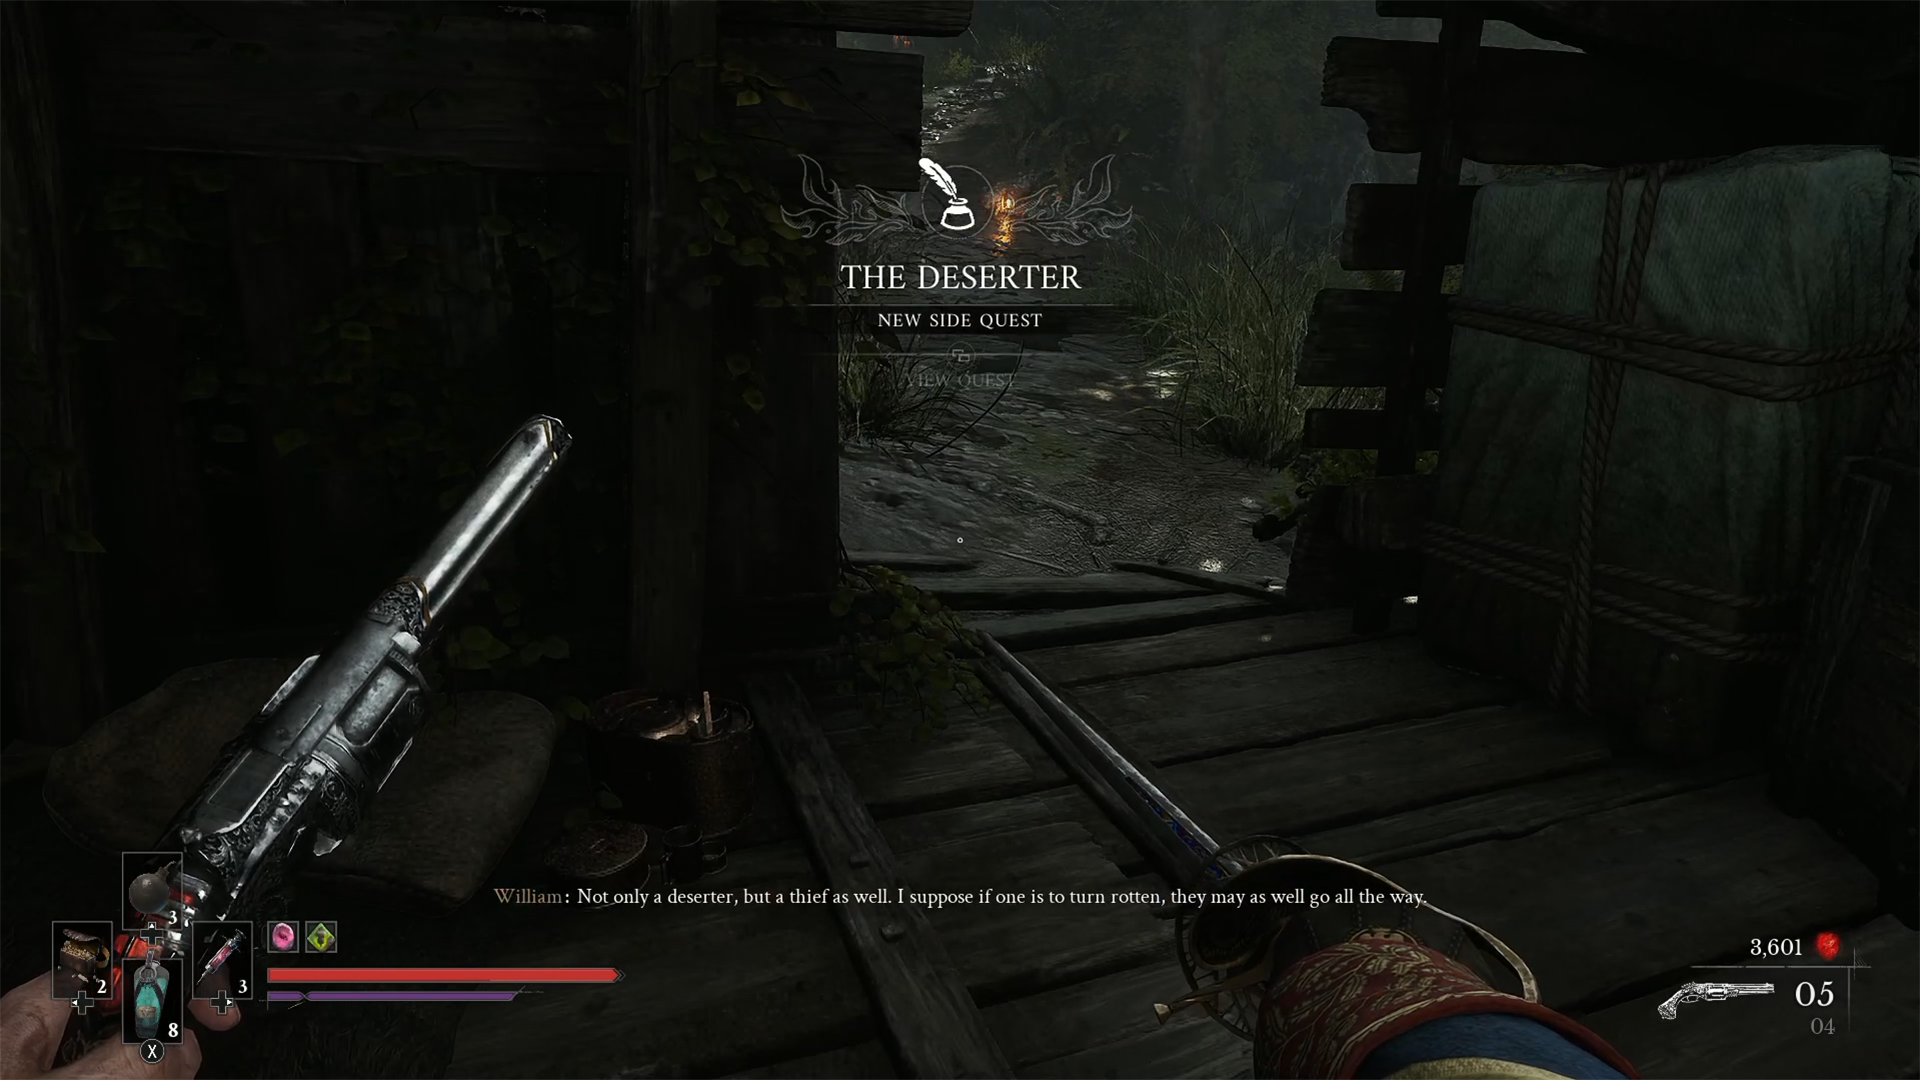
While you are exploring Chapter 5 of Valor Mortis, you will have quite a few side quests that you can unlock and begin completing, but one quest you might struggle with is The Deserter, as this quest can be found partially throughout the chapter and will take a large amount of exploring to complete.
How to Start The Deserter Quest in Valor Mortis
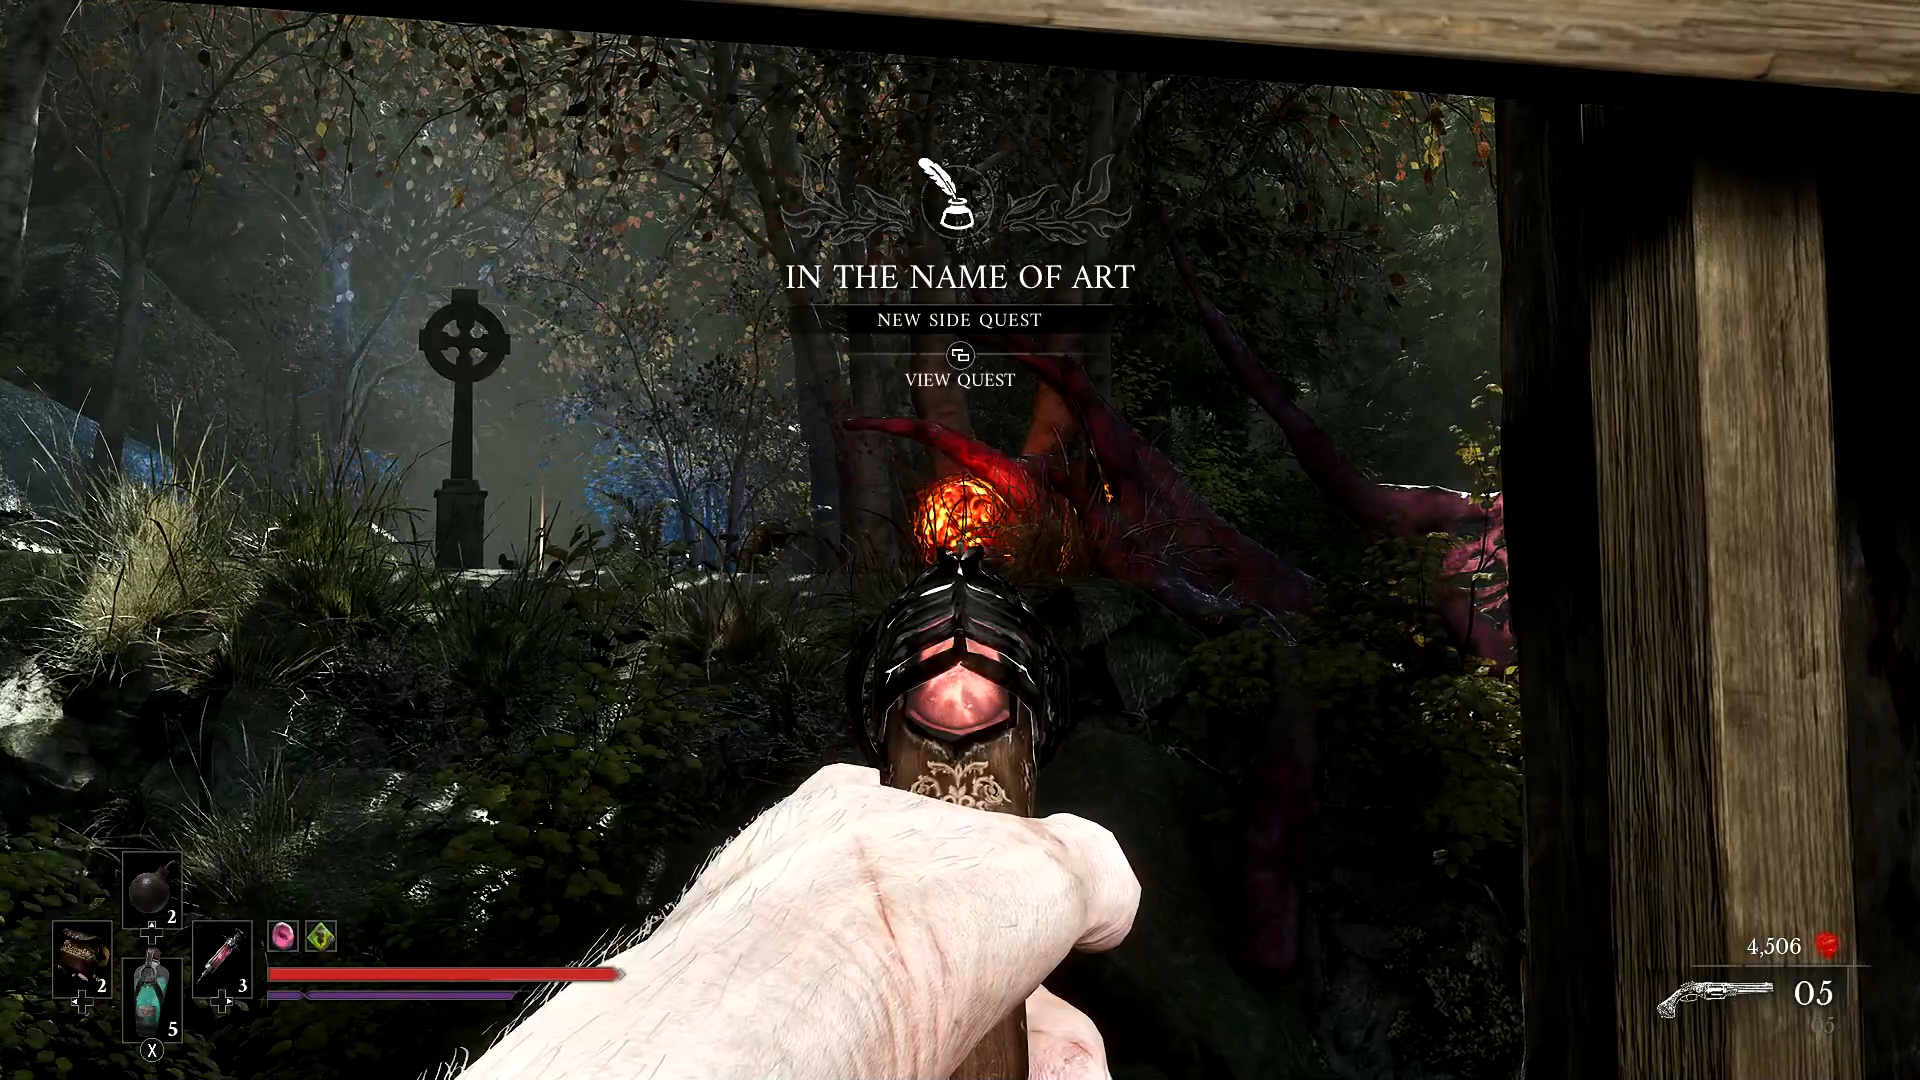
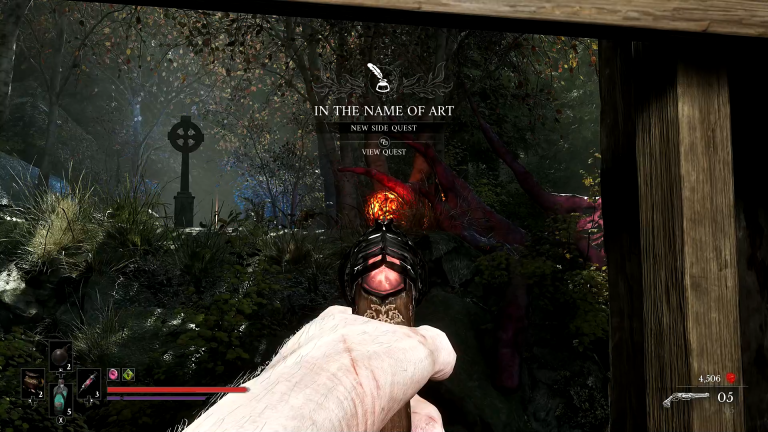
As we said above, while you are exploring chapter 5 of Valor Mortis, you will eventually find yourself at the second lantern rest spot below a broken bridge before heading towards a small forest filled with enemies and quests to complete. Along with The Deserter quest, you can also find a quest known as In the Name of Art, so make sure you don’t miss out on it.
To begin The Deserter quest, you will first need to head underneath the bridge by using a pole to vault across, and once you do this, you need to follow the path until you eventually end up in a small cabin that has a note inside, and this is how you will begin the quest.
Once you read this note, it will explain that a deserter from the army is nearby, and you will need to find which is quite easy, as you can simply follow the path until you reach a fork in the road with a path leading forward towards a Grapple point or a path to the left leading towards a house where the In the Name of Art quest can be started.
To continue with the quest, you will need to follow the Grapple path, which will lead you to another Grapple point, which will take you to a small arena area with an Imperial soldier waiting for you.
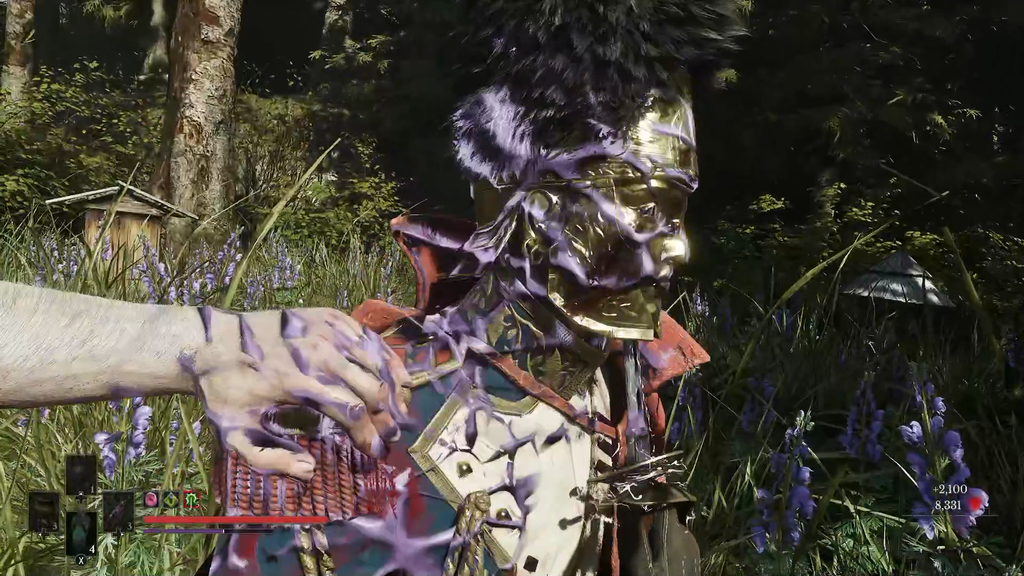
After you reach this location, you will need to fight the Imperial soldier, which is a similar fight to other Imperial soldiers that you might have faced, as there are quite a few tied to the side quest, The Oathbound, which takes place throughout the game. Once you defeat the soldier, you will obtain the key to his hut, where you will find a note explaining that the soldier has hidden statue pieces in his beehives that you will need to find throughout the level.
How to Find the Piece of the Statue by the Beekeepers Hut
After you defeat the soldier and obtain the note, you will now know that you need to search through the soldier’s beehives in order to obtain the pieces of the statue he is hiding, but before you do this, there is a caveat that you need to be careful of, as not all the beehives are safe to search through.
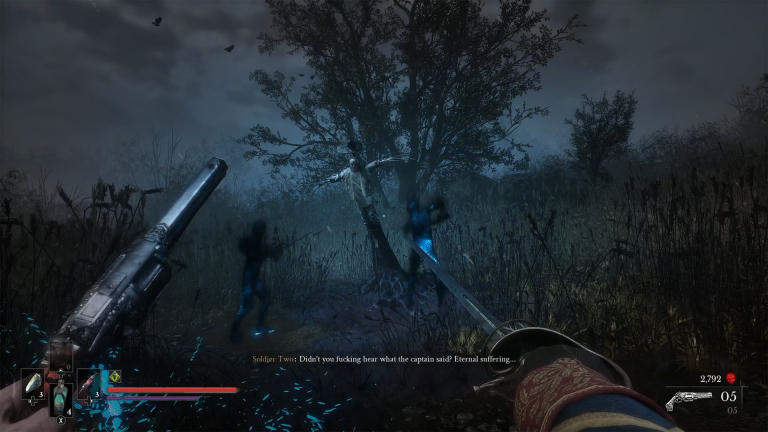

Next to one of the beehives in the arena, you can find a note beside it that explains the Crimson Plague has been affecting the bees, causing them to be really aggressive, and that the soldier has taken note of this.
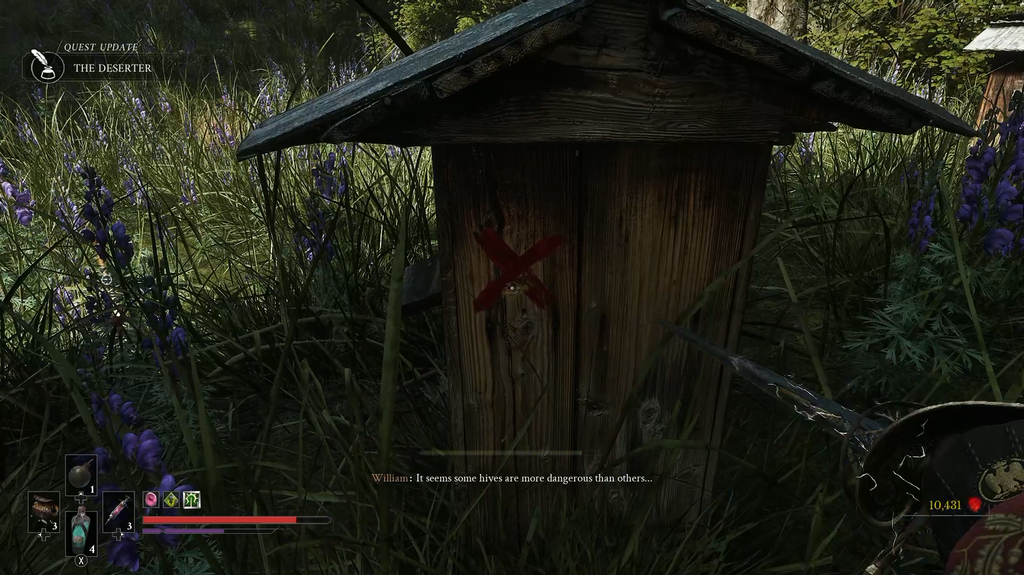
Because of this, he has begun to write crosses on the beehives that will attack you when you interact, while one beehive will not be marked, so you will need to look through each beehive to make sure you pick the correct one, as the markings can be anywhere on the hives.
If you manage to choose the wrong hive, there isn’t too much to worry about, as it will only hurt you slightly, but doing this for all the beehives could be a waste of time, so simply looking will be the easier plan.
How to Find the Piece of the Statue by the Soldier Camp
Now that you have obtained the first piece of the statue, you will need to leave this area, as there is nothing left to find here for this quest. Instead, what you will need to do is begin following the path past the quest In the Name of Art, but not too far, as there will be a soldier camp not far away from here, and this is where your target is.
Please be warned: as you are following the path towards the soldier camp, there are quite a few different enemies lurking around, and there is even a trap in the floor that will make you fall into a small cave filled with enemies that will attack you as you fall.
Once you get past this small area, you will come up to the soldier camp, but you do not want to go inside just yet, as the area you are looking for is outside the camp to the right of it. A small area can be found where some more beehives will be located, and again, just like the first group of hives, you simply need to find the one that doesn’t have an X on it, as this will be the safe one.
How to Find the Piece of the Statue in the Village and the Musket in the Soldier Camp
After you acquire the second piece of the statue, you will now need to head for the third and final piece, which can be found quite a ways away from where you found the second. The reason behind this is that you will now need to progress through the soldier camp that you are next to, and this area can be quite annoying.
Before you head into the soldier camp, you should make sure that you push the ladder down across from the soldier camp where the cliff overlooks the original lantern rest spot, as this will help you get back if you do not survive this next section.
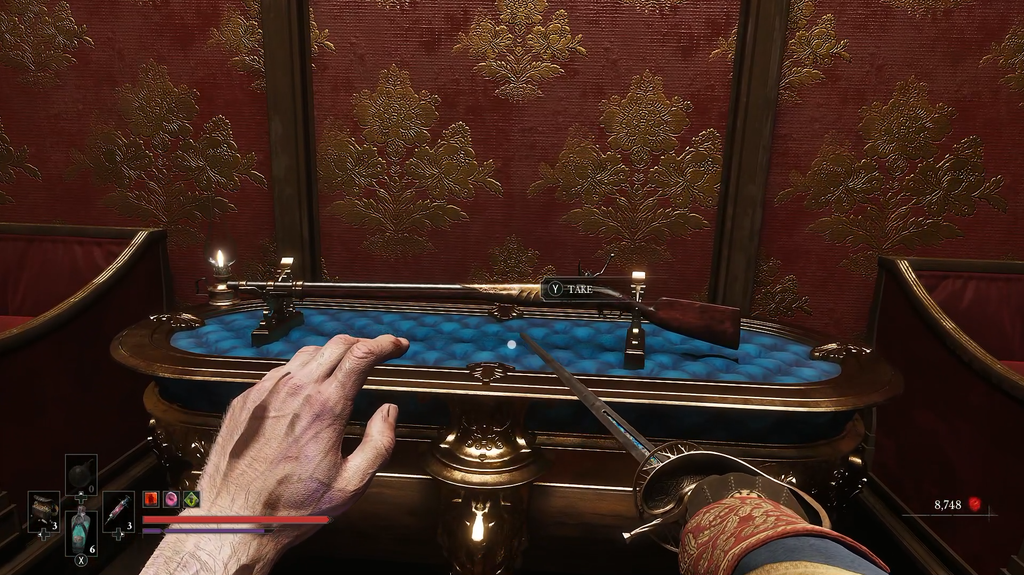
Once you do this, you can head into the soldier camp, and you will encounter one of the tough, lanky soldiers and a few smaller ones that are guarding a cart that you will need to access. After defeating these enemies, you can now enter the cart, and you can even find the Musket in here, which is quite helpful in the next section.
The reason the Musket is so helpful is that there are a lot of sniping enemies hiding in this area on scaffolding that you can use the Musket to snipe down before they even notice you are there, but there is a risk to using the Musket as you no longer have your sword out, and you will need to swap back to your sword if things go wrong.
Now that you have acquired the Musket and can make your way through this area, you will need to follow it through right to the end to the point where you will be able to head over to the original bridge that the original lantern rest spot can be found by, but there is a big risk here as there is a new enemy type that can shoot a cannon at you, and it can be quite annoying to defeat, but once you do defeat it, do not run straight into the village, as there is a ladder to the left of the bridge that brings you right back to the second lantern rest spot.
Although you have now made it to the village, it is locked behind a gate, so you will need to make your way into it by heading into a side room and pulling a lever and locking it in place so that you can go into the village whenever you need to.
After you enter the village, you do not need to go very far, as the first building on your right is where you will need to head in, and you can find the beehives in the back garden of this house; again, you simply need to find the beehive without an X on it.
Once you acquire the final piece, the game will automatically build an Anubis statue that you do not have any use for as of yet, but you will now have finished the quest.
For your next read, why not check out our review for Valor Mortis, or check out our tips and tricks guide that can help you out in many ways!

Liam is a Senior Editor, Writer, and Critic for Thumb Wars and has been working with the team since day one. Liam is a big fan of all things gaming, as you will catch him playing all of the new releases from every genre you can imagine. Whether you find Liam gaming just for fun or spending his free time streaming, you will always find a smile on his face when it comes to all things gaming.
Other Valor Mortis Guides You Will Need
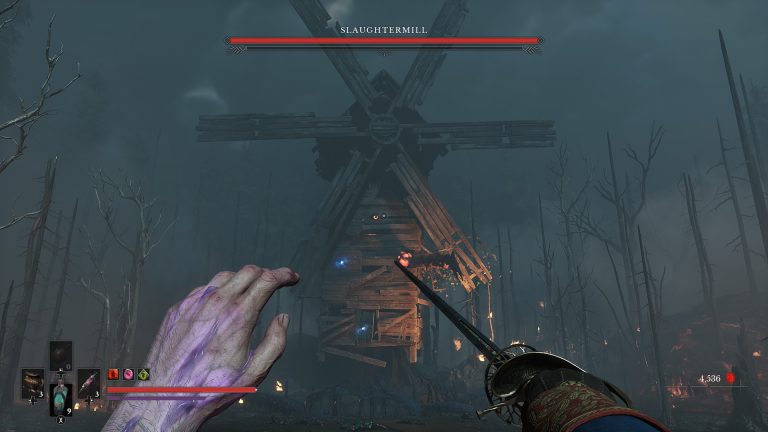
- How to Beat the Slaughtermill in Valor Mortis
- How to Get the Nephtoglobin Formation Ability in Valor Mortis
- How to Complete the In the Name of Art Side Quest in Valor Mortis
- How to Complete the Lost Boy Side Quest in Valor Mortis
- Valor Mortis Sphinx, Devourer of the Unworthy Guide: How to Beat, Location, and Rewards
- How to Complete the Minecart Section in Valor Mortis
- How to Get the Stasis Transmutation in Valor Mortis
- How to Get the Wall Running Ability in Valor Mortis
- How to Complete the Homesick Side Quest in Valor Mortis
- How to Upgrade Transmutations in Valor Mortis
- Valor Mortis The Iron Marshall and Grapple Ability Guide: How to Beat, Location and Rewards
- How to Get the Blunderbuss Shotgun in Valor Mortis
- How to Complete The Lullaby Quest in Valor Mortis
- How to Complete The Scarecrow Quest in Valor Mortis
- How to Get the Rapier in Valor Mortis
- How to Upgrade Weapons in Valor Mortis
- How to Fast Travel in Valor Mortis
- Valor Mortis General Lothaire, The Eagle-Bearer Guide: How to Beat, Location and Rewards
- How to Complete An Unheard Farewell in Valor Mortis
- How to Get the Pistol in Valor Mortis
- How to Get the Fire Transmutation in Valor Mortis
- How to Respec Your Character in Valor Mortis
- How to Upgrade Your Stamina in Valor Mortis
- How to Increase Your Health in Valor Mortis
- Valor Mortis Combat Guide: How to Parry, Dodge and Counter
- Valor Mortis: How to Stop Dying So Often
- Valor Mortis: Things the Game Doesn’t Tell You
- How to Stagger Enemies in Valor Mortis
- How Long to Beat Valor Mortis? Game Length Broken Down and Explained
- Valor Mortis – Release Date, Platforms, Story, Game Modes & Everything Else You Need to Know