One click and you're done. Thank you!
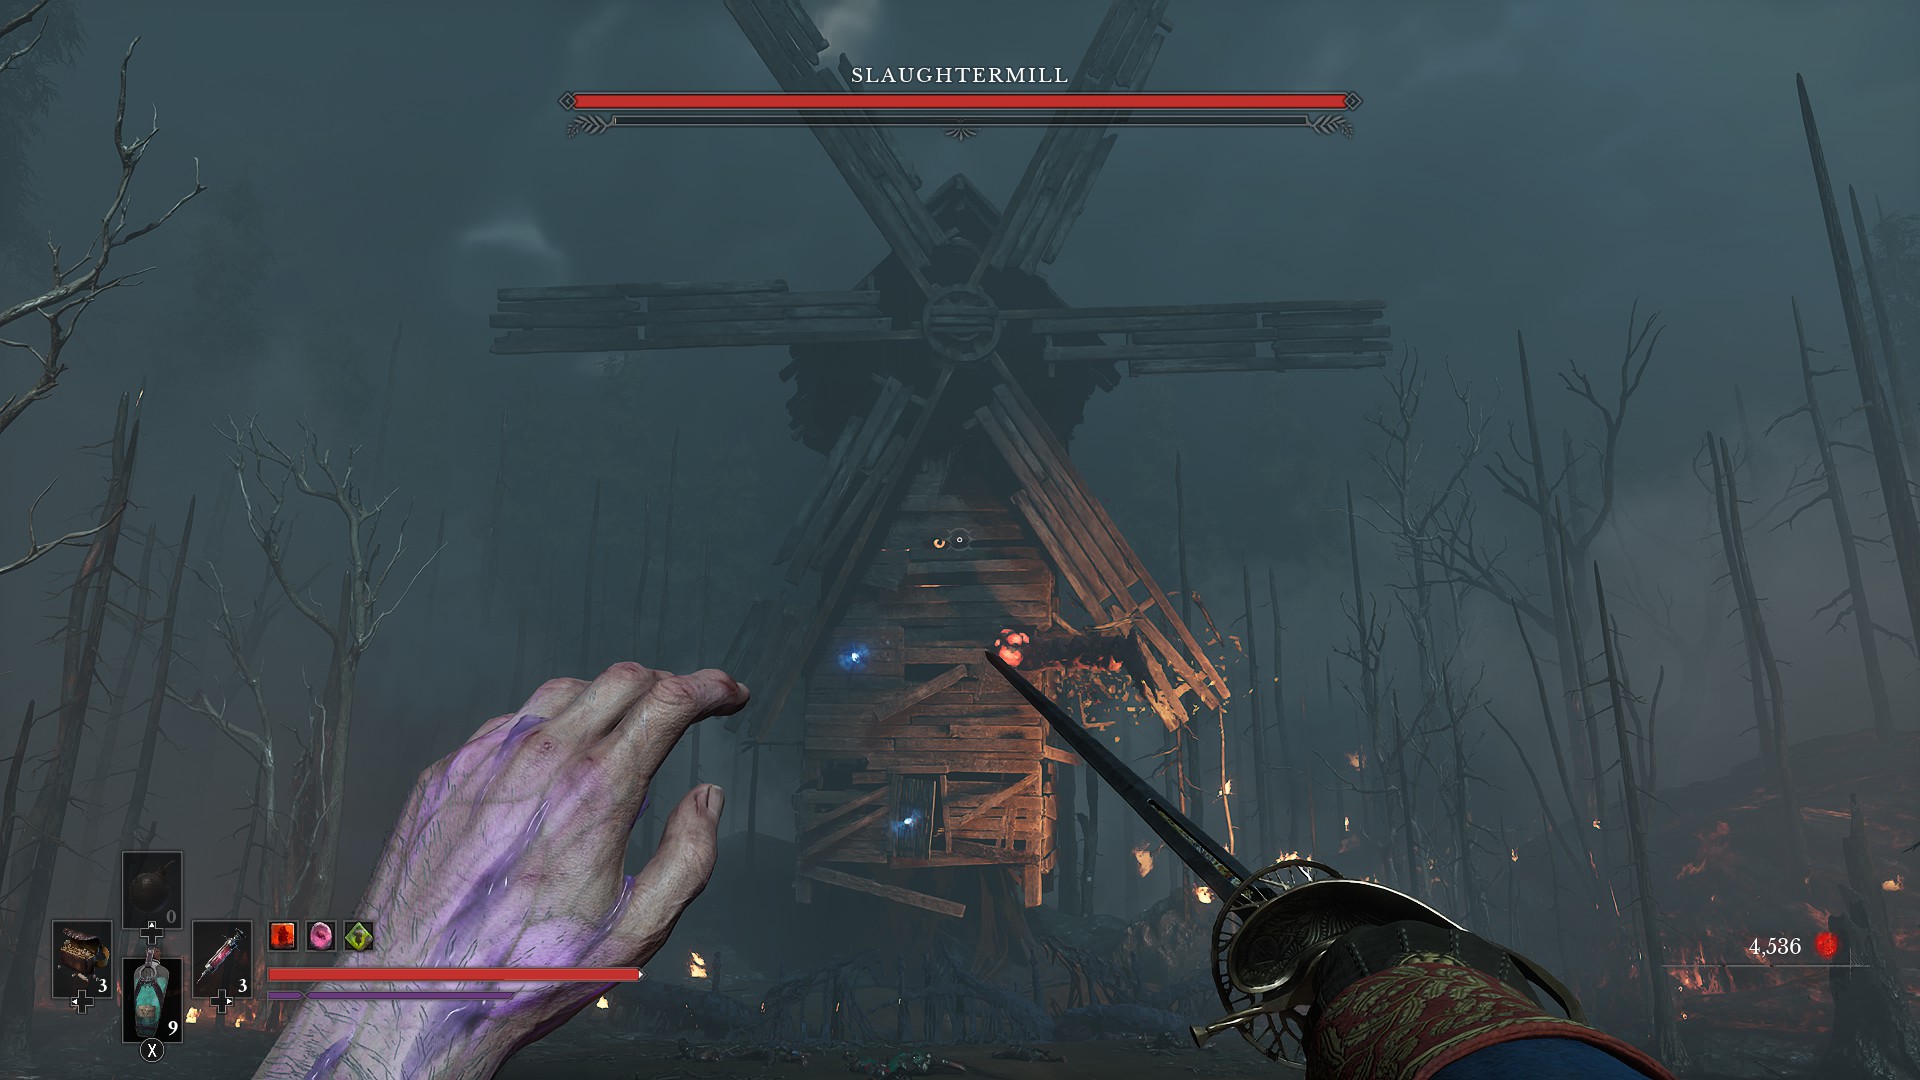
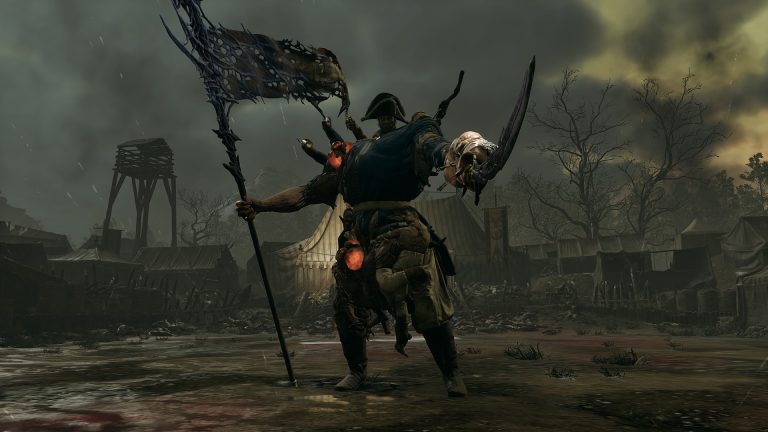
While you are exploring Chapter 5 of Valor Mortis, you will no doubt be wondering what boss you will be fighting as you get to the end of the level, and it is safe to say you will no doubt be surprised when you rock up to this boss fight, as you will be fighting a boss known as the Slaughtermill.
How to Find the Slaughtermill in Valor Moris
To find the Slaughtermill in Chapter 5, there isn’t a lot to worry about, as you simply need to make your way to the end of the level to begin the fight.
You will know you are near the end of the chapter, as you will have managed to acquire the Nephtoglobin Formation ability, which is important in the Slaughtermill boss fight, and you will have finished exploring the boat area of this chapter.
It will also be clear you are approaching the Slaughtermill after you pass through a flower arch that begins a rather interesting section of the game, where a new NPC begins to talk to you just like Napoleon has throughout the game, which provides the lead-up to the next boss fight, and you do not need to worry, as this area is enemy-free, so you can stroll through until you reach the final lantern rest spot of this chapter.
Once you reach this lantern rest spot, you will now be able to approach the Slaughtermill boss fight, so be prepared for a fight, especially a long-range fight, so bring plenty of bullets.
How to Beat the Slaughtermill Phase One
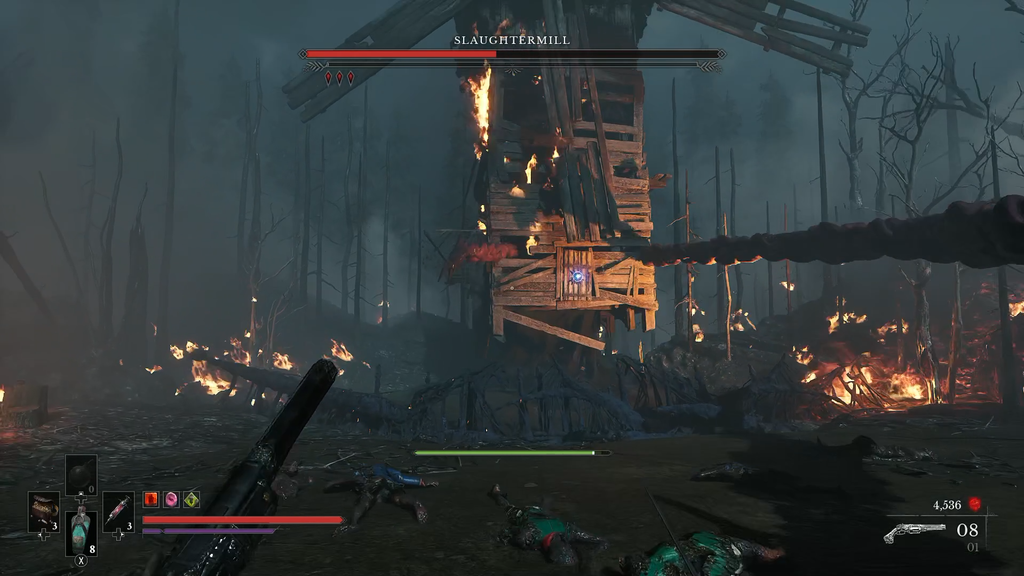
Now you have arrived at the Slaughtermill boss fight. You will begin the first phase of said boss fight, and it definitely takes a turn from what the rest of the game has been, as the giant windmill you approach will begin to come alive and will try to kill you.
There are quite a few ways the boss will try to kill you, but before we get into that, let’s talk about how you can kill it. The intended way for you to kill this boss is to use your gun to destroy the many boils that can be found upon its body, with some being easy to see on the outside of the building and some being hidden behind the wooden exterior that you need to use your Grapple ability to reveal.
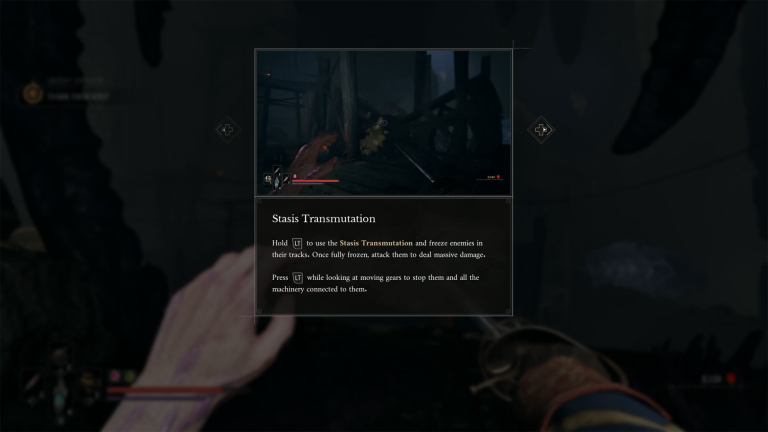
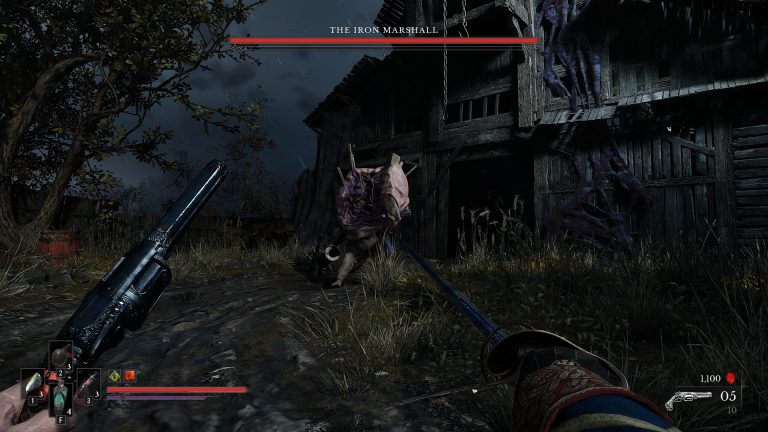
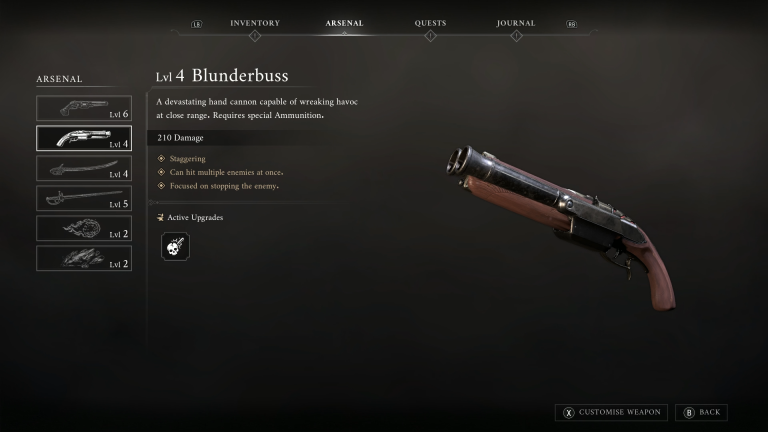
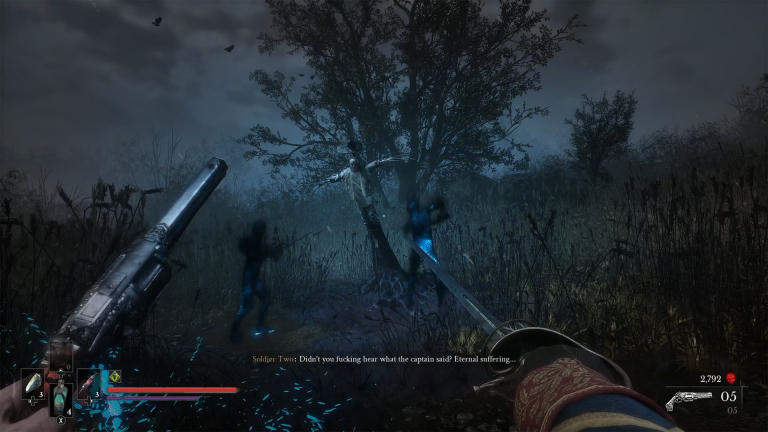



Another way the boss can be damaged is that the door at the base of the Slaughtermill can be opened by using the Grapple ability, where a cog can be found that you can use Stasis on to generate more boils and to even slow down the Slaughtermill’s propeller to make it easier to shoot the boils you might be struggling to shoot.
Once you manage to do enough damage to these boils, the Slaughtermill will begin an attack you can’t really fight against, which is where the propellers spin extremely fast, pushing you to the back of the arena. Do not worry, there is nothing that can harm you back here, but it does start the next portion of the fight.
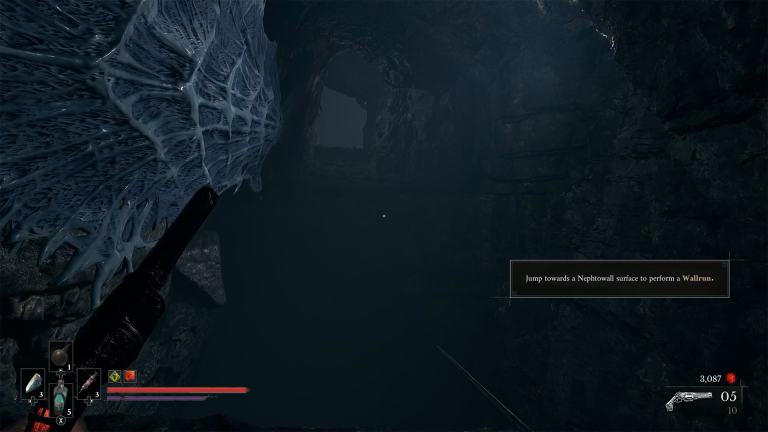
After the propellers end, the boss will begin to slam on the floor to create shockwaves across the arena, and these are easy to avoid, but avoiding these blasts isn’t your only goal, as the arena will also spawn some wall-running opportunities for you to use, and as you do, you will eventually approach the Slaughtermill at a fast rate and can Grapple yourself up onto the Slaughtermill itself.
Now this section is rather easy, as you simply need to traverse around the Slaughtermill using some parkour until you wrap around the Slaughtermill and can enter through its right-hand side, where you will find its core and a few different things you can shoot which, once you do, you will be sent flying out of the Slaughtermill.
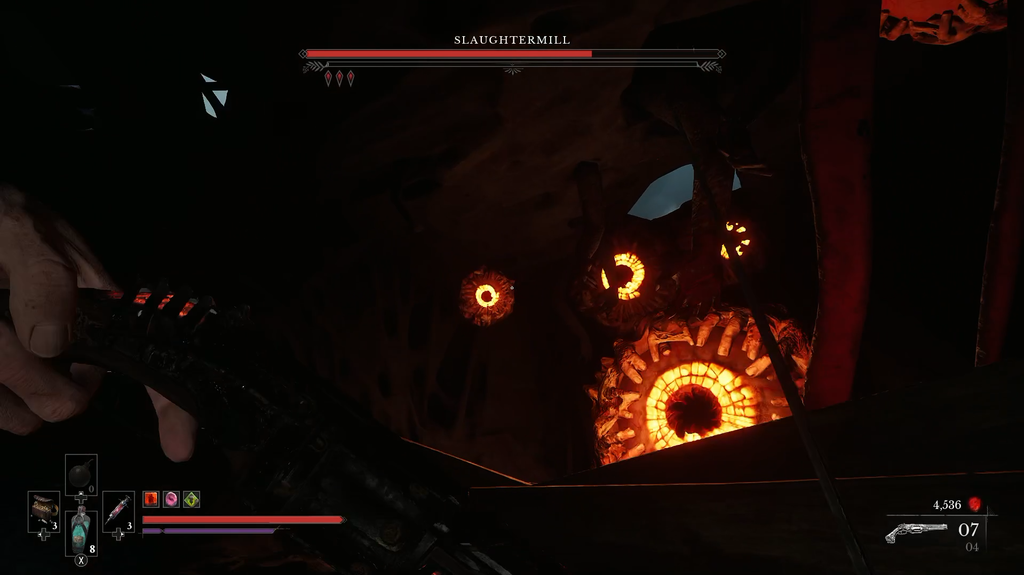
Other than this, the boss follows the same pattern: once you get it down to less than 1/4 of its health, it will again push you away from it using the propeller before allowing you to run back, but this time you will need to use the Nephtoglobin Formations ability to create walls that block you from the boss creating a fire propeller attack that sends a wall of fire at you.
What you need to do is move from wall to wall and protect yourself until you get close enough to open the door and begin phase two of this boss fight, but be warned: the door can be quite annoying to open due to the angle you are standing in.
Now that we have explained how to do damage to the Slaughtermill, we can talk about the different attacks the boss can use, which we will explain in list form below:
- The most basic attack the boss will use is where it will generate tentacles that will move to your last known location when they spawn, so simply dodge around, and you will be safe
- An arena-wide attack the boss can use is when it slams itself down into the ground, creating a shockwave of dirt throughout the arena, and all you need to do is jump over it
- The boss can sometimes send corpses towards the player that, upon impact on the ground, will explode, dealing a lot of damage
- Sometimes, the arena can become a threat itself as the boss spawns spikes from the ground which appear at random but can be easily seen through the red circles on the floor
- Similar to this, the boss can send out trails of spikes from its base that focus on the player and even leave a burning trail on the floor, so watch out when walking back through them
Other than these attacks, the boss is quite easy to take down and likely won’t take many attempts to bring it to its second phase, but this is where your skills will be put to the test, and no, not your combat skills.
How to Beat the Slaughtermill Phase Two
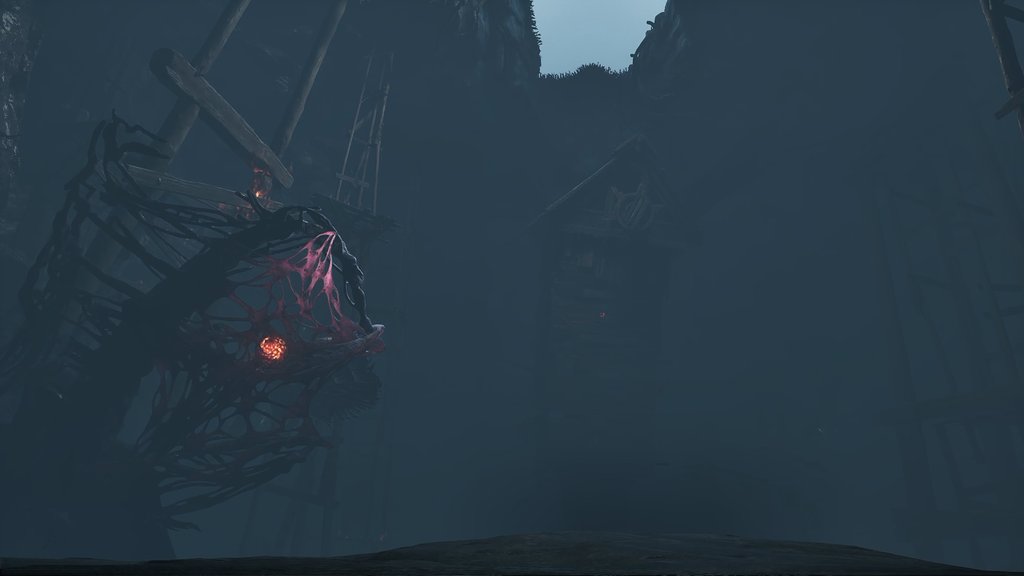
As we have said above, once you get the Slaughtermill down to less than 1/4 health, it will begin to do its propeller attack that sends you to the back of the arena, before you need to avoid fire and hide behind walls until you run back to the boss and open its front door.
However, once you do this, the boss will initiate a small cutscene in which the boss crumbles into the floor, and you with it, where you will land on a platform that you now need to escape from, and to do this, it is very easy.
Once the cutscene ends, you will notice a boil on your left, which you will need to shoot out in order to begin the parkour course of this boss fight, and yes, you read that right; it is now a parkour course. Please note, you aren’t just simply running either, as the boss will continue to use its tendril attacks to keep you moving, so do not hesitate to run.
The first part of this parkour course is where you are likely to struggle, as normally when doing parkour in Valor Mortis, the game does it quite naturally for you with very minimal interaction from the player, but during this boss fight you need to pay attention.
As you start this parkour course, you will need to Grapple up towards a wall run that you then need to jump towards a second wall-running section, and this is where you may struggle, as you need to look towards the second wall to trigger the wall run, as looking forward doesn’t send you far enough like it normally would.
After you get past these walls, you will land on a small platform that will be broken by the boss ahead of you, leading you to do a pole vault onto another platform that again will break, making you fall onto another pole vault that will send you towards another wall jump.
Once you get past this wall jump, you will need to do 3 different Grapples, but do not get too comfortable, as once you finish the third, you will need to aim your gun in the air towards the next platform, as a group of exploding corpses will be waiting to kill you.
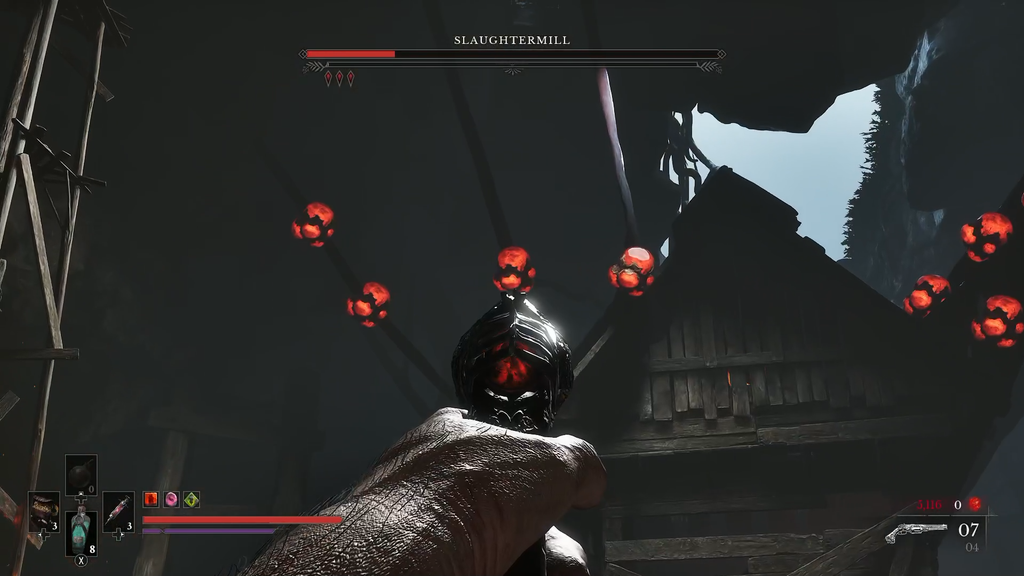
If you manage to save yourself and land on the platform nicely, you can continue running on said platform before the boss again breaks the bridge with its tendrils, causing you to use the Nephtoglobin Formations ability to generate a platform for you to jump onto, which you can then Grapple away from onto more wall running and another platform you need to create before doing more wall running.
Now you are in the final stretch of the parkour section, as you will now need to Grapple over to the final platform section in this boss fight, as you need to do a wall run before aiming in your jump to shoot another group of explosive corpses and finally doing one final wall-running section before landing on the final platform of this boss fight.
At this point of the boss fight, you can finally do some damage again, as you now have the opportunity to shoot out a collection of boils that are above the boss that are holding it onto the ceiling, and don’t worry if you have run out of bullets; there are loads of pistol bullets around the floor, so pick them up if you need them.
Finally, once you shoot out the boils, the boss’s unique brain will show up at the top of the boss that you will need to shoot, and once you do so, the boss fight will be over, and you will earn 30,000 Catalysts and your way into Chapter 6 of Valor Mortis.
For your next read, why not check out our review for Valor Mortis, or check out our tips and tricks guide for any help you might have missed!

Liam is a Senior Editor, Writer, and Critic for Thumb Wars and has been working with the team since day one. Liam is a big fan of all things gaming, as you will catch him playing all of the new releases from every genre you can imagine. Whether you find Liam gaming just for fun or spending his free time streaming, you will always find a smile on his face when it comes to all things gaming.
Other Valor Mortis Guides You Will Need
- How to Get the Nephtoglobin Formation Ability in Valor Mortis
- How to Complete The Deserter Quest and Find the Musket in Valor Mortis
- How to Complete the In the Name of Art Side Quest in Valor Mortis
- How to Complete the Lost Boy Side Quest in Valor Mortis
- Valor Mortis Sphinx, Devourer of the Unworthy Guide: How to Beat, Location, and Rewards
- How to Complete the Minecart Section in Valor Mortis
- How to Get the Stasis Transmutation in Valor Mortis
- How to Get the Wall Running Ability in Valor Mortis
- How to Complete the Homesick Side Quest in Valor Mortis
- How to Upgrade Transmutations in Valor Mortis
- Valor Mortis The Iron Marshall and Grapple Ability Guide: How to Beat, Location and Rewards
- How to Get the Blunderbuss Shotgun in Valor Mortis
- How to Complete The Lullaby Quest in Valor Mortis
- How to Complete The Scarecrow Quest in Valor Mortis
- How to Get the Rapier in Valor Mortis
- How to Upgrade Weapons in Valor Mortis
- How to Fast Travel in Valor Mortis
- Valor Mortis General Lothaire, The Eagle-Bearer Guide: How to Beat, Location and Rewards
- How to Complete An Unheard Farewell in Valor Mortis
- How to Get the Pistol in Valor Mortis
- How to Get the Fire Transmutation in Valor Mortis
- How to Respec Your Character in Valor Mortis
- How to Upgrade Your Stamina in Valor Mortis
- How to Increase Your Health in Valor Mortis
- Valor Mortis Combat Guide: How to Parry, Dodge and Counter
- Valor Mortis: How to Stop Dying So Often
- Valor Mortis: Things the Game Doesn’t Tell You
- How to Stagger Enemies in Valor Mortis
- How Long to Beat Valor Mortis? Game Length Broken Down and Explained
- Valor Mortis – Release Date, Platforms, Story, Game Modes & Everything Else You Need to Know