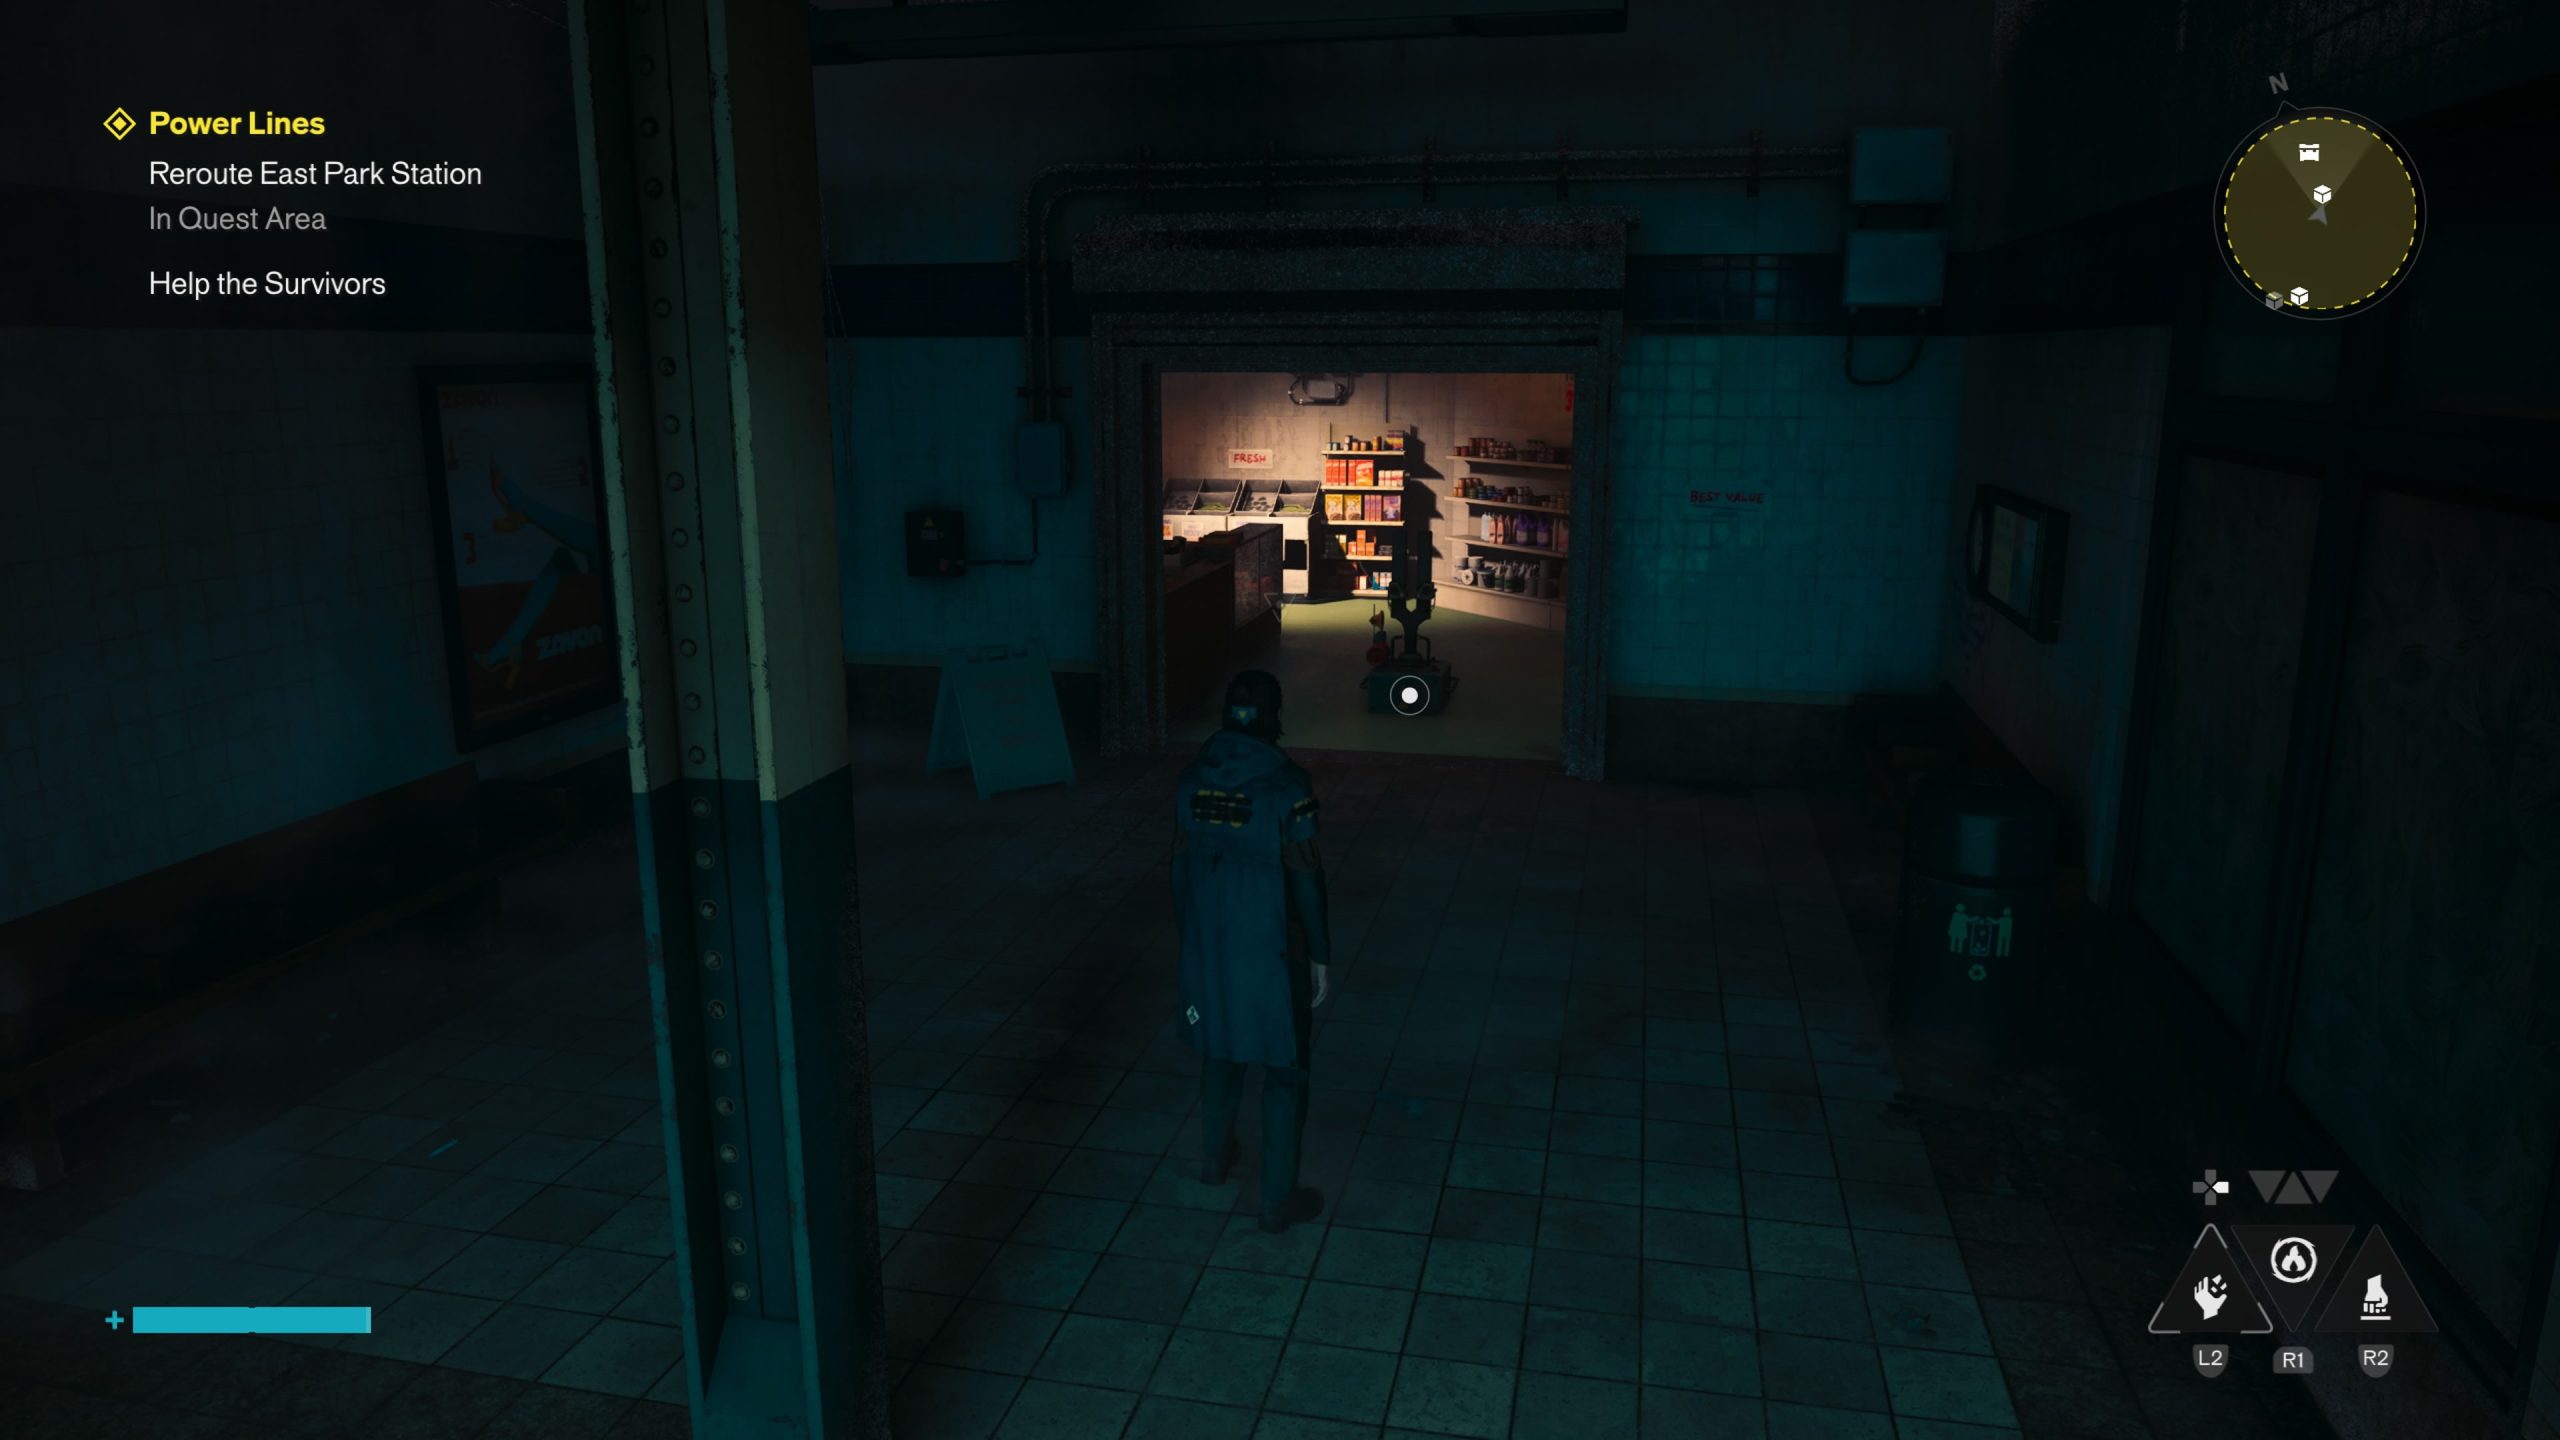
Control Resonant is a game that doesn’t make any secret of just how weird and wonderful it is. Between the Gravity Shifting and the big bosses like The Dancer, or The Deserter, there’s some seriously impressive and unusual moments. One of the more ‘normal’ moments comes during a main mission though, handed out by Arish after saving him. If you’re here, you’re struggling to complete the Power Lines quest in Control Resonant, or just unable to pick ot apart. Don’t worry, we have everything you need.
Power Lines Quest Puzzle Solutions
To say Arish isn’t your biggest fan is an understatement. After saving him in the previous mission, you’ll meet him at the FBC Field Office in Central, and he’ll tell you of the plan with The Artist’s body, or corpse rather. You’ll be tasked with two quests, this one, and Into the Sinkhole. For this one, you’ll have to head to three subway stations and reroute the power to each one, and you’ll do this in a predictably unique way.
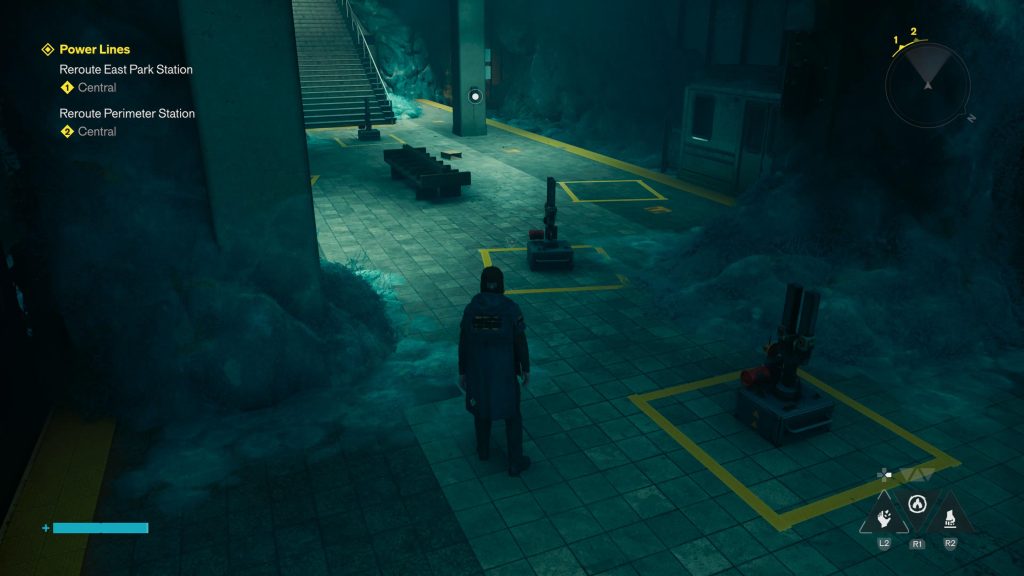
Each station has Calibration Units that you can find and place inside the yellow squares. Once you’ve done that, head over to the Tuning Device and flip the switch. If you’ve done it correctly you’ll see a bright light and Dylan will say something. If you have done it wrong, the Tuning Device will teleport and you’ll have to move the Calibration Units again.
One click and you're done. Thank you!
Factory Station
The Factory Station should be your first port of call. Right next to the factory where you fight Linus, and where the ending of the Crossing the Threshold quest takes place, you’ll see a subway station heading underground, as the pictures below show.
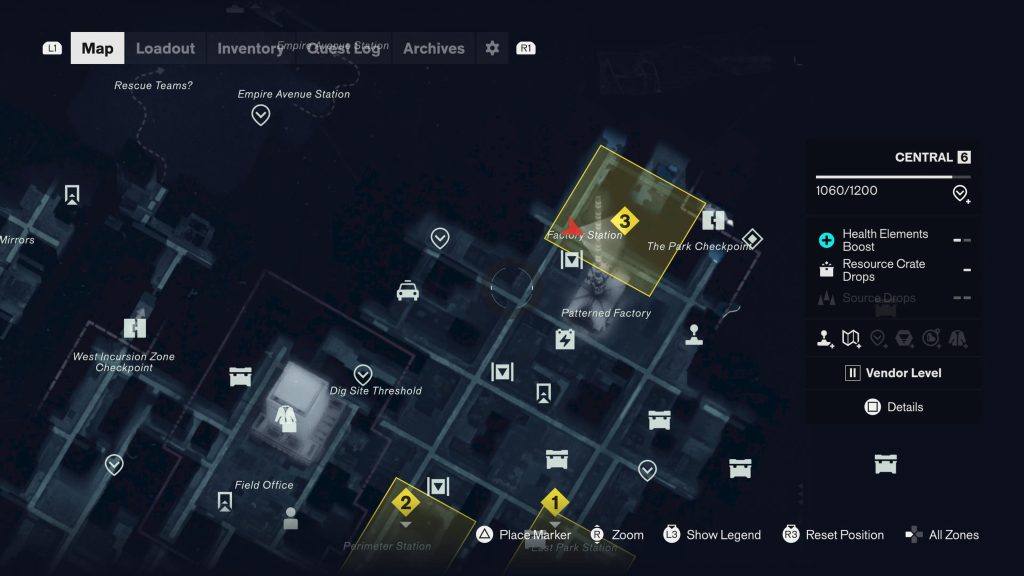
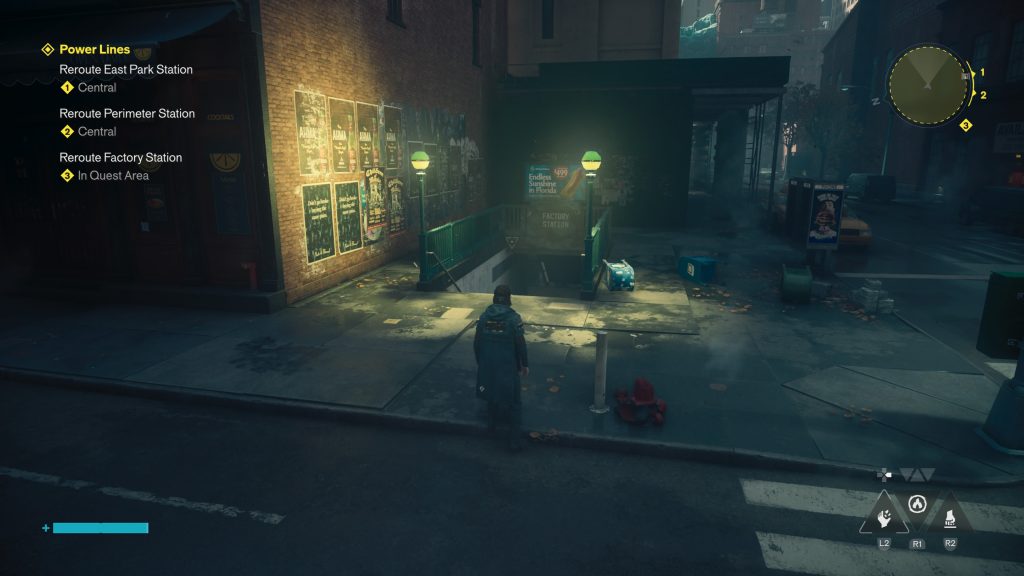
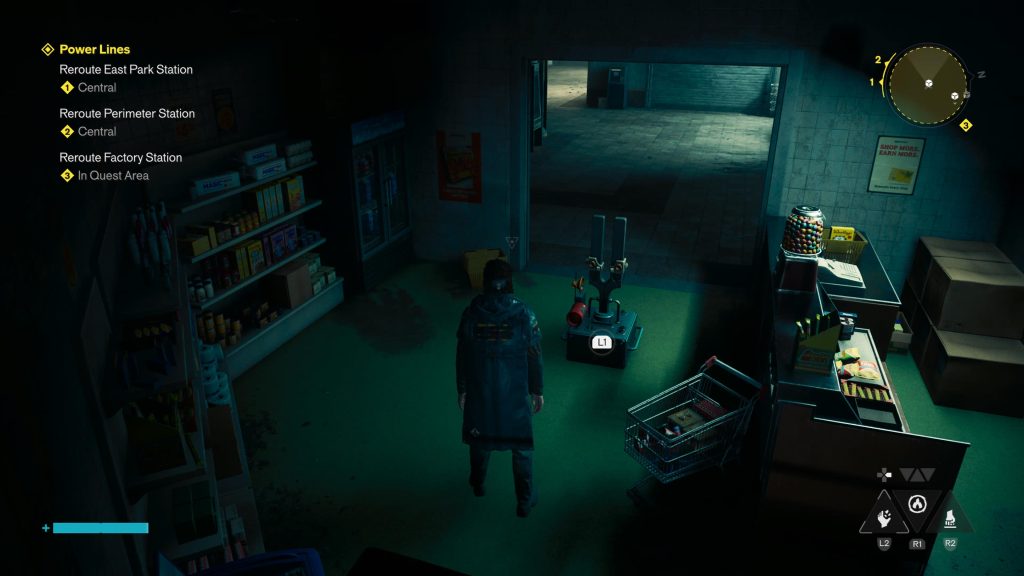
Head down the stairs and follow the linear path until you come to the first Calibration Unit stood in the shop. Pick it up and take it with you to the platform below.
You’ll see the other two units here, one on the train to your left, one casually sat on the platform itself. For this station, you’ll want to put the three units directly in front of the Tuning Device, in three yellow squares.
Once you’ve done that, head over to the Device, flip the switch and then that’s the Factory Station, and the first part of the Power Lines quest complete.
Perimeter Station
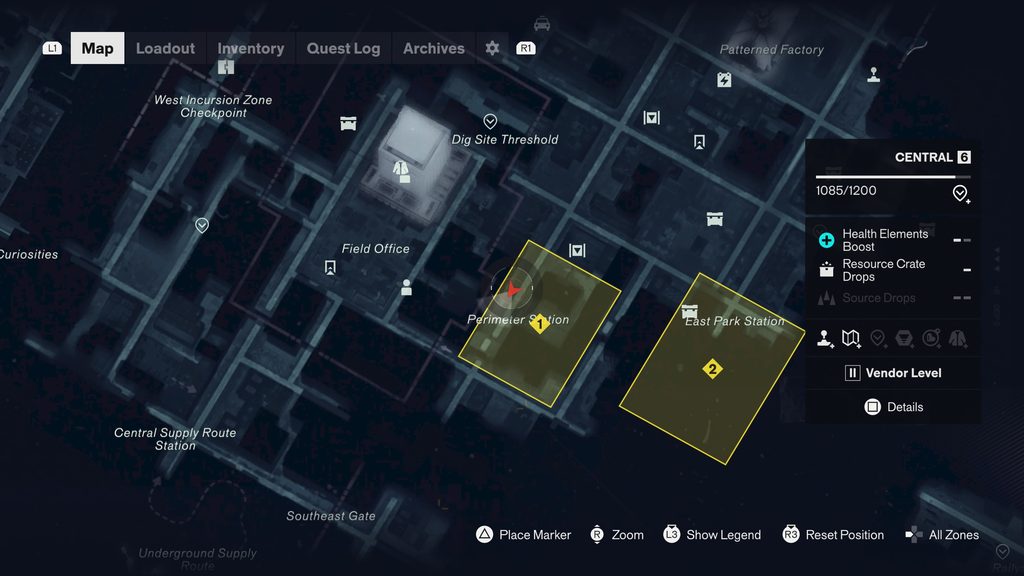
After the Factory Station, either of the other two Stations are equally as close. I headed over to the Perimeter Station first. As with each station, as you approach it the entrance will be blocked off, and then you’ll have an encounter to beat with numerous Hiss. Once you’ve done this – it’s not an easy fight, so remember to use all your abilities – you’ll be able to head down into the subway station below.
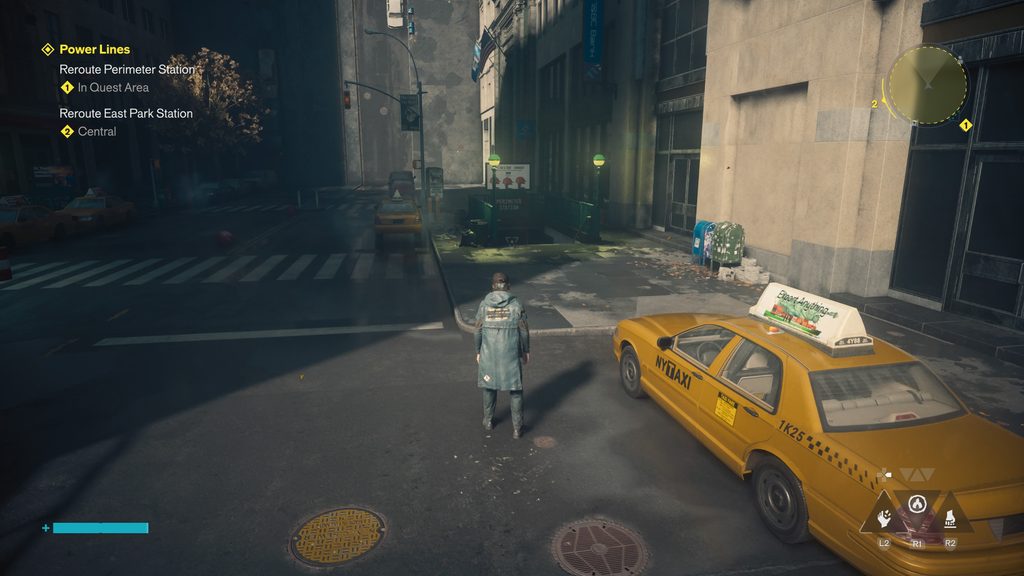
Similar to the first, you’ll head down to the tracks at the very bottom. On your way, you’ll pass two rooms, both with an electric motor next to it. Remember this, as you’ll need it shortly.
Head to the very bottom where you’ll find the familiar sight of a Tuning Device, although now this time the Calibration Units have fewer spots to be put in. Easier solution right? Wrong. Before you start solving anything though, you’ll need to find the three Units themselves.
The first Unit is almost hidden away. Head down and onto the tracks, and you’ll be able to go down the path a little until you come to what looks like a tunnel digger, spinning ominously. That electric motor I mentioned earlier? You’ll need the charge from that and bring it here. Inside this room, behind the locked door, is one of your Units. Take it with you back to the platform and place it somewhere for safekeeping.
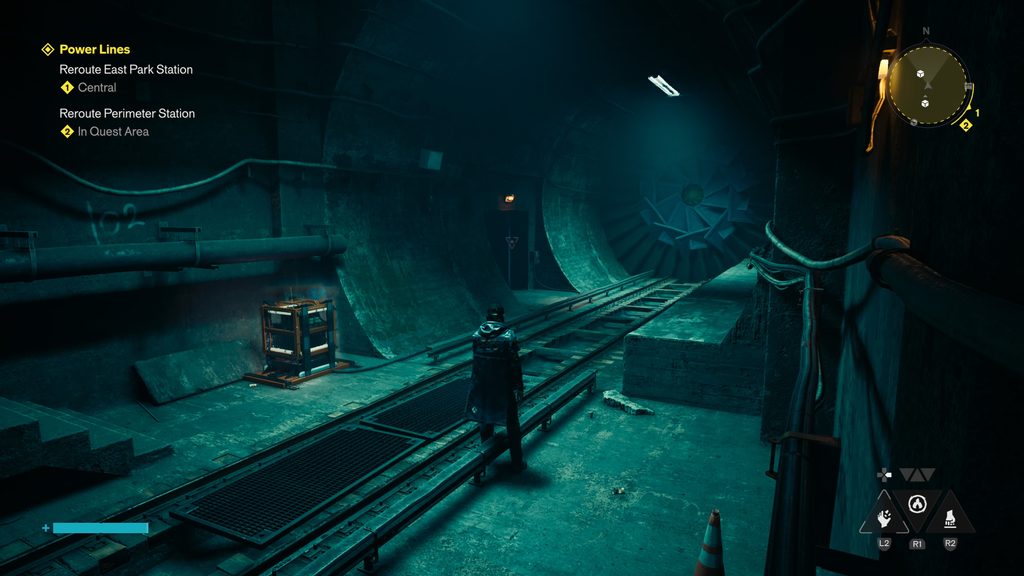
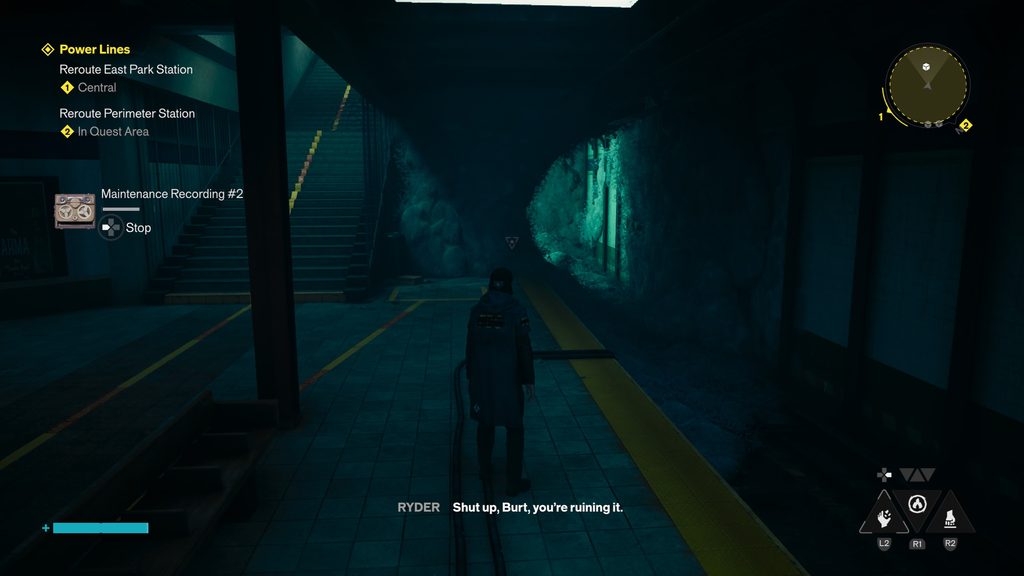
The second Unit is on the other side of the tracks, on the same side of the stairs that you came down. Hidden behind a Mold-covered wall, it’s there for you to see. Grab it and take it the short distance to the platform.
The final Calibration Unit is at the top of the stairs opposite the set you originally came down. Don’t bother picking it up and taking it with you, instead place it in the yellow-taped square right beside it. This is the first part of the puzzle complete.
You’ve already started solving the puzzle, as above, but now you’ll have two Calibration Units without a home. Go back down to the platform, and head back to the electric motor you used earlier to open the door. Grab the charge and go back up the stairs to the same motor you took it from. You’ll see a yellow taped square in here, this is where you need to put the second Calibration Unit.
Once you’ve done this, you’ll be heading back to the platform for the final time. Grab the third and final Calibration Unit and put it in the square nearest to the Tuning Device, and then head to the machine and flip the switch. If you’ve followed my instructions correctly, you’ll see the screen shaking and that’ll be that. Done. If not, the three Calibration Units will all teleport, but thankfully only a few feet in front of the Tuning Device.
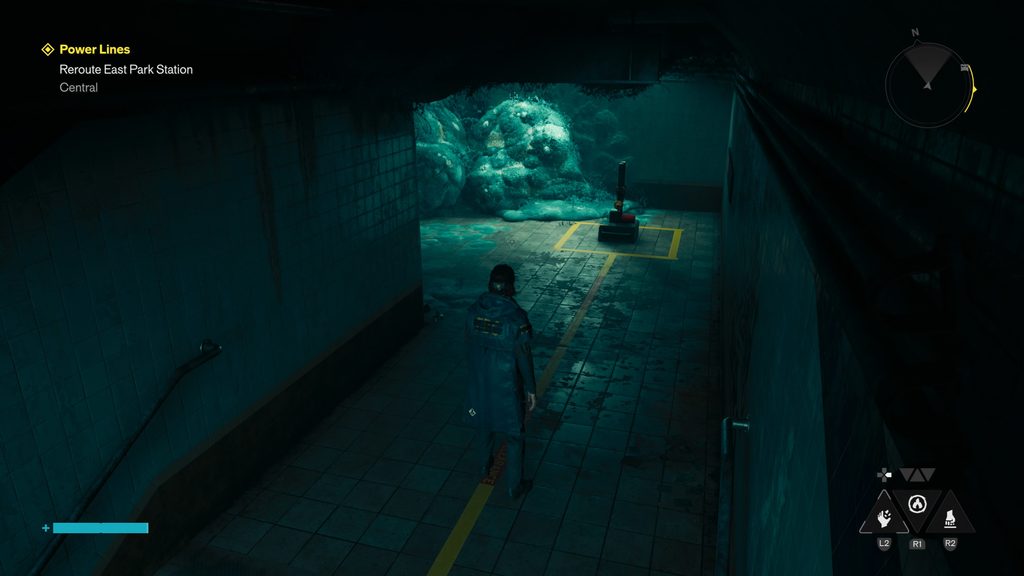
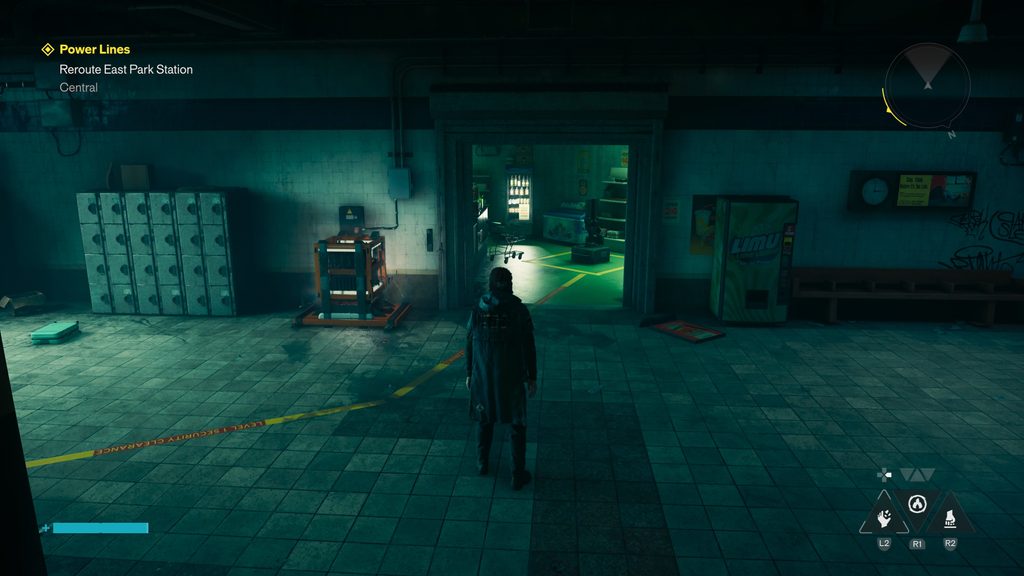
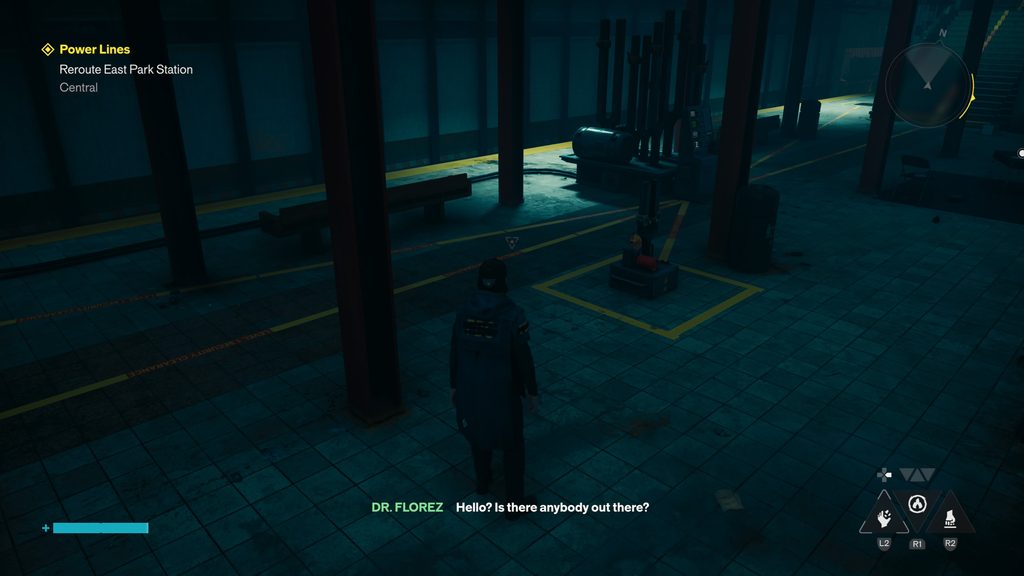
So, to confirm the locations:
- Calibration Unit #1: Up at the top of the stairs, right next to where you find it.
- Calibration Unit #2: Inside the shop you go past as you first enter the Perimeter Station.
- Calibration Unit #3: The square right beside the Tuning Device.
Once you’ve completed it, head back up the stairs to your way out, but keep an ear out for a ringing phone on the wall as you pass.
East Park Station
The third station is simultaneously the weirdest and easiest to solve. You’ll have to deal with a mighty amount of enemies before you even get inside, but once you’ve beaten them, head down the subway stairs into East Park Station below.
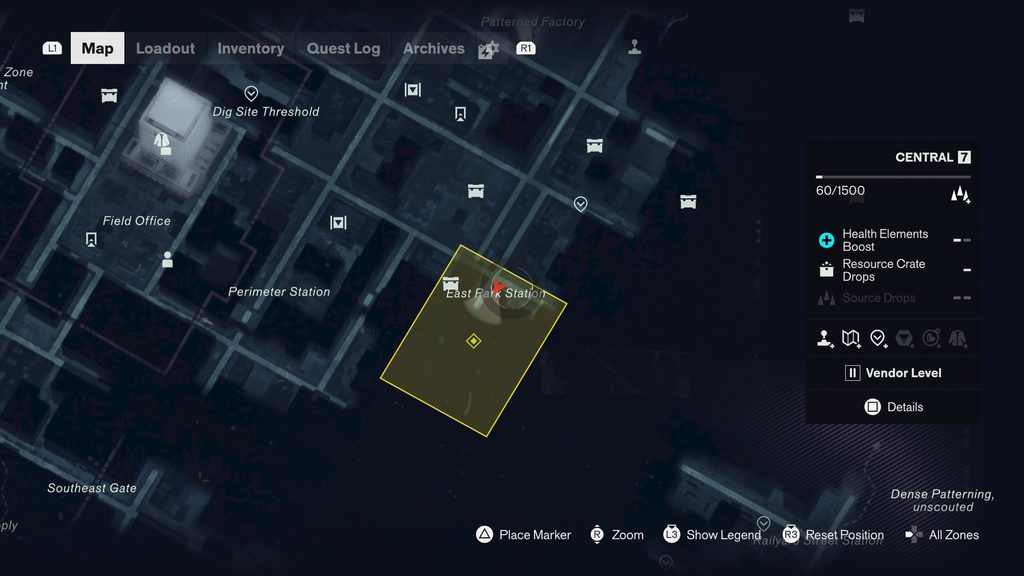
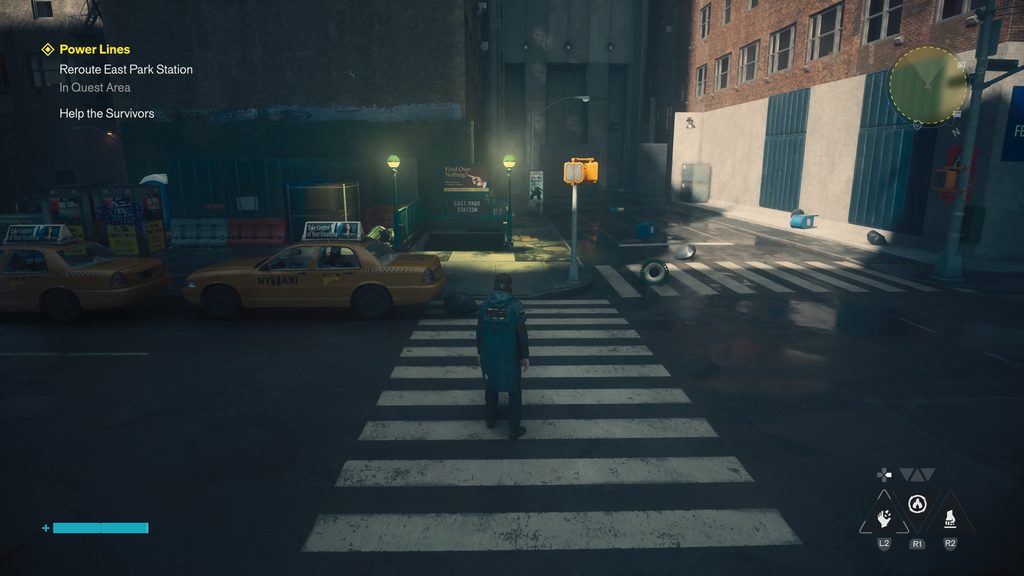
As you go, you’ll notice two shops once again. One is locked, with no motor in sight to open it. The other wide open with a Calibration Unit inside. Grab the unit and head downstairs to the platform. As you can see, this time there’s only three squares, so no questions as to where to put them, and the second Unit is in front of you sitting on the platform. However, the puzzle this time is getting the third Unit from the locked shop above you.
If you read the collectible notes on the platform, it will mention Sandy Ryder being transported when she flips the switch, and that there is your clue. Depending on where you put those two Units you can get to now, you’ll teleport to a variety of places.
To save you a lot of trial and error, you’ll want to put the two Units on the squares furthest away from the Tuning Device, leaving the yellow square in front of it completely empty. Flip the switch once you’ve done that and you’ll be sent into the shop. Hit the red flashing box, which will open the door, and take the remaining Calibration Unit downstairs to be placed in the empty square.
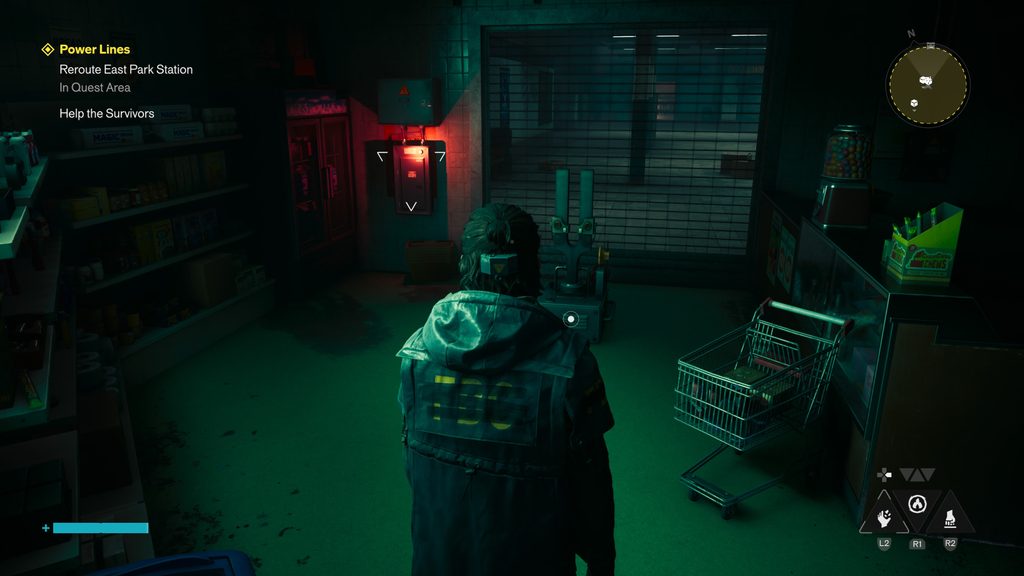
That’s it, that’s the puzzle solved, and now when you flip the Tuning Device switch for the last time, you’ll be treated to a cutscene and then the next part of the mission begins. It’s never simple in Control Resonant, is it?
Help the Survivors & Reroute the Vanished Station
That ringing phone mentioned above? That’s Dr. Florez, and a very tense-sounding FBC Agent Clarke asking for help, as they’re trapped inside the tunnels and have been for days. They need help, and it rests on your shoulders to be the one to save them.
After completing the third station, Dylan will be stuck in a subway station after it teleports him God knows where. Clarke will get on the phone again, saying they need help, before running off. You’ll then find out you’re also stuck in the subway station, along with the survivors, and getting to the surface may be harder than first thought.
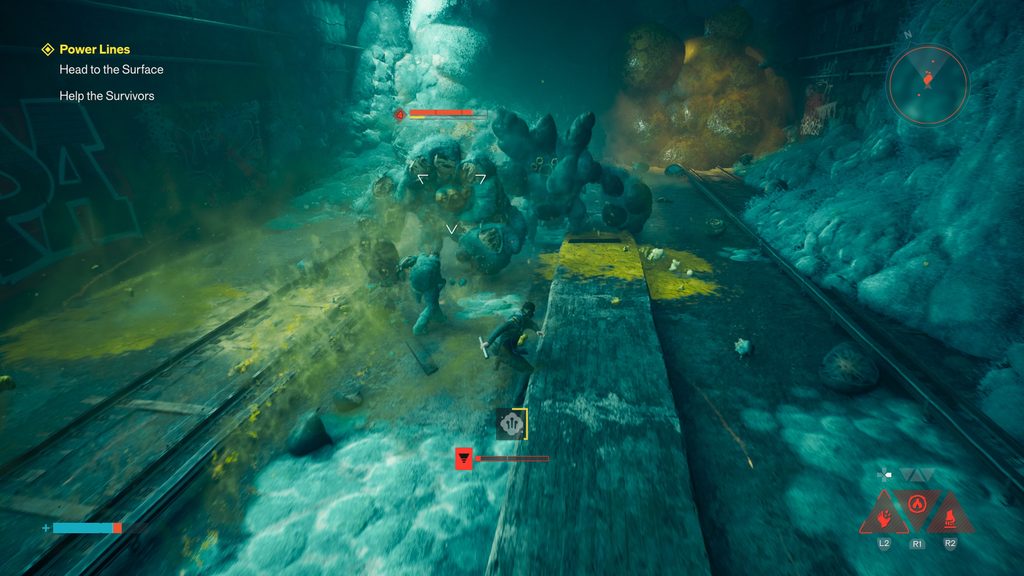
Head back downstairs and look for the Mold covered corridor. The previous tunnel has disappeared and and is now open, so head down it. You’ll be greeted with an arena of Mold enemies to fight. If you have it unlocked and equipped, use Ignite to make your life far easier. Mold doesn’t like fire, and it’ll cut through them pretty easily.
As you progress you’ll end up on another train platform. Read all the notes and listen to all the recordings, and you’ll have some understanding of what you now have to do, but this puzzle solution isn’t as simple as you think. You need to reroute the Vanished Station to escape, but first, you need to find the survivors.
Head up the stairs, and as you emerge into a central area, you’ll see an electric motor on the left, and a spotlight shining on some Mold to the right. Dr. Florez voice comes from behind that door, and if you read the note, you’ll understand you have to turn the light off. Grab the charge from the motor and attack the Mold, and then the door will open. Talk to Dr. Florez and explain the situation,, and now, we move onto rerouting the Vanished Station.
Platform B
Grab both the Calibration Units in the room with Dr. Florez and take them down to the platform below. Place them anywhere, as you’ll be heading to Platform A first. For that, you’ll need to get electricity to pulse through BOTH motors that are present. One is already on, so take that charge and put it into the other. Then head back up the stairs and grab the charge from the earlier seen motor and take that down to the other.
This will send electricity through the lines, and thanks to the extra light from those charges, the Mold will fill the gaps and conduct the electricity. If you look, you’ll see this includes the two yellow squares, meaning they’ll push out the Calibration Units if you’ve put them there, hence not bothering.
Now you’ve got electricity running through to the Tuning Device, go ahead and flip the switch, and then you’ll be in Platform A.
Platform A
Platform A looks pretty much the same as the other platforms you’ve seen in your time with the Power Lines quest. Head up the stairs and around the corner until you come to a closed gate. Break the box on the right, and as you walk through the gate, you’ll realise you’re back in the centre area, with Dr. Florez on your left. Head down to Platform B again and hit the electric motor, taking the charge, and then quickly teleport yourself over to Platform A again.
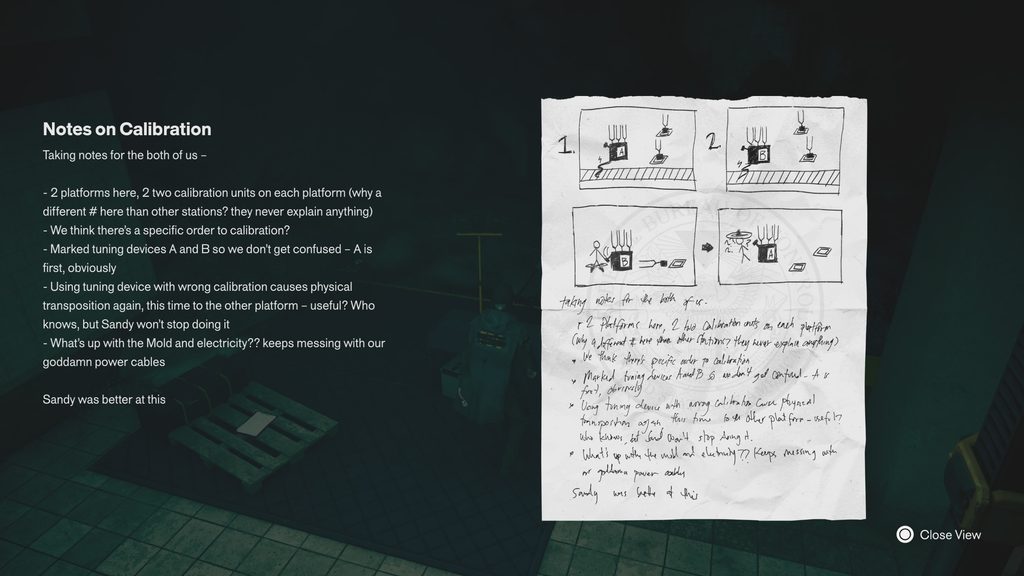
You’ll want to put this charge into the motor right next to where you land when you teleport, which opens the locked gate up the other stairs, allowing you to get that Calibration Unit from it. Grab it and take it downstairs, place it on one of the yellow squares, and then head back to where you just were, in the central area near Dr. Florez.
You’ll notice another door and motor on the right side of this area, so go down to Platform A and grab a charge, putting it in the motor near the door and grab both the Calibration Unit and the Health upgrade. Carry this Unit back down to Platform B and place it in the remaining yellow square. Flip the switch, and that’s Platform A calibrated.
Platform B #2
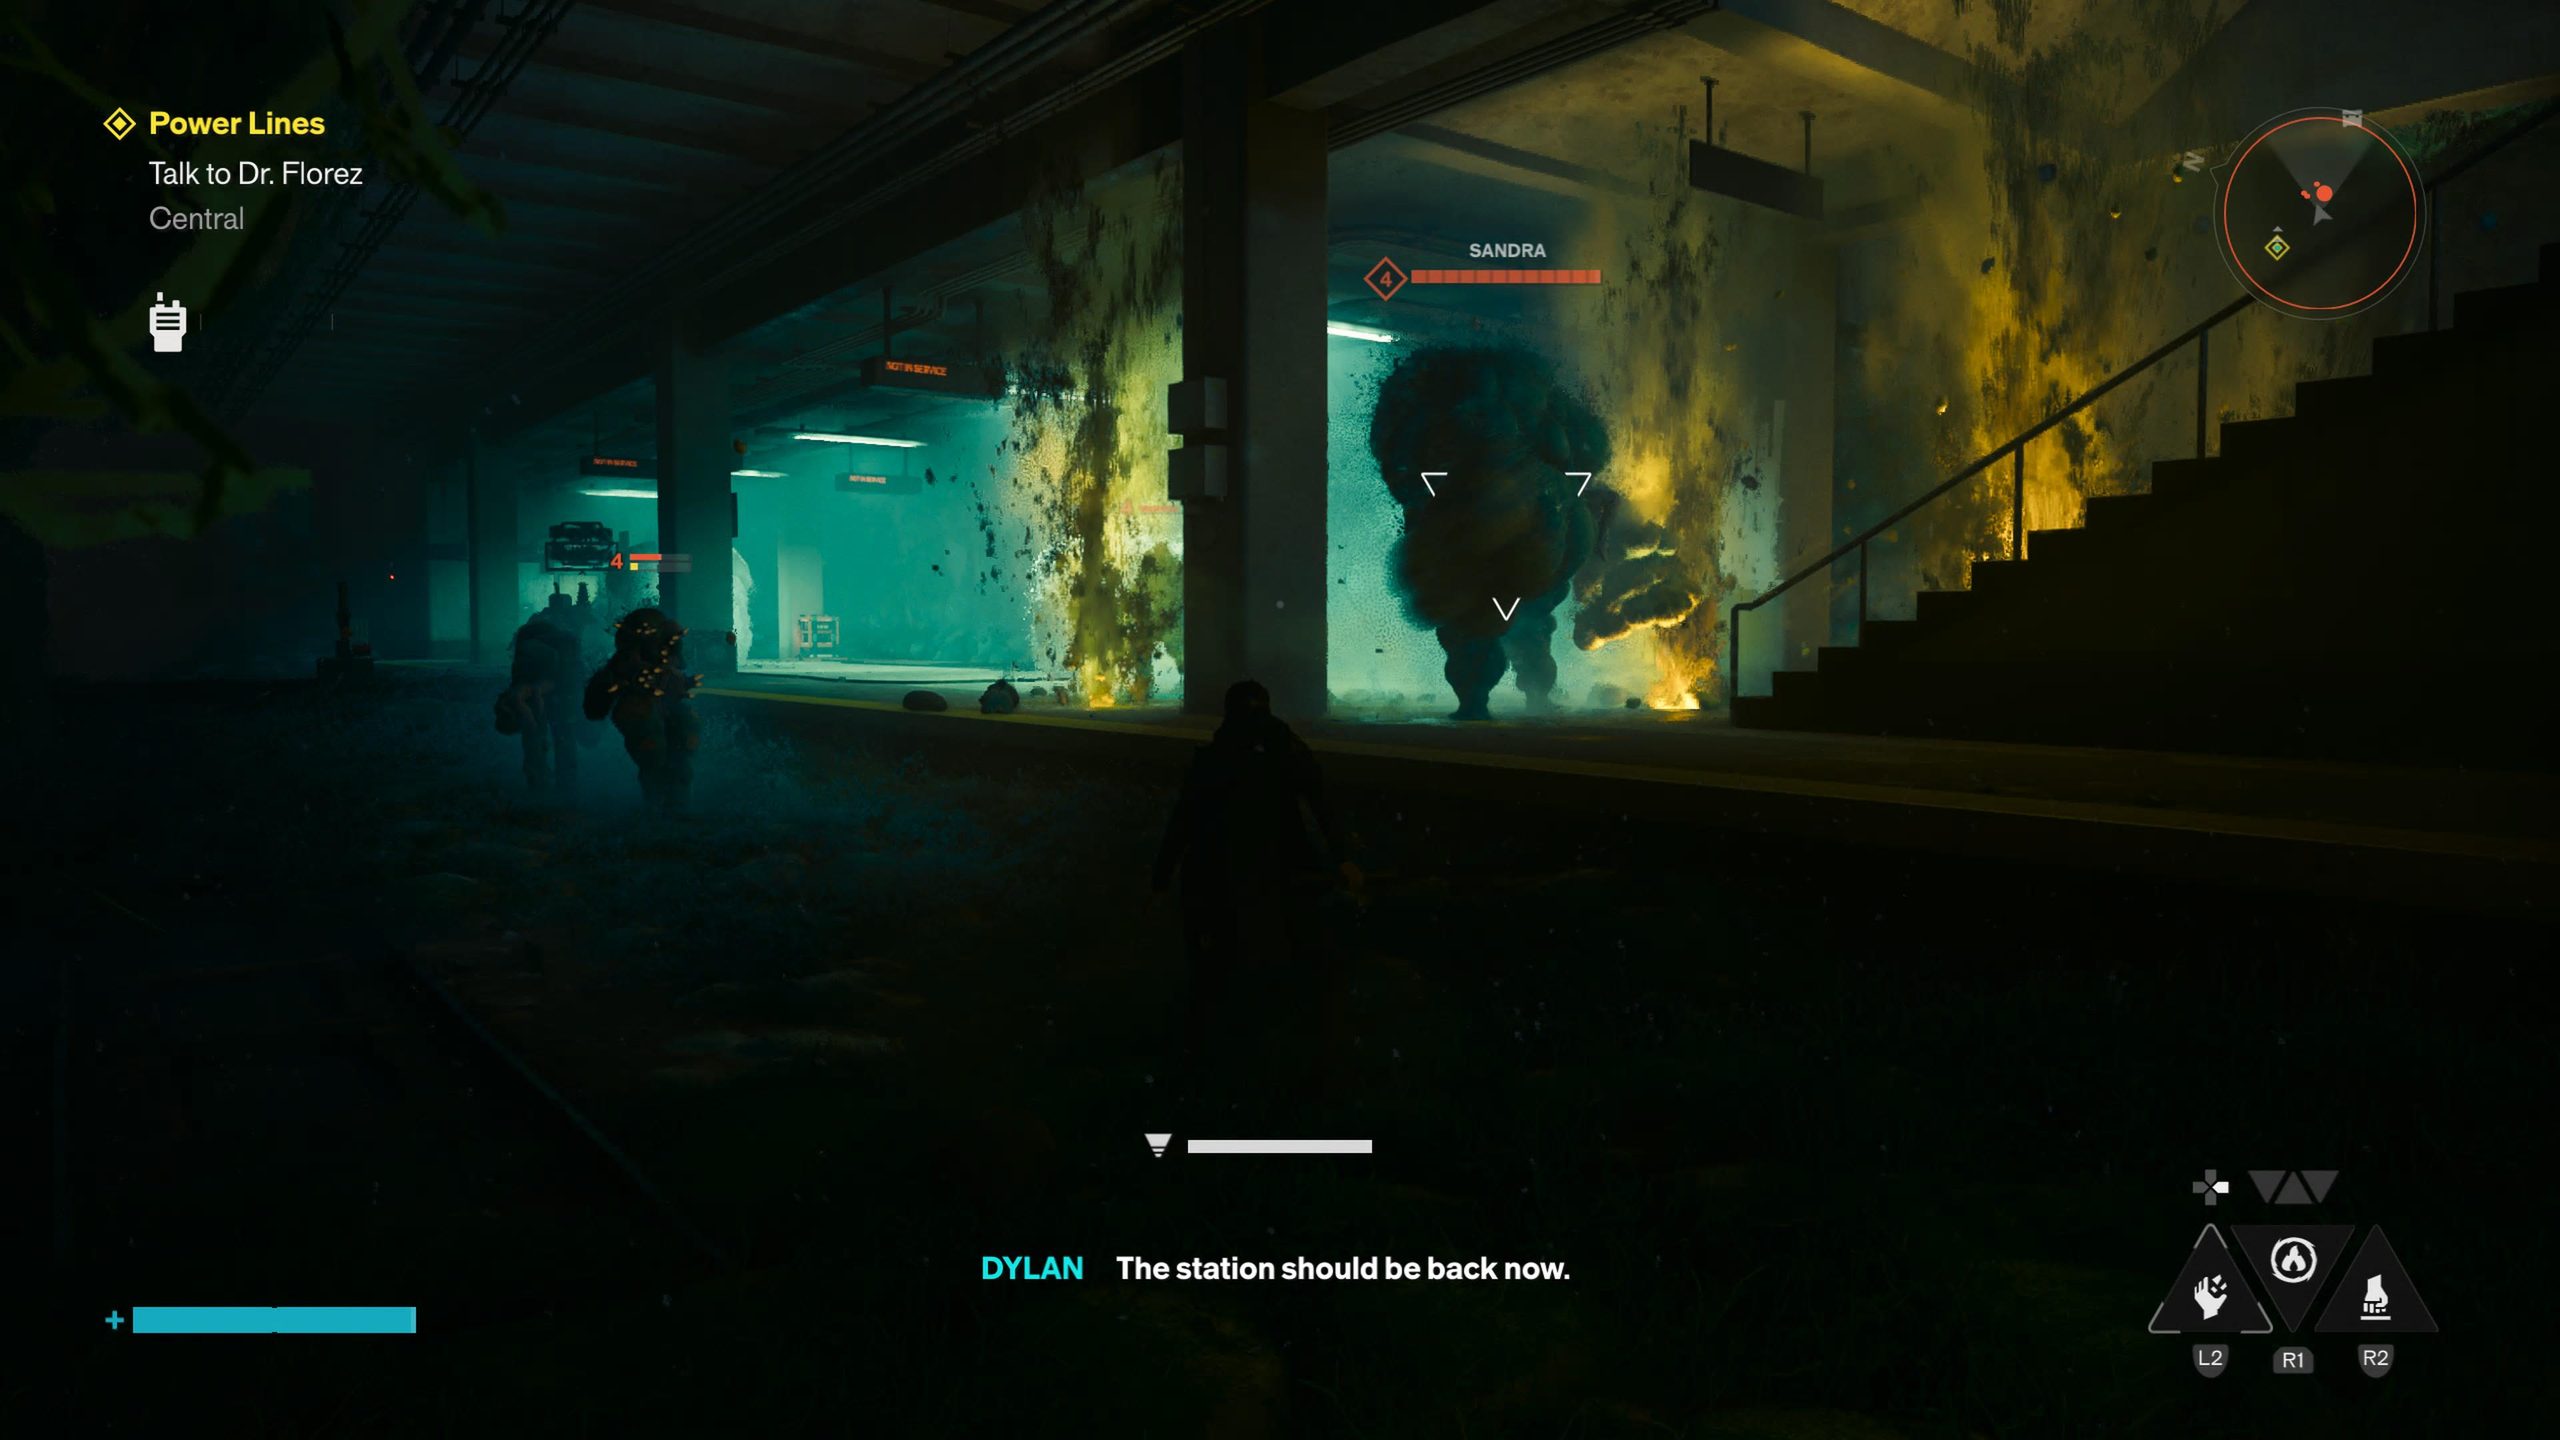
There’s not a second platform B, but after you’ve done all the above, you’ll want to calibrate that platform too. Head back over there and make sure the Mold is still present everywhere. If it is, take the charges from the two motors and take them upstairs, then head back down and cut down the Mold ONLY on the two yellow squares. Then add in the Calibration Units and flip the switch, and you’ll have calibrated both Platforms, and need to chat with Dr. Florez, but first, Sandra appears, and you’ll need to beat her.
Once you’ve beaten Sandra, who unfortunately has eaten the Mold, you can head up the stairs to talk to Dr. Florez for the last time, and that’s the end of the quest.
It’s a long one, with plenty of nuance and some difficult puzzles to figure out, but now you know exactly how to complete the Power Lines quest in Control Resonant!
For your next read, check out our guide on beating The Deserter, or how to get Gravity Shift as early as possible.

Luke Addison is the Founder and Editor-in-Chief of Thumb Wars. Having previously been a part of multiple outlets over the years, including building an entire gaming team from nothing to something, he thought it best to forge his own path and answer only to himself. As likely to be found playing the latest game as he is in the kitchen relaxing (by cooking), he always brings the same bold and brash attitude to everything he does, with a heavy leaning on sarcasm and dry wit!