Last Updated on Sep 26, 2026 @ 10:33:01 AM.
Control Resonant has some weird side missions, that’s just a fact. In fact, it’s not just the side missions. However, one of the more normal, down-to-Earth side stories is Urban Survival, where Dylan finds a few collectibles, and then some mines themselves, showing that the FBC may not be the only ones inside Manhattan trying to fight the Hiss and the Mold. Unfortunately, that person laying unauthorised mines has already killed at least one FBC Agent, so we need to find out who it is and quickly. By the end of this guide, I’ll have walked you through every single step and helped you complete the Urban Survival quest in Control Resonant.
How to Complete the Urban Survival Quest in Control Resonant
As with the side missions in Control Resonant, you’re not going to be pointed at this side story. In fact, you’ll more than likely randomly find it when you’re exploring, or fighting, and then be sent off on another tangent, just like the way I found the Carbon Copy or The Complete Set quests, both… odd in their own way.
One click and you're done. Thank you!
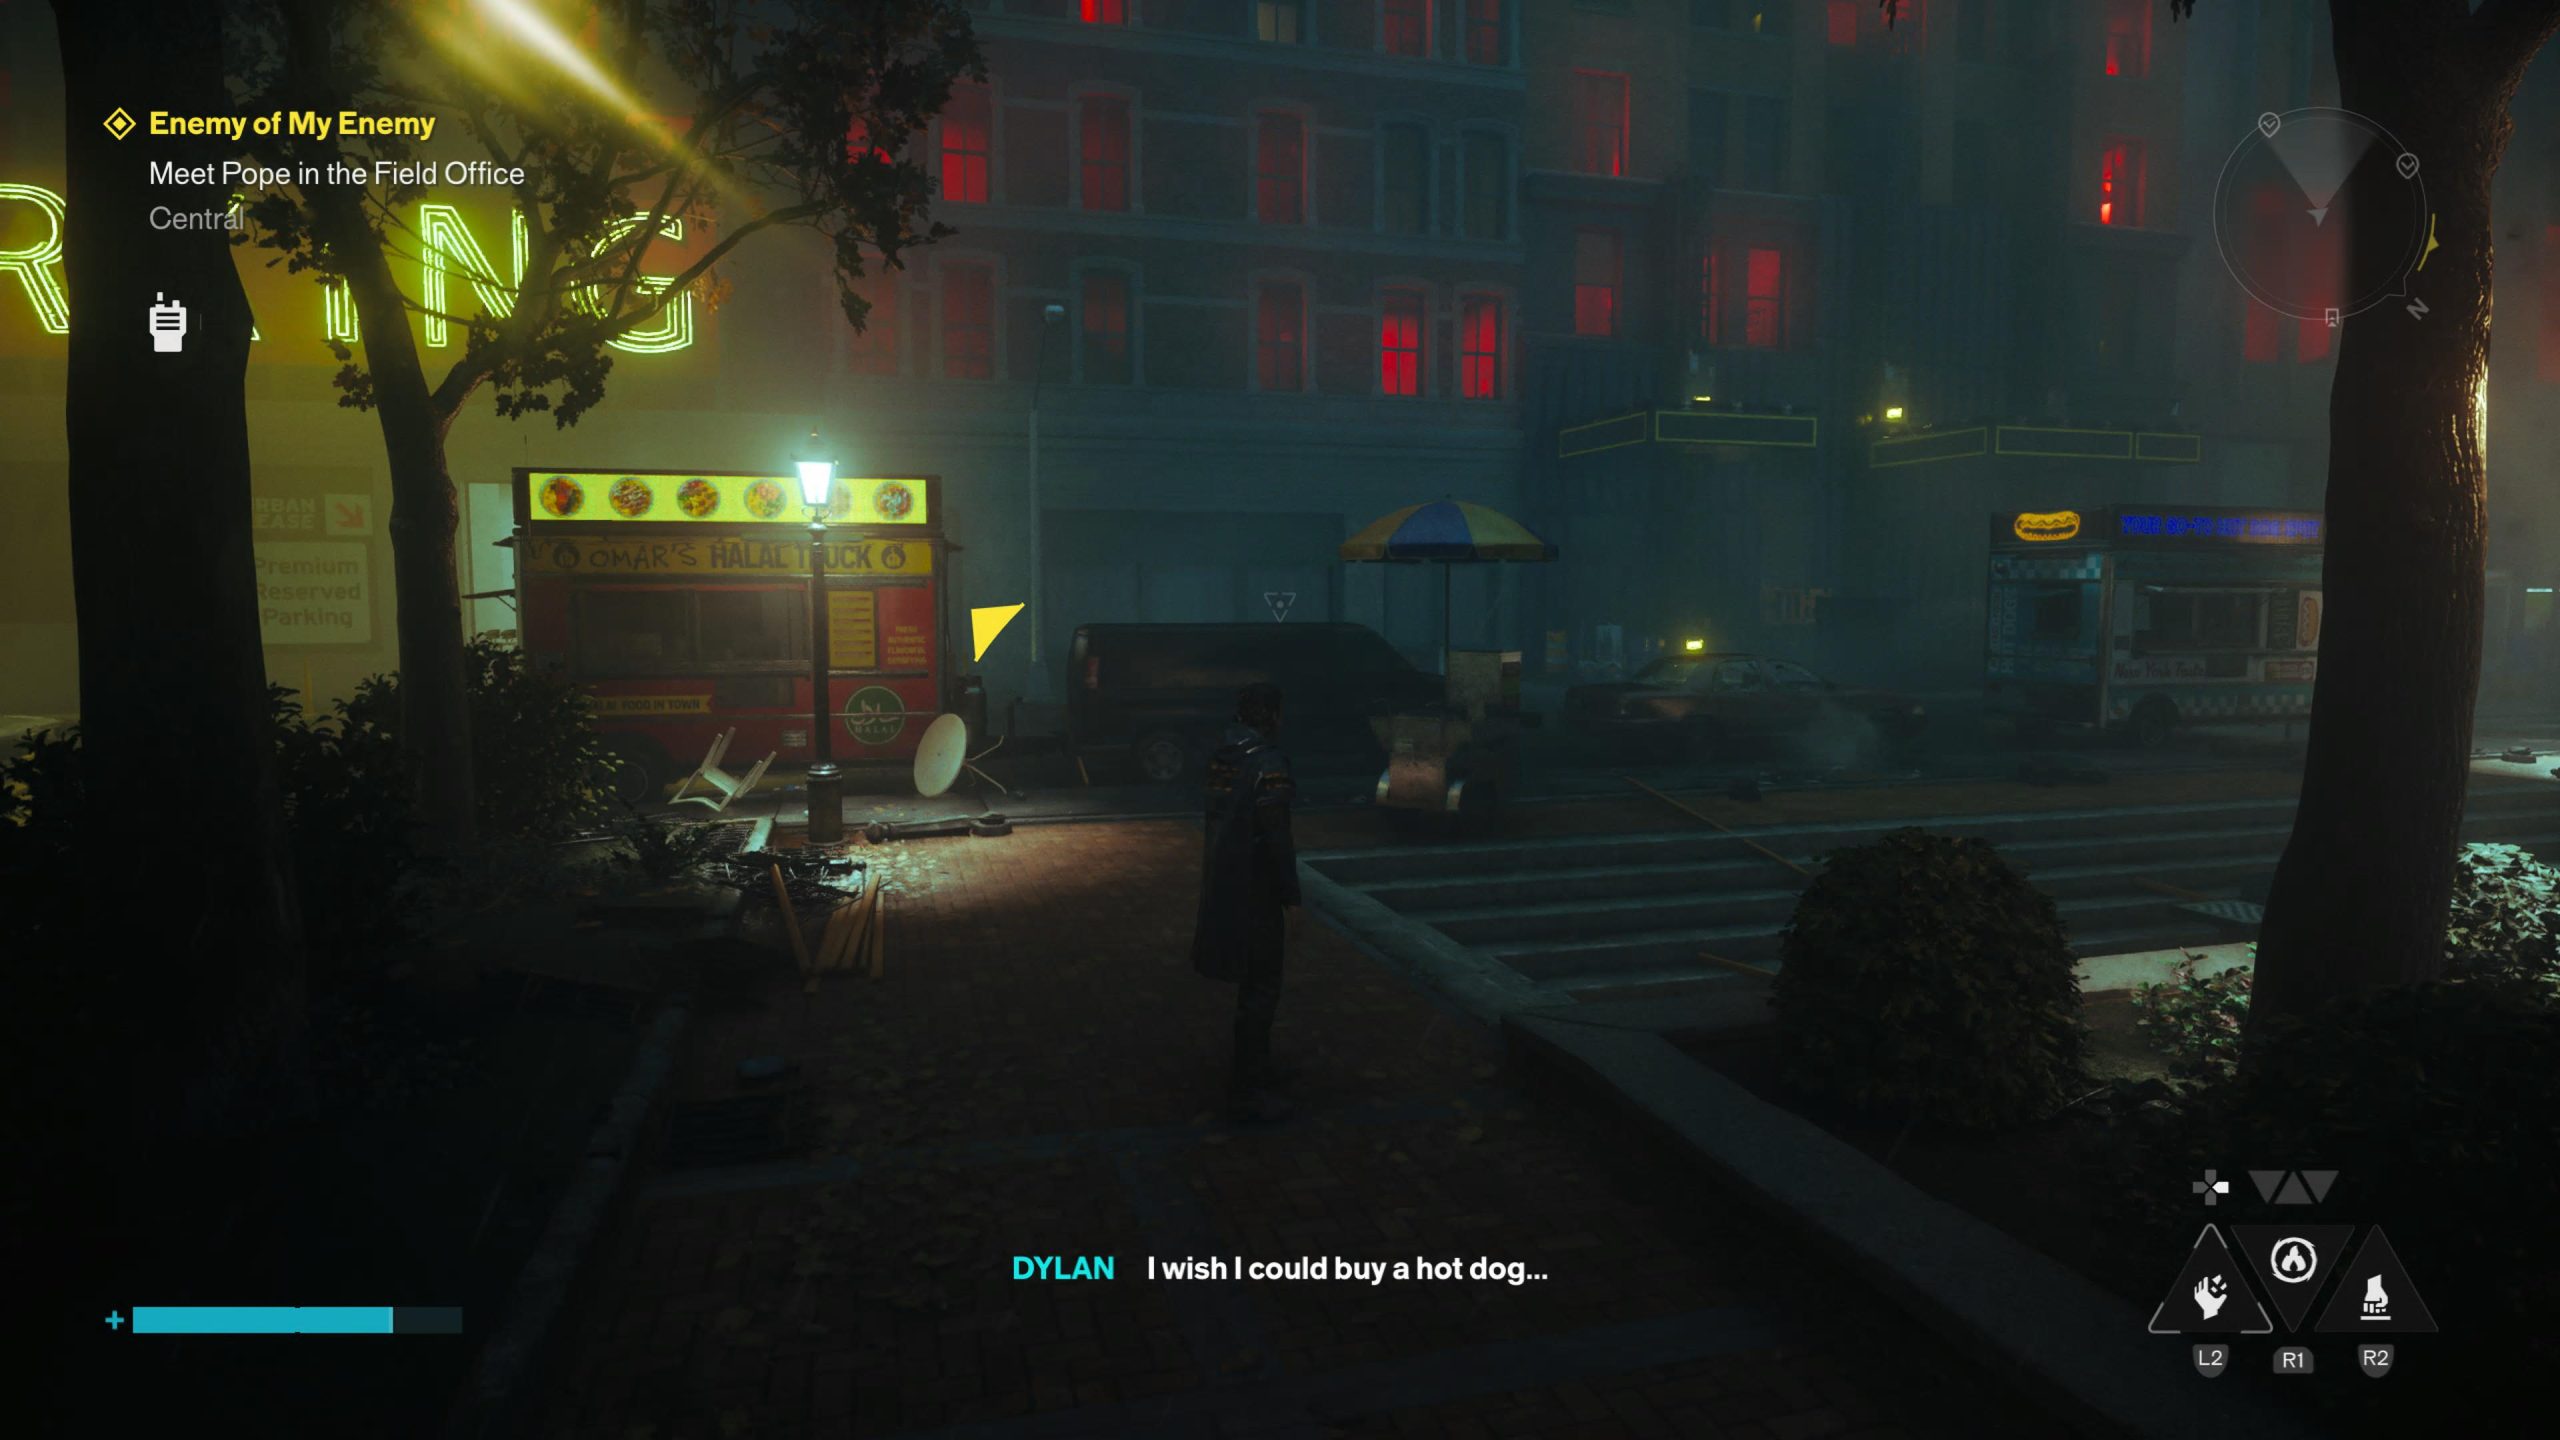
The Urban Mines quest can be found in the Evacuation Zone, not far from where you’ll end up in the Sinkhole during one of the main missions (and one of the best in fact). You’ll be looking for a large yellow ‘parking’ sign, with a hot dog stall in front of it that Dylan will report to Zoe, as well as a few enemies, heavy and basic alike, in front that you’ll want to get rid of ASAP. There’s also a few collectibles dotted about sharing information about the quest, including one sniper nest on the roof opposite the parking sign. All that aside though, if you approach the yellow parking sign, and look inside the parking garage, you’ll be able to report the mines to Zoe and begin the Urban Mines quest officially.
Find the Person Setting Up the Traps
As you head into the garage, be very mindful that there are a shedload of mines, and unfortunately, not only will they explode quickly, but they don’t stay gone.
That’s right, they return ready to explode all over again after a few short moments, so don’t waste your time running through them to make them explode, thinking it’d give you a bit of peace to explore, because it won’t work.
Instead of messing about with the mines, head up the garage levels and outside. When you emerge from the other side of the garage you’ll be able to head right to a dead end but a couple of small boxes, or left to a petrol station, warehouse and more.
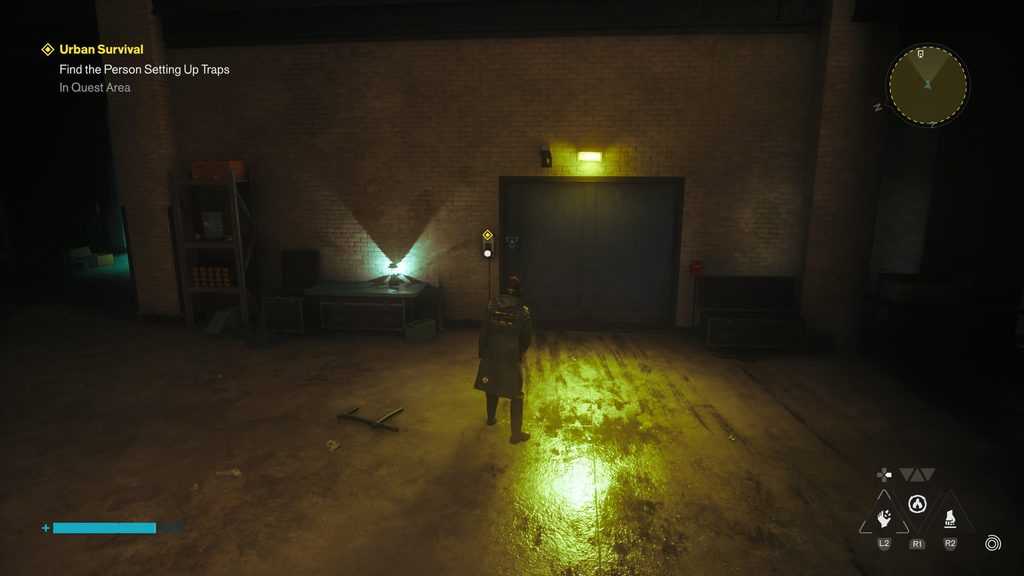
The warehouse door is littered with mines, which should be an indication of where you need to go. Head past the mines and into the warehouse, and then to one of the doors with the screeching speaker phone, so you can chat to the mine layer, the Survivalist.
The Survivalist, little more than a Doomsday Prepper thrust into a paranormal world, is holing up here to protect himself from the ‘monsters’. Things go wrong as the Hiss arrive, and you’ll have to kill them all, but once you do, you’ll have to chat to the Survivalist again.
Save Olivia from the Gym
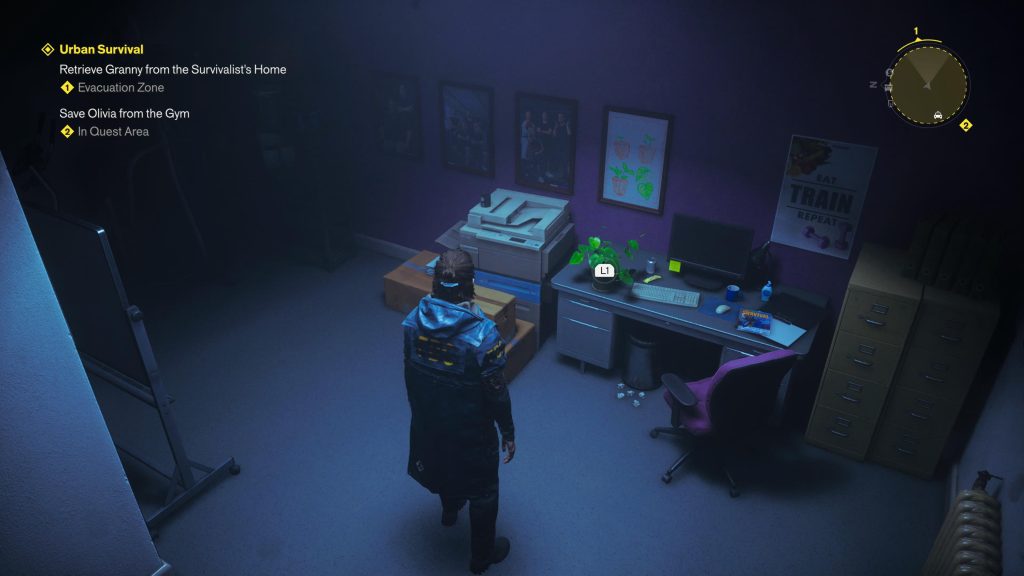
First on the agenda is heading to the gym to save Olivia. This gym is bigger than the others you’ll likely have explored up to this point, but don’t waste your time going too far into it. To get to it, head out of the Survivalist’s Bunker and up the street, unlocking the previously locked door and gaining another shortcut. Contine up the street and turn left, killing any monsters as you go. Enter the gym when you come to it, and head into the door on your left. This is the office of the gym, and you’ve guessed it, Olivia isn’t a human, but a well-looked-after plant. Pick it up and leave the gym, as we’re now going to pick up Granny.
Retrieve Granny from the Survivalist’s Home
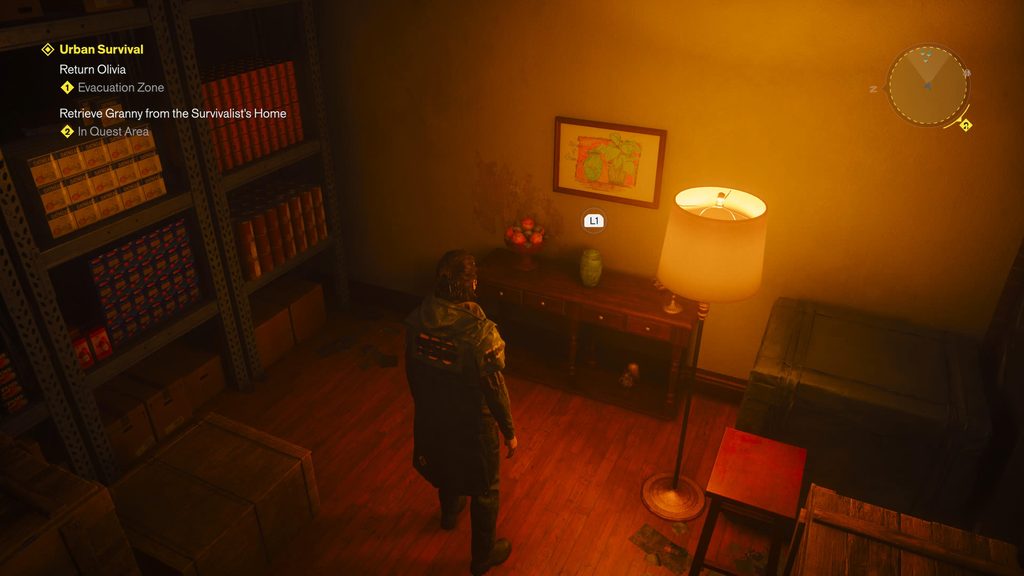
Granny isn’t too far from where you currently are. Head out of the gym and take a left, heading down the street and past the building where you can conplete a very unique World Feat for the Up to the Task trophy, and then when at the end of the street, take a right. Head alnost to the end of the street and you’ll see a set of double doors with the lights on, on the right. Go in, up the elevator and then in the Survivalist’s front door to pick up Granny. Just like Olivia, she”s not all she seems, but at least she was a person at one time. In the back of the Survivalist”s apartment is an urn filled with ashes that just so turn out to be Granny. Now we head back to the Survivalist to drop of his family.
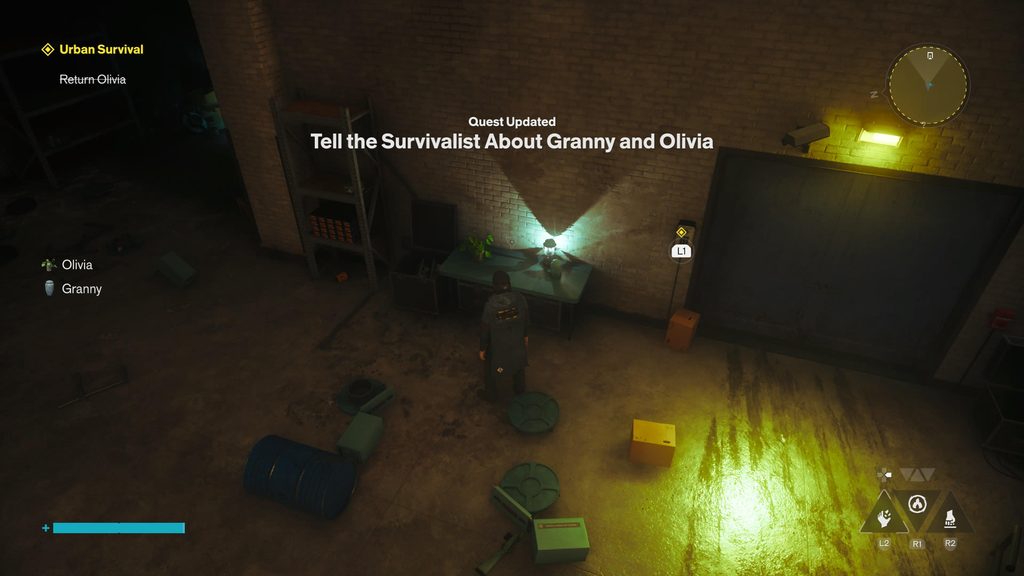
After you get back to the Survivalist, he of course has another errand for you. Now he wants you to pick up his brother, who may or may not be a real person, but either way, the Survivalist asks, and we do.
Find the Survivalist’s Brother
We’re still in the Evacuation Zone for this objective, so make your way over to the Northernmost section of the area. You should have picked up the car key from the Survivalist before leaving, so if you head to the intersection of the area (near Jesse’s Fault mission ‘The Subway Fault’), you’ll be able to push the keyfob and look for the car beeping and flashing.
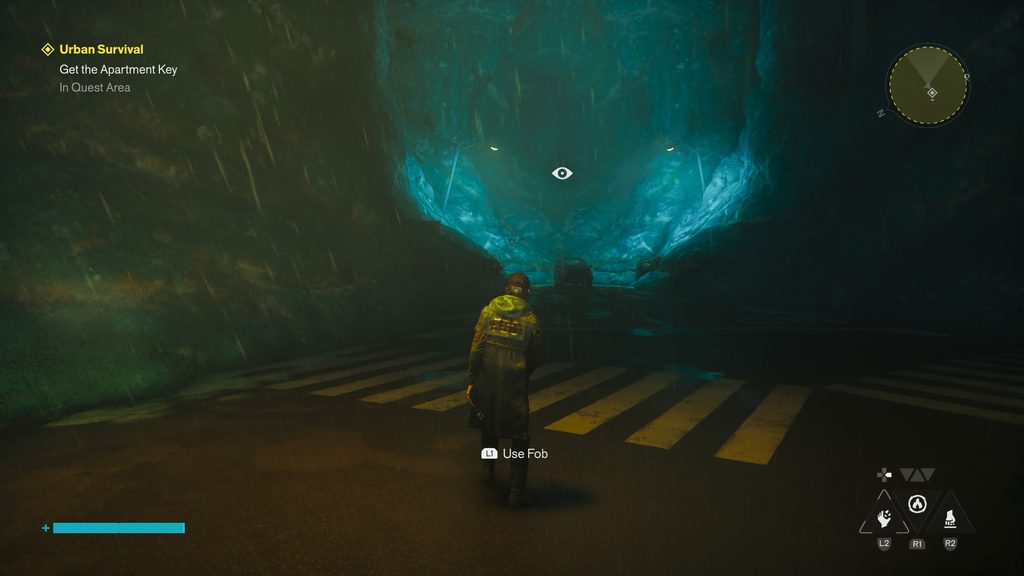
It’s not far, and once you grab the Apartment Key from inside, you’ll be ambushed by a pitifully small continent of Mold enemies. Get rid of them and then head down the street towards the Brother’s Apartment, past the Railyard Street Fast Travel Door.
TIP: There is both a Freeze Camera and an Alan Wake TV Easter Egg in the apartment complex in the opposite direction. When you’ve found the Subway Fault, head South to the end of the street, and then make your way to the rooftop and enter through the doorway there.
Make your way into the Apartment and explore the rooms. You’ll find the brother floating, a victim of the Hiss, and Dylan will make comment about taking something back. Pick up the framed photo from his feet and leave. Use the Railyard Street Fast Travel Door to jump straight back to the Survivalist’s Bunker, and give him the bad news.
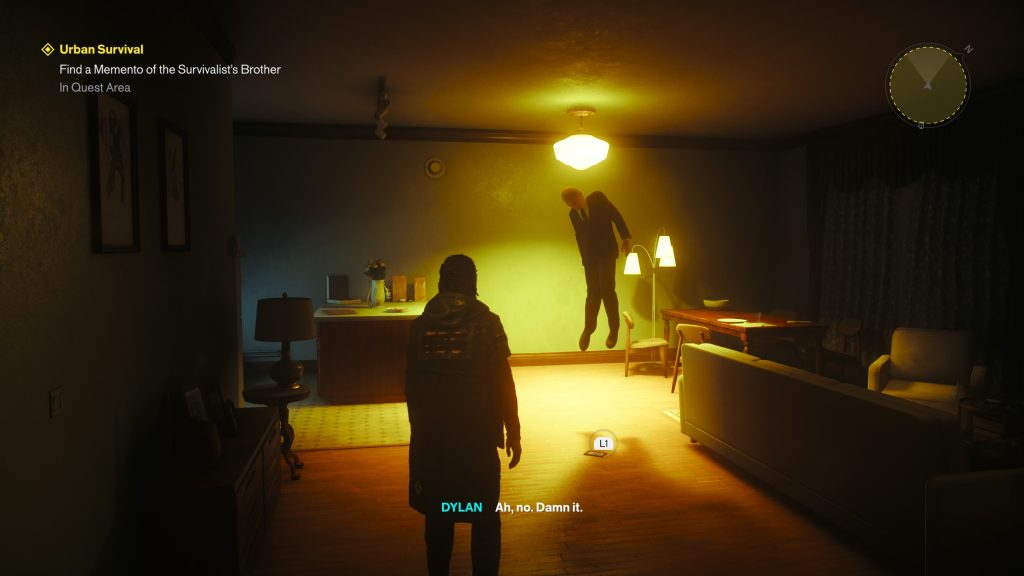
A quick chat later and he’ll ask you to place the framed photo on the desk to left, and that’s it. That’s how you complete the Urban Survival quest in Control Resonant!
For your next read, check out our guide on how to complete the Panopticon Service Request quest, or our tips for making the game an easier time for yourself.

Luke Addison is the Founder and Editor-in-Chief of Thumb Wars. Having previously been a part of multiple outlets over the years, including building an entire gaming team from nothing to something, he thought it best to forge his own path and answer only to himself. As likely to be found playing the latest game as he is in the kitchen relaxing (by cooking), he always brings the same bold and brash attitude to everything he does, with a heavy leaning on sarcasm and dry wit!