So far in Control Resonant you will have likely come up against quite a few enemies and even bosses that will give you trouble, but now you have come across The Deserter, a towering boss consumed with fire and rage that will easily cause you distress, and if you are here, you have likely struggled against this boss like we did, so here is our guide on how to quench this boss’s flame.
How to Find The Deserter in Control Resonant

For those of you who haven’t managed to find The Deserter yet in Control Resonant, do not worry, as we are here to help you. The best place for you to start is by following the quest The Central Resonant, which tasks you with heading to the Patterned Factory in Central, as a Resonance seems to have taken residence there.
Once you arrive here, there are two ways to enter the building, the first being through the roof if you have the right weapons, as you can smash through a door covered up with wood, or the second is by dragging an electrical current to a power box to the right of the factory in order to open the door.
One click and you're done. Thank you!
After doing this, it is rather simple to head towards the lions’ den, as there is a cargo elevator within the main room of this factory that will take you down into the depths of the factory, where you will begin your main journey to this boss. Now that you are in the belly of the beast, your task will be to clear a furnace of its fire, which is relatively easy, as it just requires a small amount of exploration in this underground location.
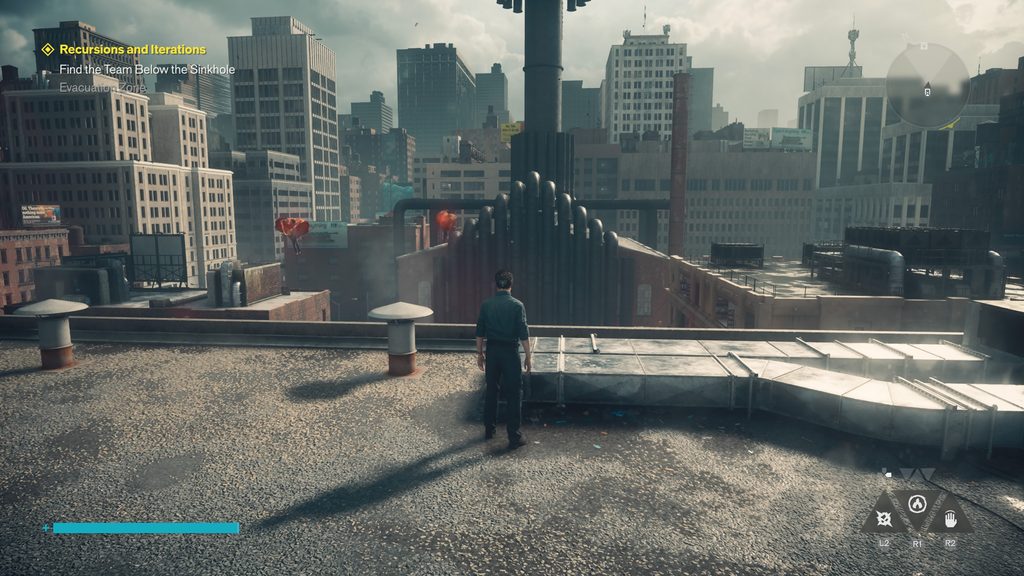
To turn the furnace off, you will need to find 3 pipes that are enveloped in a lava-like substance, which you will need to destroy, with the first one being in the large room you find yourself in after you head down the elevator. Specifically, this blob can be found behind you once you head up the stairs when you first enter this area.
Congratulations, you are now one blob down out of three. To find the other two blobs, you will have to head down the two paths on the side of this large room, with each path having one blob located down it. As you venture down these two pathways, there isn’t a whole lot to worry about in terms of getting lost, as both of these pathways are incredibly linear, with one path being blocked by a permanent broken pipe.
However, although these locations are linear, there are some items that can be found if you take small detours, with each side having one diversion that you can find an item in, such as lore and even health upgrades.
Once you have found the other two blobs and destroyed them, you are now ready to head into the boss arena and take on the boss, so this is the time to prepare and rank up if you need to.
How to Beat The Deserter
Now that you have battled your way to The Deserter and cleaned up his gunky pipes, you are ready to fight this monstrous boss and his painful flames, but before you do so, you will likely be wondering if you are ready for the task, so we have included our build we used during this fight so that you can have an edge against this boss.
- Glaive – Wide sweeping attack that deals raw damage
- Crush – A slow but high-damage attack that can knock enemies down
- Split Pivot combo finisher – A spinning blade that appears at the end of a combo
- Volatile Anomaly – Summons an ally that shoots enemies and can be thrown at them
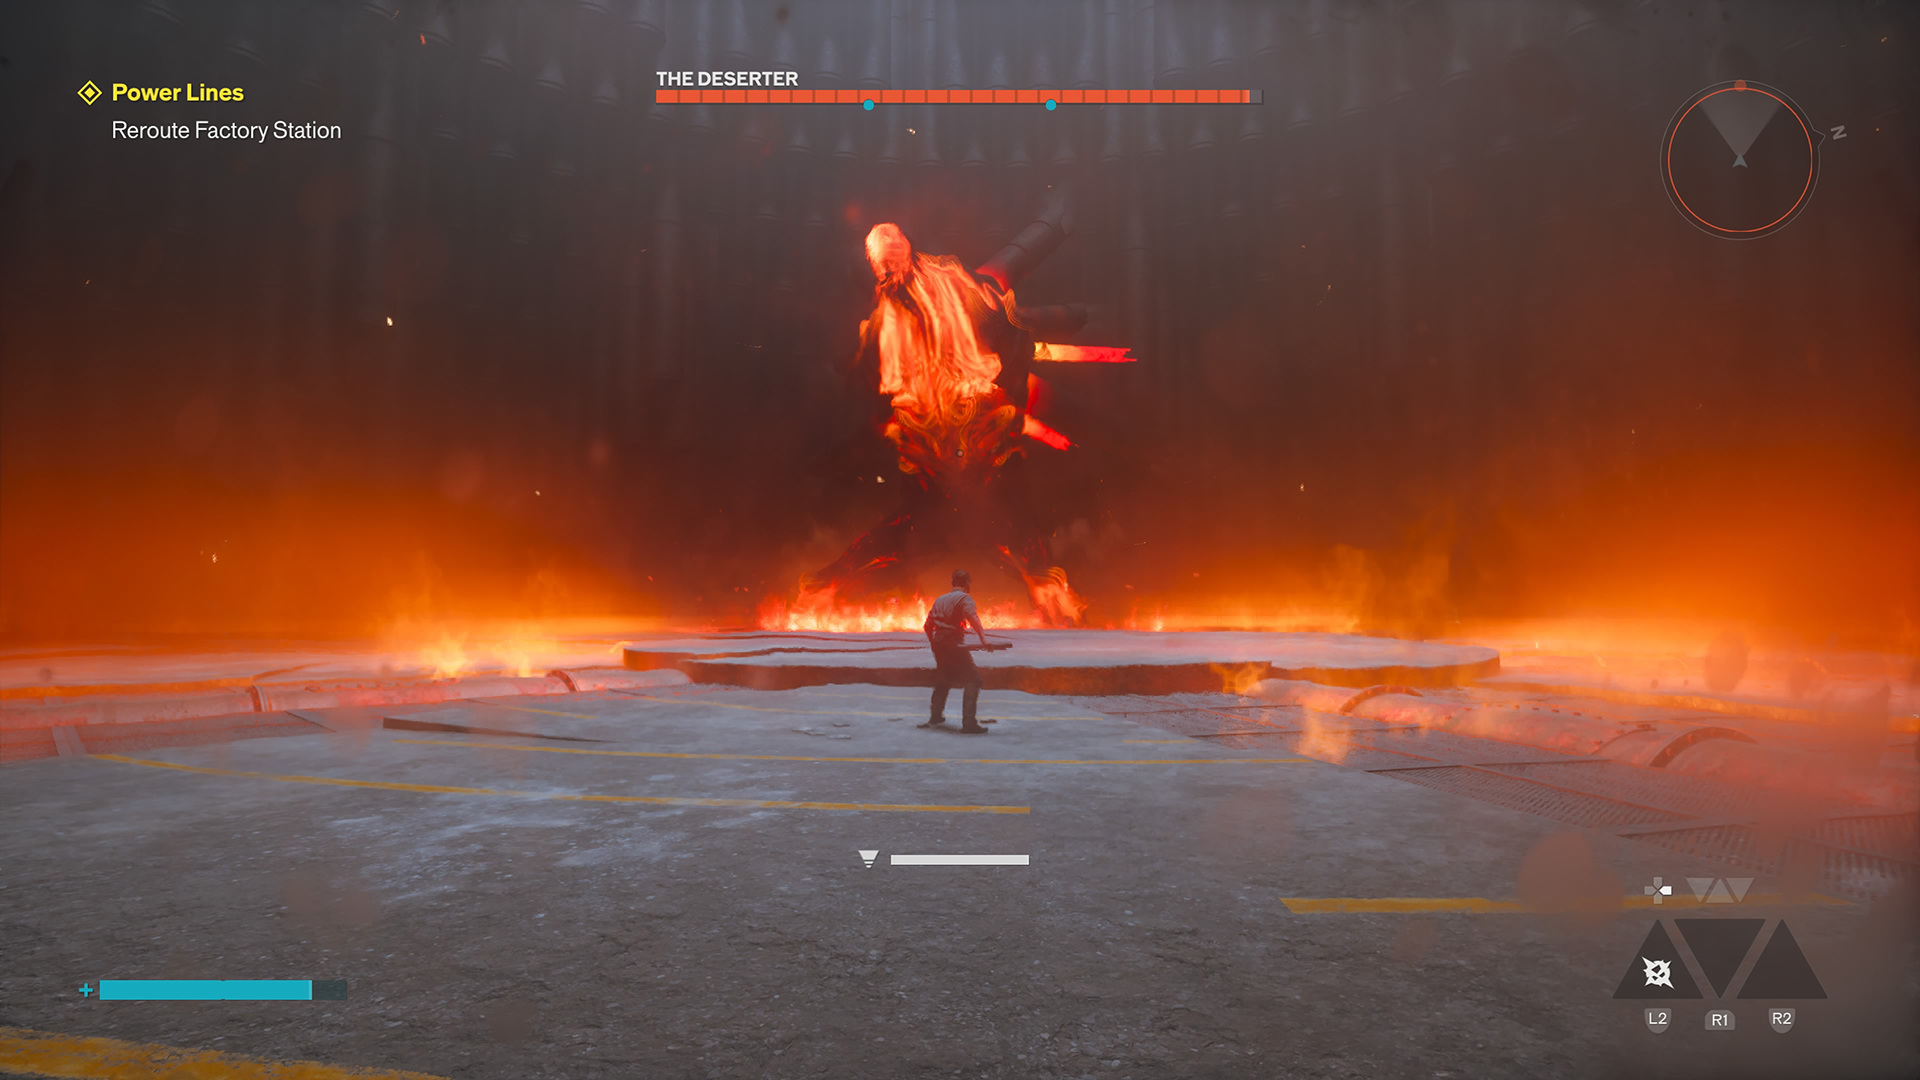
Hopefully you are now prepared for this boss fight with The Deserter, allowing you the option to head in and fight the boss. Once you enter the arena, you will be introduced to The Deserter by a cutscene that shows his enormous stature and the large arena you will be fighting within.
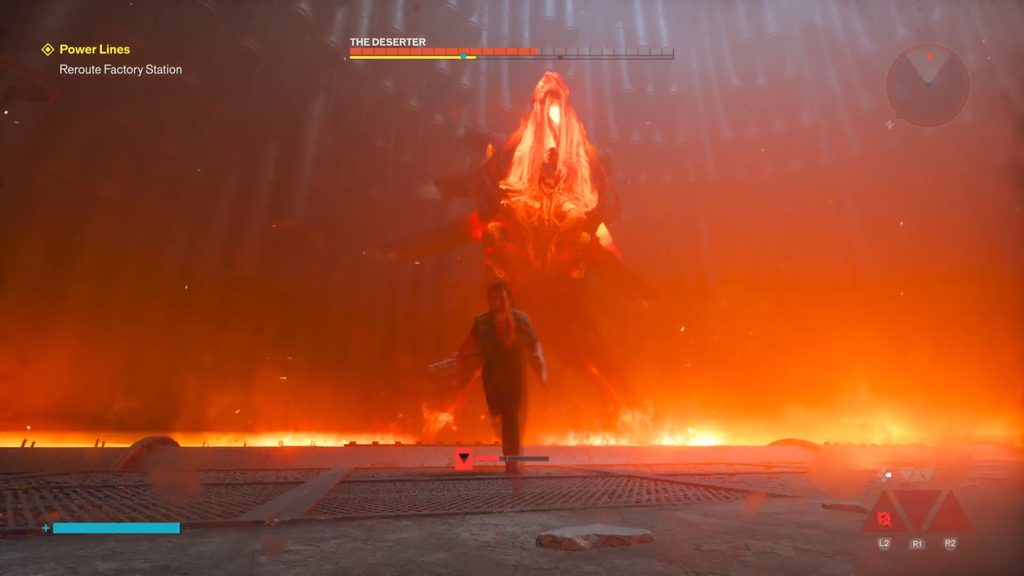
After the cutscene takes place, it is time to run, as The Deserter often begins the boss fight by spewing lava towards the player and continuing to do so for a good few seconds, meaning that you will have to run around the arena using your speed boost in order to avoid being caught by the burning floor or the fire status that can be inflicted upon you.
Lucky for you, The Deserter doesn’t often move around much due to his hulking size, meaning that chasing him down isn’t a big problem, so after he does this large fire attack, running is probably your wisest choice, as you can begin damaging The Deserter by attacking any part of his body.
Once you get up close and personal, there are two attacks you will have to look out for that The Deserter will use against you, the first being another fire spewing attack where he does a small arc around his body trying to chase you away from him, or the second being an attack that uses the pipes in his back, but instead of them being in his back, he will pull them through his body, stabbing them into the floor.
The final main attack The Deserter will use it when he essentially belly flops towards the player in an attempt to crush them, which you will need to either outrun or dodge out of the way. Along with doing this attack, The Deserter also opens its large mouth, revealing a purple weak spot within its chest that can only be attacked while it is lying down in this state.
It might take a few attempts, but you will need to destroy this weak spot to deal devastating damage and cause a large amount of falter damage in order to stun the boss for some quick damage.
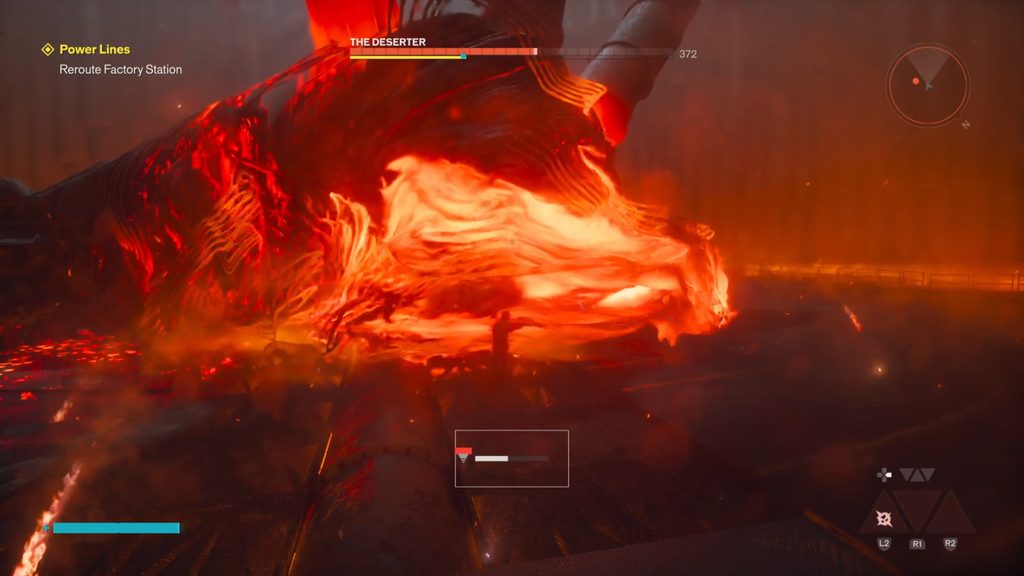
After you get The Deserter down to around 2/3 of its health, he will begin to use a new attack, which allows him to throw 3 fireballs at the player, leaving a small area of fire for a few seconds. This attack is pretty easy to avoid, especially if you are far away, as dodging the attacks can be relatively easy, especially if you jump and dodge, as you can avoid the explosion a lot easier this way.
Finally, the last attack that The Deserter will employ in this boss fight is when he reaches around 1/3 of his health, where he will cause pipes on the floor to erupt with hot steam as he places blobs on the floor of these pipes that you can destroy, which doing so will cause the pipes to go back to normal. Our suggestion is to deal with these pipes rather quickly, as avoiding the bosses’ attacks and the different broken pipes can be annoying, so reducing the threats is a big must.
All in all, these are all the attacks this boss will use during this encounter with no set pattern as to which he will use, but mixing these attacks and the fact the boss moves around sometimes can be a big enough challenge on its own, let alone the idea that he can inflict burn status on his attacks.
However, once you defeat this boss, you will be able to receive a few different rewards from him, the first being a new ability choice between Inferno, which allows you to punch your enemies with fire, and Ignite, which turns all your melee weapons into fire weapons, along with your other abilities like Volatile Anomaly.
Now congratulations are in order that you have managed to defeat this boss and progress with the game’s story while also earning a brand-new power in the process.
For your next read, why not check out our review of Control Resonant, or check out our tips and tricks guide that will aid you in your venture of Control Resonant.

Liam is a Senior Editor, Writer, and Critic for Thumb Wars and has been working with the team since day one. Liam is a big fan of all things gaming, as you will catch him playing all of the new releases from every genre you can imagine. Whether you find Liam gaming just for fun or spending his free time streaming, you will always find a smile on his face when it comes to all things gaming.