Last Updated on Sep 25, 2026 @ 0:46:54 AM.
The weirdness of Control Resonant is plain the see, but if want a perfect example, then The Complete Set quest is probably your best bet. As we take control of Dylan in a broken and bizarre New York City, you might think this quest is nothing out of the ordinary, but by the end of it, you’ll realise you couldn’t be more wrong. If you’re struggling with it, don’t worry, we’ll walk you through every step in how to finish The Complete Set quest in Control Resonant, so you don’t miss a beat.
How to Finish The Complete Set Quest in Control Resonant
The Atlantis Restaurant
First things first, to finish the quest, you have to start it, and to start it, you have to find it. As with many other side quests in Control Resonant, there’s no dialogue pointing you in the direction, or map marker highlighting where you need to go. No, instead you’ll have to randomly walk into it.
One click and you're done. Thank you!
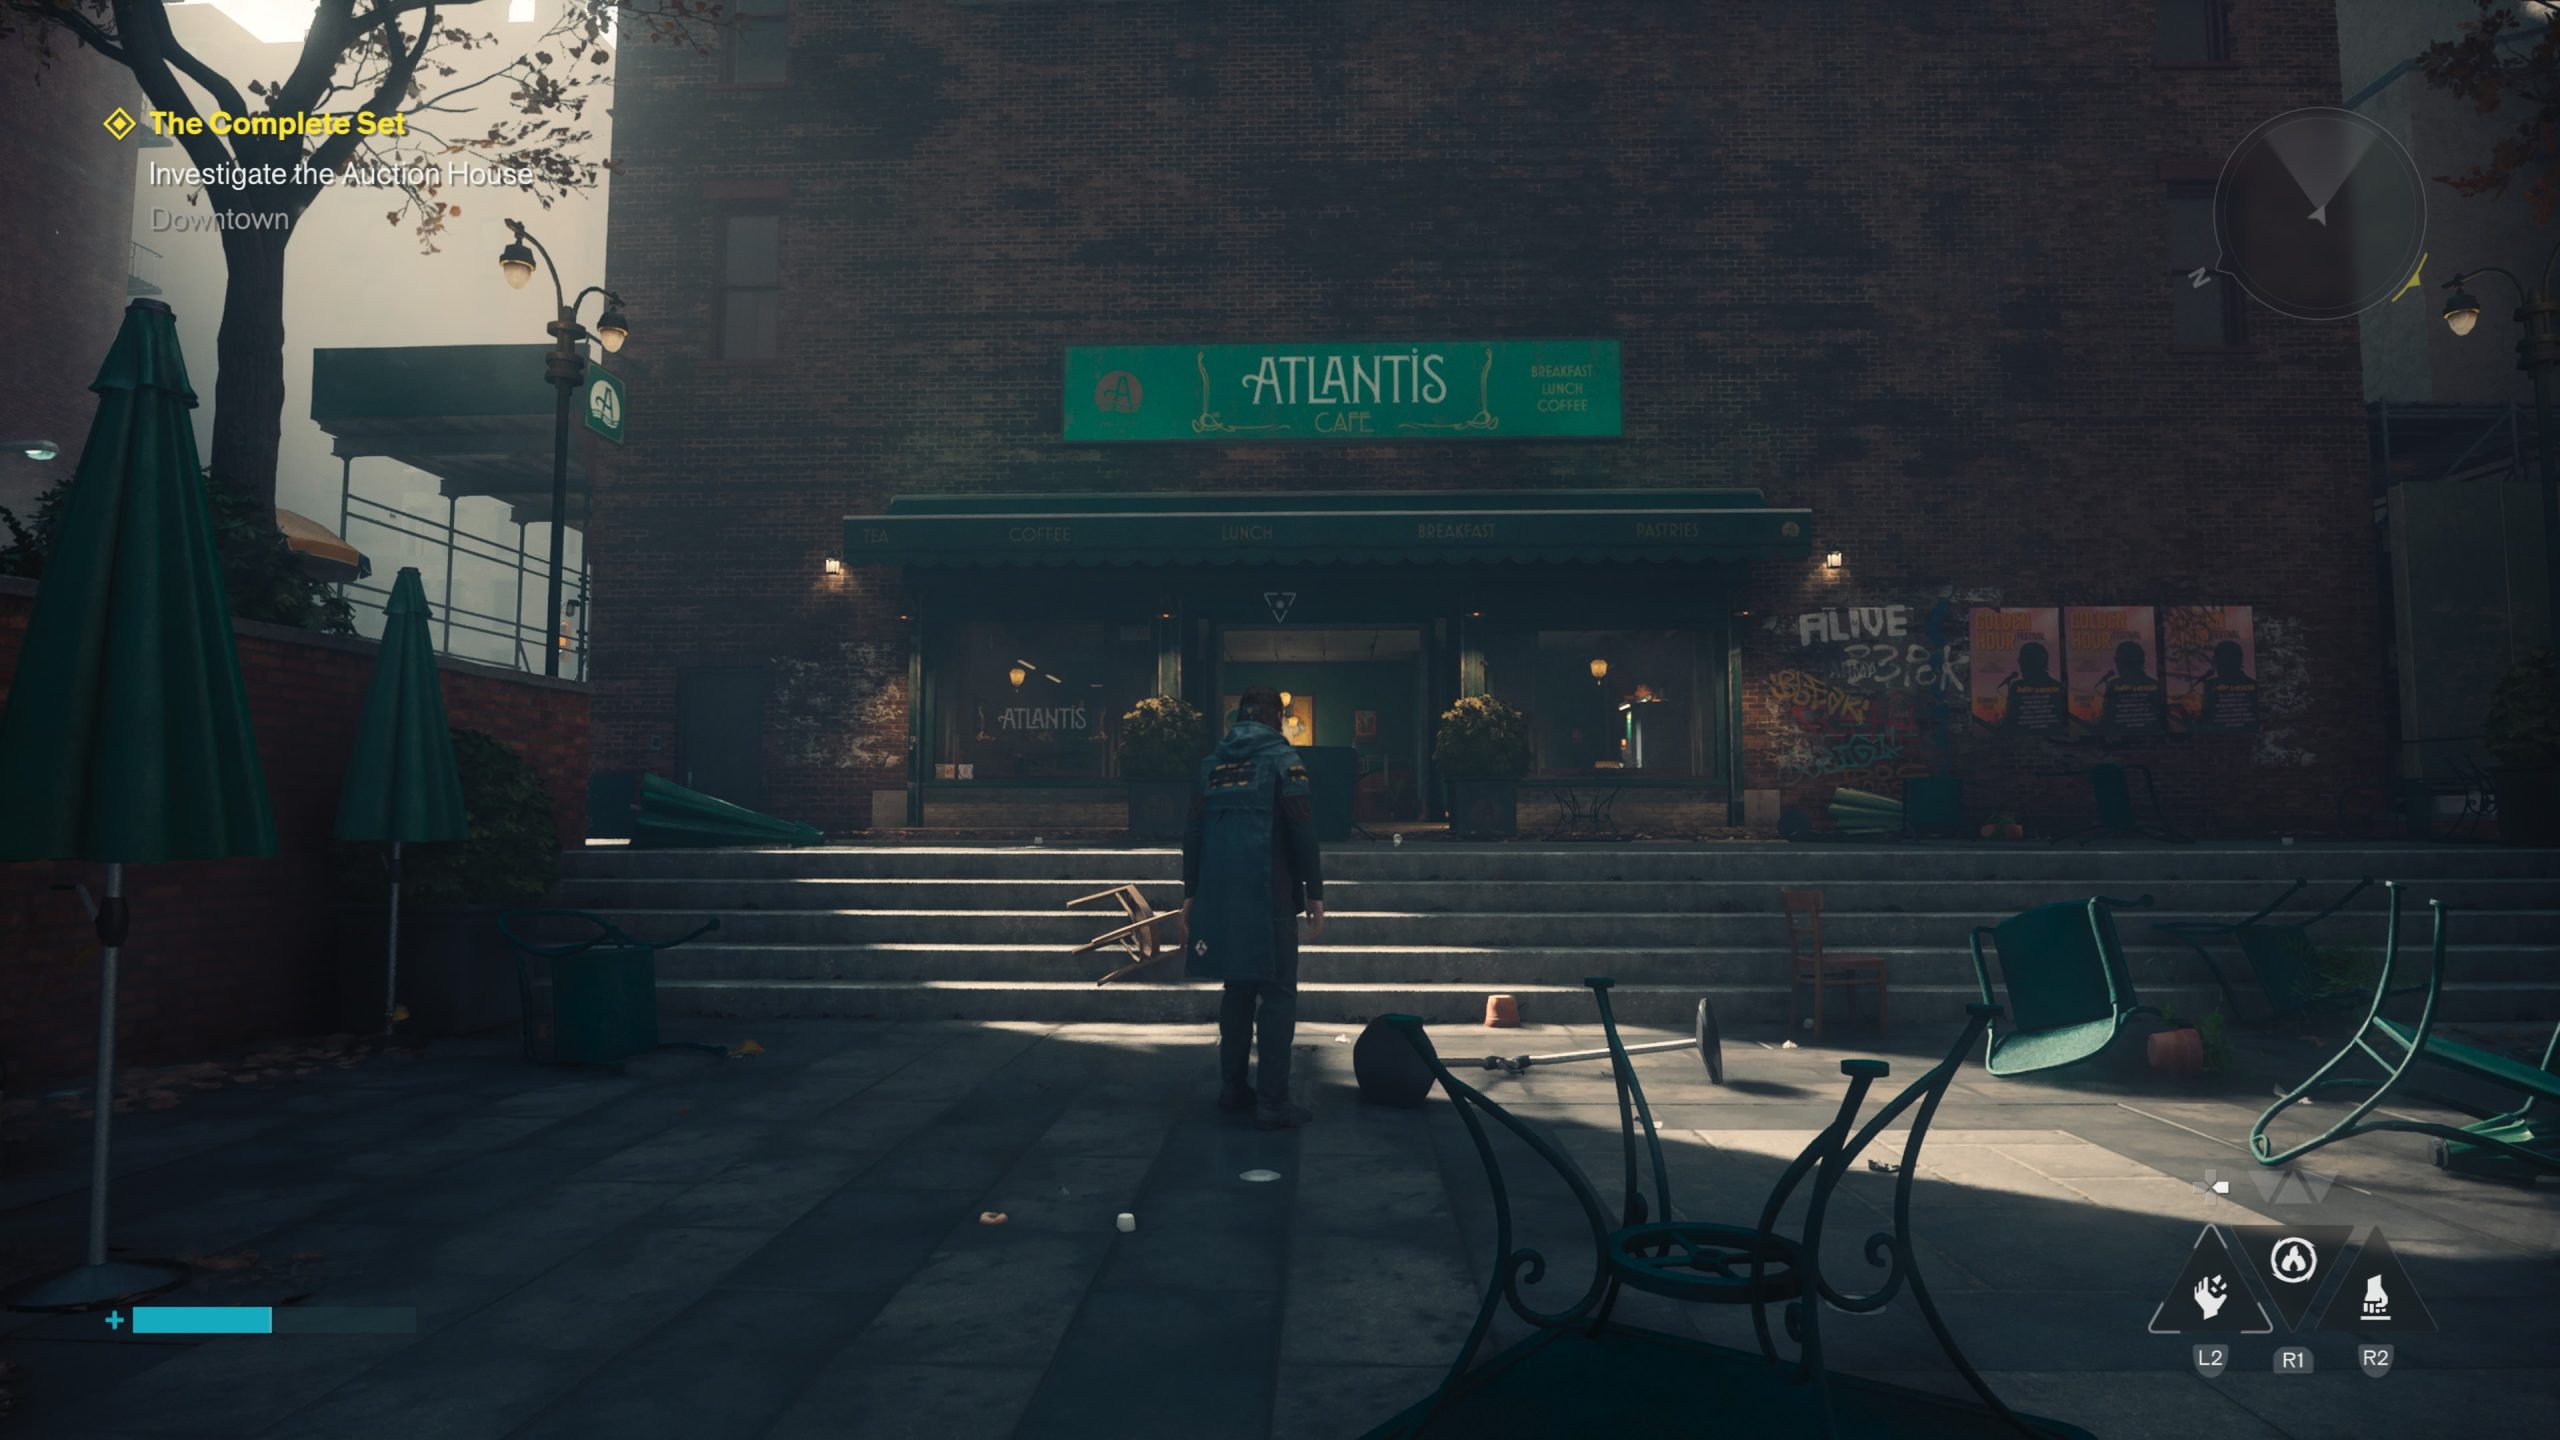
Situated in the middle of Central, behind a wall you’ll need to Gravity Shift over and then protected by a large consort of Hiss is where you’ll find the beginning of the quest. Hidden away in a small restaurant called Atlantis. Head inside and you’ll hear a static noise coming from the clearly Altered Item on the table, but first, read the collectible nearby.
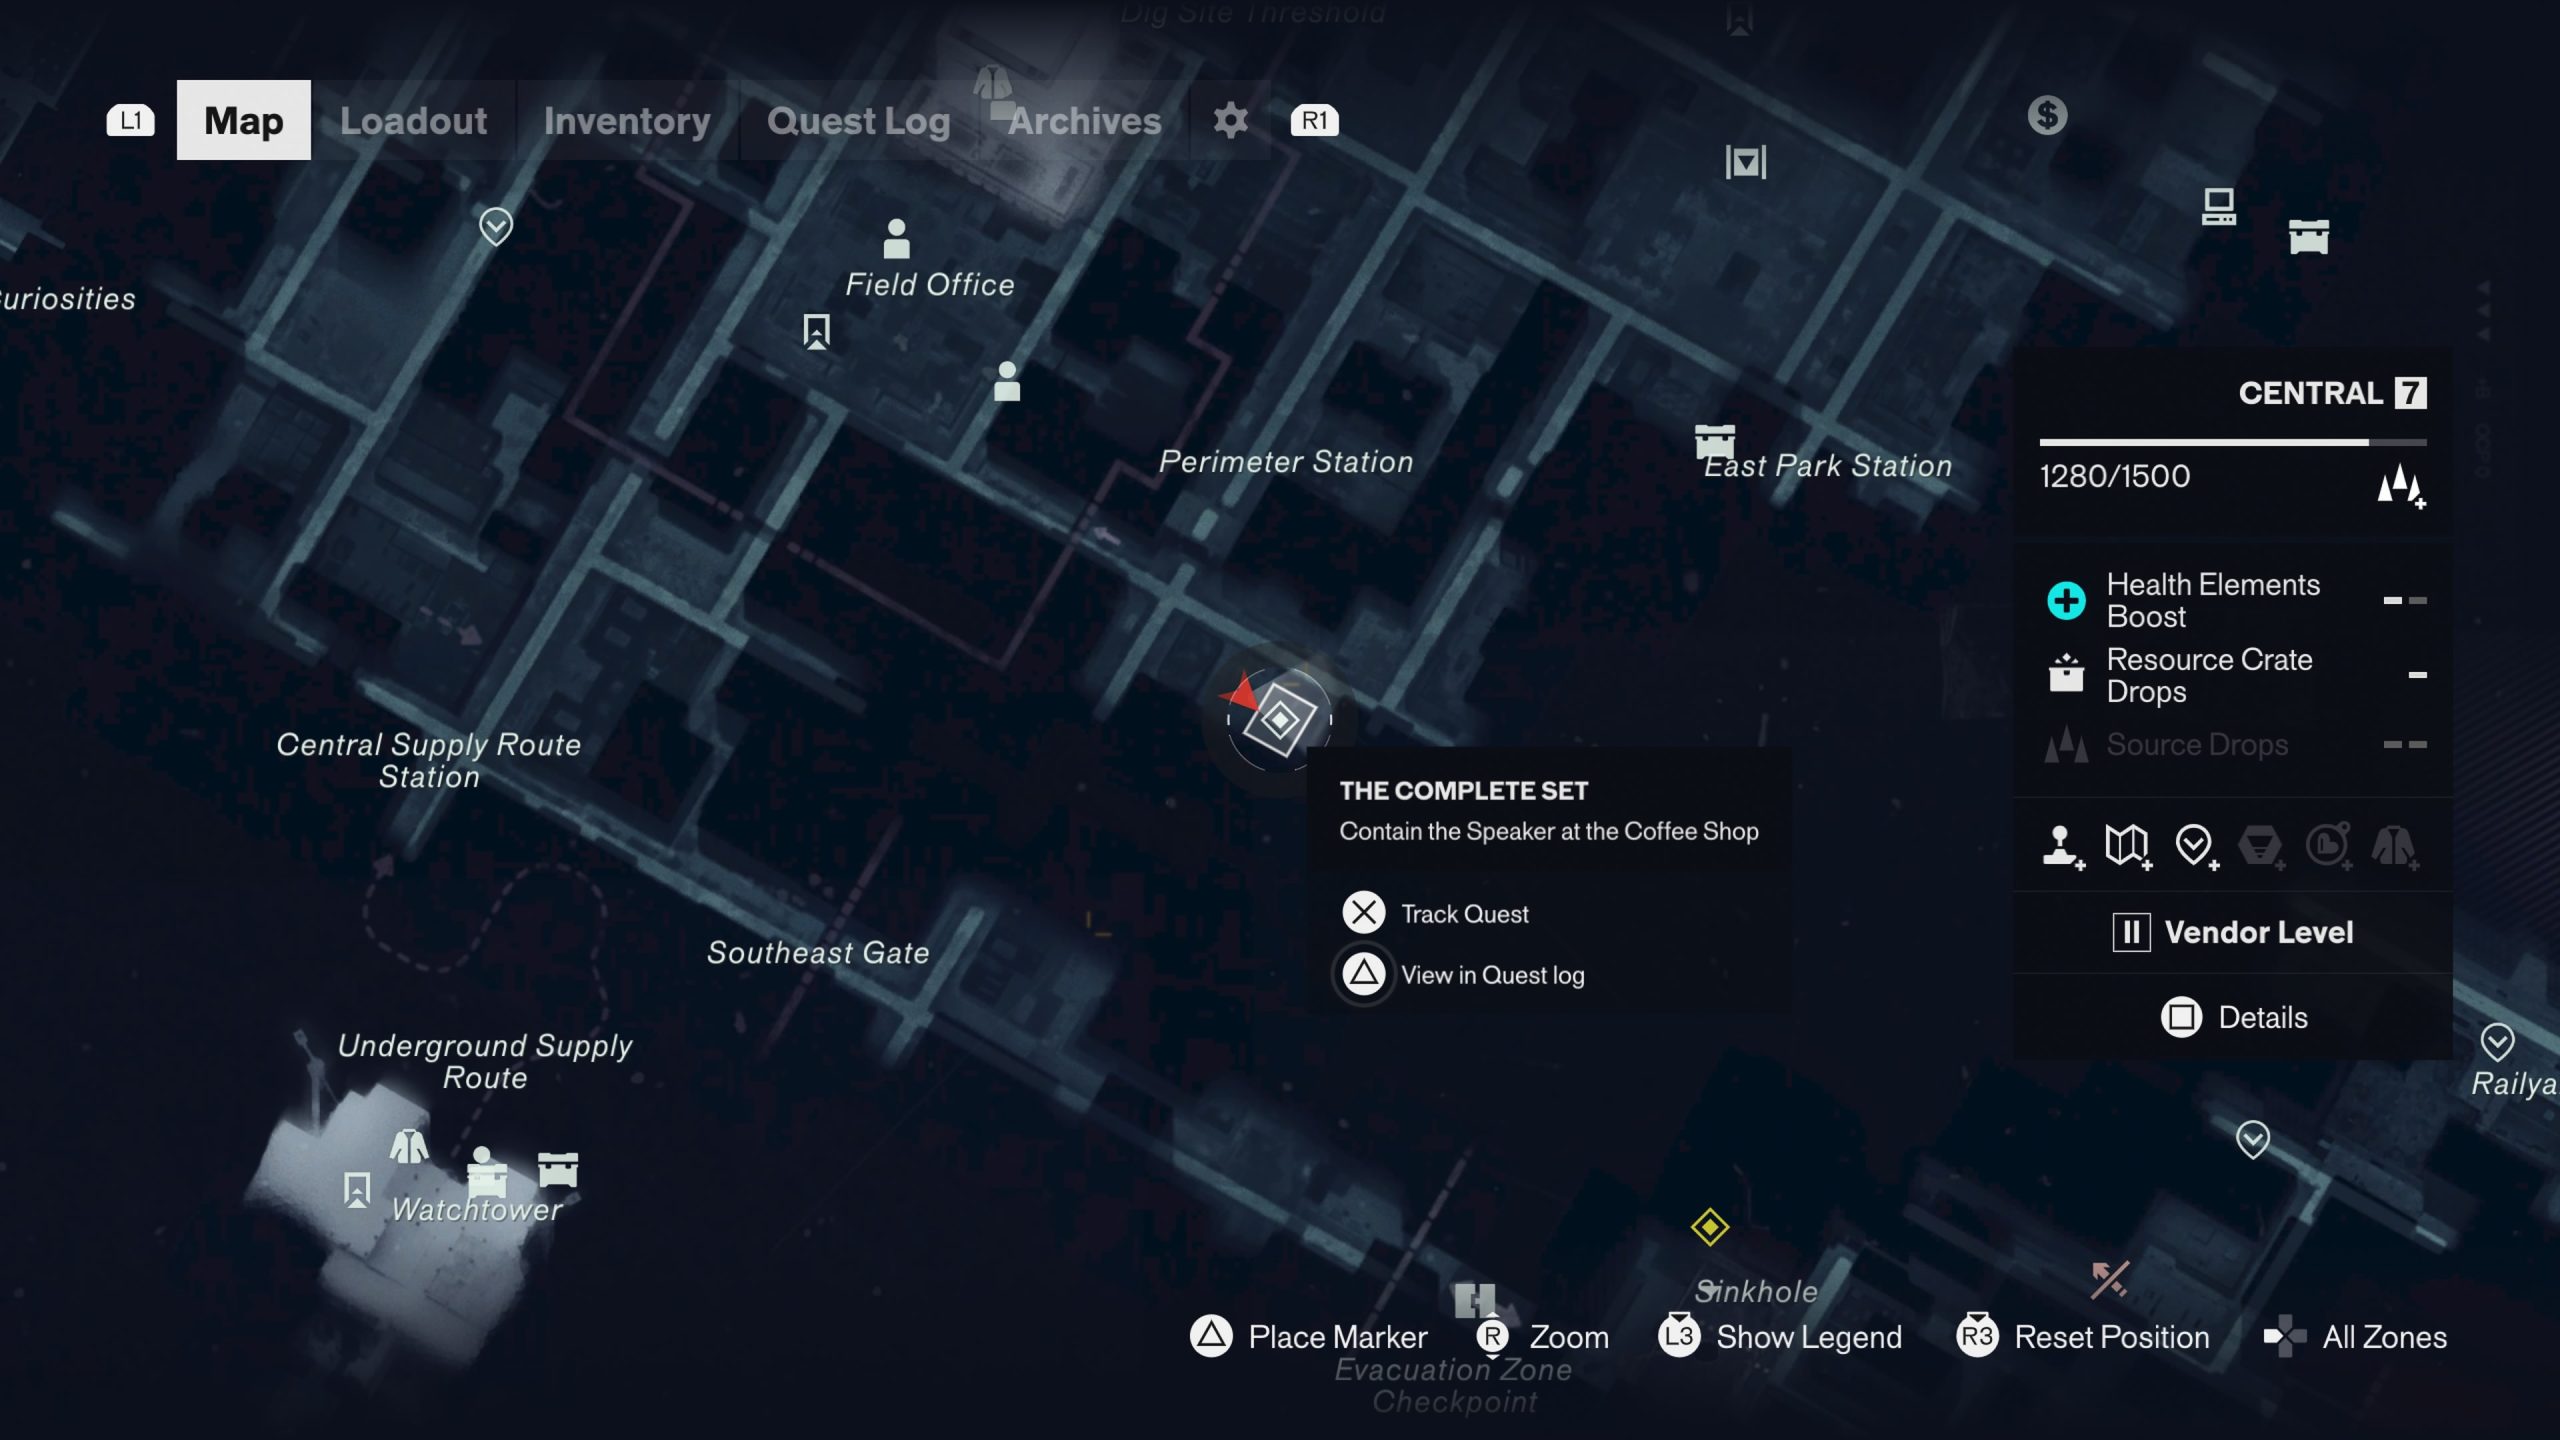
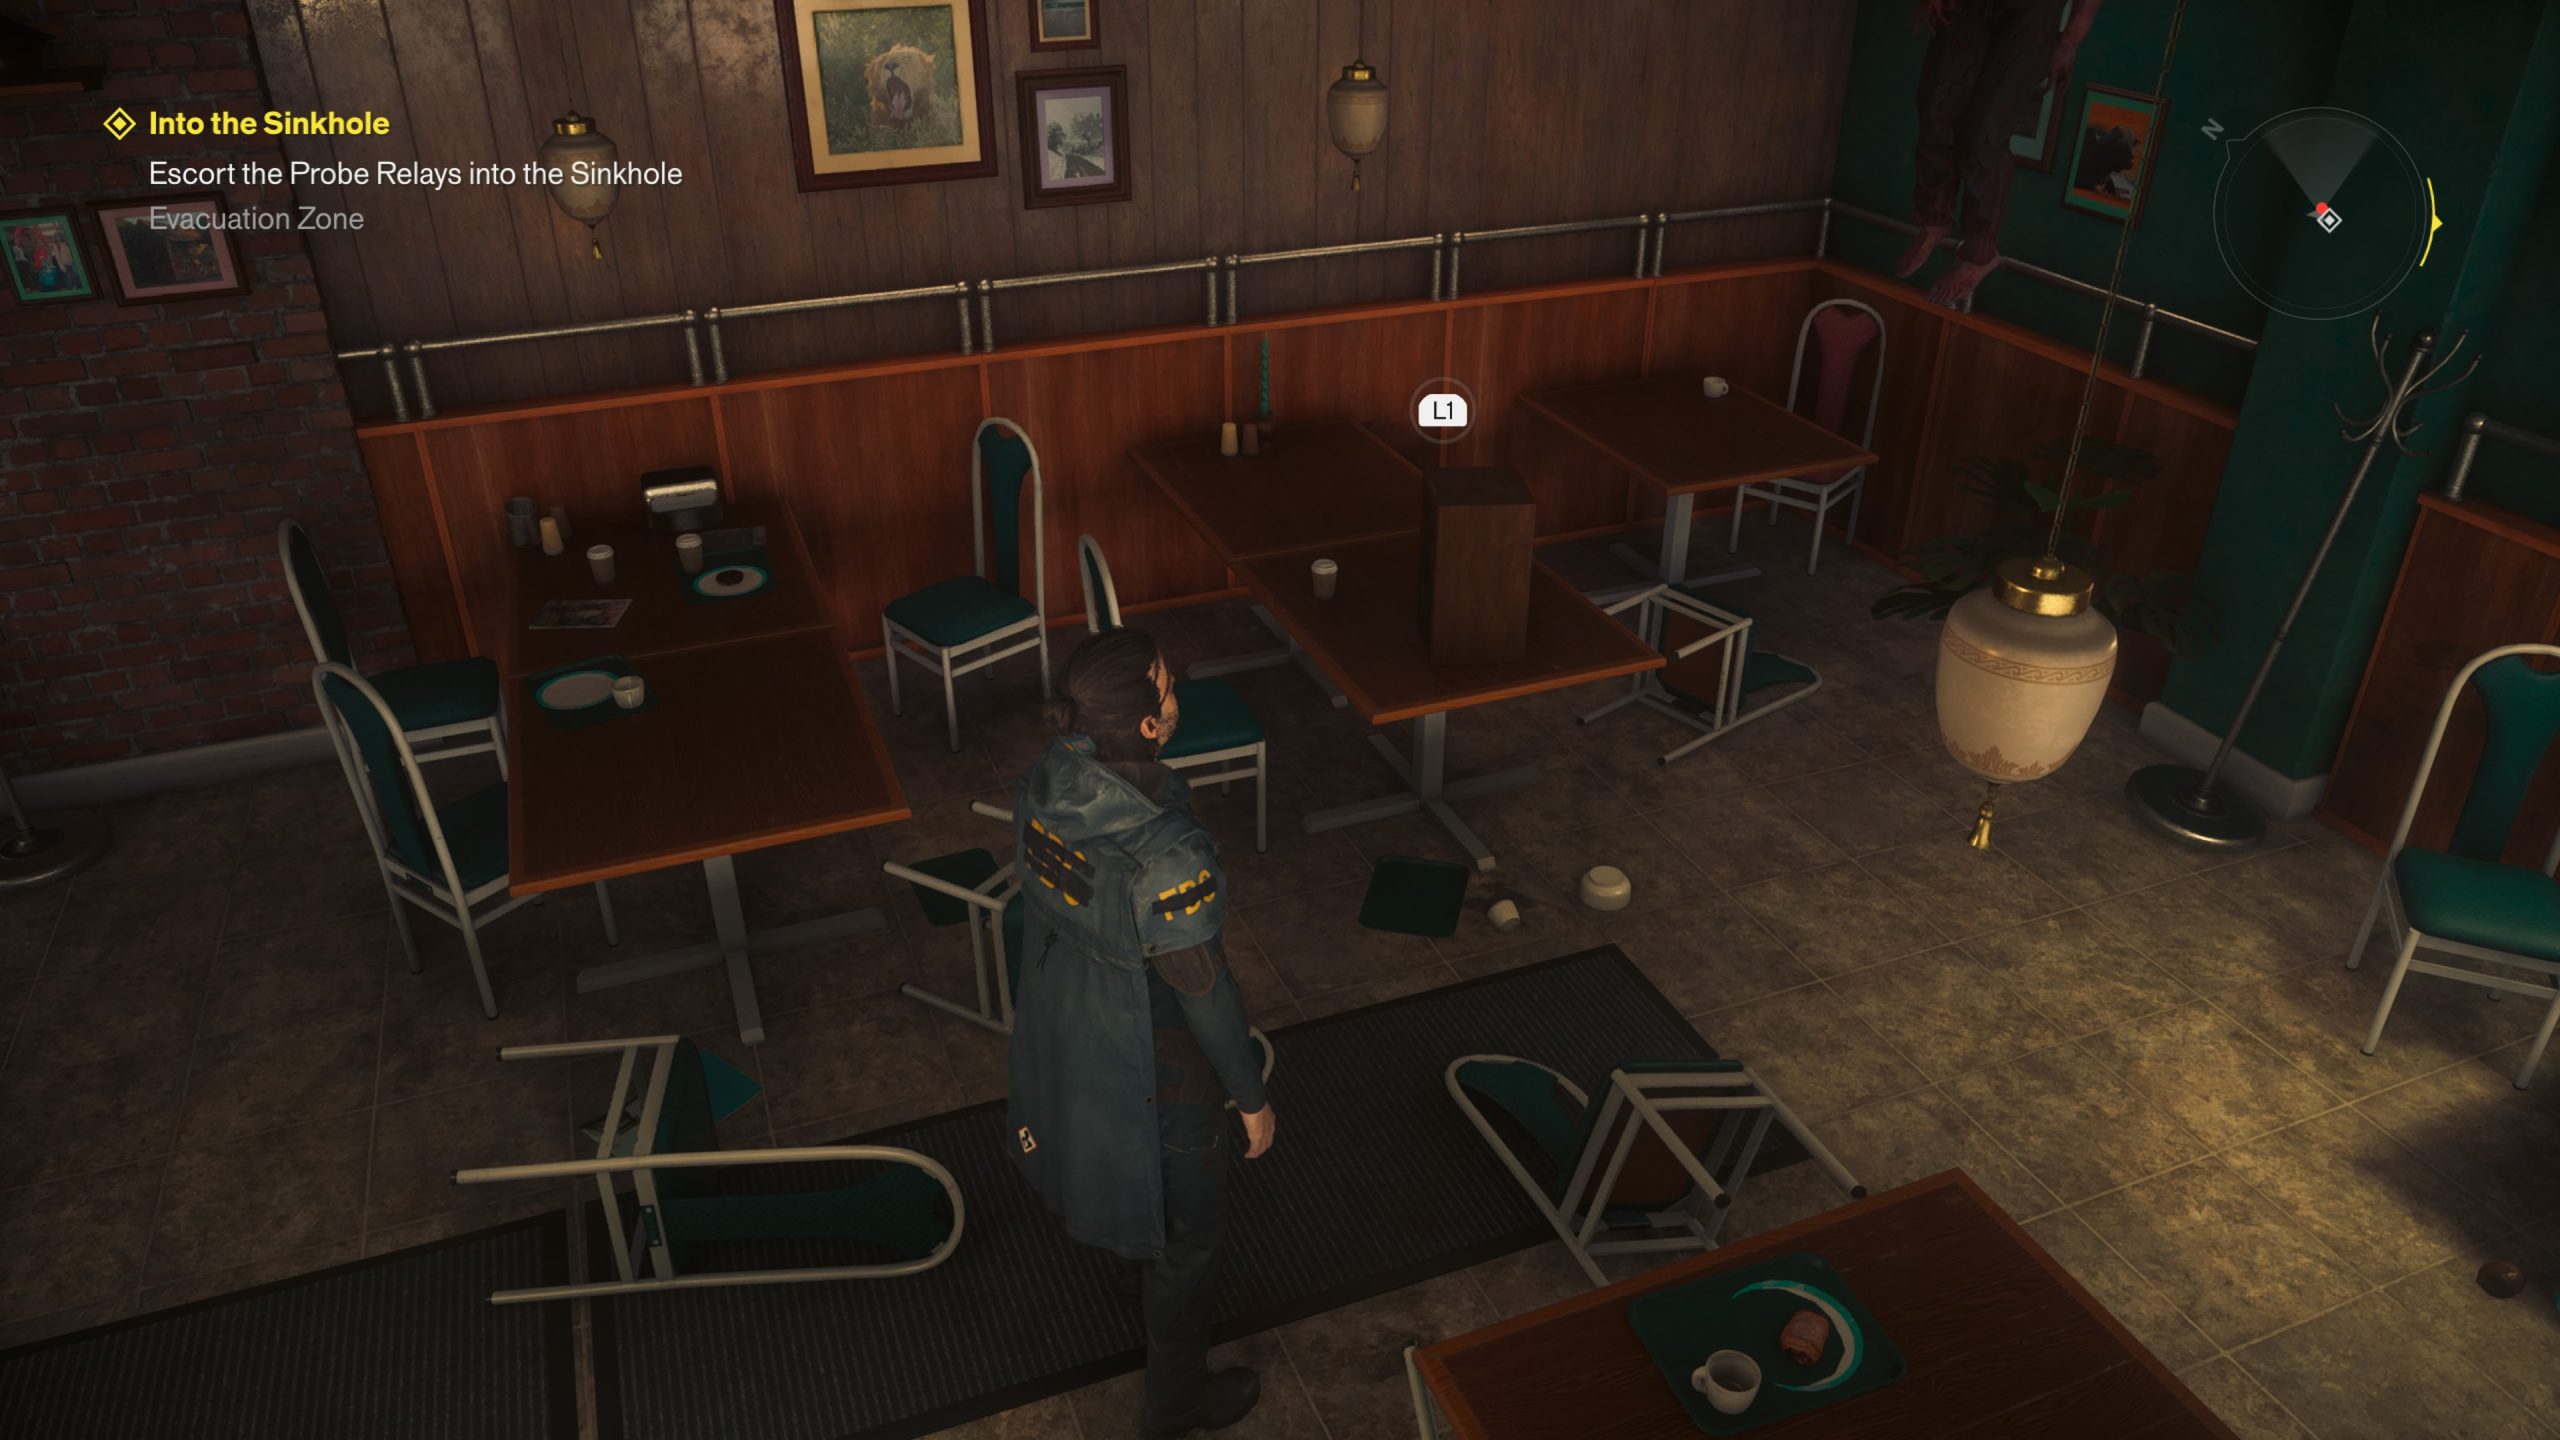
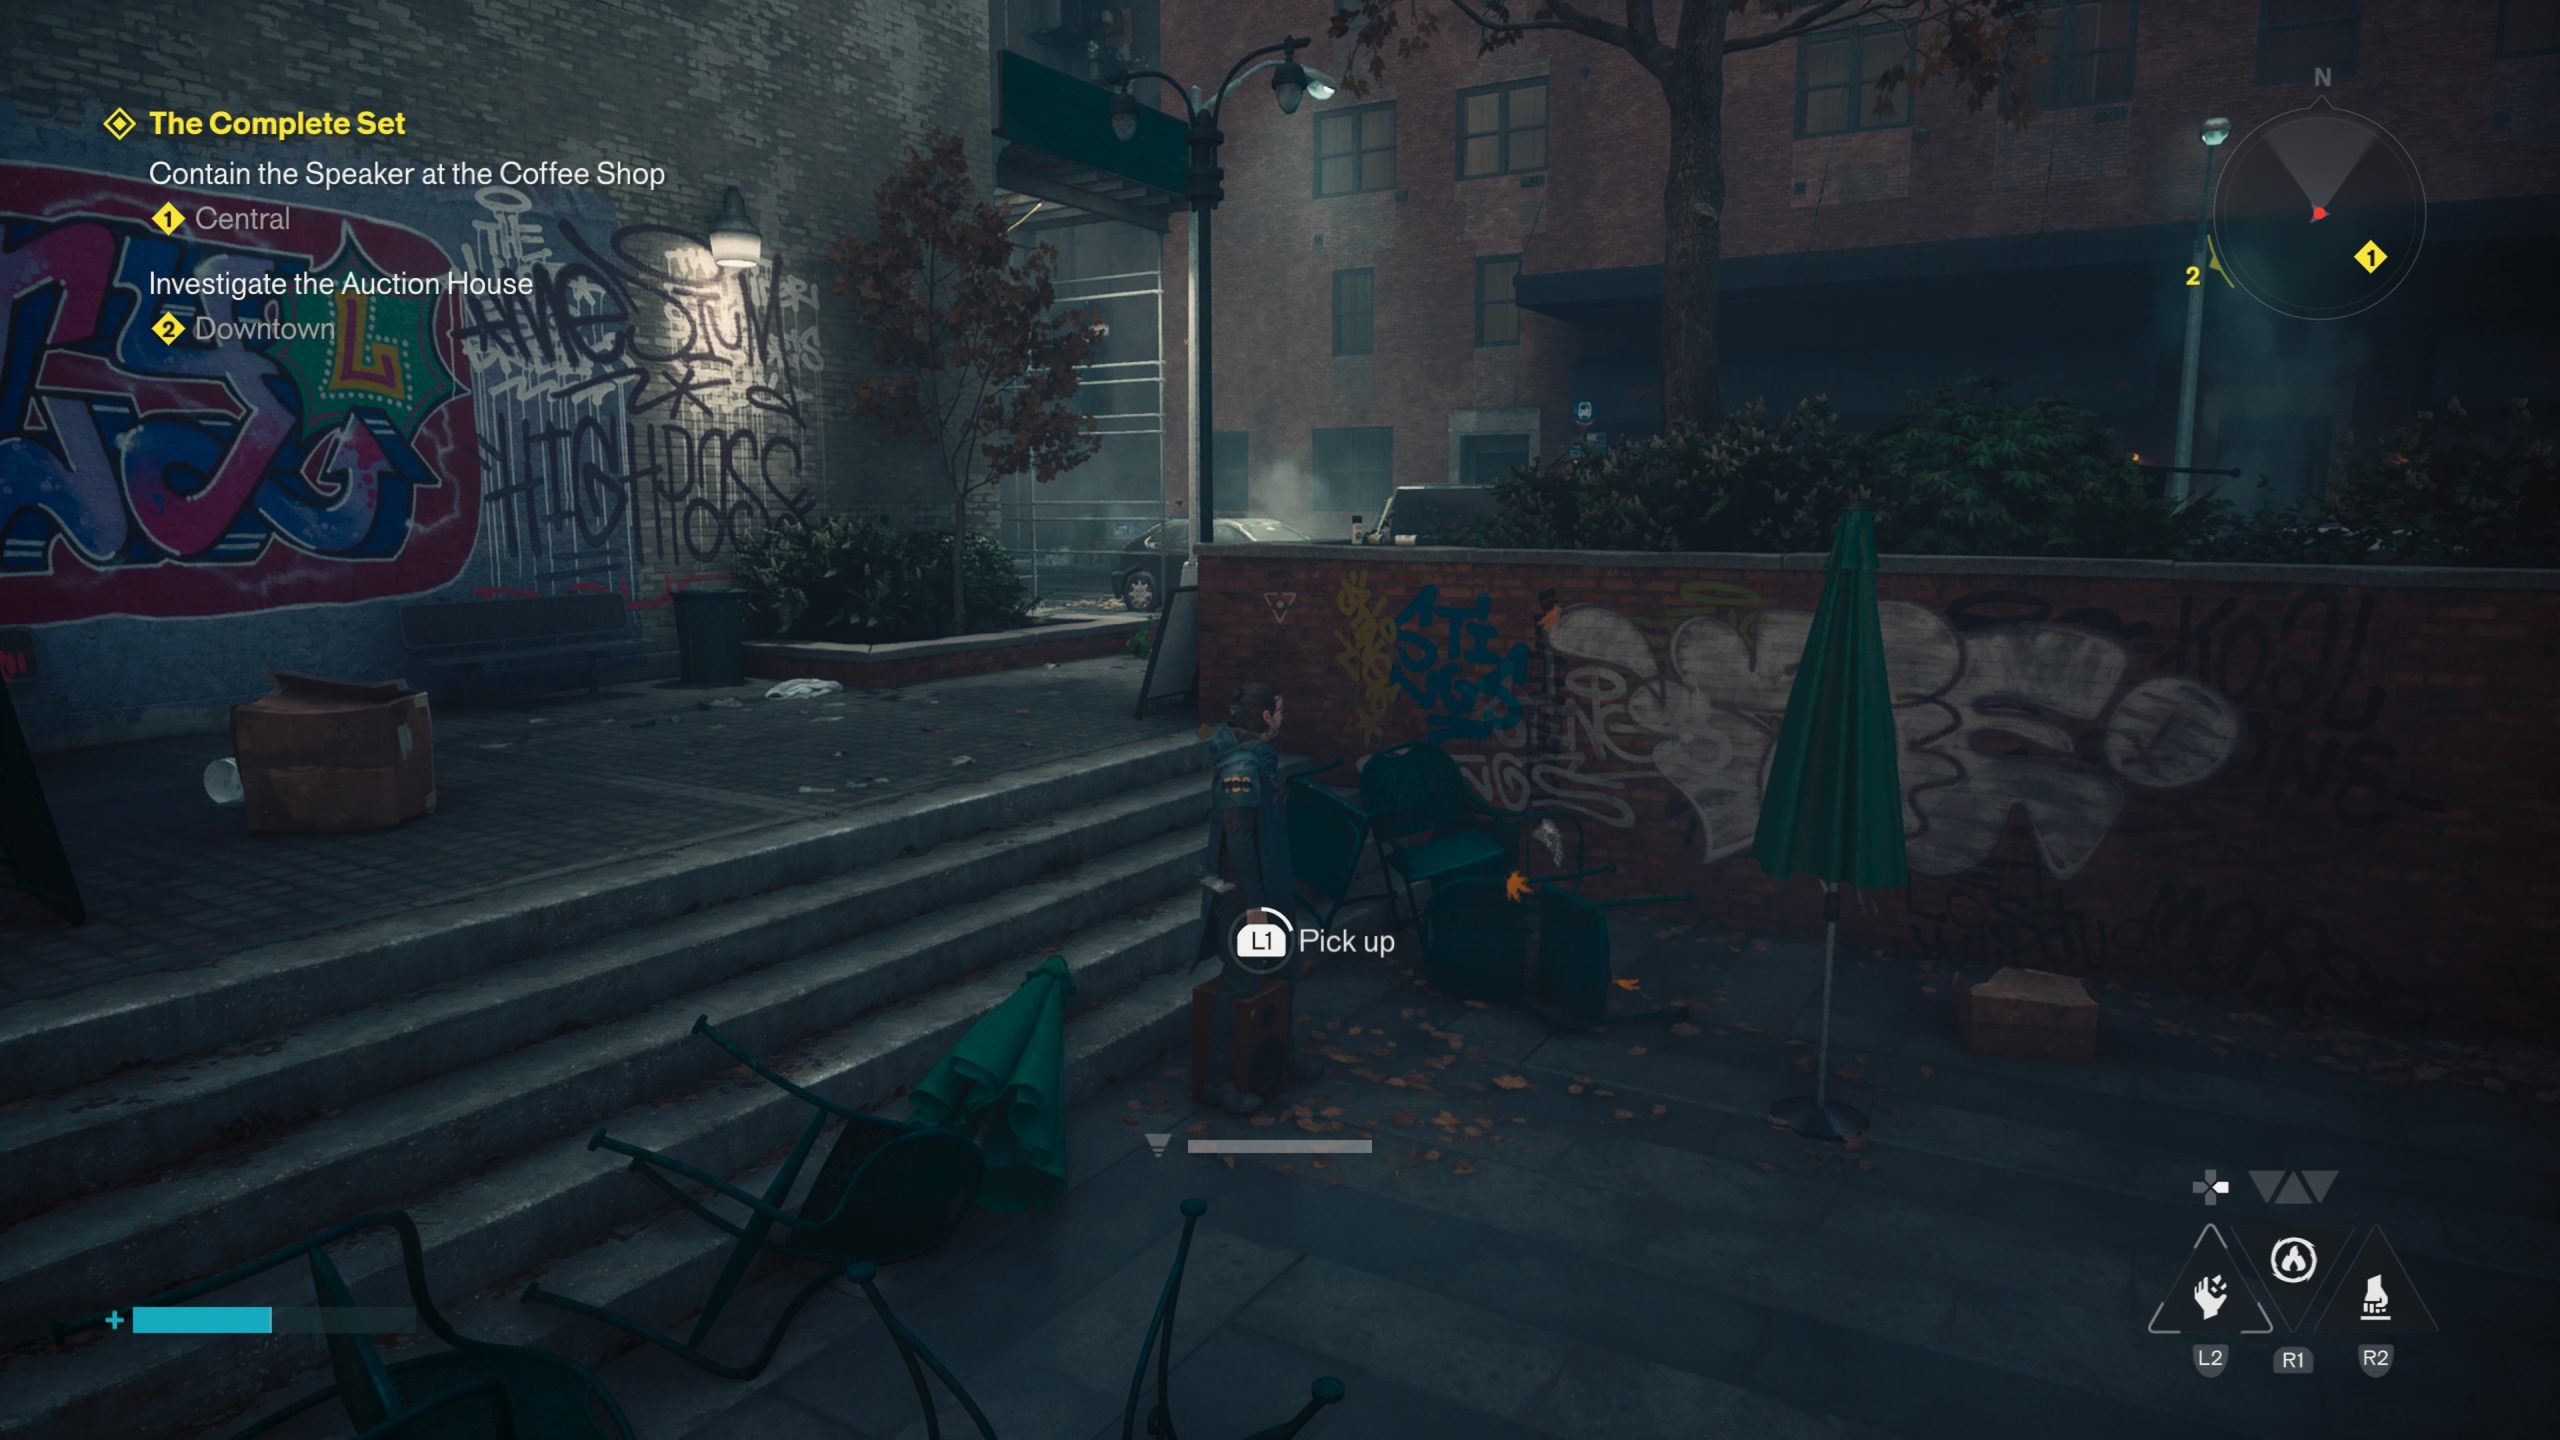
Thus begins The Complete Set quest. Now, turn to the speaker and attempt to contain it, resulting in it going ballistic and wrecking the shop, before escaping out into New York. Follow it! It will bounce about the outside courtyard area and attack you if you get too close, but there is a window where it’ll sit still long enough to grab and contain it. When you finally manage this, and Dylan has finished updating Zoe, head over to the Auction House
The Auction House
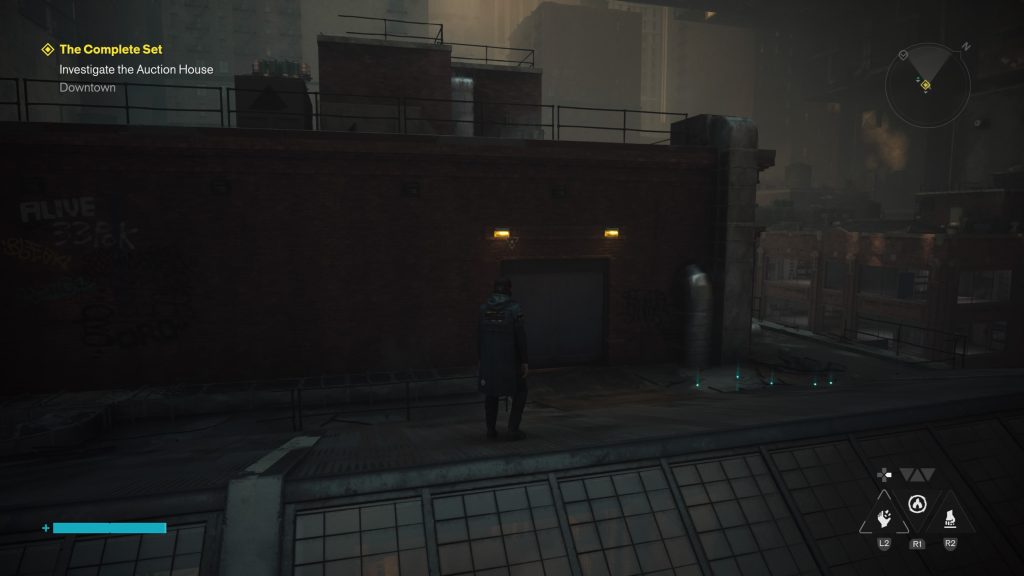
From The Atlantis Restaurant, you’re going to need to head all the way back to Downtown. You’ll be heading to a part of it you wouldn’t have previously, as you didn’t have the Gravity Shift ability then. Once you head to the district, head to the Auction House’s rooftop, and get ready for a fight. There is a huge amount of enemies here, so make sure to be high enough level to make easy work of them.
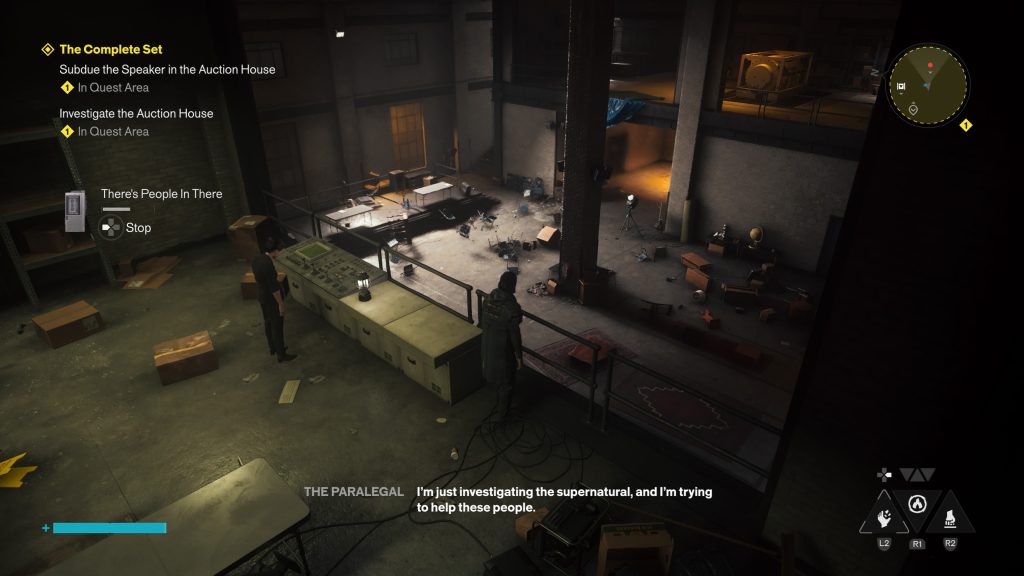
When the fight is finished, head through the rooftop door and into the Auction House. You’ll see a woman standing overseeing the area below, speak to her, and you won’t get much back, beyond the activation of another speaker. Same as at the Atlantis, do your best to figure it’s routine and wait for the opportune moment to grab and contain it. Then you’ll get several different objectives and areas you have to go to.
Ask Langston About the Confiscated Subwoofer
If you’ve already completed the Panopticon Service Request quest, you’ll know Langston pretty well. The self-confessed expert on all things to do with Altered Items, you’re now going to have to consult him on your latest find. Head over to Central, either on foot, or by one of the Fast Travel doors, and start a conversation with him. At the end of a lot of exposition for the quest, he’ll give you a keycard that’ll get you in room near Executive Research, all the way back in Downtown. Before you head back though, I’d suggest going to the Collector’s Apartment.
Investigate the Collector’s Apartment
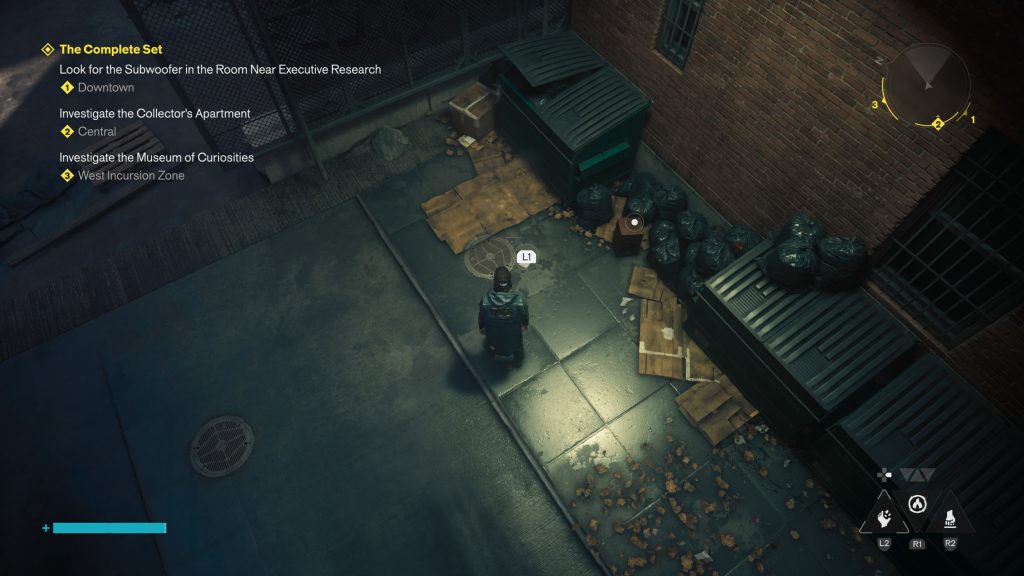
Getting to the Collector’s Apartment may take you some time, as you’ll have to cover terrain and enter areas you likely haven’t before, not to mention get tangled into a World Feat or two. When you eventually make your way to the doors of the apartment building, don’t go in. Instead, turn around and head into the alley directly opposite, and on the floor, you’ll find both another speak and a ticket to the Museum of Curiosities.
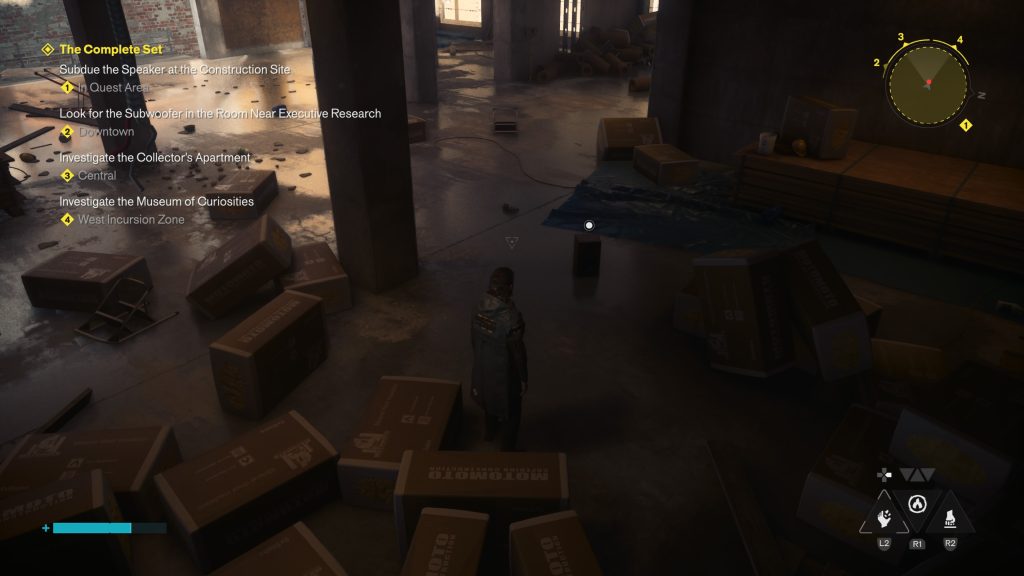
Upon interacting with the speaker, it’ll again go a little mad and destroy a considerable amount of stuff between yourself and the construction site near you. Head into the site and once again pick the right moment where it’s stopped to grab and contain it, but don’t expect to do so without being attacked. Once you’ve grabbed it, head back to the apartment building and enter the Collector’s Apartment. Listen to the answer phone for a full, gruesome explanation of what happened, and be sure to complete the One Man Band set-up for one of Dylan’s Sketches before heading over to the Museum of Curiosities.
Investigate the Museum of Curiosities
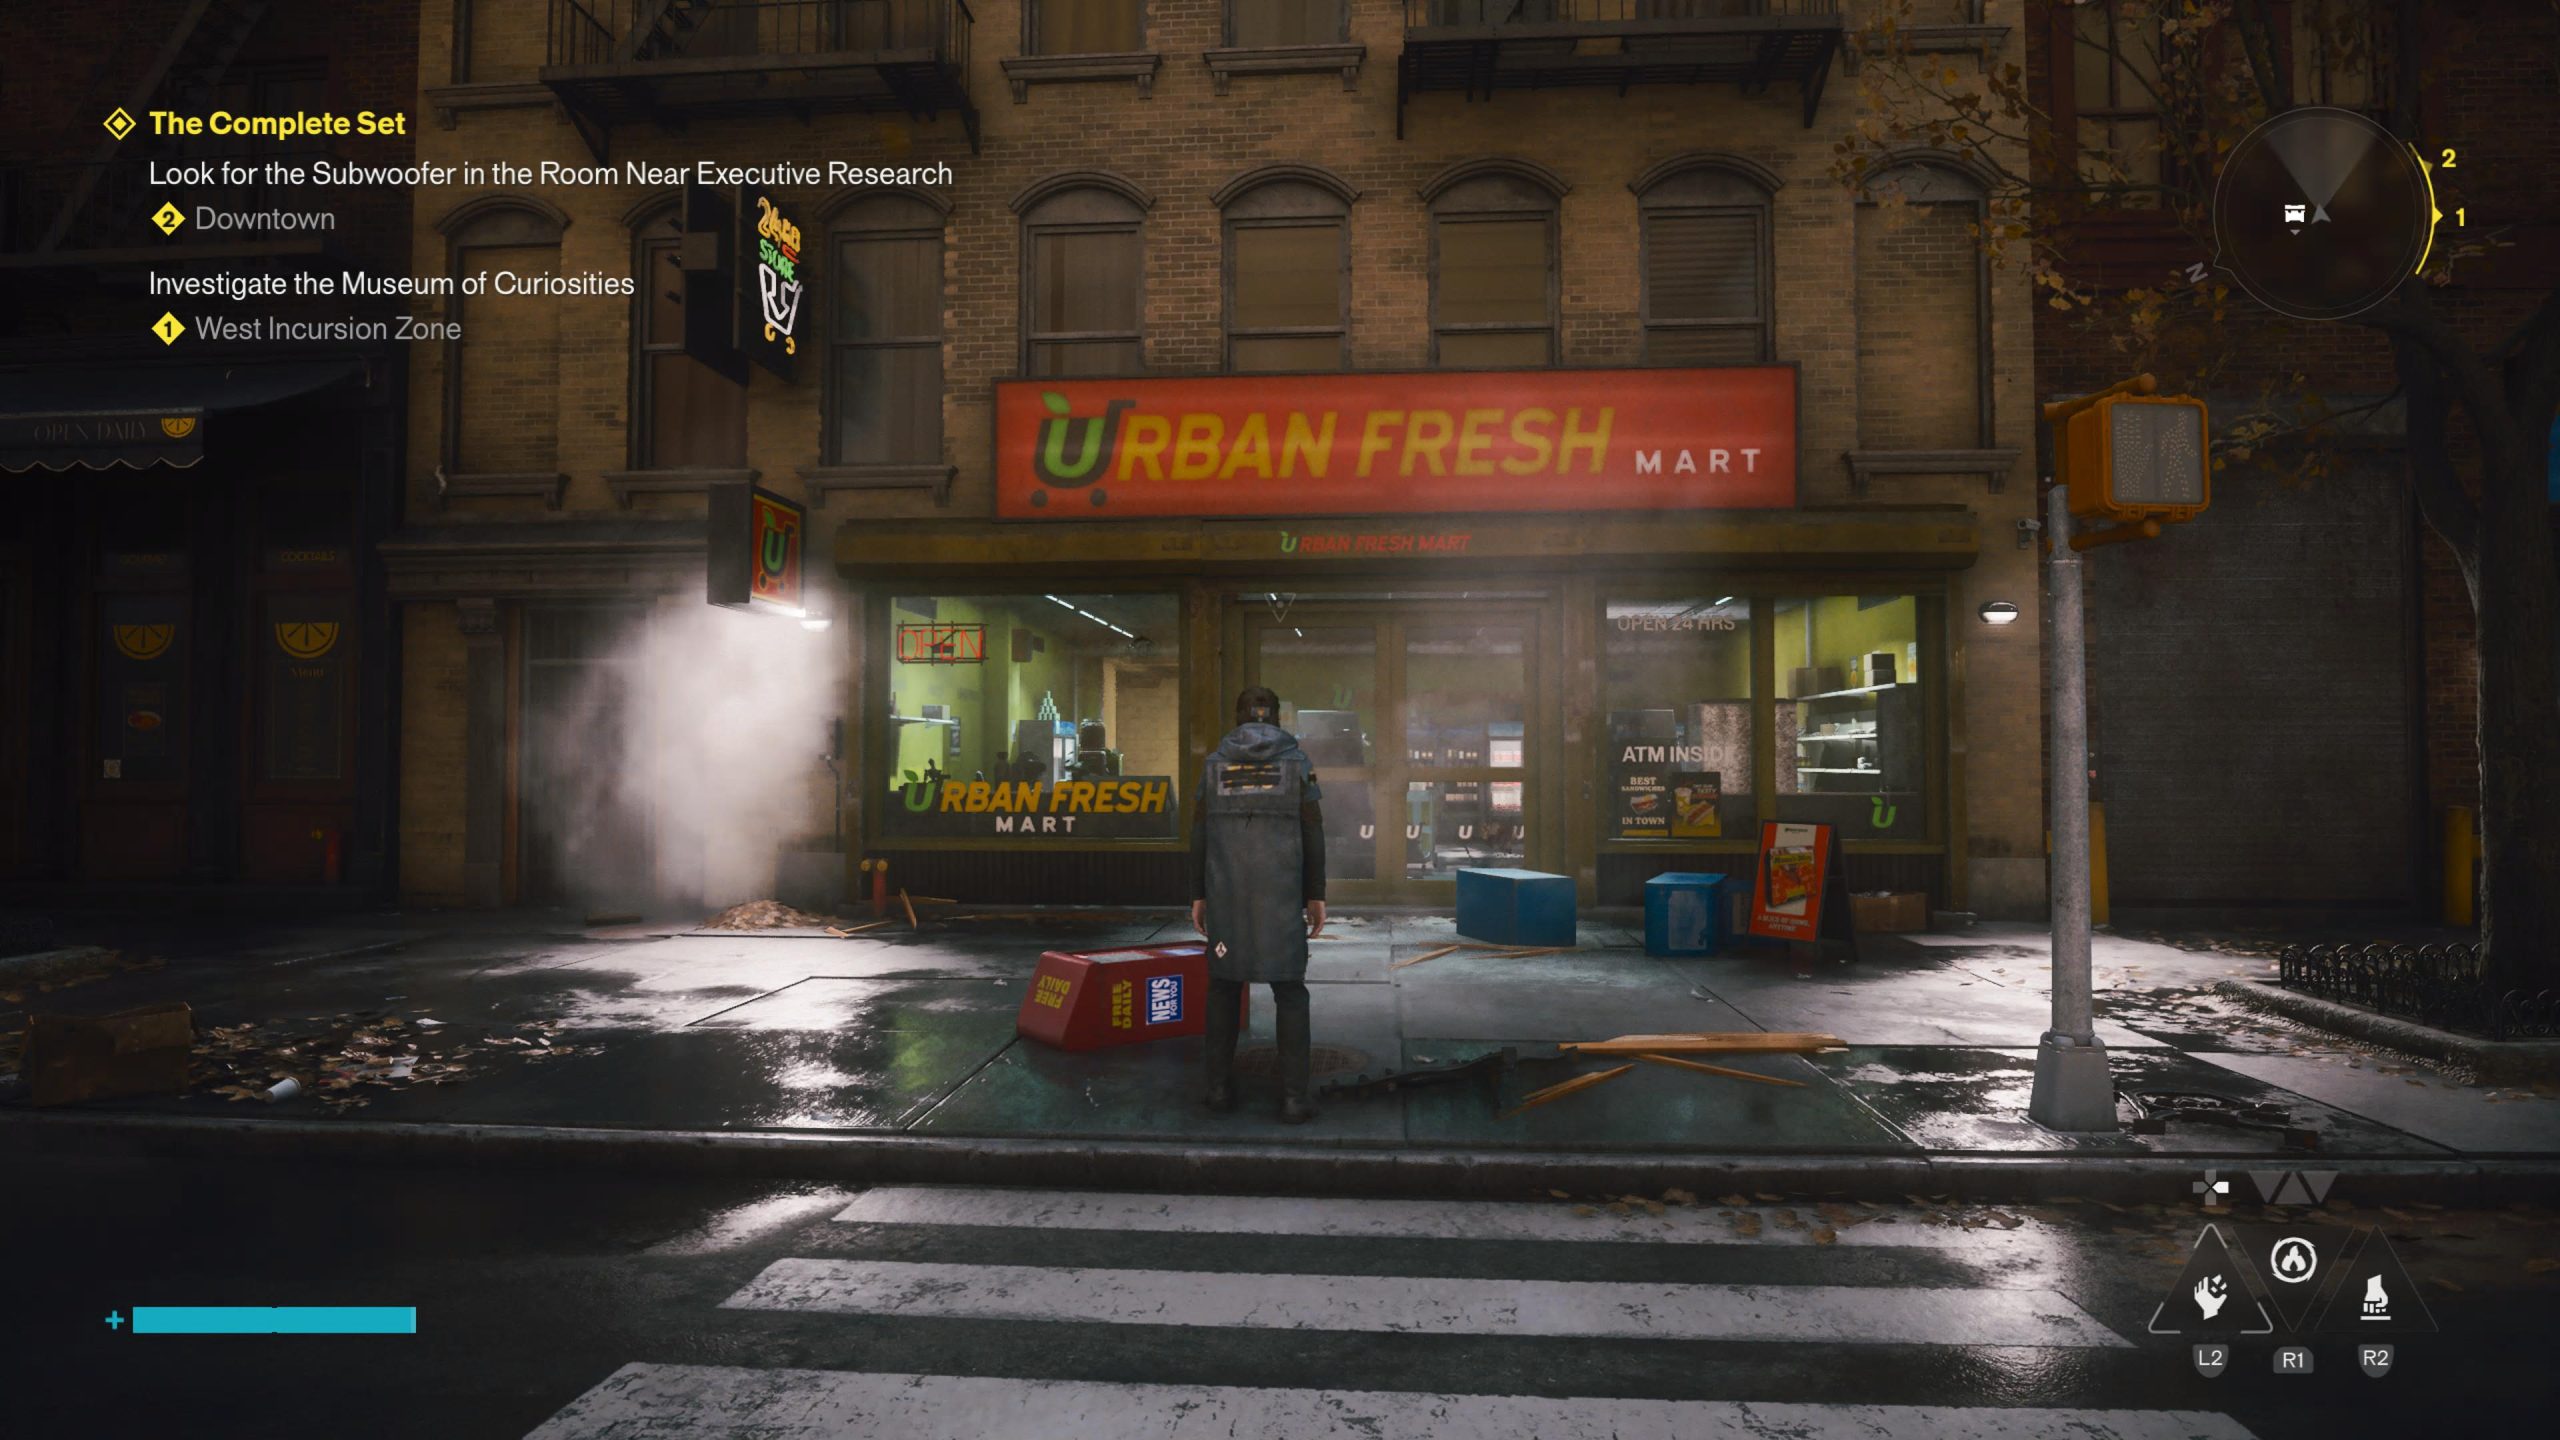
The Museum of Curiosities is in the West Incursion Zone, so head through a door or make your way there on foot again. On your way, you may want to stop by the Urban Fresh Mart not far from the Museum for a little surprise, or save it for later. Once you make it there though, you’ll have yet another big fight with heavy’s and basic enemies a plenty, but after you’ve dispatched of them, you can report in with Zoe about the Museum. You’ll notice that it’s door is blocked, and you’ll need to search out the three enemy feeding the shield.
One is to the right of the Museum, sat smack dab in the middle of a shifted road. Jump and destroy it. Turn around and head back the way you came, and now follow the path to the right. You’ll see another feeder with two lasers erratically dancing up and down the alley. I’d suggest jumping down from the rooftop to the left to save your health, but the choice is yours.
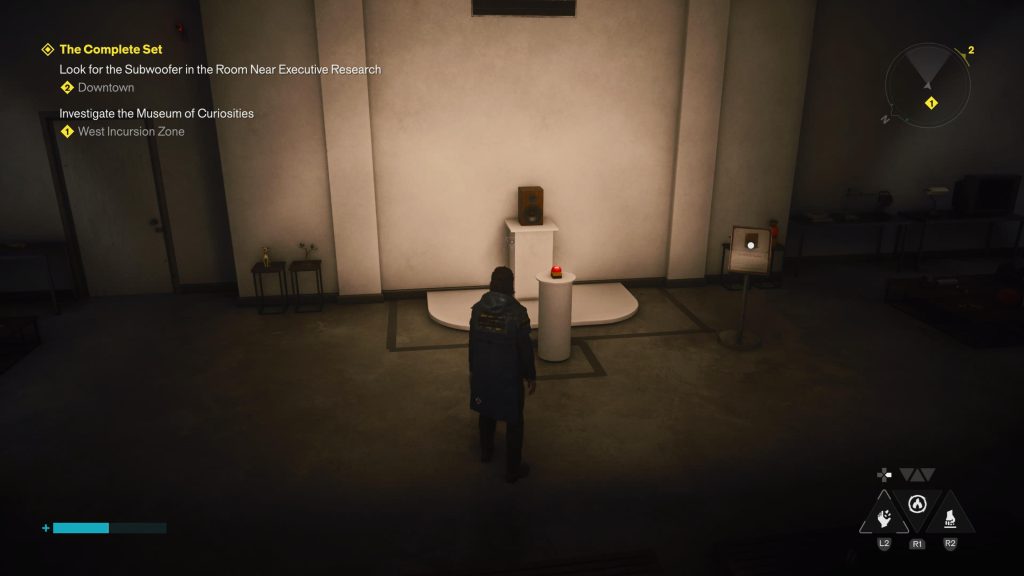
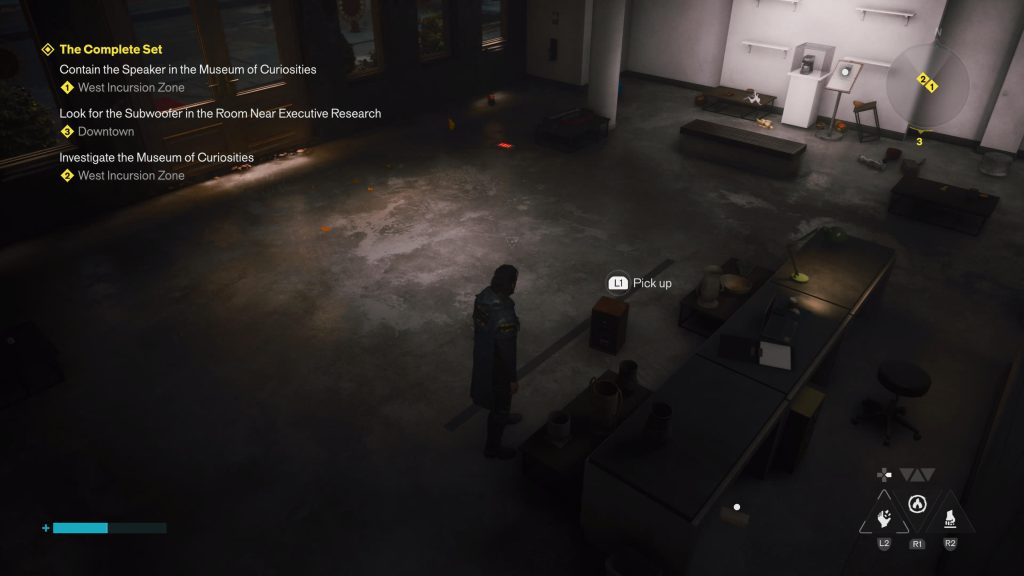
Now, turn around once more and head towards the third and final feeder. this one also on the ‘roof’ of a patterned road, except there’s a considerable amount of enemies at the end of this one. Make sure to focus on the heavy enemies as you have before, and then destroy the feeder before heading back to the Museum of Curiosities. You’ll now be able to enter.
In the Museum of Curiosities is a range of different items. They all sound like Altered Items, as you read their descriptions, but whether or not their real is definitely up for debate. Head to the back and you’ll see the speaker you’ve come to grab.
Look for the Subwoofer in the Room Near Executive Research
You’re almost at the end. Now for some more travelling. You’ll need to head back to Downtown to make use of the keycard that Langston gave you earlier on. You’ll be heading back to The Oldest House, perhaps for your first time since leaving at the beginning of the game.
Head in the front door and up to the elevator, pressing the button and riding it up. Head out and round the corridors until you come to the open area with the save point in the middle. Executive Research is right in front of you, so head towards it. You’ll effectively be running all the way back towards Dylan’s cell, to make it clear.
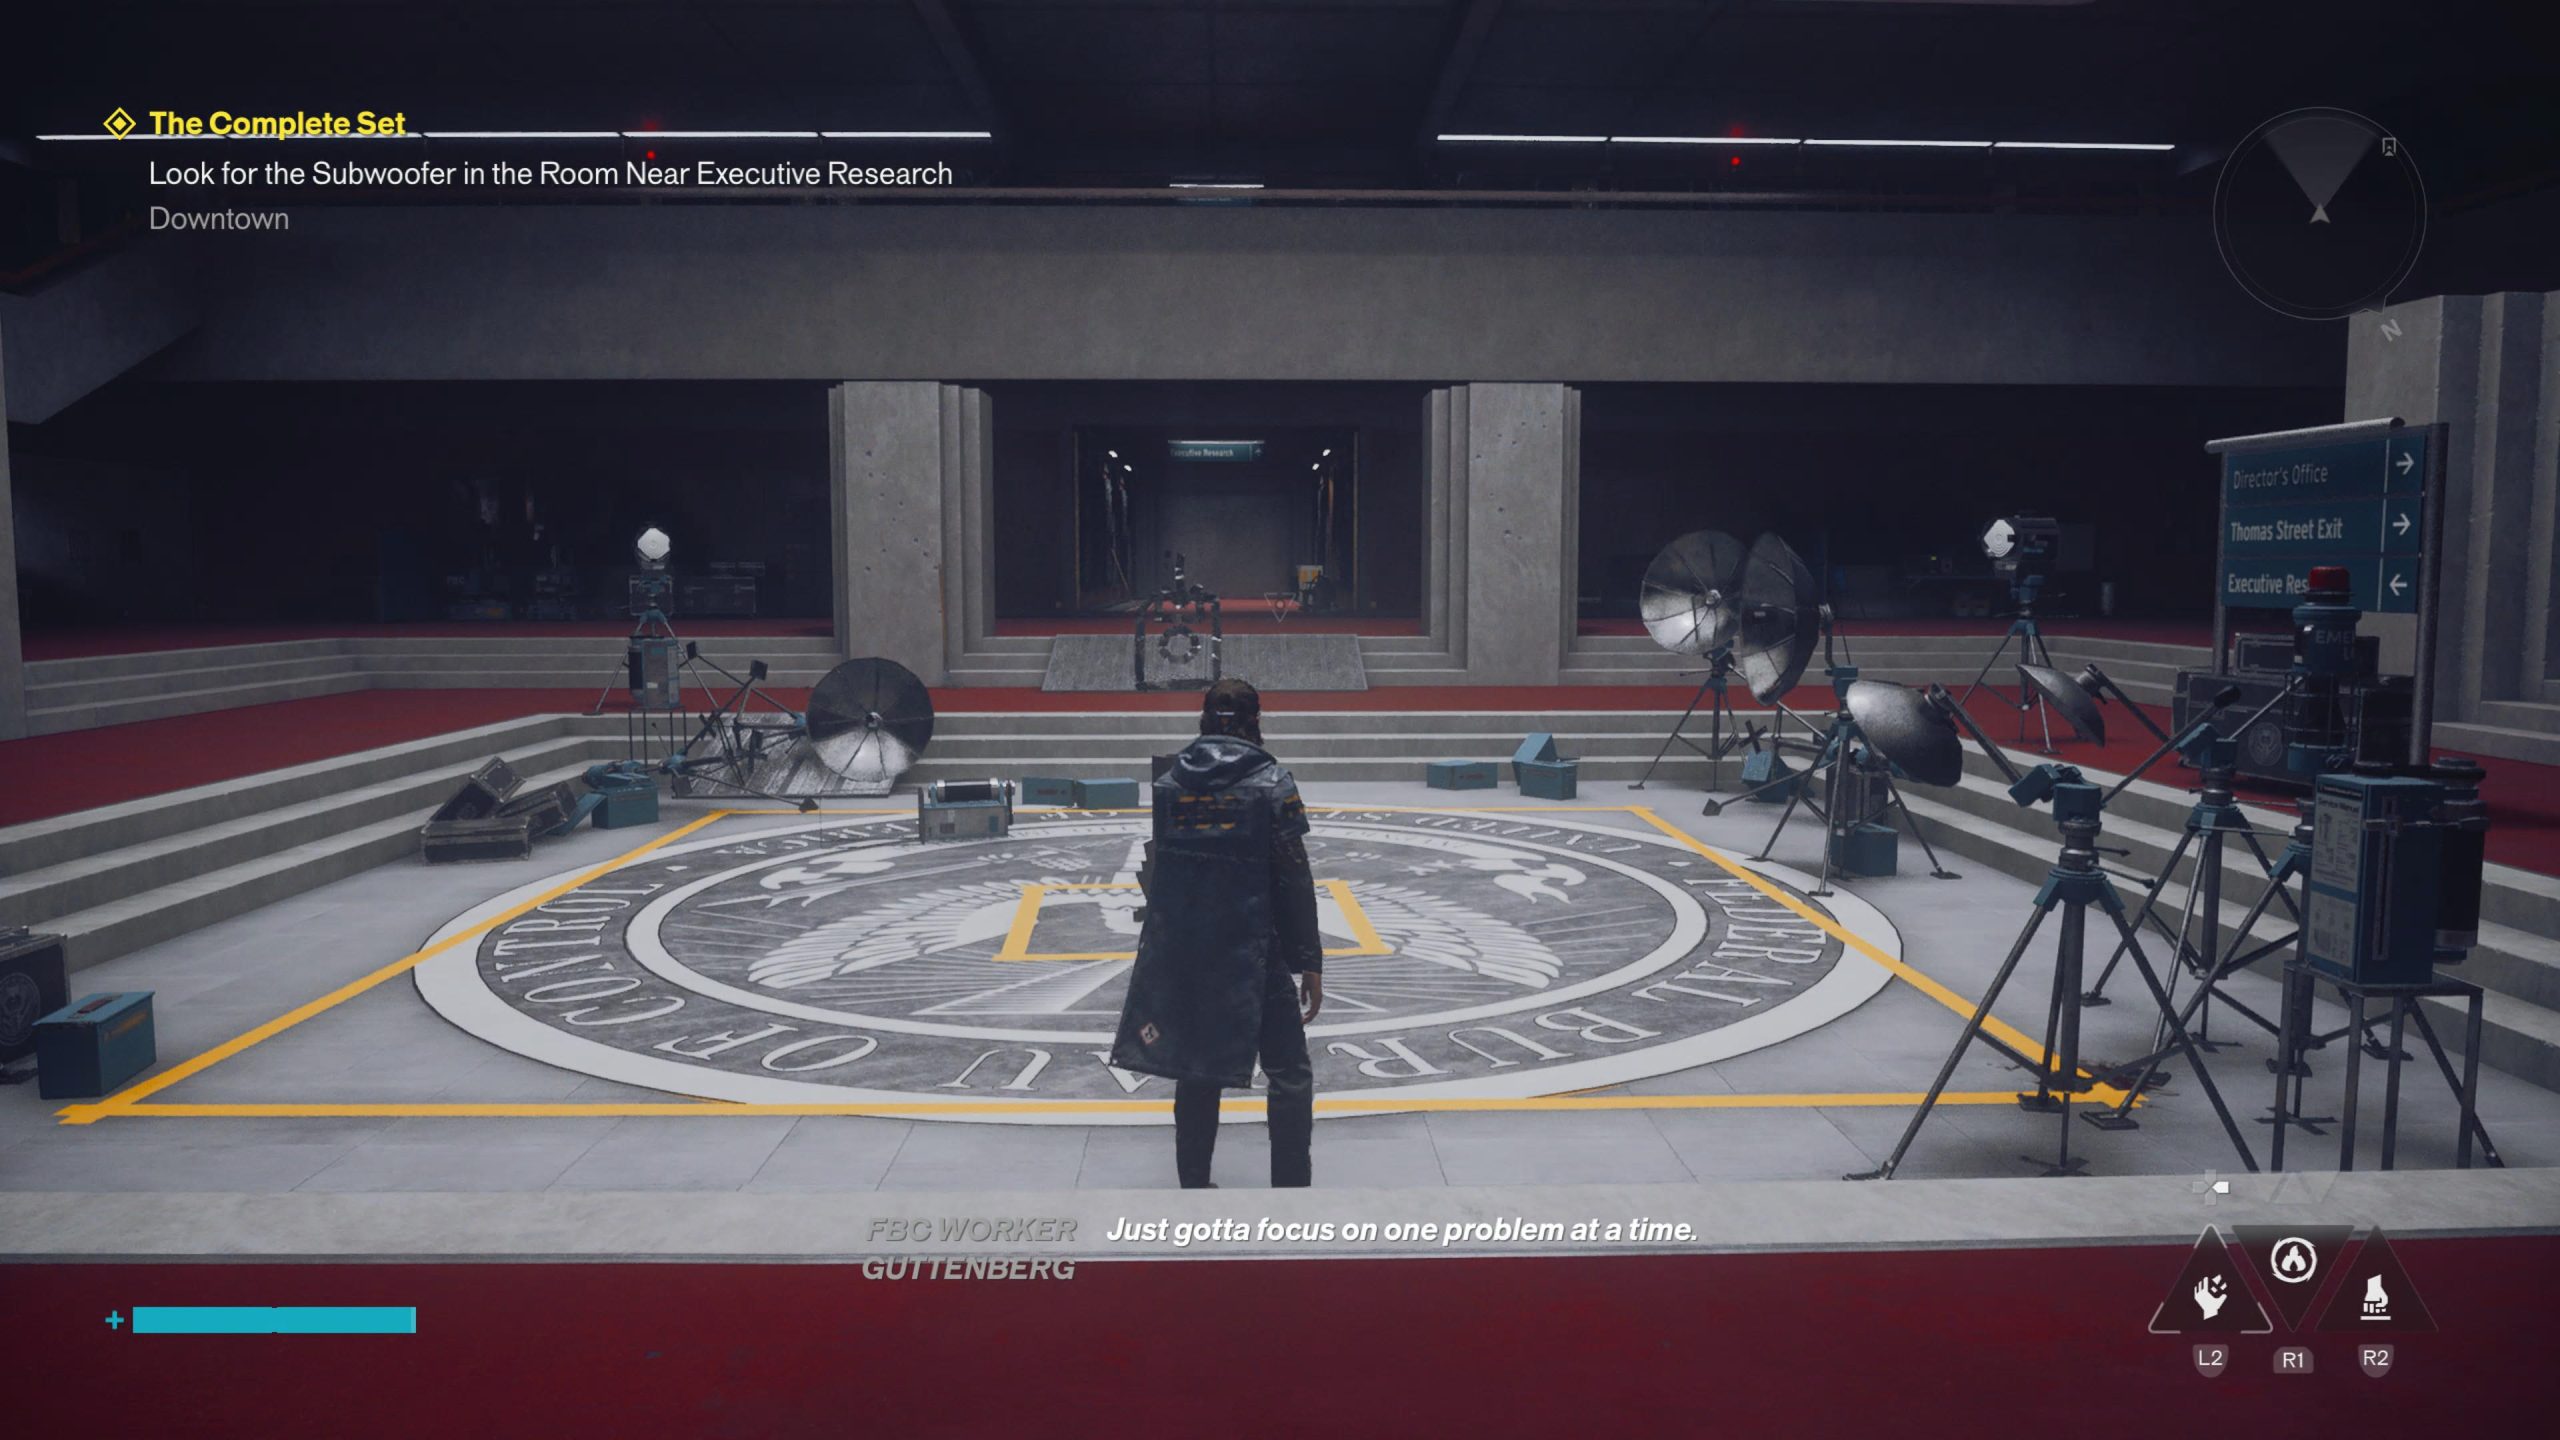
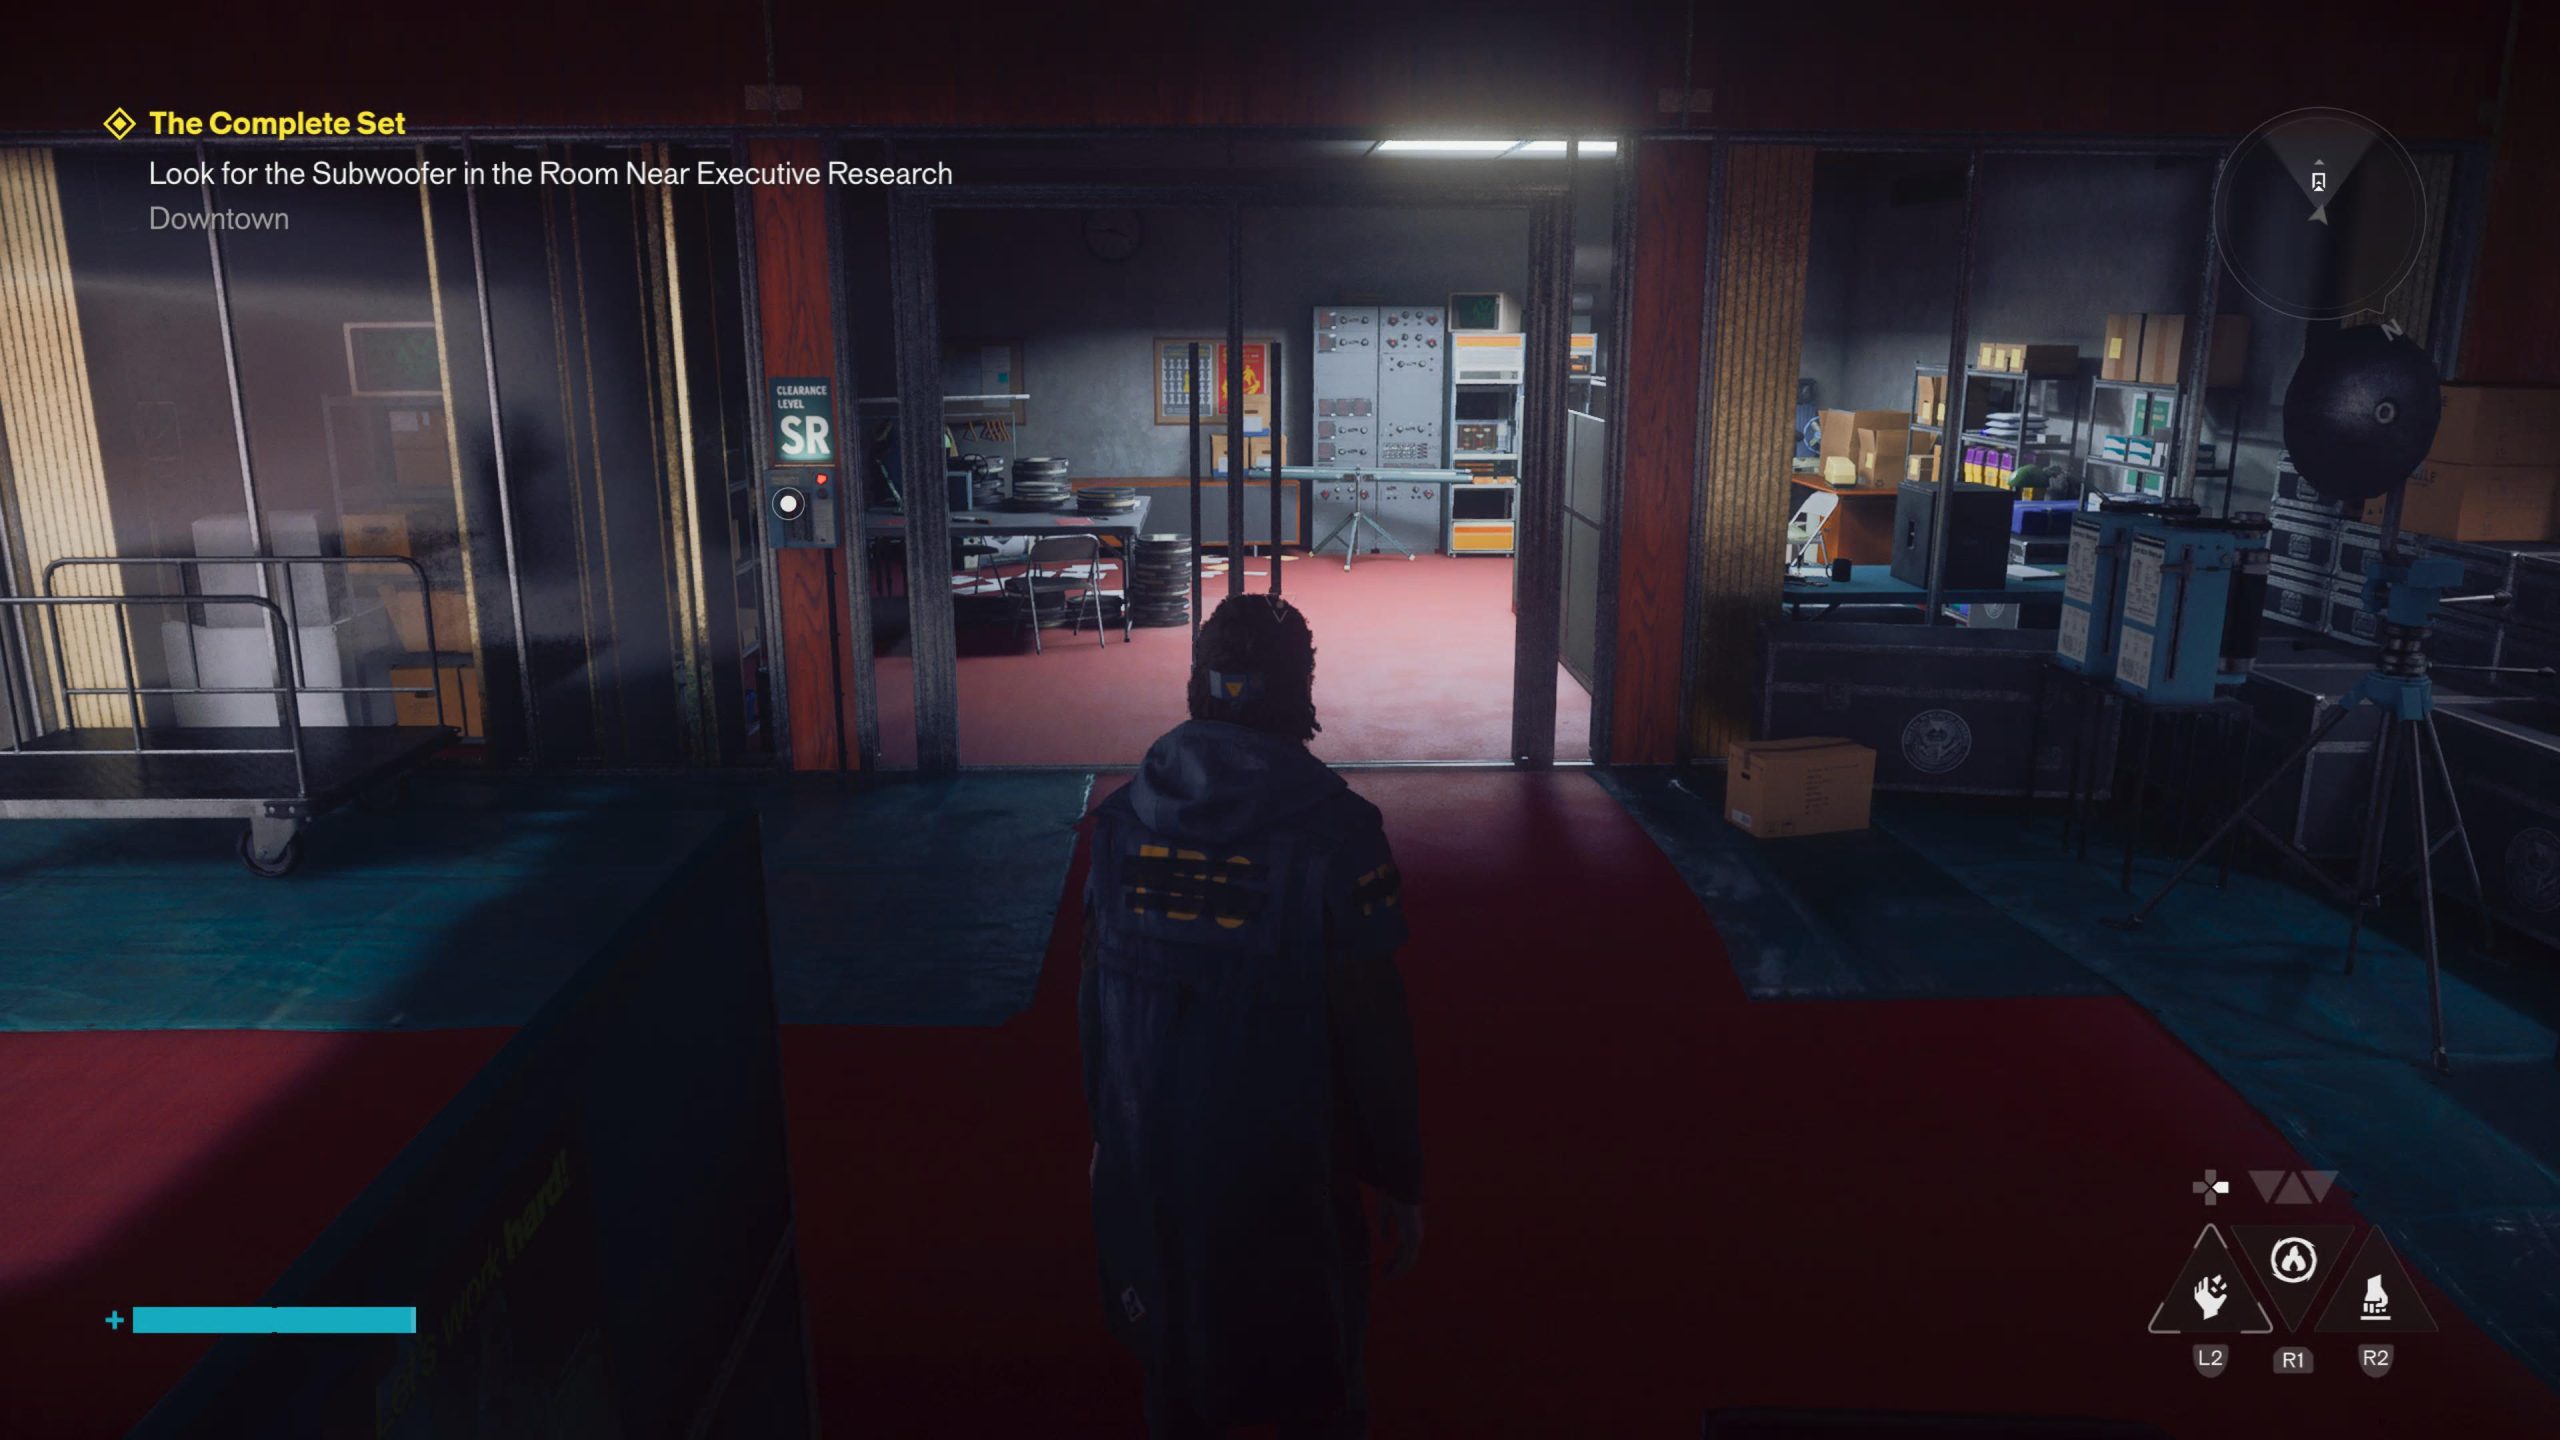
When you hit the area with security checks and an office-like central area, look for the room with SR on the side, where the Clearance Levels usually are. This is the room you’re looking for, and it’s full of collectibles, notes and the Subwoofer you’re here for.
When you go to grab it, just like the speakers before it, it runs away, but this time the Hiss also come and attack. Clear them all out and then focus on containing and grabbing the Subwoofer too, and now, we head back to the Auction House one last time.
Take the Speakers and Subwoofer Back to the Auction House & Complete the Ritual
Now you have all four speakers and the subwoofer, head back to the Auction House. The civilian is still stood there, unmoved, and now you need to help them. Place the four speakers and subwoofer on the couch ready to be placed throughout the Auction House, and be ready for some serious weirdness. They go in the following places.
- The subwoofer goes right next to the couch in the middle of the room behind the civilian.
- Speaker #1 goes on the table at the bottom of the stairs.
- Speaker #2 is directly opposite this, on the stage.
- Speaker #3 will be up on the first floor, opposite the civilian on the tarpaulin.
- Speaker #4 will be behind #3 on a wooden bench.
Once you’ve placed each of them, head back upstairs and talk to the civilian, who is now bent backwards in an uncomfortable looking pose. You’ll now need to rush around what you’ve just placed and turn each of the speakers off, then head back to the civilian one final time.
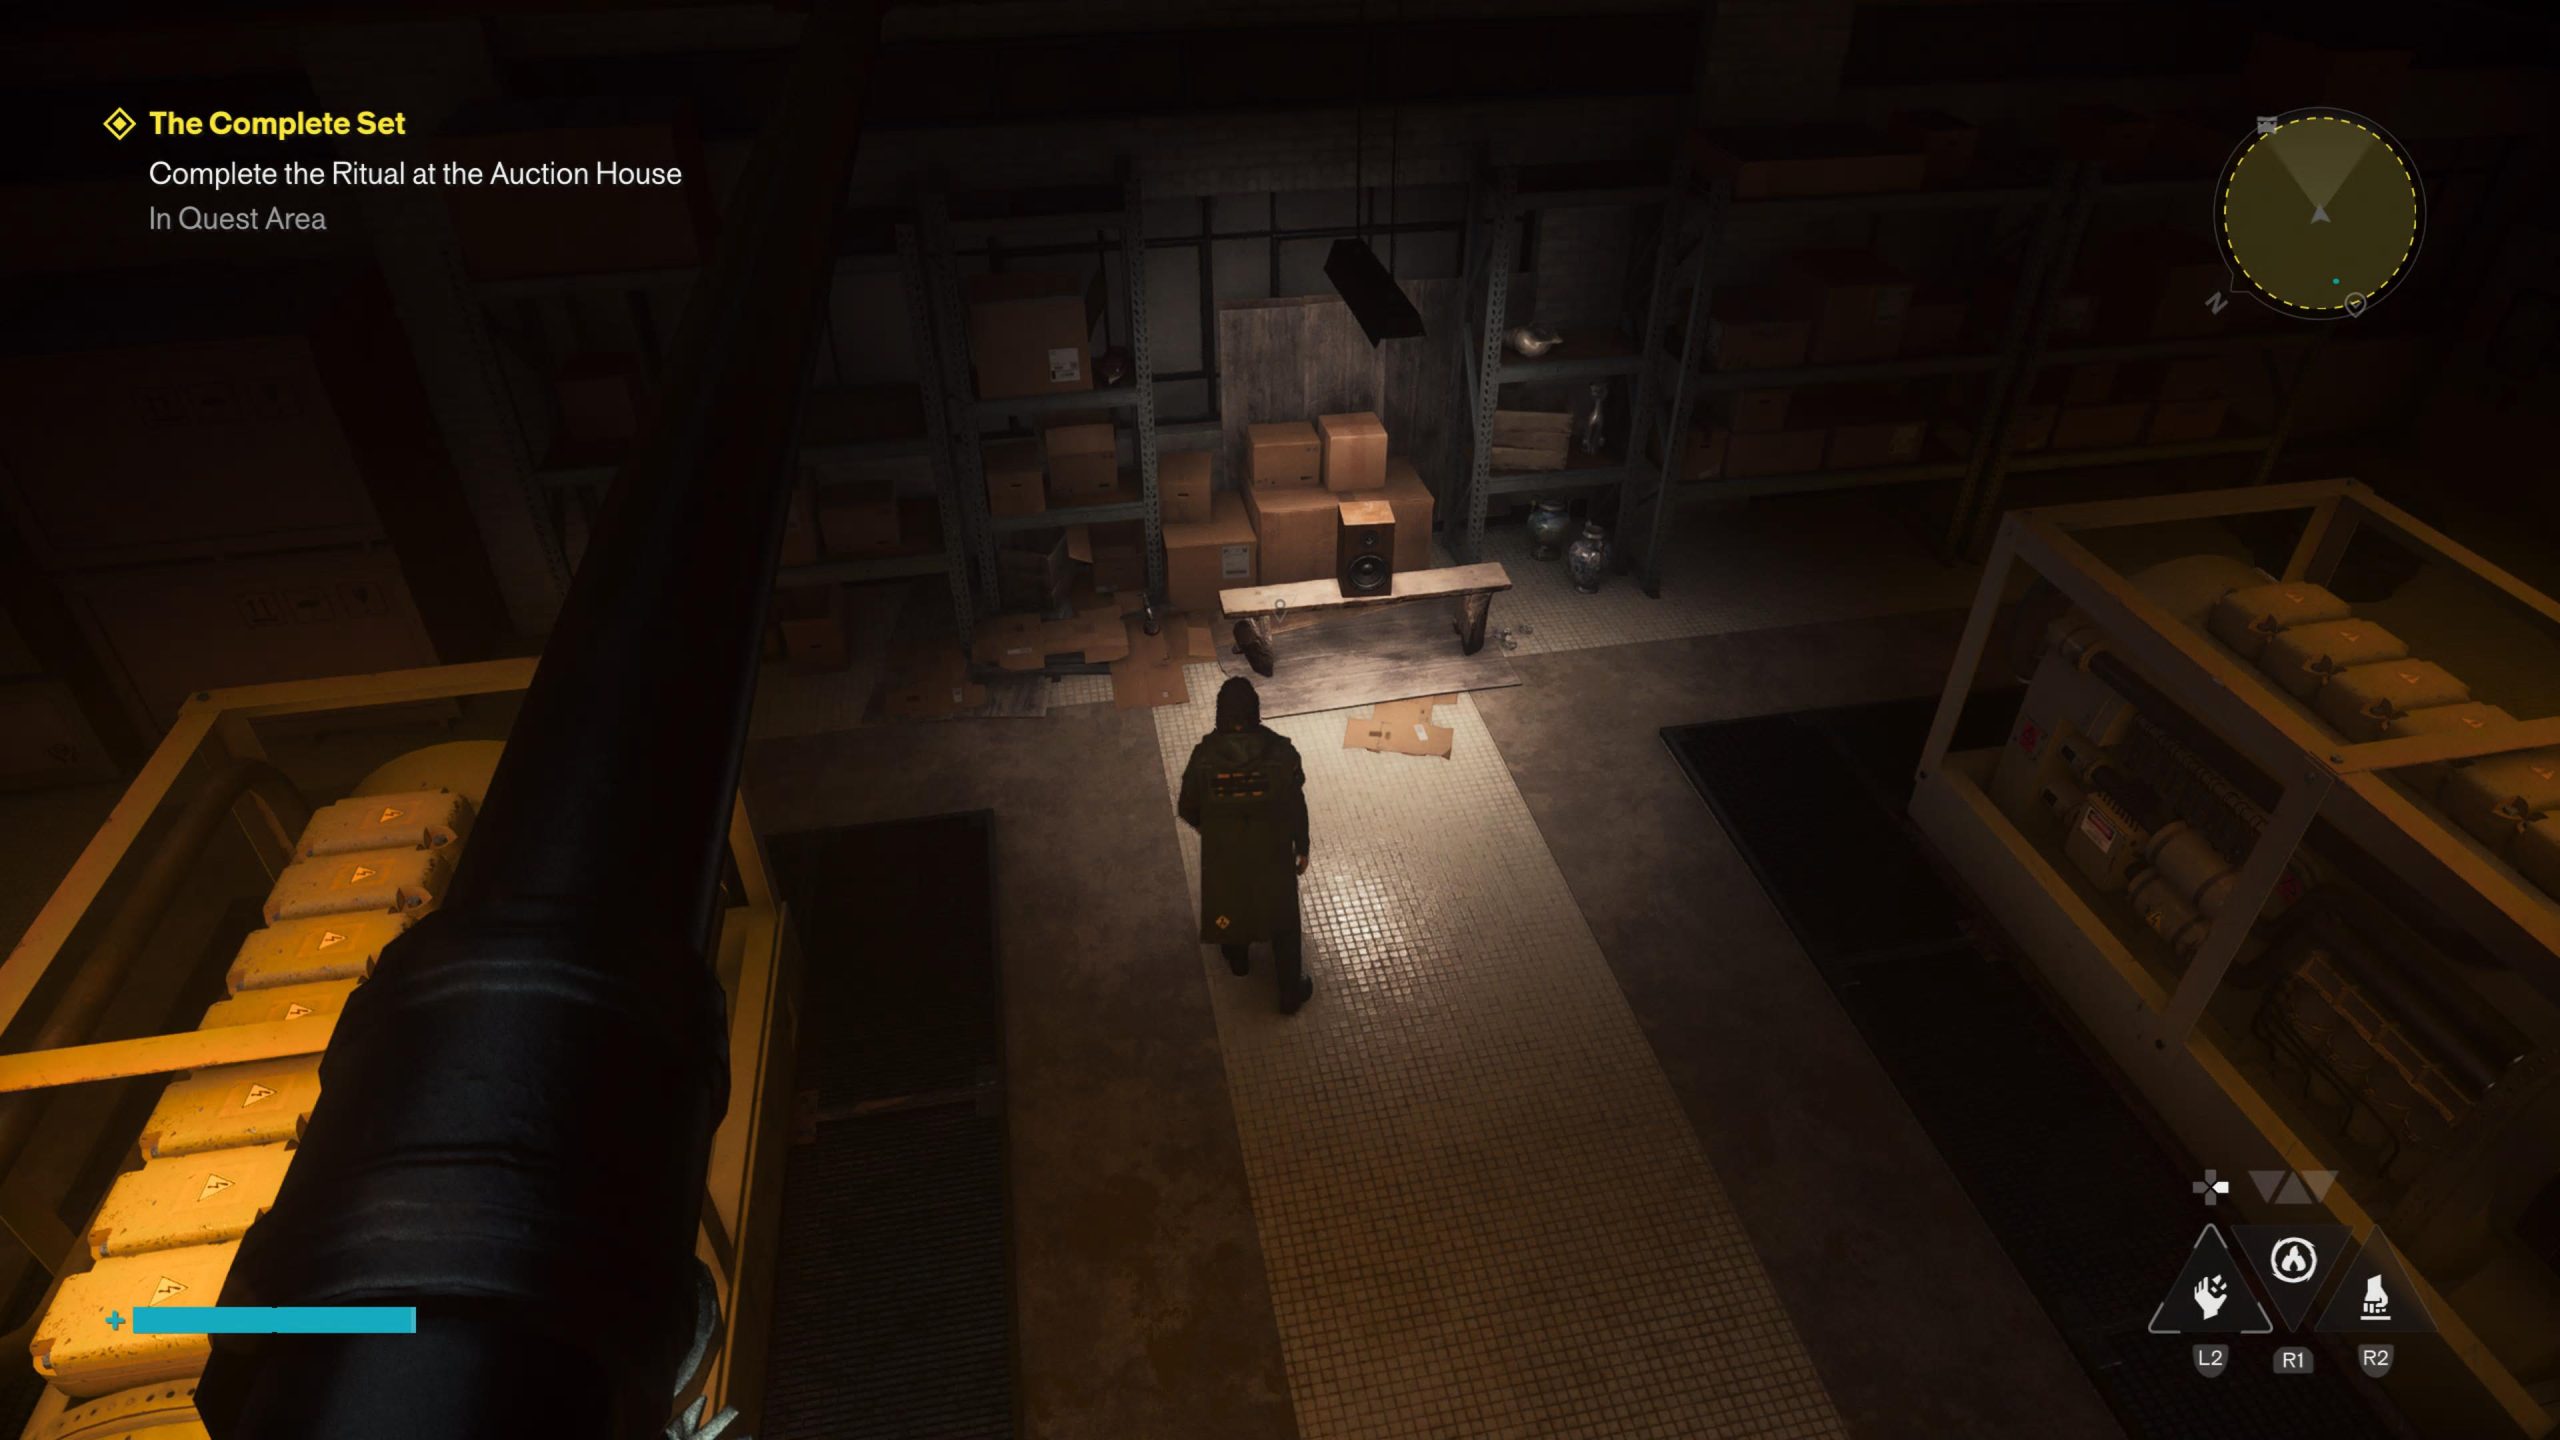
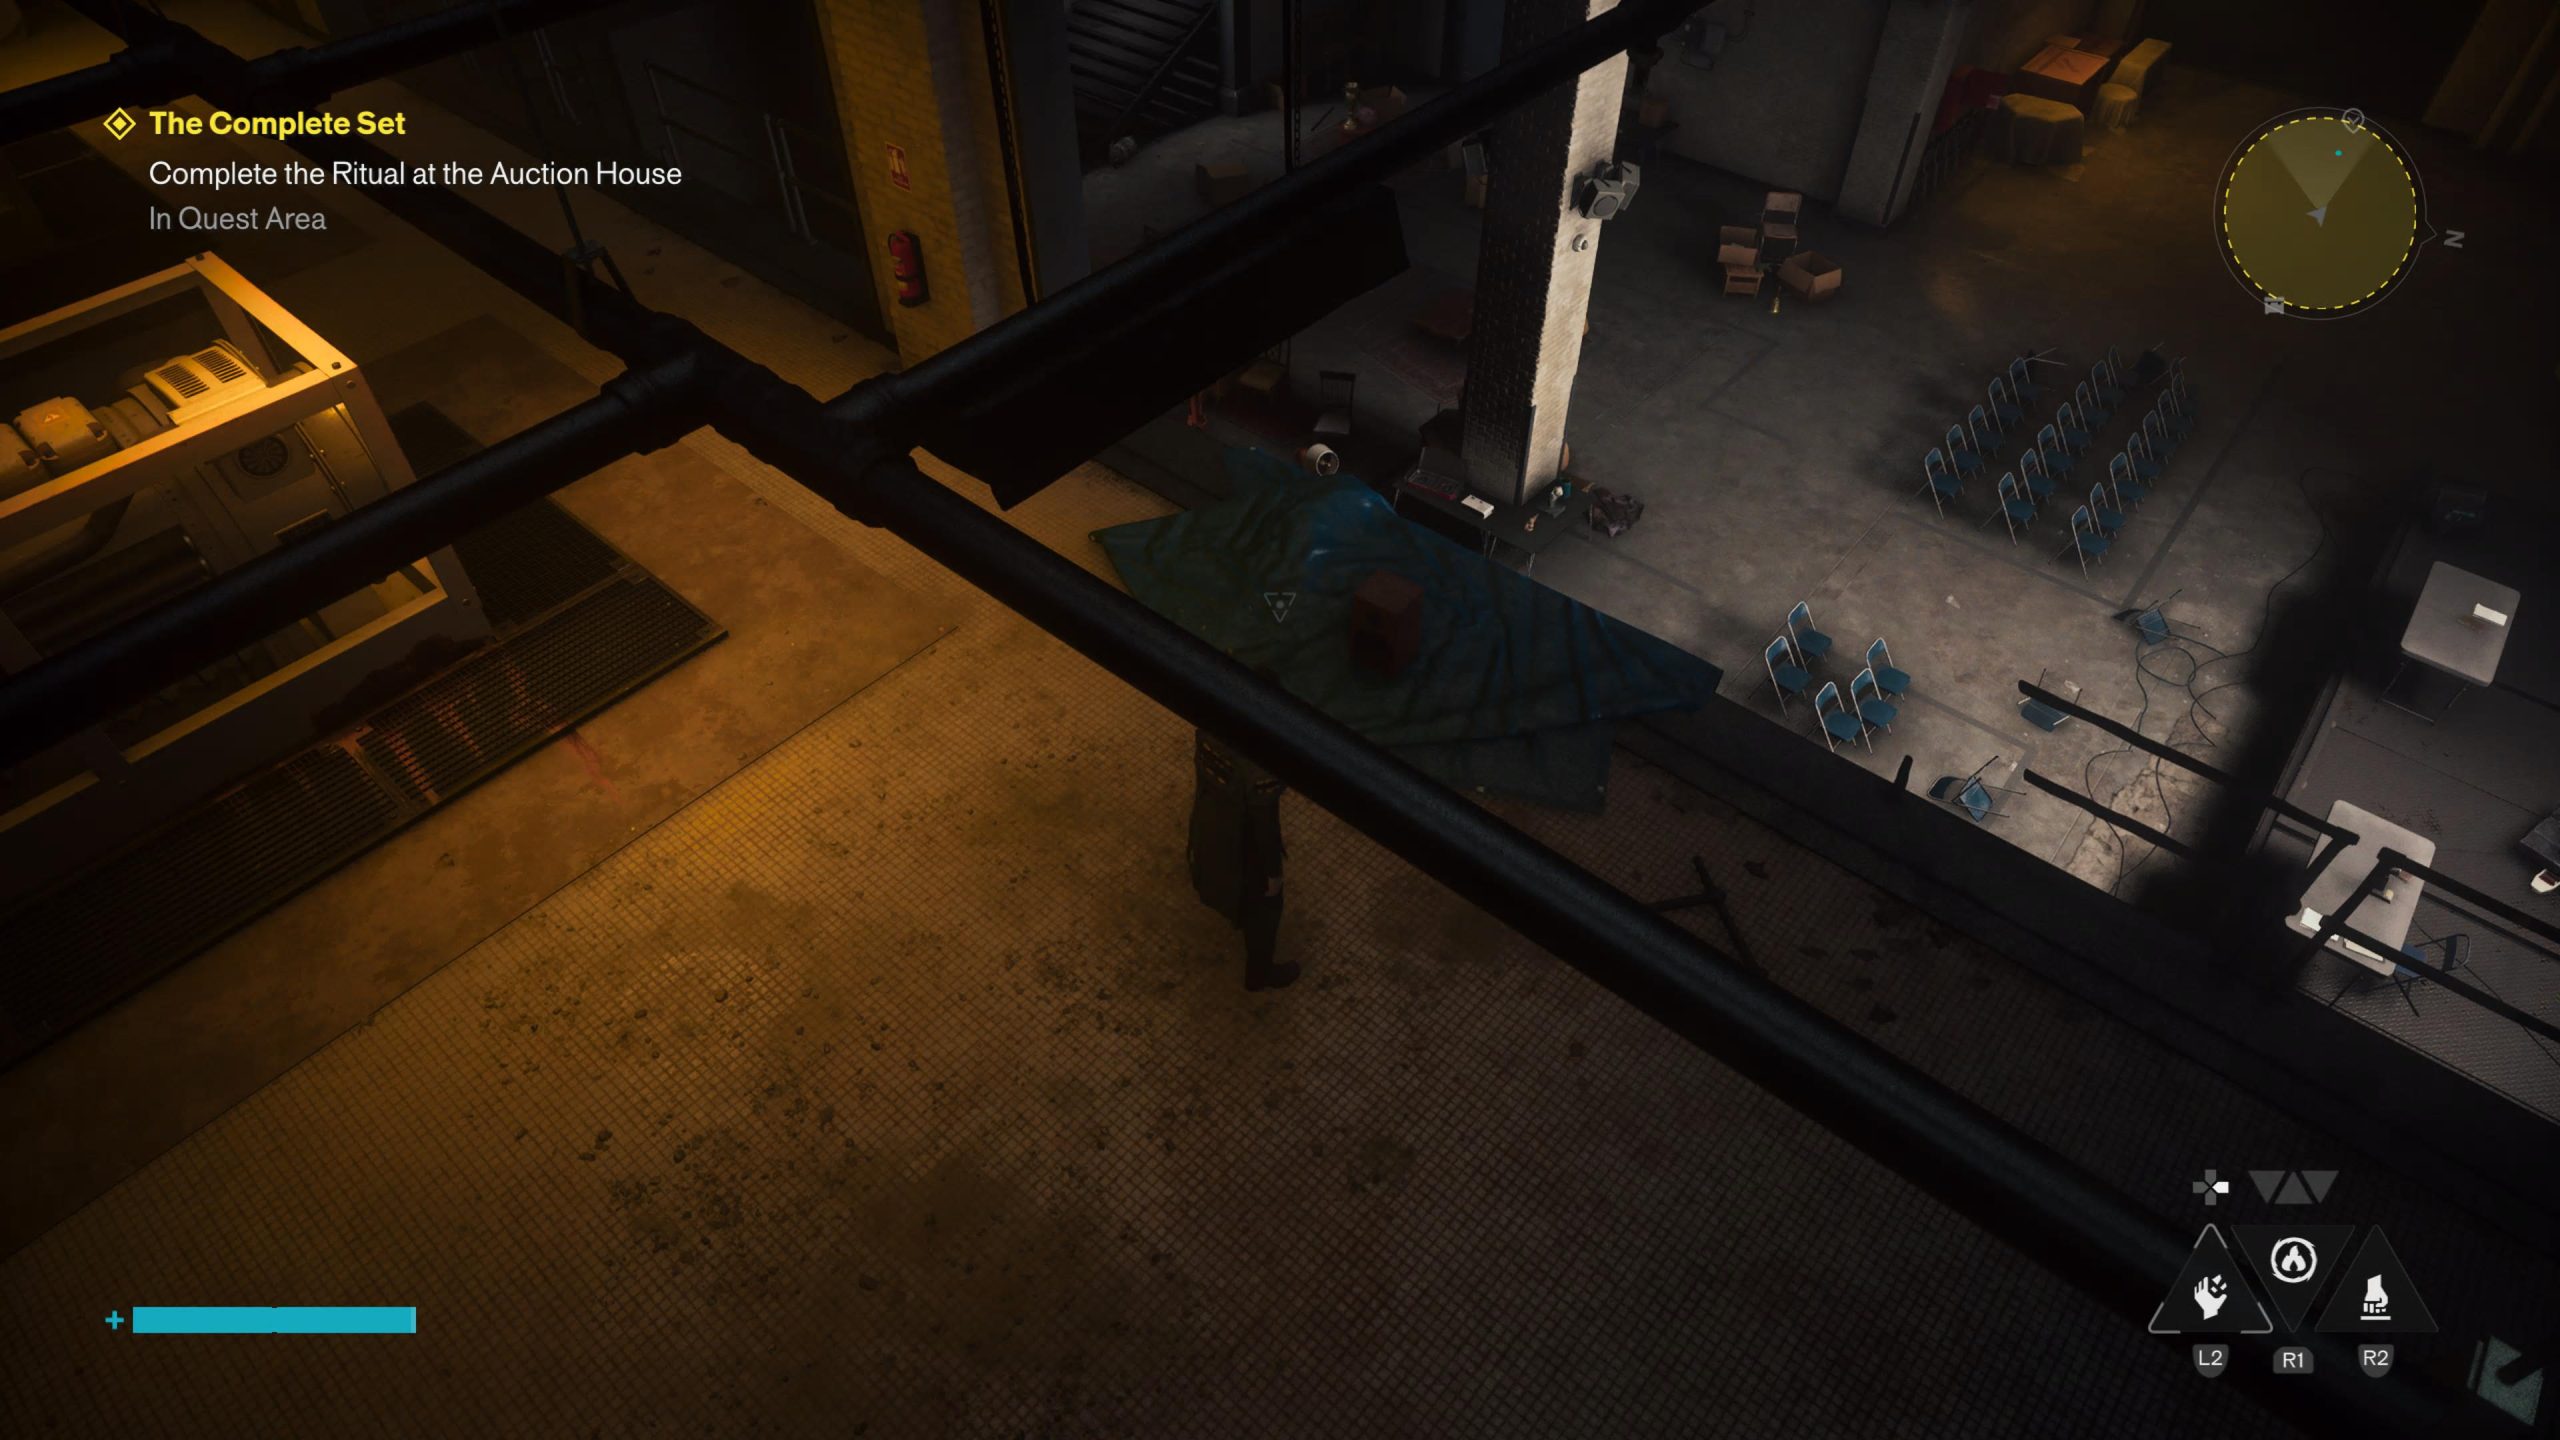
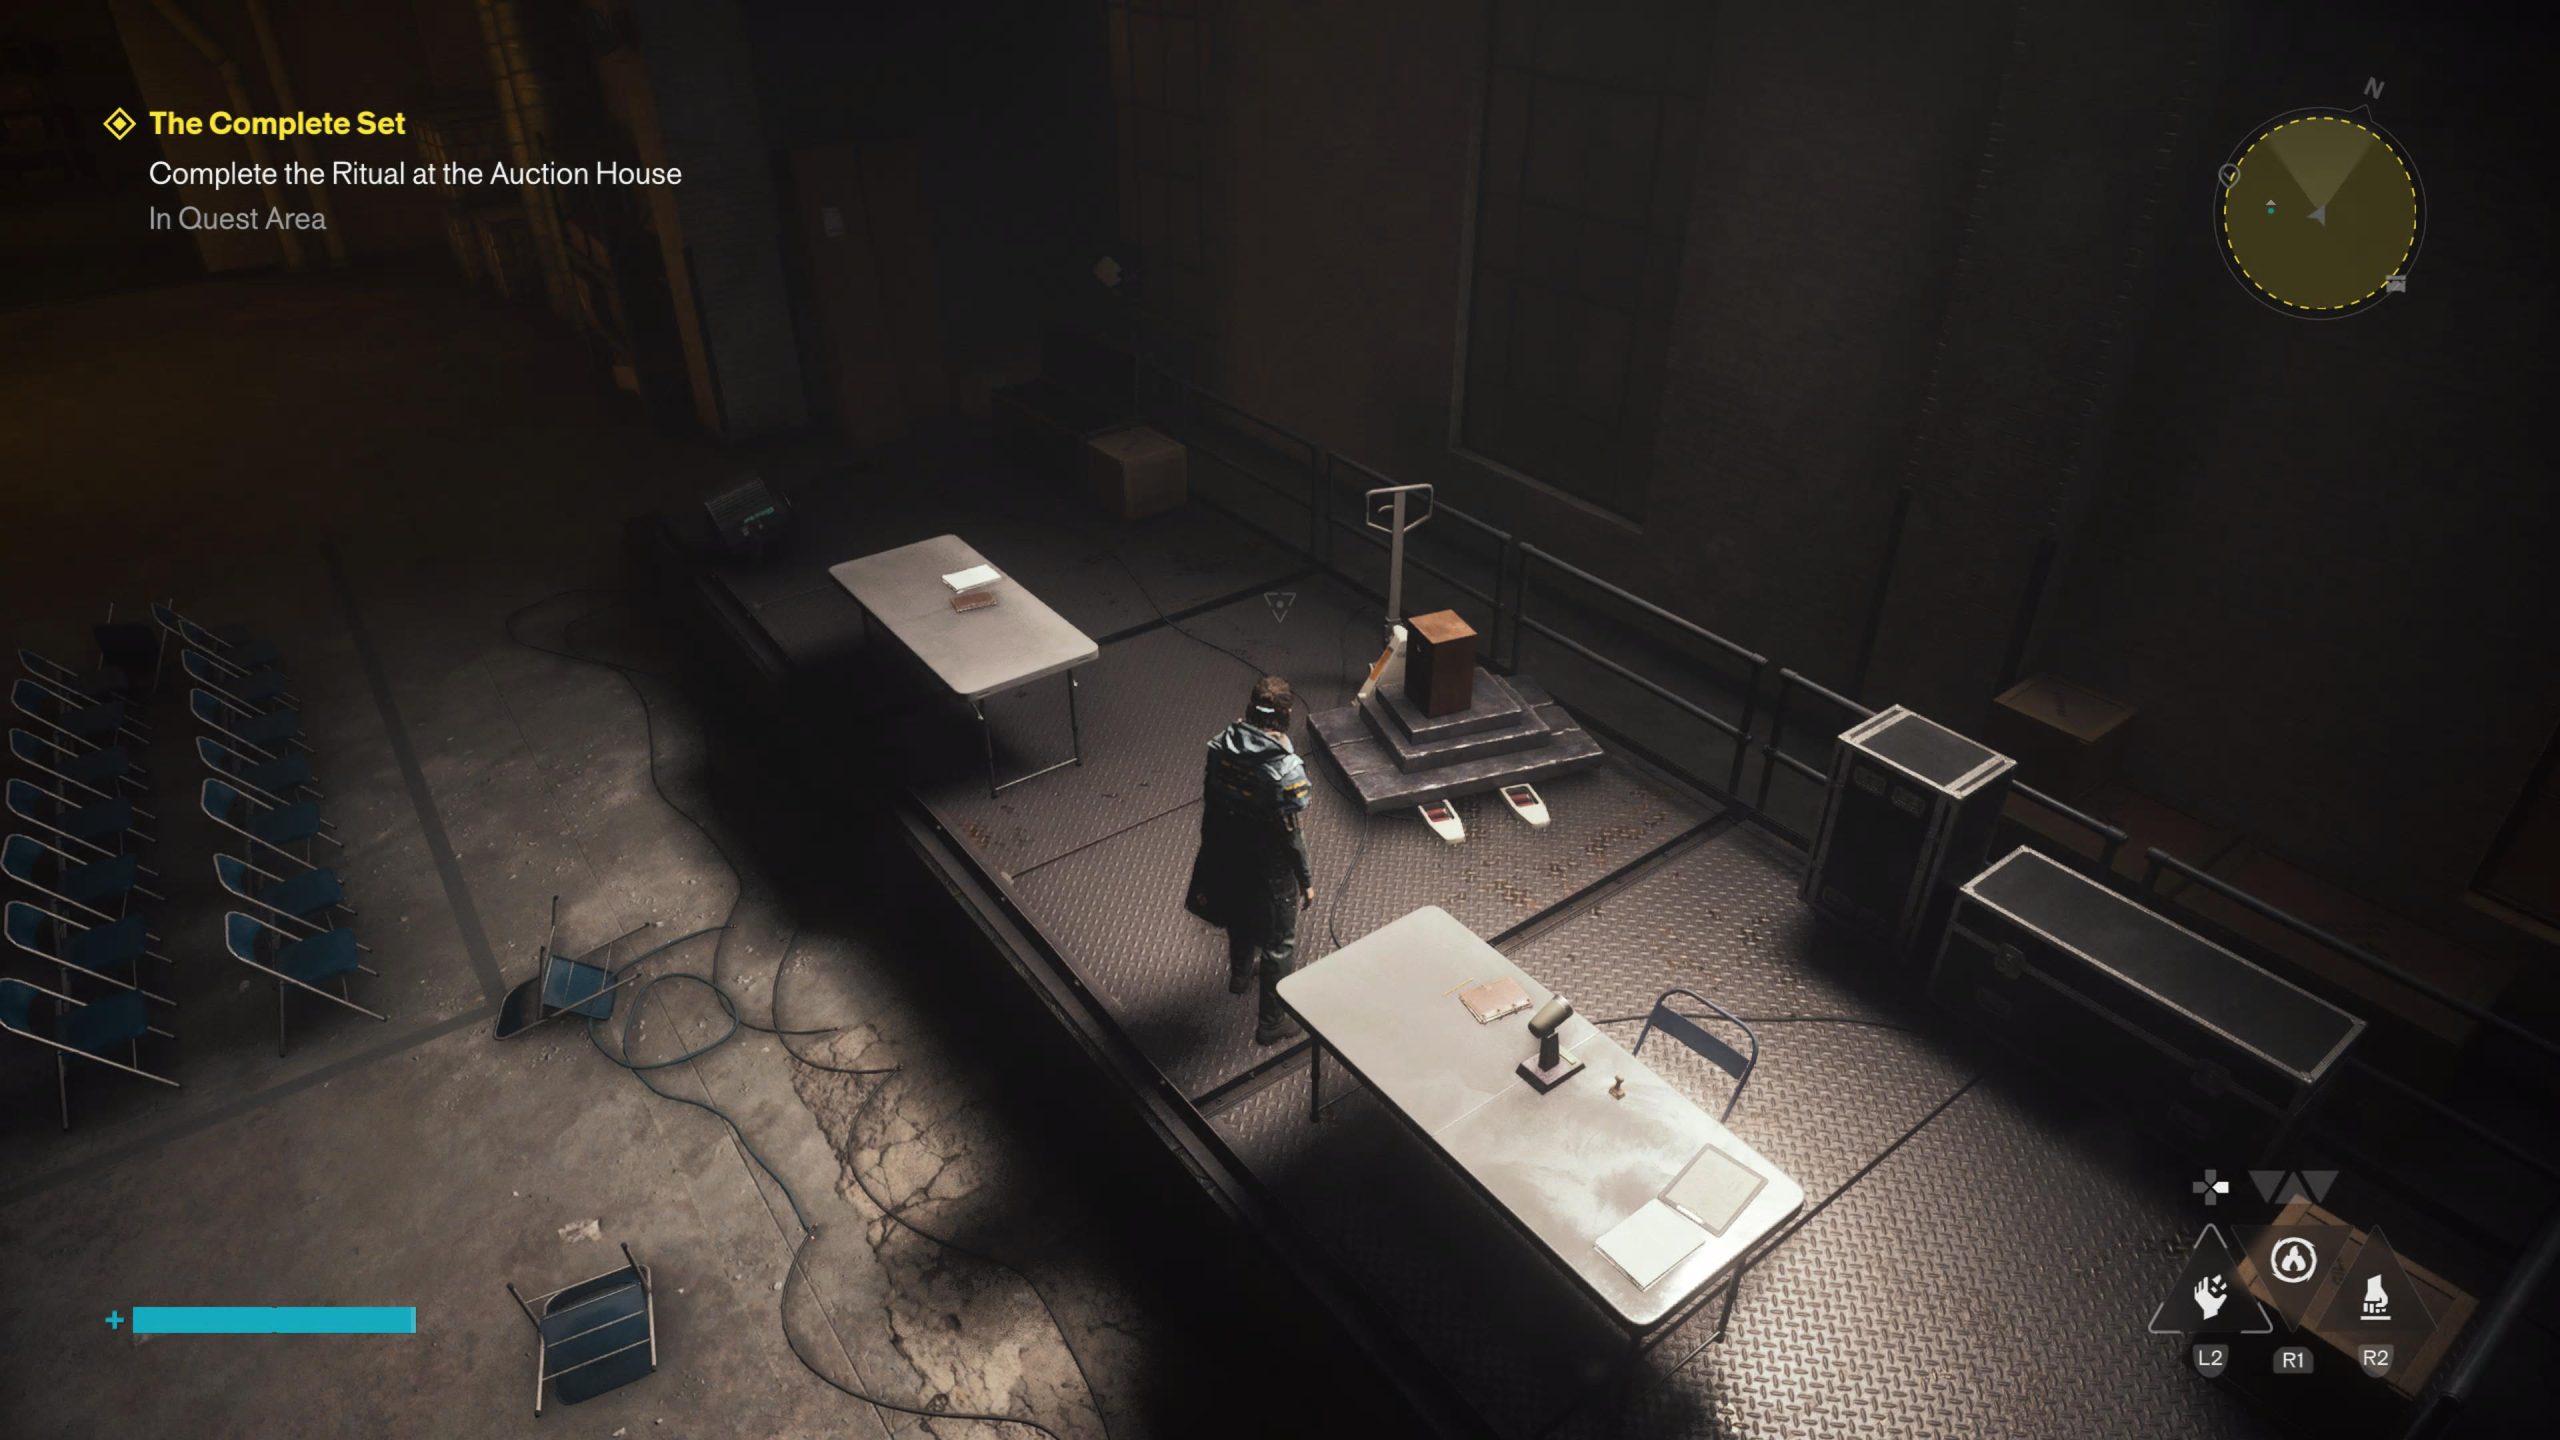
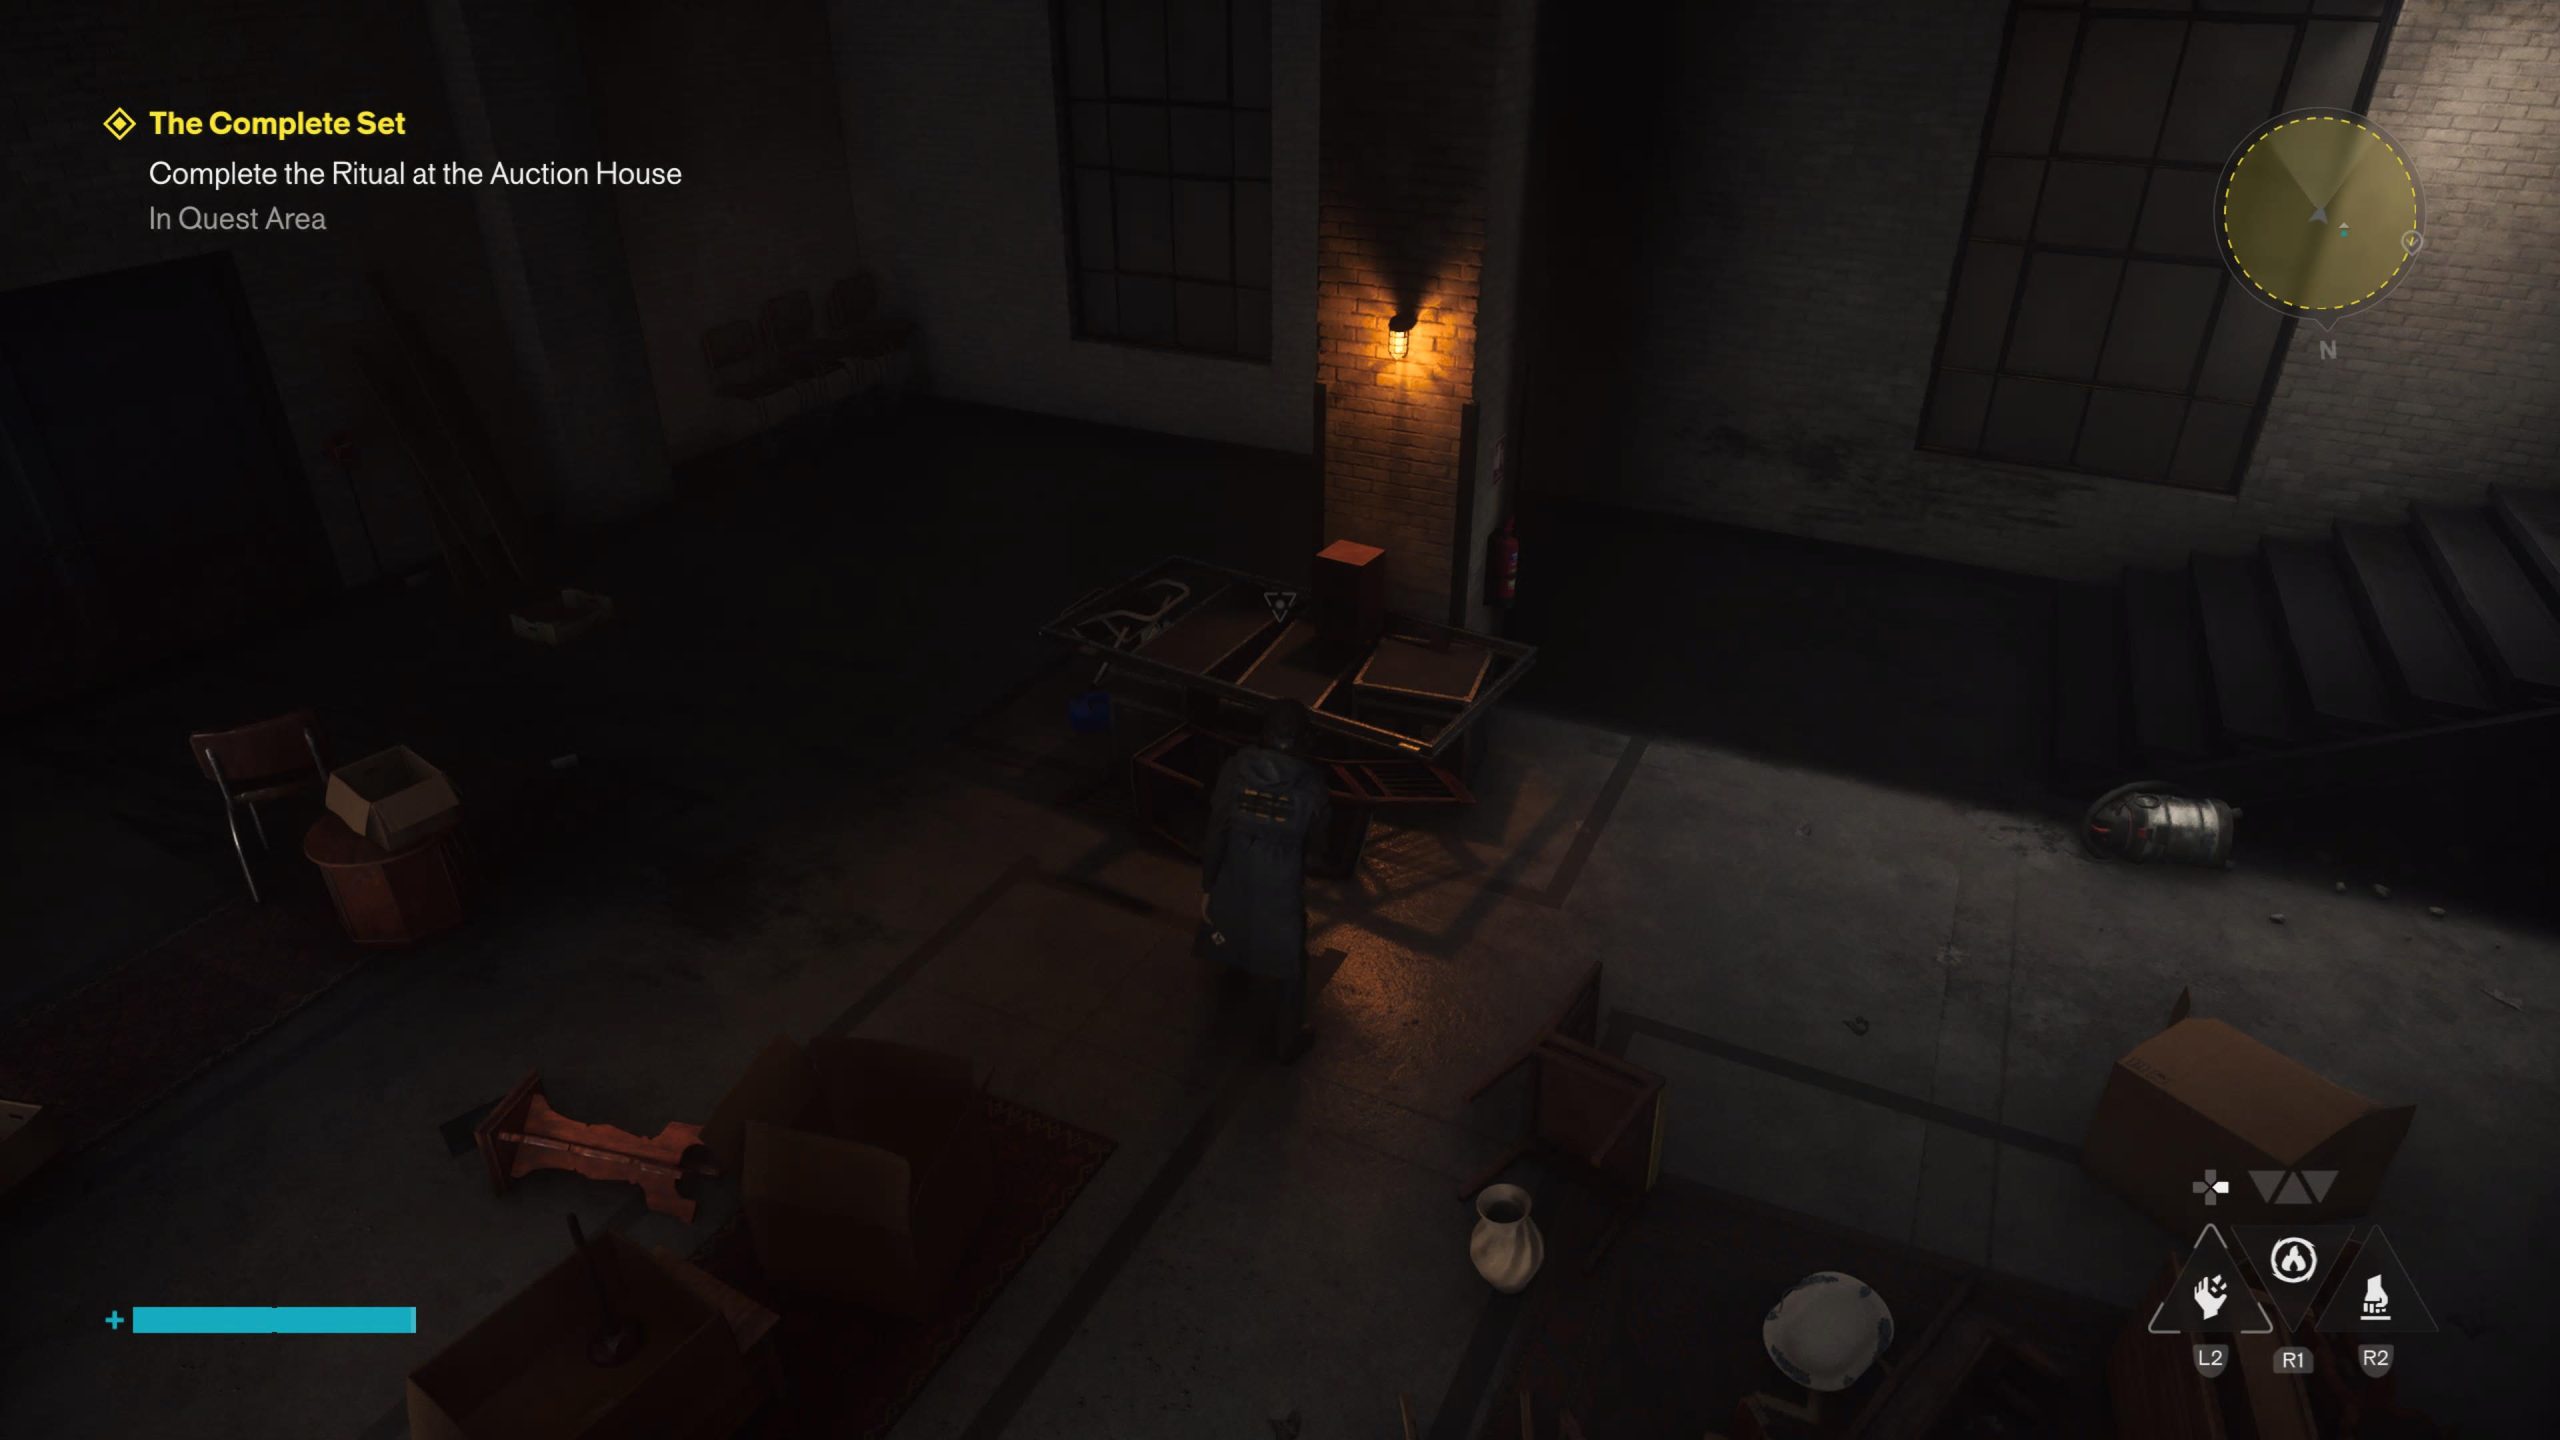
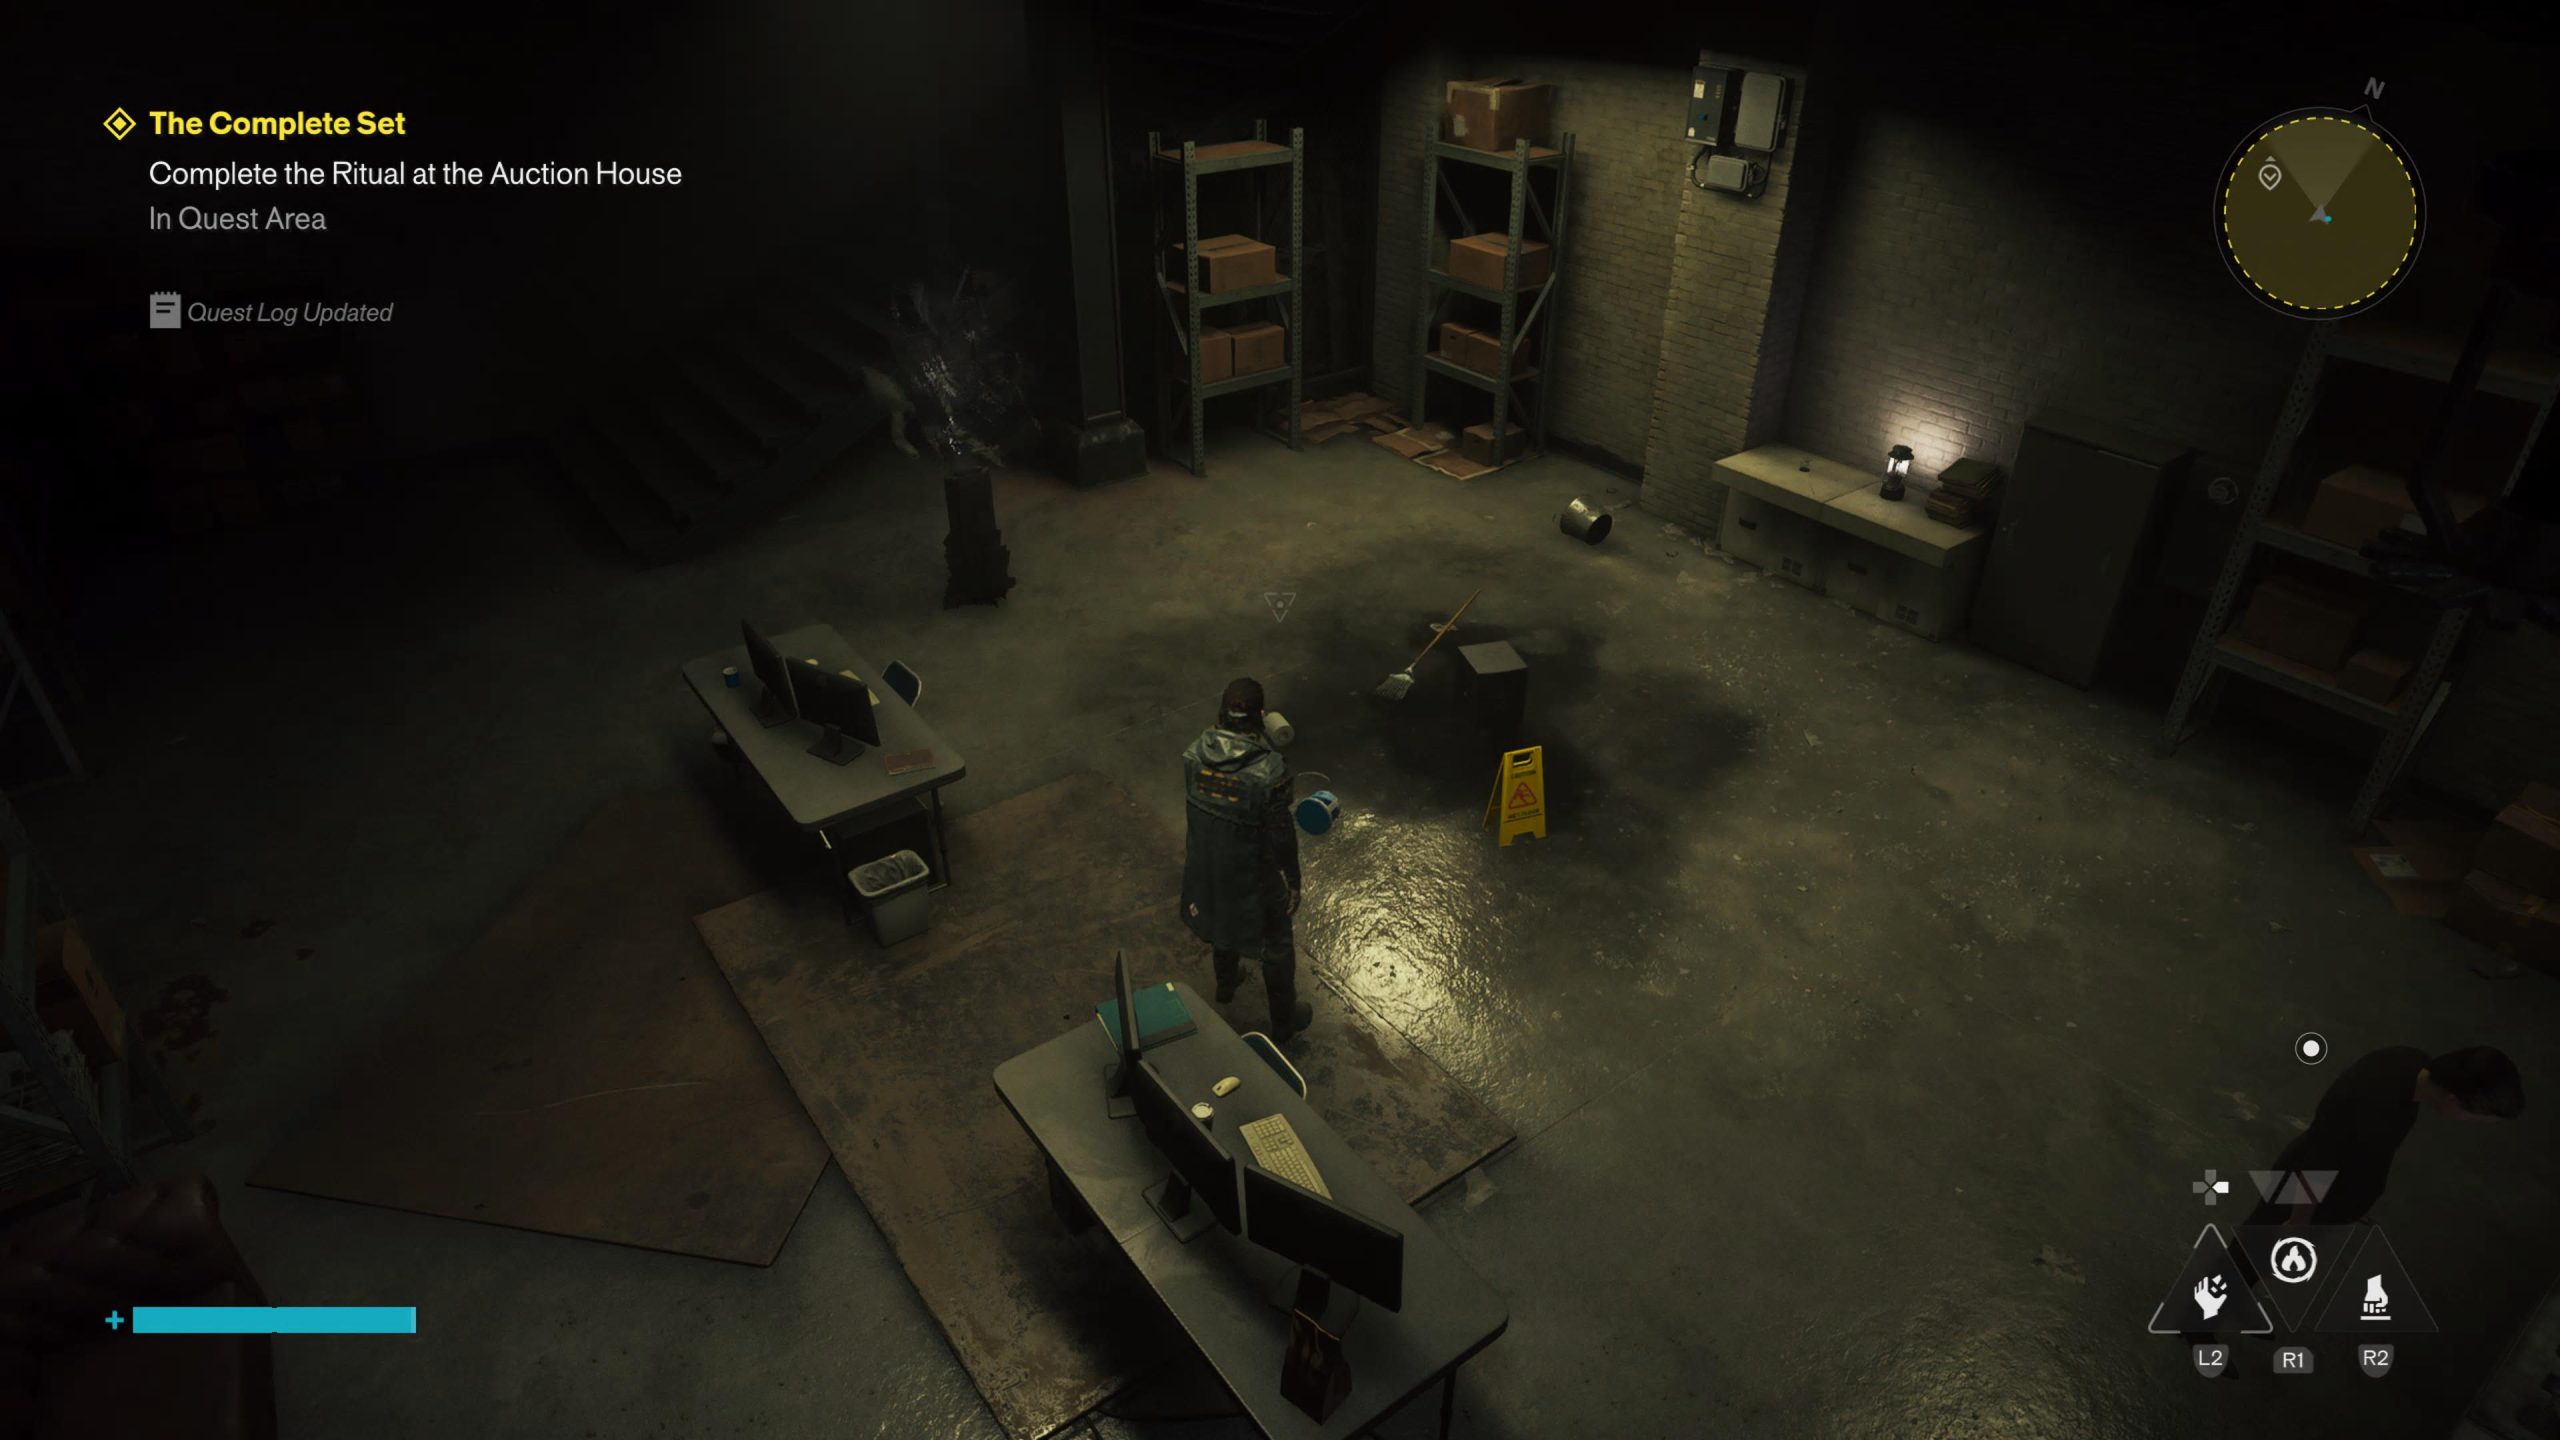
The subwoofer will have two separate voices coming from it. One asking you to turn it off, the other to turn the volume up. The choice is entirely yours at this point, and there are two very different outcomes that I won’t spoil here.
The Complete Set Bug Fix
You’ve collected all the speakers and subwoofer. You’ve made it back to the Auction House. You’ve set them in their correct places, turned them off and waited, but yet, nothing is happening. Well, unfortunately you may have encountered one of the bugs currently in Control Resonant. To fix this, there’s a few steps you can take, and don’t worry, none of them involve deleting save files, losing progress or anything particularly frustrating.
- Close the game completely.
- Start it up and continue your game.
- Leave The Auction House and use a Fast Travel door to another district entirely.
- Do the reverse journey back to Downtown.
- Head into the Auction House.
After all that, your game should now trigger the required event allowing you to make the choice between either turning the subwoofer off, or turning the volume up. Either way, The Complete Set bug will now be fixed and the quest is once again completeable!
After all of that though, you’ll have now completed the very long, very well-travelled The Complete Set quest in Control Resonant!
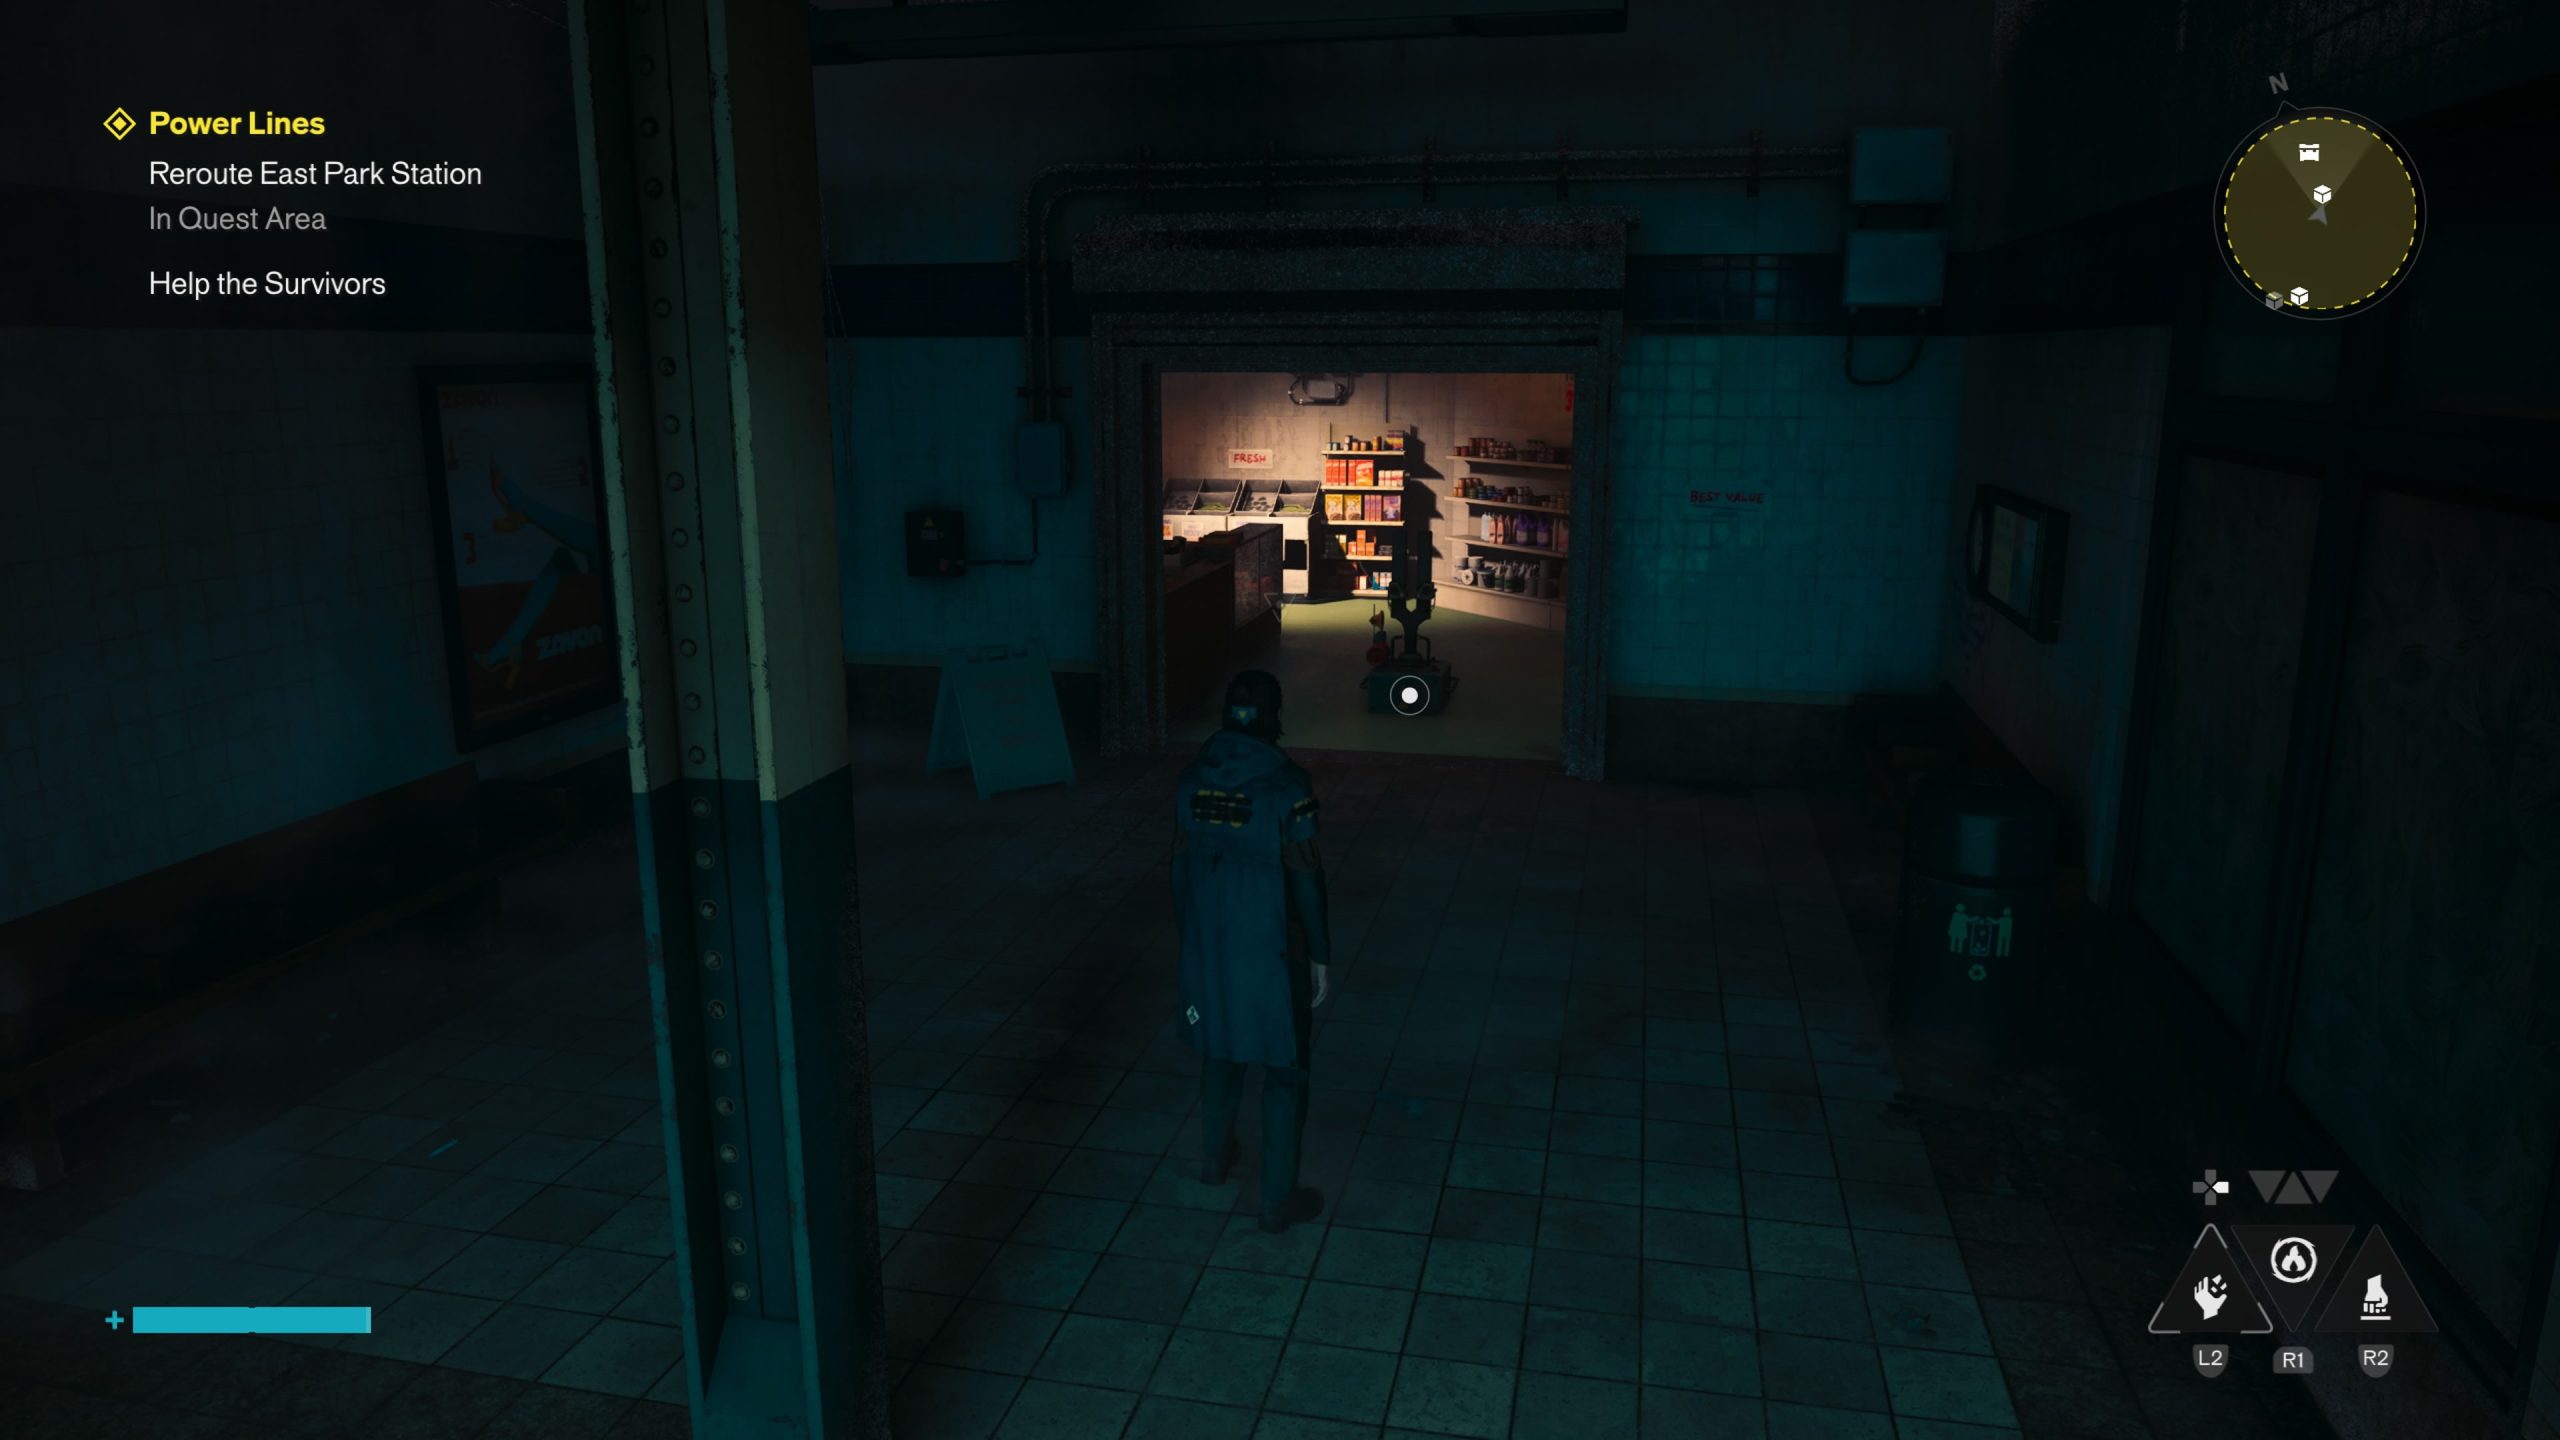
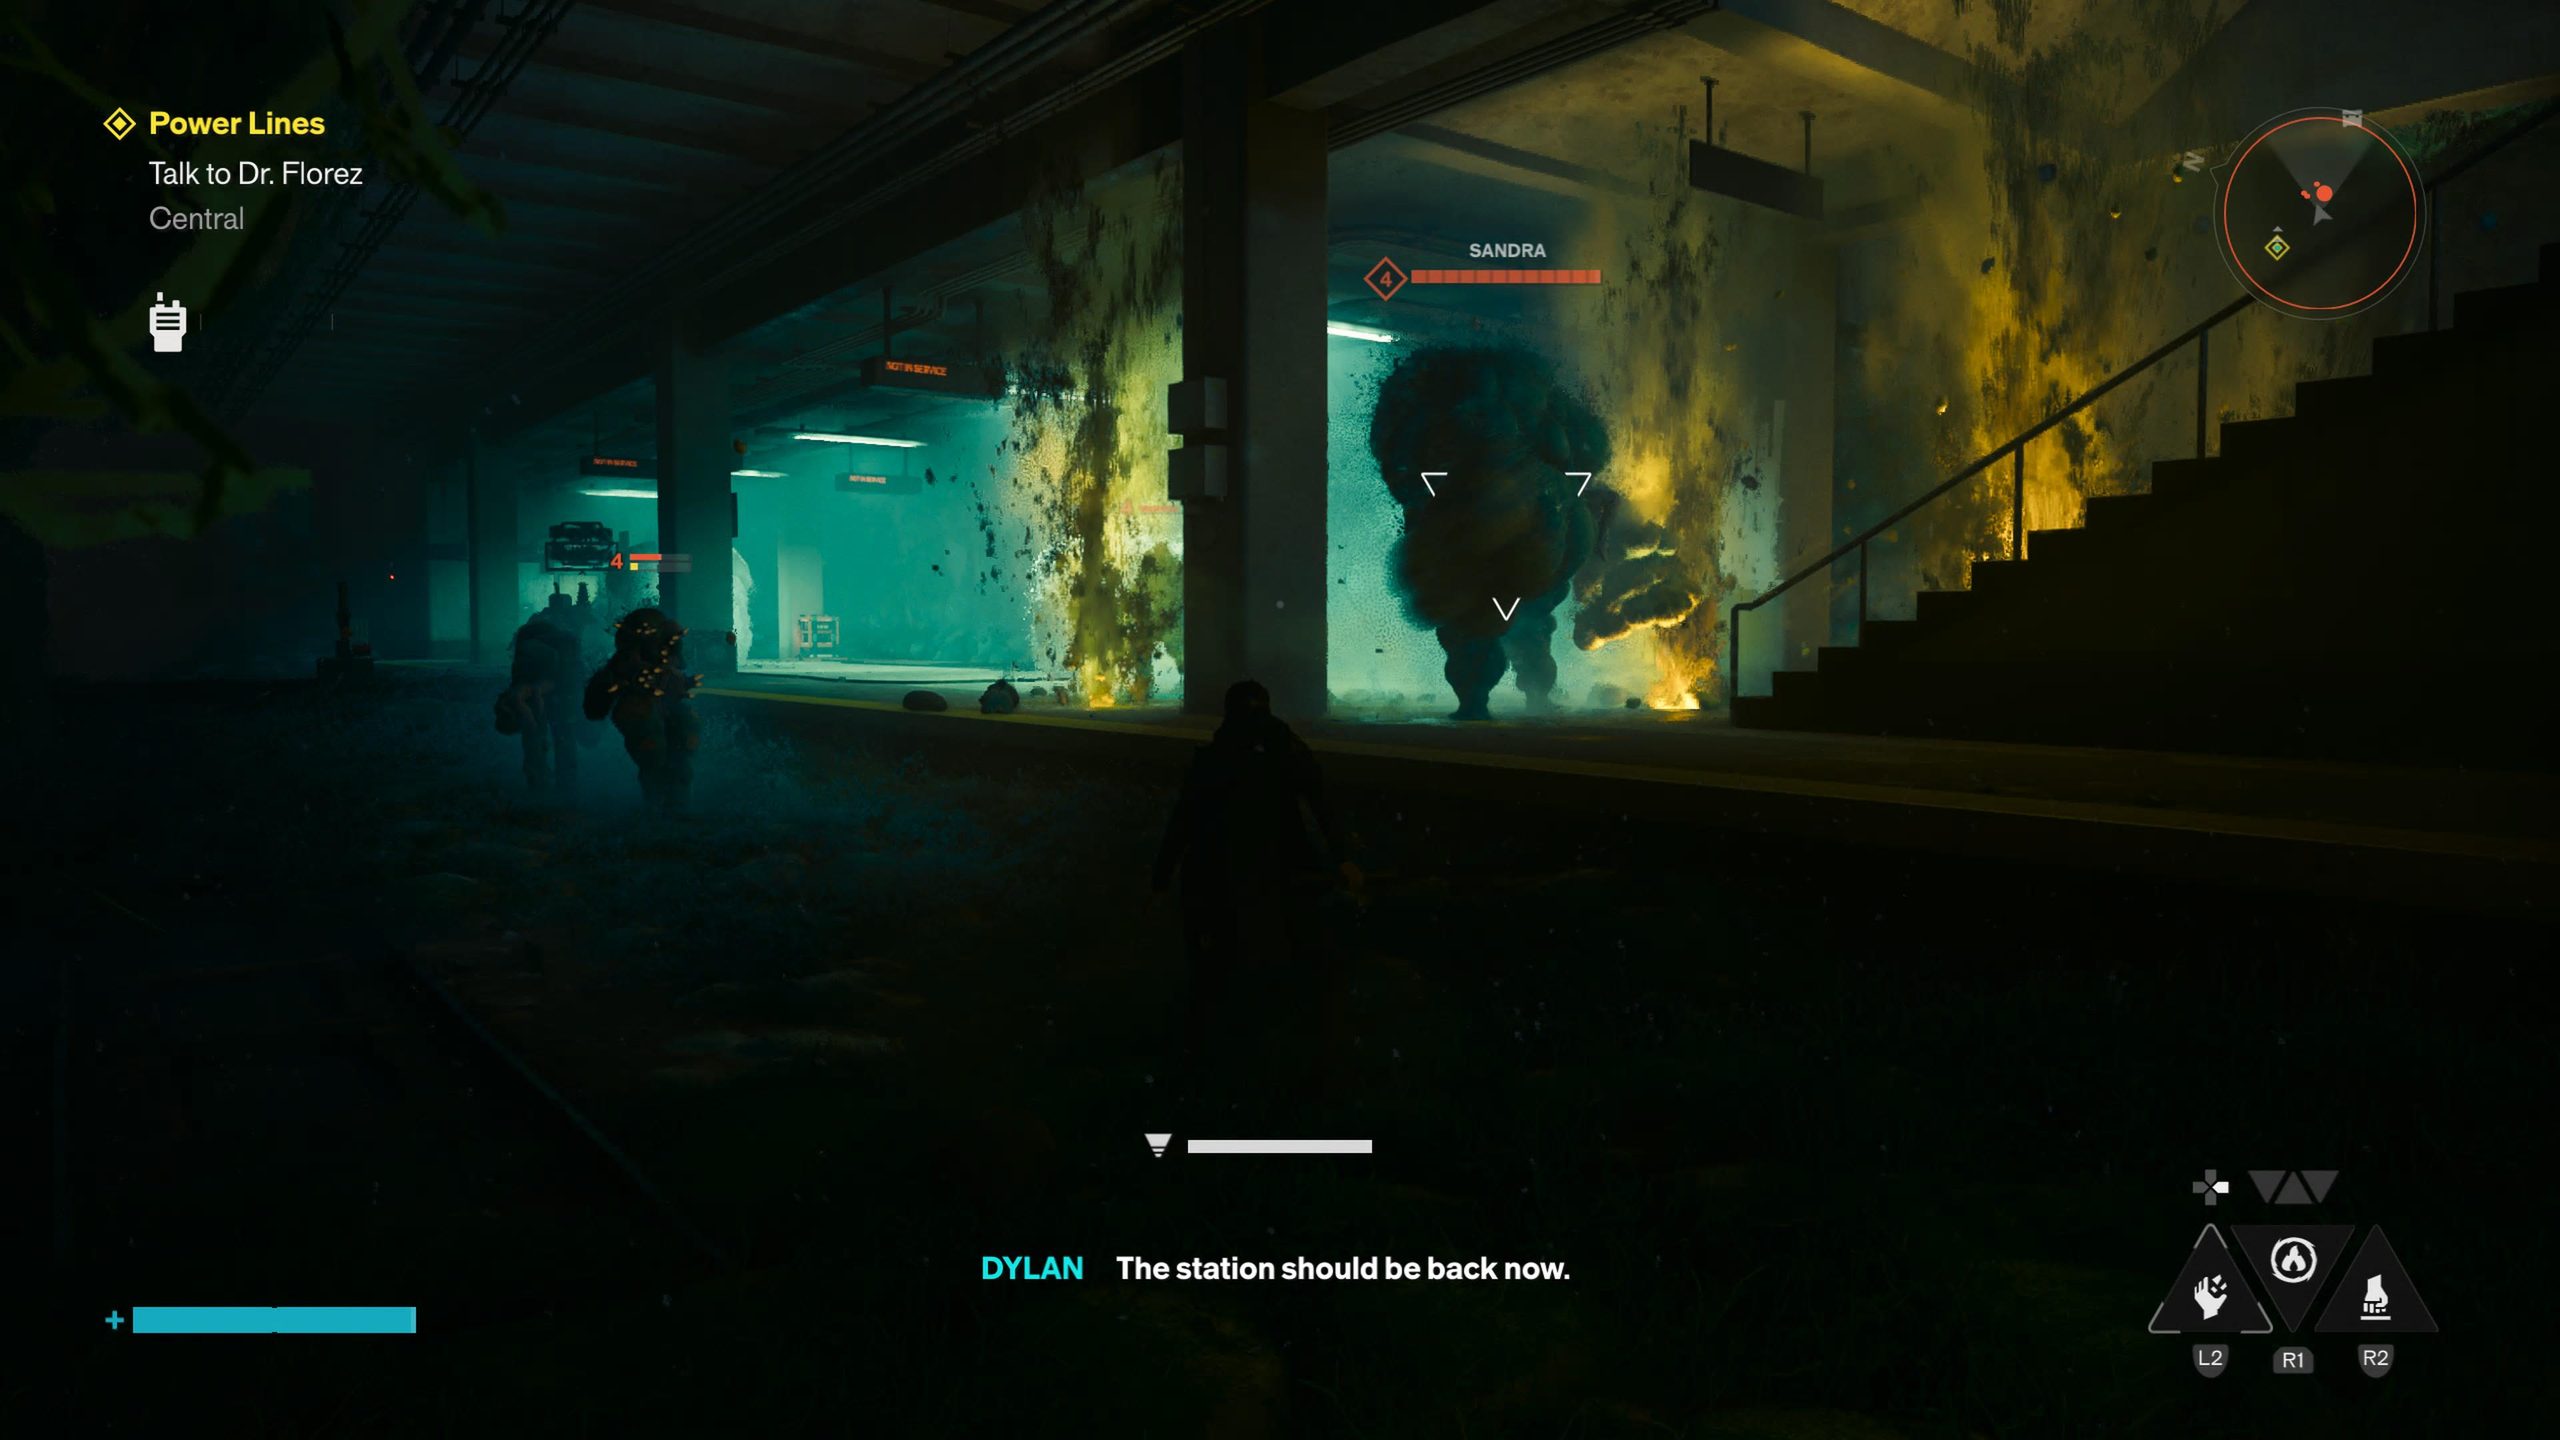
For your next read, check out our review on Control Resonant, or your guide on how to complete the Power Lines Quest.

Luke Addison is the Founder and Editor-in-Chief of Thumb Wars. Having previously been a part of multiple outlets over the years, including building an entire gaming team from nothing to something, he thought it best to forge his own path and answer only to himself. As likely to be found playing the latest game as he is in the kitchen relaxing (by cooking), he always brings the same bold and brash attitude to everything he does, with a heavy leaning on sarcasm and dry wit!