After you have made it past the second chapter of Control Resonant, after the Prime Candidate Training section of the game, you will receive a prompt from Zoe to go to the Watchtower in order to get a mission from her, which will guide you down into the Underpass once you have obtained it.
How to Complete the Maintenance Protocol Quest in Control Resonant
As we have said above, once you have obtained the Maintenance Protocol Quest from Zoe that sends you back down into the Underpass, what you are going to need to do is head towards the sapling that can be found at the end of the Underpass’s story, which can simply be accessed through a teleport point that you should have activated during that main quest.
Once you get to this fast travel location, there is a locked door located on a raised platform that you can now interact with once Zoe provides you with instructions; luckily, you don’t need to do anything but just interact and wait.
One click and you're done. Thank you!
After doing this, the door will open, and you will be attacked by a bunch of Mold enemies in a room that you will need to clear out to access the next door blocking your path. Also in this room, you can also find a Shum arcade machine, so don’t miss out on that either.
Now that you have access to this second doorway, you can head inside to a safe zone that you will need to follow around before ultimately ending up at a projector, which begins playing a video. This video will instruct you on what to do for the rest of this quest, which is to navigate the Underpass in order to find 3 different light bulbs that you need to fix in order to stop the Oldest House from collapsing in on itself and turning into a pancake.
As you have been exploring the Underpass, you will have likely come across some of these light bulbs and thought to yourself about what you needed to do with them, and now you know. So once you finish getting your instructions, you can then continue your quest by heading back into the Underpass to fix these light bulbs, and do not worry, there is no specific order to fix them in.
Light Bulb One
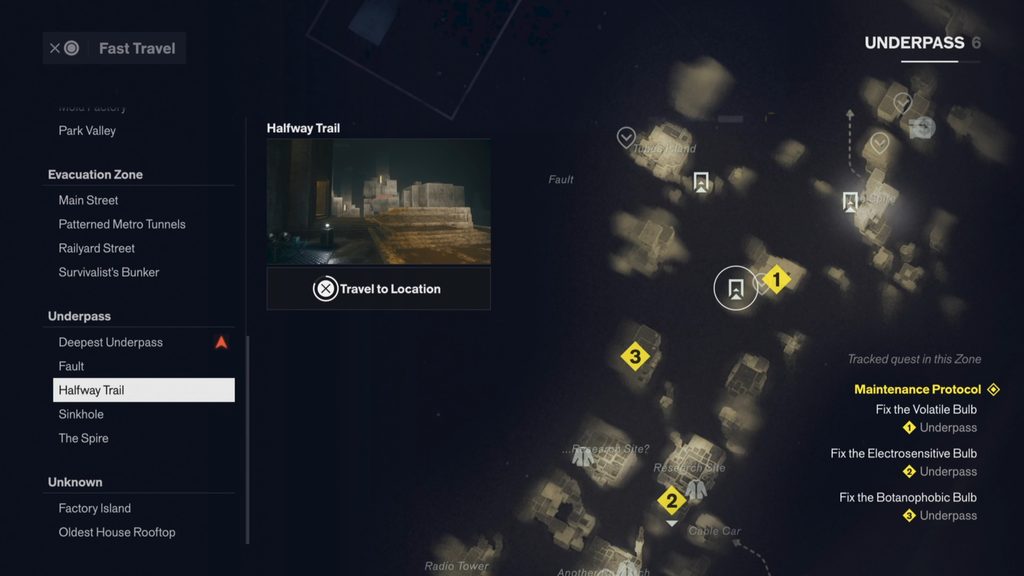
To keep things simple, we followed a rather easy pathway through the Underpass, with the first bulb being located at the Halfway Trail fast travel within the Underpass.
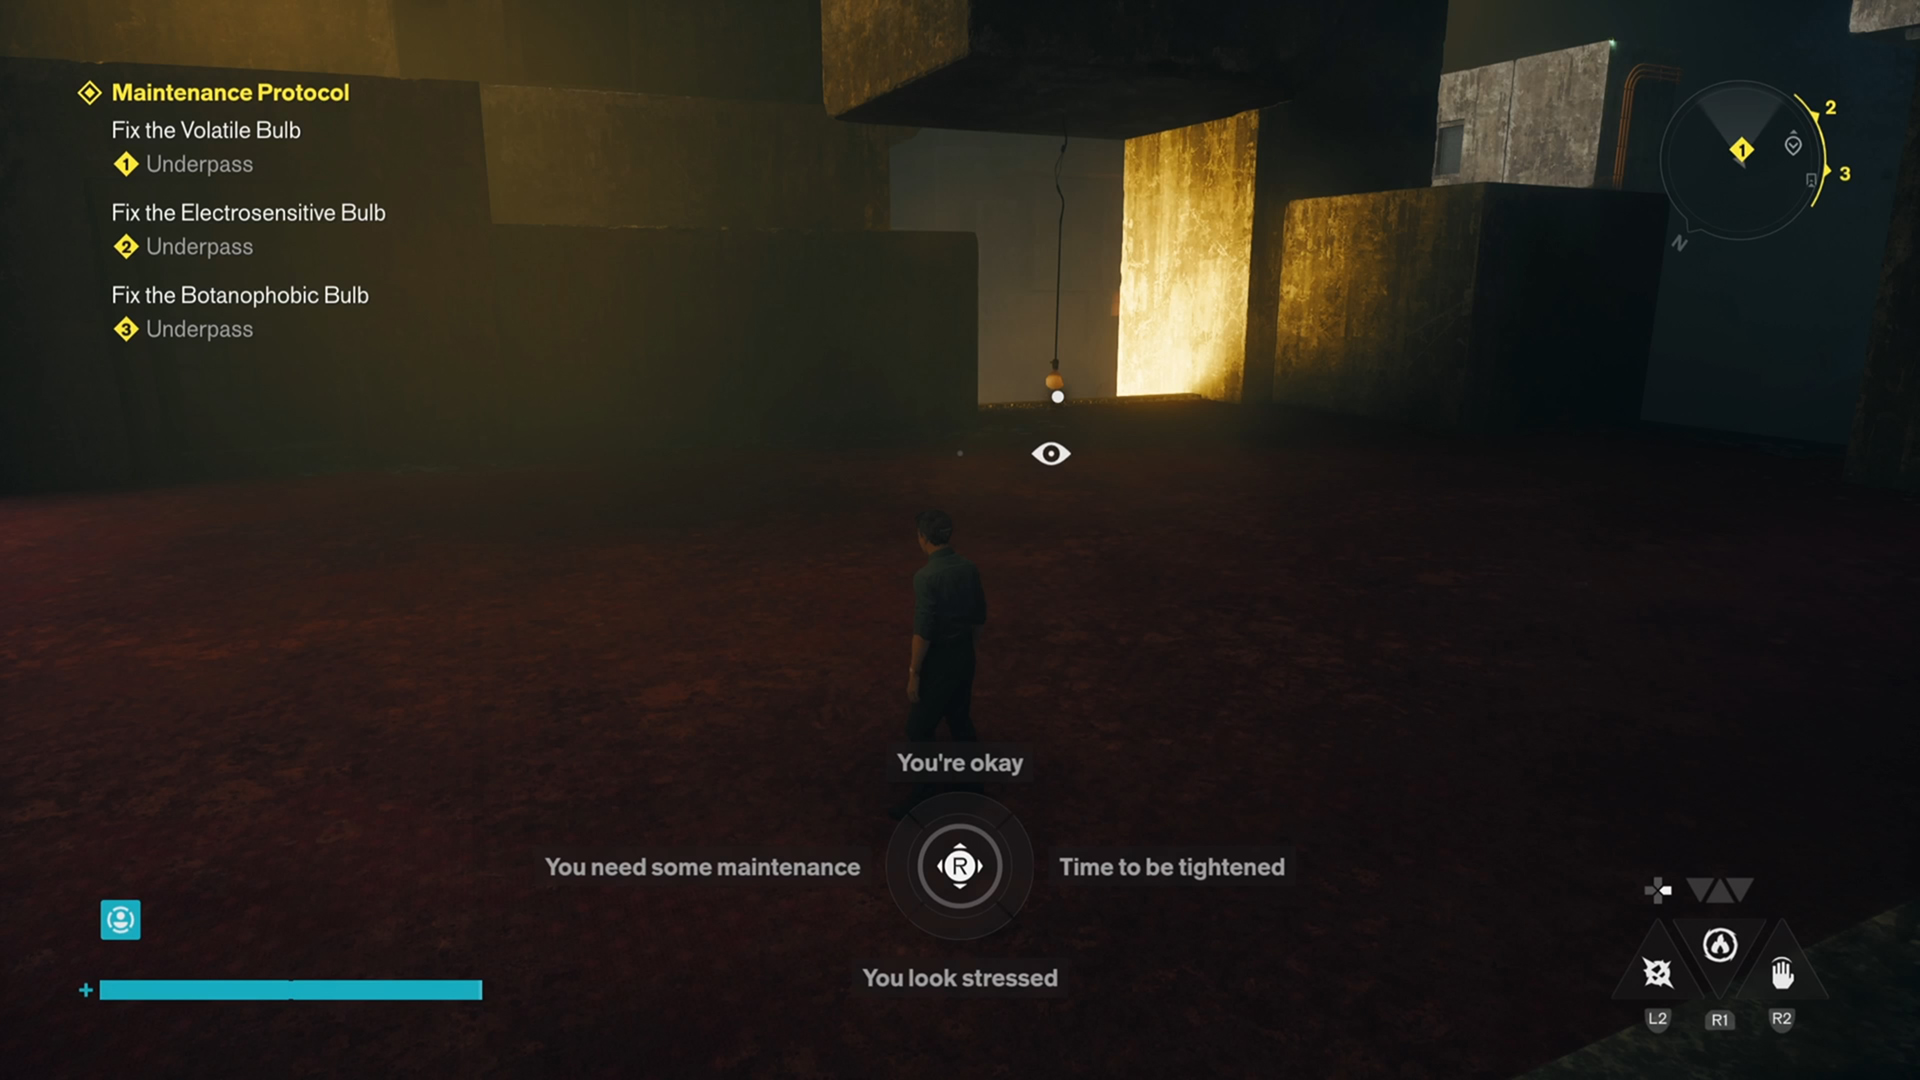
As you approach this light bulb, you will notice that it isn’t exactly happy to see you. As you interact with it, it will explode, hurting you. Because of this, a video will begin to play in a room to the side that explains to you that this bulb doesn’t like to be threatened, so you will need to talk to it first to calm it down.
To do this, you will be prompted with a speaking option, and you simply need to provide the calmest option to try and help the light bulb, but as you do this, a group of enemies will spawn, and you will need to fight them while also talking to the light bulb to calm it down.
Once you have calmed it down, you will now be able to fix the light bulb, calming it down and allowing you to progress onto the second light bulb.
Light Bulb Two
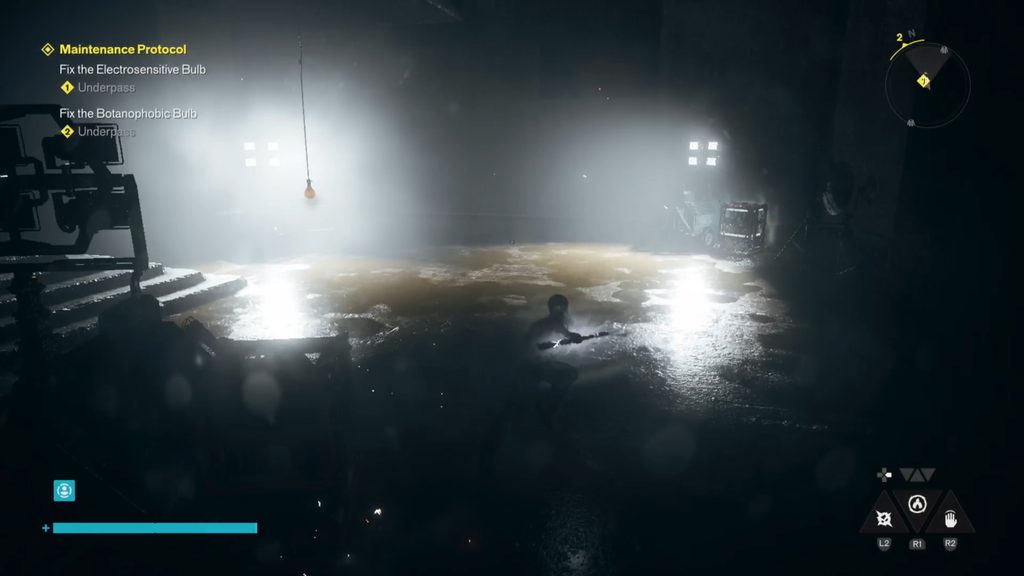
Now, finding this light bulb is a lot harder than finding the first, as it will require you to head to the FBC research site with the cargo rail attached. Once you arrive at this location, finding the bulb is rather simple, as you will need to head to the side of the research site with the cargo rail on it, and you will see a pillar off to the left of the research site on the map that you can jump to, and this is where the light bulb can be found.
Once you are here, you will have to soothe this light bulb as well, and again there will be a video explaining how to do so. In this case, all you simply need to do is take all the electricity away from near the light bulb and put it in generators elsewhere, which can all be found off to the side and below this area, with 3 generators needing to be emptied of their power to fix the bulb.
After you clear out all the electricity from around this light bulb into the 3 generators hidden below, you will now be able to interact with the light bulb and fix it, causing this step to be completed as well.
Light Bulb Three
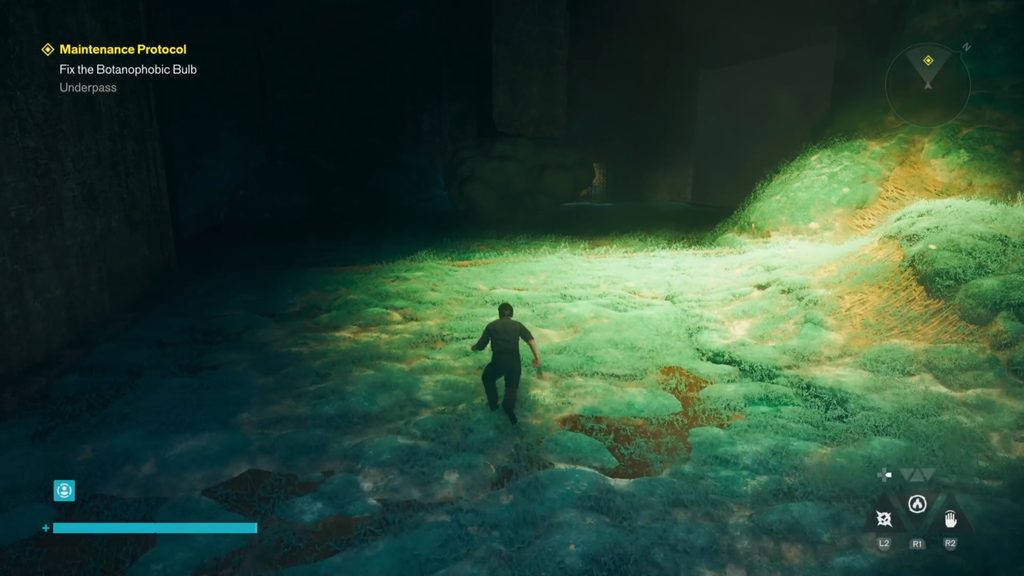
After you fix the other bulbs, there is one more to find in the Underpass, which is towards the north of both of these light bulbs and slightly right of the higher research site that is surrounded by fire rather than electric lights.
Out of all three bulbs, this one is arguably one of the easiest, as all you will need to do is approach the bulb and listen to the video, which directs you to remove all the organic life around the bulb, which is essentially the Mold that covers it.
Once you destroy all the Mold, you will then be able to fix this light bulb, but sadly your job is never done, as the video will spark back to life, telling you there is one final bulb to fix, and that is the bulb hidden within the tape itself.
Light Bulb Four
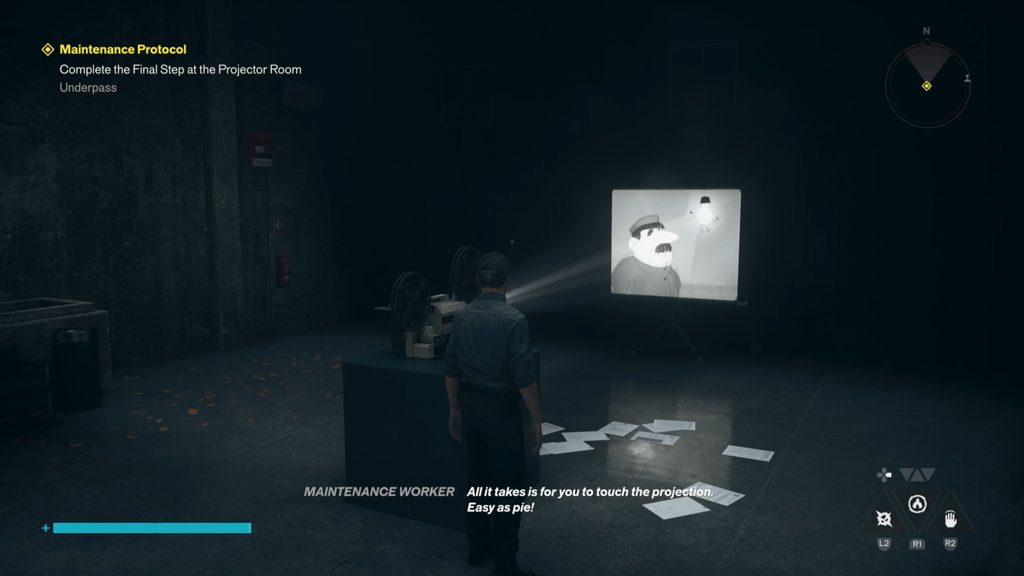
Now that you have managed to fix the other three light bulbs, you will now be tasked with returning to the projector where you first began the quest towards the end of the Underpass by the sapling. As you arrive here, you will be greeted by a new video where you will be instructed to fix the light bulb by interacting with the projection of it, and sadly, once you do so, you will be led into a trap that the person inside the video has laid for you.
The trap in question is that you are now literally trapped inside the video, just as this guy was, to look over the light bulb inside, and you will have to now find your way out. To do this, you will be given options to choose from, with the most obvious being to smash the bulb, but the other options are quite entertaining, so trying them won’t do you any harm.
Once you smash the bulb, you will have earned your freedom and even completed the quest, so congratulations! However, no one will believe you when you say you were trapped in a video by another man who was trapped in a video.
For your next read, why not check out our review of Control Resonant or check out our tips and tricks guide to help you fight through the game world?

Liam is a Senior Editor, Writer, and Critic for Thumb Wars and has been working with the team since day one. Liam is a big fan of all things gaming, as you will catch him playing all of the new releases from every genre you can imagine. Whether you find Liam gaming just for fun or spending his free time streaming, you will always find a smile on his face when it comes to all things gaming.