Last Updated on Sep 29, 2026 @ 17:32:09 PM.
Control Resonant just likes to keep us on our toes with a whole new area in the form of the Unknown and a new set of quests to keep us going, and you won’t just simply get a bit of loot from this quest, but you will be able to find your way around the new area by following this quest and earning your sixth ability!
How to Finish Pope’s Research Quest and Get Your Final Ability in Control Resonant
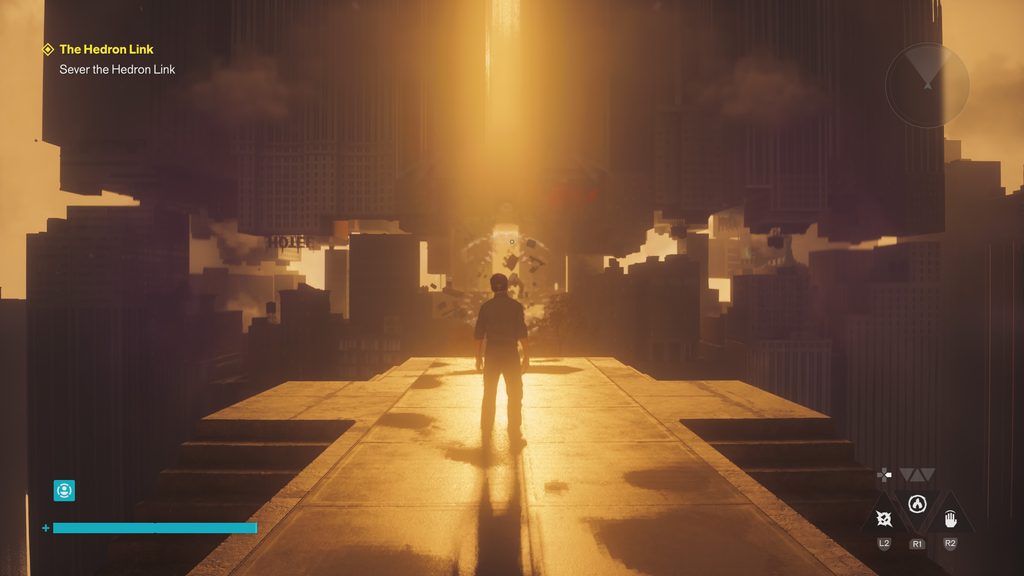
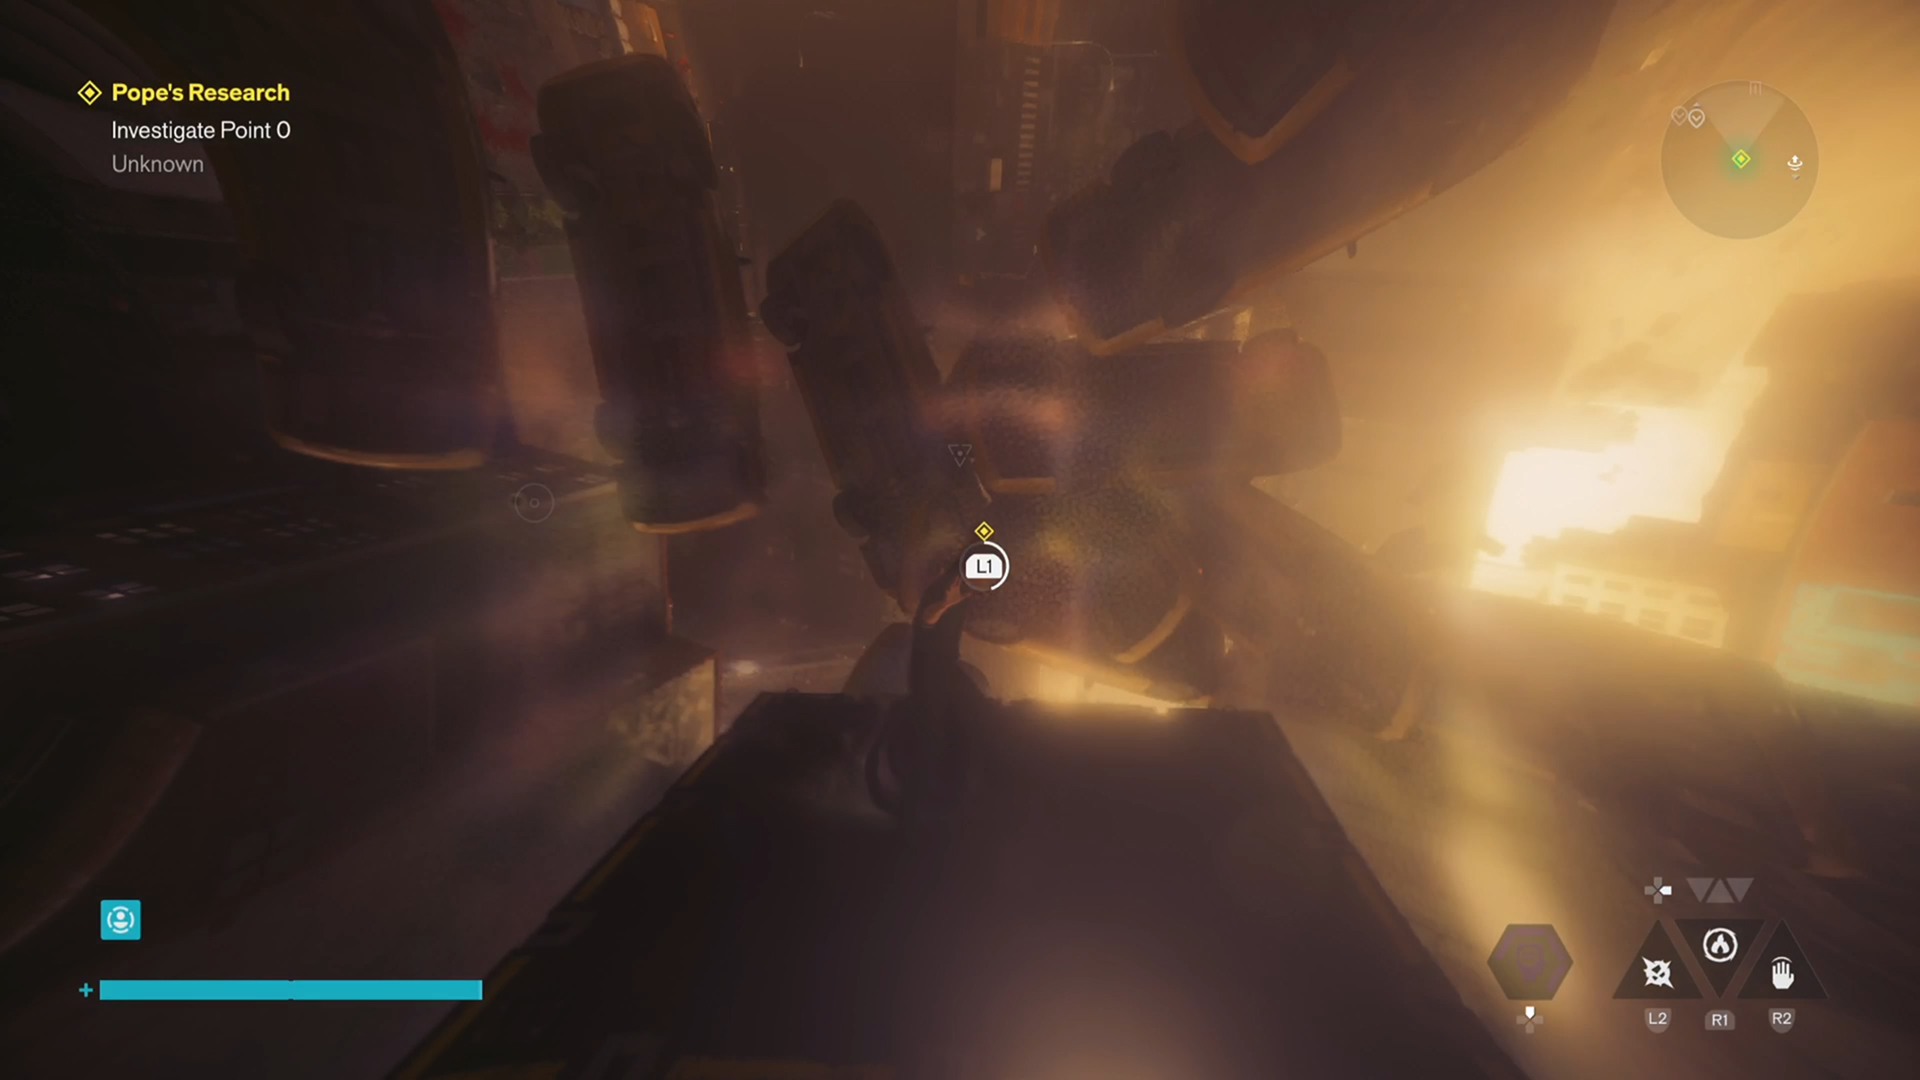
As you arrive at the new location, the Unknown, you will first be introduced to this area through a Fault that leads you to a boss known as the Hedron Parallel before finally earning full entry to this location. However, once you gain entrance to this area to its fullest, you will first need to begin Pope’s Research Quest, which will trigger once you arrive in this location for the second time.
One click and you're done. Thank you!
Oldest House Beacons
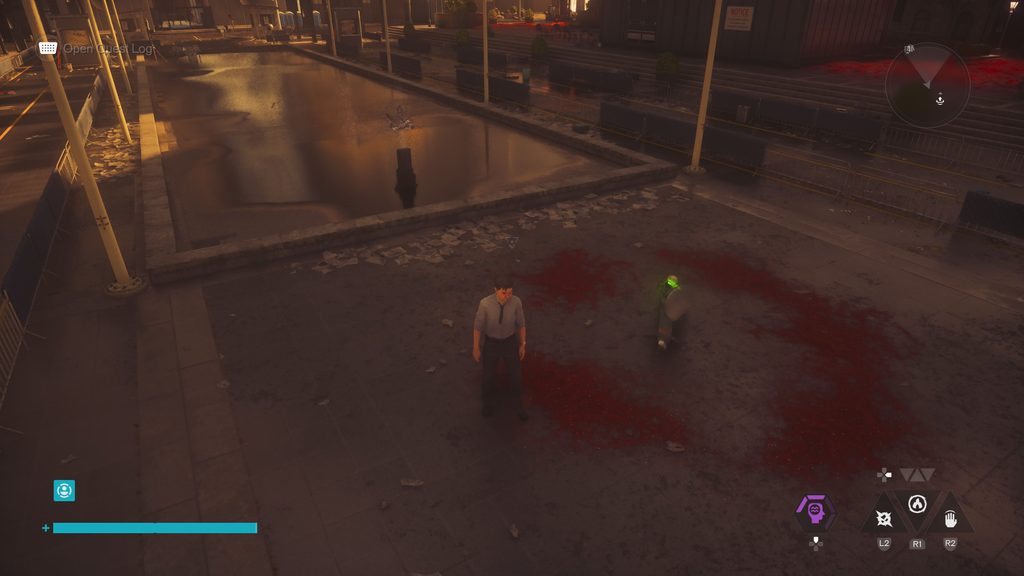
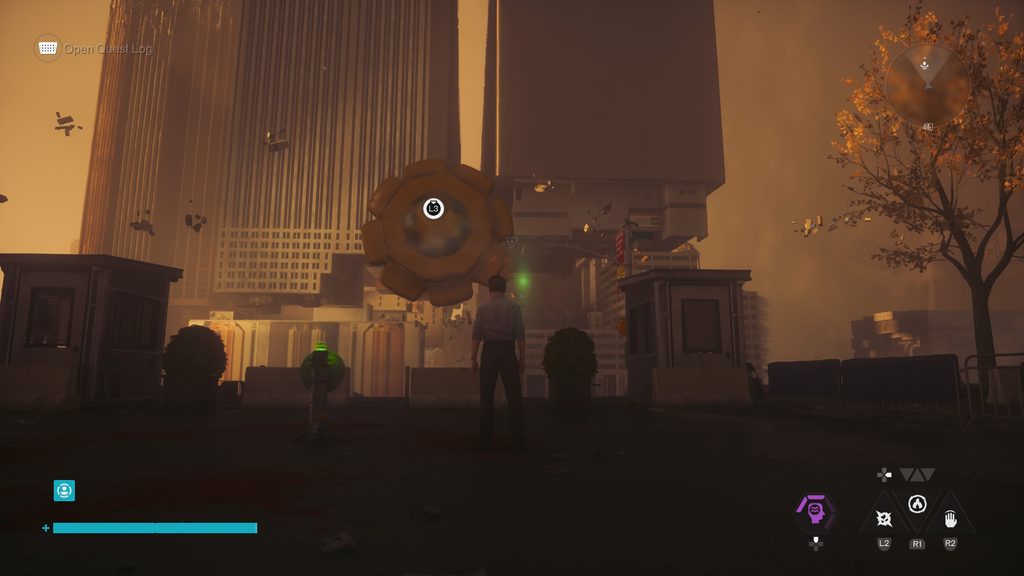
The first location that you will find yourself in when it comes to the Unknown is the roof of the Oldest House, which is slightly Patterned, causing different perspectives and locations to be explored. In order to begin Pope’s Research, you will begin in this location where you will have a hot air balloon floating in the centre that you need to access and break down similar to the supply drop event that happens in the open world.
After you cause the hot air balloon to drop the supplies, you will then gain access to two beacons that are hidden within. To place these beacons, you will need to keep an eye out for small red patterns on the floor within the area so that you can place a beacon within them.
However, you might find these locations before you grab the beacon, but you can’t just simply place the beacons in any of these locations; instead, there is a set order that you will need to place them in. The simplest way to know where to place these beacons is down to the fact that on the map a small pulsing icon will appear that will guide you to the location said beacon needs to be placed in while you’re carrying it.
While we attempted to finish this quest, the first beacon location within the Oldest House was located to the left of the entrance right in front of the FBC sigil on the wall/floor, depending on where you’re standing. The second beacon location was on the top of the area above the pathway that led you to the Fault.
After completing these beacons, you will spawn a small platform that you can then Reach to that will allow you to head to the main island in the Unknown.
Twisted Rooftops Beacons Set One
Once you gain access to the Unknown’s main map, the Twisted Rooftops, there are two ways you can go, either to the right or to the left. For argument’s sake, we are going to head left in this guide, which will lead you to Factory Island, and in order to get to this location, you will need to head to the bottom left of the map, where you will find a second hot air balloon with beacons hidden within.
To get to this hot air balloon, you will need to head to the roof of these buildings, where you will find the balloon and its contents. Now that you have access to the beacons, you will again need to place one beacon on a separate roof that is slightly lower and heading towards the centre of the map.
The second beacon will need to be placed on another roof that is at the same level as the one you started on and is only a small jump away. After placing both of these beacons, you will again generate another platform that will guide you to the next island in your path, as you can see from the map above.
Factory Island Beacons
Now you have made it onto the first small island of the Unknown area, you will begin to notice a theme in this mission, as again you will have to find another hot air balloon that Pope has sent in order to acquire the beacons hidden within and then take them to some markings on the floor in order to head to the next island.
On this island you won’t need to look far to find the hot air balloon, as it can be located pretty much right where you land if you head directly to the island; however, there will be enemies for you to take care of before you place these beacons, as sadly while you are carrying the beacon, if you are hit too much, you will drop it, and it will fly away, and you will have to then wait for it to reset.
After you have cleared out the enemies on this island, you will need to head back to the hot air balloon and acquire the two beacons. Once you do this, you won’t need to take them too far, as the first location can be found on the other side of the factory where the street turns upwards near a sewer pipe opening.
The second location can be found pretty much right next to the hot air balloon on the same street. In fact, this is also where the platform will spawn that will allow you to travel to the next island, which doesn’t have a name but is on the path to one of the Faults for your main story.
Unnamed Island Beacons
As you approach this island, it is important to note that there is a lot going on here with the beacons being available for you to solve as well as the Fault that leads to the Hedron Factor boss.
However, we are here to talk about Pope’s Research, so to progress with this quest, you will again need to locate the balloon to acquire the beacons for this quest, where you will then need to place them in the right locations.
The first location is down towards the bottom of this location, close to where the fuel station is, and the Fault and the markings are right next to a subway station entrance.
The second location can be found back where you found the beacons, this time at the top behind the construction site nearby a blood-red pipe system.
Patterned Evac Building Beacons
Once you arrive at this location, you will notice that it looks incredibly familiar, as you will have returned to the Evac Building that was taken over in the beginning of the game, but this time it’s more of a set piece than anything else, as you cannot go into it properly like last time.
This time you are instead looking towards the beacons that can be found in the centre of the island. This time, rather than 2 beacons, there will instead be 3 beacons that you will need to install to activate the launch point.
The first of these beacons will need to be placed on one of the side buildings that are around the island. The easiest way to work around this is simply to look back towards the main island of the Unknown, and the first beacon will be placed on the left-hand side of the island on the tallest roof.
The second beacon will then be placed on the right-hand side of the island but on the farthest roof from the evac building. The final beacon will need to be placed right in the centre of the island but closer to the edge, allowing the platform to spawn off the island so you can now return to the Unknown’s main island or continue forward to a new island that isn’t involved in this quest but will trigger a new quest known as The Unknown Resonant.
Tower Island Beacons
In order to get to this island, you do not need to activate any beacons to get here, as there will be platforms you can use to traverse over, gaining you access to a skyscraper on this new island.
After you arrive on this island, you will need to make your way to the street level, as this is again where the hot air balloons and beacons can be acquired.
Just like the other two small islands, there are only two beacons that you can find here and will need to install. With the first beacon, take you towards a corrupted part of the island where you will need to climb onto the wall and follow the alleyway until you turn slightly and find the location for the beacon to be placed.
The second location is close to where the hot air balloon can be found on a side street by the building covered in scaffolding, which is where you first get the beacon. Once you activate this beacon, a new platform will be generated that will allow you to head to the final small island in the location where you can find another Fault.
Unnamed Island 2 Beacons
Now you have arrived at the final small island in the region, finding the beacons will likely be second nature at this point, but just in case you are still struggling to find their locations, we can help you.
The first location is located by the entrance to the Fault where you will fight the Hedron Proxy, with the beacon location being right at the edge of the island. Please be aware if you enter this fault, you will enter a large sequence that will take you out of the Unknown for a good while, so be prepared for that.
The second beacon location can be found on top of a roof above the basketball court next to where the first beacon was, allowing you to generate one more platform that will return you to the Oldest House island. However, once you do this, you will not be finished with your quest, as one more set of beacons will spawn in the centre of the main island, which is where you will need to head next.
Twisted Rooftops Beacons Set One
Finally, you have made your way back to the main island within the Unknown, where you will need to make sure you end up on the side that has the central area filled in rather than being a hole.
Once you arrive at this location, you will be welcome to one final hot air balloon that is holding more beacons for you to acquire, with this version holding 4 beacons rather than the traditional 2. These beacons are quite simple to assemble, as they aren’t very far and are instead based on each road heading away from the centre point.
While you place these different beacons, you will need to be very careful, as enemies will begin to spawn while you do this, so you will need to take these on before you place any more beacons.
After you place all four beacons you will see another platform spawn above you that you will need to reach in order to gain your final ability that you can use throughout the game. However gaining access to this paltform might be a challenge as it is protected by floating taxis and requires a skilled jump to make it there.
What makes this so interesting is that you can pick any of the abilities you haven’t picked to fill this final slot meaning if you want to increase your fire damage, your infection rate, or just pure damage, there are plenty of options for you to choose from!
For your next read, why not check out our review for Control Resonant, or check out our tips and tricks guide to help you out in your fights!

Liam is a Senior Editor, Writer, and Critic for Thumb Wars and has been working with the team since day one. Liam is a big fan of all things gaming, as you will catch him playing all of the new releases from every genre you can imagine. Whether you find Liam gaming just for fun or spending his free time streaming, you will always find a smile on his face when it comes to all things gaming.