One click and you're done. Thank you!
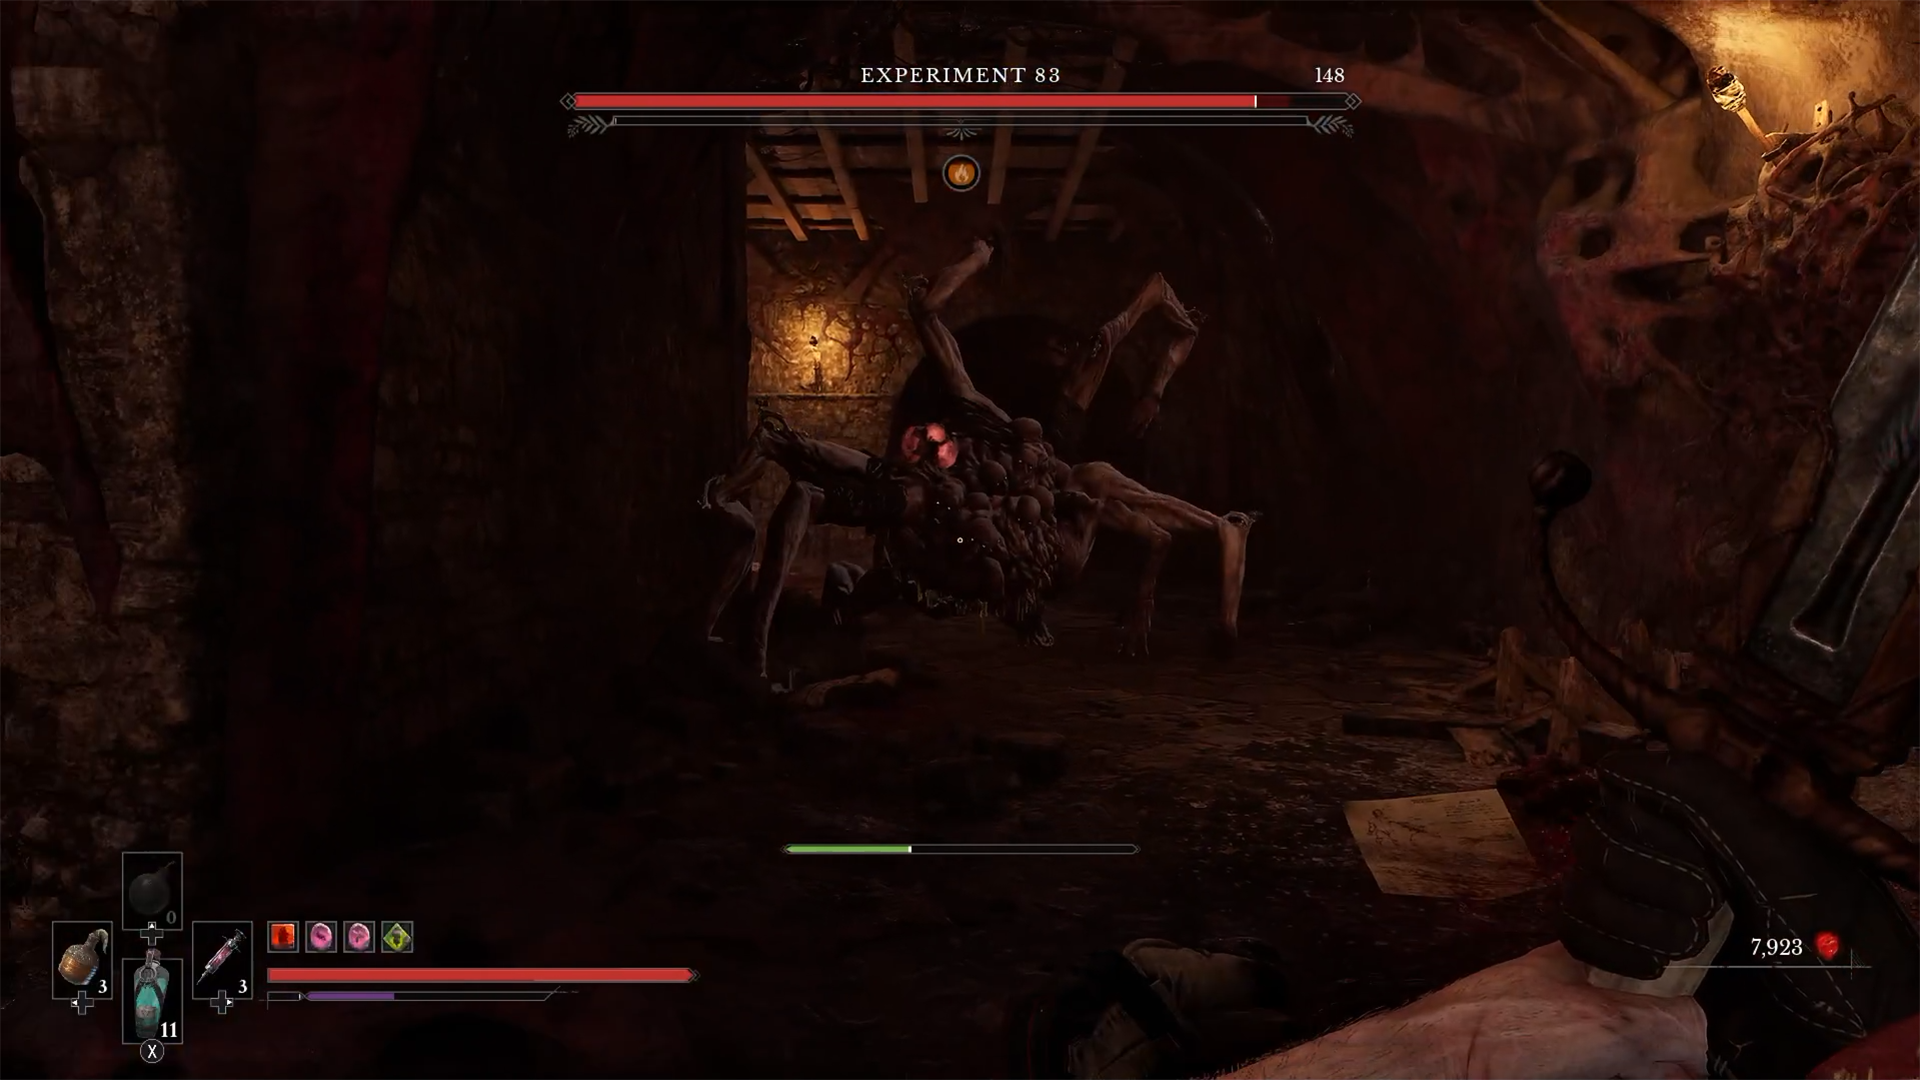
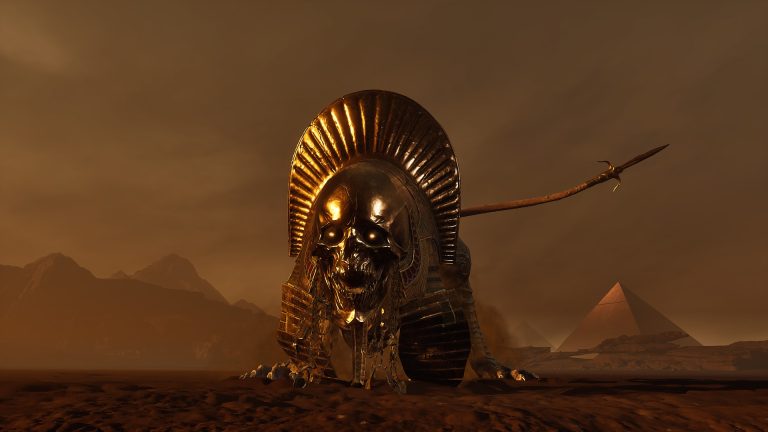
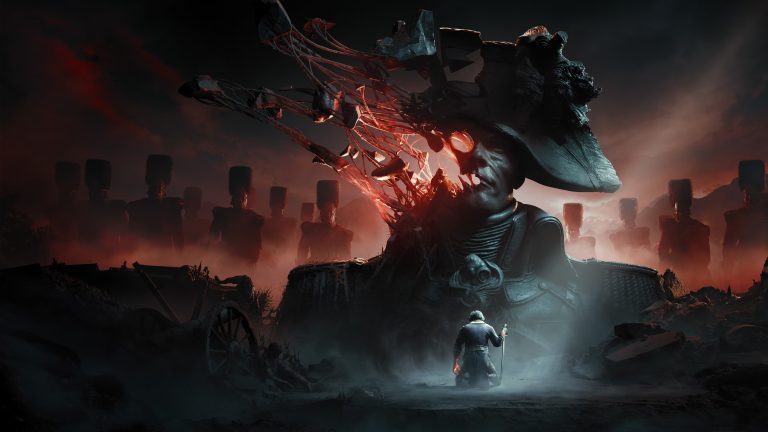
A big part of what makes Valor Mortis unique is the various bosses you will fight throughout the game, with many of them being incredibly dangerous and powerful while also having very interesting designs like the Slaughtermill or the Sphinx, Devourer of the Unworthy, but now you will come across Experiment 83 and its monstrous form.
How to Find Experiment 83 in Valor Mortis
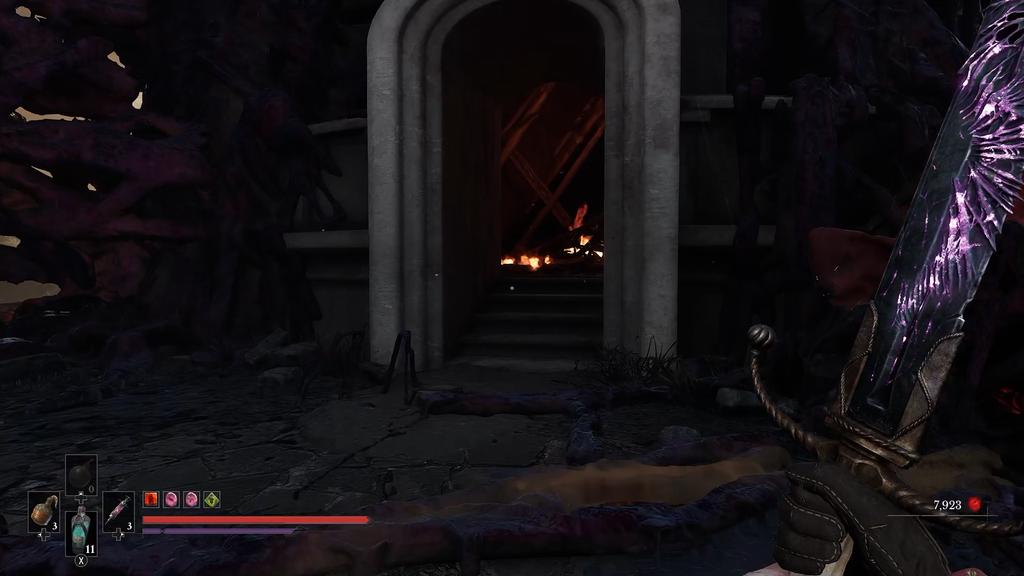
While you are exploring the world of Valor Mortis, you will eventually find yourself in Chapter 7 at the fifth lantern rest spot directly below the now destroyed lighthouse that you will have seen earlier in the chapter.
To find Experiment 83, you simply need to head into the lighthouse and go into its depths through the holes that have been left by the destruction of the building.
Please be warned: once you enter through these holes, you will be instantly introduced to Experiment 83, as you will now be locked in a small area that is a small square made of 4 hallways with a small area filled with explosives that you need to kite the boss around to defeat him.
How to Beat Experiment 83
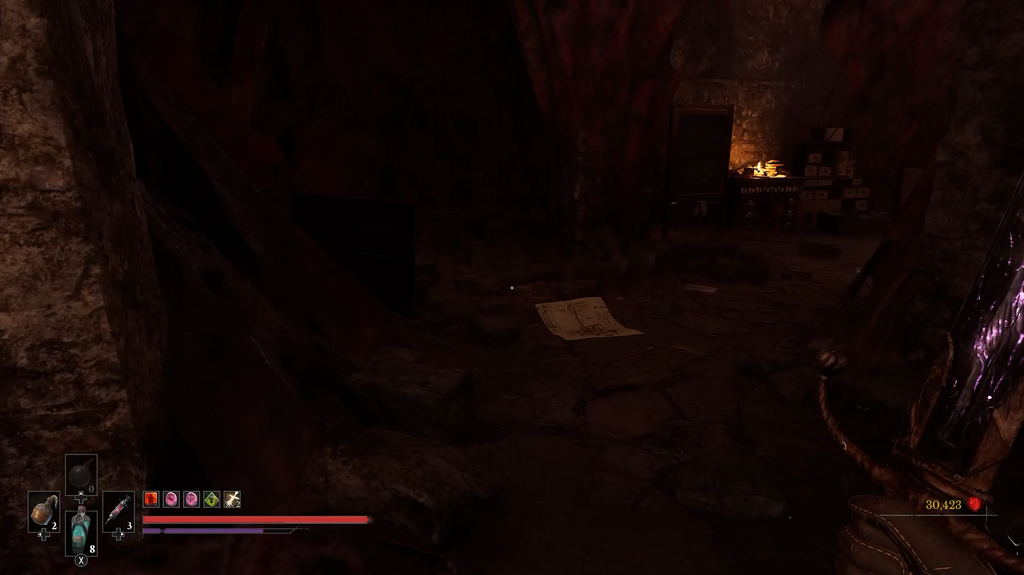
Once you make your way into the basement of the lighthouse, you will now be able to fight Experiment 83, but do not worry, as this boss is actually quite easy due to a few different reasons, but there are some risks that you need to be aware of.
In terms of risks, Experiment 83 has two main risks that you need to be careful about, the first is that it hits like an absolute truck, meaning any hit it deals to you will absolutely chunk your health, potentially making you lose over half your health depending on the attack it uses against you.
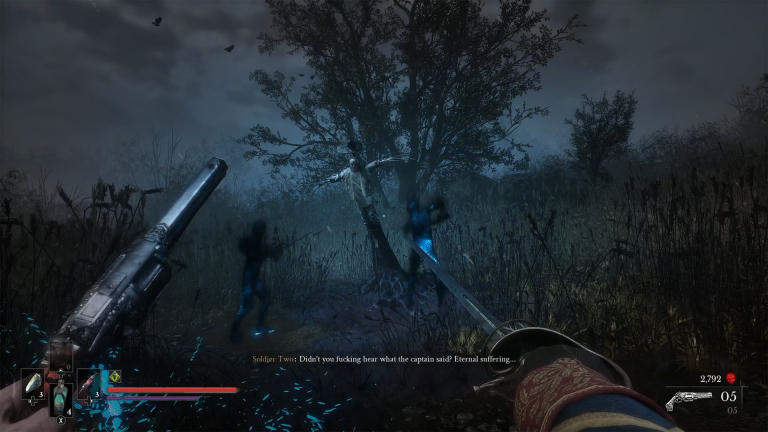
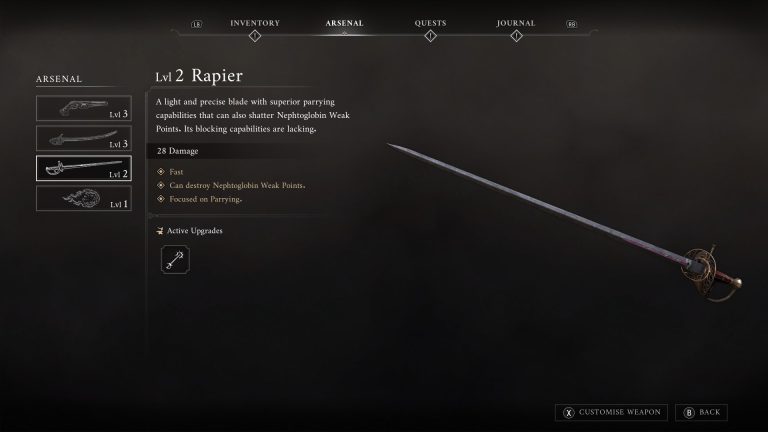


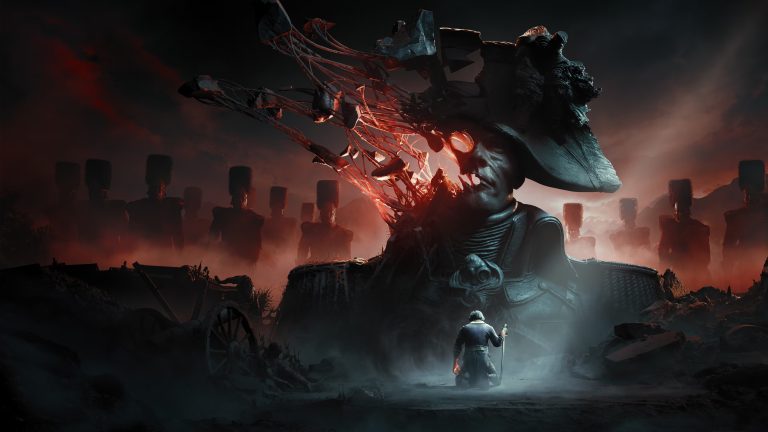
The second major risk is during one of the boss’s specific attacks, where it spews poison onto the floor in front of itself that gives you the death status effect if you stand in it too long, giving you instant death.
When it comes to why this boss is easy, there are a few reasons as to why; the first being that the boss is incredibly slow, meaning you simply need to walk/run away around the square, kiting it around, giving you plenty of time to heal if you need it. The second reason is that there are explosive barrels hidden in the arena that can deal a lot of damage to the boss if you time it right.
As you fight the boss, it will only use a few different attacks, as it is a very small boss fight, so there isn’t a whole lot to worry about, but we have listed the attacks below so you can get ahead of this boss.
- The boss can use an unblockable attack where it slams down onto the floor, dealing a lot of damage
- There is a four-attack combo where the boss will flail its different arms in front of it in a chaotic order
- Sometimes, the boss can spew acid in front of it, which can build up the death status
- The boss can sometimes use an unblockable attack where it chomps towards the player a few times
- Finally, the boss can do a two-attack combo where it slams its arm before doing a bite with its mouth
These are the different attacks the boss will use during the boss fight, and once you manage to get used to these attacks, you will find that it is quite easy to defeat. Once you do defeat it, you will earn 20,000 Catalysts.
After defeating the boss, do not leave the lighthouse straight away, as there is the option to find a small room within the area that provides some background information on the Shrike and the rest of the game.
For your next read, why not check out our tips and tricks guide to aid you in Valor Mortis, or check out our review for Valor Mortis.

Liam is a Senior Editor, Writer, and Critic for Thumb Wars and has been working with the team since day one. Liam is a big fan of all things gaming, as you will catch him playing all of the new releases from every genre you can imagine. Whether you find Liam gaming just for fun or spending his free time streaming, you will always find a smile on his face when it comes to all things gaming.
Other Valor Mortis Guides You Will Need
- How to Complete The Laudanum Quest in Valor Mortis
- How to Complete the Shrike’s Anthem Side Quest in Valor Mortis
- How to Complete The Curious Case of Seamus Diggory Side Quest in Valor Mortis
- How to Beat High Justicar Aurelius, Last of the Faithful in Valor Mortis
- How to Complete the Till Death Quest and Get the Claymore in Valor Mortis
- How to Complete the Sleeping Beauty Quest in Valor Mortis
- How to Beat Anna, The Bride Drowned in Tears in Valor Mortis
- How to Beat the Slaughtermill in Valor Mortis
- How to Get the Nephtoglobin Formation Ability in Valor Mortis
- How to Complete The Deserter Quest and Find the Musket in Valor Mortis
- How to Complete the In the Name of Art Side Quest in Valor Mortis
- How to Complete the Lost Boy Side Quest in Valor Mortis
- Valor Mortis Sphinx, Devourer of the Unworthy Guide: How to Beat, Location, and Rewards
- How to Complete the Minecart Section in Valor Mortis
- How to Get the Stasis Transmutation in Valor Mortis
- How to Get the Wall Running Ability in Valor Mortis
- How to Complete the Homesick Side Quest in Valor Mortis
- How to Upgrade Transmutations in Valor Mortis
- Valor Mortis The Iron Marshall and Grapple Ability Guide: How to Beat, Location and Rewards
- How to Get the Blunderbuss Shotgun in Valor Mortis
- How to Complete The Lullaby Quest in Valor Mortis
- How to Complete The Scarecrow Quest in Valor Mortis
- How to Get the Rapier in Valor Mortis
- How to Upgrade Weapons in Valor Mortis
- How to Fast Travel in Valor Mortis
- Valor Mortis General Lothaire, The Eagle-Bearer Guide: How to Beat, Location and Rewards
- How to Complete An Unheard Farewell in Valor Mortis
- How to Get the Pistol in Valor Mortis
- How to Get the Fire Transmutation in Valor Mortis
- How to Respec Your Character in Valor Mortis
- How to Upgrade Your Stamina in Valor Mortis
- How to Increase Your Health in Valor Mortis
- Valor Mortis Combat Guide: How to Parry, Dodge and Counter
- Valor Mortis: How to Stop Dying So Often
- Valor Mortis: Things the Game Doesn’t Tell You
- How to Stagger Enemies in Valor Mortis
- How Long to Beat Valor Mortis? Game Length Broken Down and Explained
- Valor Mortis – Release Date, Platforms, Story, Game Modes & Everything Else You Need to Know